Sandblaster!!!

Home Model Engine Machinist Forum

Help Support Home Model Engine Machinist Forum:

This site may earn a commission from merchant affiliate links, including eBay, Amazon, and others.
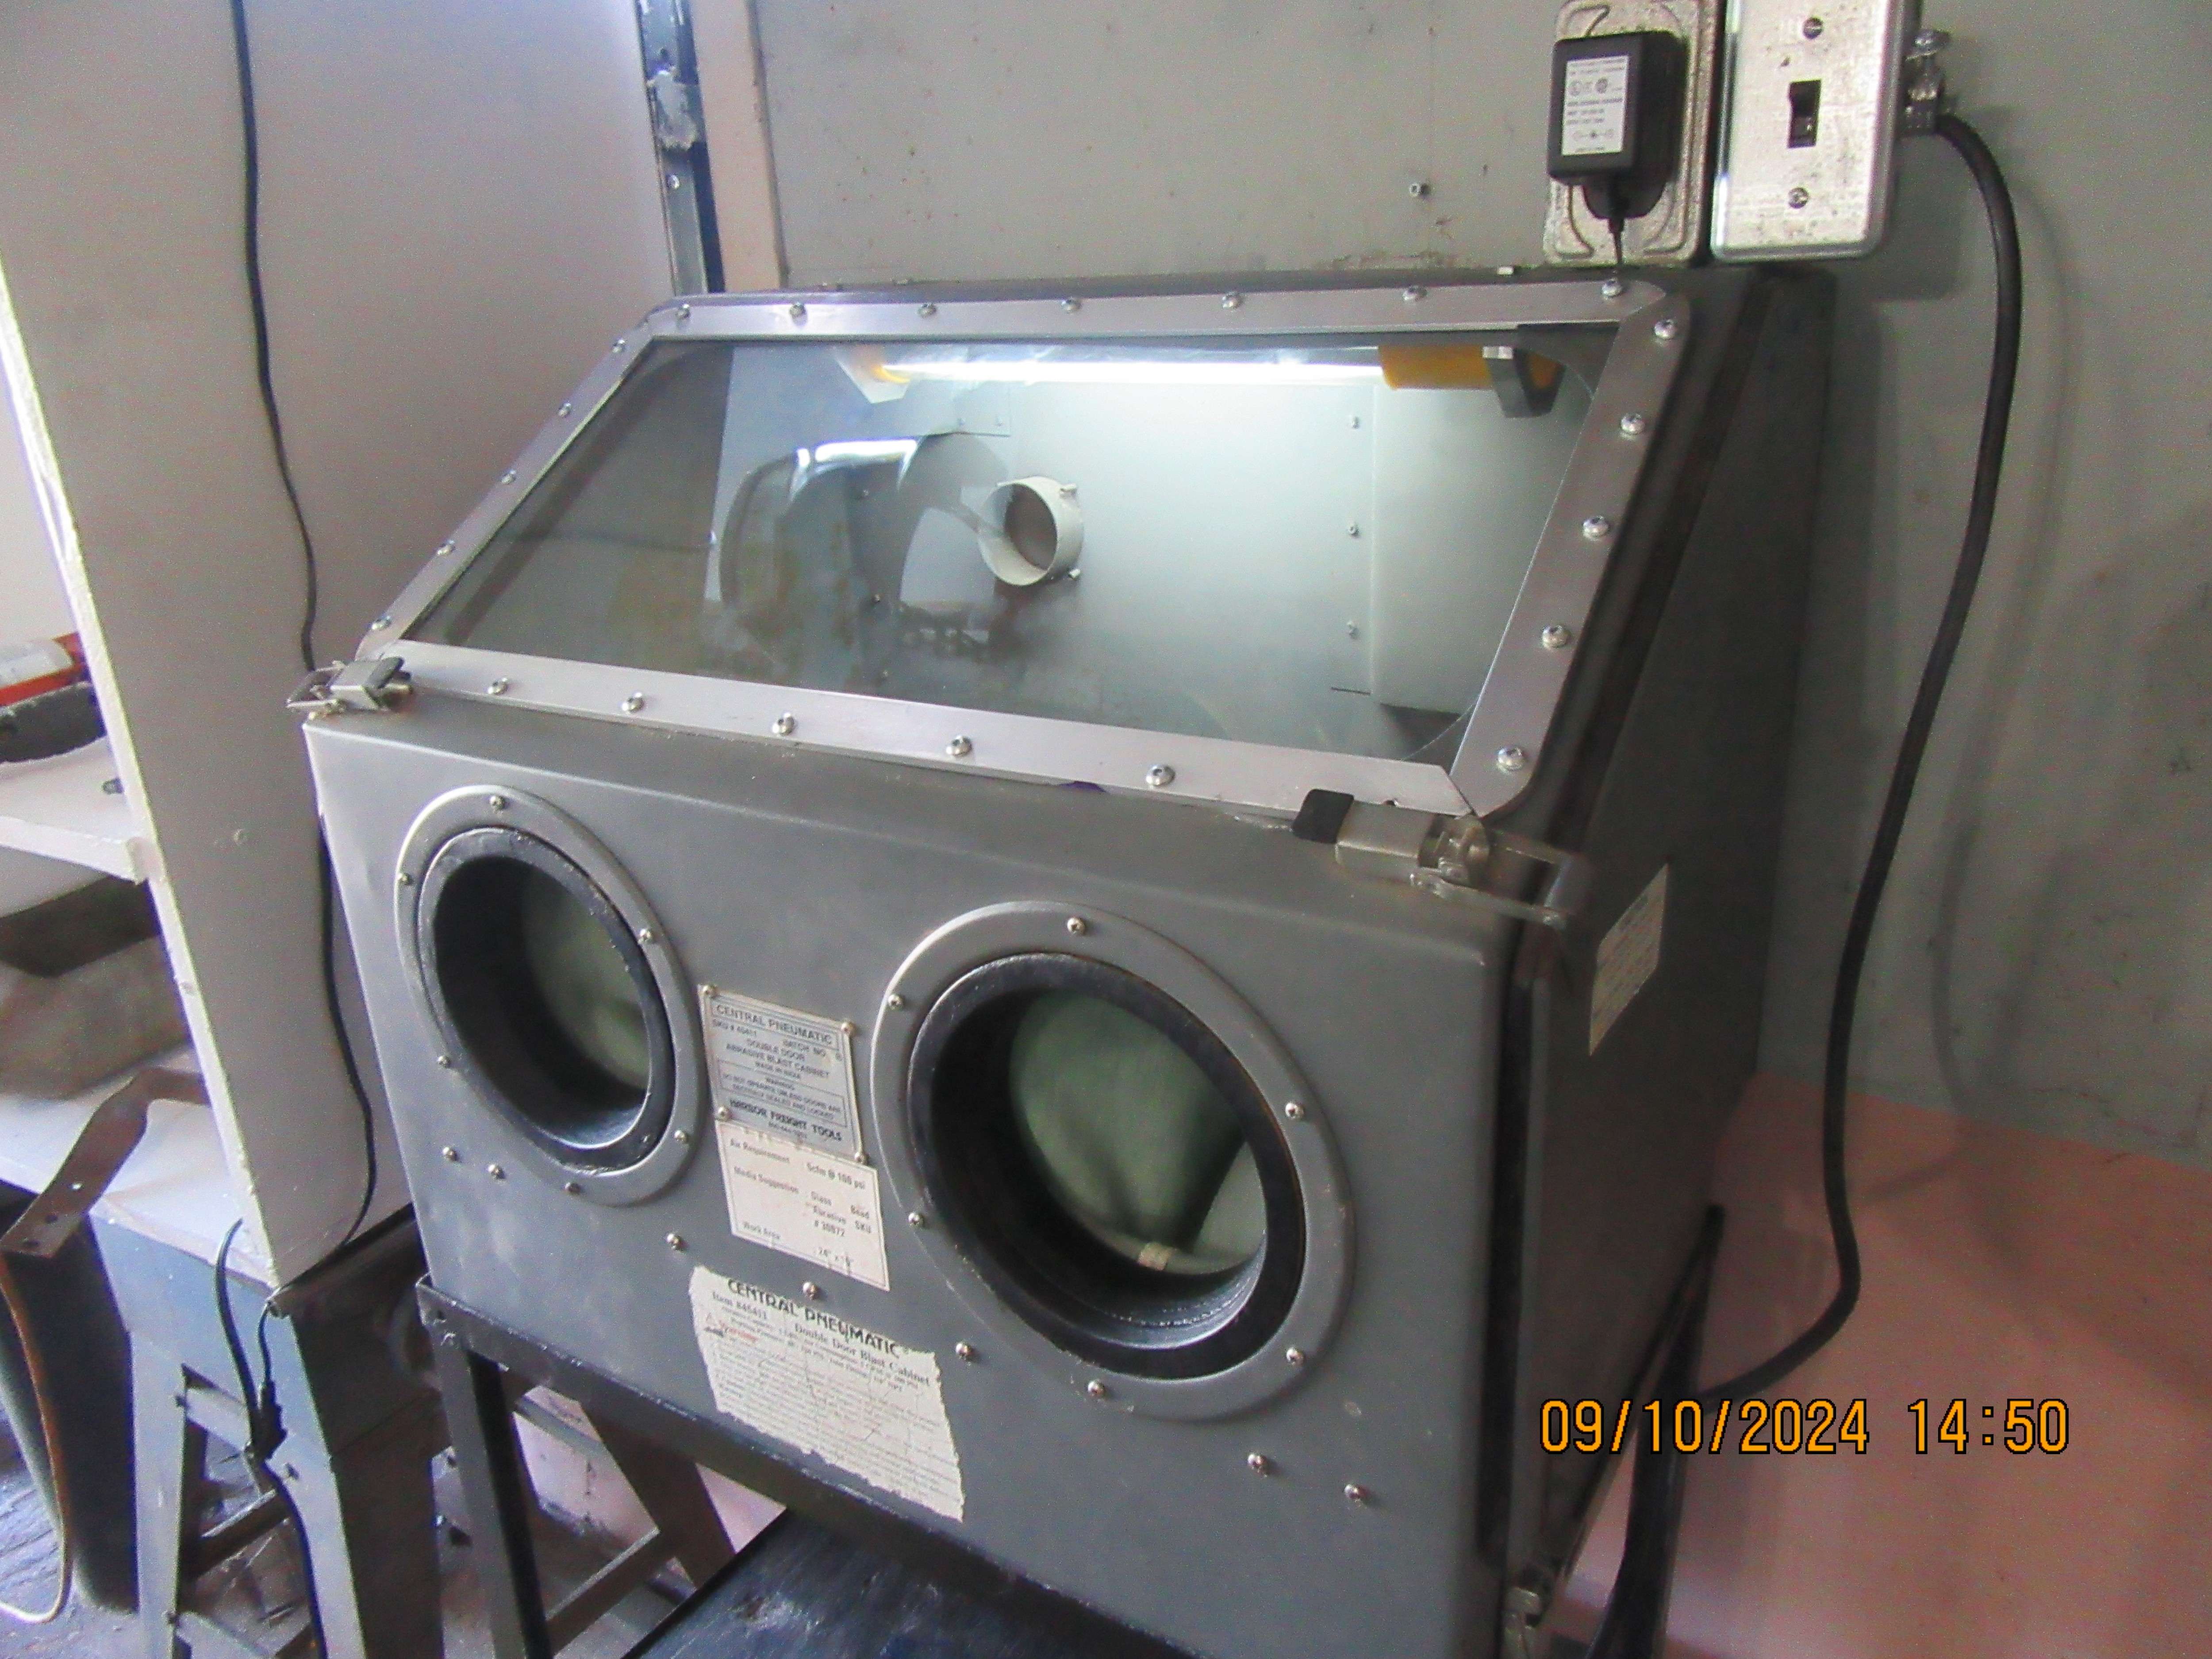
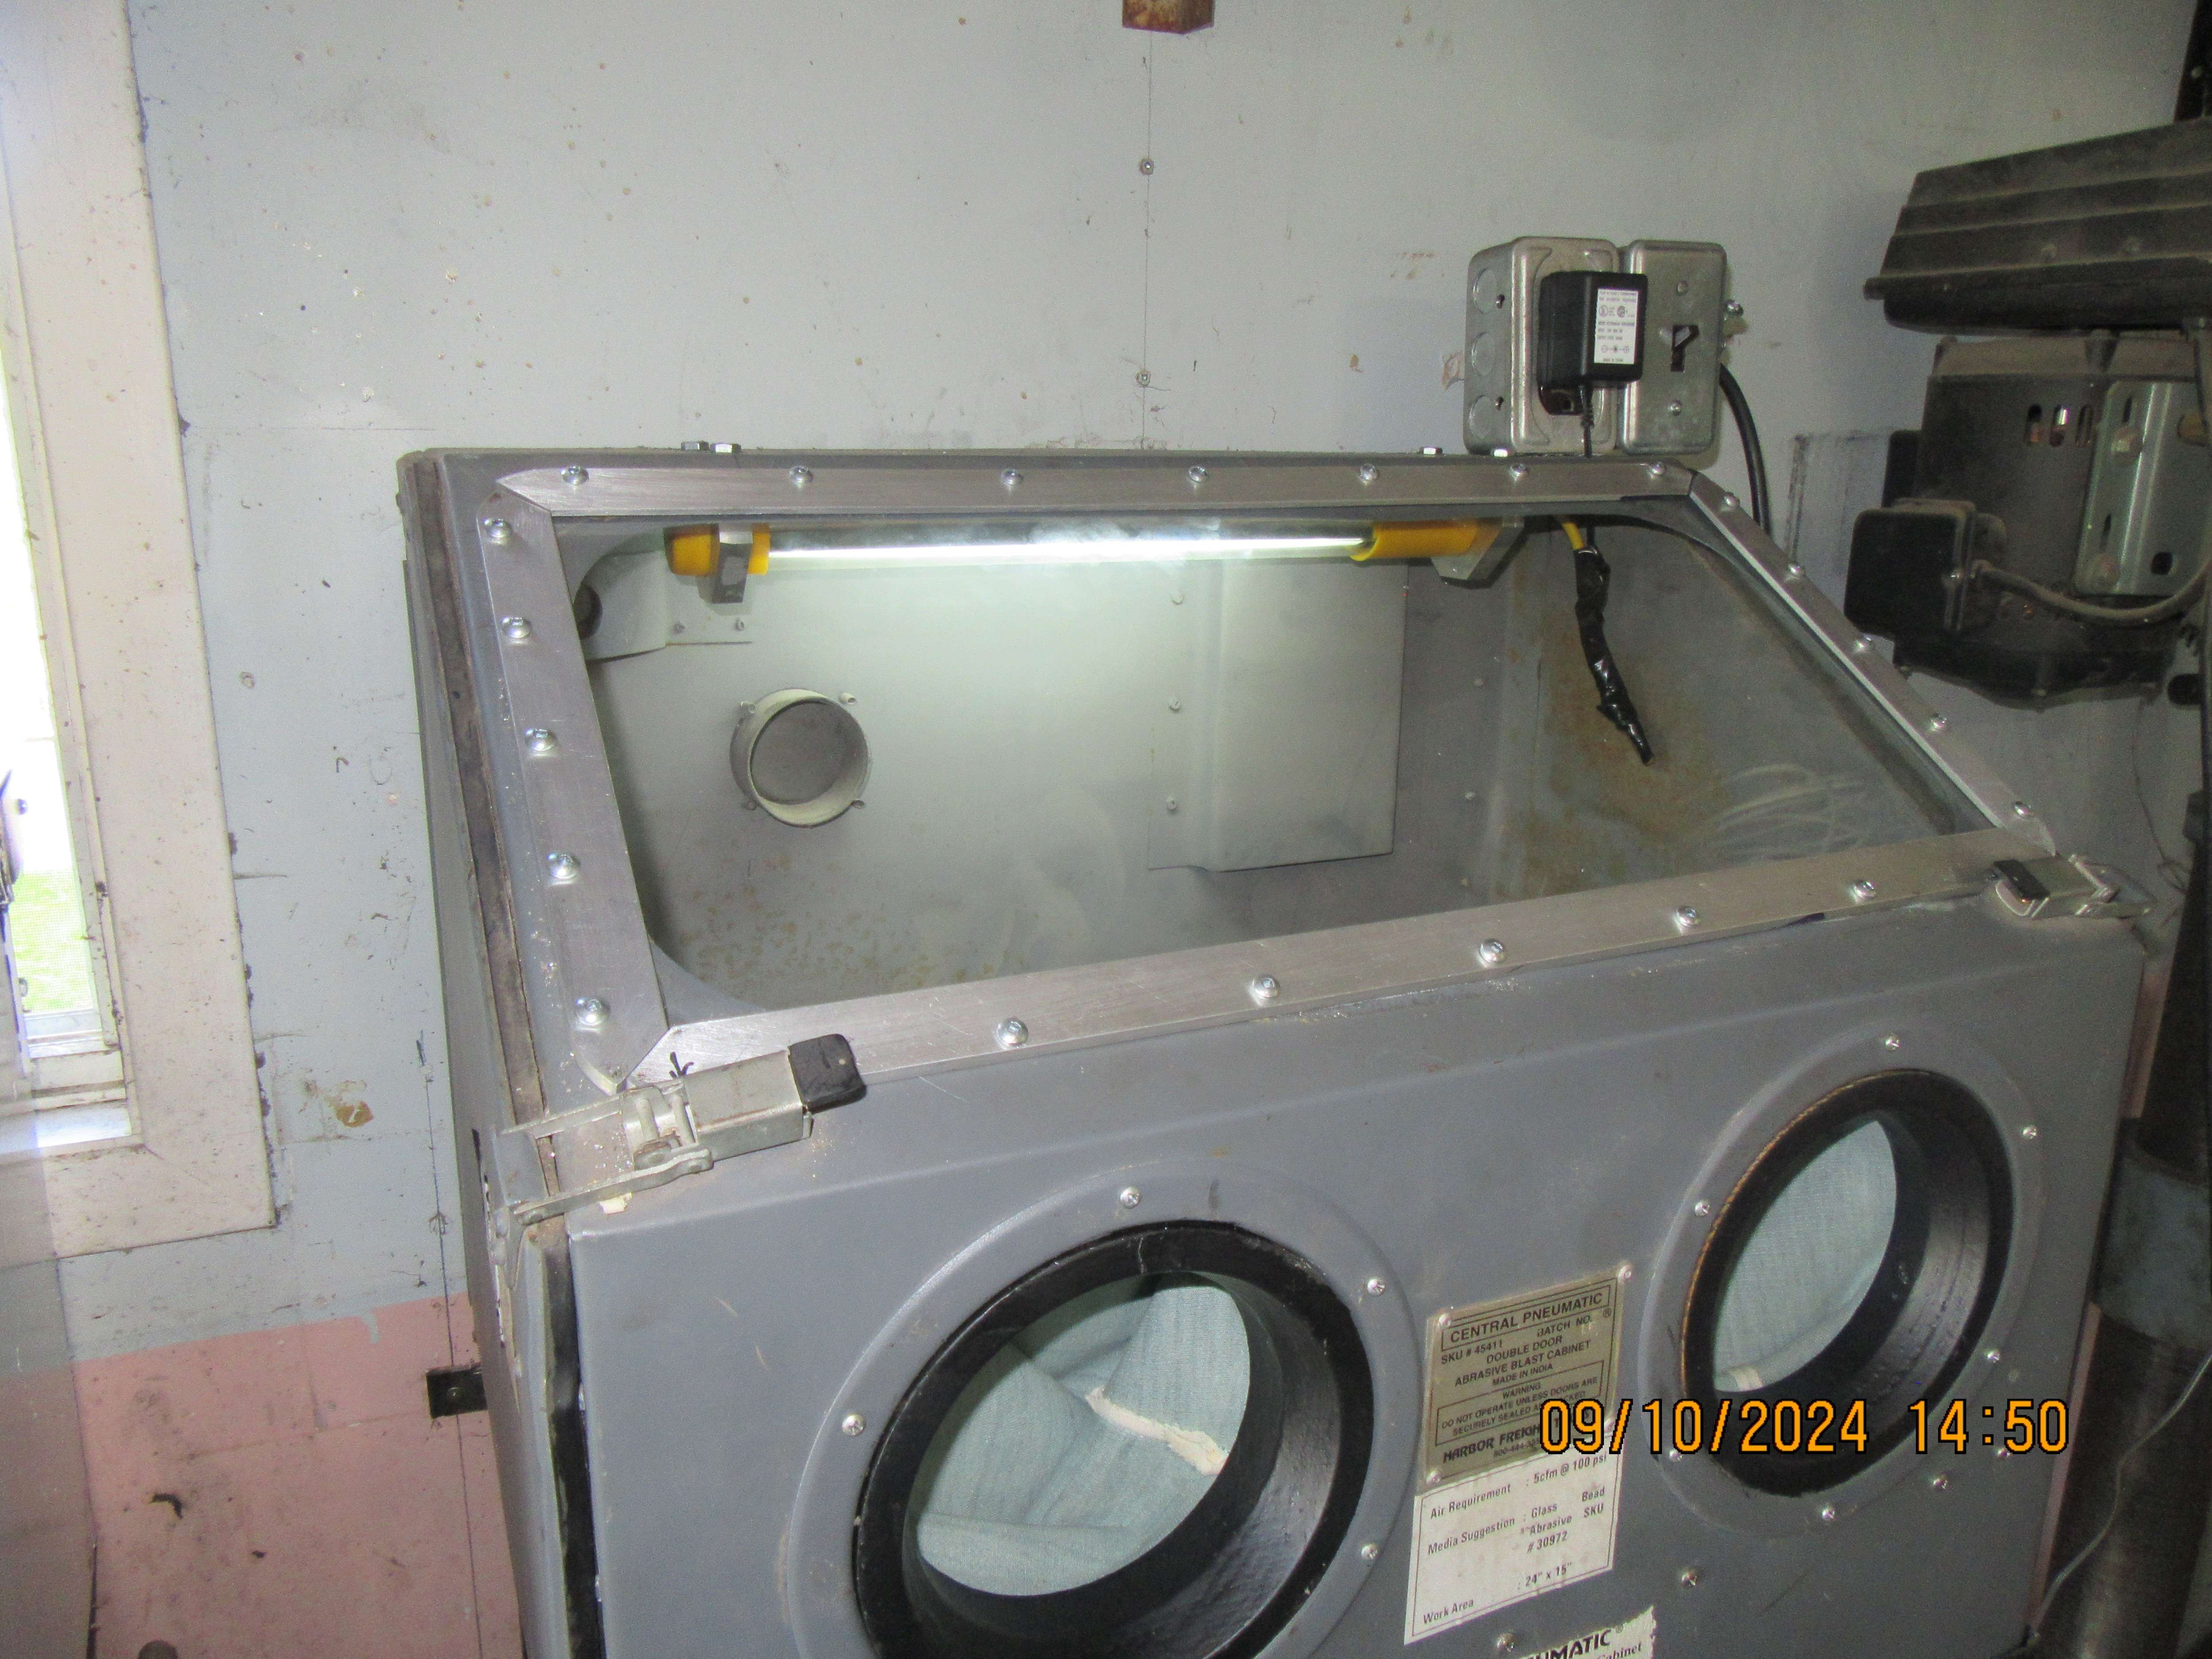
There are throw away stick on plastic sheets for the inside of the window. They have adhesive around the perimeter of the sheet.
Princess auto sells them for their cabinets. I'm sure any place that sells the cabinets has them. They come in a package of a few for cheap.
I've only used a couple in the many years I've had my cabinet.
 
I called Harbor Freight this morning, and they said that model was so old they no longer supported it.--No Parts. So, I came up with a different way of doing the job, just means more work for me.
Hi Brian, Guys,

I'm sure that you can find a scrap flat screen TV or monitor ! They all have plastic sheet in them some of it is opaque but there should be a clear sheet that can be used.
 
I used glass in mine. To make it last longer hold the piece that you are blasting down and away so that the media doesn't bounce right back into the glass. I tack welded screws from the inside out and put knurled nuts on the outside to hold the glass.
 
I used glass in mine. To make it last longer hold the piece that you are blasting down and away so that the media doesn't bounce right back into the glass. I tack welded screws from the inside out and put knurled nuts on the outside to hold the glass.
That is the most common modification for holding the glass. Brian can always go to that later if his self tapping screws strip the holes out over time.
All reports I found say that glass etches FAR slower than plexiglass, even with protector sheets. I will go with glass once my plexi gets fogged bad enough.
 
I'm going to call this project finished. I spent today buying a piece of glass for $22 and another tube of silicone for $8, which brings my total cost up to $286. Glass and aluminum trim strips are installed. Did I save any money by doing this all myself instead of buying a finished unit? Well, probably a bit, and the parts I made for the sand plumbing on the underside of the hopper are suggested "improvements" to the sandblaster that you buy. I didn't save a lot of money, but I enjoyed building this one. The cabinet that I bought for $60 could have been made from plywood for about the same price.
nUmmcE.jpg

8zzylu.jpg
 
I forgot to show the vacuum piping which connects to the rear side of the sandblaster cabinet and runs down to my cyclone dust extractor. I can't see to weld worth a damn anymore, but good enough for parts which are hidden behind the cabinet.
ybSpI9.jpg
 
Got a cheater lens inside your welding helmet? I would be in big trouble without one.
Also, the quality of the helmet makes a huge difference too, helmets have come a long ways.

Why steel piping? Most use 2 inch pvc.
 
I got one of those red plastic ones from Harbor Freight years ago, and several of the clear covers to put on the lid, when they get foggy rip if off and put another one, put a cover over the bulb so it does not shine in my eyes but on the item being blasted, on the vent I put a lawnmower air filter and a vacuum cleaner that I picked up on trash day, it keeps all the dust out and clean it when needed, then I eventually got the Dryer from Harbor Freight and put on the compressor, that took care of the moisture, I live in South West Louisiana with 100% humidity most of the time, you can drain the tanks several times a day but can't stay ahead of the moisture.
 
It's a little late now, but you should have sealed up the hole in the back and moved it to one of the sides. Every twist and turn that you put in a pneumatic line affects its' flow rate, especially really sharp 90° turns line that. The airflow will appreciate that sweep ell though.
 
This is the vacuum tube set up exiting the rear of the cabinet. A hose well go from it to the dust collector. I couldn't relocate it to the ends of the cabinet because the ends are both hinged doors. There is one other small hole in the rear of the cabinet which I will plug. Now that I have located where all the self tapping screws go, I will disassemble the vacuum tube assembly, apply lots of silicone to the face of the flange and all the screw holes and then reassemble everything.
qrPGVT.jpg
 
I have been using my cabinet in the last few says for some much bigger workpieces than I have ever tried in it before - big enough to be a pig to manoeuvre inside the cabinet. I have been finding the nozzle getting clogged, which I have put down to moisture in the air supply. Online buy of more air fittings arrived yesterday afternoon so I could fit up the filter unit that has been sitting on a shelf for several years. Today we will see if it works better.
 
Back
Top