Sandblaster!!!

Home Model Engine Machinist Forum

Help Support Home Model Engine Machinist Forum:

This site may earn a commission from merchant affiliate links, including eBay, Amazon, and others.
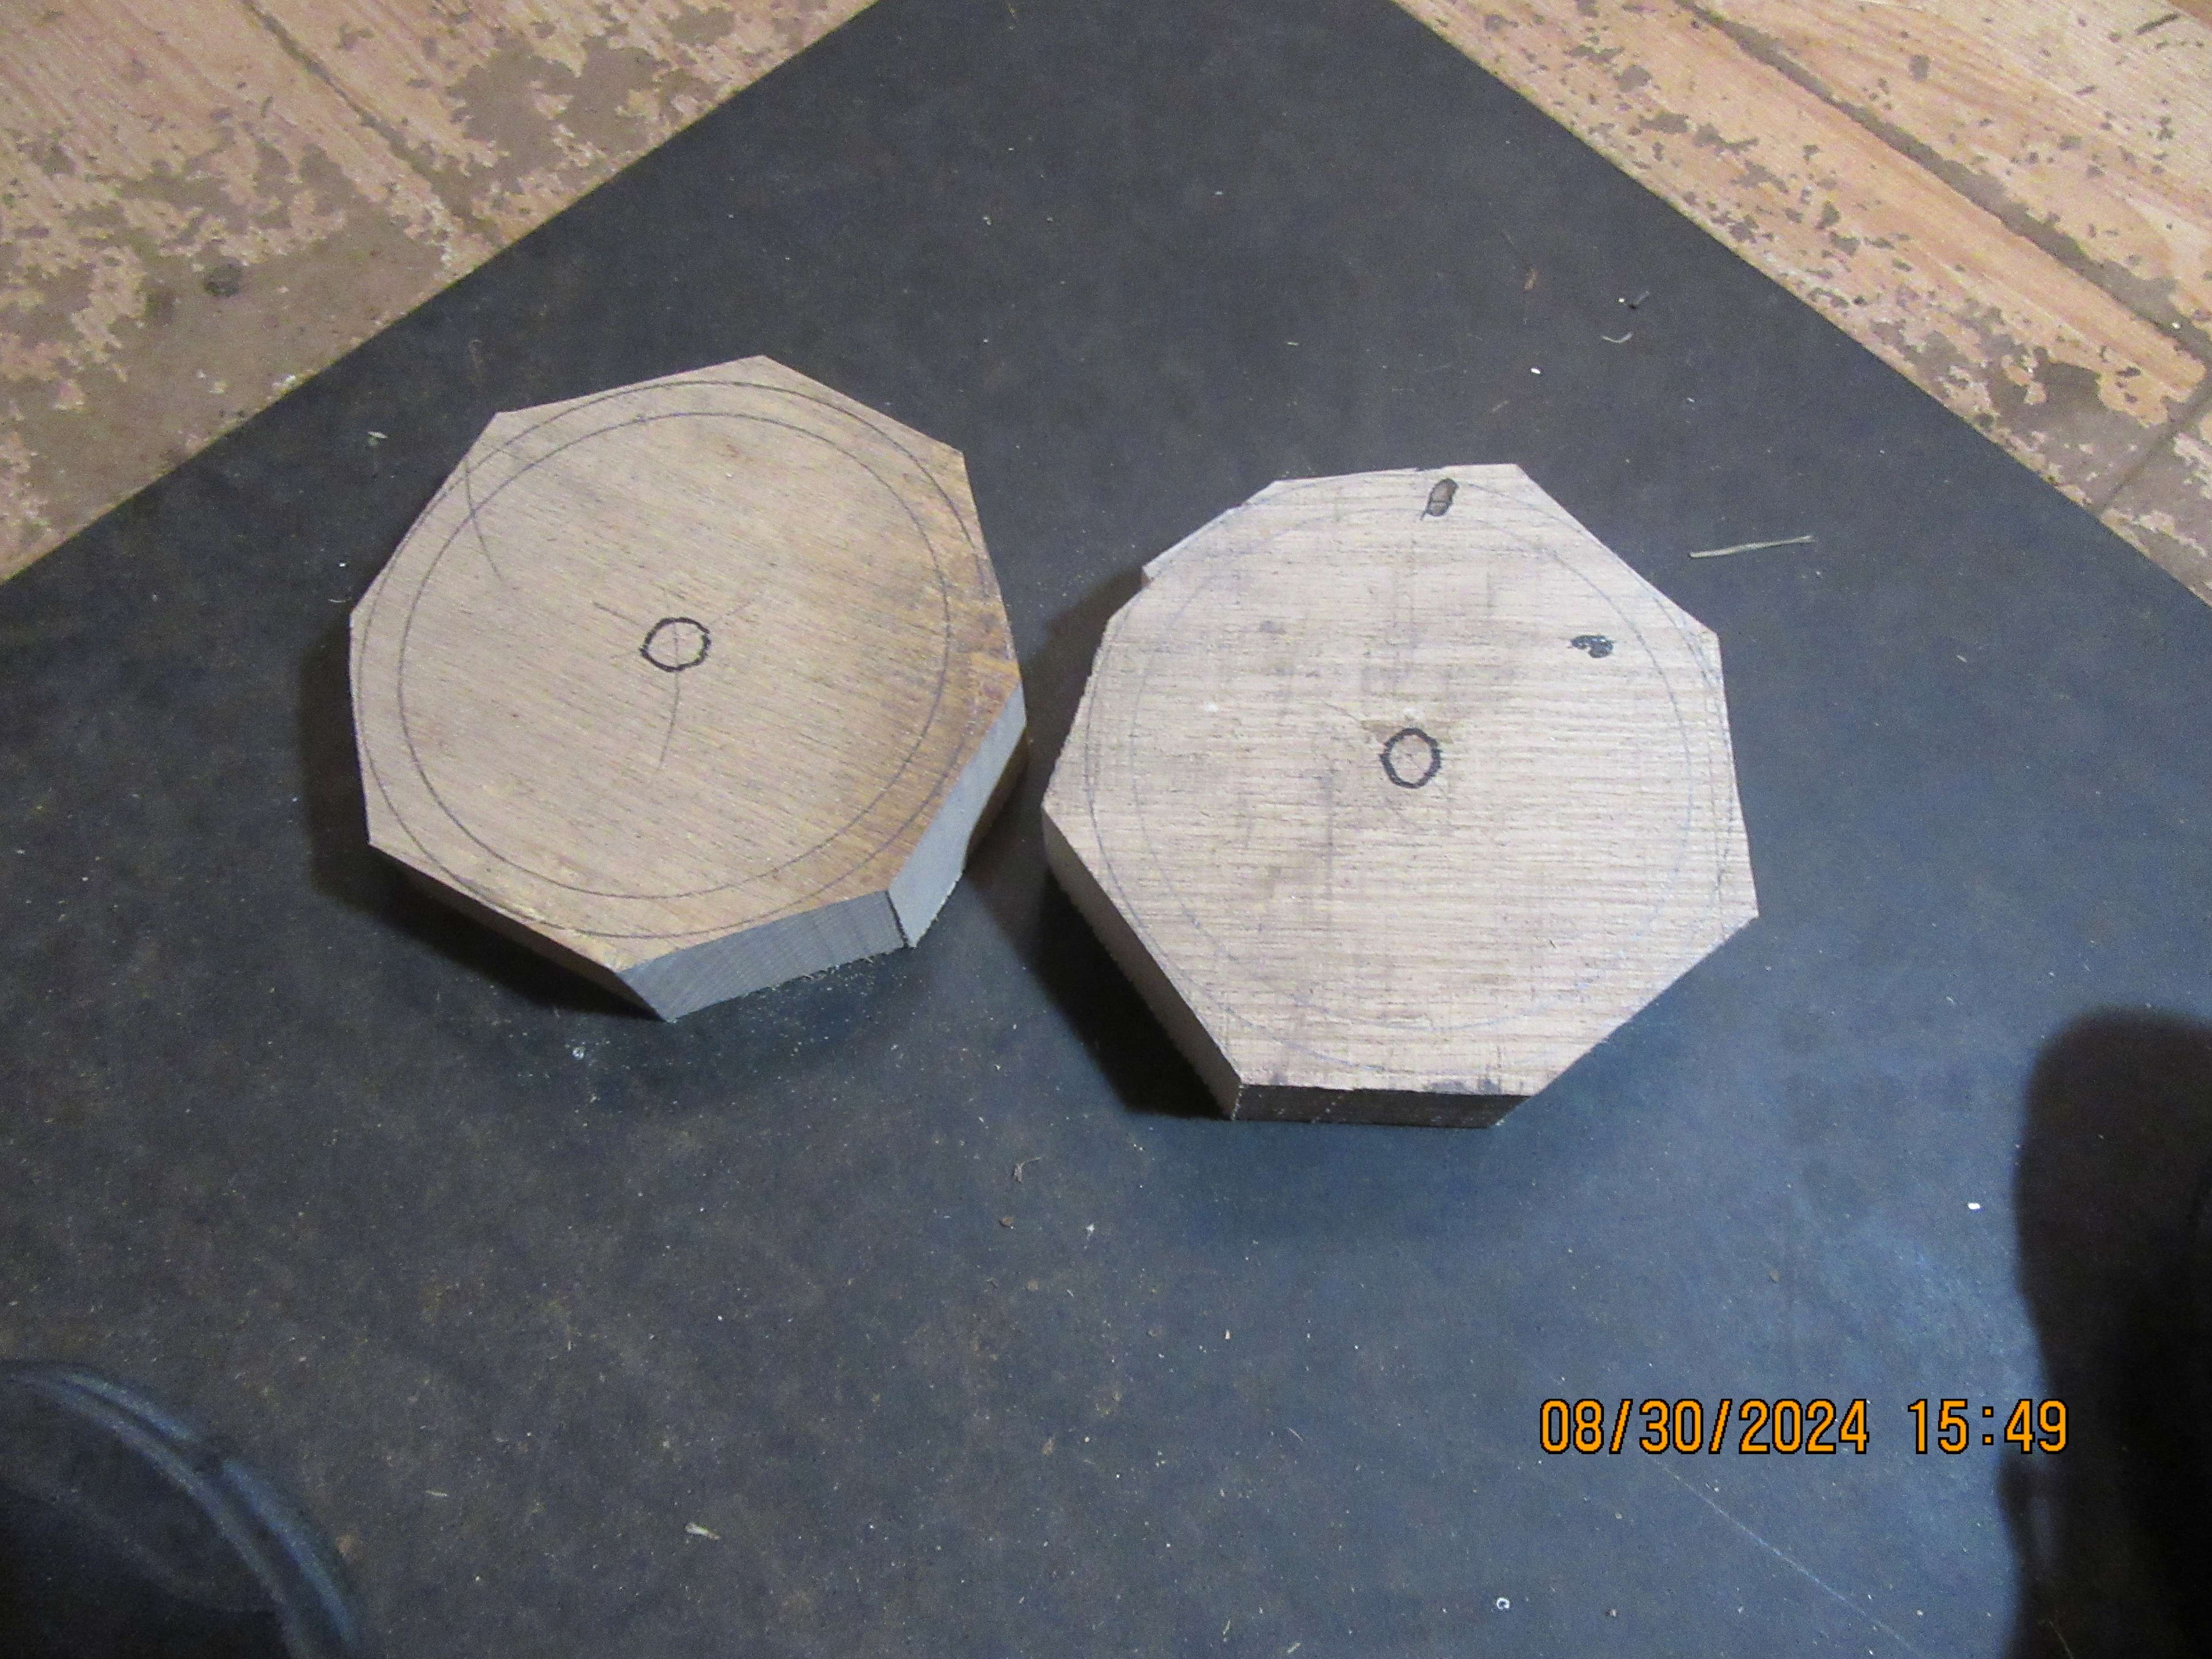
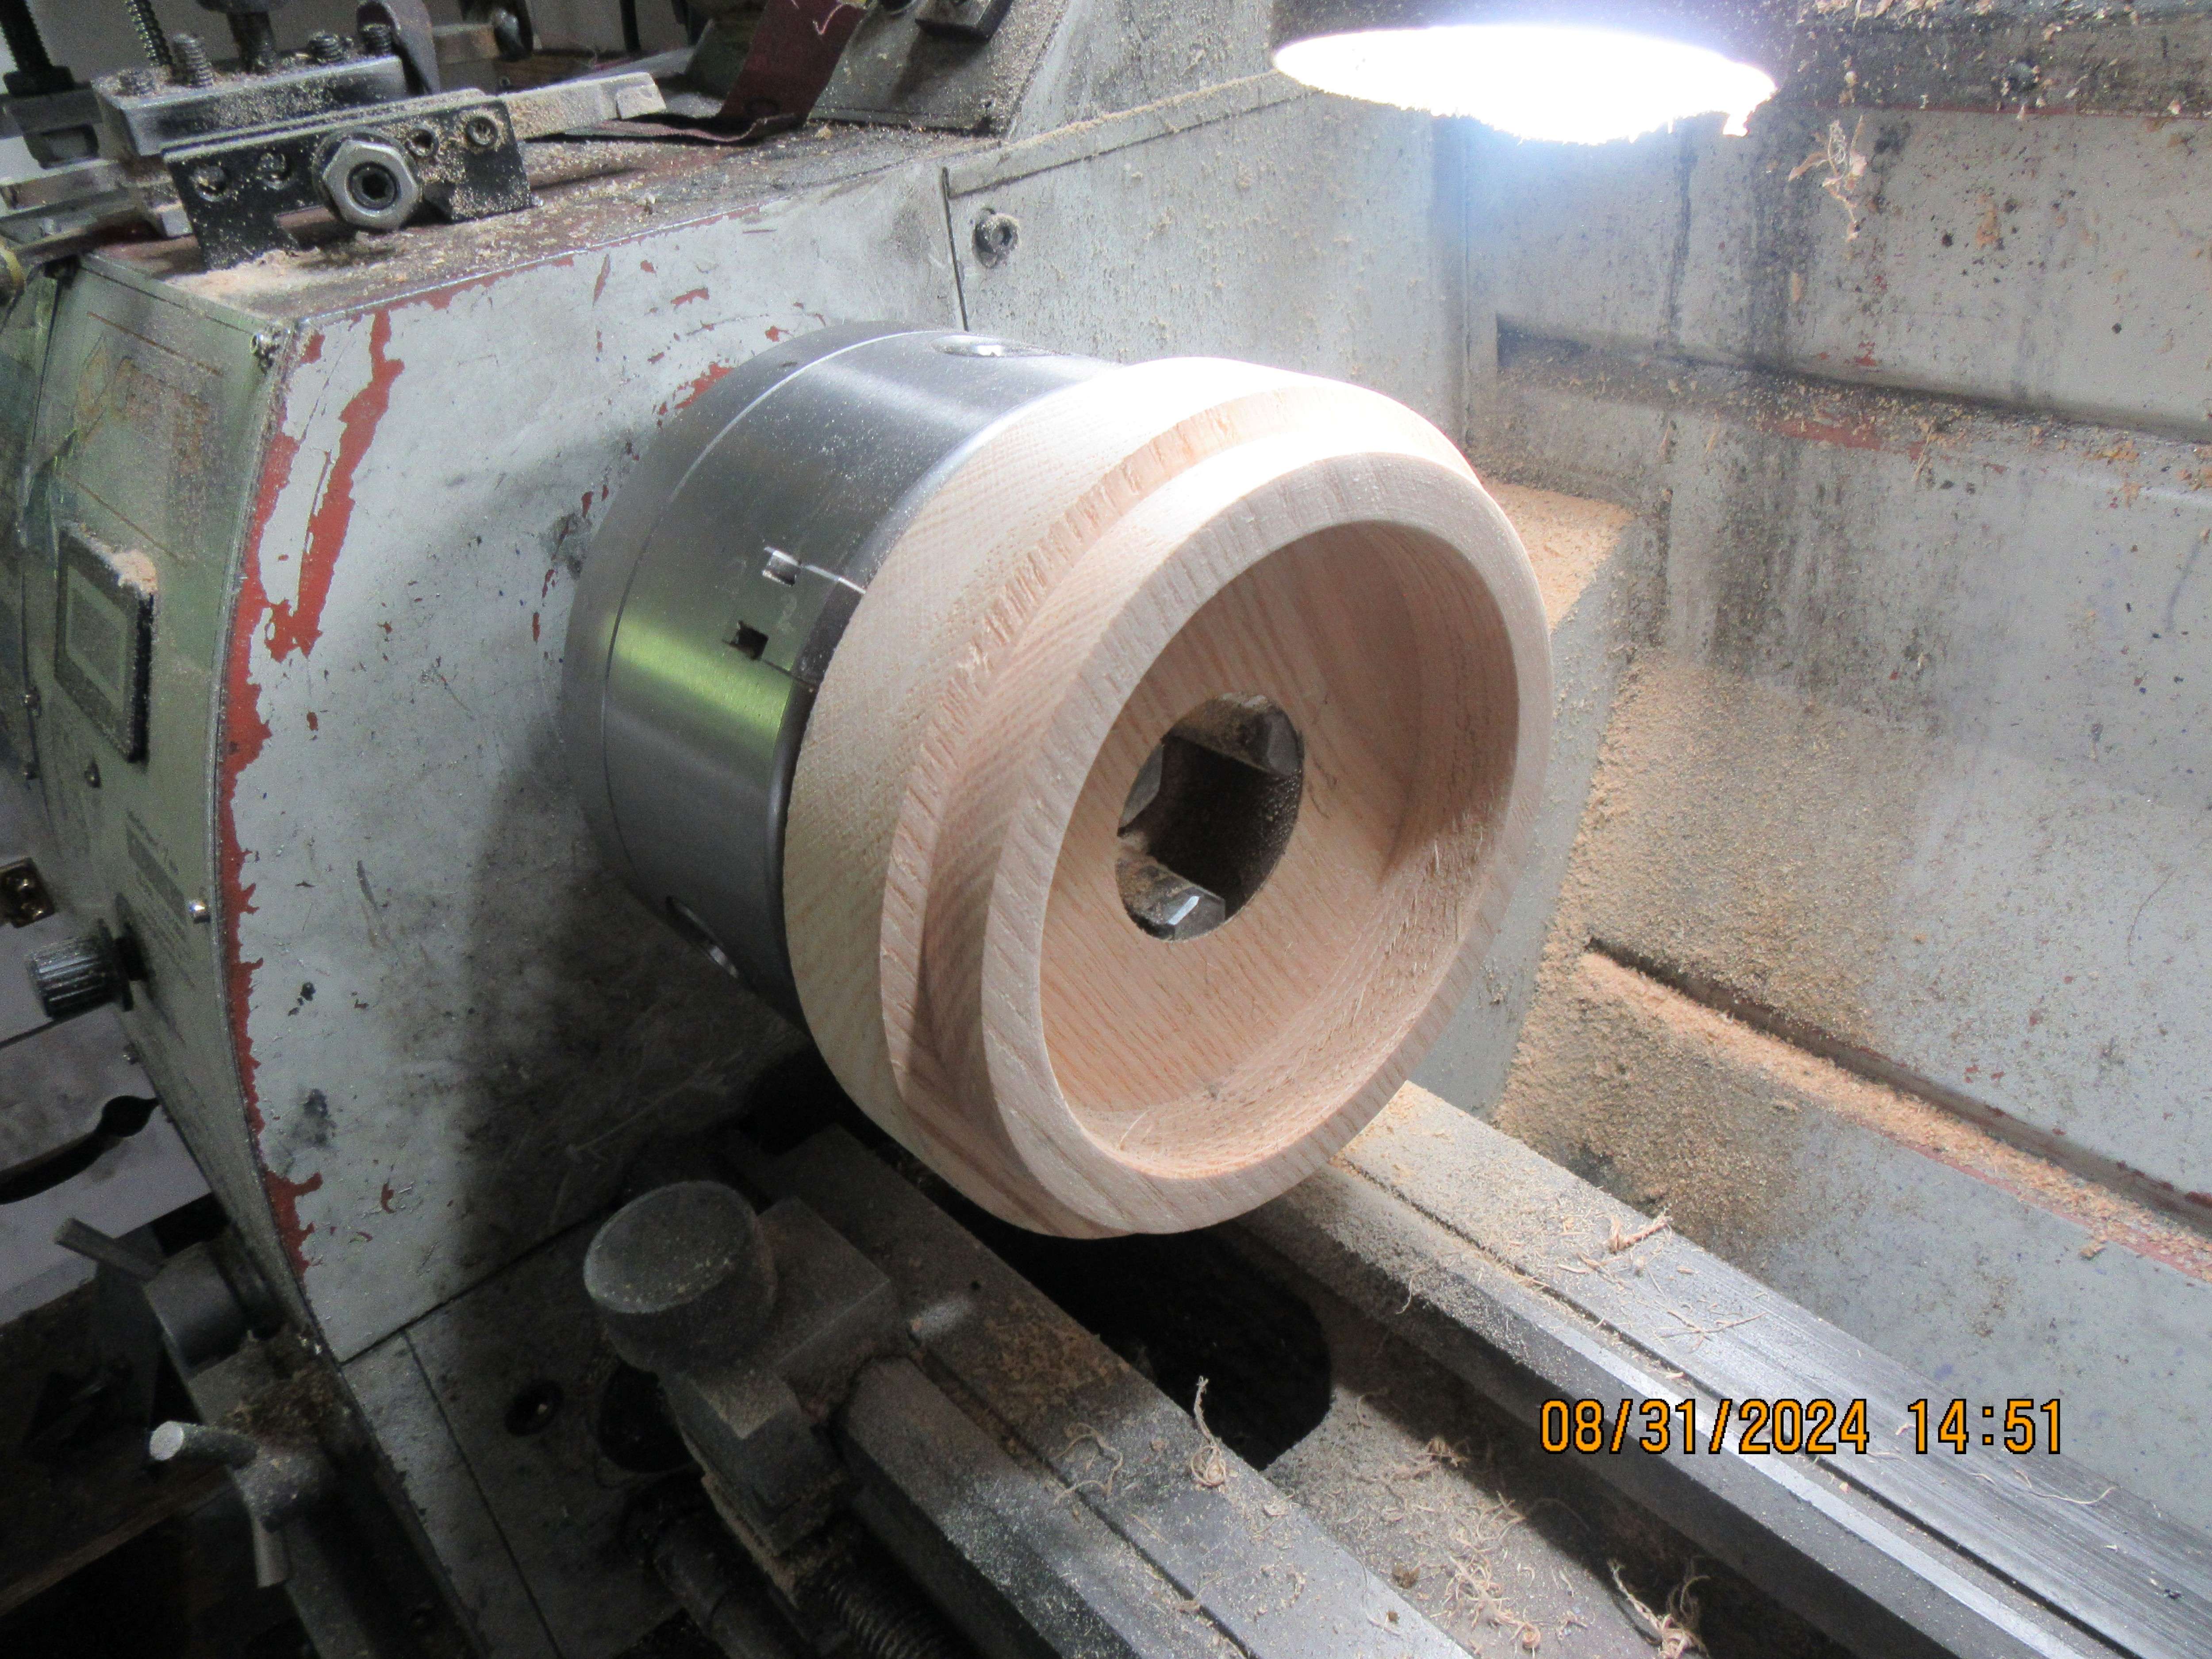
YES!!! My bandsaw blade arrived today and after installing it I roughed out two pieces of hardwood to become adapters for my sandblaster gloves.
iGwz3O.jpg
 
First adapter done--well, almost done. There is a skin of material about 0.030" thick left in the center that I will remove with a chisel. I don't really work with wood, but the lathe tool doesn't know if it's cutting metal or wood. I'm very pleased with this first one, hope the second one goes as well.
rIEXIU.jpg
 
I use to do pattern work with wood in the metal lathe.
Everything went well right up until the end, when the bit would enevitably snag and ruin the work.
I probably was turning the piece too slow, but I don't like to rev up my metal lathe.

I mounted a small router on the tool holder, and did not have any problems after that.
I just turned the chuck by hand, and let the router do the cutting.

Nice woodwork !
.
 
And at the end of what has turned out to be an 8 hour day, I have two finished adapter rings. If I had to pay machine shop rates, these would be two very expensive adapter rings. One of the good things about having your own machine shop is setting around at the end of the day, thinking of what it would cost to do stuff like this if I had to pay a machine shop to do it.
k8ONJ3.jpg
 
Brian, If you had to pay to have them made, you would just go and buy new ones from the manufacture, or just buy a whole new sandblasting cabinet, it most likely would be cheaper
Cheers
Andrew
 
I recently bought new gloves for my sandblast cabinet. I almost ordered one of the less expensive pairs but noticed they were the wrong size for the cabinet.
I learned there are "sandblasting gloves" which are intended for non-cabinet use and there are "sandblast cabinet gloves" which are intended for cabinet use and FIT the cabinet mounts. The big difference is the opening size. The word "Cabinet" is in the description of the proper size gloves, that is the key !!

Makes sense, if you were sandblasting outside without a cabinet you wouldn't want gloves with a huge opening that would fill with sand easily.

The ship has long since sailed for Brian but I figure it is worth mentioning for others just in case. Very easy mistake to make.

Here are the ones I bought https://www.amazon.com/dp/B0D2K2HLVW?
The description even states 7.3 inch opening diameter.
 
Last edited:
Today I spent $24 for pipe fittings to go on the outlet of my sandblasting cabinet. At first I wasn't going to do this, but decided that today, while I still had everything apart I might as well go ahead and do this. This brings my total cost up to $158 , still cheaper than anything I could have purchased.
4Vjne4.jpg
 
And as the day wears on--One more trip to the hardware store to buy what pipe fittings I didn't get the first time---another $18 which now brings my sandblaster to $176 total outlay. The old cabinet that I bought must have been made before the fancier models with the swing down door, as mine only has a flat spot in the sheet metal that had a rubber plug in it. I removed the rubber plug, and with a little Dremel tool work, that hole will fit a 1" standard black pipe. You can see in the picture where I have the butchered ruler clamped how this conglomeration of pipes is going to mate to my cabinet.
firAoN.jpg

c0WVc2.jpg
 
This morning I took the mesh tray out of the sandblaster cabinet to allow access to the inside bottom, to install the hex nut that holds all my new piping in place.---Wouldn't you know it---the mesh and surrounding bits of tin were all pop rivetted into place!!! I had to drill out about 16 pop rivets to get the mesh out, but out it came. The "nut" fits okay where it has to go, but there certainly isn't much space left over. I have been thinking about a gasket on each side of the sheet metal cabinet, but I think I will settle for a good bead of silicone on each side before I reassemble the piping.--there is no pressure in these pipes--only venturi induced vacuum, so I think that will be okay.
Y5BAsY.jpg
 
Well, so far, so good. The plumbing is all assembled on the underside of the sandblaster cabinet. The sheet metal this cabinet is made from is very thin. So---You can see that I put a bolted on brace from the end of the plumbing up to the bottom of the cabinet. Now I have to make a list of bits and pieces that I need from the hardware store to continue my odyssey. I looked all over for my pop rivet gun, but it has disappeared someplace since the 1970's when I last used it. I will replace all the drilled out pop rivets with bolts and nuts.
7avEXJ.jpg
 
Brian:

The trick for finding lost/miss-placed items is to just go ahead and buy the replacement item. The shop gnomes will then quit hiding them because you've taken all the fun out of their game of hide and seek - it works for me anyway. Usually within a week of buying the replacement part/tool I'll find the original that I'd been looking for. Like you I was also looking for my pop-rivet tool that I'd had since the 70's, and hadn't used in over 10 years. I bought a replacement that was much better quality than the original. About a week later I found the original yellow-handled, El-Cheapo special, but still working pop-rivet tool. (It was in the tool-box right where it belonged, who thinks of looking there?)

Don
 
Once again I have worked up to the point where my body is yelling STOP and okay, I will. Today I spent $13 more on a tube of clear silicone and 20 small bolts and nuts to replace the drilled out pop rivets. This brings my total cost up to $189. I have two pictures to post----One from the underside where you can see that I have siliconed all around where the base pan attaches to the four vertical sides of the cabinet. The other picture shows the adapter rings I made up to fit Princess Auto gloves to a Harbor Freight sandblaster cabinet.
A0HoSN.jpg

MzeIA3.jpg
 
Today I put the piece of supporting grid/screen back in the cabinet and hooked up the air pressure hose to my old Sata sandblaster gun which originally came with a one quart cup. I have two things left to address now, the viewing screen and some kind of light for inside the cabinet. The original viewing screen that came with the cabinet is a bit foggy, but being an old cheapskate at heart I will probably reuse it. I have absolutely no idea what to use for a light inside the cabinet. I've checked with Princess Auto and they sell a "lighting kit" but it is a low voltage light that comes with a wall wart transformer, and costs about $55---I can do that if I have to, but the price seems a little much to me.
aJqtr4.jpg

6iLmxS.jpg
 
Last edited:
I'm confused. What is all the plumbing you have on the bottom. On mine that is where you let the sand out when you want to change it. It's just a press in plastic cap installed from the inside to block the hole.
The blasting gun is fed from a simple air fitting through the side of the cabinet. I looks like yours is the same.
Also you may have a few other bridges to cross in your journey.
Consider that you are pumping a LOT of air into a closed cabinet. Where does it go?
On my un-modified cabinet there was a filter in the back of the cabinet that was supposed to stop the dust and let the air out. I found that the filter plugged up in only a couple of minutes and pressure built up in the cabinet lifting the clear lid where dust and sand started exiting. into your face.
I solved those problems and several others. I won't elaborate further unless you see the same problems.
 
dsage---Don't be confused. There will be a vacuum and dust collector attached to the cabinet while it is being operated. The extra plumbing is to ensure a better delivery of sand to the gun.---Google "improvements to Harbor Freight Sandblaster".---Brian
 
Today was "add a light day". Yesterday I went to Busy-Bee Tools and they didn't have anything. Next I went to Princess Auto, and they had what I needed for $62 including tax. After much haggling and whining, I bought a light kit and wall transformer for $42.00. Then today I spent another $14 on various electrical things to hook up the light. Now I'm in trouble---My overall price has zoomed up to $245.00. This is still considerably cheaper than most sandblasters that are for sale at retail outlets, but Princess Auto has a complete sandblaster for just under $226. I have no idea about the quality of this sandblaster, but it is cheaper than what I've managed to put together.---But I have been having fun!!!
KQW9YA.jpg

FofgRi.jpg
 
Last edited:
Consider it $100 for the sandblaster, and the rest is for the class to learn how to make a good sandblaster.
I place a very high value on knowledge learned, because that is what I sell to make a living.
If you just purchase a ready-built sandblaster, then someone else has the knowledge.
.
 
Today was "add a light day". Yesterday I went to Busy-Bee Tools and they didn't have anything. Next I went to Princess Auto, and they had what I needed for $62 including tax. After much haggling and whining, I bought a light kit and wall transformer for $42.00. Then today I spent another $14 on various electrical things to hook up the light. Now I'm in trouble---My overall price has zoomed up to $245.00. This is still considerably cheaper than most sandblasters that are for sale at retail outlets, but Princess Auto has a complete sandblaster for just under $226. I have no idea about the quality of this sandblaster, but it is cheaper than what I've managed to put together.---But I have been having fun!!!
KQW9YA.jpg
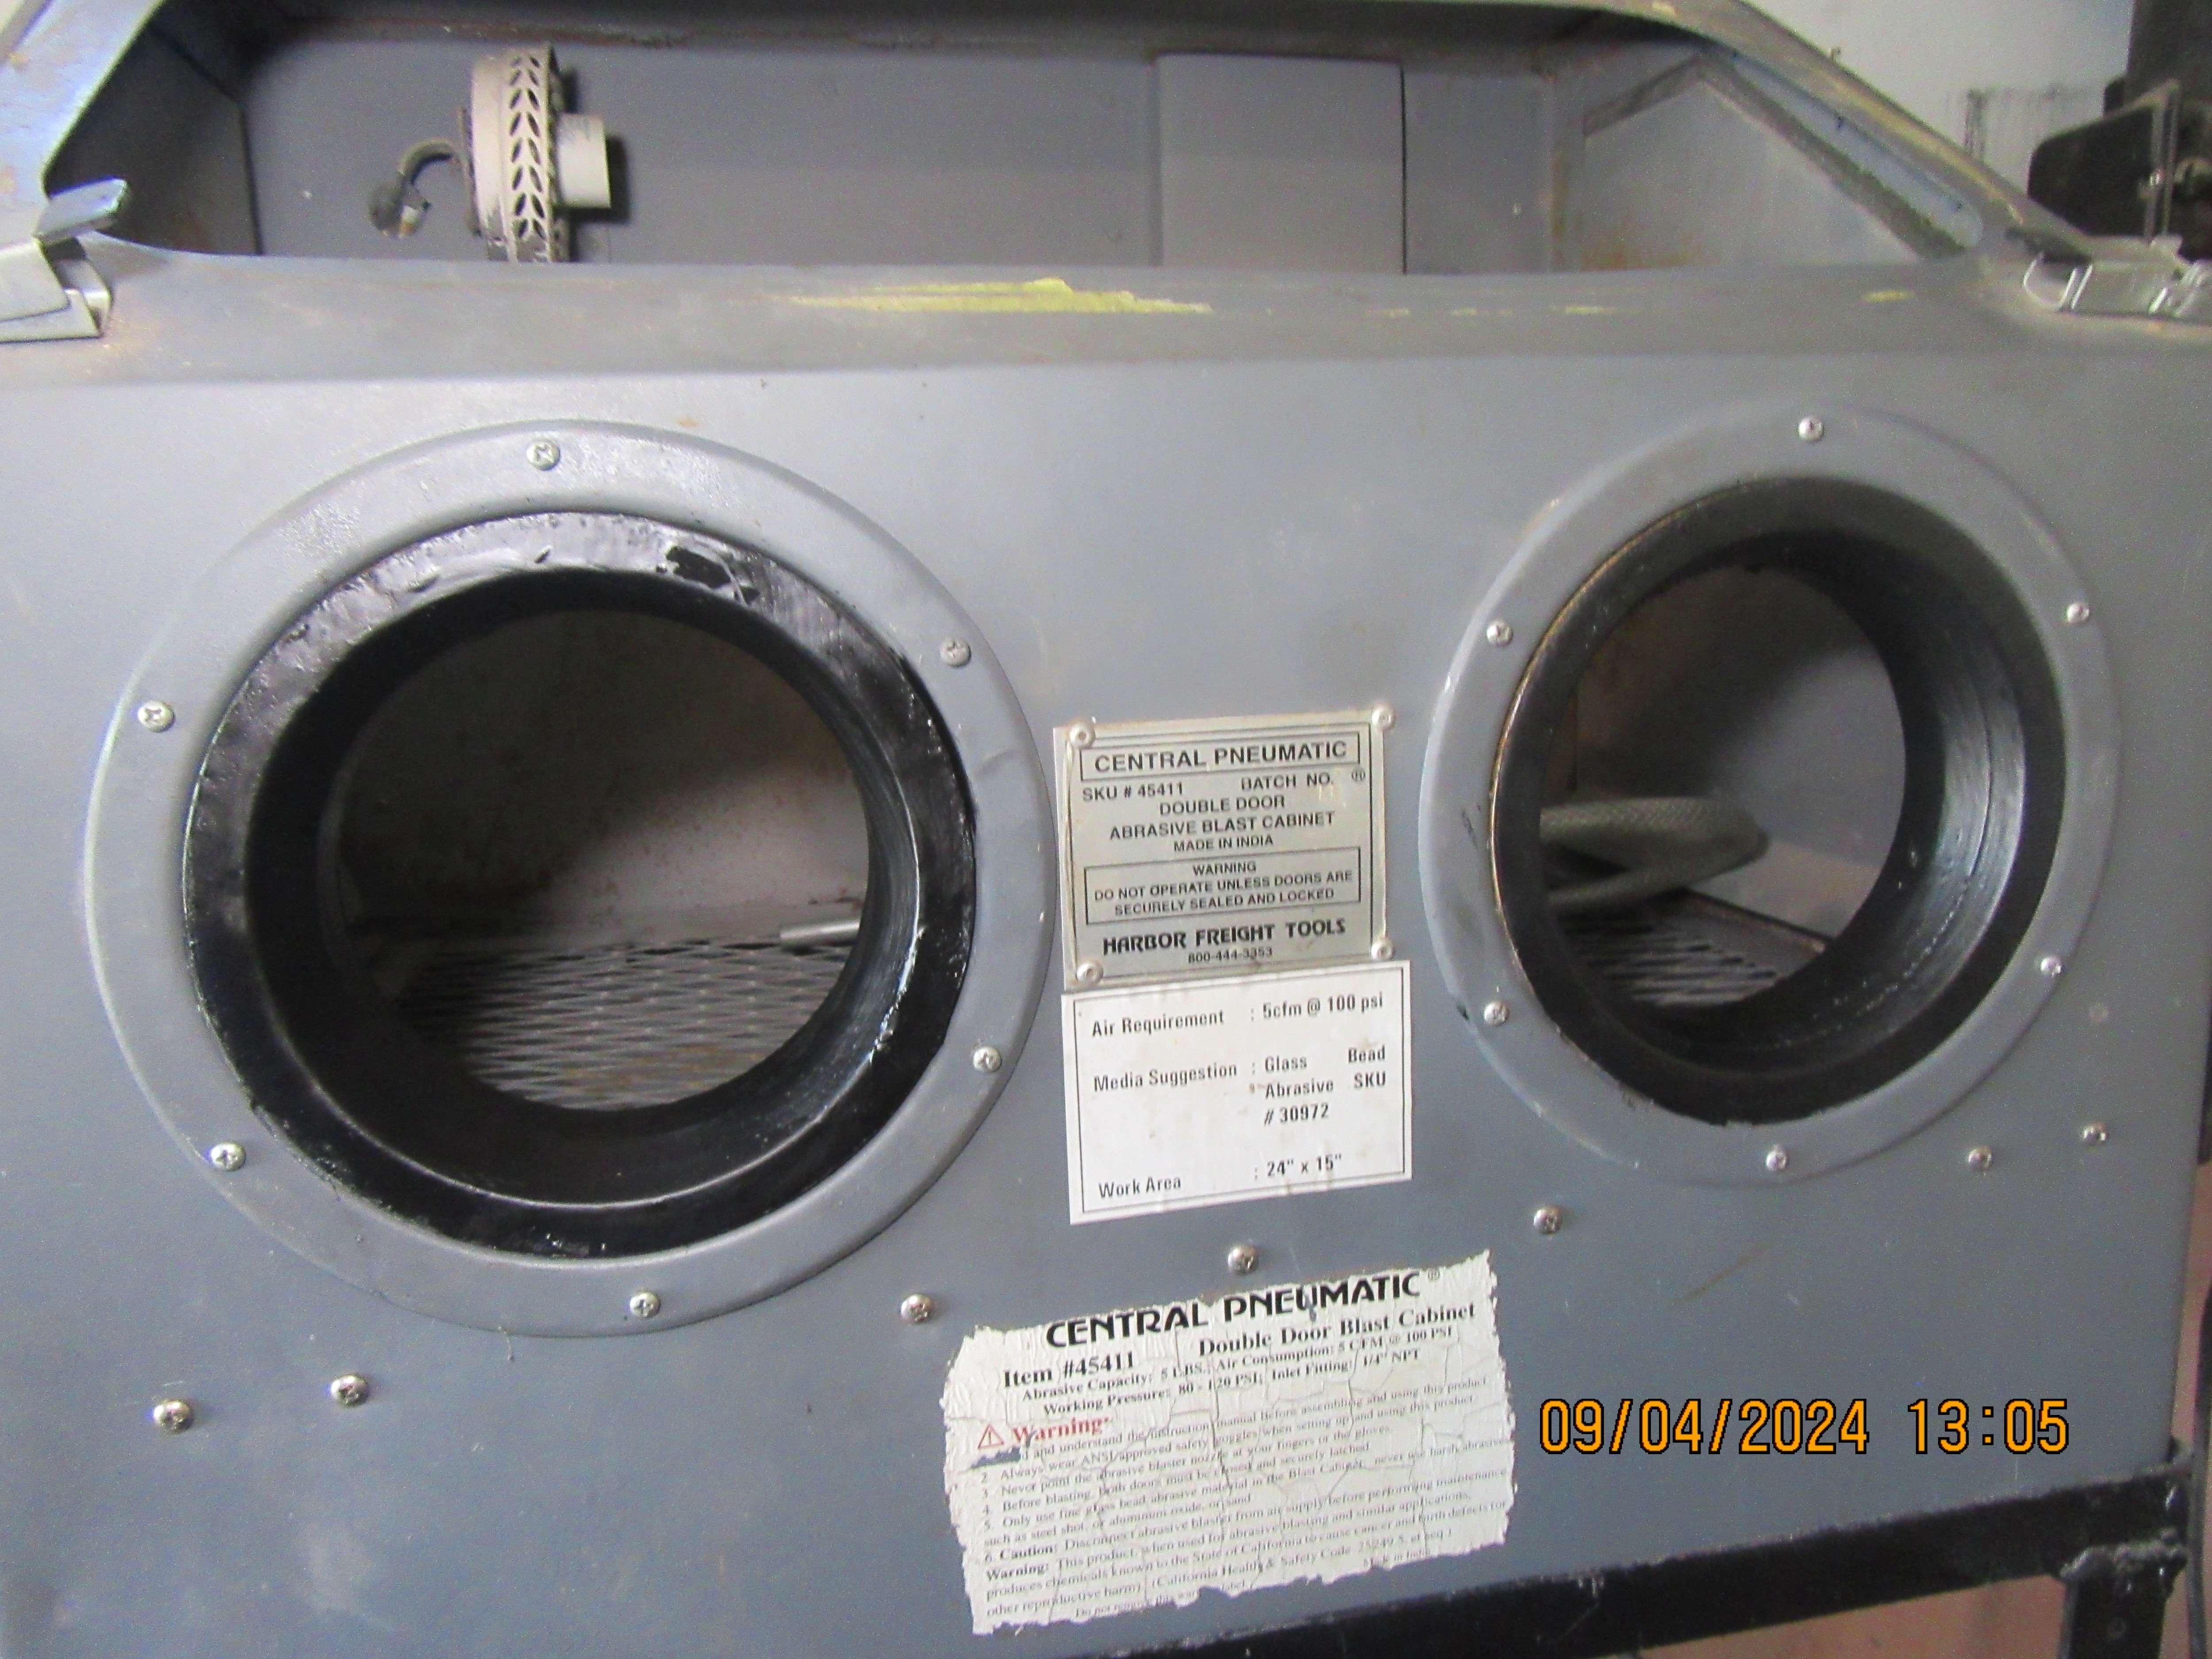
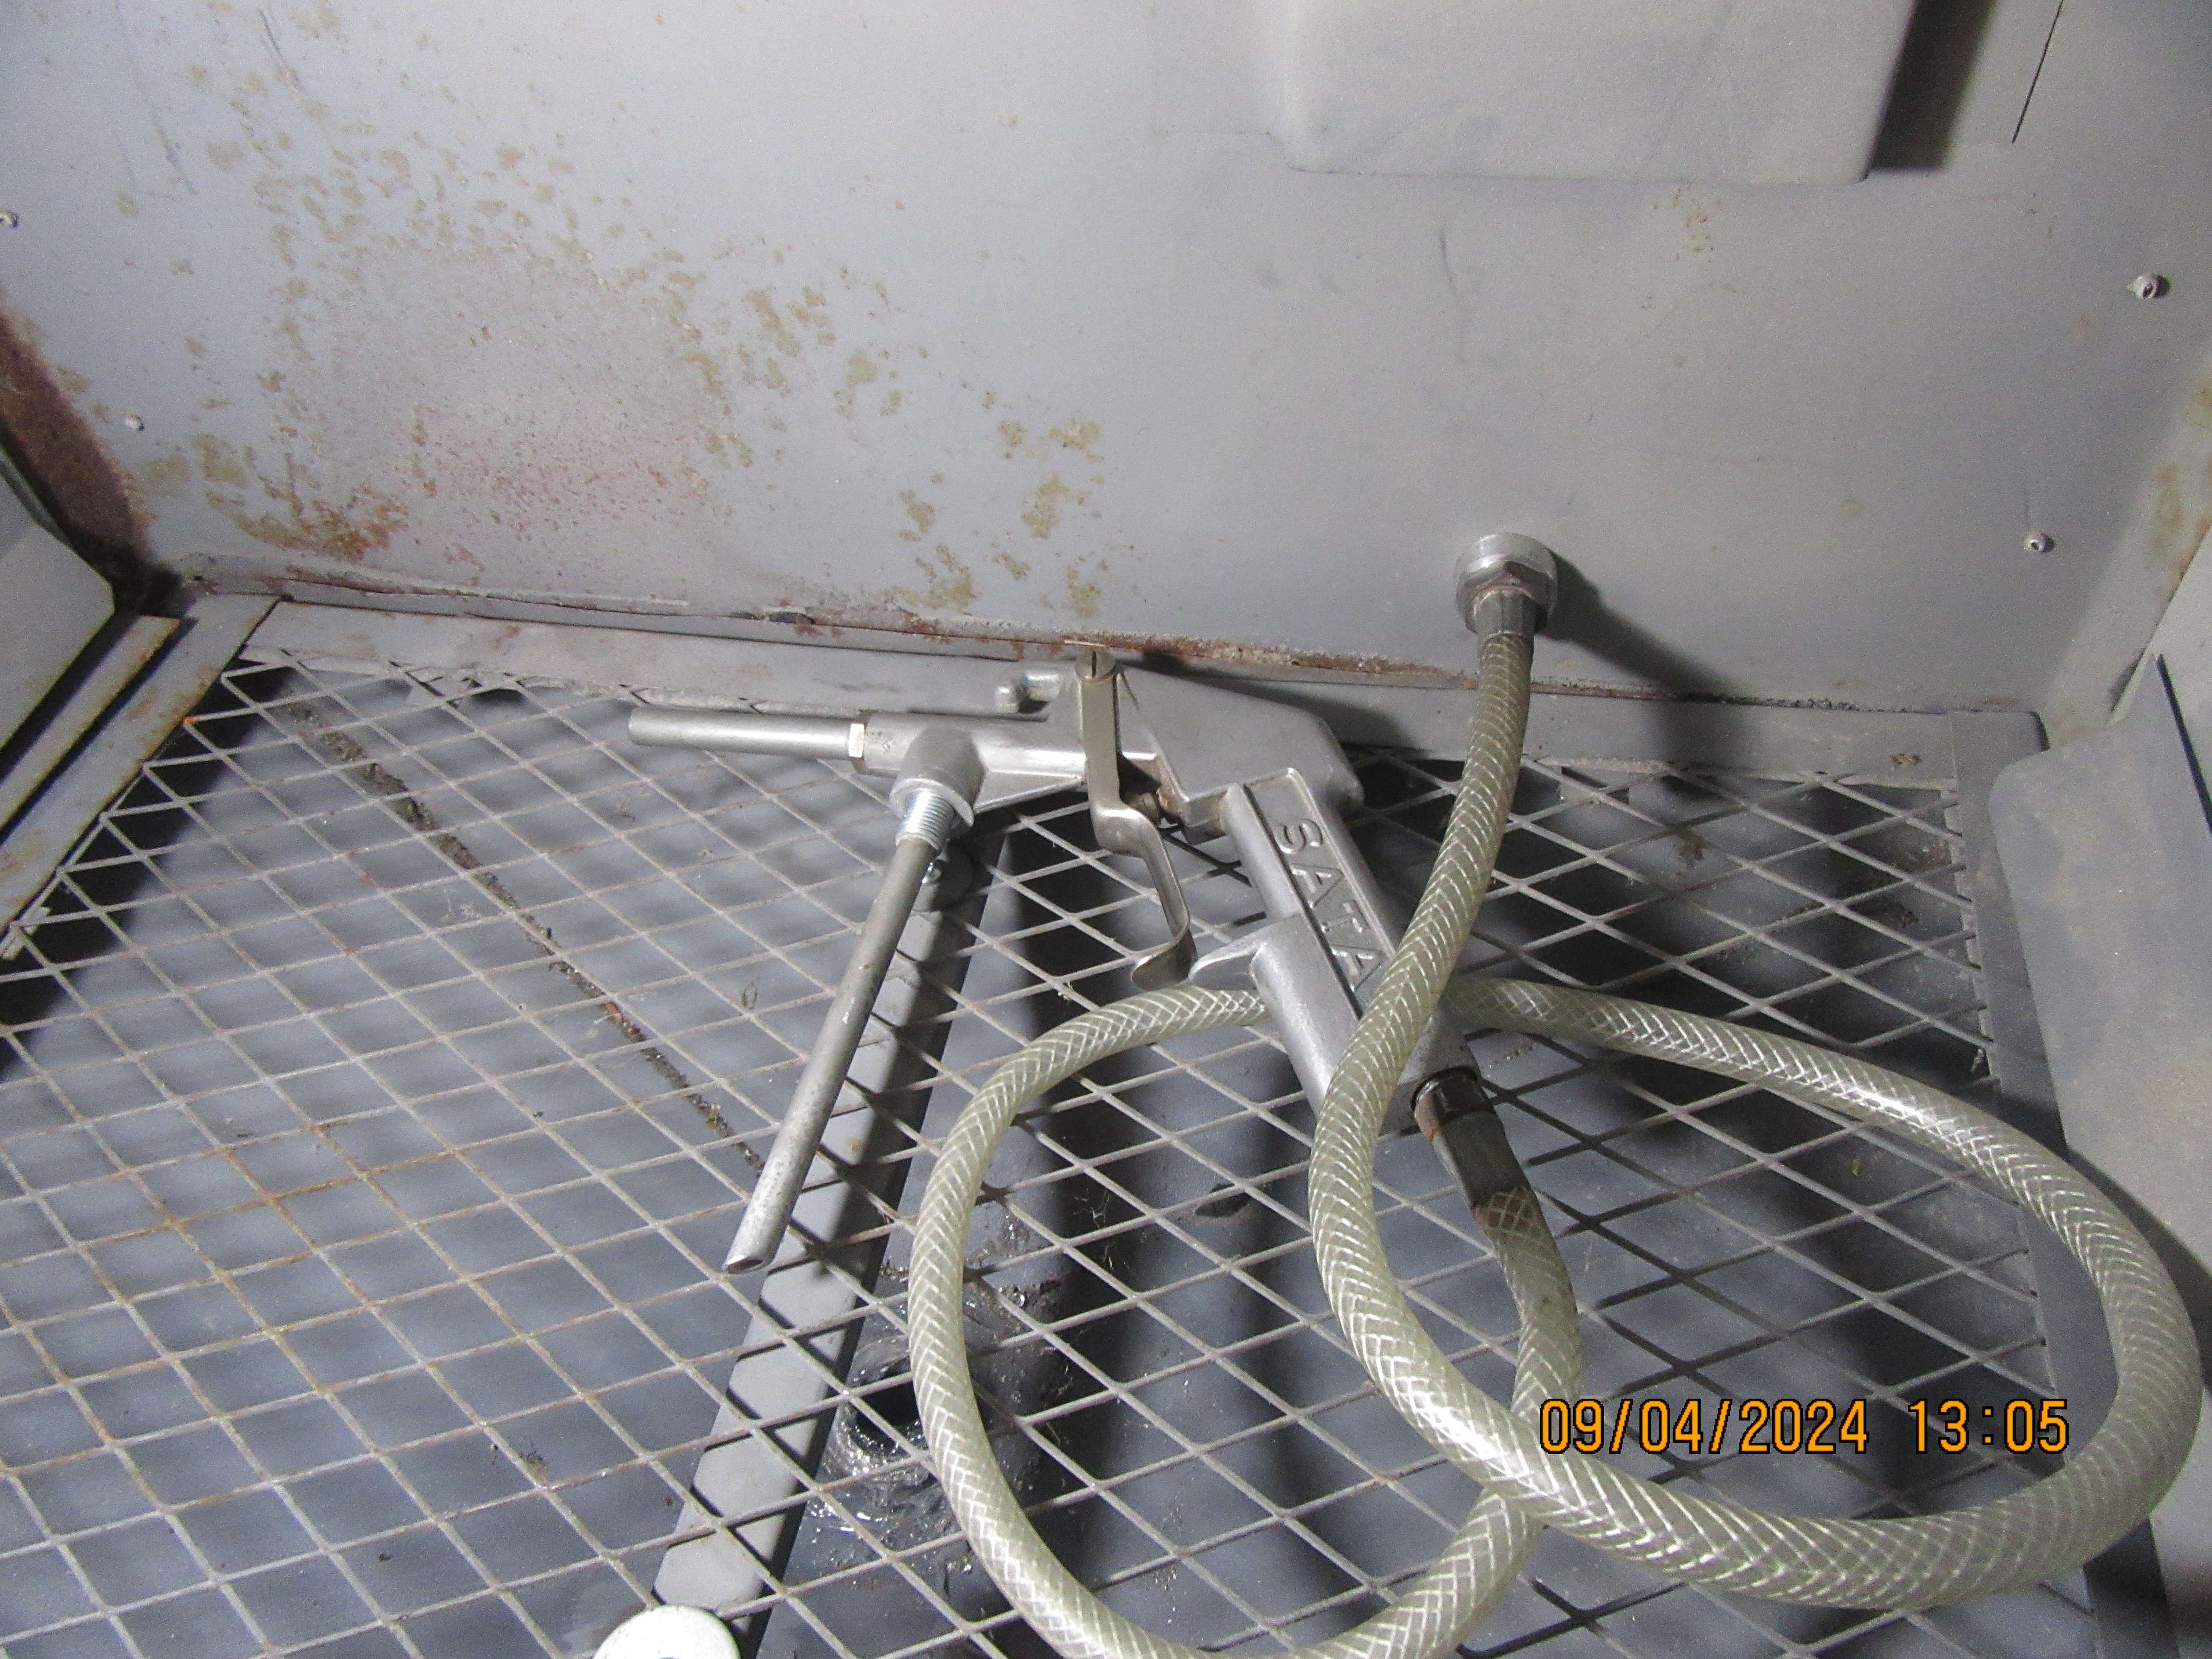
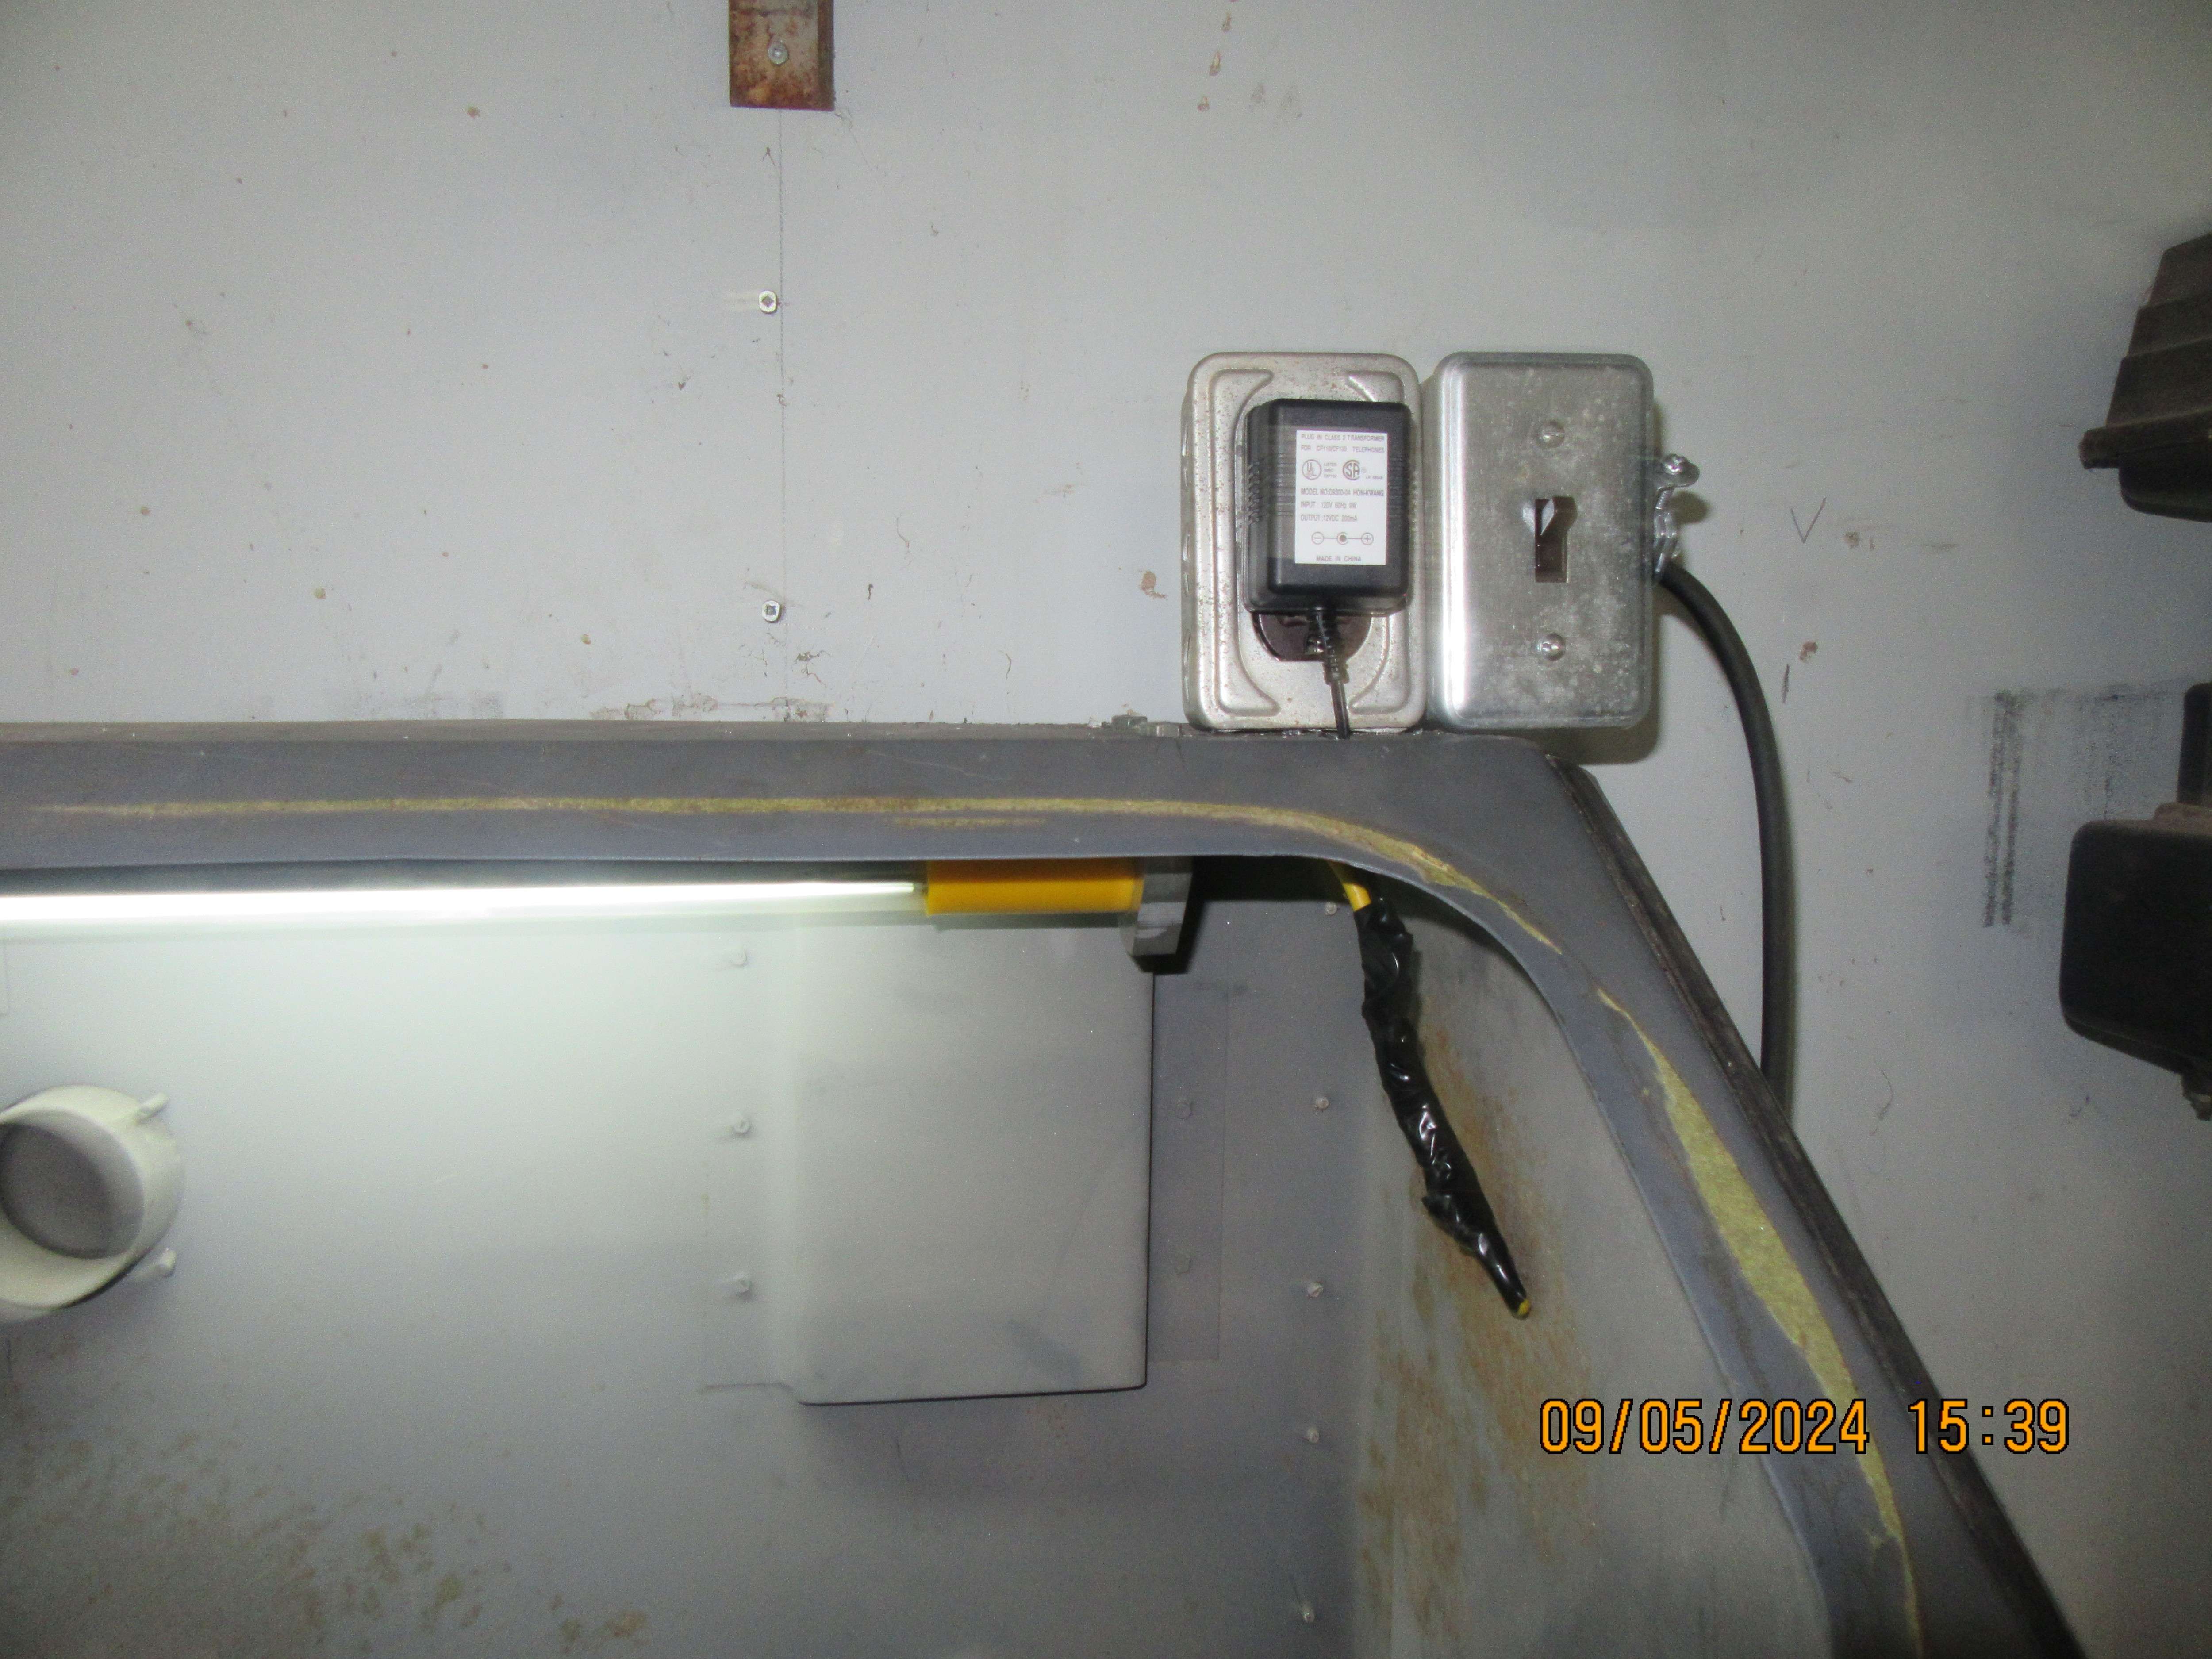
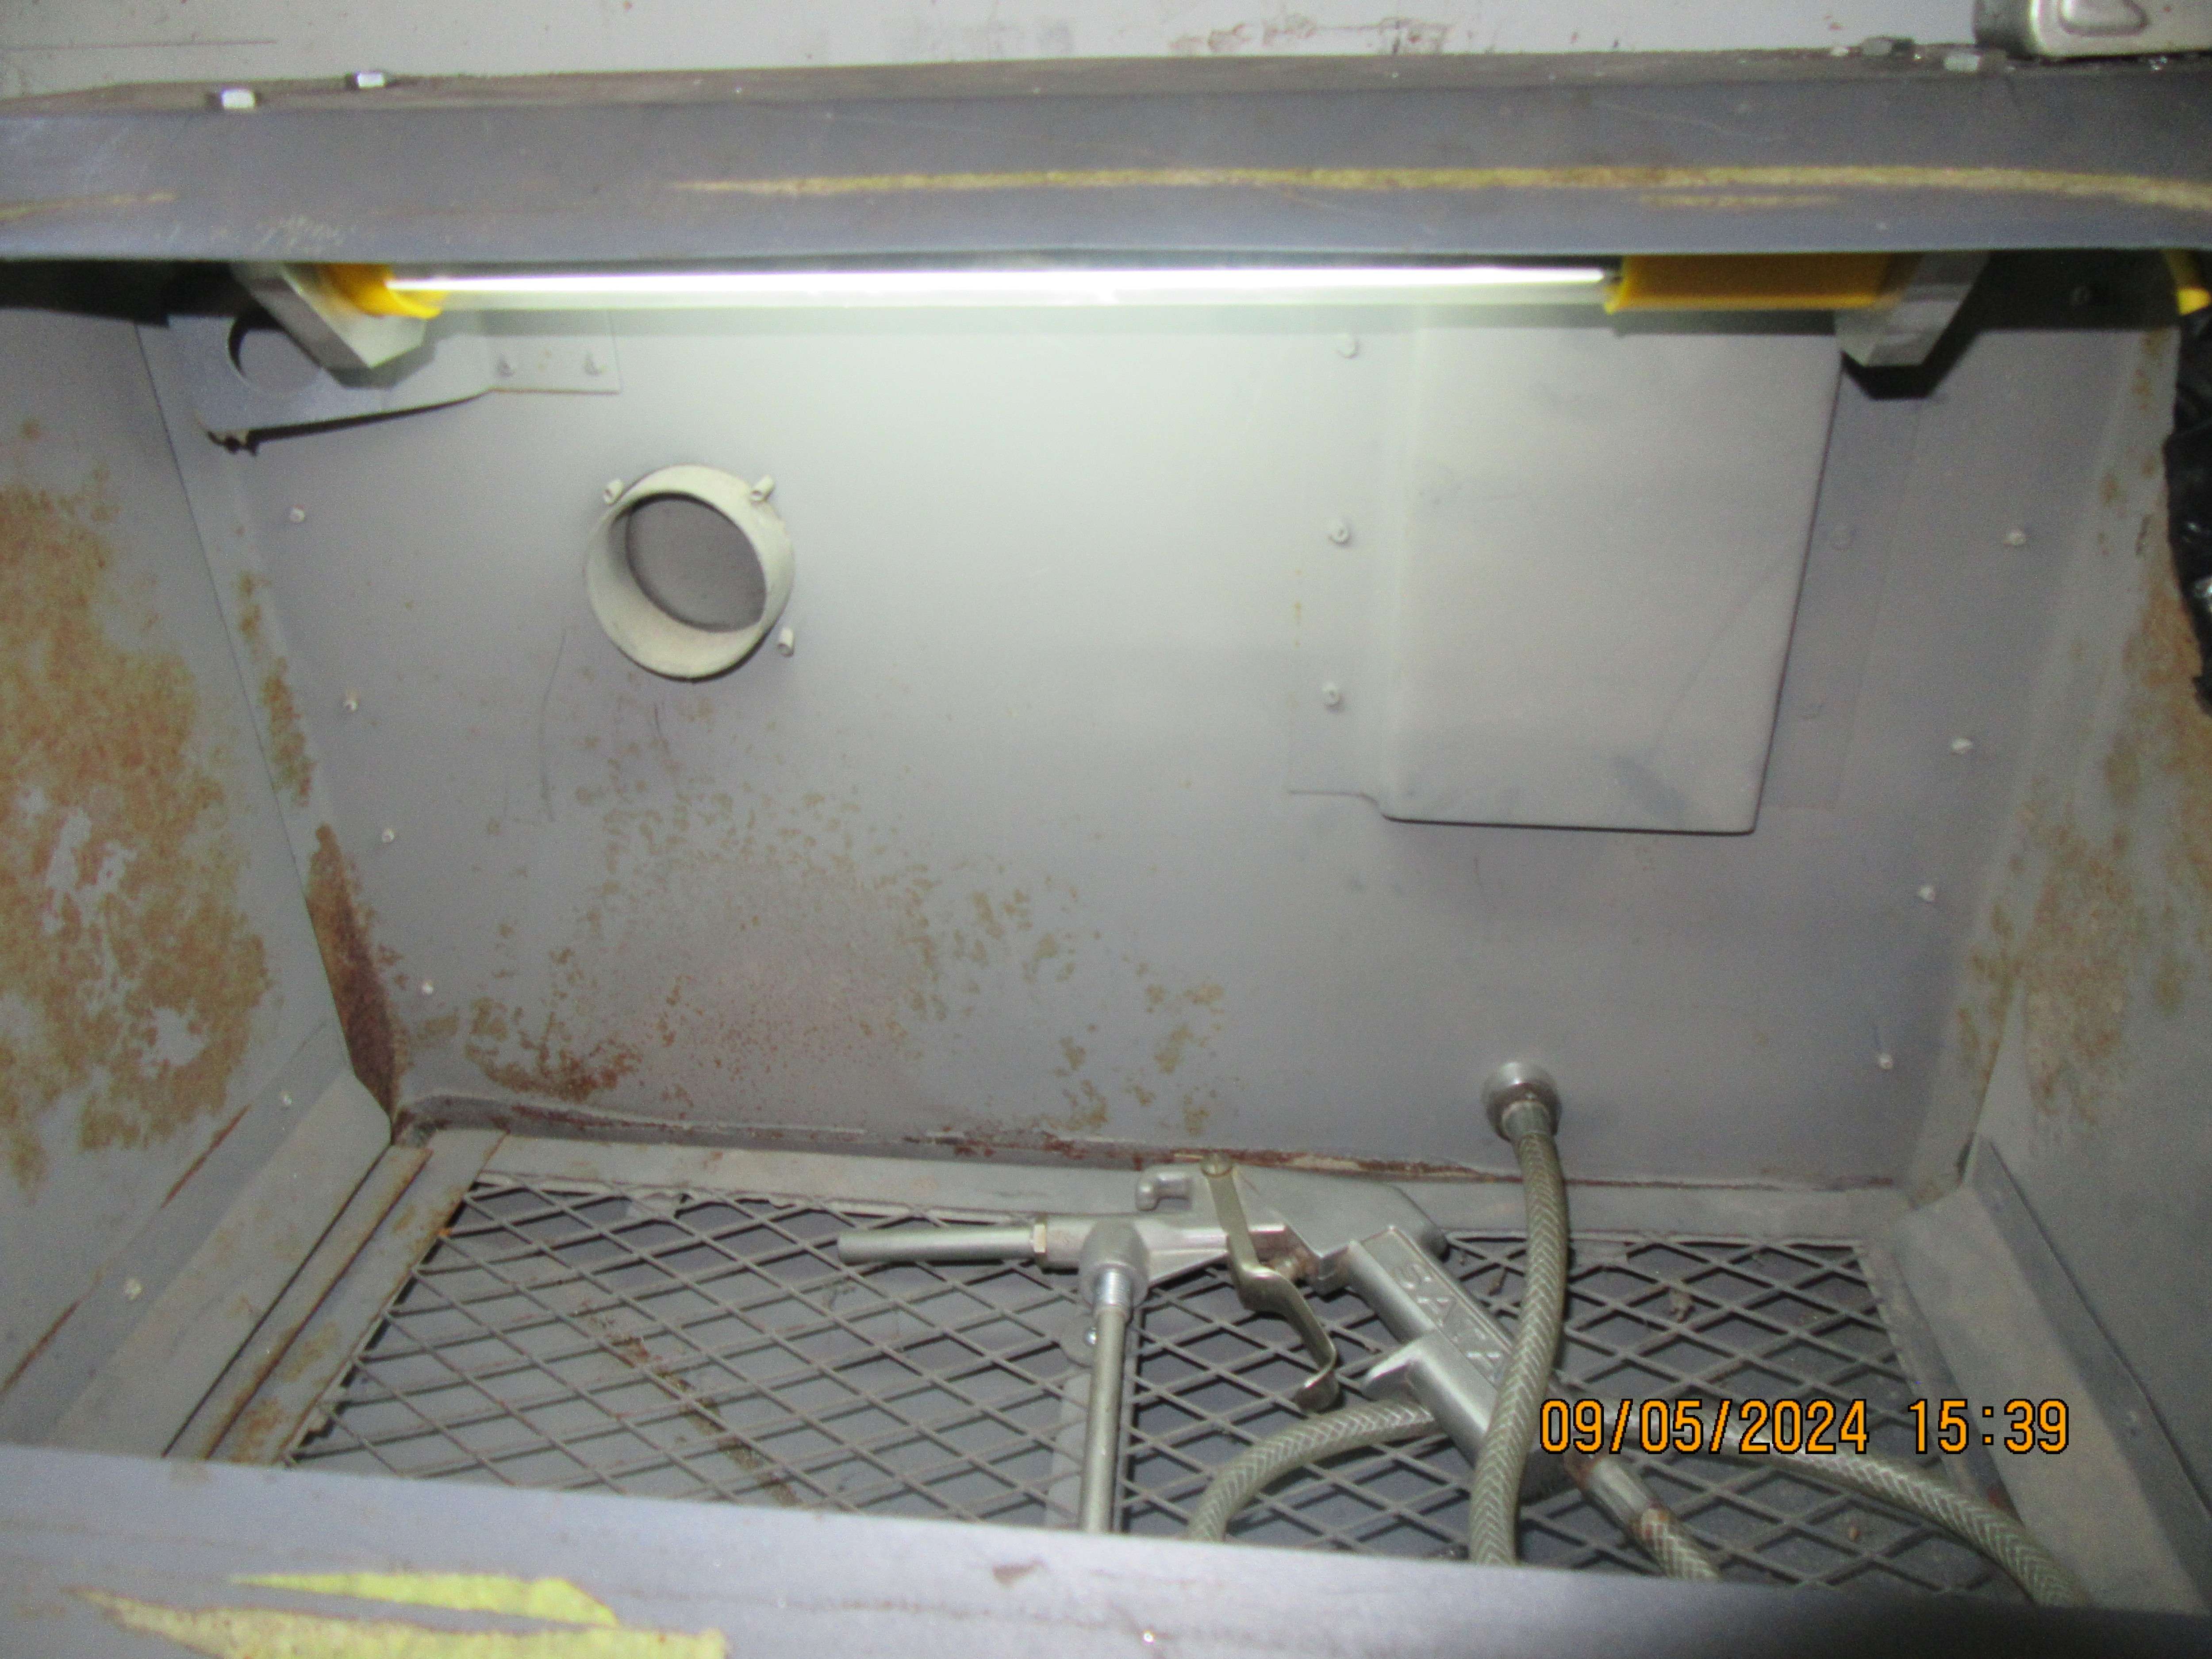
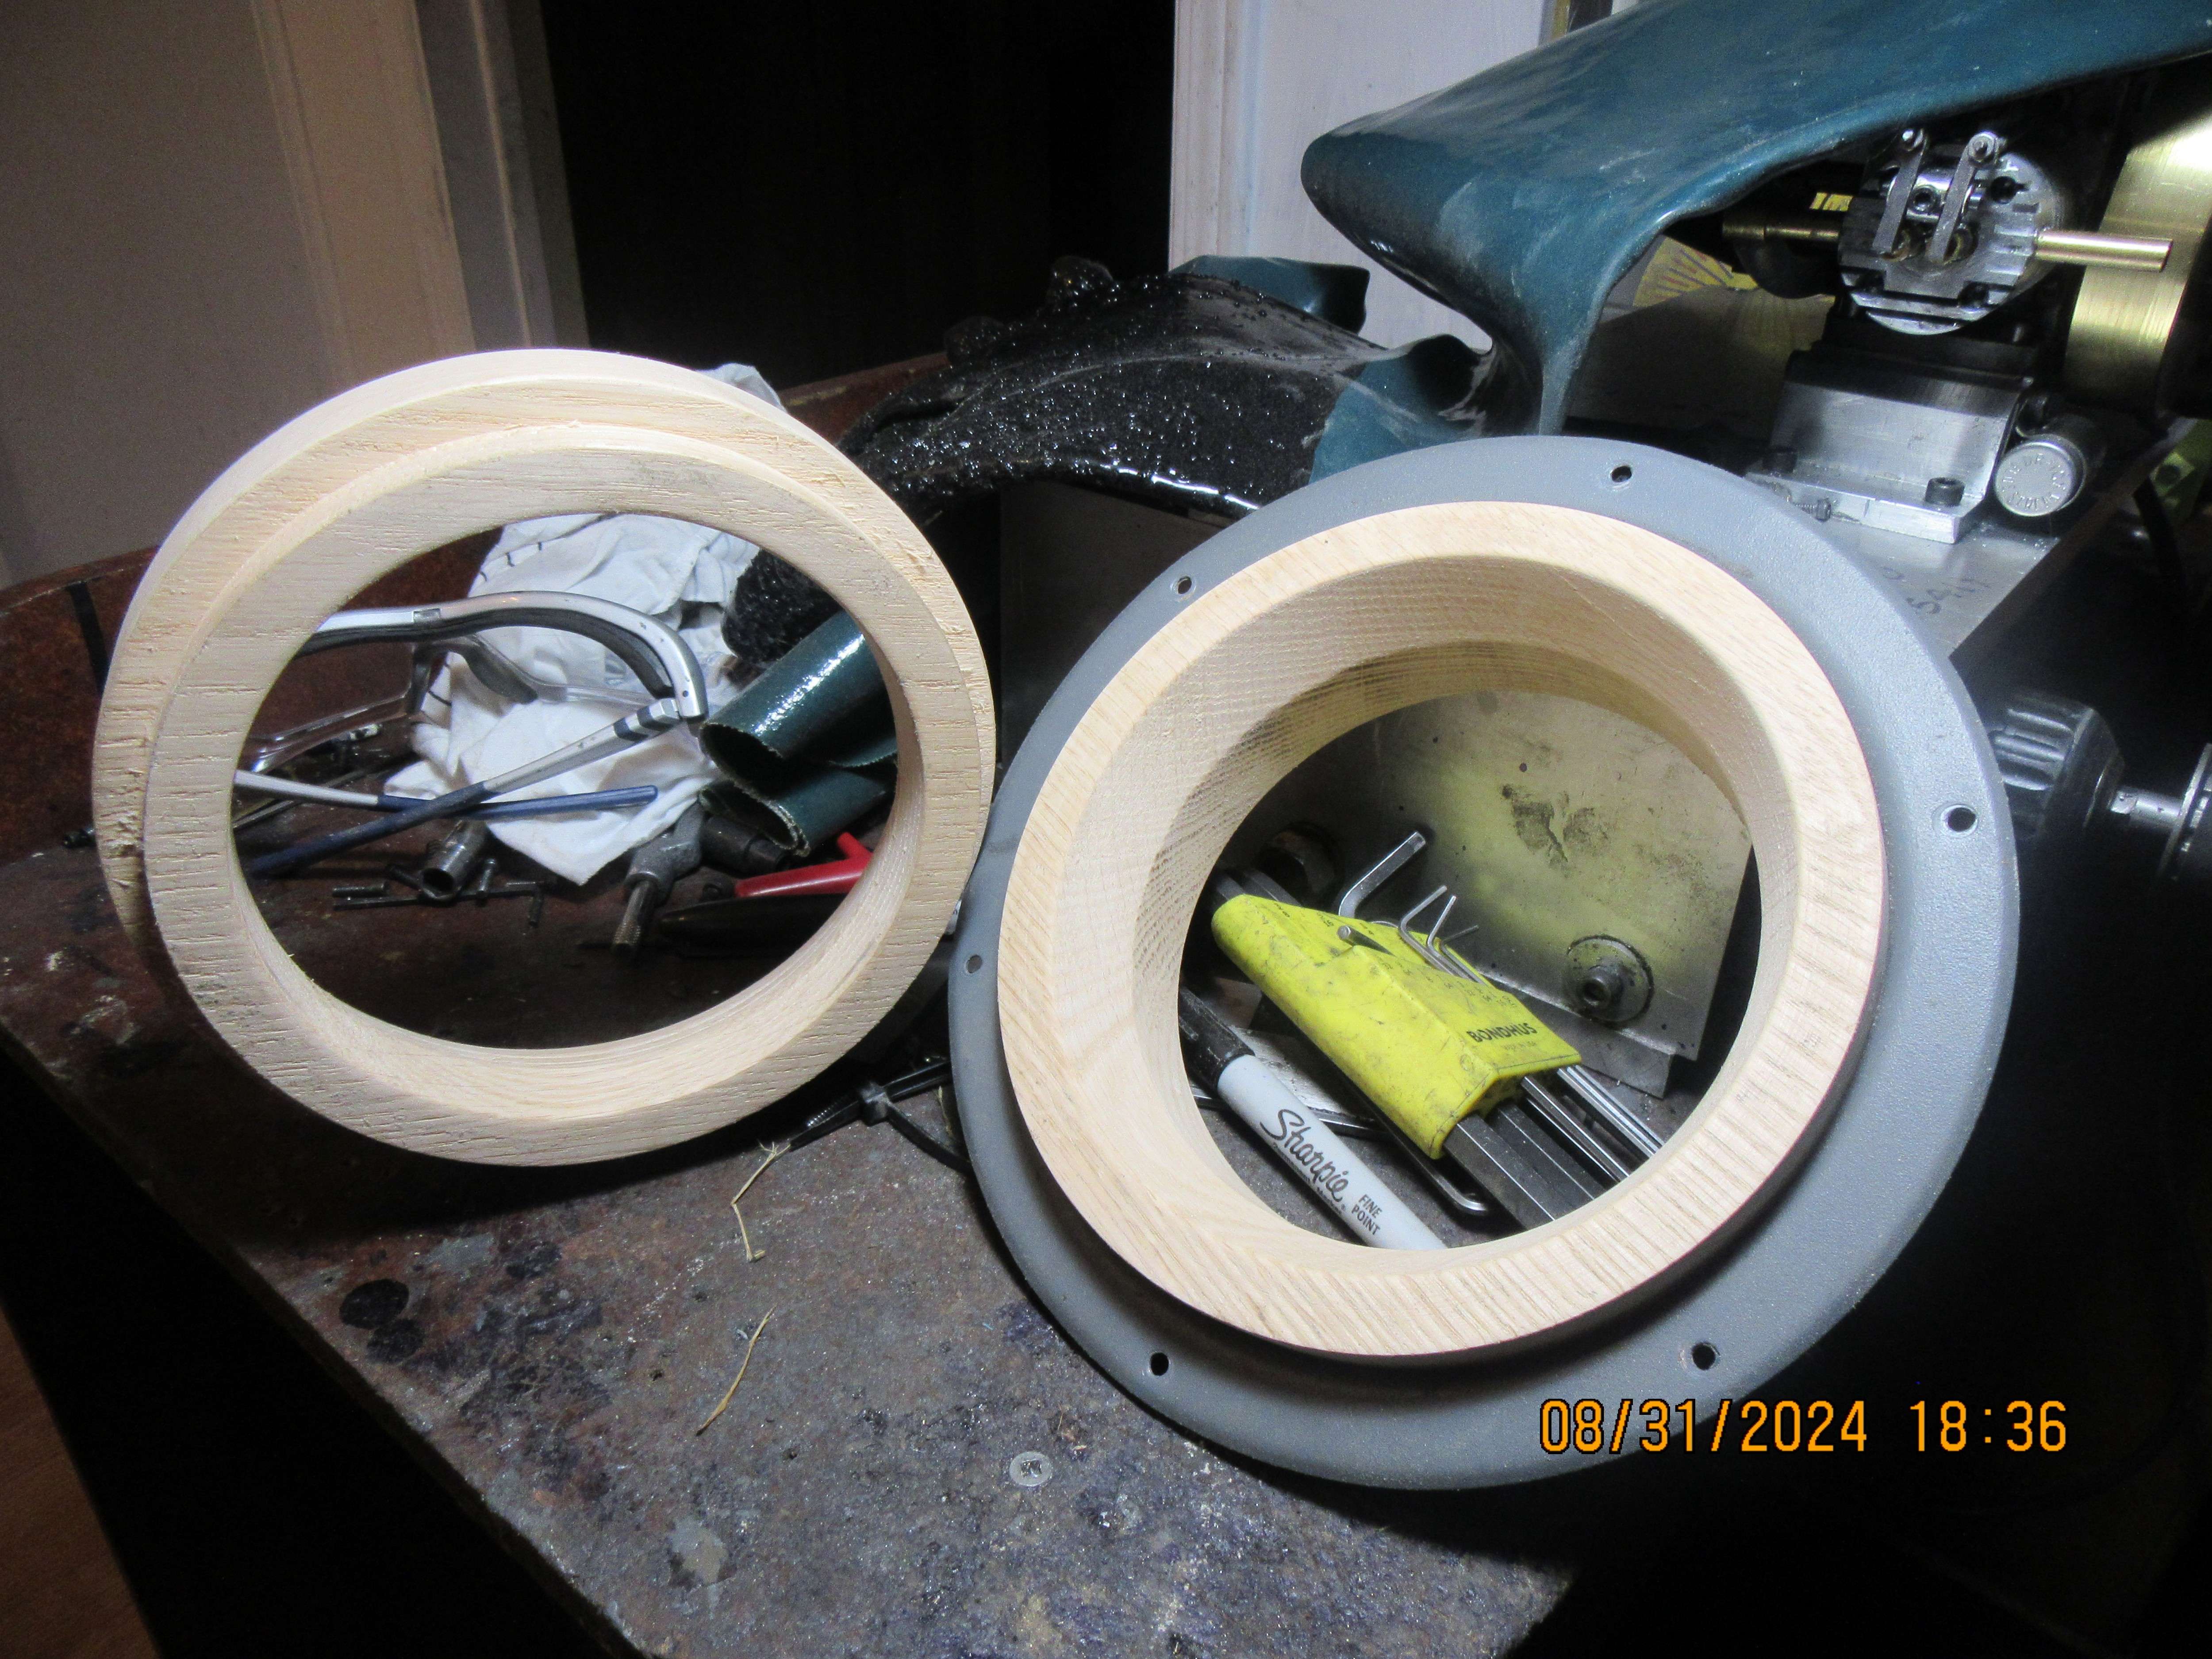
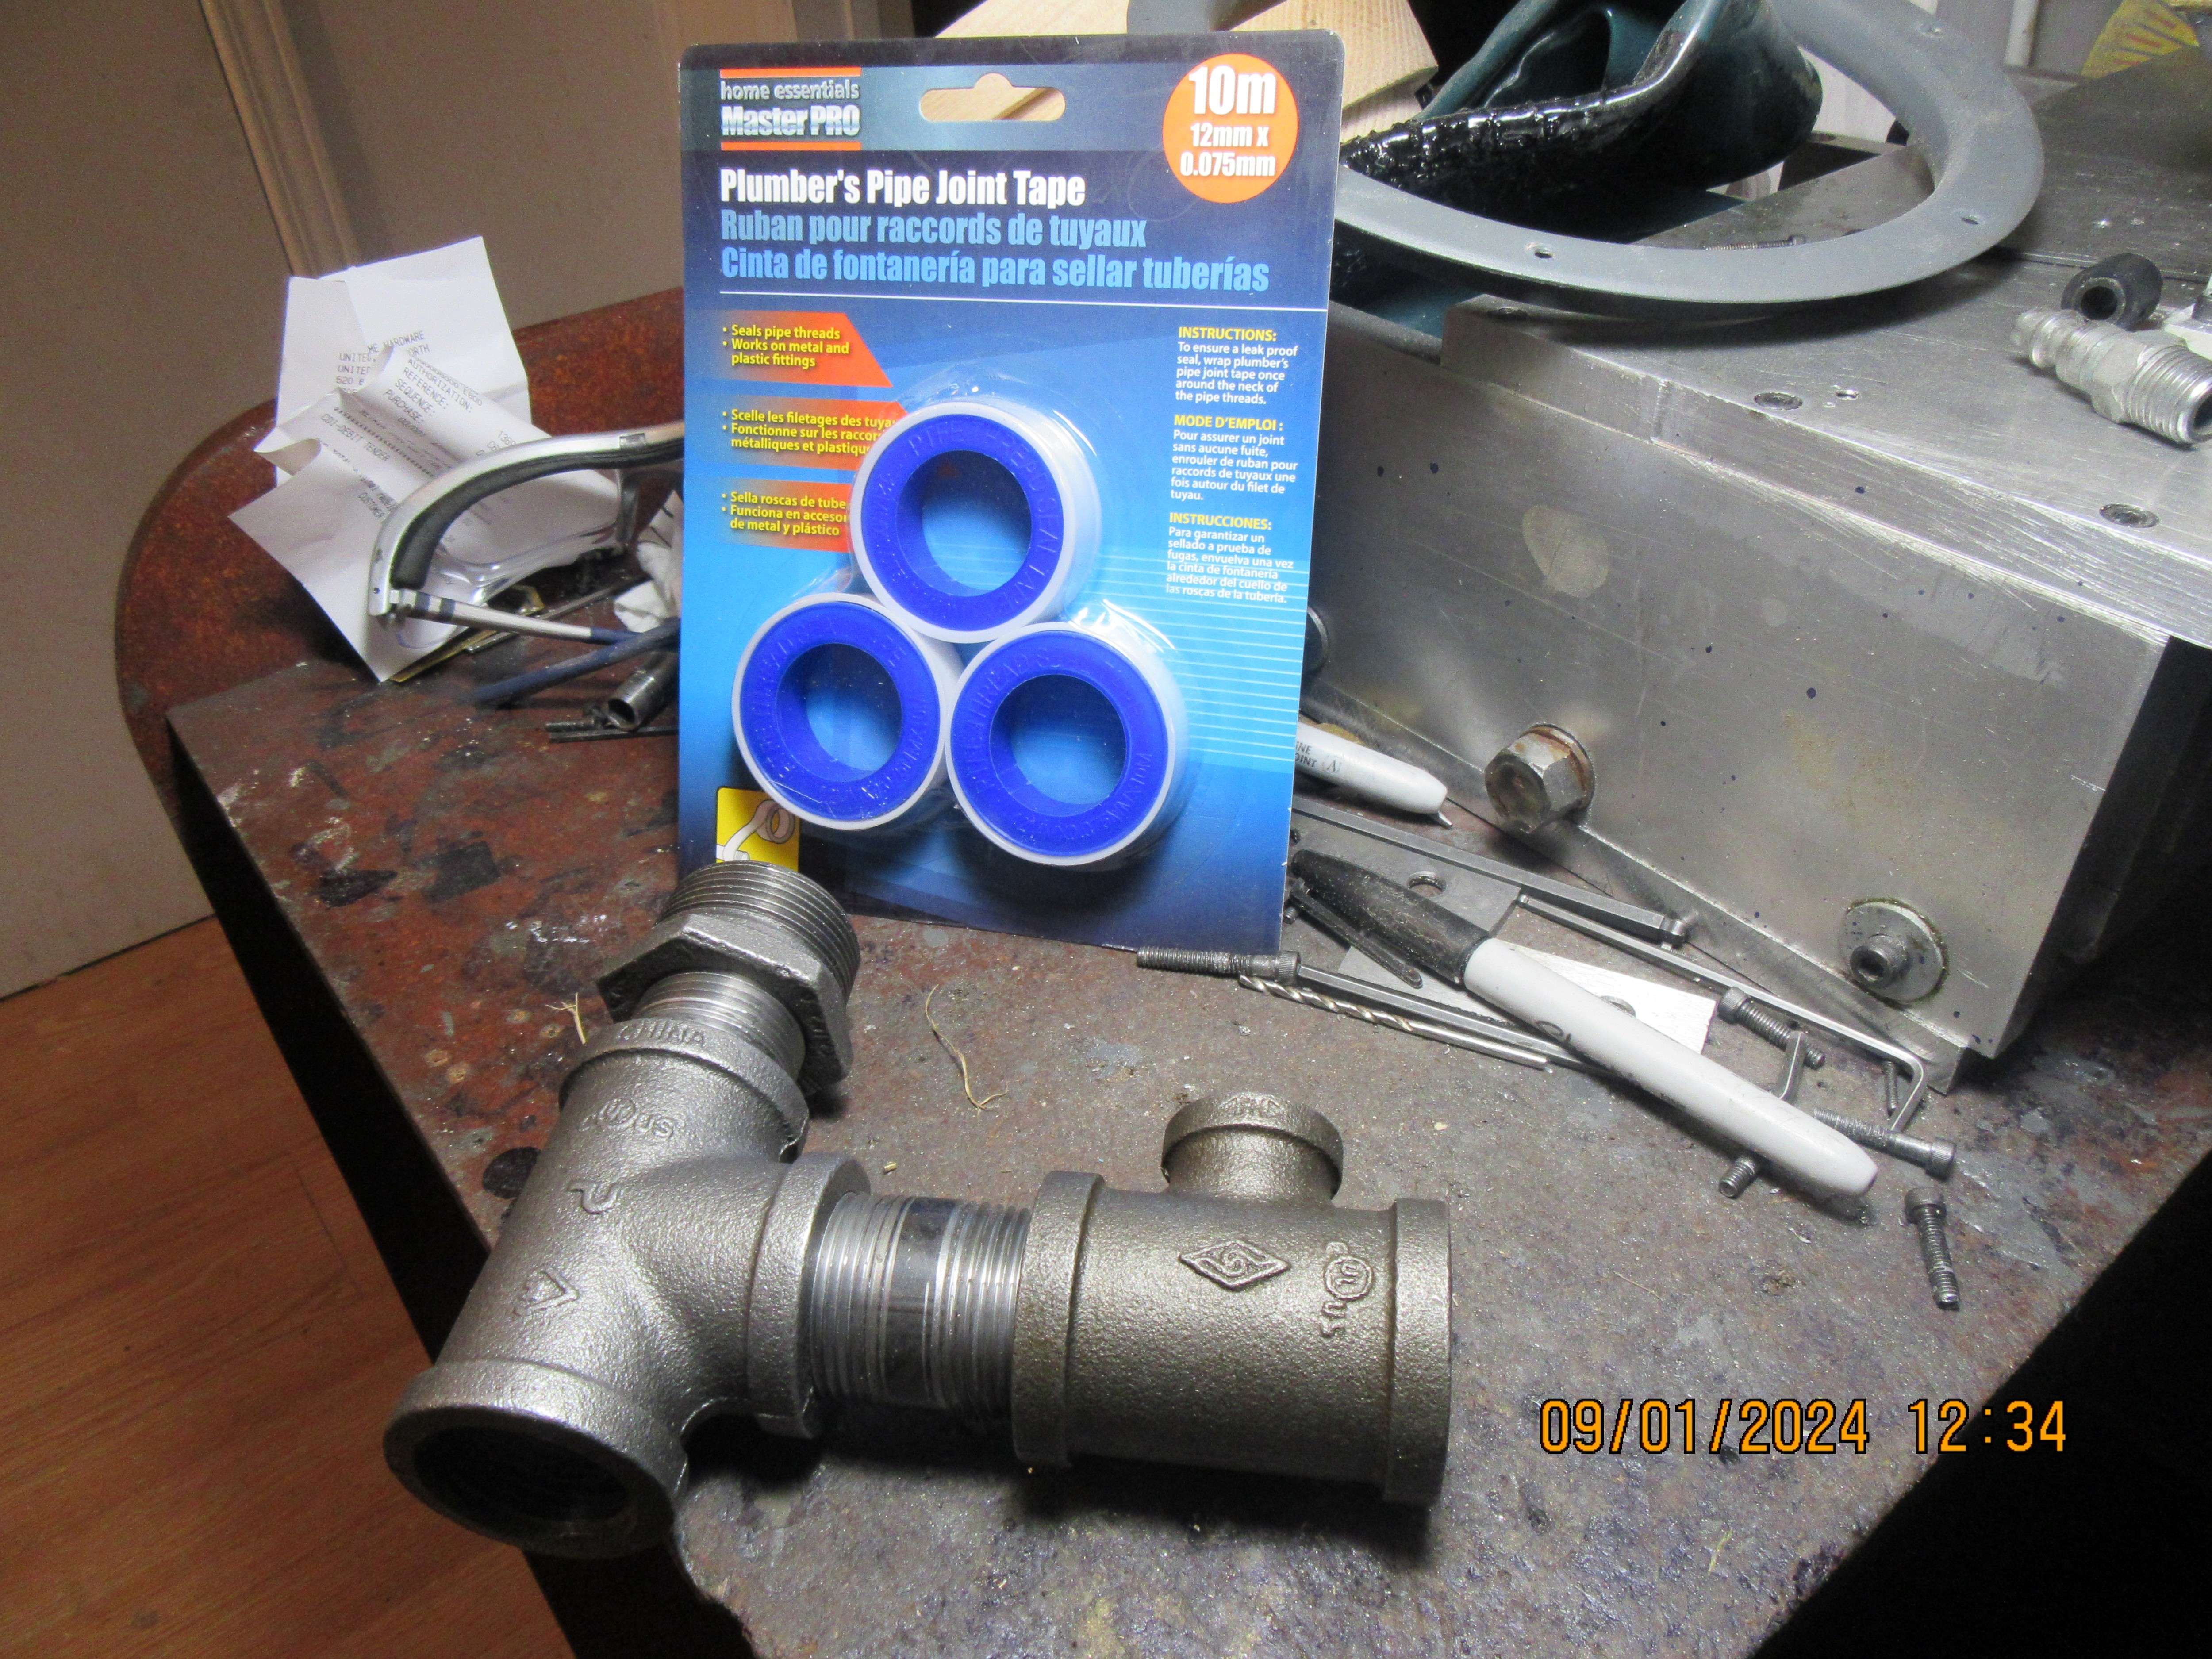
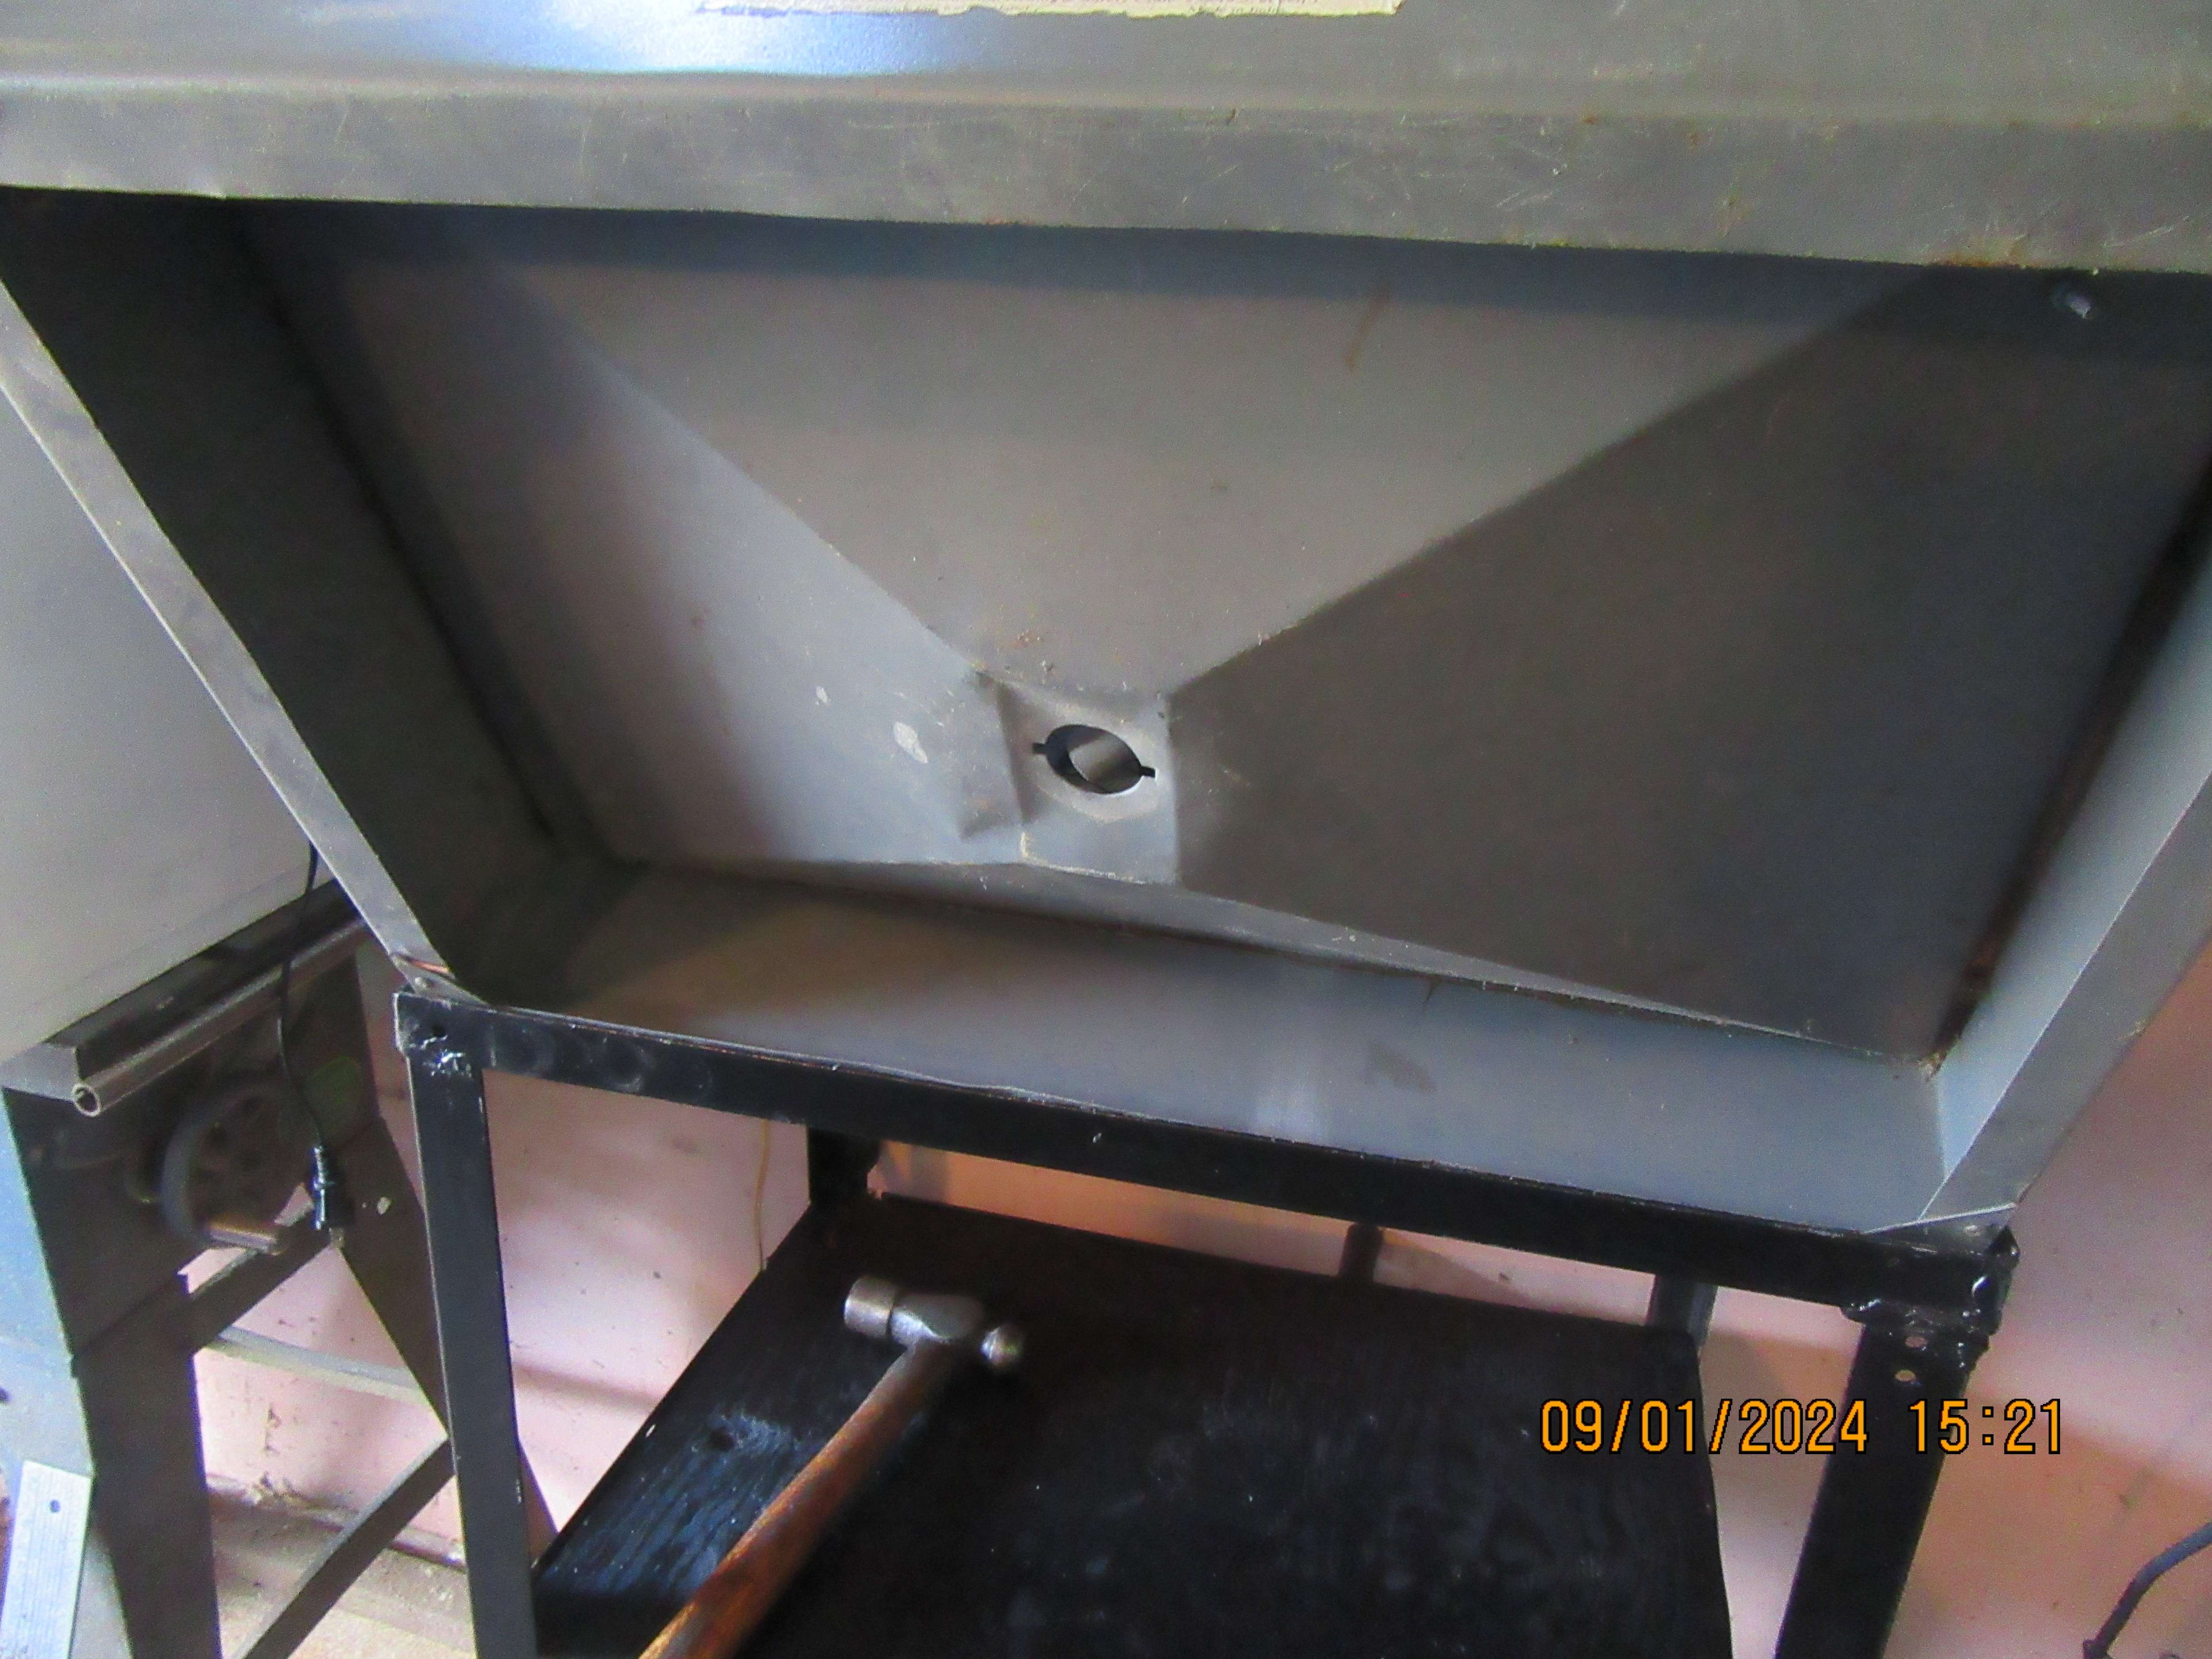
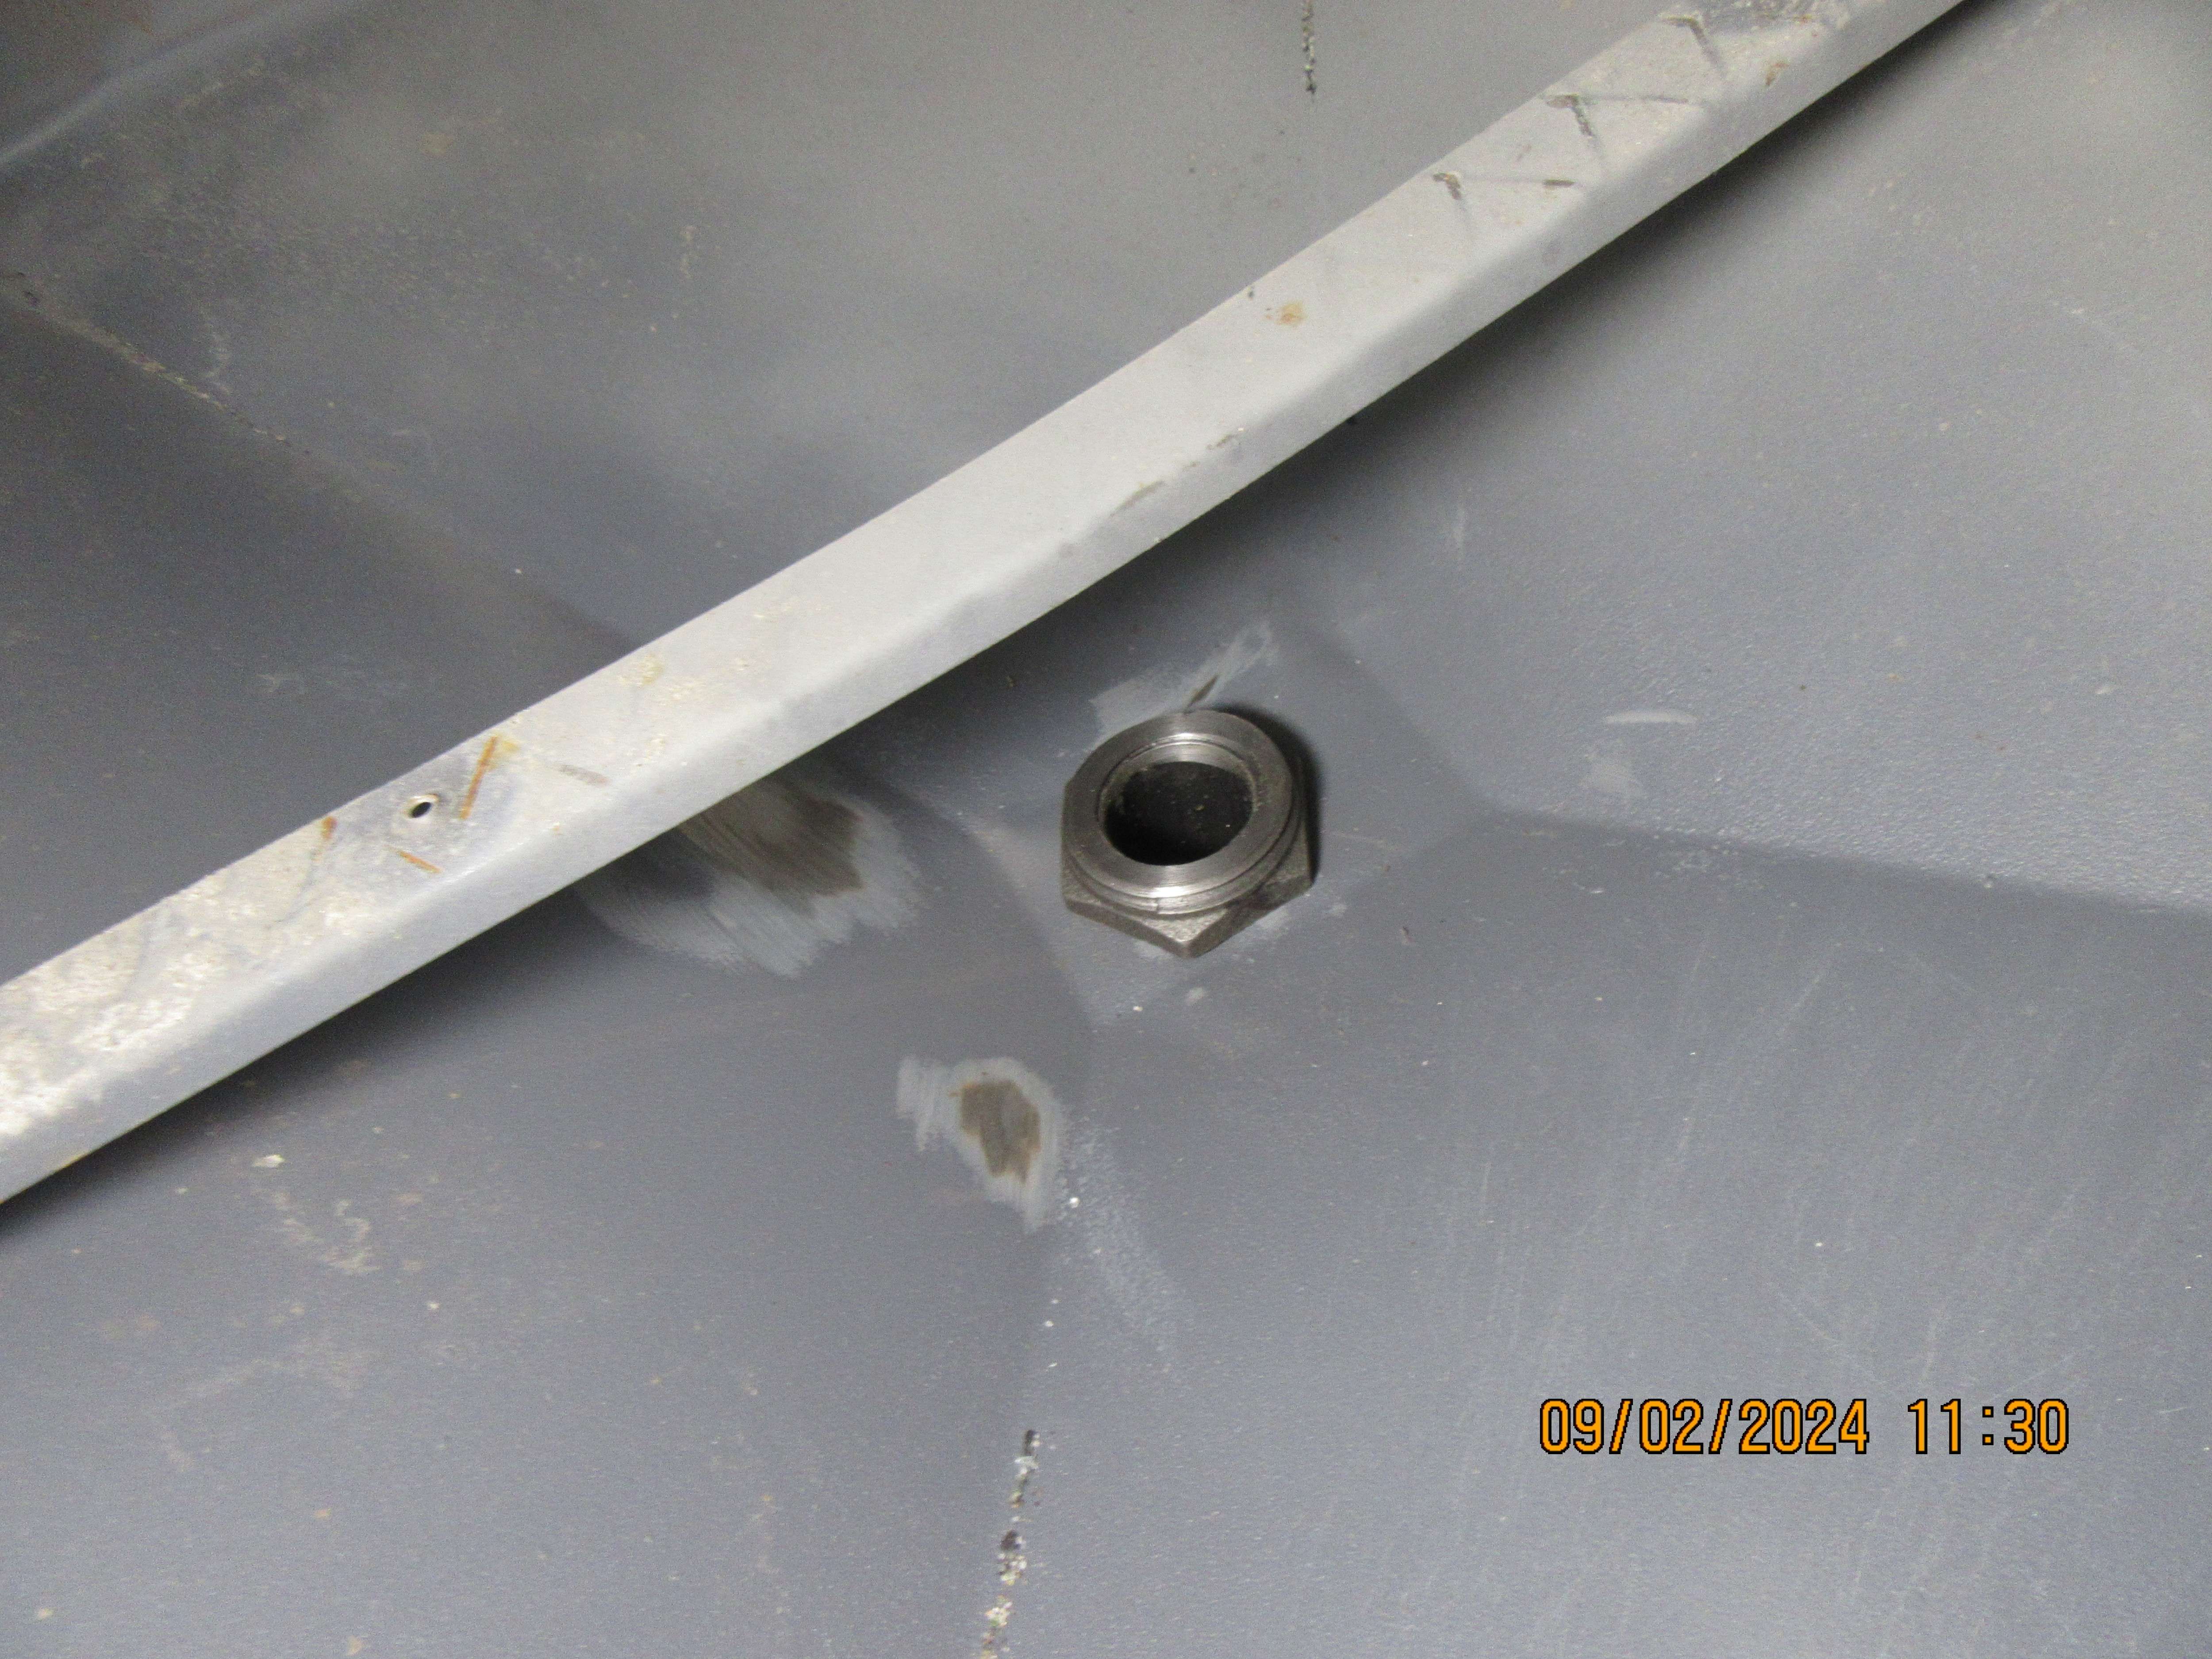
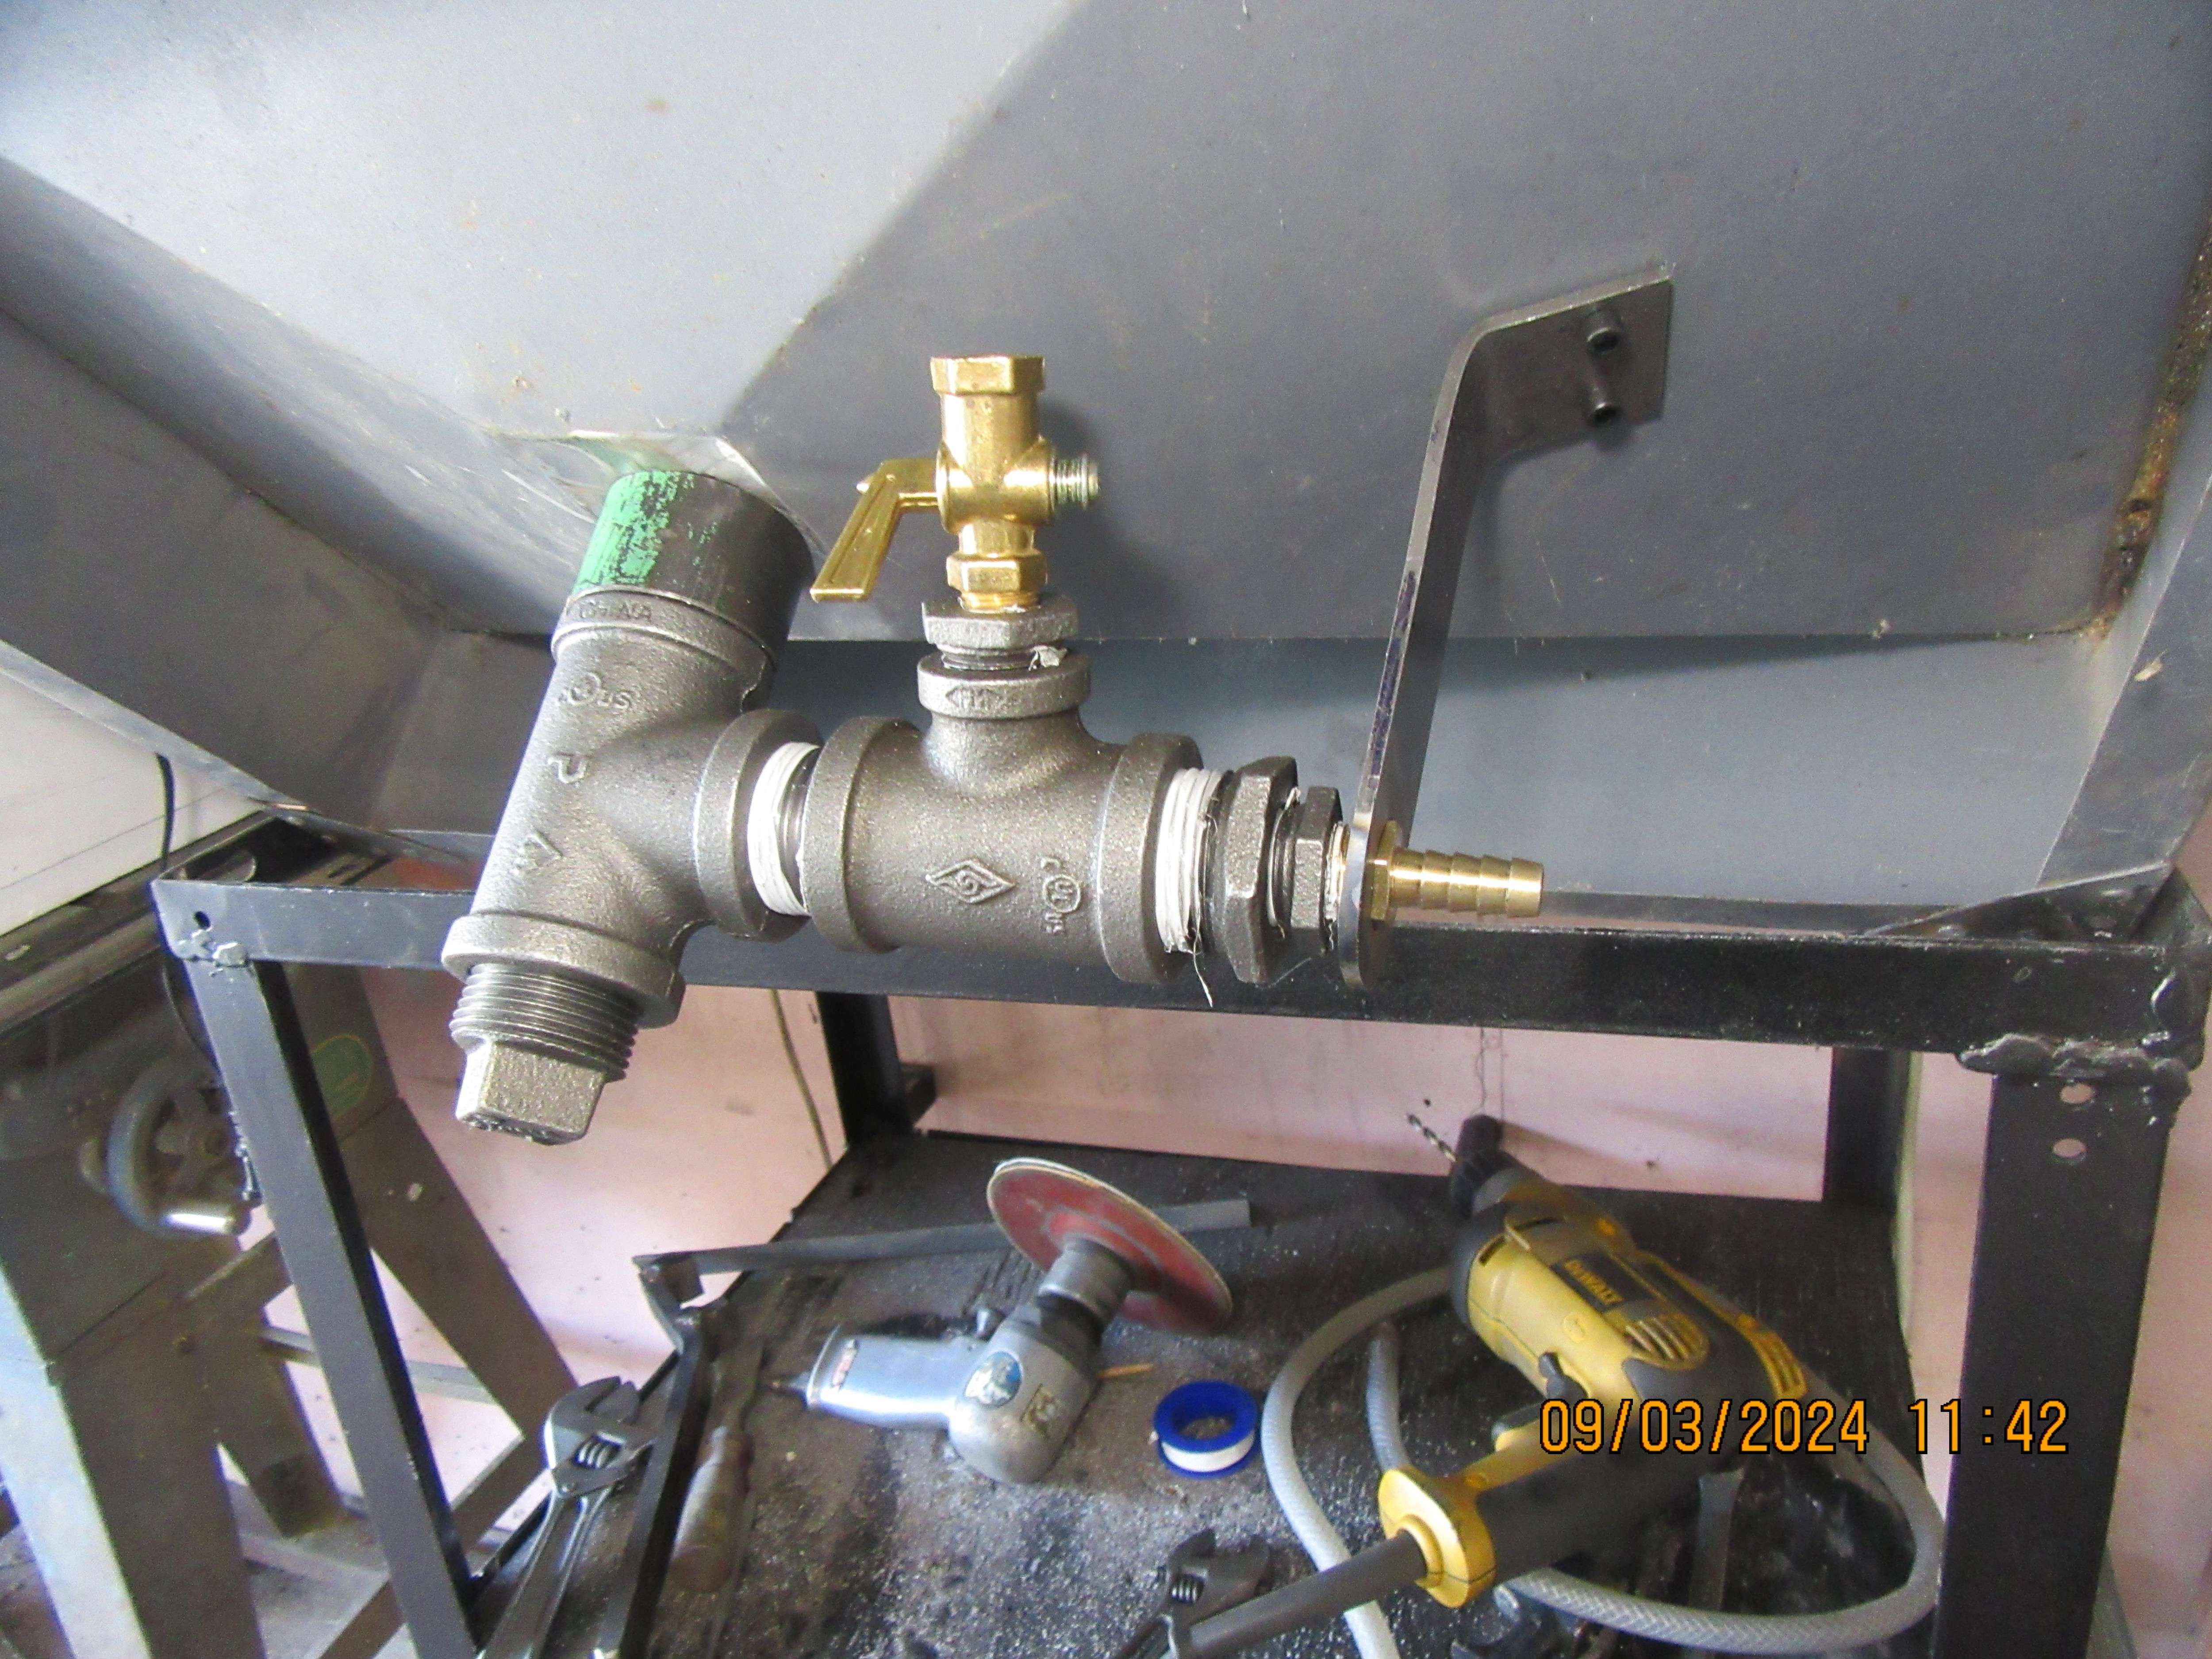
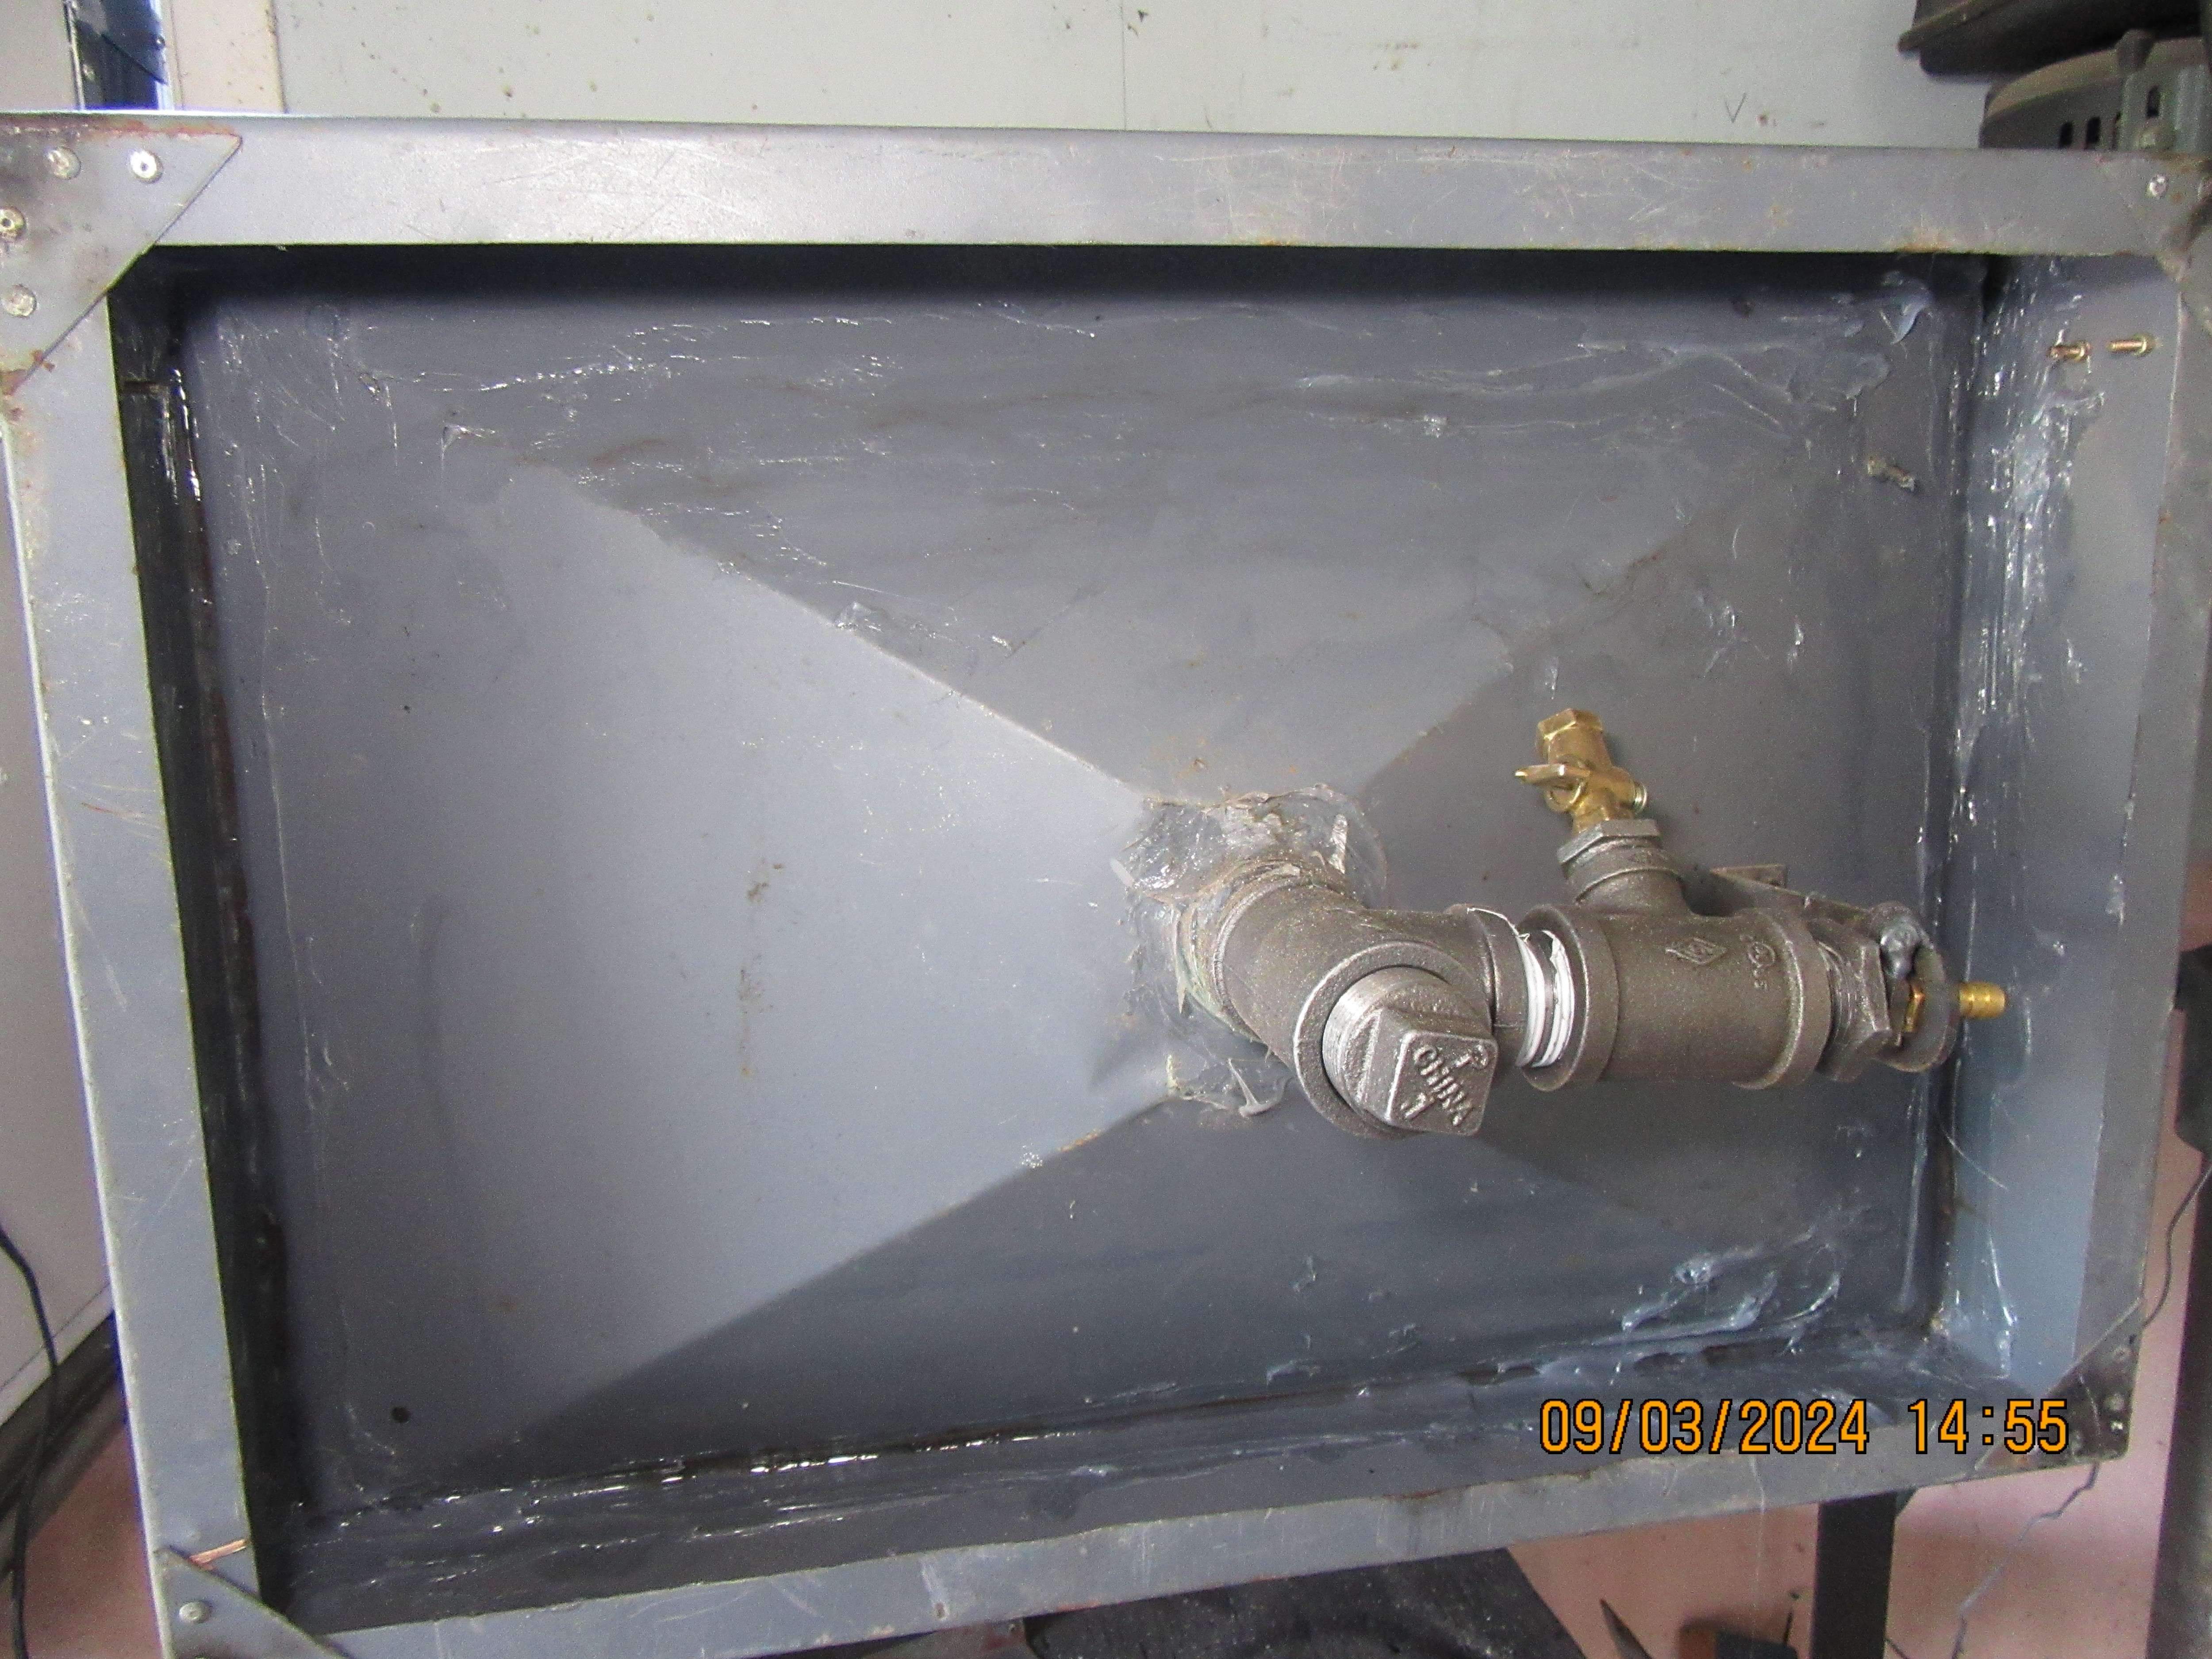
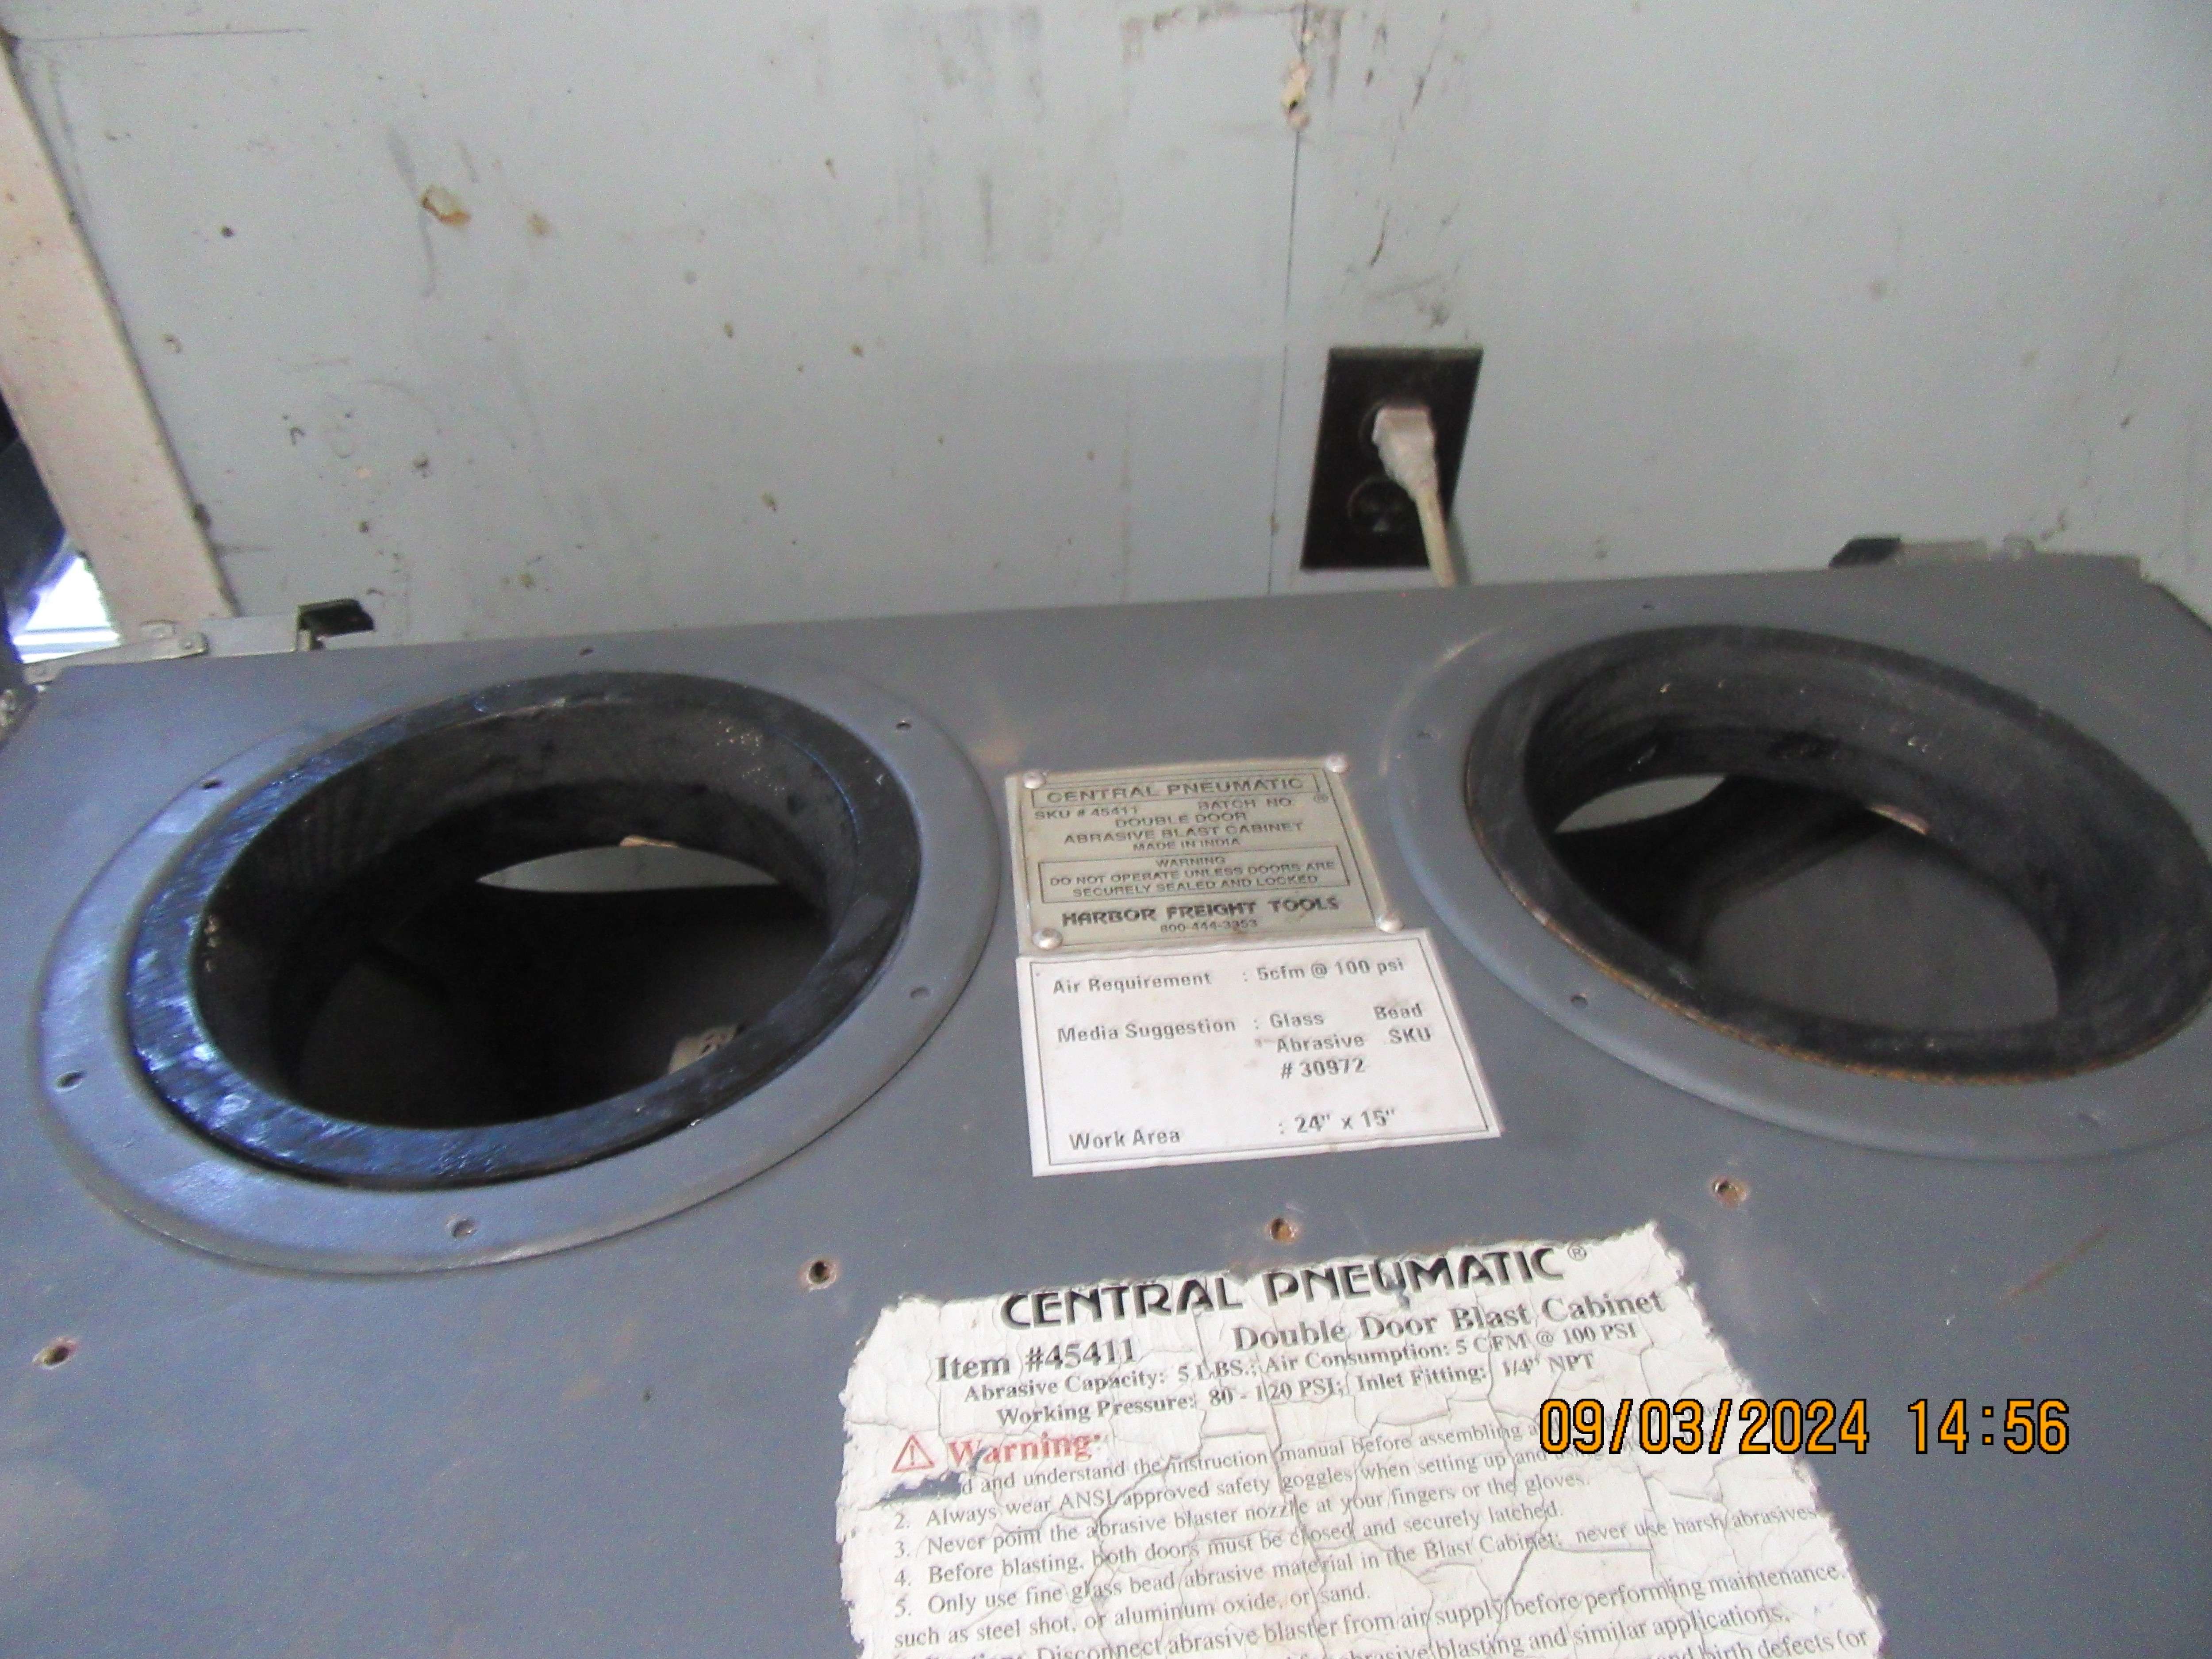
I have the Princess auto sandblast cabinet, I got it on sale though, so cheaper than current pricing.
I'm using a $10, 10 watt Aliexpress floodlight and I still have only the siphon gun that came with it. The biggest issue I have with it is that the angle of the hopper is much lower than the angle of repose for even new media, and crushed shells, forget about it, my plan is to make the legs longer and a new hopper with a much deeper bottom that will increase the angle, at least enough so new media will slide into the bottom. By the time I'm finished, it will likely be the same price as yours. BTW, on mine, the screen is fairly easy to remove if you have to push the media down, so kind of a plus and the hopper is bolted in, no pop rivets!
 

Latest posts

Back
Top