deere_x475guy
Well-Known Member
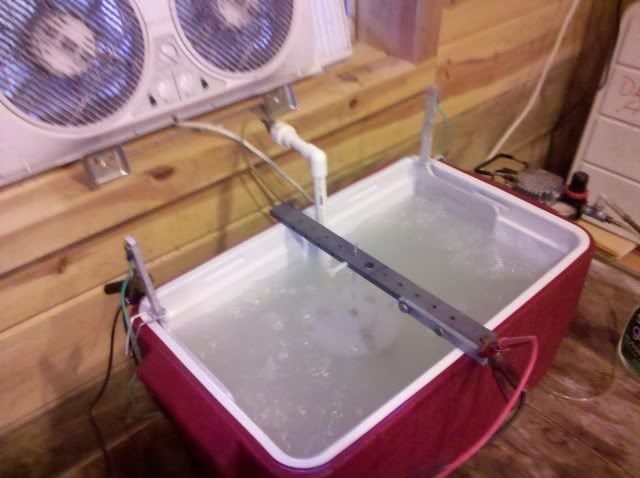
Well this isn't really a build, it's about rebuilding....or, more to the point refinishing...well err...it never really got a finish in the first place so lets just call it a thread about putting a finish the Siamese Twin. Some of you may have seen my thread on anodizing in the break room. I am going to anodize some parts, powder coat some and blacken some of the steel parts.
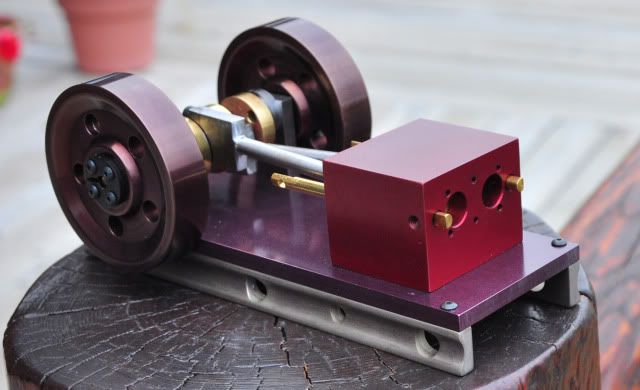
My Siamese Twin was completed about 2 1/2 years ago and I have enjoyed many hours in the shop listening and watching it chug away. Somehow it also got a lot of scratches and scuff marks. Once I have completed putting on the various finishes it should look more pleasing and not scratch or scuff as easily.
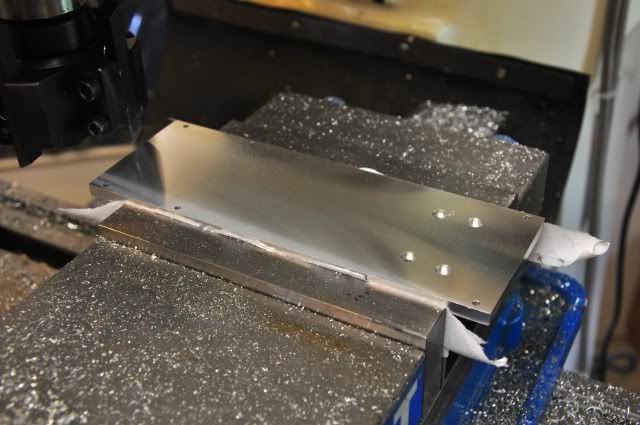
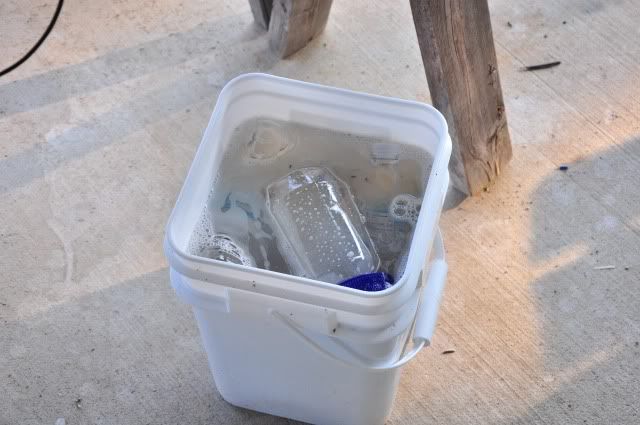
The first step was to disassemble and wash all the parts. Here they are laid out and drying.
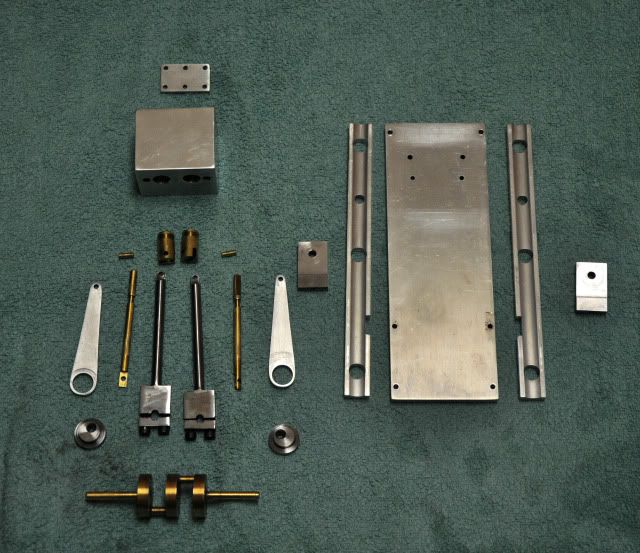
I don't have media for my tumbler to remove the scratches and scuff marks so I did the 280-600 grit wet sand routine of a few of the parts this morning. They are in the tumbler with corncob media to do a finish polish. I will check on those parts tomorrow evening when I get home from work to check on their progress.
I plan to take pictures along the way and try to explain as best I can the steps for all 3 finishing processes.
Here is the link to the final build thread for pictures and a video of how it looked on completion.
http://www.homemodelenginemachinist.com/index.php?topic=994.0
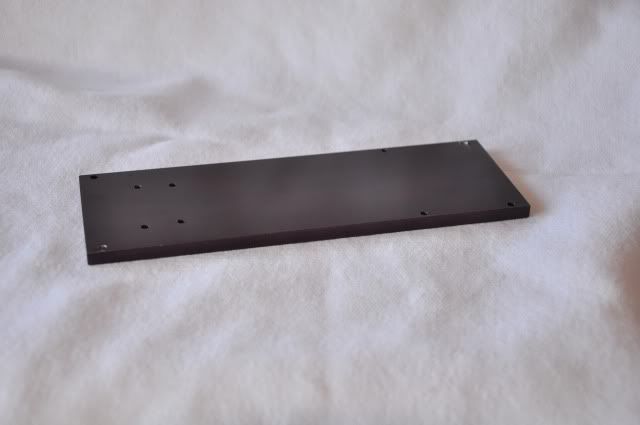
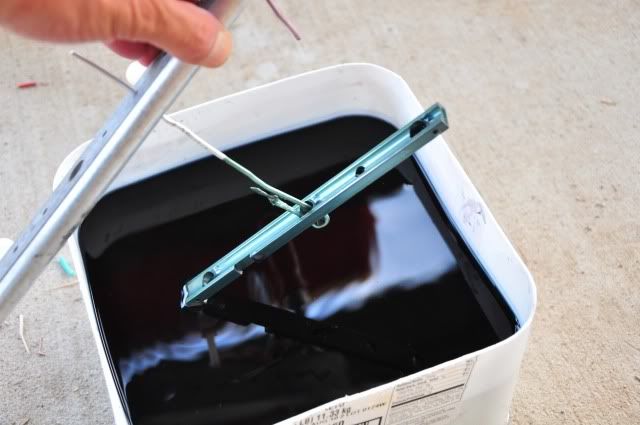
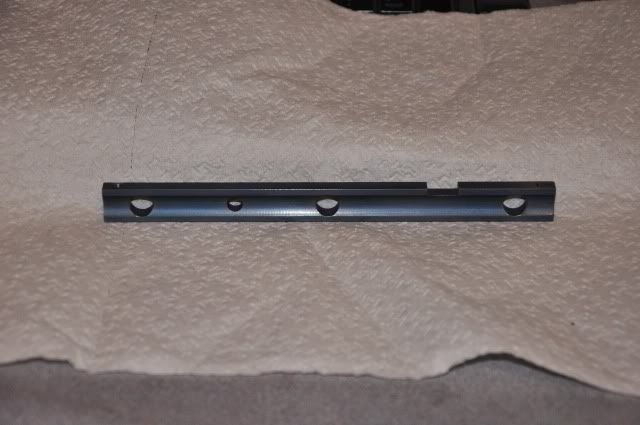
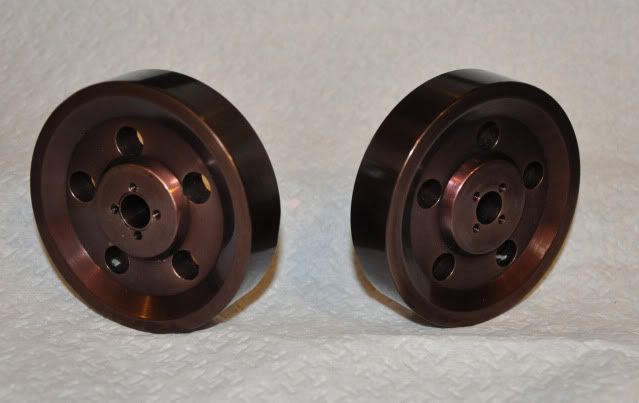
I have already anodized the flywheels with rit dye "***** Black". They came out more of a bronze than black and I like the final color better than black actually.
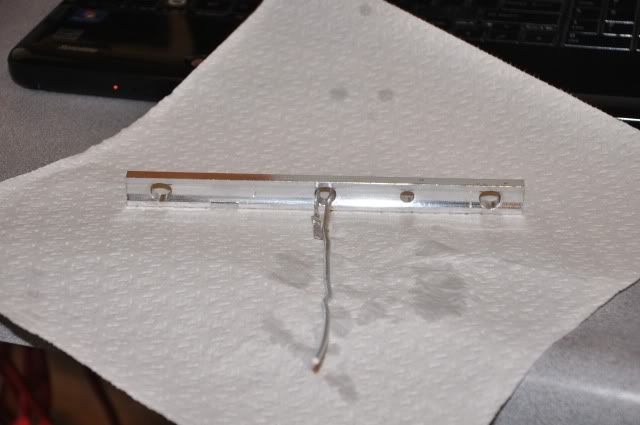
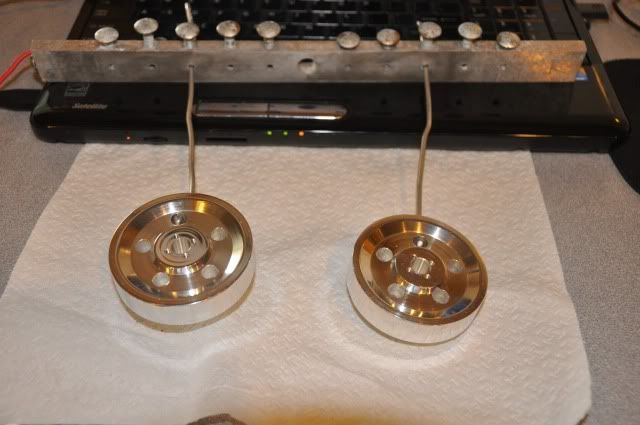
Flywheels before, this is how they looked after tumbling then washing in hot soapy water. I am using Dawn dish soap:
After: This picture was taken after I had taken them to work to show to some coworkers. They were just tossed into a plastic baggy and allowed to rub against several other parts that I anodized ..not a scratch or scuff on them anywhere.
I will add to this post later in the week with my progress....I don't get much done during the week....
My Siamese Twin was completed about 2 1/2 years ago and I have enjoyed many hours in the shop listening and watching it chug away. Somehow it also got a lot of scratches and scuff marks. Once I have completed putting on the various finishes it should look more pleasing and not scratch or scuff as easily.
The first step was to disassemble and wash all the parts. Here they are laid out and drying.
I don't have media for my tumbler to remove the scratches and scuff marks so I did the 280-600 grit wet sand routine of a few of the parts this morning. They are in the tumbler with corncob media to do a finish polish. I will check on those parts tomorrow evening when I get home from work to check on their progress.
I plan to take pictures along the way and try to explain as best I can the steps for all 3 finishing processes.
Here is the link to the final build thread for pictures and a video of how it looked on completion.
http://www.homemodelenginemachinist.com/index.php?topic=994.0
I have already anodized the flywheels with rit dye "***** Black". They came out more of a bronze than black and I like the final color better than black actually.
Flywheels before, this is how they looked after tumbling then washing in hot soapy water. I am using Dawn dish soap:
After: This picture was taken after I had taken them to work to show to some coworkers. They were just tossed into a plastic baggy and allowed to rub against several other parts that I anodized ..not a scratch or scuff on them anywhere.
I will add to this post later in the week with my progress....I don't get much done during the week....
") , and good going :bow:
, and good going :bow:![DreamPlan Home Design and Landscaping Software Free for Windows [PC Download]](https://m.media-amazon.com/images/I/51kvZH2dVLL._SL500_.jpg)