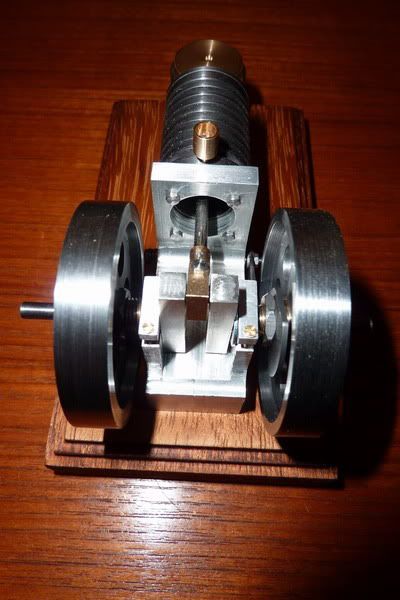
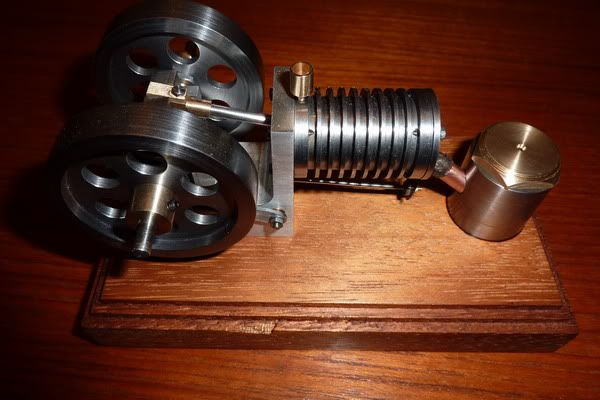
Hi all,
Final post on this project - I gave things a miss on Friday night as I was pretty tired after lots of late nights. I was allowed to go into the garage on Sat during the day to try and get things finished off.
Time to get some (as Bogs would call it) brown stuff out. This is the point where all my hard work is spoilt by not being able to make things out of wood! I spend about 0.1 seconds searching for the right bit and found this lovely bit of, well, wood. ???
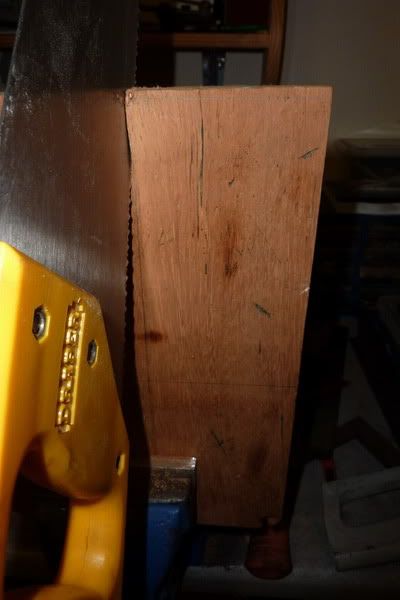
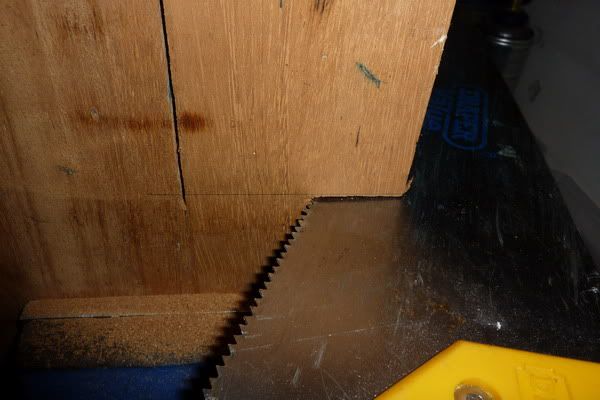
Hacked it into roughly a rectangular shape:
The saw just wouldn't cut it so to speak so transferred to a proper tool - yep, it's getting milled!
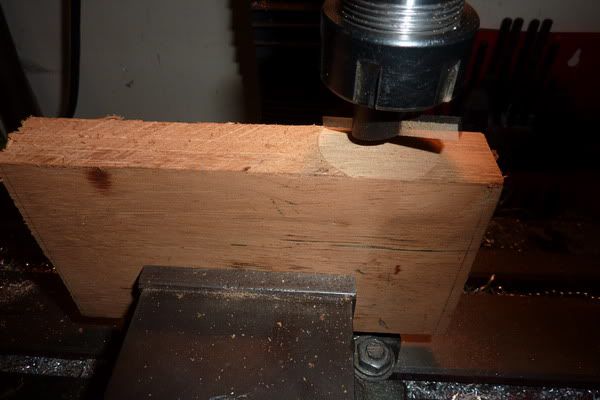
Flycutting to get it square:
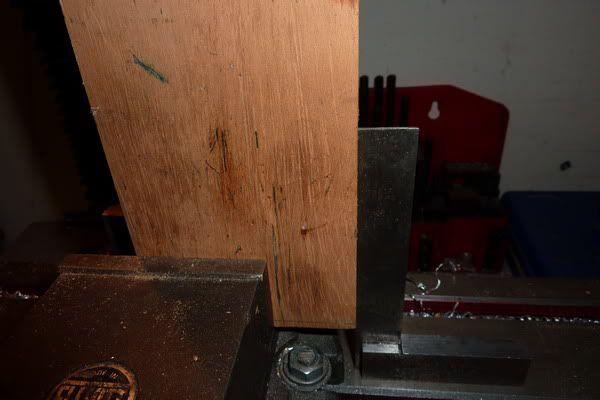
Then rotated around to do the end:
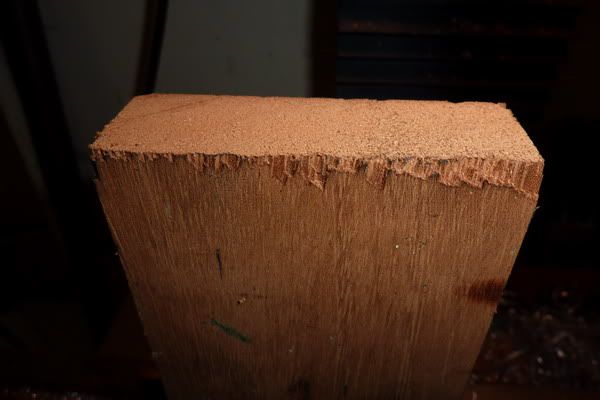
At this point I realised that if I went one way with the flycutter it splintered one side, the other way it splintered the other! Problem was, I'd splintered alternate sides when flipped it over!

Anyway, i'll live with it!
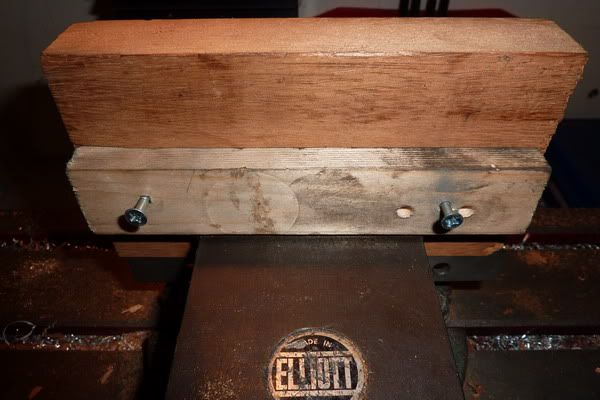
At this point I drew on some newly found knowledge (kind of) from Bogs' Scott Vacuum Engine post. Working with wood is a bit like castings at first, except it's easy to grip and machine- but nothing is square! I couldn't fit this bit in my vice and didn't want to move the vice so I screwed a batton on underneath to grip it with:
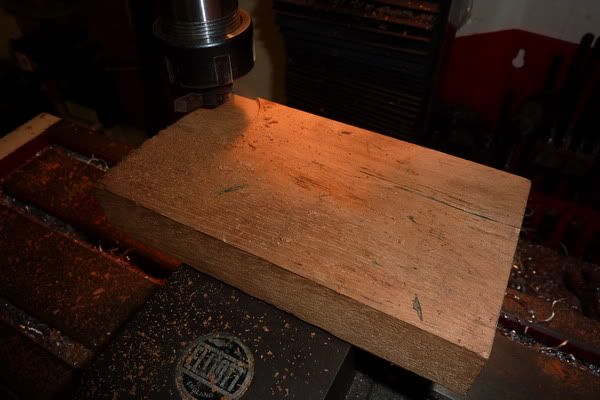
Cleaned up the top - I thought it was a bit thick anyway and this would at least get rid of the splinters on the top surface:
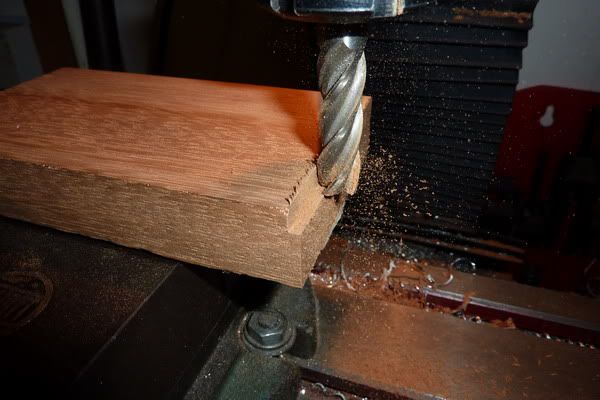
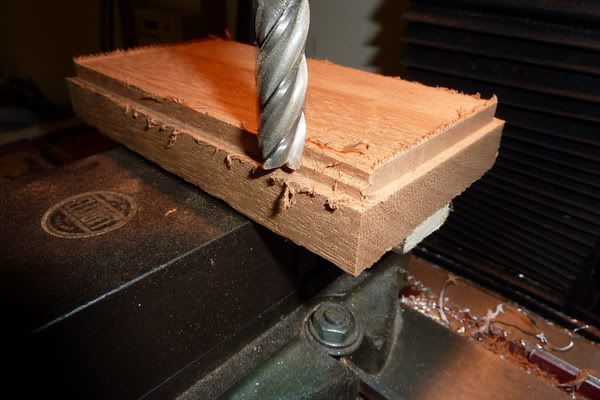
Started my masterpiece, a stepped edge no less!

Starting to take shape doing other sides:
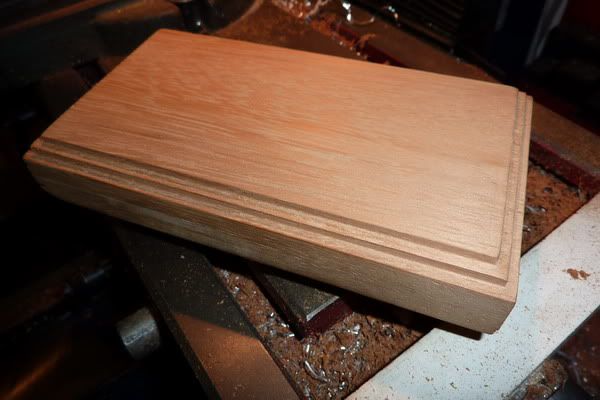
It looks a mess but these burrs come off with a few rubs of sandpaper by hand:
Looks not too bad for me!
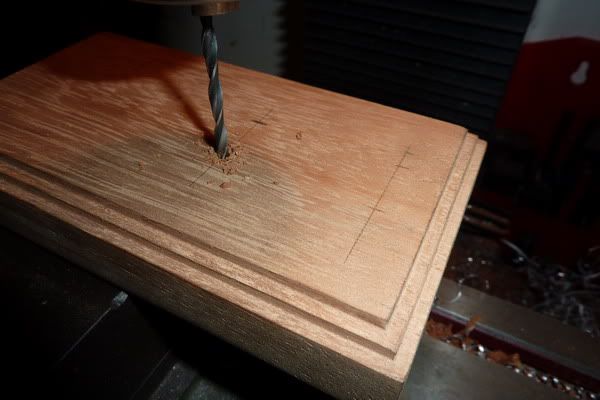
Marked up for engine mounting holes and drilled:
The beauty of this is, you don't need to clamp, just position by eye and because the cutting force is low and the bit of wood relatively large you can just hang onto it and quickly drill through.
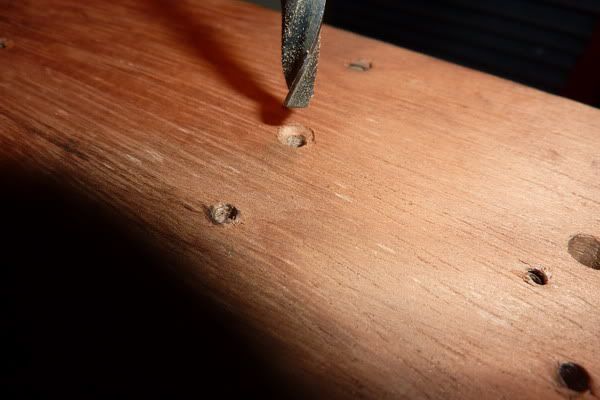
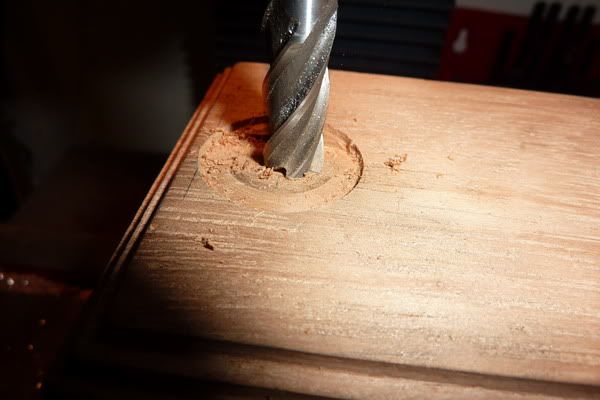
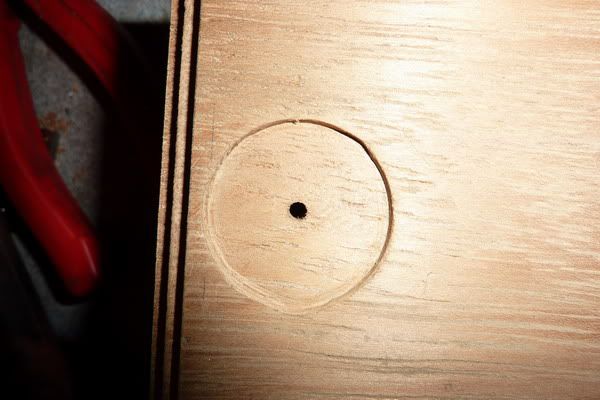
Turned over to counterbore the holes as the 6ba screws aren't long enough to go right through.
That's the base nearly finished. Now onto the burner.
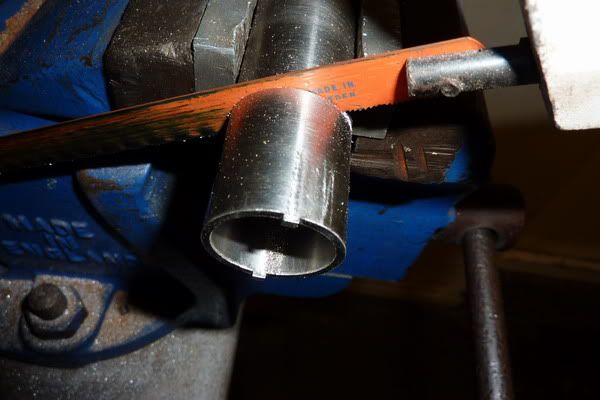
I found a bit of (I think) stainless tube that I got given at work:
Cut to length after facing, then other end was faced:
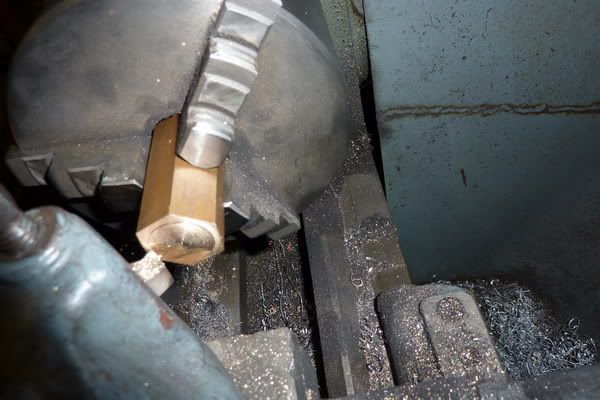
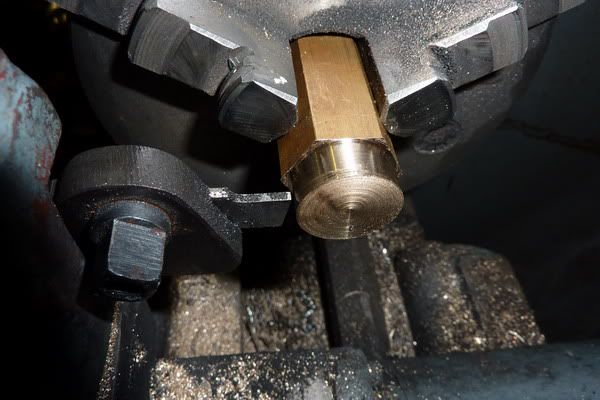
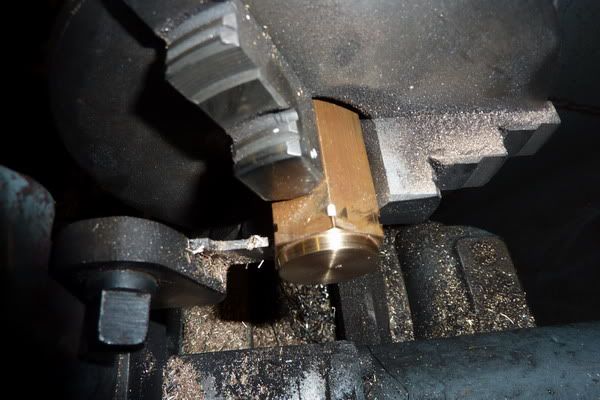
Then found some brass hex just right size for lid and base:
Facing off:
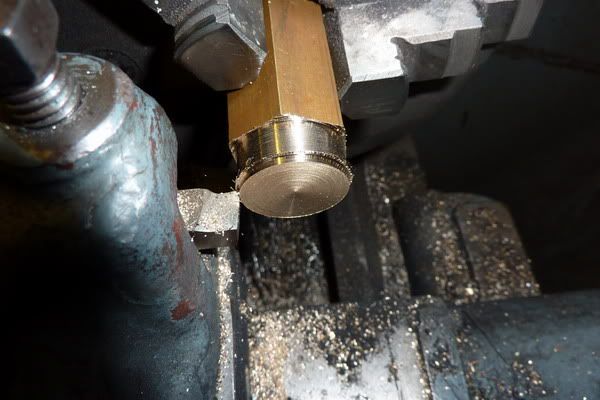
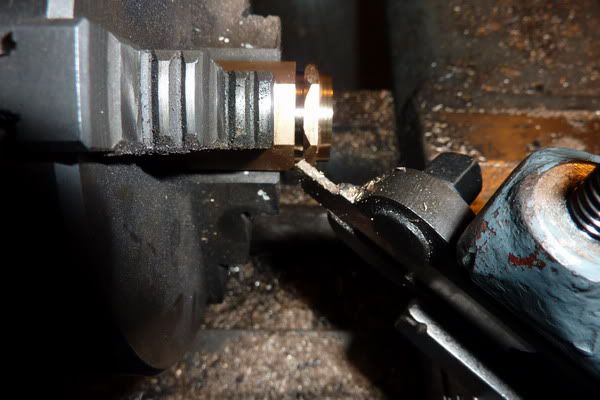
Turning down to size - I overestimated how much needed to come off so had to go again!
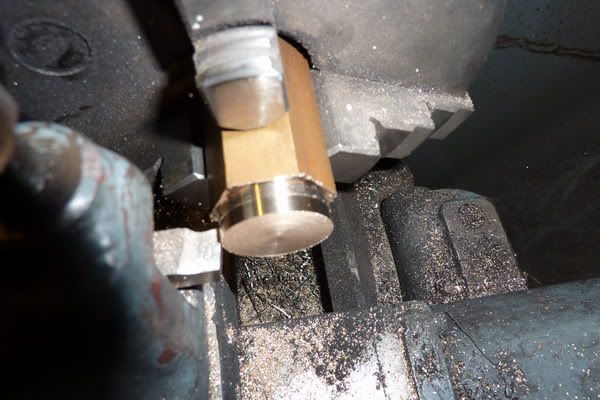
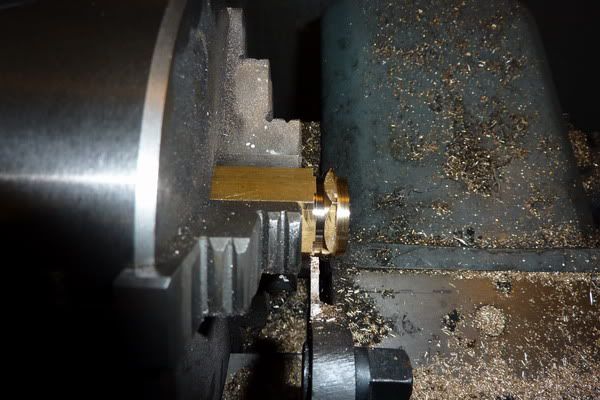
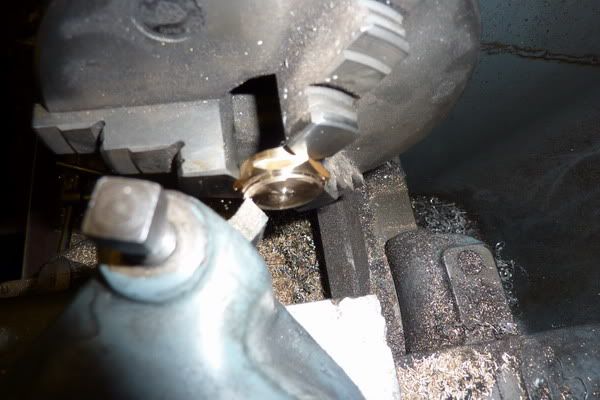
Parting off for the base, this was to fit inside the tube and be soldered:
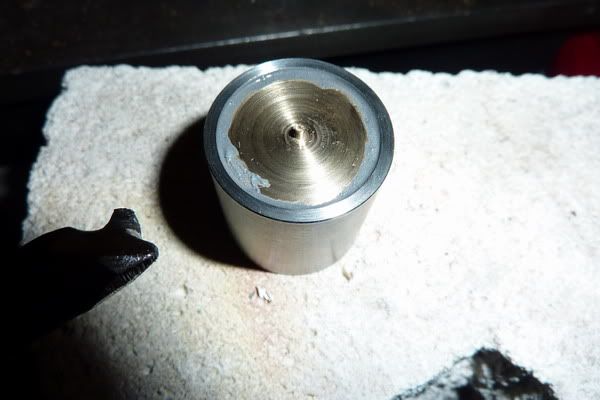
Ready to solder in, I would just soft solder this as it shouldn't get hot enough to melt and doesn't need any massive strength, just be leak proof. I use this soft solder paste as flux that I found in my grandad's garage for soft soldering. Seems to work well, only thing is, it gets solder wherever you put the paste. Doesn't need to be too neat this though as underneath:
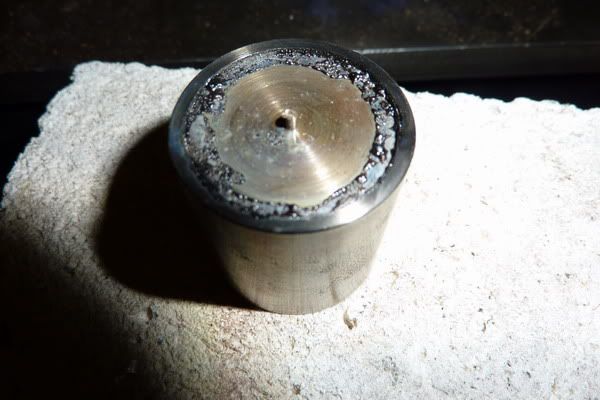
Heated up and a bid more soft solder fed in:
This didn't work. It's stuck to the brass but hasn't taken to the tube whatsoever. So all this had to be cleaned off. ??? :-\
I decided to continue and make the cap while I had a thought how to stick it together:
This just needed a slightly smaller dia than the base for a sliding rather than push fit:
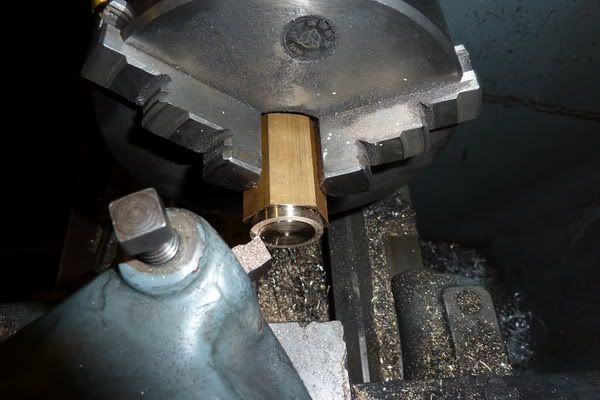
Still in the lather from before so it was faced and skimmed down to size:
Then partly parted off:
At this point I came over a bit funny and heard a voice in my head about artistic license! I would apply a little here, wouldn't recommend this but I just took very light cuts to give a chamfer:
Then parted off but leaving a couple of steps:
I sawed through the last bit as things were a bit close to the chuck for my liking so flipped it around and faced:
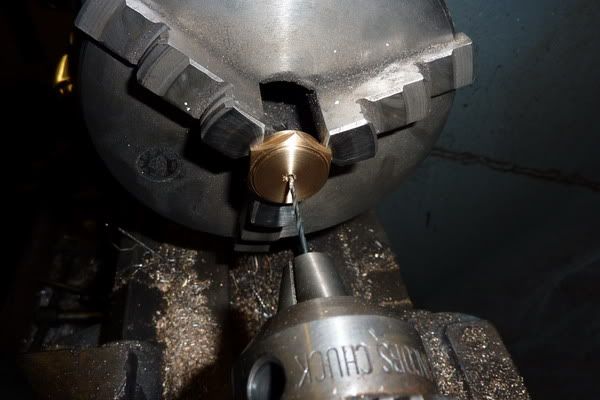
Then just centre drilled and drilled through for an air hole:
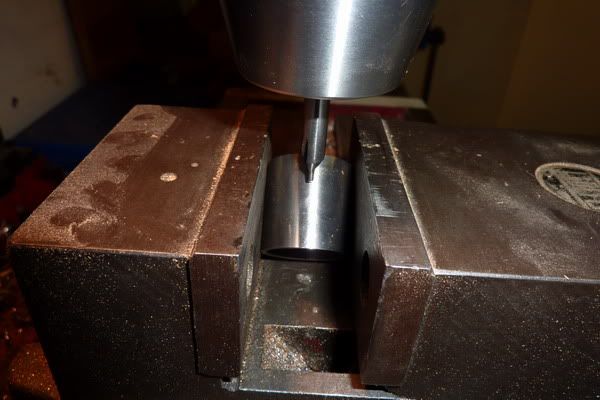
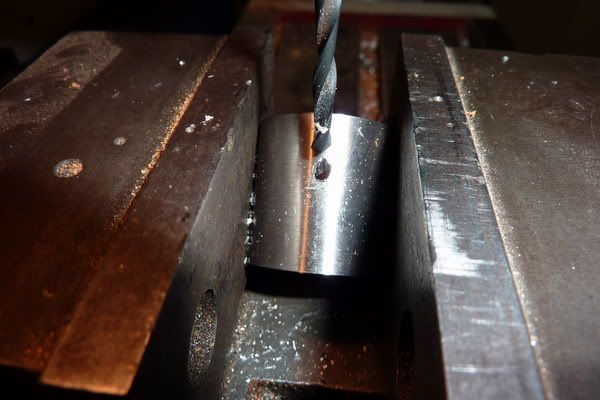
At this point I decided to put the angled wick tube into the side of the tube to get the correct height rather than into the cap as I had done with my Jan Ridders Flame Licker. So I set about drilling the angled hole. I just gripped in vice with the base half way up for support:
I wasn't sure how to set the angle but then remembered I got a digi angle gauge for xmas which I hadn't used yet. Luckily it just fit between the jaws so I knew that for the first time, an angled thing of mine was about right!
Gradually opened up to 1/4" dia to accept some copper tube I had found:
I had decided I would silver solder the base and wick tube in now - but that didn't work either. It just wouldn't take to the steel for some reason. I was sure I'd silver soldered stainless before, or at least seen it done?

So even more of a mess had to be cleaned off now. I was mulling over what to do and decided that being as I had a good fit on the parts, I would loctite them together. Don't know whether it will work long term or not, I was going to use some epoxy glue like araldite but I didn't have any and didn't want to wait for ages for it to dry.
Can't find a pic of the completed burner but I went on to finish the base. I wanted to put a good fitting recess in it so as the burner would be positioned in the right place and the speed could be varied by rotating it within that recess. It would also stop the burner sliding about with vibration.
I was going to do this in the lathe but my lathe doesn't have a gap bed and couldn't quite swing it. So I thought I'd use the milling machine.
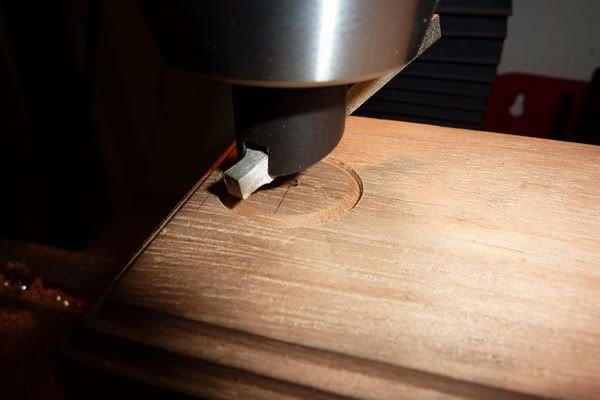
I have no boring head so I used the flycutter to outline the recess / sort of trepan to depth:
Then used an end mill to carve out the middle to the same depth. This was tricky, kept forgetting which way my hands were turning if that makes sense! :big:
I should have used the biggest end mill I had but never thought at the time.
Here you can see I went over the lines a little in a couple of places but not too bad:
The brown stuff then had some more brown stuff rubbed onto it (teak oil) before the engine and burner were put into place.
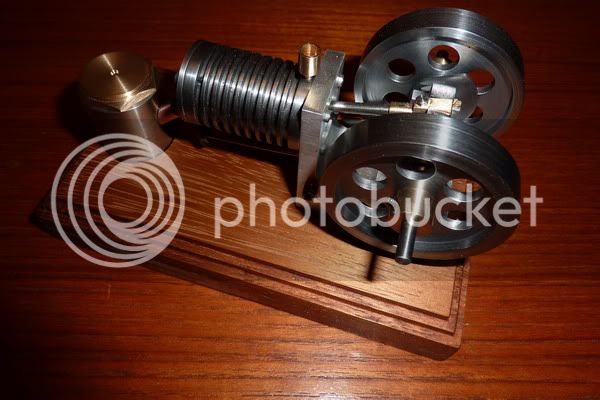
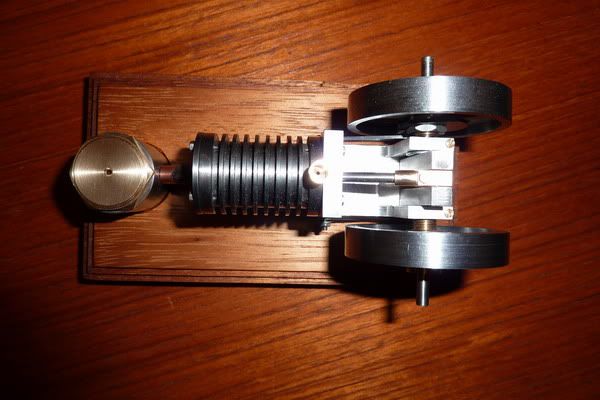
Here is the finished engine no.1. I should have mentioned, since this is my dad's present, I decided to just put some emery cloth and oil on the flywheels to stop them going rusty rather than paint them:
I took a couple of videos last night but the engine kept running away with itself and getting a bit of valve bounce, then the valve would stick. So I had a slight adjustment to do giving it less valve overlap (as per instructions, I just didn't think it mattered before, but guess they are there for a reason!) today and took this video. Apologies if you can hear kids messing around in the background, this was just before a trip to mother in laws

[ame=http://www.youtube.com/watch?v=pMfmtRP4OPc]http://www.youtube.com/watch?v=pMfmtRP4OPc[/ame]
As I said, I'll be having a short break from the workshop now, catching up on other peoples projects and getting back in the wife's good books before finishing off poppin no.2! She's feeling a little neglected over the last couple of months with me being in the workshop a lot! :-[
p.s. Just noticed that in those photos at the end, it looks like the engine overhangs the wooden base. It doesn't it's been carefully measured to ensure there is a nice border all around it. I've got OCD when it comes to things like that! :lol:
Also, the pic of the stainless tube, must have been sawing it off before I'd faced the end, think I was sick of showing pics of facing off!
Nick


 )
)


![DreamPlan Home Design and Landscaping Software Free for Windows [PC Download]](https://m.media-amazon.com/images/I/51kvZH2dVLL._SL500_.jpg)


![MeshMagic 3D Free 3D Modeling Software [Download]](https://m.media-amazon.com/images/I/B1U+p8ewjGS._SL500_.png)


