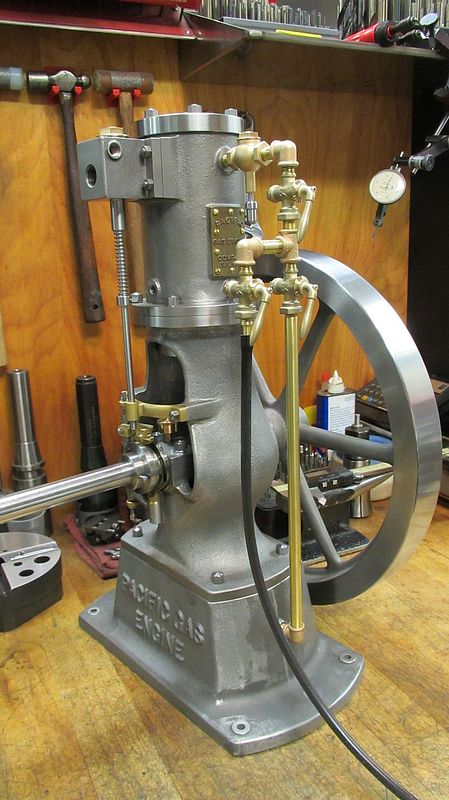
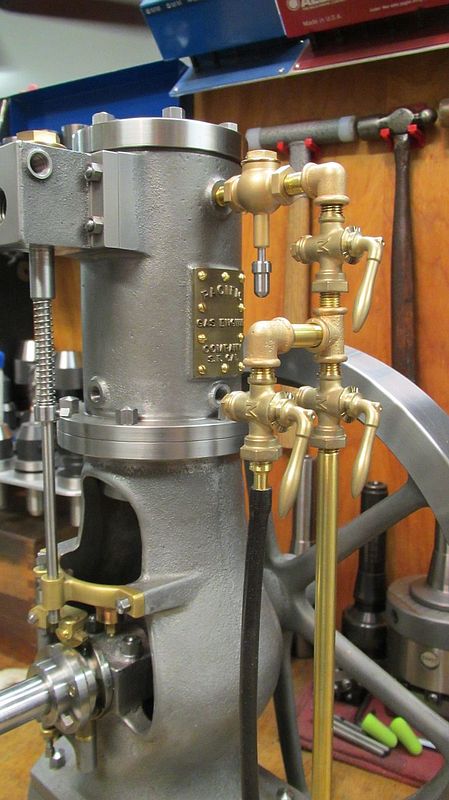
Hi everyone,
The Pacific doesn’t have any type of mixer or carburetor just 3 hand cocks; one for air one for gas and the third acts as a throttle. Primitive I know but after all it was 1890.
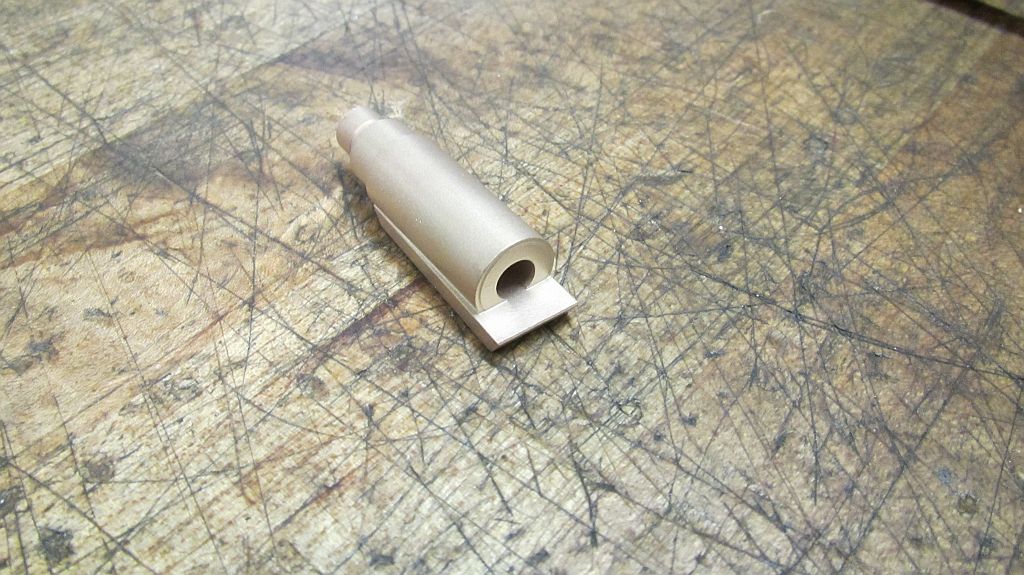
Morrison and Marvin supply these beautiful bronze investment cast hand cocks. These are scaled directly from originals of the same period.
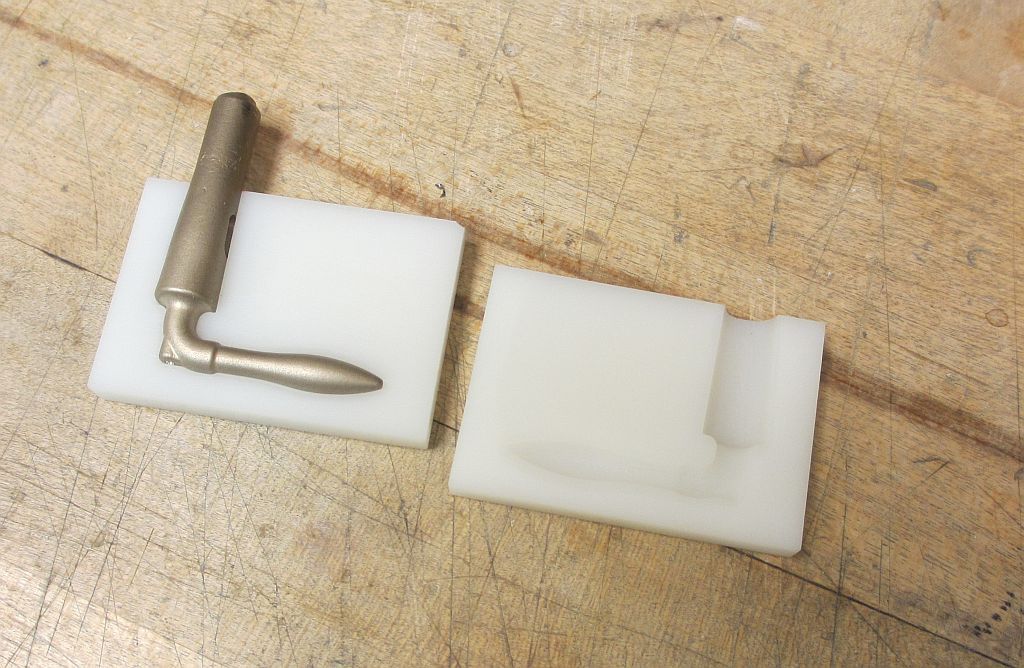
To properly make these valves there really is no getting around having to make some fixtures. I thought about this a lot (procrastinated) about how I was going to do it. Having access to rapid prototyping equipment at work I decided that I would like to try making some machining fixtures on the 3D printers.
So maybe part of this segment should be titled adventures in 3d printing.
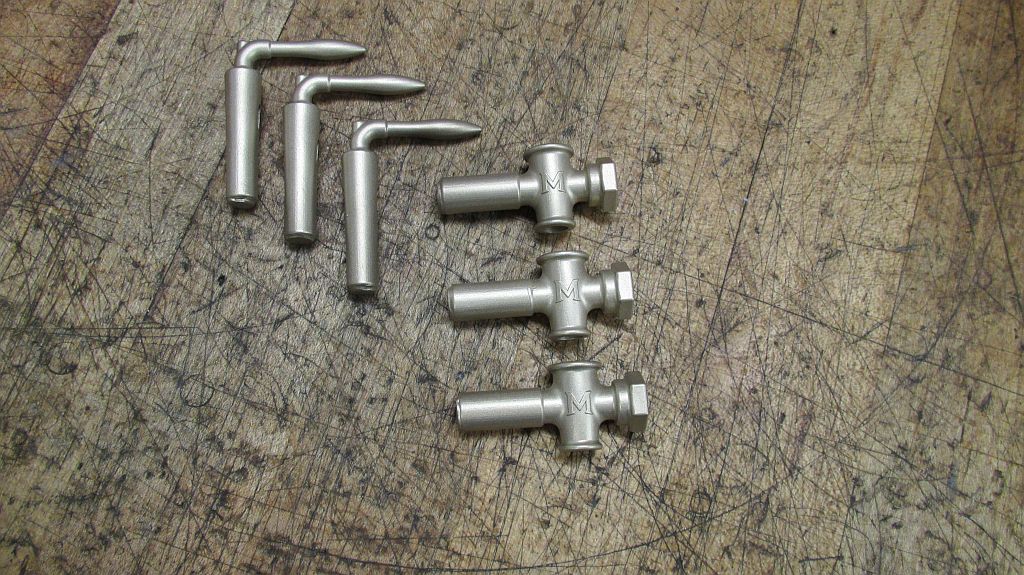
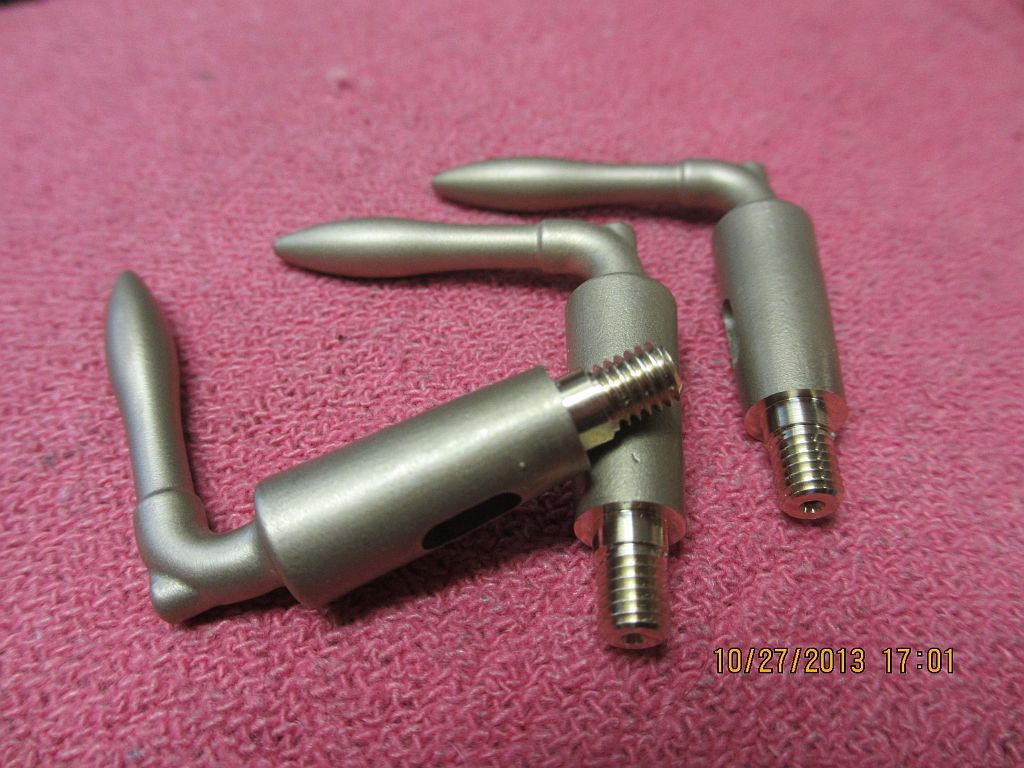
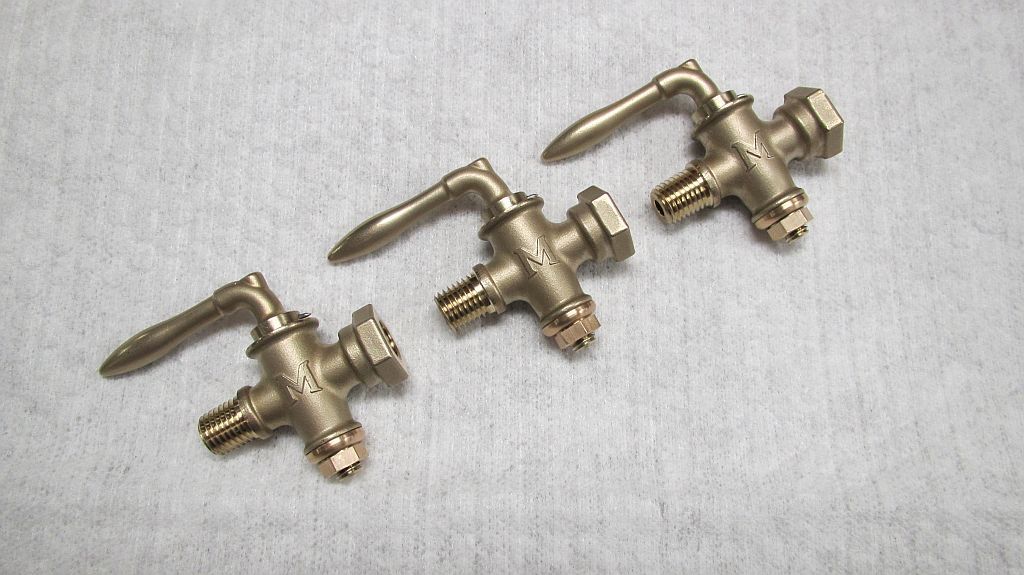
Here are the valve castings from Morrison and Marvin. I did just a little fettling to remove the mold lines and then a trip through the bead blaster which restored the original finish.
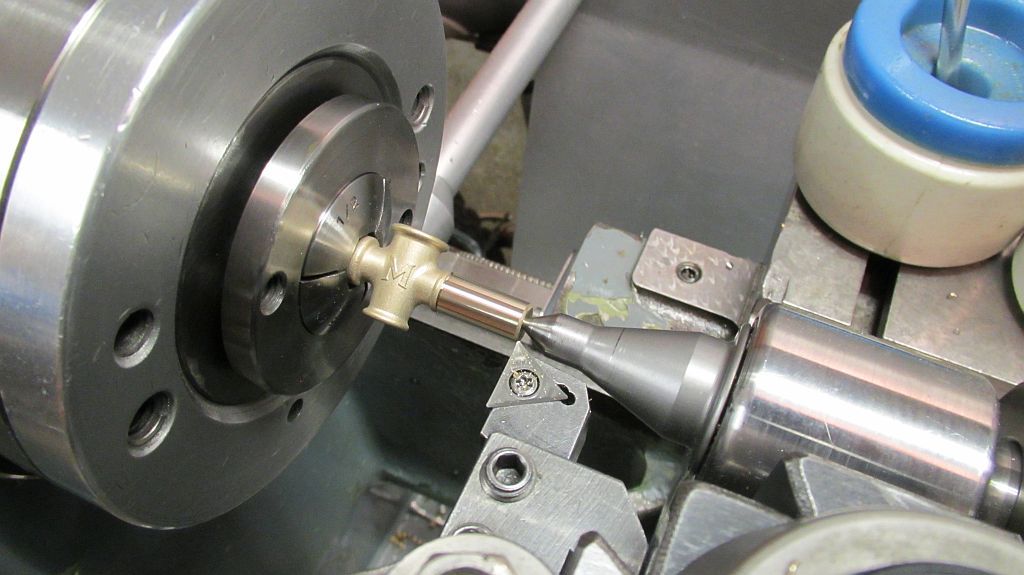
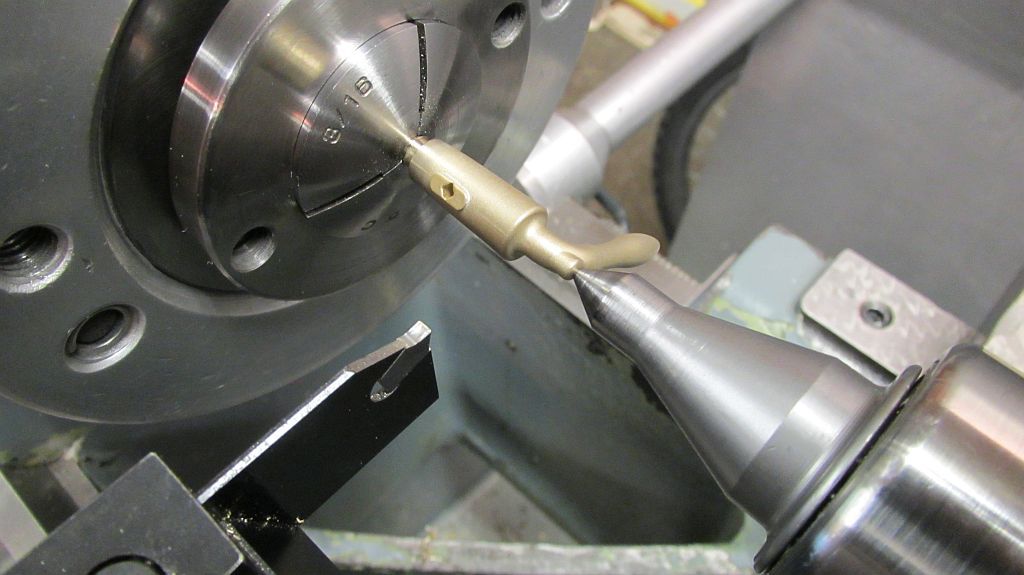
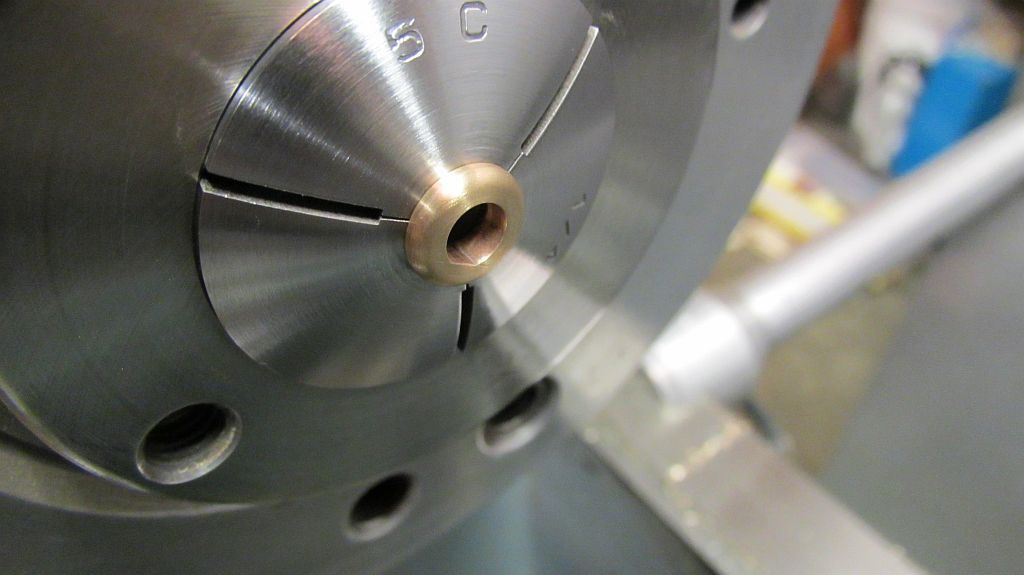
Starting with the body castings; they were held in a hex collet and indicated in. Carefully the end was faced and center drilled. The main diameter was turned and a notch cut as a reference to where they would be cut off.
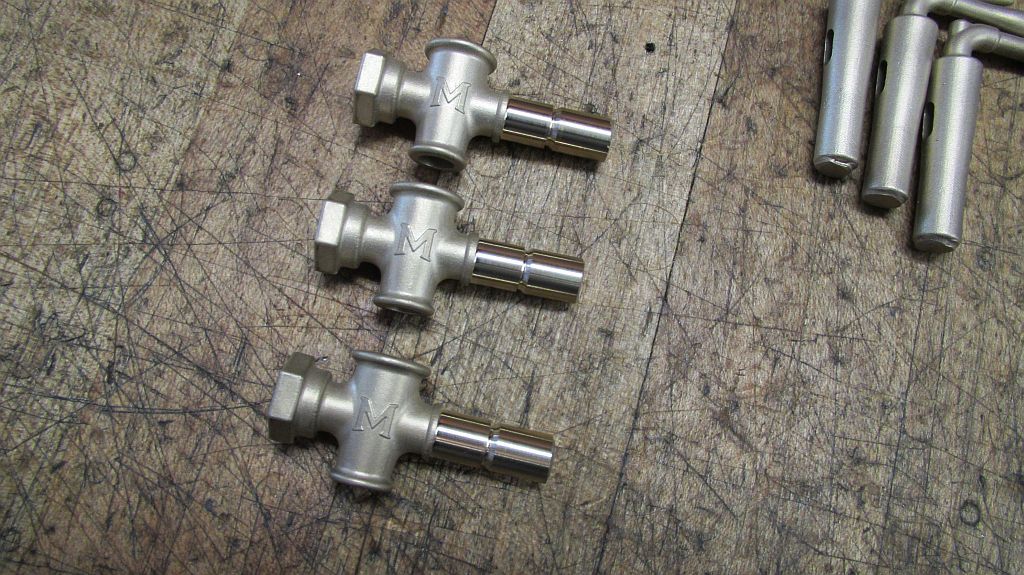
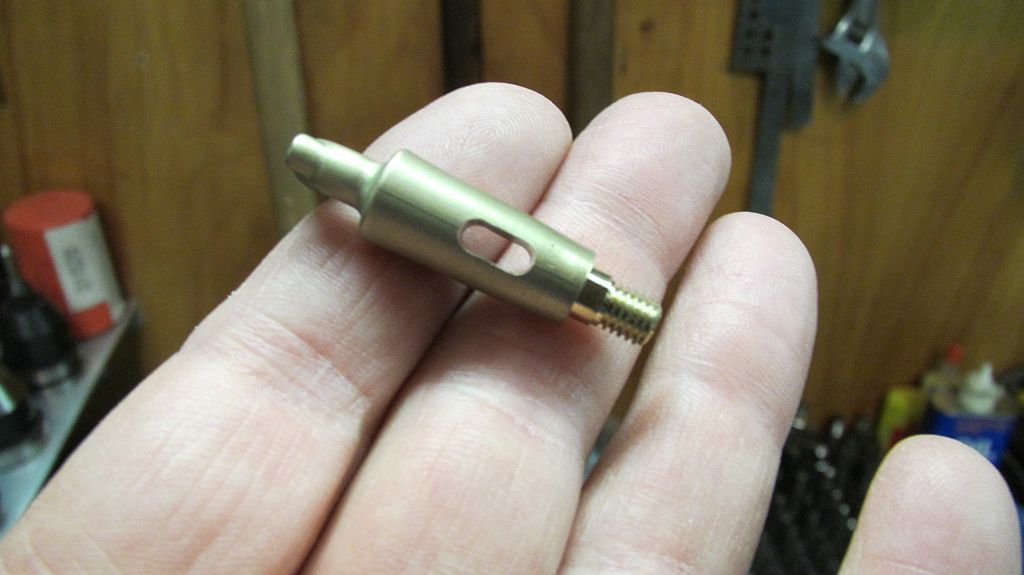
Here are the bodies ready for the next operation.
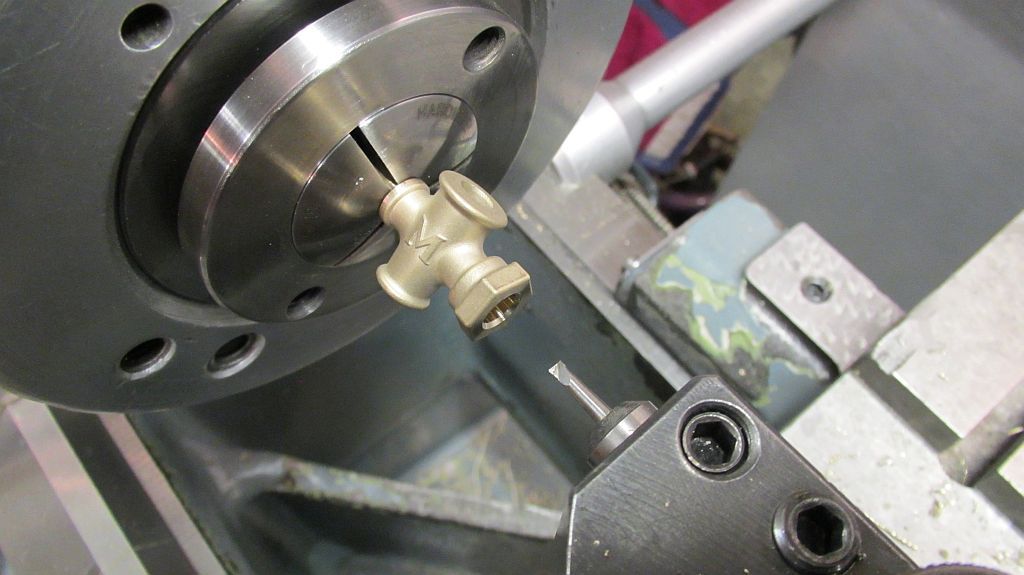
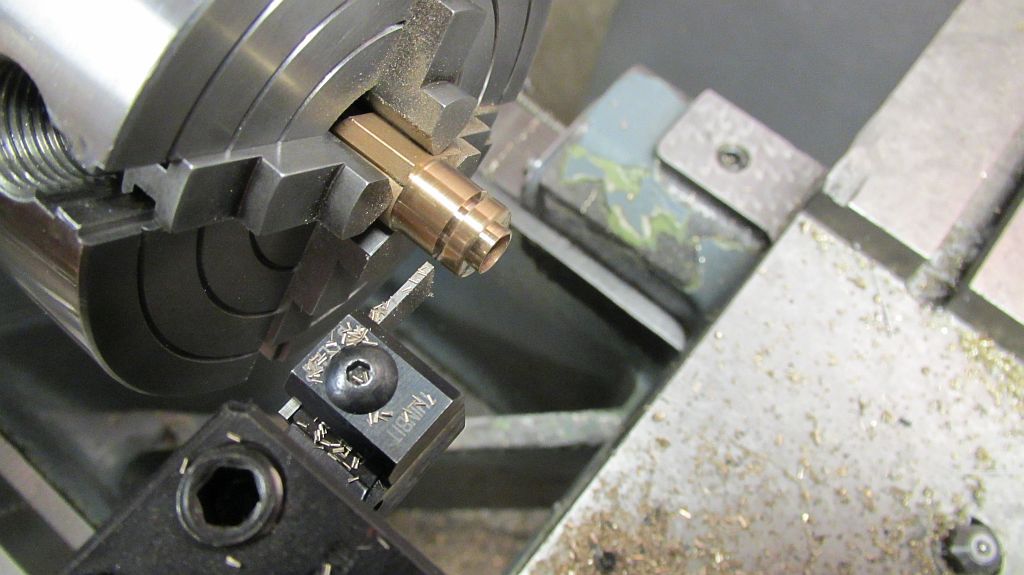
Flipped around and held in a collet the bore for the ID thread is opened up with a boring bar to maintain concentricity with the opposite end.
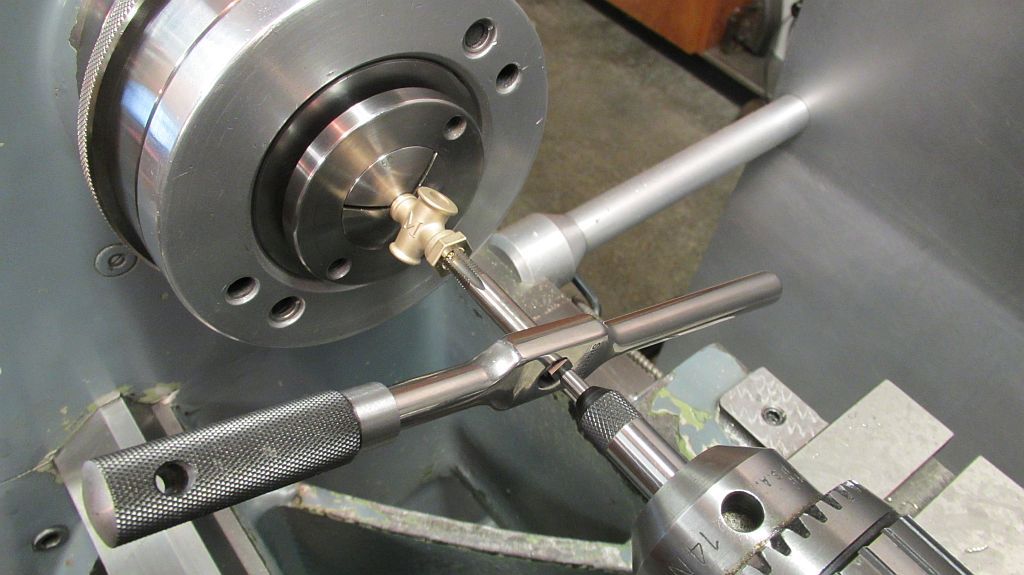
The 1/16” NPT or 5/16”MTP is taped using a guide in the tailstock.
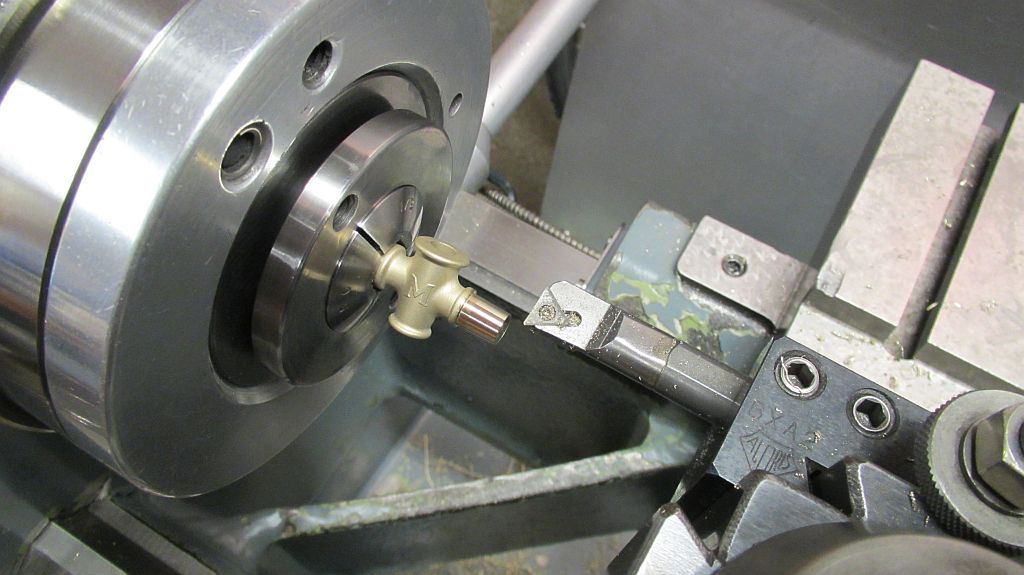
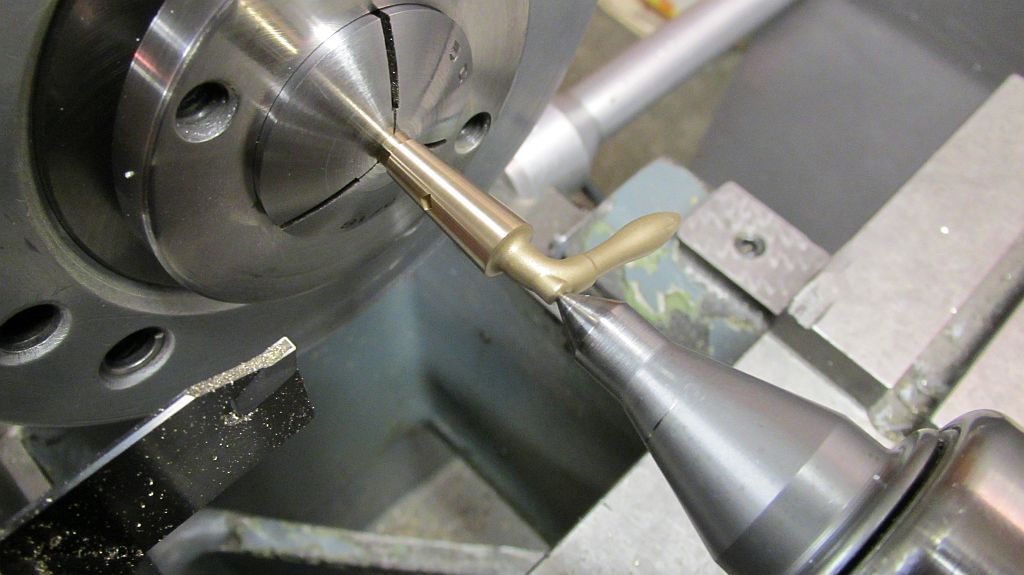
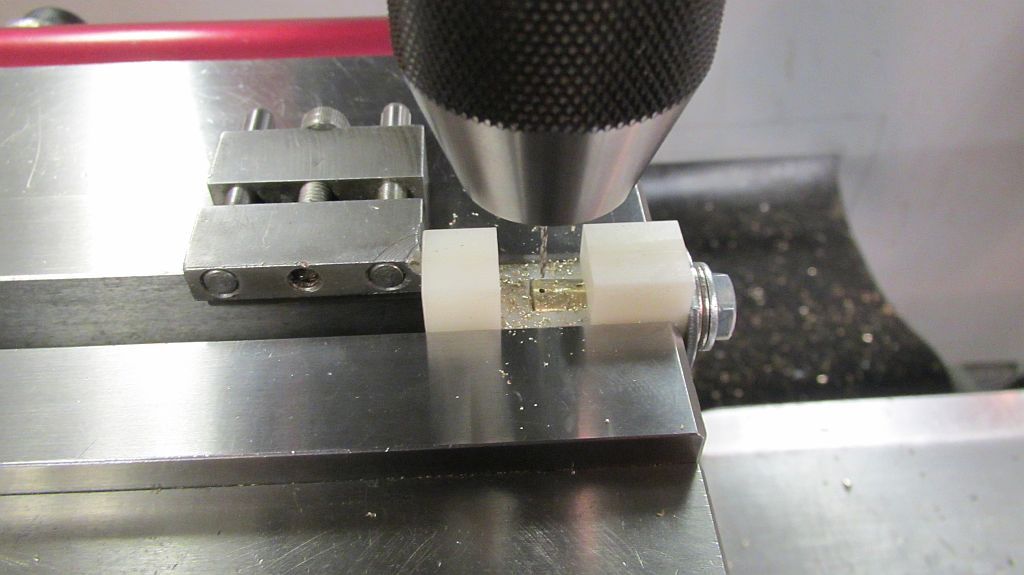
After the bodies have been cut and faced to length the taper for the pipe thread is machined using a boring bar. Also the hole through the center will be drilled.
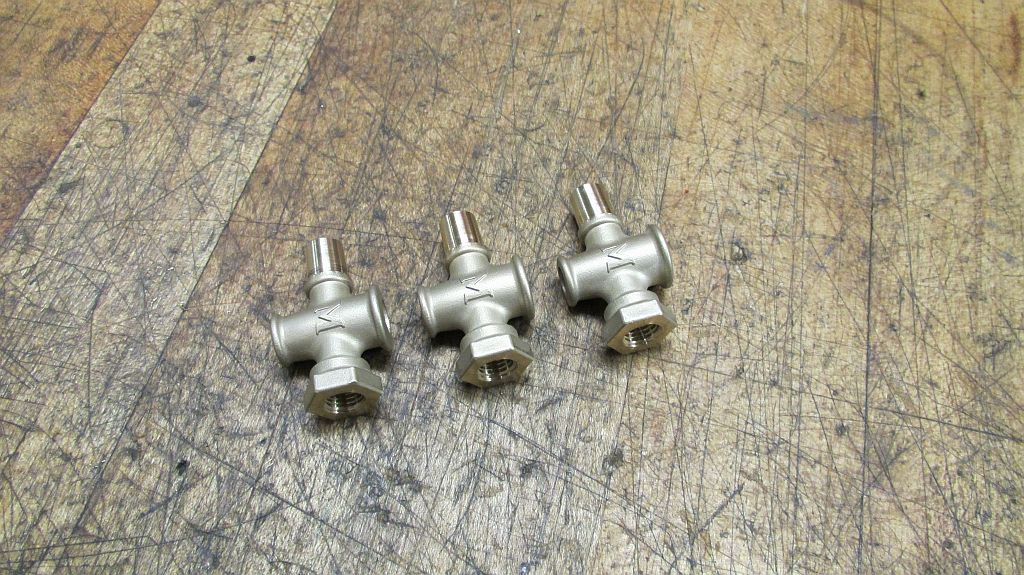
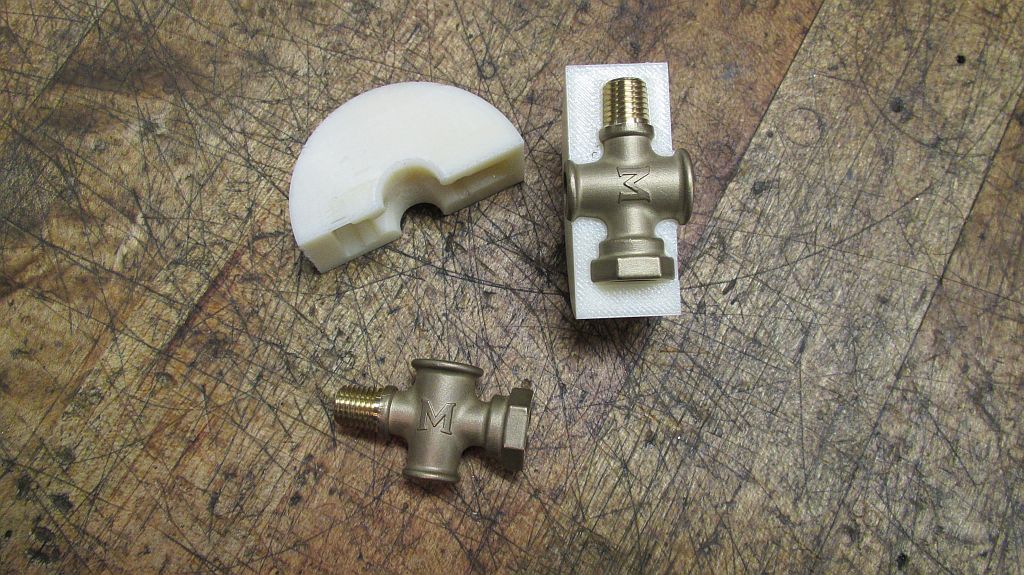
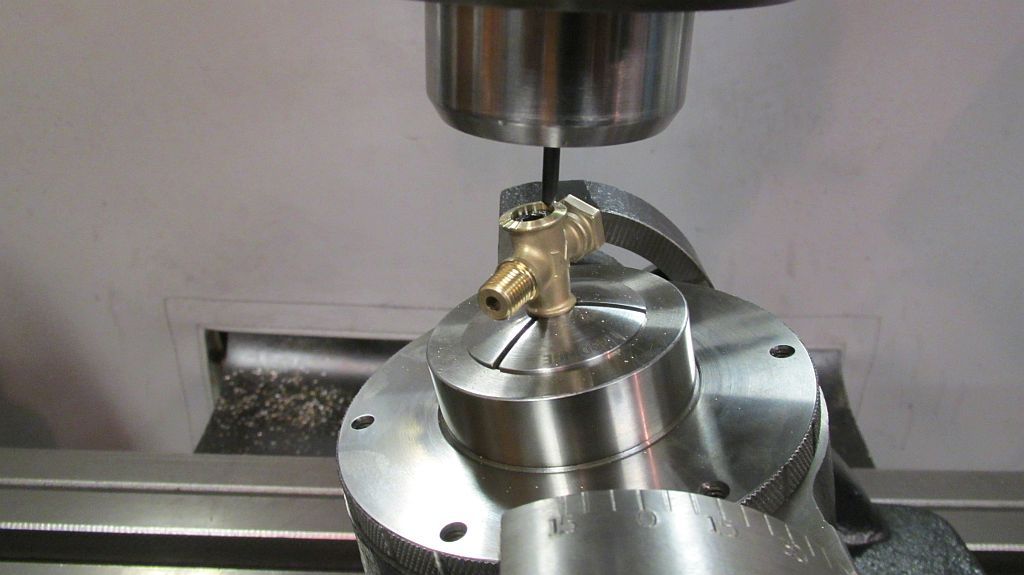
Here are the three bodies ready to have the threads milled. A couple of reasons for wanting to mill the threads; this something I have never done and will (hopefully) result in better threads than with using a die.
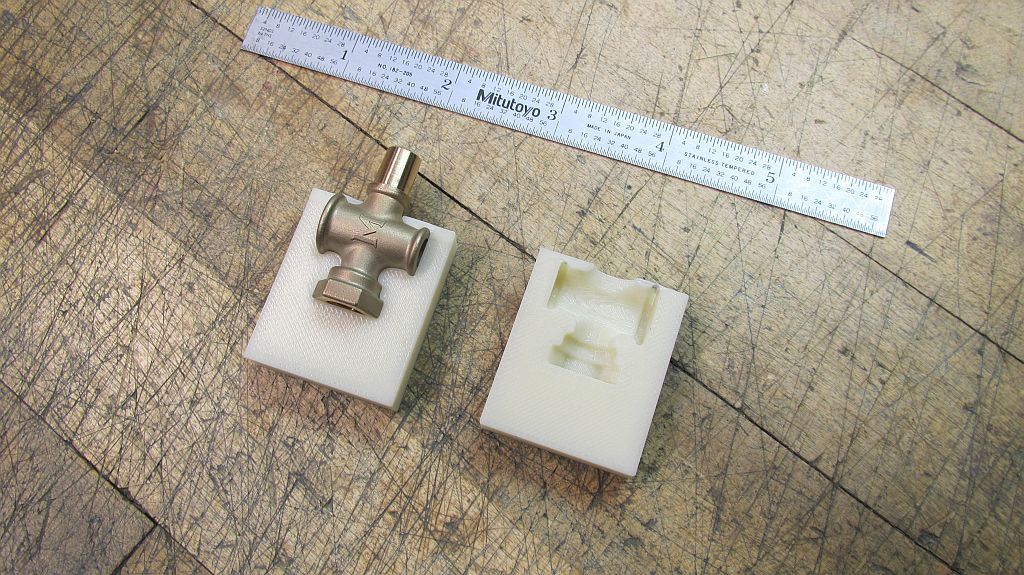
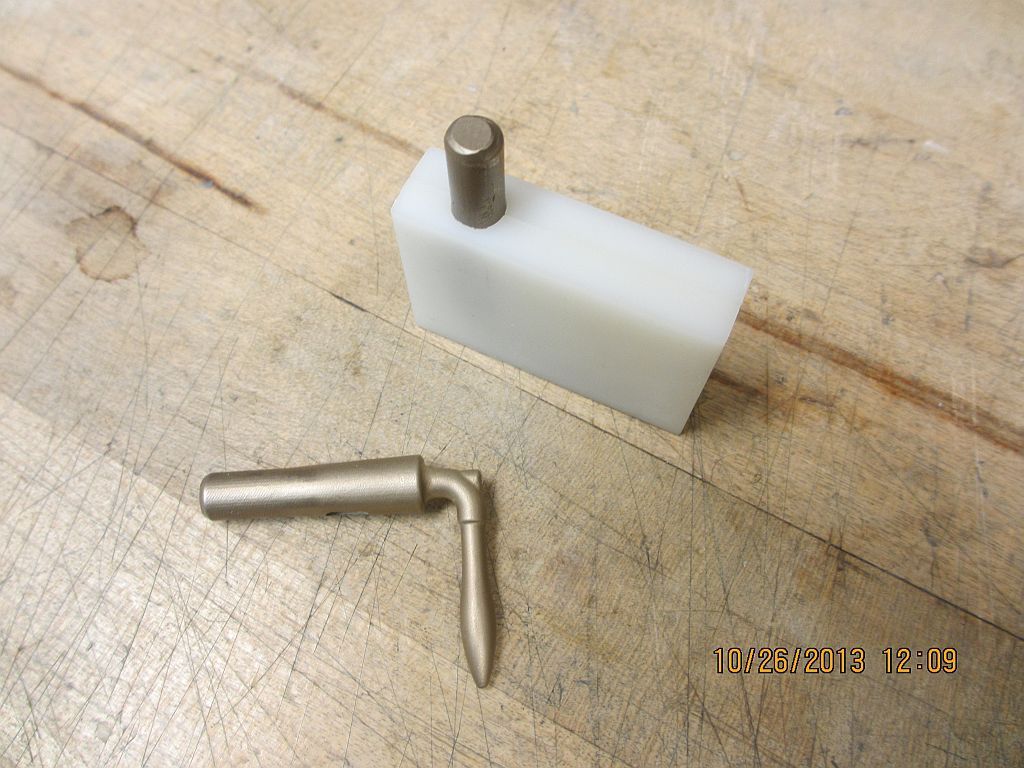
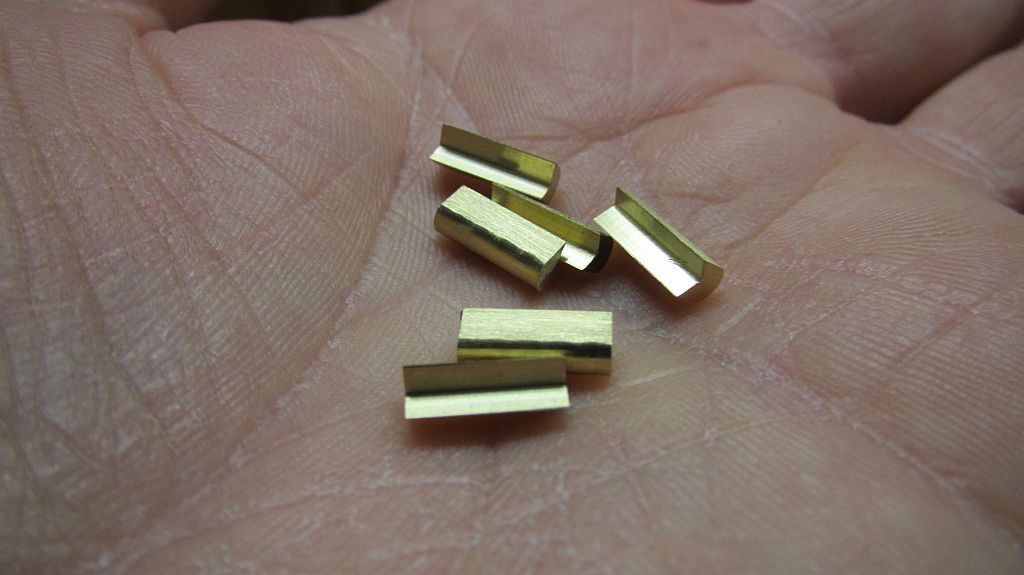
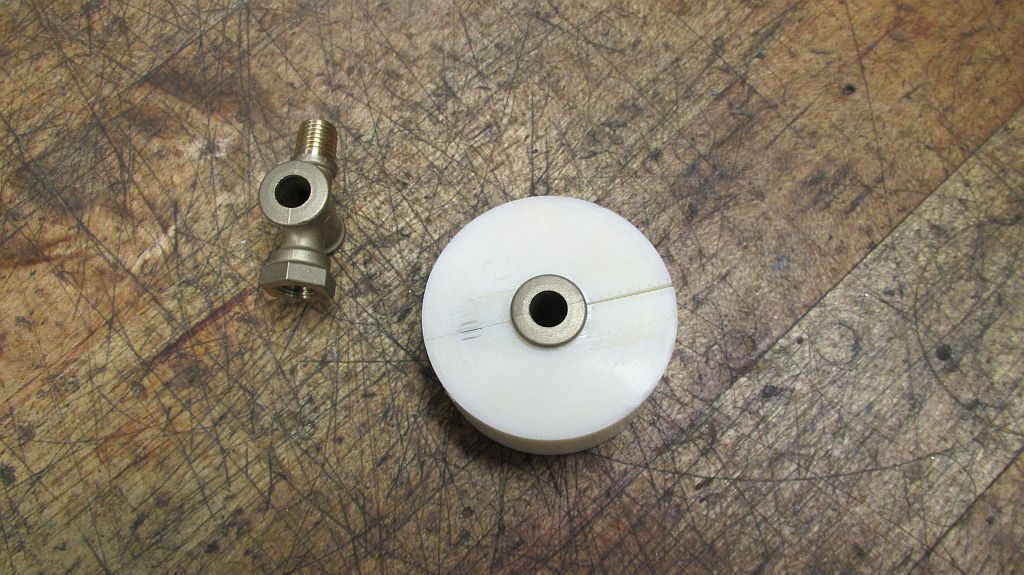
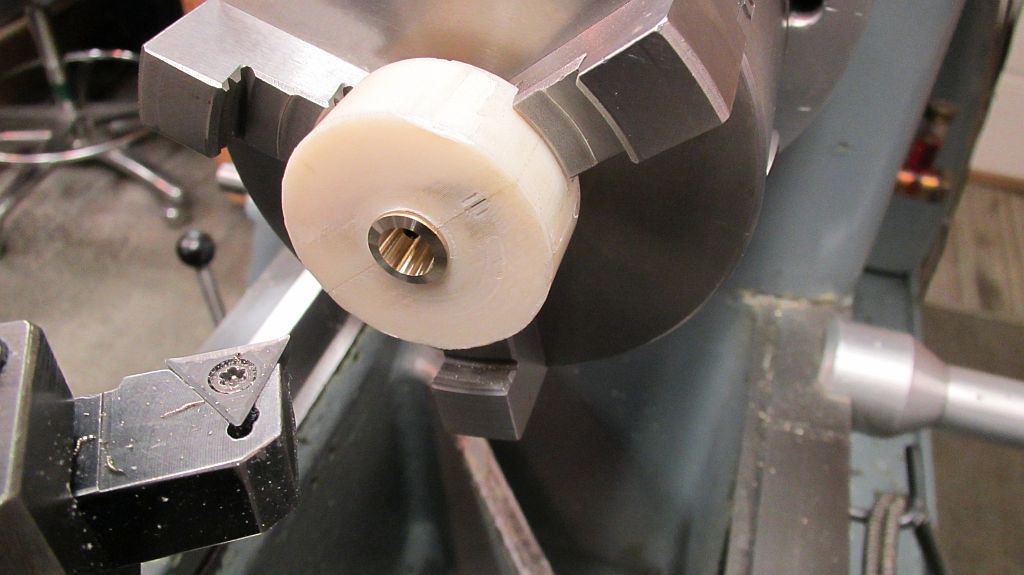
Here is my first printed fixture; this one done on a FDM machine (Fused Deposition Modeling) the most common 3d printer you see these days.
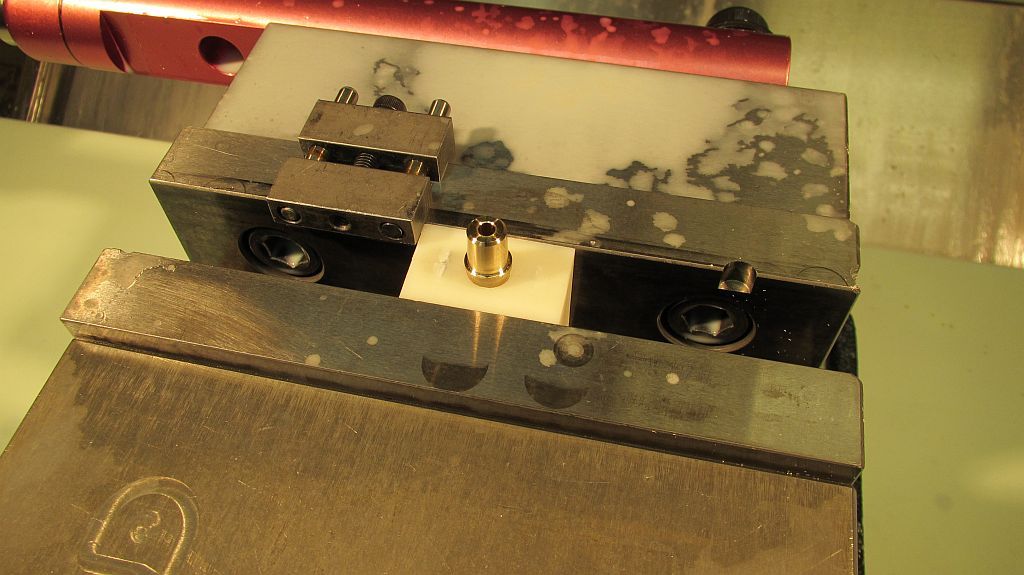
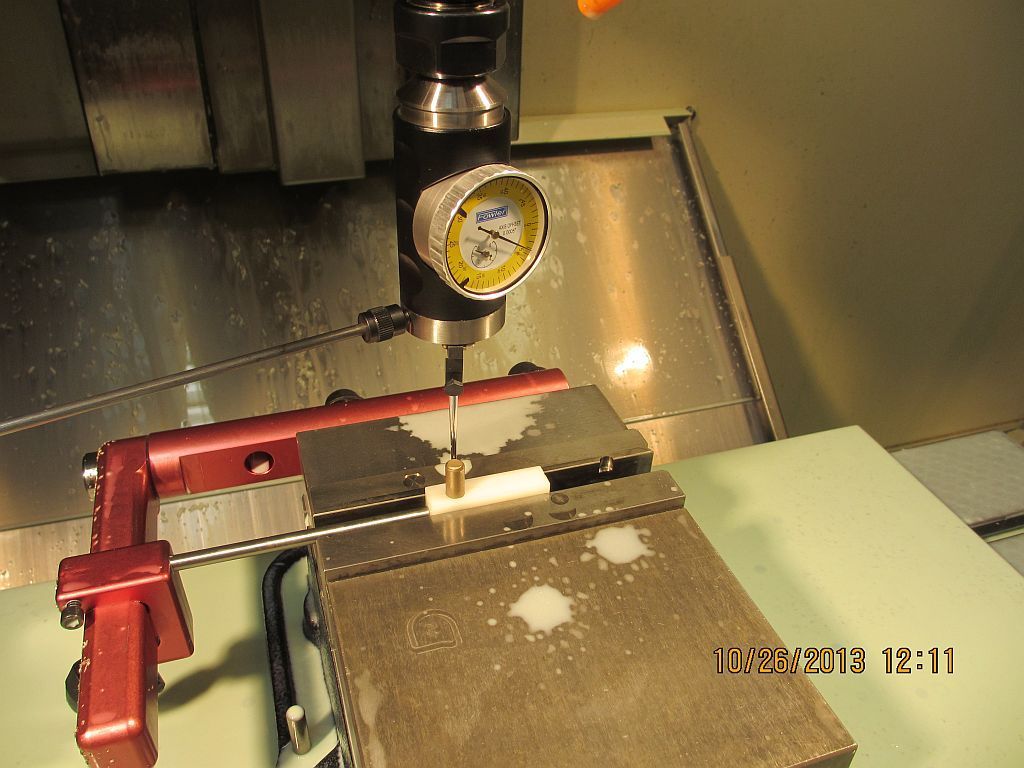
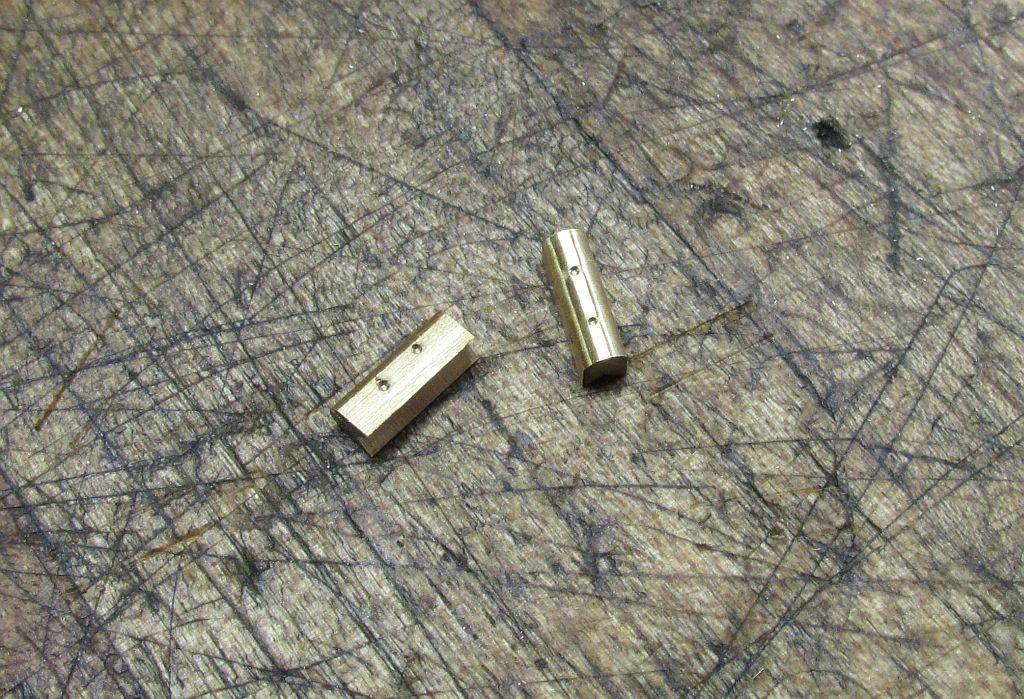
The assembled fixture in the mill ready to mill the threads. This type of fixture could also easily be used in a 4 jaw chuck.
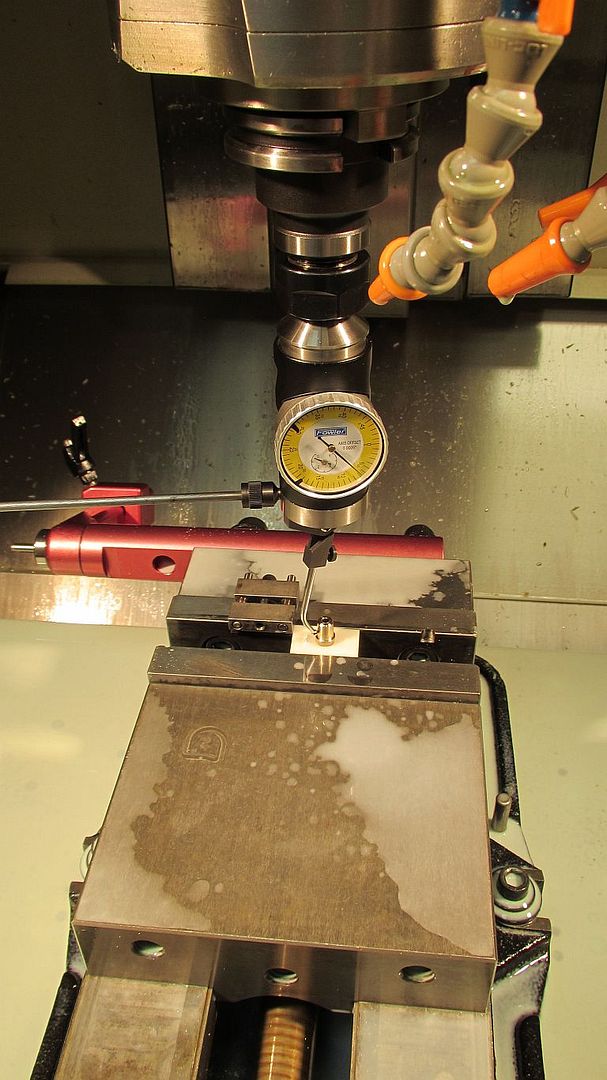
I indicated each one in but surprisingly they were all within a couple thou of each other.
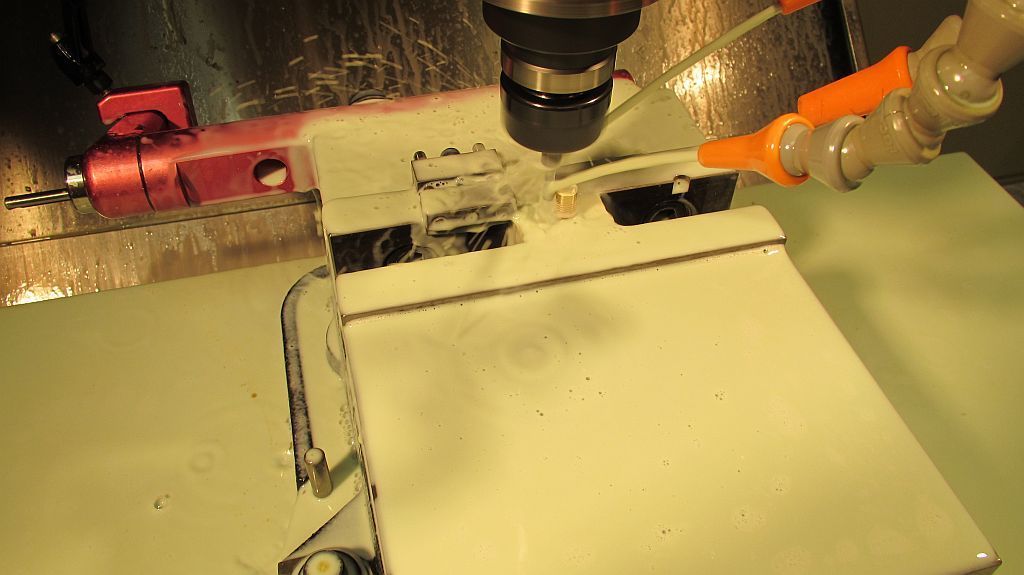
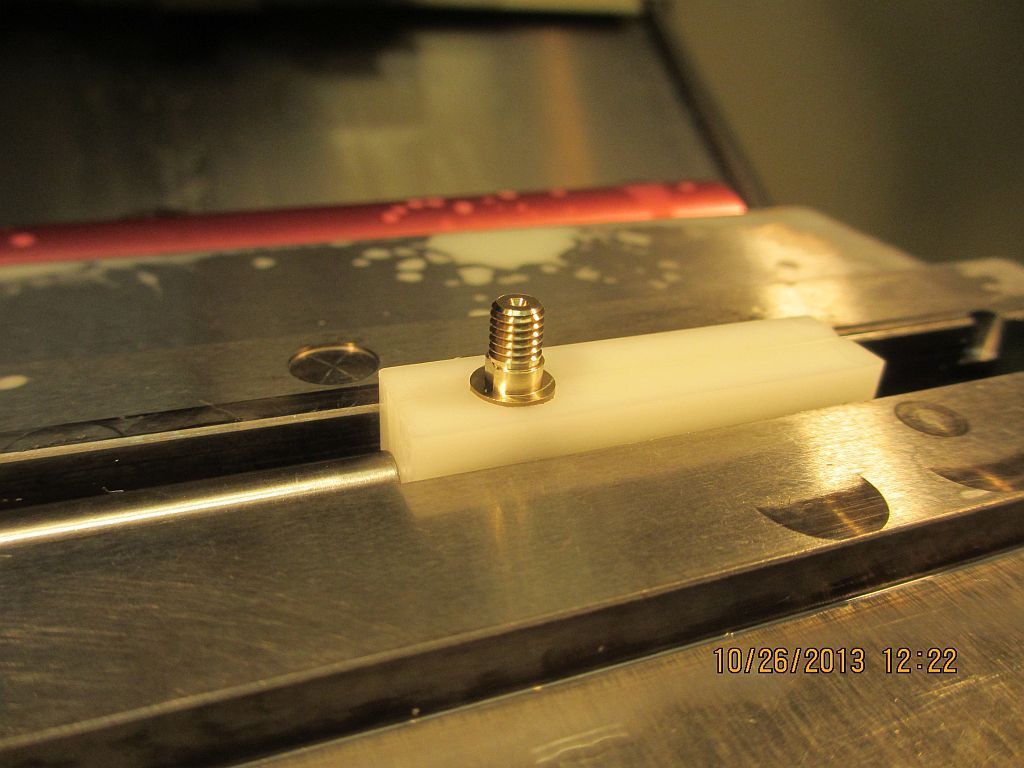
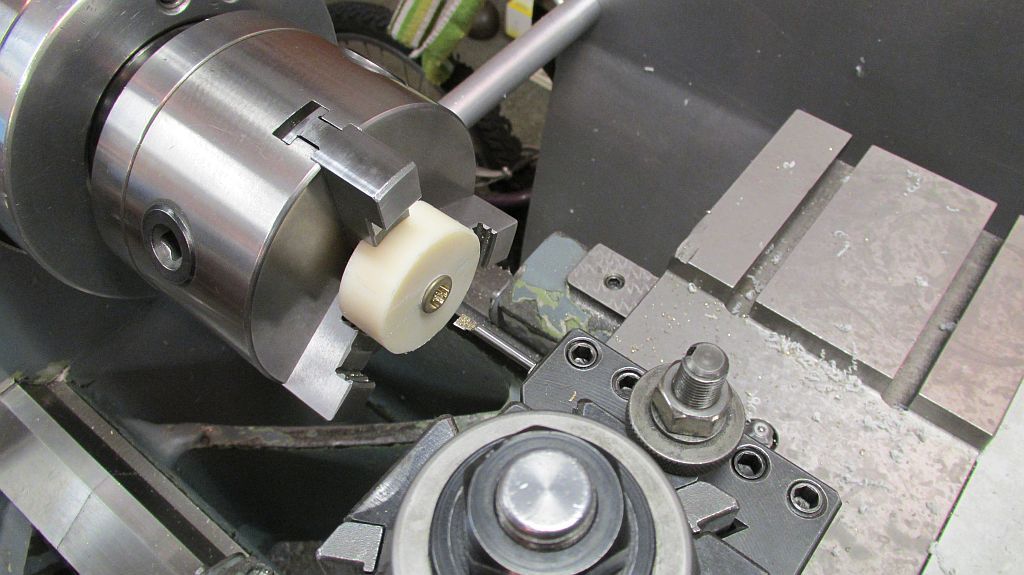
Here is an action shot of the thread milling operation.
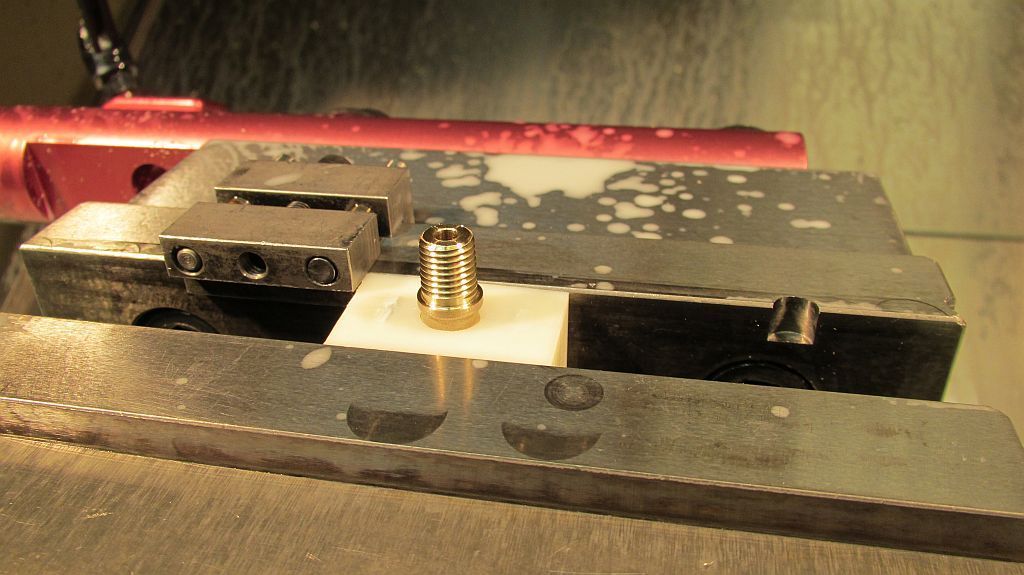
With just a little tweaking I was getting an acceptable thread; I did run a couple of aluminum dummy parts to get it dialed in.
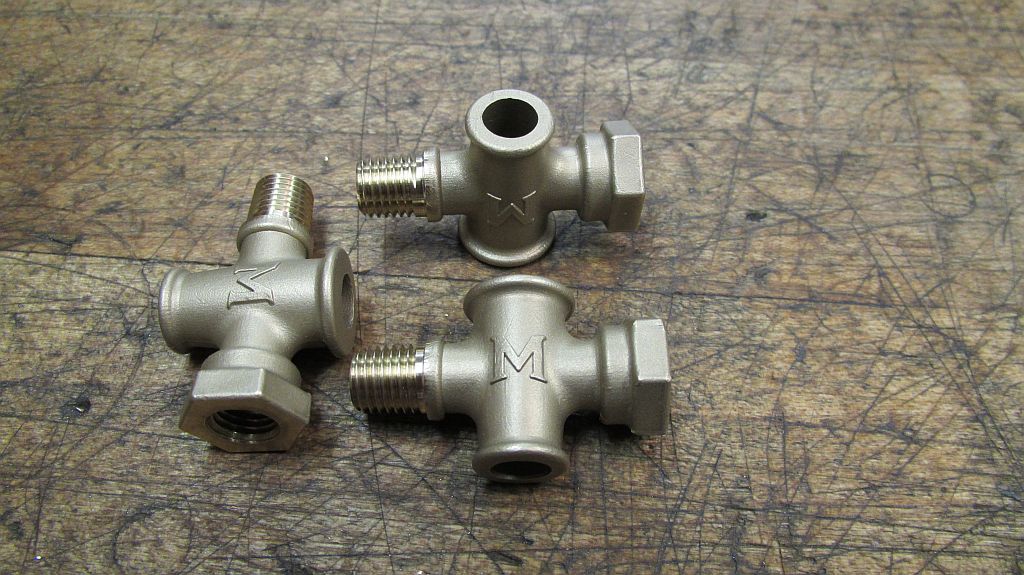
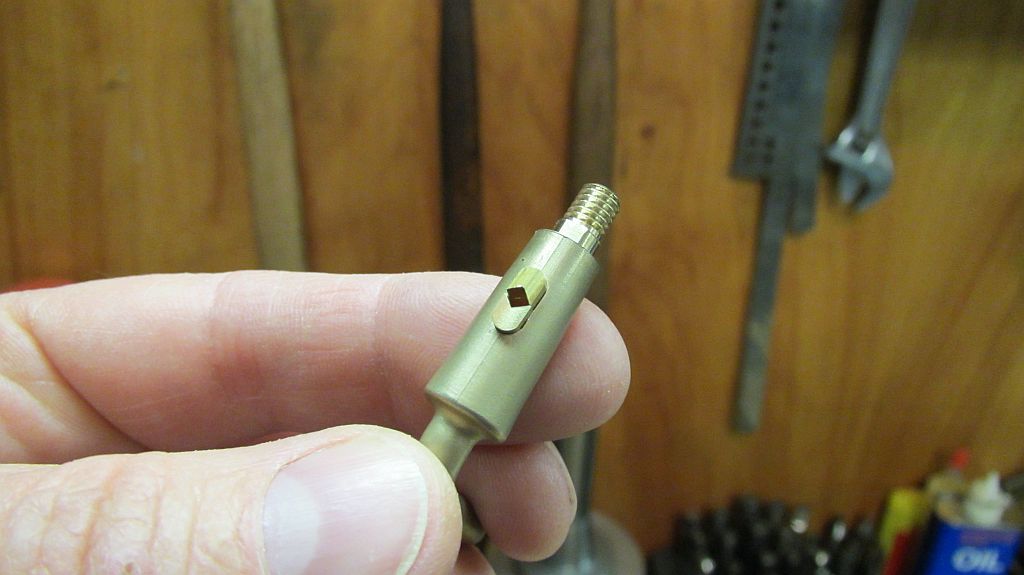
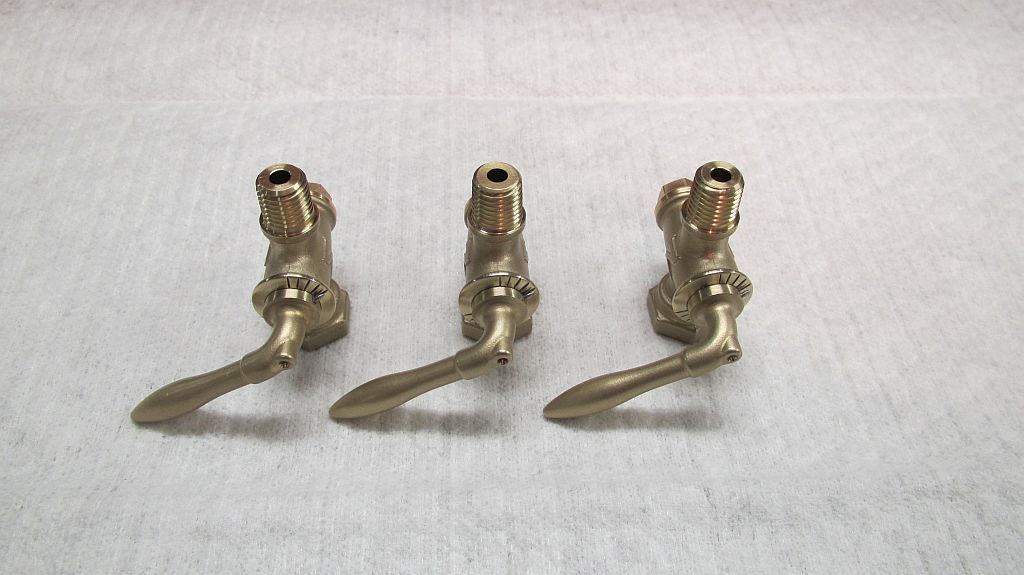
The three valve bodies ready for the next operation.
I kind of went overboard on the pictures so I will post more later.
Thanks for checking in,
Dave


![MeshMagic 3D Free 3D Modeling Software [Download]](https://m.media-amazon.com/images/I/B1U+p8ewjGS._SL500_.png)


