MarinusK
Member
- Joined
- Sep 19, 2014
- Messages
- 15
- Reaction score
- 14
Hi all,
I wanted to build a small IC engine, small enough to put my skills to the test, asked around here on HMEM and Cogsy gave me a link to PUTPUTMAN aka Arv's Tiny IC.
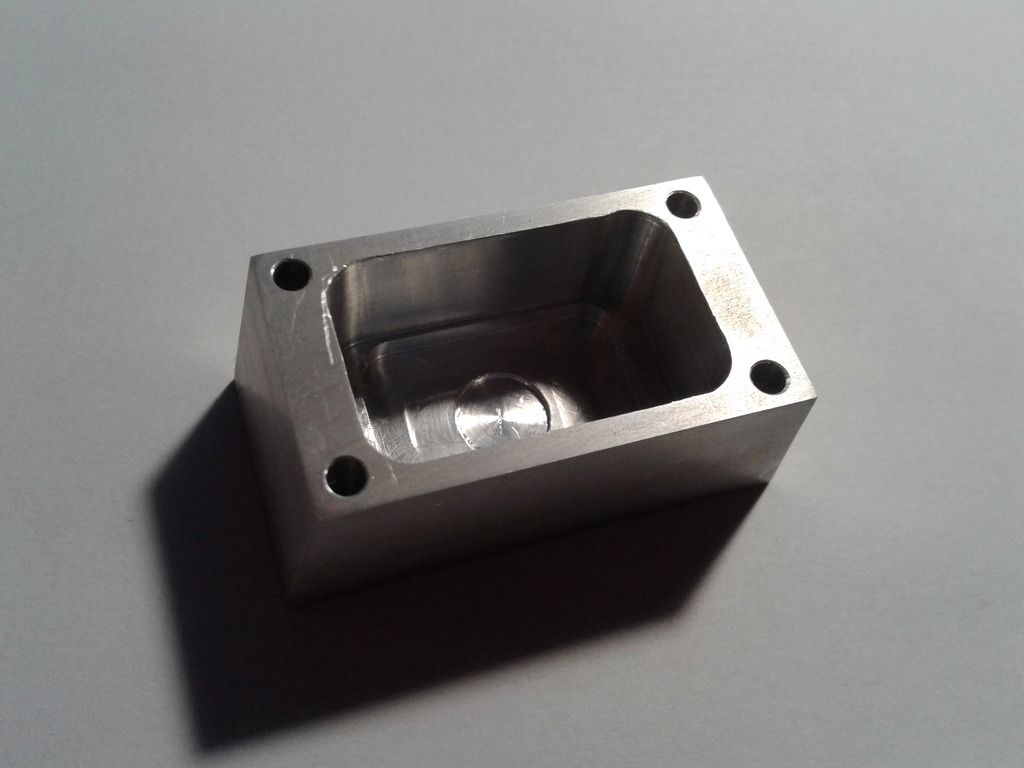
Okay so almost a week ago I started cutting away at my first part, which was unsuccessful. Well I couldn't leave the workshop without the satisfaction of holding a part I just made, so made the fuel tank first.
The next day I made the flywheels and started with the head. Now as all of you "Tiny" enthusiast may know, is that the original plans by Arv, shows the spark plug hole at an angle of 10 deg from the front and 10 deg from the left. Tried figuring out how to hold it in the mill, as we don't have any fancy swivel vices... but what we have is a 3D printer. So I drew up some holders to hold the head at the correct angle and printed it. It worked great, and made quick work of something that would've taken me a while.
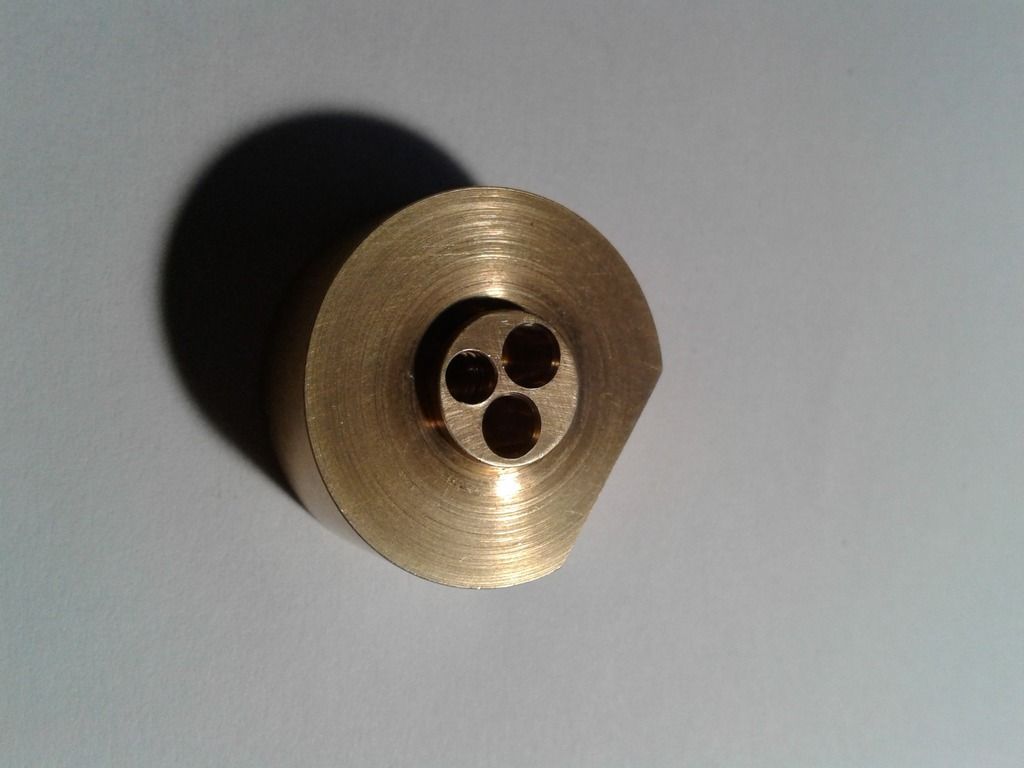
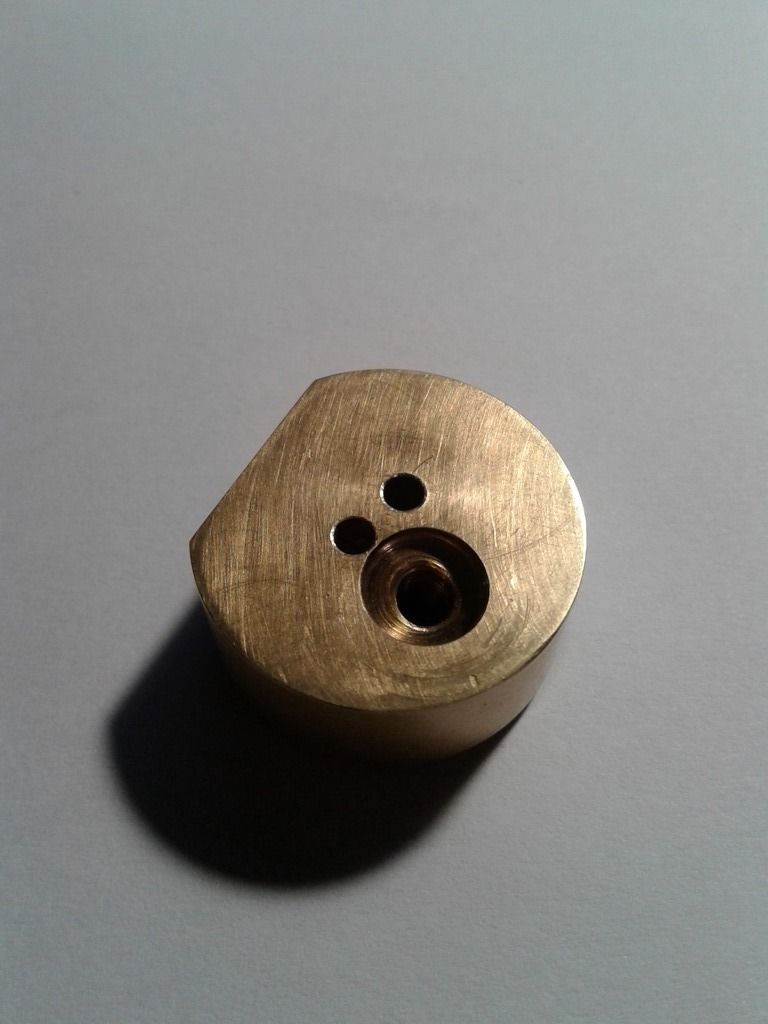
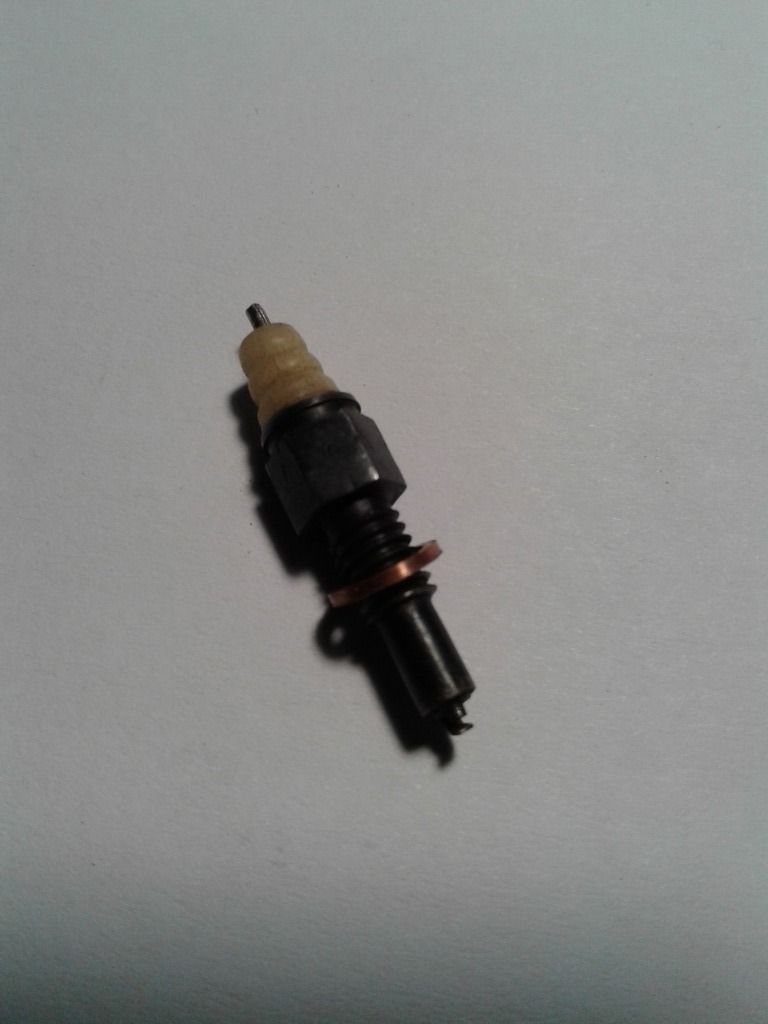
I then turned to the spark plug, which is another reason why it's so special.. because it was made from bones. Okay well, we don't have any corian or drylin, then I saw a piece of bone that was left over from the gun butstock my dad had to make for someone, so I figured that I might as well give it a try. Well the spark plug works, but I don't know for how long .
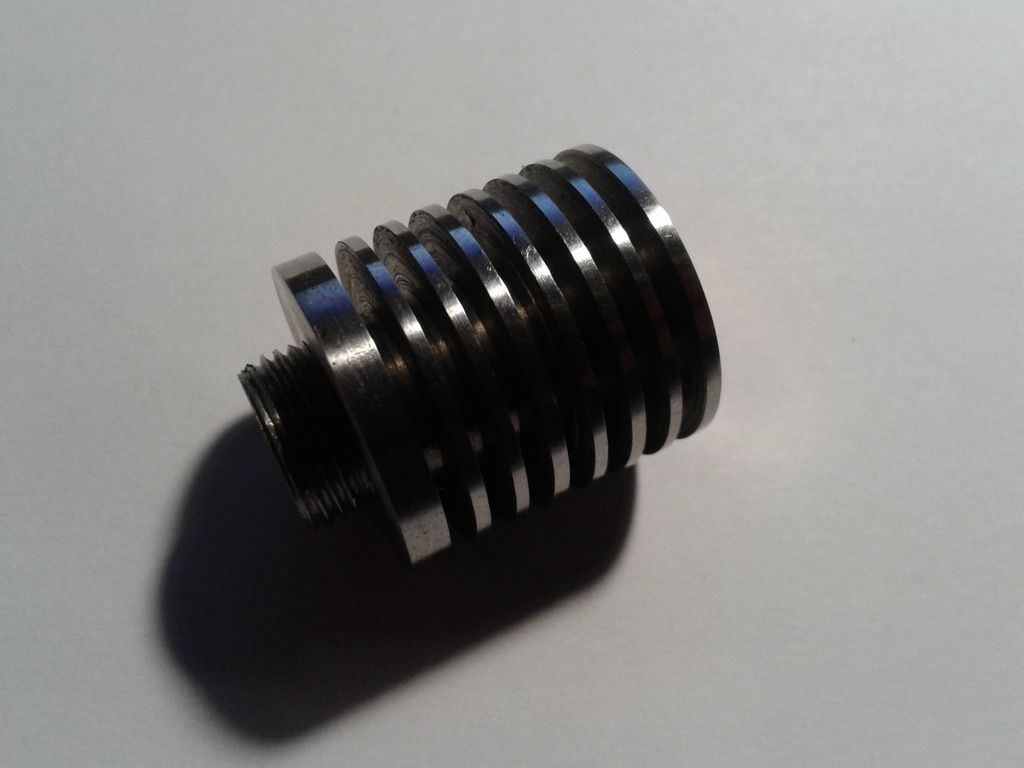
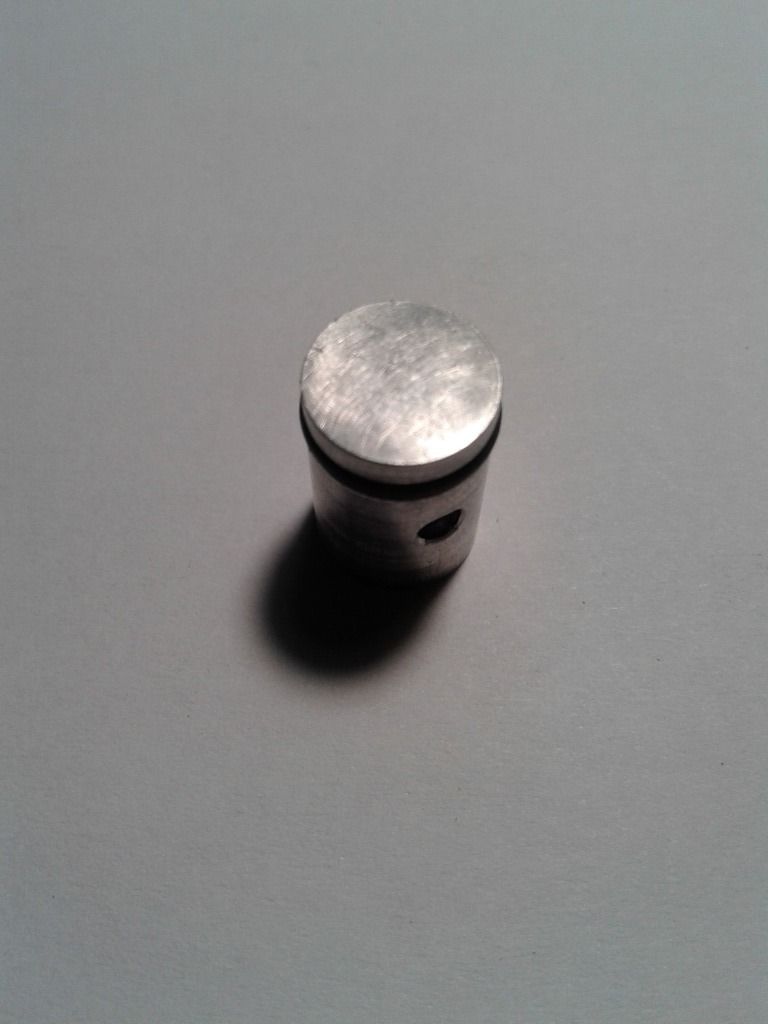
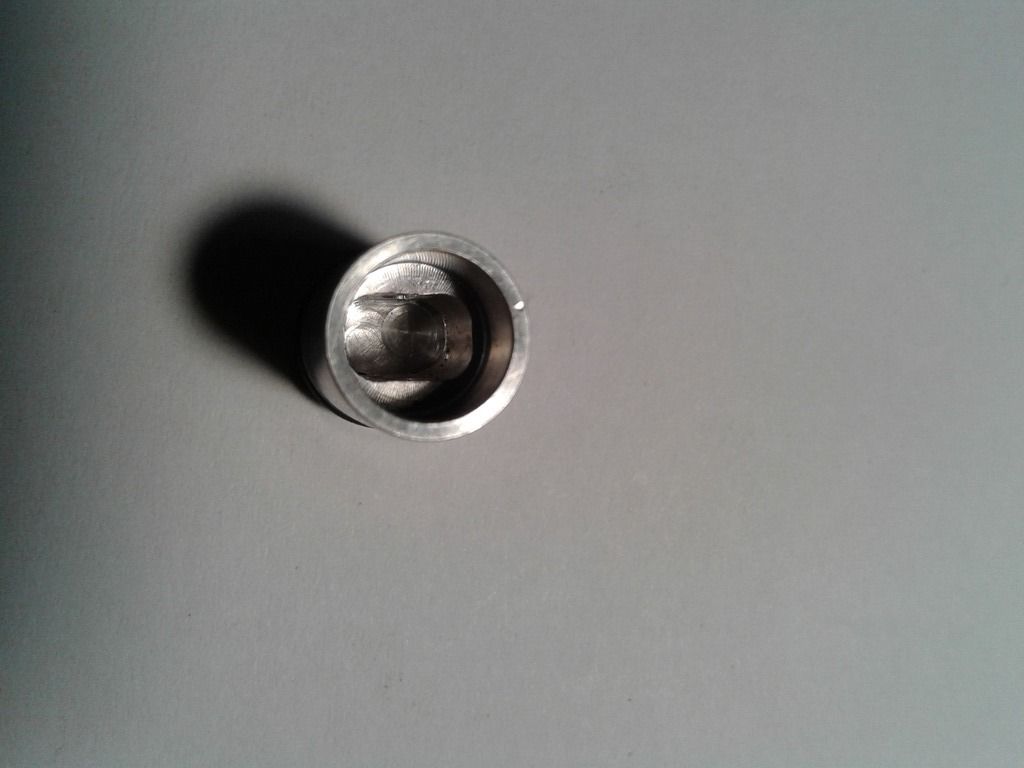
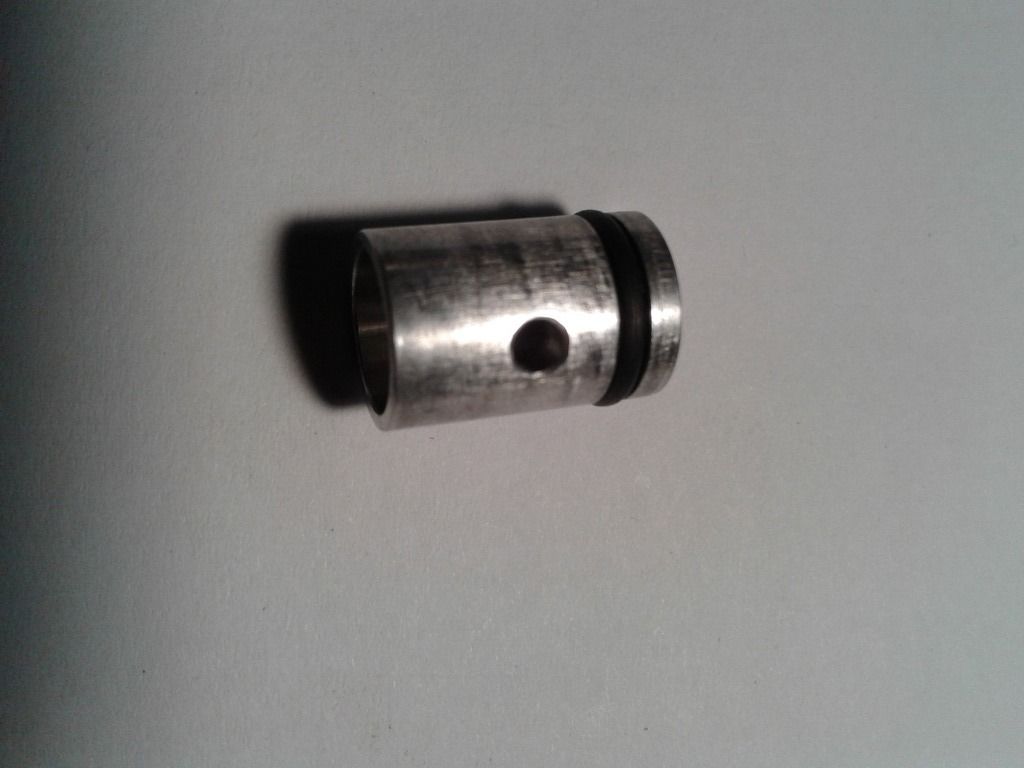
The cylinder was made from some steel bar and drilled and bored to size and finally lapped. Piston was fairly quick to make and fitted a Buna-N o-ring, that I know I should replace.
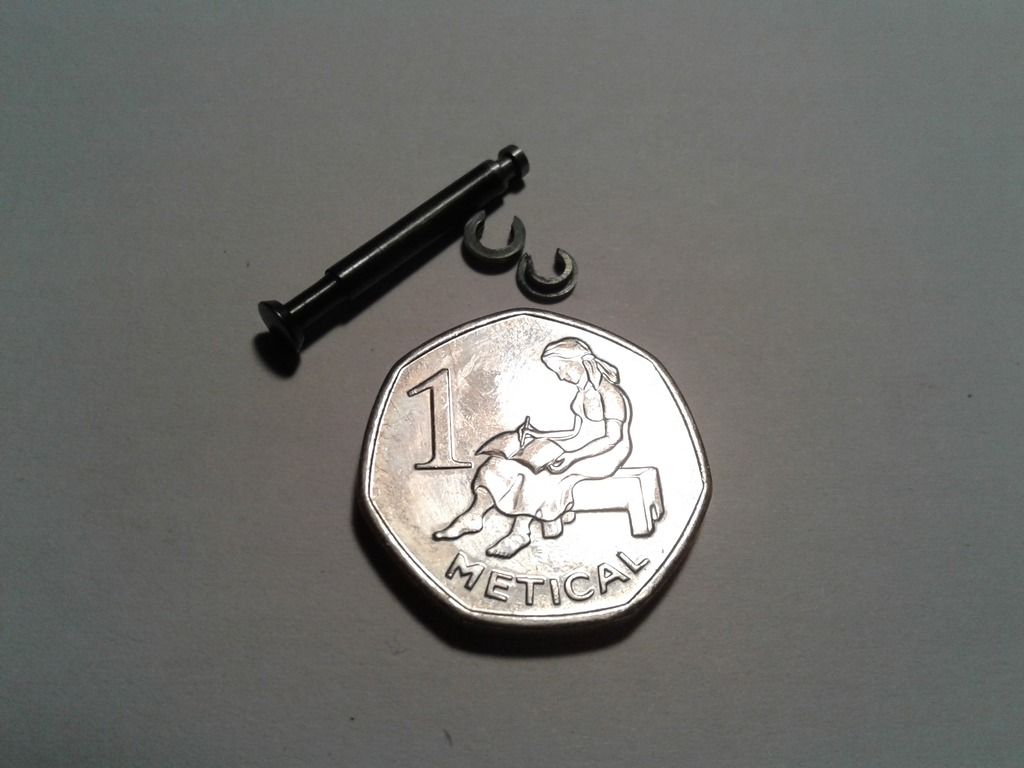
I made the valve next (only one at the moment) , easier than I thought it would be. I deviated from the plans when I made the valve, I made it thinner at the valve bottom to allow a bit more flow. The valve keeper was fairly easy as well, I just lost 3 of them, by sneezing, by dropping it in the swarf and the other one I just can't remember where I had put it.
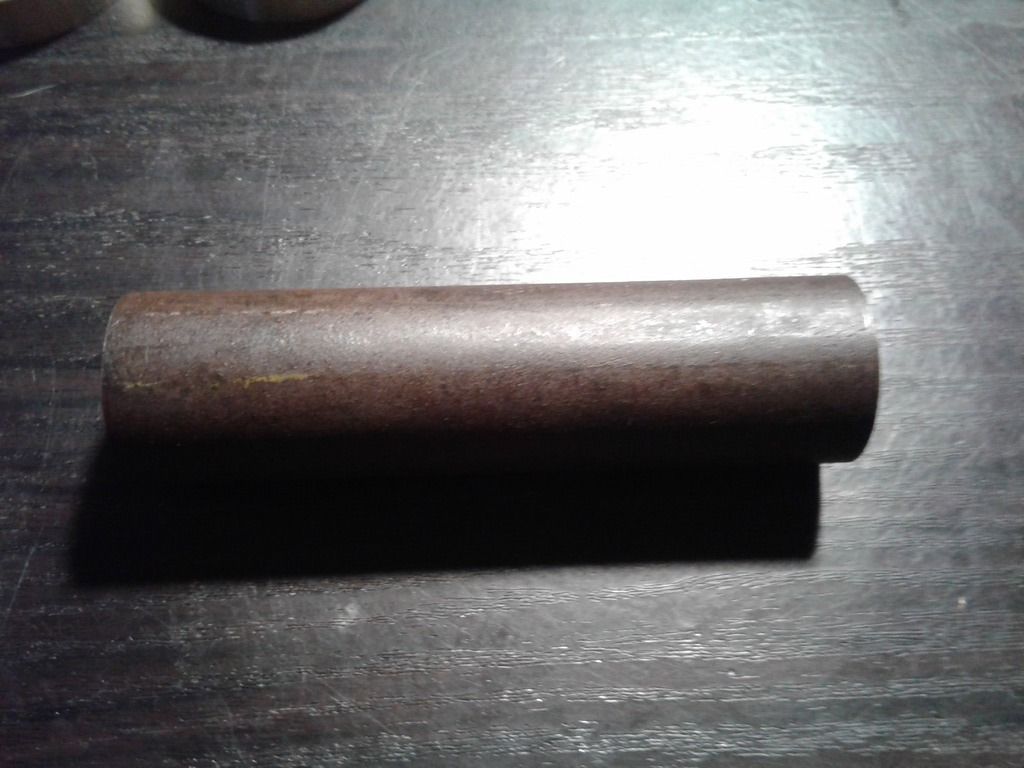
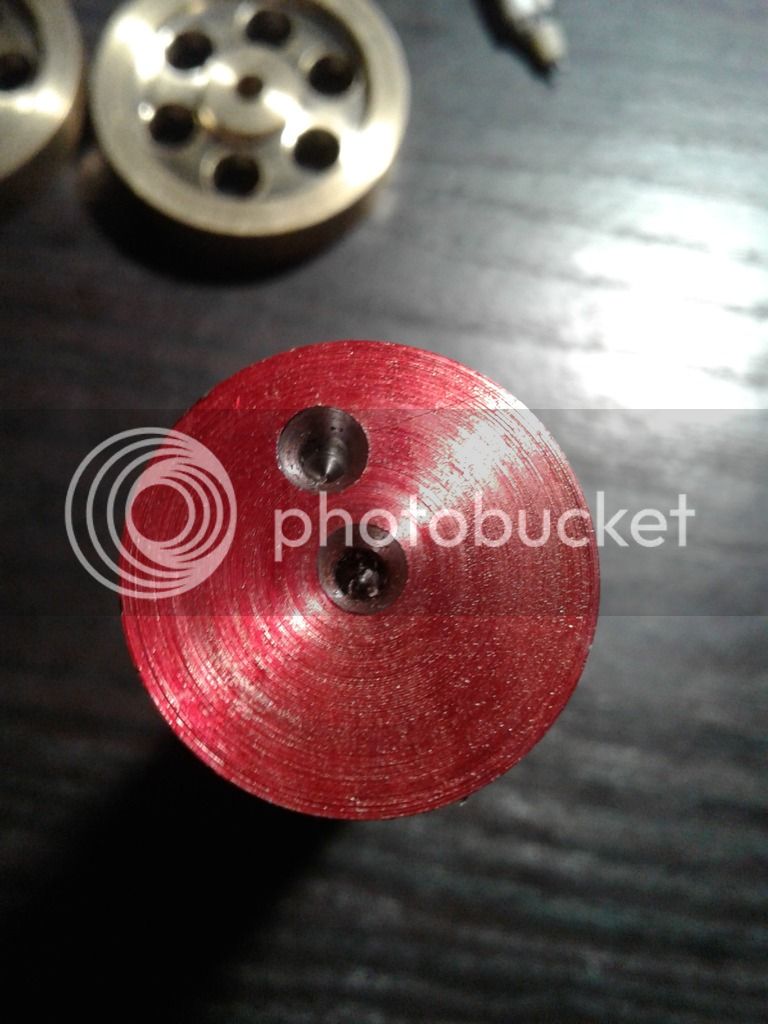
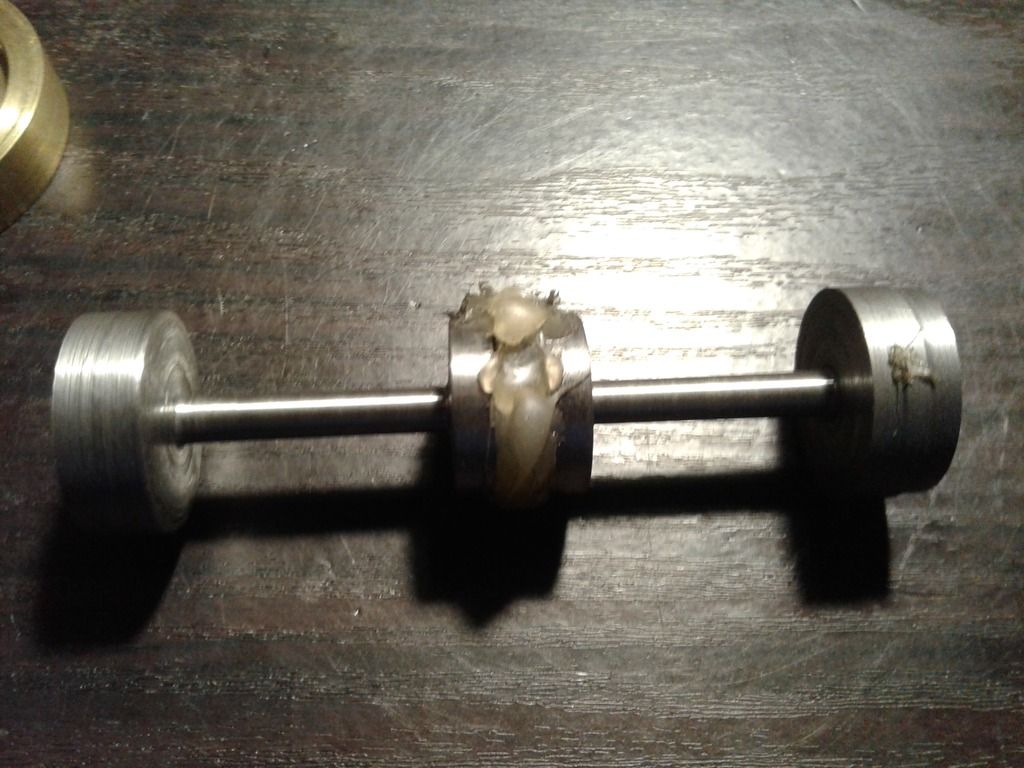
The crankshaft was the part that had me worried, the first one was a complete stuff up, but the second one came out okay I think. Took a bar of steel just over 20mm and center drilled both sides, marked out 0.250" from the center on both sides, making sure that they are both square, and center drilled them as well. I used a center held in the chuck and the live center at the toolpost and wanted to use a lathe dog to machine the crankshaft, but the one we have just won't fit, so I just went ahead without the dog. Surprisingly it worked, but didn't want to hold when I wanted to machine the crank pin. So I used the hot glue gun, and after 5 or 6 tries it finally held on. After the shafts have been machined to the right diameter I took it to the mill and machined the counterweight.
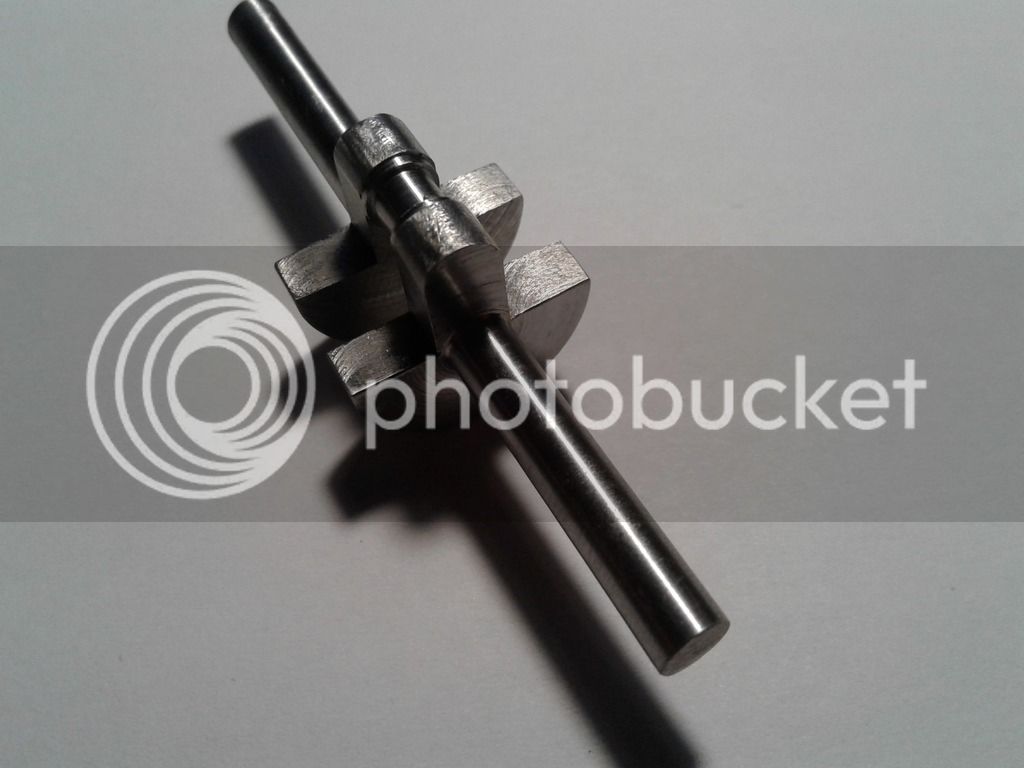
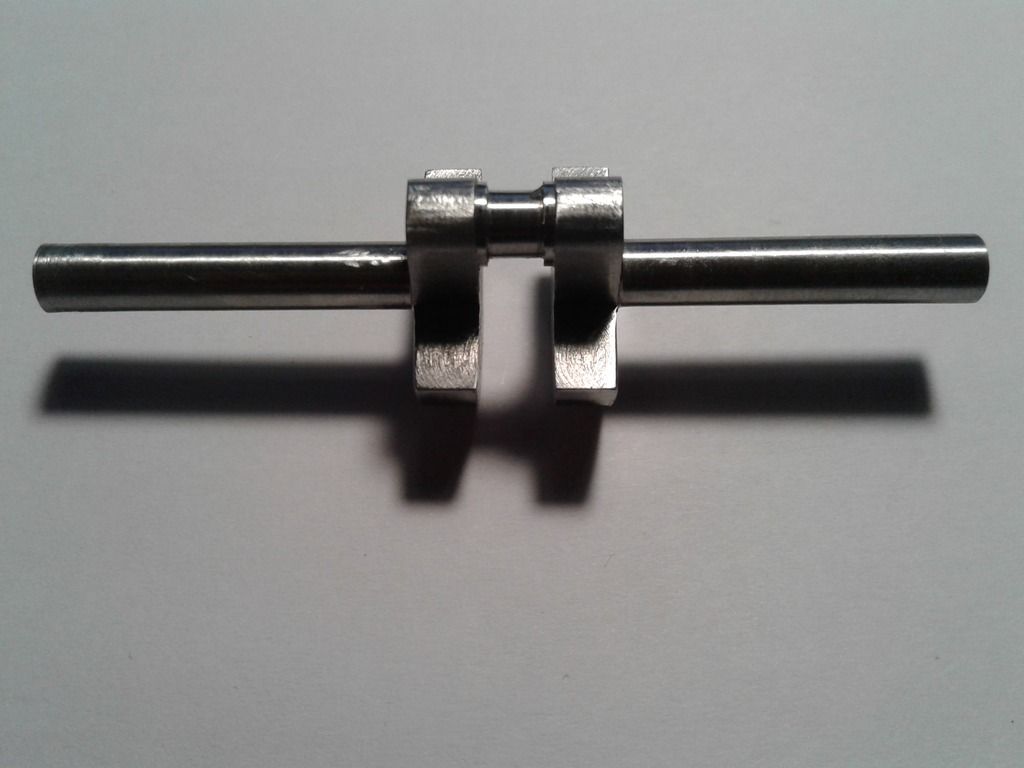
Here's all of the bits together with 1 Metical.
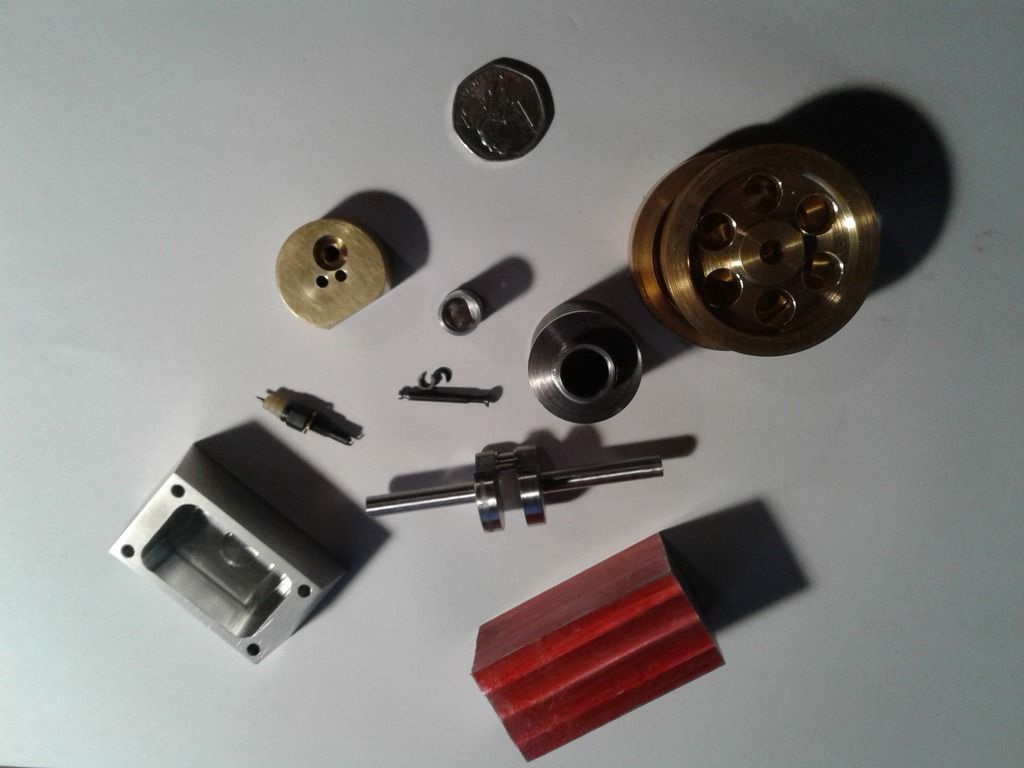
So tomorrow I'll have a go at the conrod, while I wait for my cutter to arrive to machine the crank case.
Thanks for looking in
Marinus
I wanted to build a small IC engine, small enough to put my skills to the test, asked around here on HMEM and Cogsy gave me a link to PUTPUTMAN aka Arv's Tiny IC.
Okay so almost a week ago I started cutting away at my first part, which was unsuccessful. Well I couldn't leave the workshop without the satisfaction of holding a part I just made, so made the fuel tank first.

The next day I made the flywheels and started with the head. Now as all of you "Tiny" enthusiast may know, is that the original plans by Arv, shows the spark plug hole at an angle of 10 deg from the front and 10 deg from the left. Tried figuring out how to hold it in the mill, as we don't have any fancy swivel vices... but what we have is a 3D printer. So I drew up some holders to hold the head at the correct angle and printed it. It worked great, and made quick work of something that would've taken me a while.


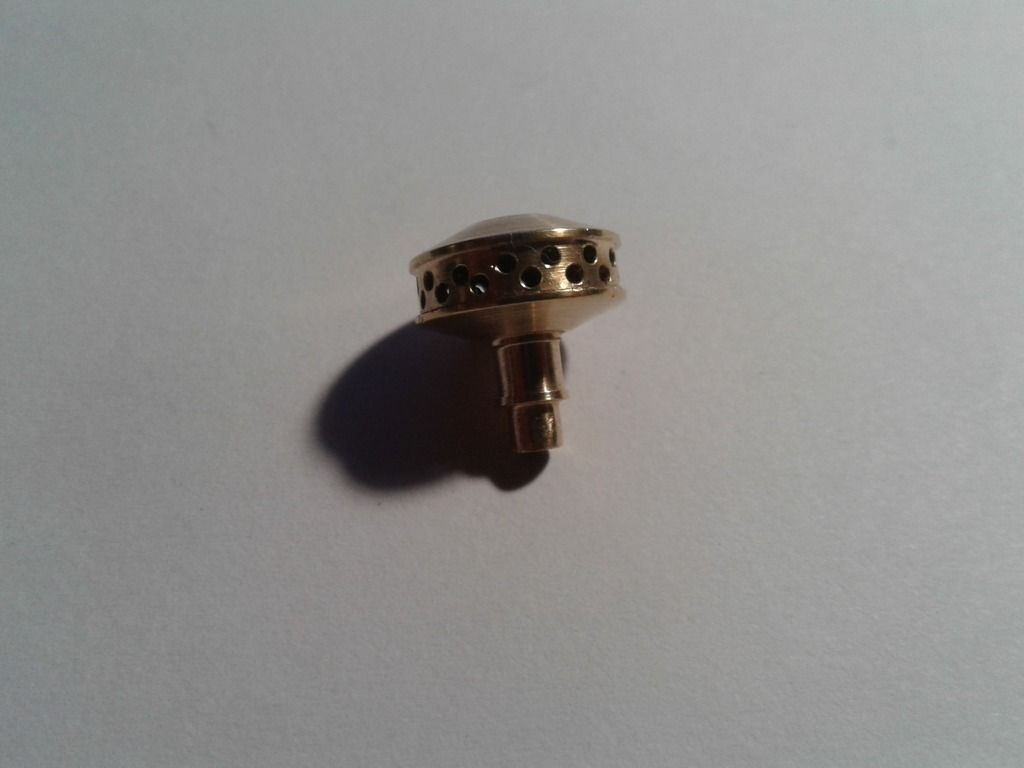
I then turned to the spark plug, which is another reason why it's so special.. because it was made from bones. Okay well, we don't have any corian or drylin, then I saw a piece of bone that was left over from the gun butstock my dad had to make for someone, so I figured that I might as well give it a try. Well the spark plug works, but I don't know for how long .

The cylinder was made from some steel bar and drilled and bored to size and finally lapped. Piston was fairly quick to make and fitted a Buna-N o-ring, that I know I should replace.


I made the valve next (only one at the moment) , easier than I thought it would be. I deviated from the plans when I made the valve, I made it thinner at the valve bottom to allow a bit more flow. The valve keeper was fairly easy as well, I just lost 3 of them, by sneezing, by dropping it in the swarf and the other one I just can't remember where I had put it.

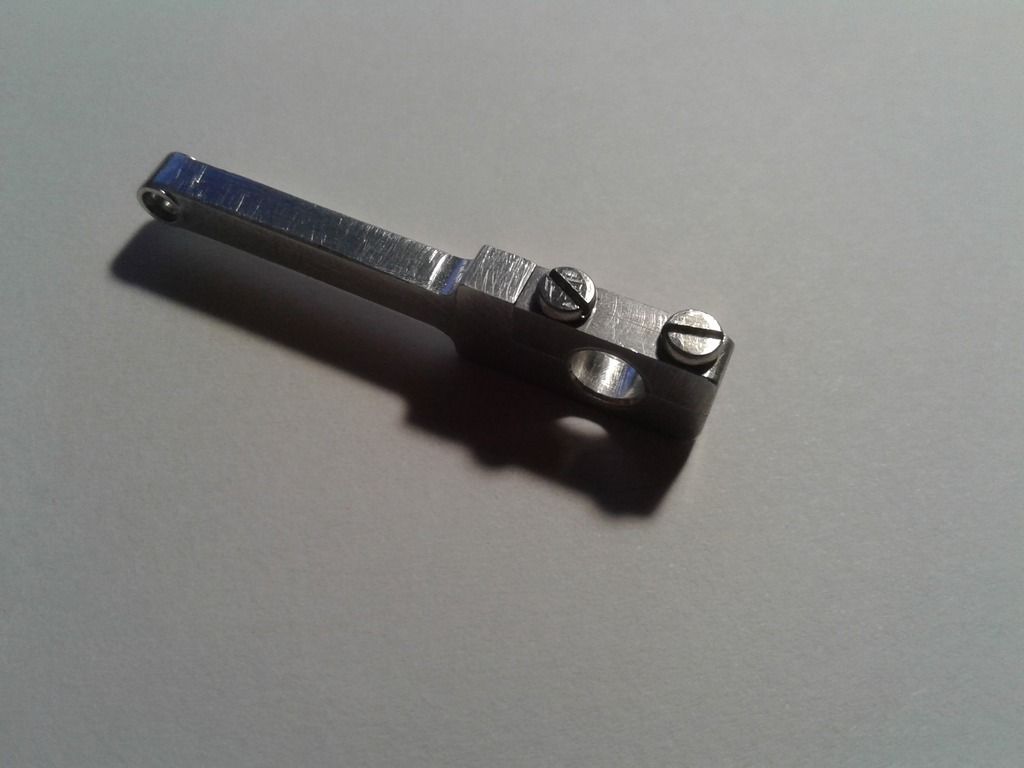
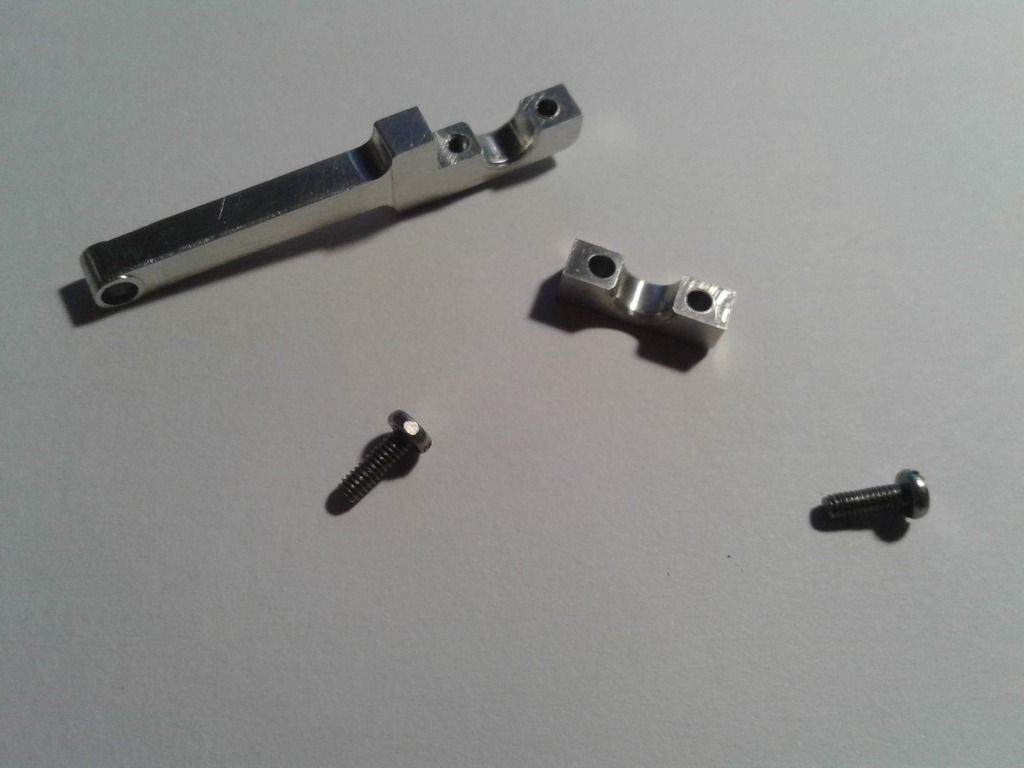
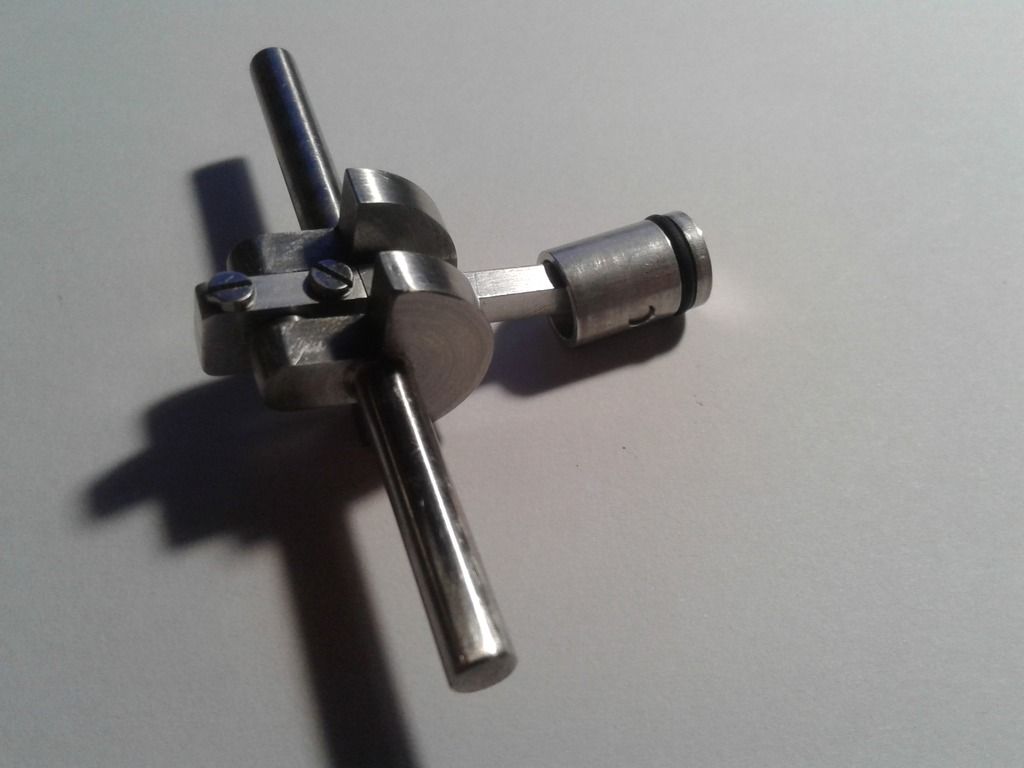
The crankshaft was the part that had me worried, the first one was a complete stuff up, but the second one came out okay I think. Took a bar of steel just over 20mm and center drilled both sides, marked out 0.250" from the center on both sides, making sure that they are both square, and center drilled them as well. I used a center held in the chuck and the live center at the toolpost and wanted to use a lathe dog to machine the crankshaft, but the one we have just won't fit, so I just went ahead without the dog. Surprisingly it worked, but didn't want to hold when I wanted to machine the crank pin. So I used the hot glue gun, and after 5 or 6 tries it finally held on. After the shafts have been machined to the right diameter I took it to the mill and machined the counterweight.


Here's all of the bits together with 1 Metical.

So tomorrow I'll have a go at the conrod, while I wait for my cutter to arrive to machine the crank case.
Thanks for looking in
Marinus


![DreamPlan Home Design and Landscaping Software Free for Windows [PC Download]](https://m.media-amazon.com/images/I/51kvZH2dVLL._SL500_.jpg)


![MeshMagic 3D Free 3D Modeling Software [Download]](https://m.media-amazon.com/images/I/B1U+p8ewjGS._SL500_.png)


