

Hi Guys,
First thing, let me offer my excuses for not being around much over the last few months.
In December of 2008 I managed to rip open some previous internal surgery on 3 hernia repairs that I had done some 15 years ago. In addition I managed to add 2 more tears to my lower abdomen…. Result was a not very pleasant Christmas and a painful wait for remedial surgery to get it all sorted.
I finally got into hospital at the end of February where they had to first remove all traces of the previous work and then re-repair these and the two new ones.
As a result I have not been allowed anywhere near a machine and have also been prevented from driving since the operation.
The doctors told me that I had to take things very, very easy, since, if I did any further damage they could not repair it again….. nothing left to stitch to.
To make things even more miserable, I was unable to sit still in one place for more than a few minutes at a time since this made things stiffen up, hence I could not even sit at the computer to keep in touch with you guys, I just had to keep moving around a little at a time…. Don’t even ask how I managed to sleep at night….. Ha Ha.
A second problem arose over the Easter weekend, when my brother found my mother unconscious, at her London home.
She had apparently suffered a stroke and was rushed into intensive care where she was not expected to recover.
Naturally, this led to some pretty hectic travel planning in order to get down to London…. It is not easy to find seats on aeroplanes over Easter, however, we managed to find some and I managed to make the journey… not easy when your insides are in a weak state, to say nothing for the stress of the whole situation.
Thankfully, due to the magnificent care she was given by the intensive care nursing staff, my mother did come out of the coma she was in on the Tuesday after Easter, and has since made a full recovery, and apart from having absolutely no recollection of the period between Good Friday and the following Tuesday, she has escaped with no other damage to any of her faculties.
For this the whole family are extremely thankful and pretty good for an 87year old.
She is actually fitter than I am at this point in time.
Ok Paolo,
I took a look back over your build log and in Post number 86 (on page 6) you mentioned, and showed, that you had had to resort to using some ’Plumbers Copper Soldering Wire’ in order to get your cross tubes soldered.
I think this is where things went wrong, since I am pretty sure that this was a silver loaded soft solder that is often used for soldering central heating joints in ‘Sealed’ hot water systems.
It often contains around 2% of silver in order to increase the strength of the joint.
These joints are subject to higher pressures than normal (often around 2 bar) but this pressure is a result of water expanding inside a ‘Sealed’ system which would normally only be at some 80degC – 90degC.
This is not the same as in a steam boiler, where the water has space to expand and the pressure is achieved by steam compressing into the free space above the water. Furthermore, the temperature of the steam is at a much higher level and at 45psi this would be around 144.6deg C.
This type of solder is NO GOOD for the task of boiler making.
This ‘Plumbers Solder’ will re-melt at the higher temperatures you reach when soldering the outer barrel/end plate joints and will just run away from the joints. It is also liable to fail at the high temperatures achieved with steam, so no good at all for steam jointing.
You must only use good quality Silver Solder (Silver Brazing) rods.
In addition, you must also use the correct flux (usually a white powder which you mix with a little water to form a paste) and lots of it.
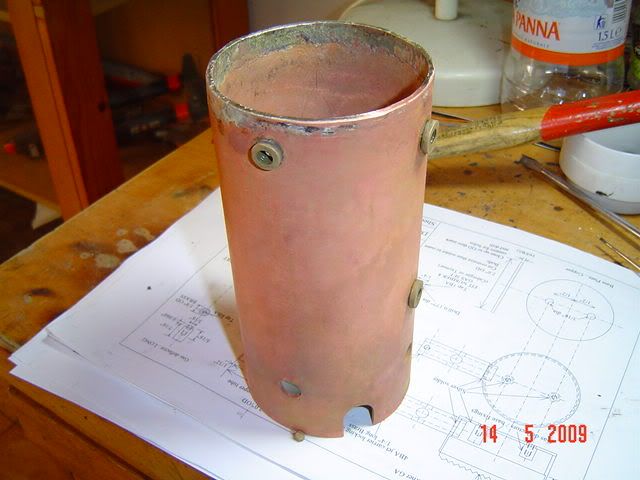
Looking at the photos on page 6 I can see that the 2nd and 3rd cross tubes from the bottom have very week looking joints, with virtually no solder visible.
These are the ones that are leaking and this is confirmed in your photo on post number 147, where you performed the test using some washing up liquid…. You can see the bubbles clearly showing on the second tube from the bottom.
Ok, back to the current problem: -
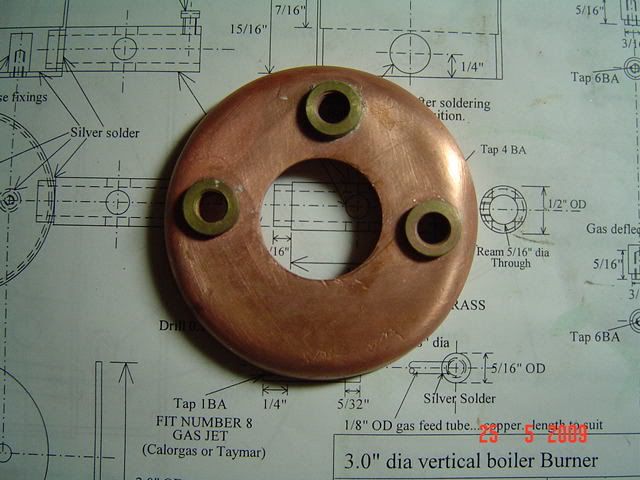
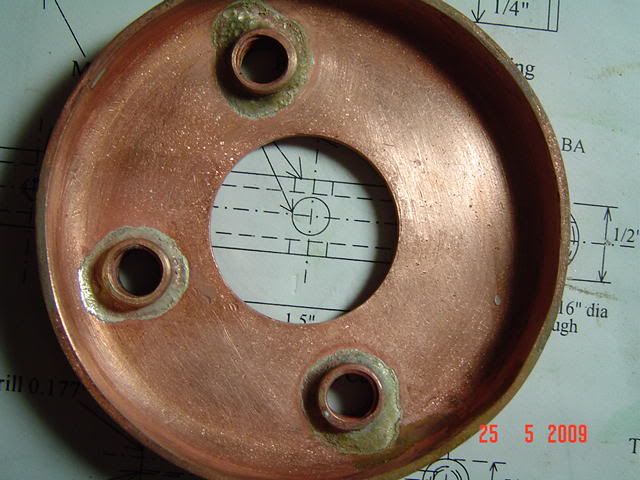
The secret to good silver soldering is ‘CLEANLINESS’ of the joints and this means very clean and free from all traces of grease and oxide films.
To this end it is very important to give all your components a good rub over with STEEL WOOL or FINE EMERY paper to remove the surface oxides (even with brand new copper, since there will always be some air oxidation on the surface) followed by a soak in a suitable pickle.
A dilute Sulphuric Acid is very good for this (as Dave has outlined) but it can be difficult to obtain in some places and it is a little more dangerous to handle, since you cannot put your hands in it, finally it’s disposal presents further problems… you can’t just flush it down the public drains, but must take it to an industrial waste handling site for safe disposal.
This also applies to Hydrochloric Acid here in the UK.
The best one for home use is Citric Acid as I have outlined…. Mix this at 100grams per 2 litres of clean, warm, water and mix enough to fully submerge your entire boiler in.
It is very safe to handle and you can even place your hands in it with no ill effect.
When it eventually turns blue, through long use, you can safely put it on the garden or flush it away down the domestic drains.
The second most important thing when silver soldering is to have a torch capable of providing enough heat…. NOTICE, I said HEAT…not temperature.
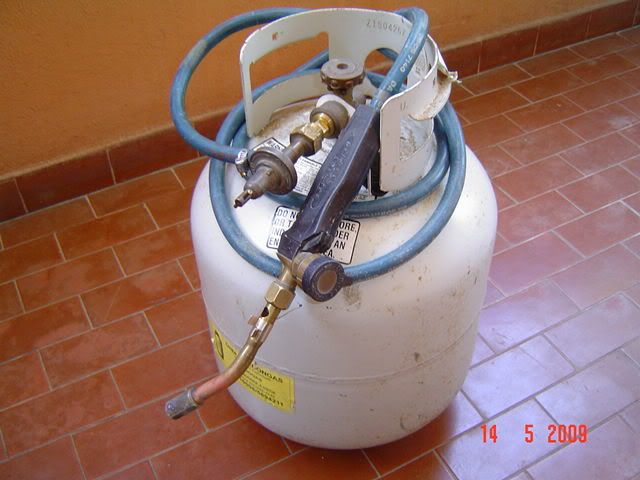
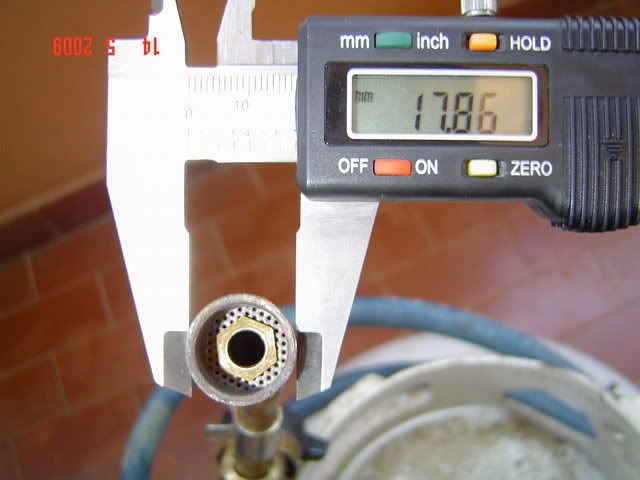
Copper requires a lot of heat especially on large joint areas and a small torch will just not provide it….. as Dave has already suggested, a torch with a 1” dia nozzle and a large gas tank is the sort of thing you will require.
Clean all joint areas thoroughly, and place the components in the pickle solution until you are ready to start the assembly.
Have a bucket of CLEAN cold water available.
Also have a suitable quantity of FLUX ready mixed.
When you begin the assembly remove the required parts from the pickle and rinse them in the clean water and dry each one off using some CLEAN kitchen paper.
It can pay to wear some rubber kitchen gloves whilst doing this, not to protect you from the pickle, since this is perfectly safe to immerse your hands in, but to prevent your sweaty fingerprints getting onto the copper whilst you handle the parts…. These will certainly make soldering difficult.
Apply some flux to each joint area immediately after you have dried the part off, this will prevent air oxidisation.
If you remove each part from the pickle, and rinse and dry it, in the correct order for assembly, then the fluxed part can be assembled before the next one is done.
Once all the parts for a given assembly are rinsed, fluxed and placed in position, go round all joints again with a little more flux and then place the assembly on the soldering hearth (suitably orientated to get at all the joints) and using a broad, not full flame, begin to warm up the whole assembly (keeping the torch moving at all times) until the water from the flux has all bubbled off, leaving a hard white powder coat around each joint.
Now turn the torch up to a full flame and bring the whole assembly up to almost red heat, again keeping the torch moving….. keep a close eye on the flux and when you see it turn from a white powdery look to a liquid, concentrate the heat a little more near the first joint, but not directly on it, (slightly to one side is correct) and then touch the joint with the solder stick…. If the metal is hot enough the solder will melt and flow round the joint quite easily… if not heat a little more and try again…. Once the solder has flowed into the joint, move the torch to the next joint and repeat.
When all joints are done, allow the assembly to cool down until it can be picked up in your hand and place it in the pickle solution for at least 2 or 3 hours.
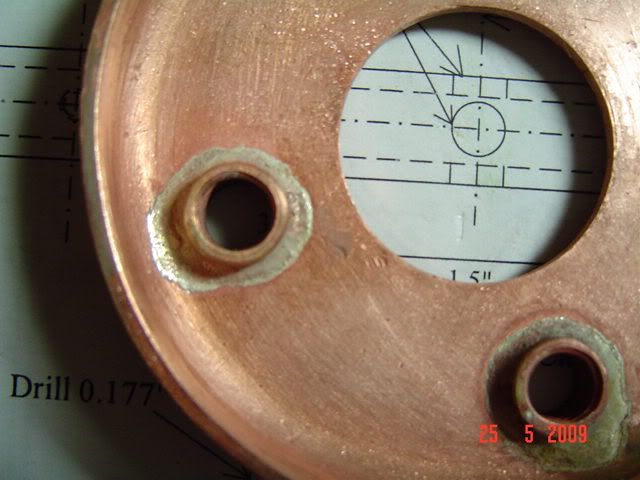
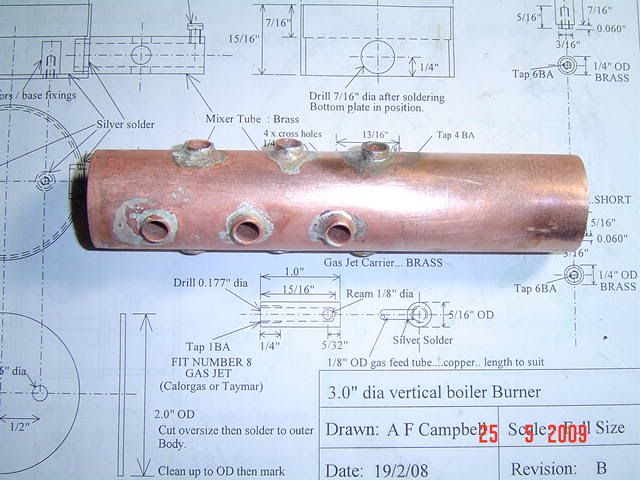
Remove the assembly from the pickle, rinse it in clean water and inspect all joints… they should show a complete ring of solder all round with no signs of any pinholes.
If you see any, then apply some more flux and re-solder those joints until you are happy with them.
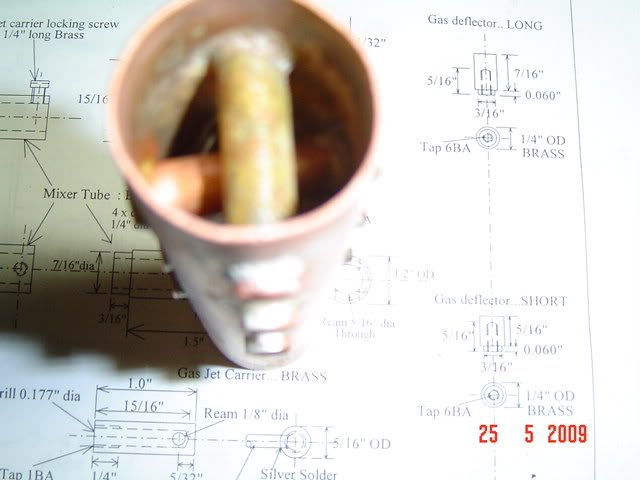
In the case of the cross tubes in the flue, you should also be able to see a ring of solder around the inside (look up inside the flue with a bright torch) of the joint to show that proper penetration has occurred.
Once you are happy with the flue assembly you can then begin to re-fit it into the barrel, along with the new top plate etc.
Same rules apply, take each part in turn from the pickle, rinse it in clean water, dry off and flux the joint areas and assemble the parts.
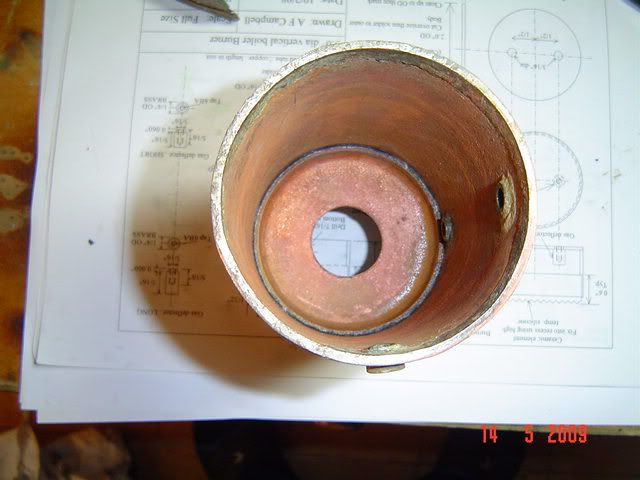
One slight aside here Paolo….. check that the hole in the remaining bottom plate (where the flue fits) is not to large (those cutters can be a bit fierce and often a little oversize). You need the hole to be approx 0.15 – 0.2mm bigger in dia than the flu…. If it is much larger than this then the silver solder will not be able to bridge the gap and steps will need to be taken to remedy this….. such as flaring the flue out a little at this end.
Once you are happy with the assembly, and joint dimensions then use the same techniques to solder each joint….. but here you will need to full power of your large torch… Take your time and watch the flux.
I hope all this is of some help.
Best regards.
Sandy.
BTW Dave, I believe they add some dye stuff to that sort of thing here in Europe (especially the UK) often this is Ferric Oxide, or Ferric Chloride,. it is used as a trace method for illegal, or accidental spill tracing, since it turns the water green and can therefore be more easily traced back to source.
THEN THEY HIT YOU WITH A HUGE FINE...or WORSE..... 


The HSE over here are not very nice people to cross swords with..... just can't have any fun these days


;D ;D.


![DreamPlan Home Design and Landscaping Software Free for Windows [PC Download]](https://m.media-amazon.com/images/I/51kvZH2dVLL._SL500_.jpg)


![MeshMagic 3D Free 3D Modeling Software [Download]](https://m.media-amazon.com/images/I/B1U+p8ewjGS._SL500_.png)


