My first steam engine

Home Model Engine Machinist Forum

Help Support Home Model Engine Machinist Forum:

This site may earn a commission from merchant affiliate links, including eBay, Amazon, and others.

rsendys

Member
Joined
Dec 27, 2009
Messages
19
Reaction score
0
I decided to build the simplest steam engine.
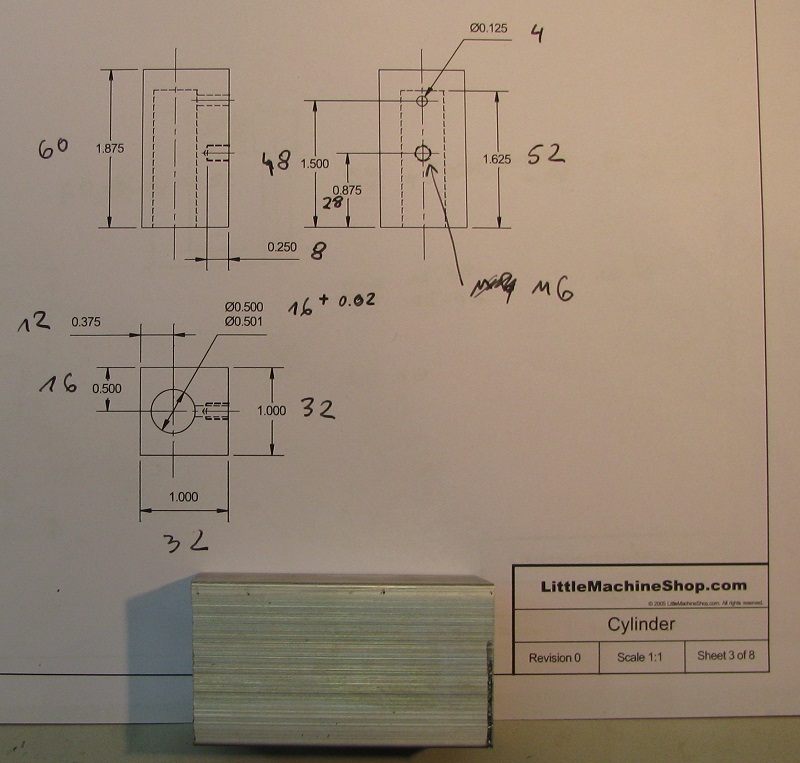
I decided to use the plans http://littlemachineshop.com/Products/Drawings/2593OscillatingEngineAssembly.pdf
Maybe a little less ambitious - but maybe I can finish it ;D
I decided to change imperial to metric because all my tools are metric.
But according to the rules: 1 mm = 1 / 32 " - where I need to change the sizes - especially thread.
I hope that the establishment metric scheme of this machine - I hope this does not affect the rights copyright ???

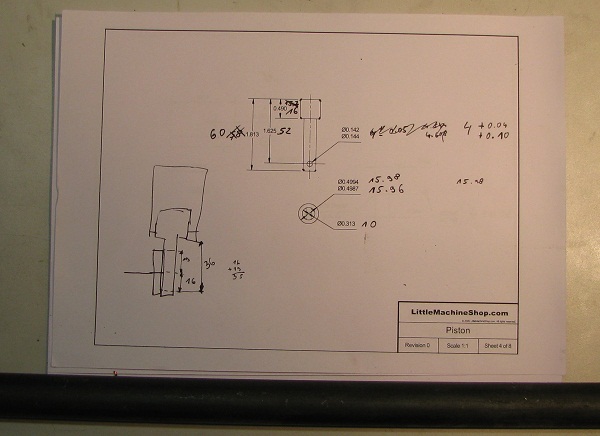
Today the piston:

I have some steel in grade 35HGS
IMG_0697.JPG


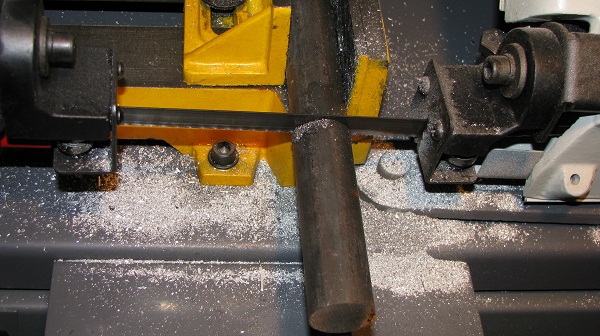
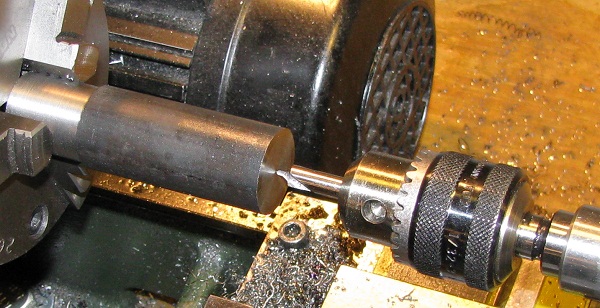
cutting off a piece

IMG_0698.JPG


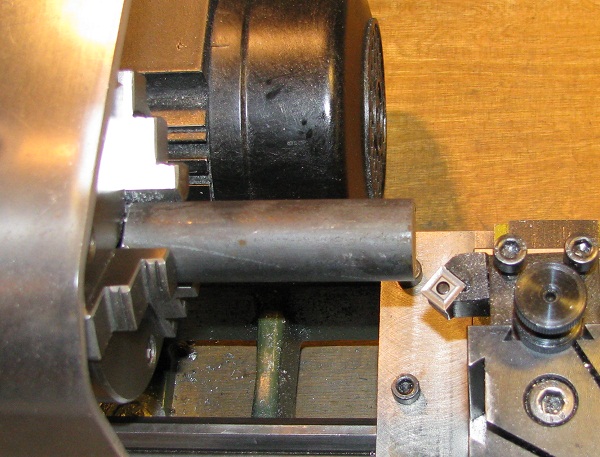
Flat edge surface

IMG_0700.JPG


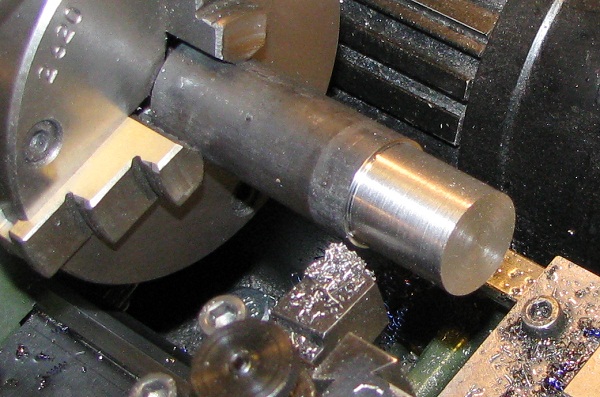
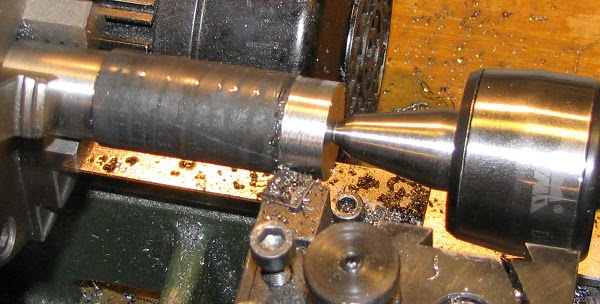
outside surface

IMG_0703.JPG


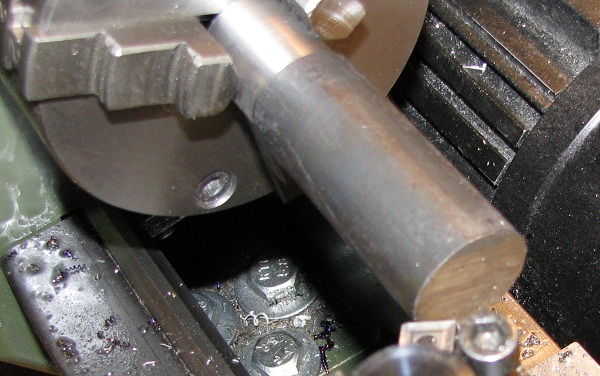
good fix and secod flat edge surface

IMG_0704.JPG


centering

IMG_0706.JPG


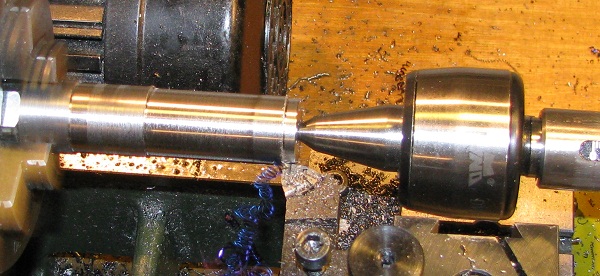
outside surface

IMG_0709.JPG


get the first dimension - 10 mm

IMG_0711.JPG


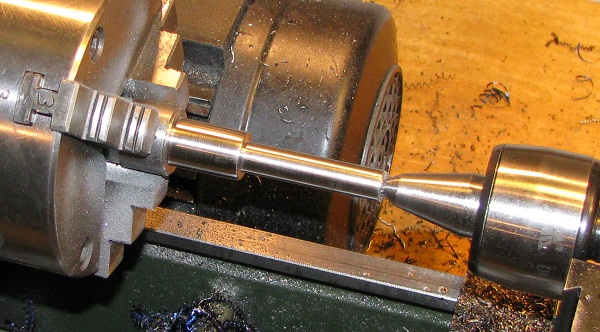
and get second dimension - 15.98 mm :)

IMG_0712.JPG


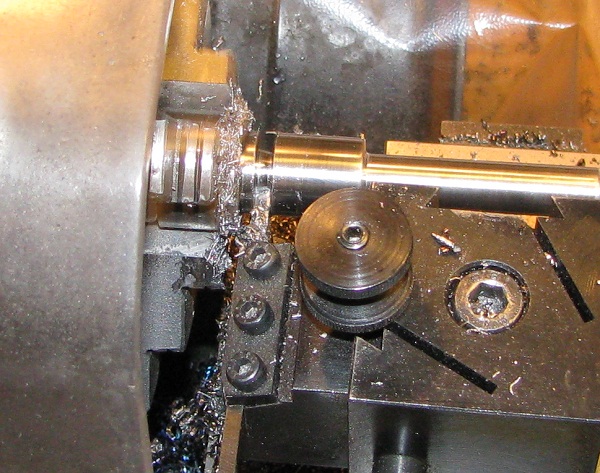
cutting ... This is not my favorite operation :p
IMG_0713.JPG


A little too long element - I have to shorten
IMG_0715.JPG


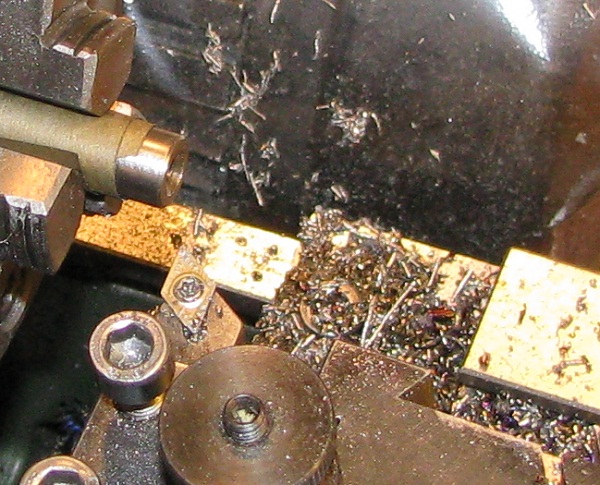
routing the hole

IMG_0716.JPG


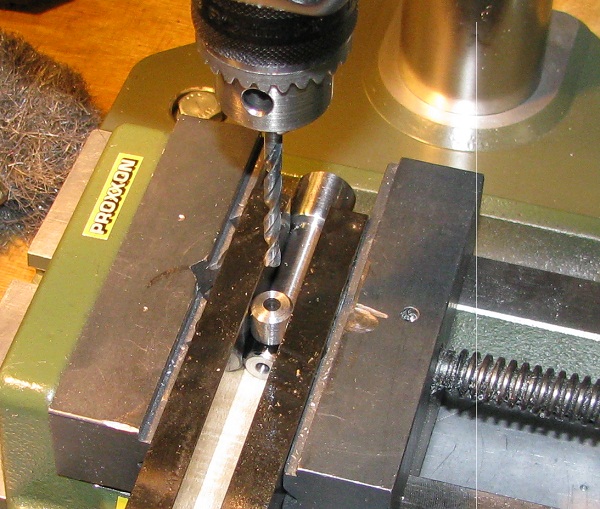
drilling

IMG_0717.JPG


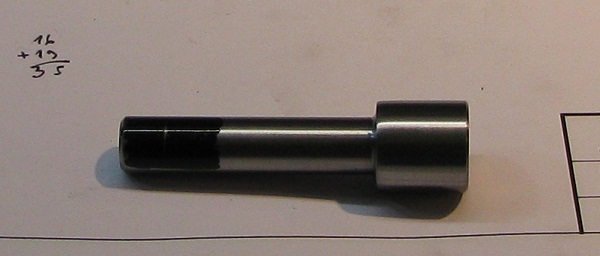
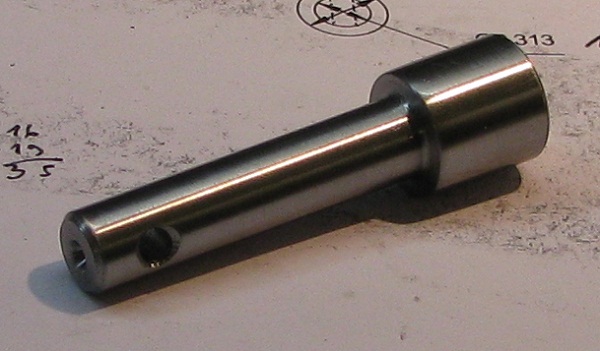
Ready piston :D

IMG_0718.JPG


Looking good every engine starts with the first part.
Tin
 
Choosing the first set of plans can be the hardest part. It just then needs you to get stuck in.

A nice start

Pete
 
Hi rsendys,

A nice looking first part. Keep making the rest of the parts, one at a time and to the same standard and before you know it you'll have your first engine all built and running.

Enjoy your build,
Nick
 
Hi rsendys and welcome to the forum too. Nice work on the piston...if the rest of the parts finish as nicely you should have no problem getting it to run in short order.

Bill
 
Cylinder

I start from a piece of aluminum
IMG_0719.JPG


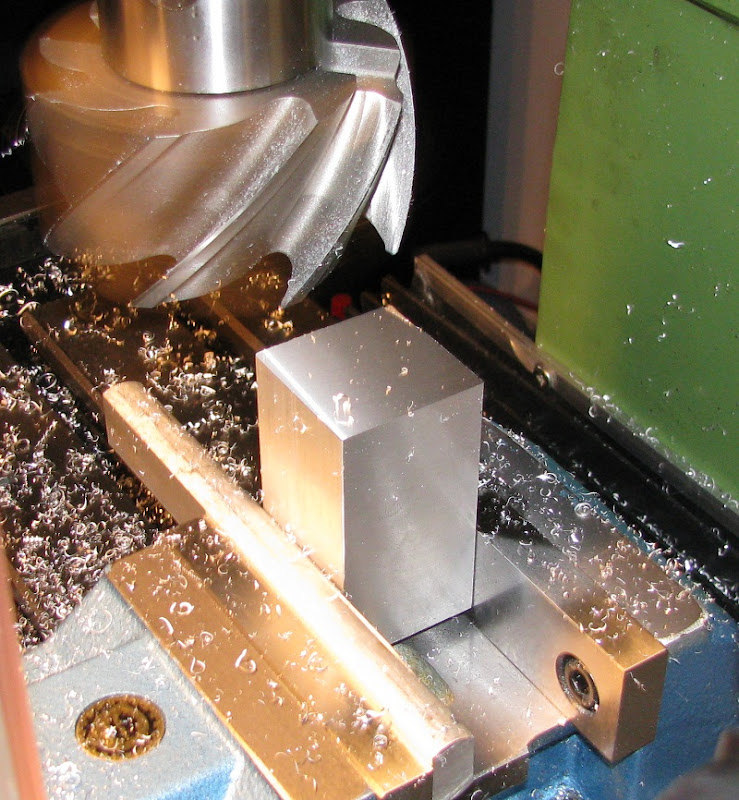
Making a cuboid
IMG_0720.JPG


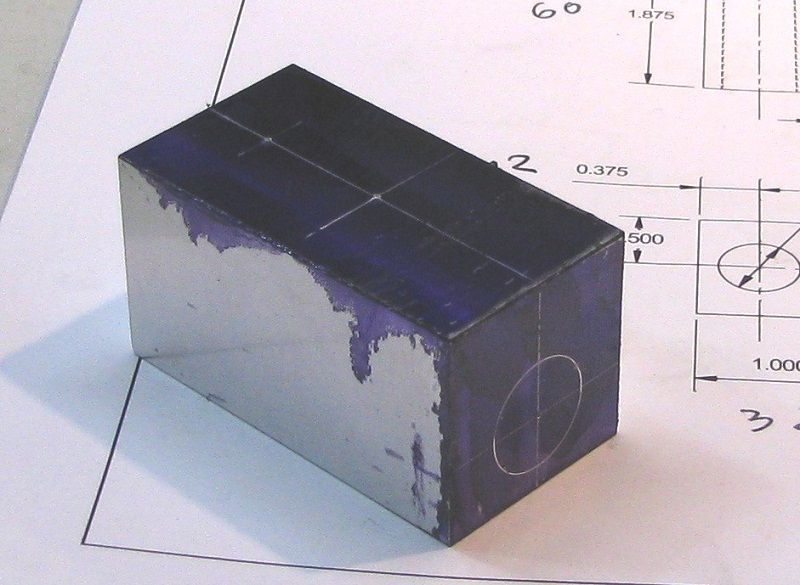
Block ready and marking out
IMG_0727.JPG


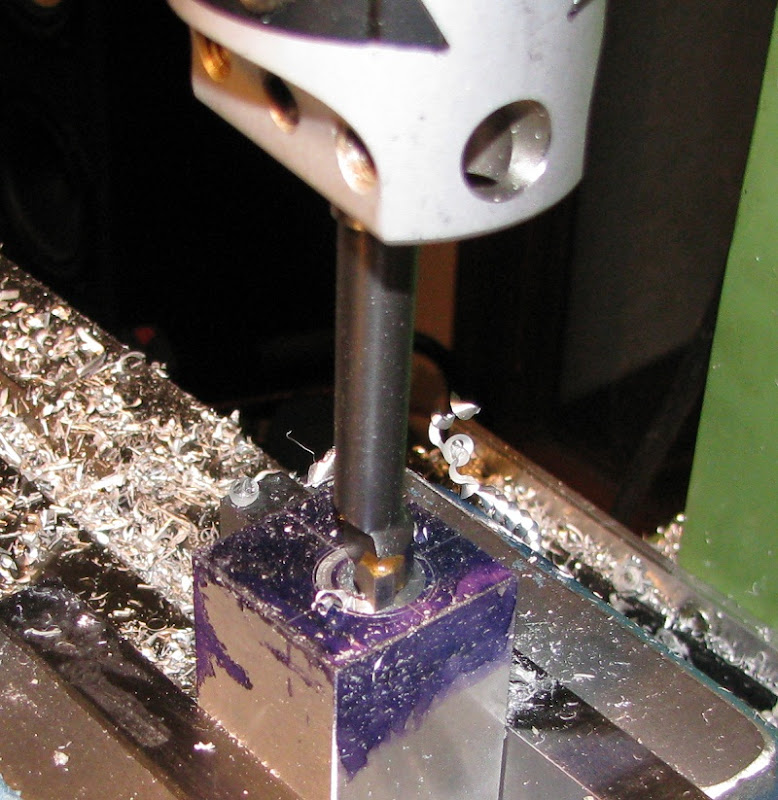
Cylinder boring
IMG_0730.JPG


Using boring head
IMG_0731.JPG


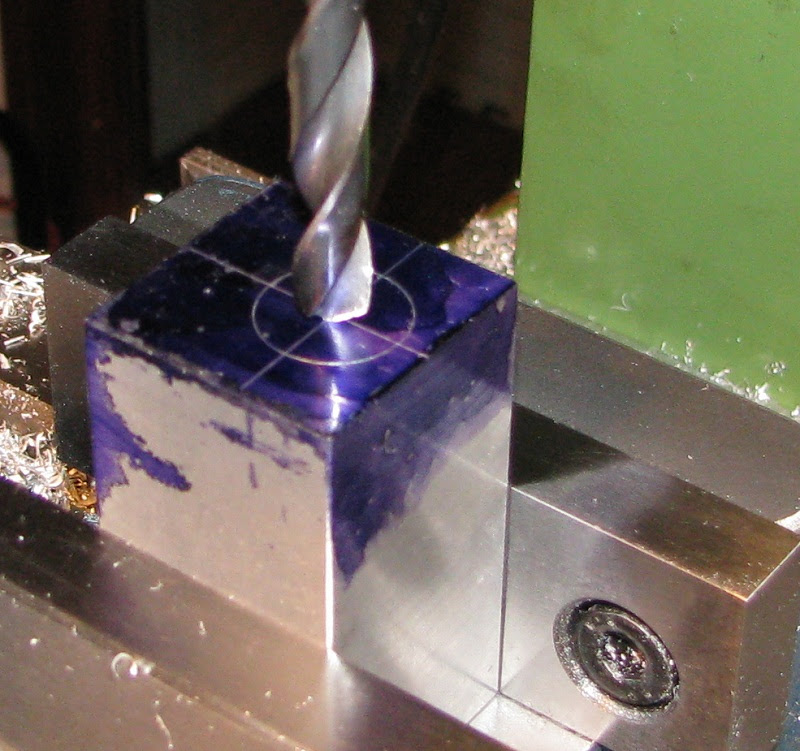
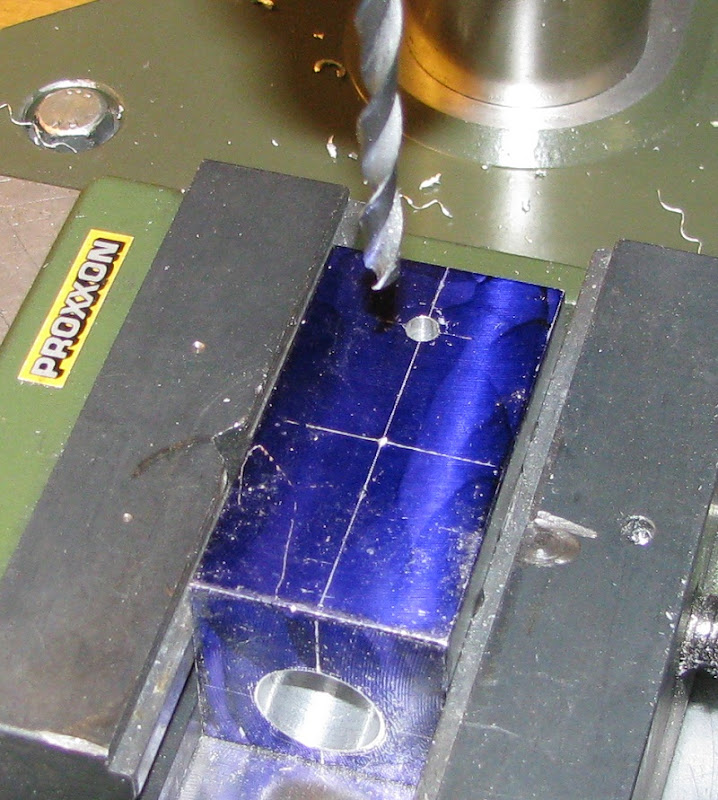
Drilling the other holes
IMG_0732.JPG


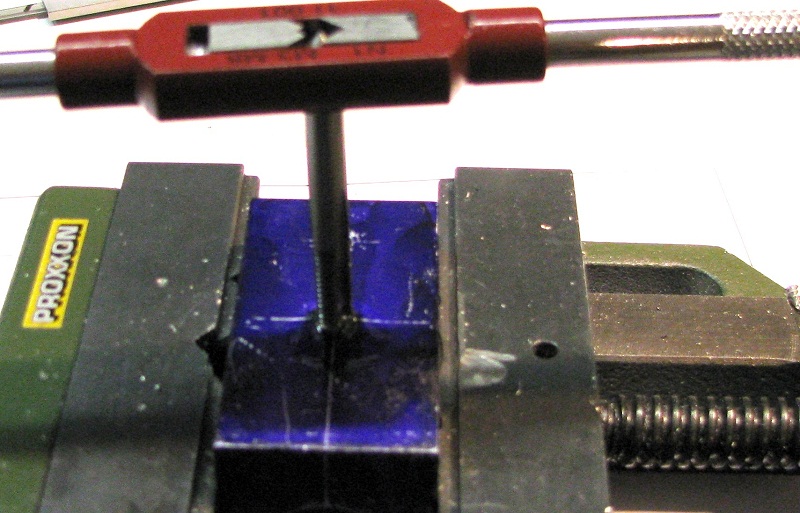
Threading
IMG_0733.JPG


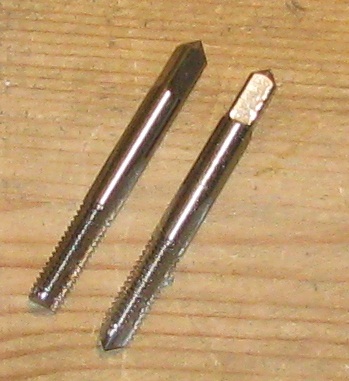
It was a blind hole and I had to shorten the taps
IMG_0738.JPG


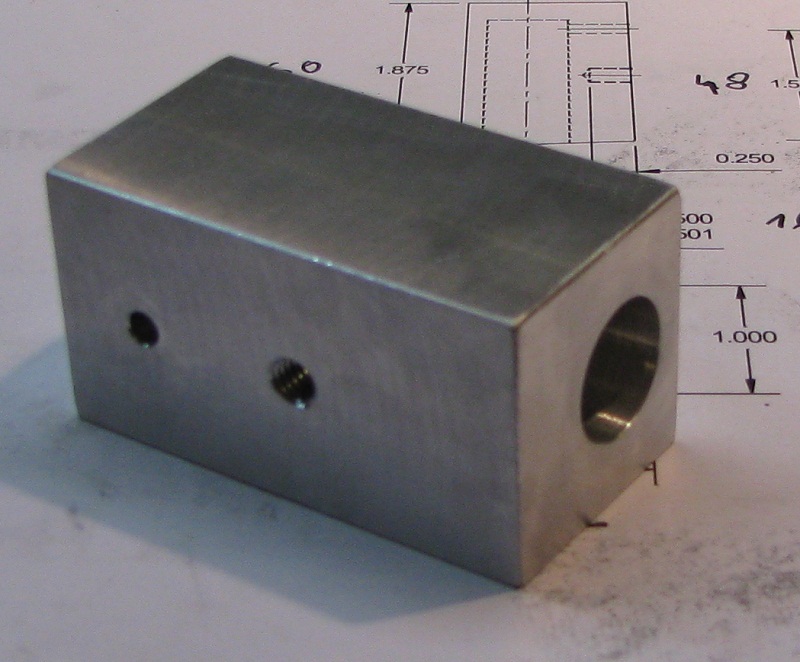
Ready ;D
IMG_0740.JPG


It is difficult to measure such small holes in the course of their execution. For this reason, I made a mistake: The cylinder has a diameter of 16.13 mm, while the piston has a diameter of 15.98 mm. This gives a clearance of about 0.15 mm in inches is equal to 0.006. It is certainly too much. :mad: But I made test by blowing a cylinder - piston flew away. ::) I recognize that this is just version 1.0 :idea:

Testing :big:
[ame=http://www.youtube.com/watch?v=MtFcvxnxJaI]http://www.youtube.com/watch?v=MtFcvxnxJaI[/ame]


It may be your first steam engine but it looks like you've got yourself some nice equipment. You'll soon be on to something way more ambitious.

Keep up the good work

Pete
 
rsendys,

It's a good choice for a first engine. It was the second I attempted & the first engine I (recently) completed.

I lost count of the number of pistons I tried making, before I got one to fit. Eight might be a fair guess. When I started I didnt know about compression, so I deliberately made the first slack - logically if it's slack it can move easier!
I ended up by doing the cylinder first , then turning the piston to a tight fit, testing the fit as I went along with the piston still in the lathe.
My college tutor had told me 'if it takes an hour to do properly, then its an hour well spent'.
I suspect your skill level is more advanced than mine was at the time I started, so my guess is you'll get the correct fit soon enough.


Good luck & enjoy your build.

Mike
 
It may be a dumb question, but what would be the right order: machine the piston first and then match the block to correct clearances, or machine the block first?
 
student123 said:
I lost count of the number of pistons I tried making, before I got one to fit. Eight might be a fair guess. When I started I didnt know about compression,

Maybe there is a equation for it?
Data in: the diameter of the piston and cylinder, the piston material, the cylinder material
Data out (result): - the required tolerance
???
 
t_ottoboni said:
It may be a dumb question, but what would be the right order: machine the piston first and then match the block to correct clearances, or machine the block first?

It probably depends on what you can do with better accuracy - I know now that it is easier to do first cylinder and then adjust the piston in the lathe. For example, was quite hard to measure the diameter of the cylinder when it was on the milling table.

Robert
 
I've not been doing this long but with my limited experience & tooling I find it is difficult/impossible for me to exactly measure a hole diameter so I opt for making the cylinder part first and then making the piston part to match.

Nick
 
Good start Robert Thm:, and welcome to HMEM.

You and Nick are both correct; in most cases it's easier to make the cylinder first, and then the piston to fit, especially if one does not have a way of accurately measuring the cylinder bore and have limited tooling.

Another thing from my limited experience to look out for when turning the piston - If you are going to part it off, do a partial part-off before finishing to final size. If you first finish to size and then part off, it will leave a slightly raised edge that can make the piston not want to fit any more. Also make oil grooves (if the plans call for it) just before you reach final diameter. I've found the easiest way to get a good fit in the piston is to turn it down to slightly over size; just to the point where you think you can push the cylinder over. Don't be tempted to force the cylinder onto the piston while checking; it will seize up if you need force. Use some 320 emery backed by a steel ruler to finish off the last bit until you have a nice free sliding, but close fit. Just a couple of cents worth...

Kind regards, Arnold
 
rsendys said:
Maybe there is a equation for it?
Data in: the diameter of the piston and cylinder, the piston material, the cylinder material
Data out (result): - the required tolerance

http://www.myvirtualnetwork.com/mklotz/files/fits.zip

This was posted a few days ago but probably answers your question. It's from Marv's (mklotz) website along with a whole bunch of other useful stuff

http://www.myvirtualnetwork.com/mklotz/

If you need the link again its at the bottom of all Marv's posts

Pete
 
I'm no expert on this but it has to be able to move but not be loose. You don't want a gap for the steam molecules to creep past. You also need to look for a post on lapping Bogstandard did one on one of my small engine threads. Even when you've lapped the piston it should be a little stiff. When its finished you run it in on air and plenty of oil.

As somebody said do the cylinder first, ream it then lap it then make the piston to fit. In my limited experience one minute it doesn't fit and the slightest of skims and it feels like you've taken too much off. The experts will no doubt tell you how to do it properly.

Pete
 
I did mine so that when inverted, gravity would not pull the piston out of the cylinder with the ports covered. When ports were uncovered, the piston slides out - but gracefully.

I have no idea if this is correct, but my engine ran, so I must have done something right.
 
Woodguy... that gracefully sliding happens with or without oil in the piston-block assembly?
 
at that point it would have been just rinsed out with wd-40 to clear the debris from lapping.
 
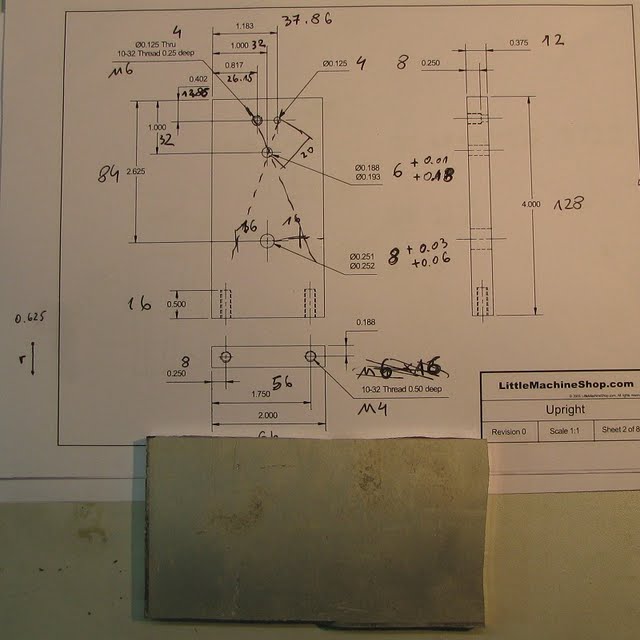
Upright

IMG_0743.JPG

Start

IMG_0744.JPG

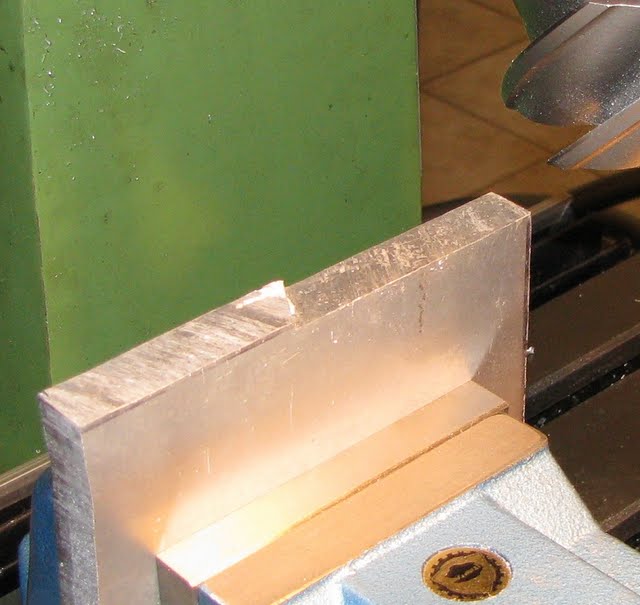
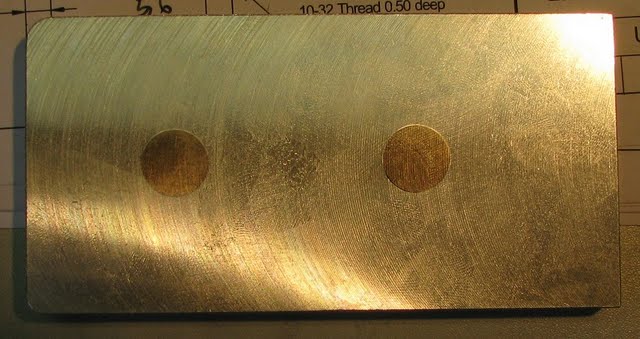
Obtain the dimensions of width and height

IMG_0748.JPG

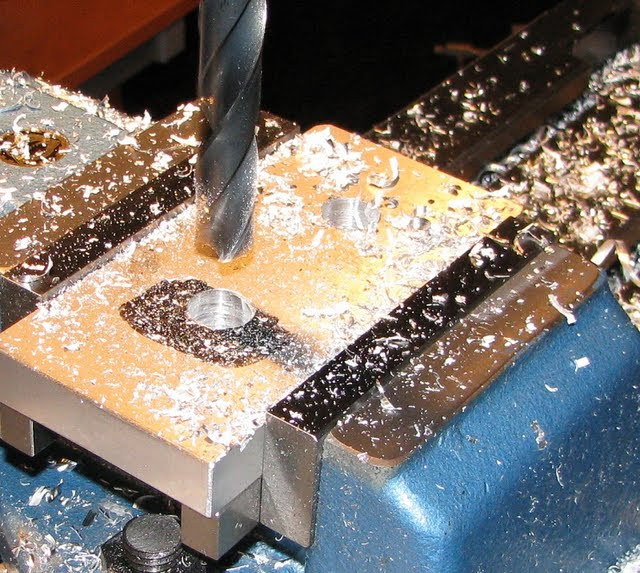
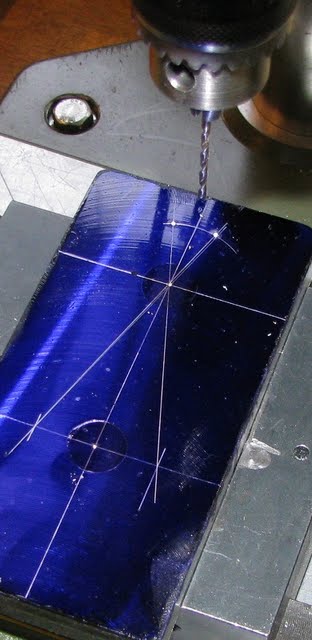
The holes for the bushing ;D

IMG_0749.JPG

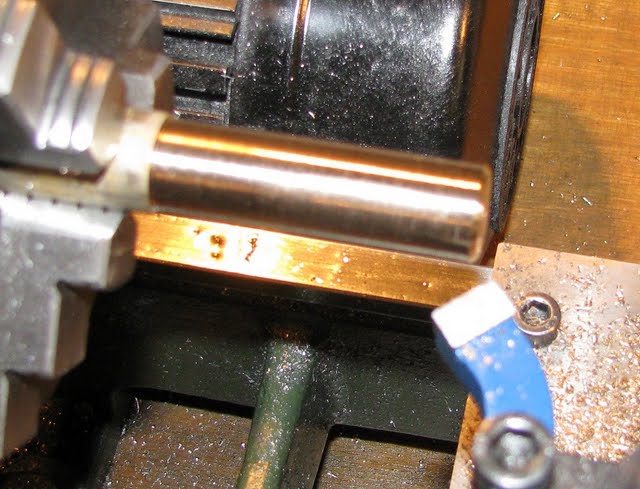
The future bushing ;)

IMG_0751.JPG

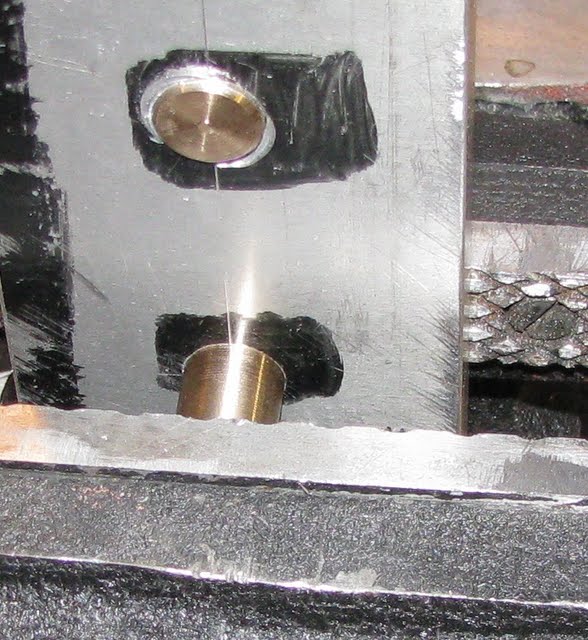
Incecting bushing :p (Do not use a hammer to this step)

IMG_0754.JPG

After obtain the size of the thickness

IMG_0756.JPG

Routing holes, drilling, tapping

IMG_0759.JPG

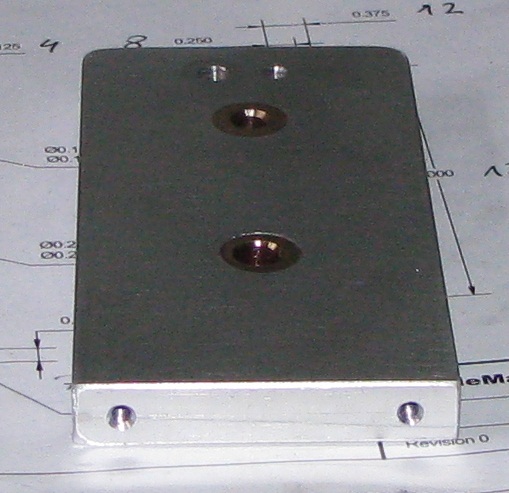
Ready 8)


Latest posts

Back
Top