My first I.C. engine, a variation on the theme of Webster

Home Model Engine Machinist Forum

Help Support Home Model Engine Machinist Forum:

This site may earn a commission from merchant affiliate links, including eBay, Amazon, and others.

JLeatherman

Well-Known Member
Joined
Nov 12, 2012
Messages
93
Reaction score
44
I haven't done a lot of machining this year, but it's Christmas time again and I'm going to try and build my first I.C. engine for my Father's present. Two years ago I built him a "Poppin" and he loved it. I've decided to build something along the lines of a Webster, with a few changes such as:

Roller Rocker
Larger Flywheel with Spokes
Larger Cooling Fins and Fan
Viton Piston Ring

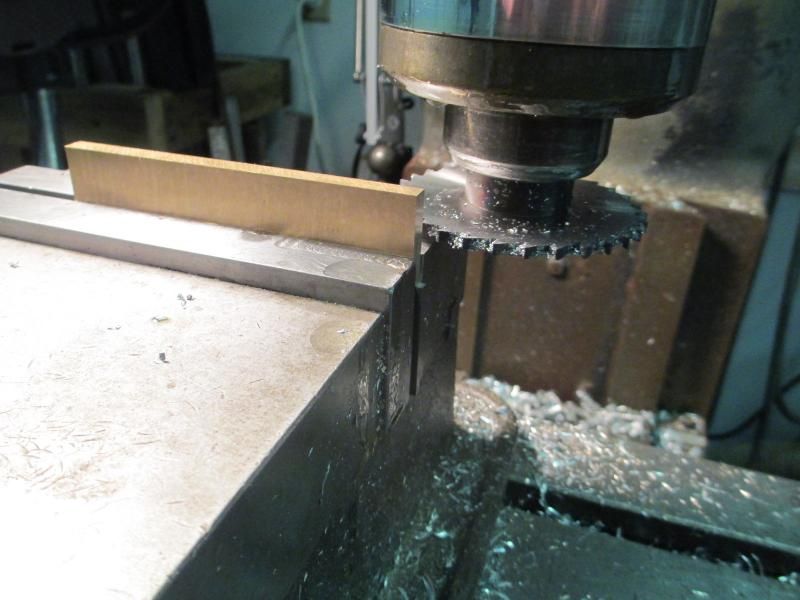
I have some questions as this build progresses. I was going to post this earlier and get the questions out of the way, but I made myself wait until I had cut some metal (otherwise it's not "In Progress" yet). Tonight I started on the rocker first. I had some 932 bearing-bronze sheet left over from making a new gib for my lathe this year. It's .030" shorter than the plans call for, but I can work around that and I'm not buying another piece. I started by using a slitting saw to slice it close to width and then cleaned it up with an endmill.
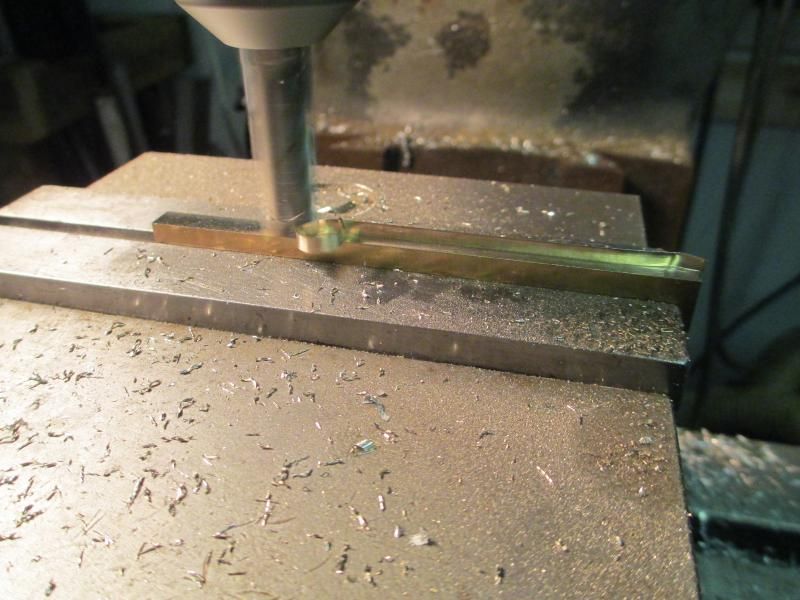


Next I bored the center hole and at this point created my first piece of scrap by reading the wrong dimension off the print (the distance from the pushrod hole as opposed to the front edge of the rocker). I had just enough bronze left for another part, and got the hole bored correctly so I could move on to profiling one side.
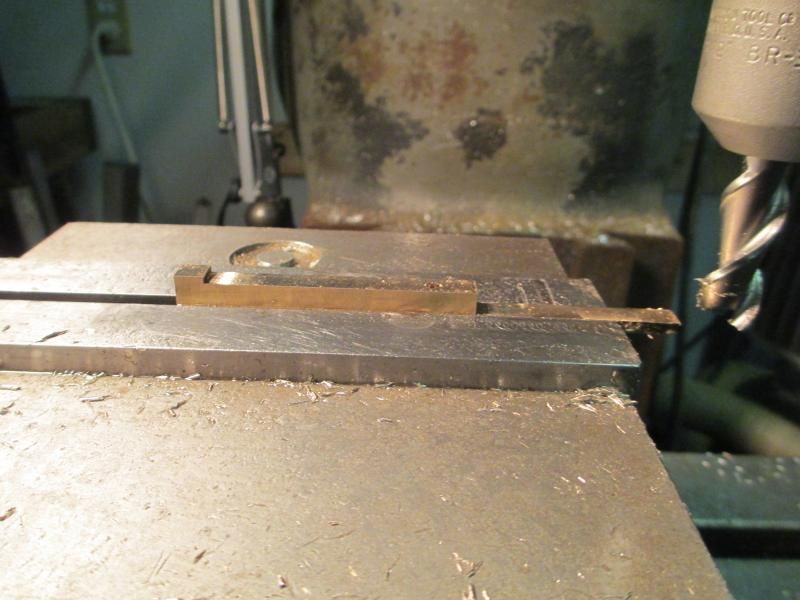


I flipped it over and profiled the other side, and the rocker is complete except for the tapped pushrod hole:
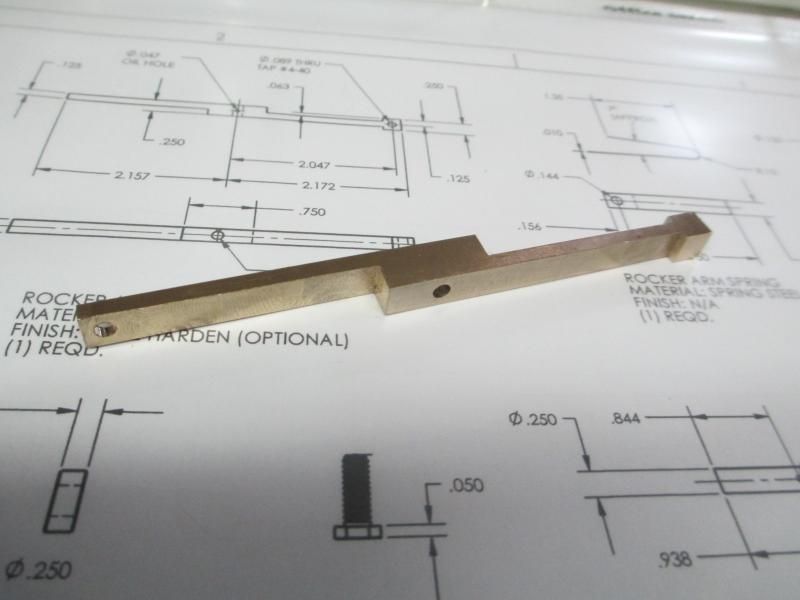


That's all for tonight. Hope to get some more done this weekend.
 
Following along with great interest :cool:
 
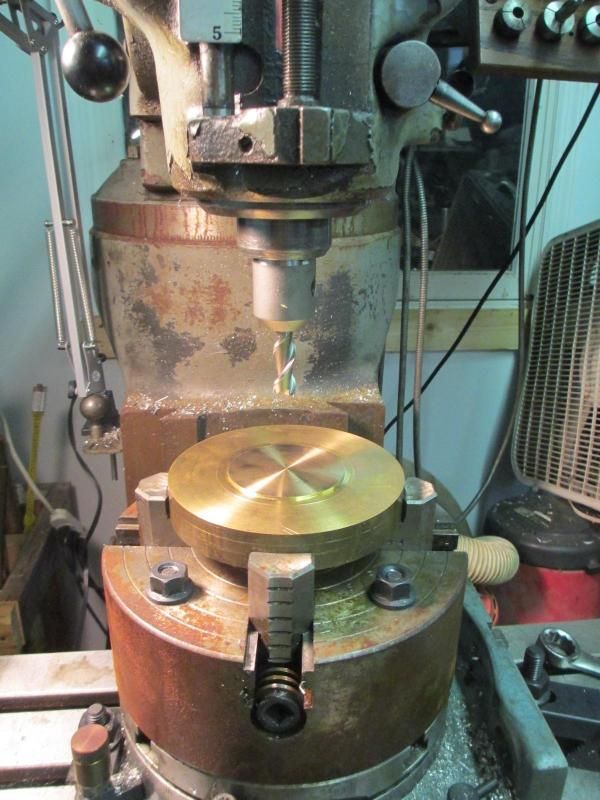
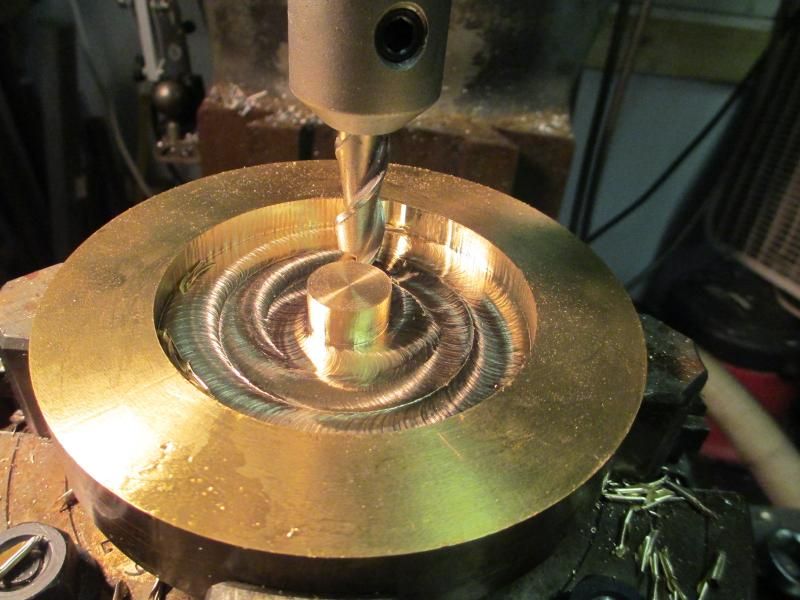
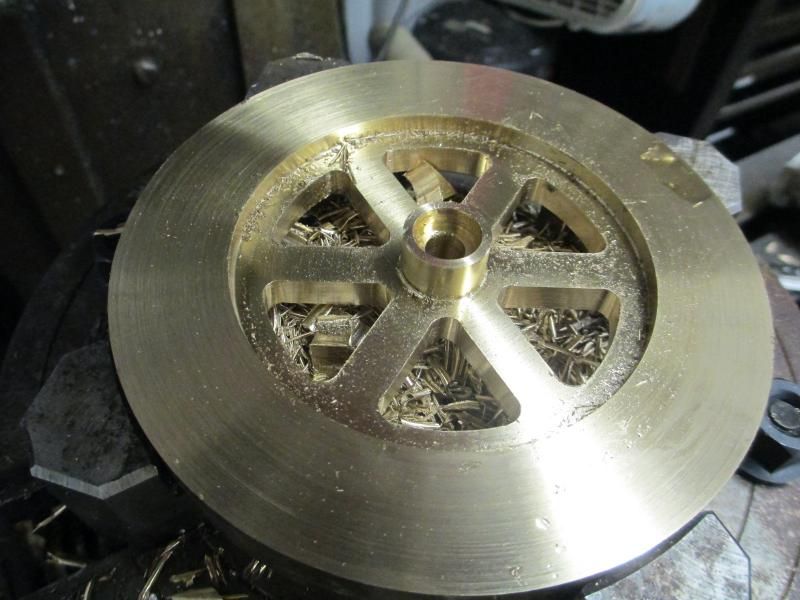
Got a bit more work done this evening. Spent too much time figuring out where all my tools were, indicating in the rotary table and the chuck, etc. I had a piece of 5"-diameter brass for the flywheel. It was an end off of a drop and had a nasty saw-cut gouge on one side. After facing both sides smooth on the lathe to see what I had to work with I then roughed out the relief on both sides on the mill. Next time I'll chuck it up in the lathe and finish both sides and the rim, then it's back to the mill for the spokes.


My first (and only, so far) IC engine was also a Webster - following with interest!
I also added cooling fins. I've been meaning to fit it with a proper carburetor from a model airplane engine.
 
Last edited:
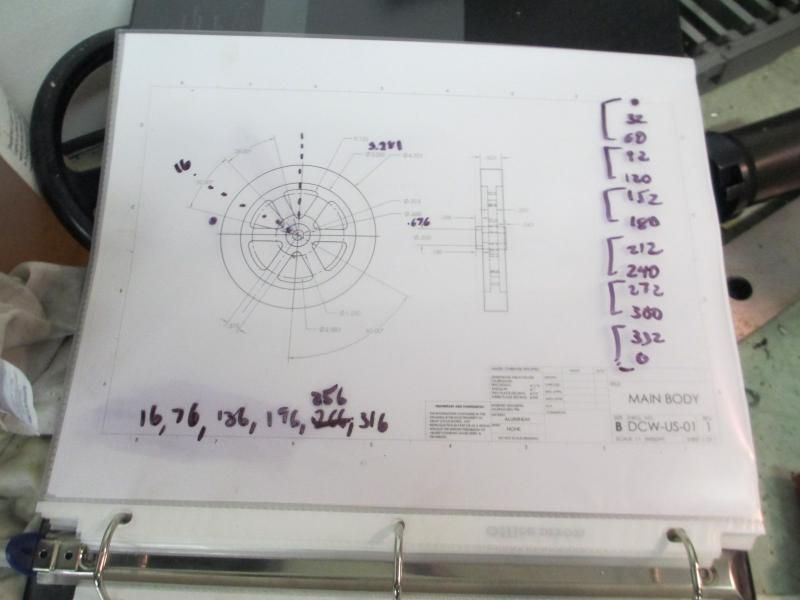
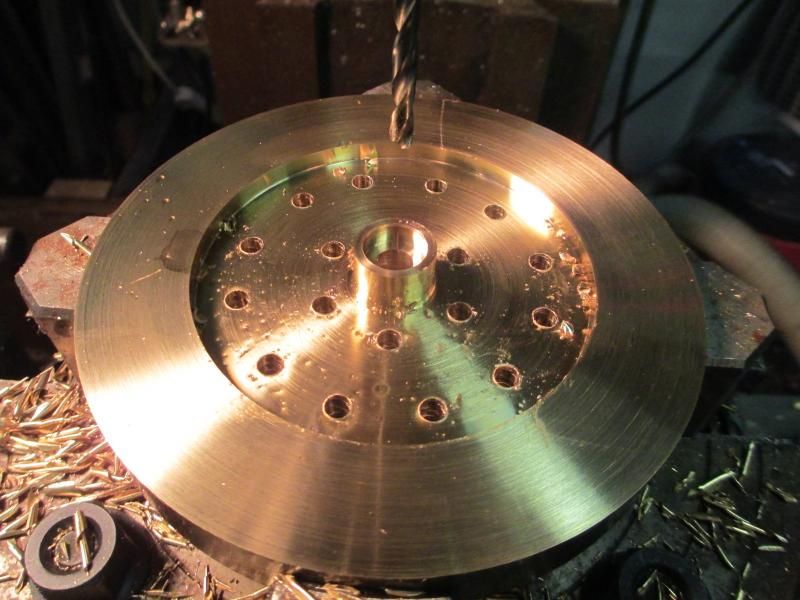
It snowed here so I left work early and got some shop-time in. Started by dialing-in the flywheel on the rotab again and after a few extra calculations drilling the pilot holes for the spokes.


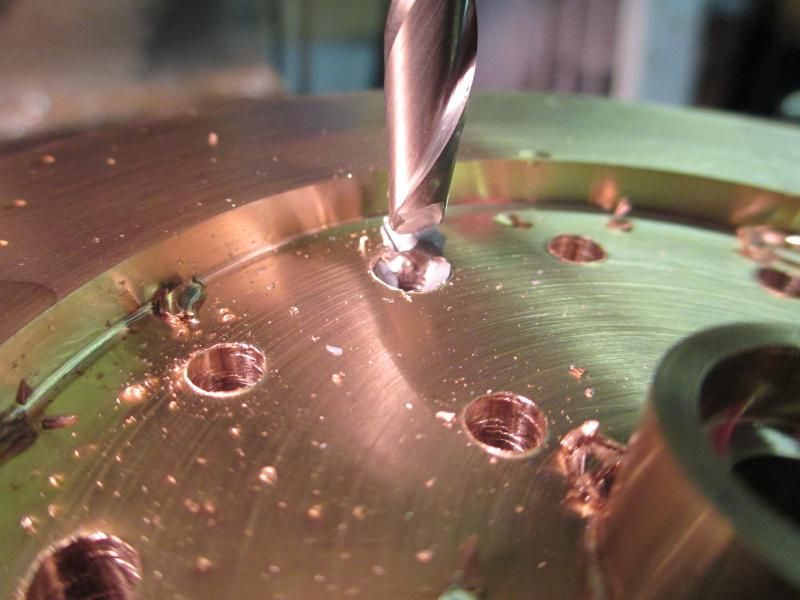
After this disaster struck. I picked out a brand new M.A. Ford carbide 1/4" end mill for machining the spoke cutouts. It didn't have a weldon-flat so I put it in a collet. I know you're not supposed to use an end mill in a collet, but I had drilled 3/16" pilots and it was only a 1/4" end mill (and super sharp) so I thought I'd be fine. Incorrect.


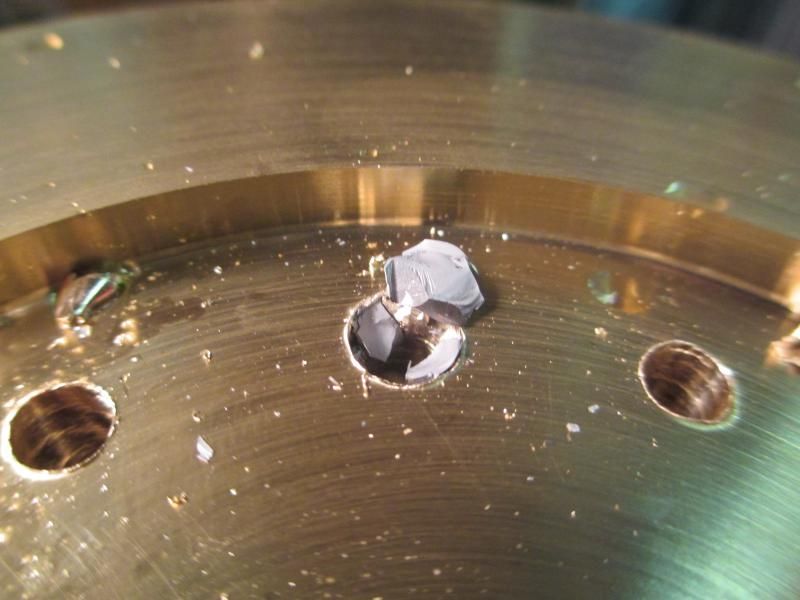
On the very first hole the end mill instantly sucked itself into the part and out of the collet and shattered :mad:

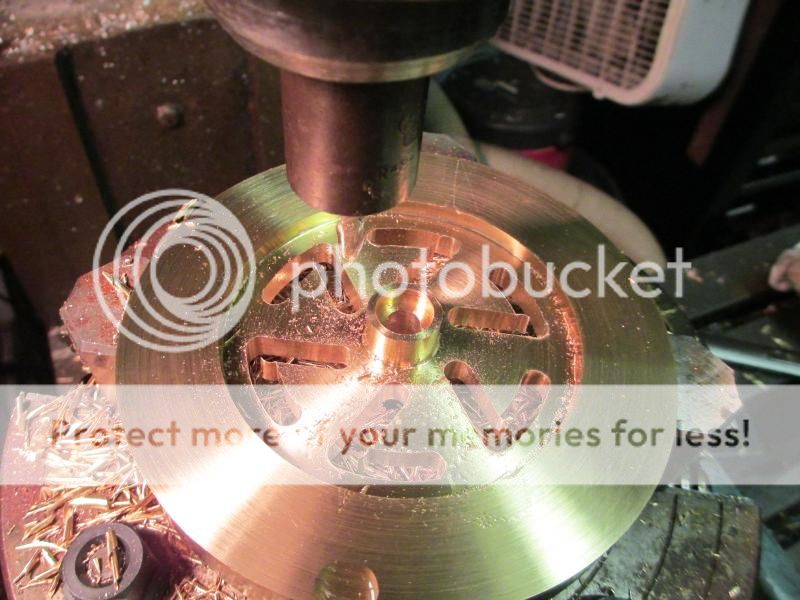
Fortunately it broke into large pieces, which I picked out with a dental pick. I got another end mill (with a weldon-flat, in a proper end mill holder) and I carefully started over with the milling. First I machined the outer edges:


The one side of each spoke:


The the other side of each spoke:


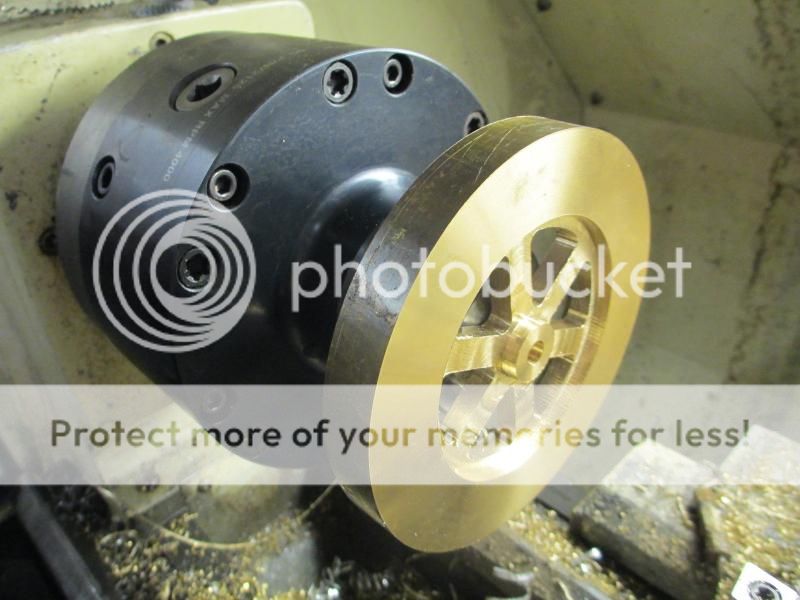
After this I used a collet to chuck up the nub I left on the finished side so I could machine the rim and the other side.


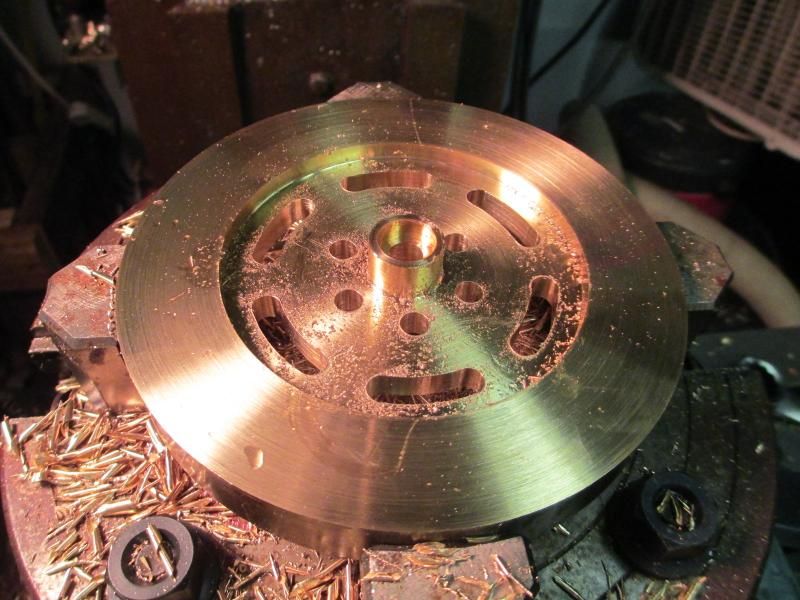
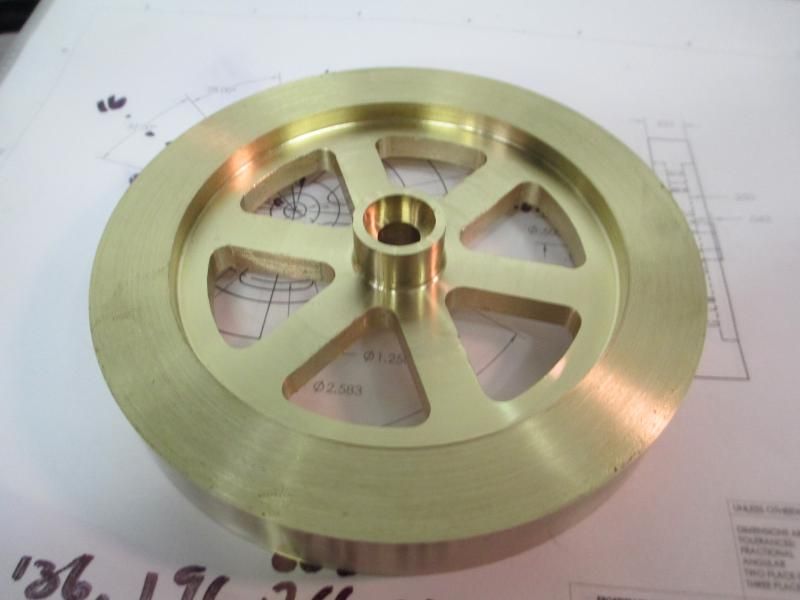
And here is the pretty much finished flywheel:


I'm glad to have that out of the way.
 
The flywheel looks great, nice job.

I've never heard not to use a collet for an endmill - it's all I've got to hold them. I googled it and I see the huge debate on the subject. As I've never had an issue doing it, I'm going keep using my collets!
 
I tried putting an endmill in a drill chuck once- and found at that it wasn't a good idea. I guess drill chucks aren't really built for radial loading. I hadn't heard that collets and endmills were bad- in fact I thought it was a good idea- at least I've never had a problem with it.
 
Drilling through brass and copper is very risky due to inherent tendency of snatching/grabbing.
Best to regrind rake to suit brass drilling. Drilling copper is even more deadly.Drill bit easily done on bench grinder. Socket was drilled through petrol tank w/o drill snatching.

Congrats.The Flywheel was very well done.

IMG_1980.jpg


IMG_1502.jpg
 
Thanks Gus, this was my first attempt at a spoked flywheel and since the Webster plans don't call for spokes I had to kind of figure it out as I went along. Modeling the whole engine and flywheel in SolidWorks was crucial for this as it let me play with all the variables. The flywheel is 4 3/8" DIA instead of the spec'd 3 3/4" because I had this beautiful piece of 5" DIA brass and it seemed a shame to waste so much of it by going down to 3 3/4".

I didn't have much trouble with the drilling. I've done negative-rake drillbits before for sheetmetal but I've never had issues like this in brass (although I can see why copper would be really bad). Next time I'll drill all the way up to 1/4" before switching to the end mill.
 
Carbide tipped wood router bits make good endmills for non ferrous metals. Their flutes are straight, or nearly so, and they don't tend to grab like the helix of a regular endmill. Also they have the greater back clearance required for a clean cut in soft materials. I use the 1/2" shank ones any time possible, they are a lot more rigid. A 1/4" shank works fine for a 1/4" cutter though. There are many shapes and sizes available and they are cheaper than the same carbide ones made for metal.

TapMagic for aluminum is my cutting fluid of choice on all non ferrous metals. It works good for copper too. Hardly anything works on copper.
 
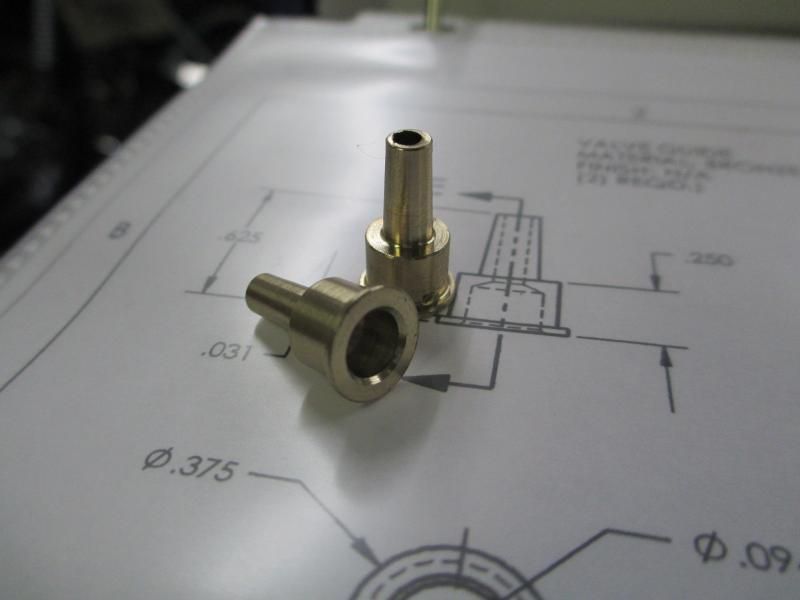
I started making the valves, then decided I should have the guides made first so I can check the stem fitment as I go. Sorry, no in-progress pics. These were pretty straightforward, although I did have to scrap the first one because I thought it was supposed to be .250" for the second diameter (should have been .3125"). Otherwise these were pretty simple, two setup parts. The stem hole ended up a few thou off center of the tapered part, but since the stem bore and the seat bore were done in the same setup they should work fine.

 
Progress has been a little slow. I've been mentoring a FIRST robotics team (middle school) and the last couple weekends they've been in my shop using the bridgeport (carefully supervised) to make some robot parts. Also add to that the fact that I ruined my first two attempts at a crankshaft, and I'm a bit behind schedule.

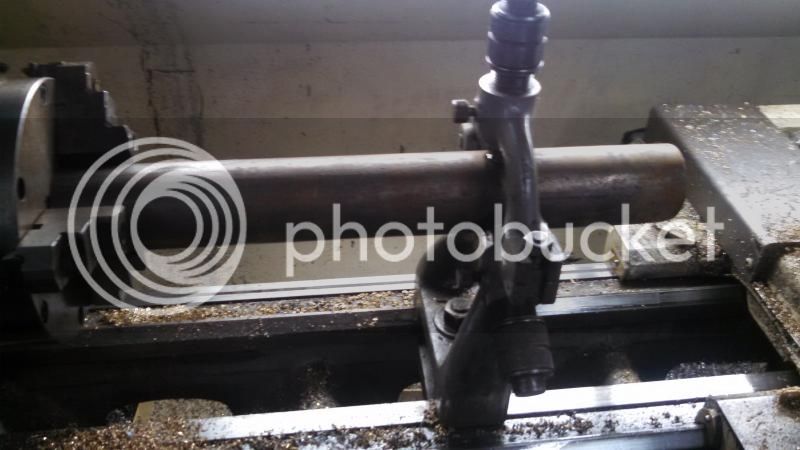
I have learned a lot, however, and have finally made a really great crankshaft that I am very proud of. Here's how I ruined the first two (although one wasn't my fault). For the first one, I didn't want to waste a bunch of this nice 12L14 rod I have to I tried to machine the crankshaft out of it using the steady rest instead of cutting a blank and leaving extra for the chuck to grab on to:


Most of the way into the process the rod walked out of the chuck about 3/16" and buried itself in the tool at the shoulder. Turns out the 7.5" Buck Adjust-Tru I got had been overtightened at some point in it's life and the jaws were sprung. When tightened on the rod I could slip a piece of paper half way down each jaw! That chuck is in the trash now (so to speak) and I'm using the 4-jaw usually mounted to my rotab until the backplate I bought from Enco arrives for my other Buck chuck (an 8" this time).

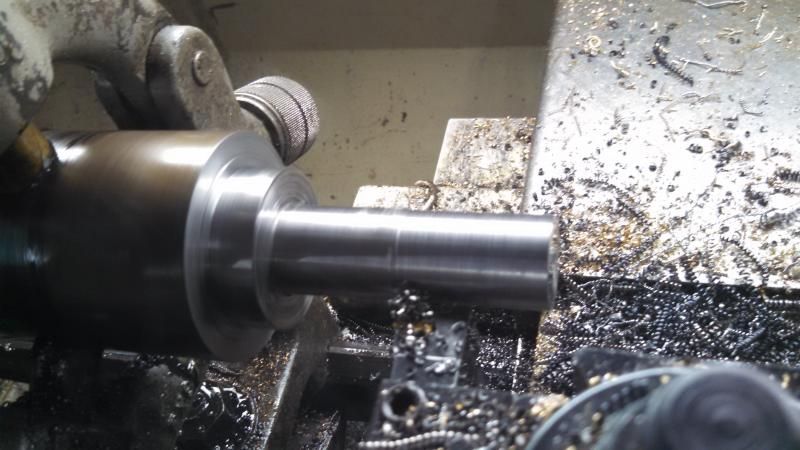
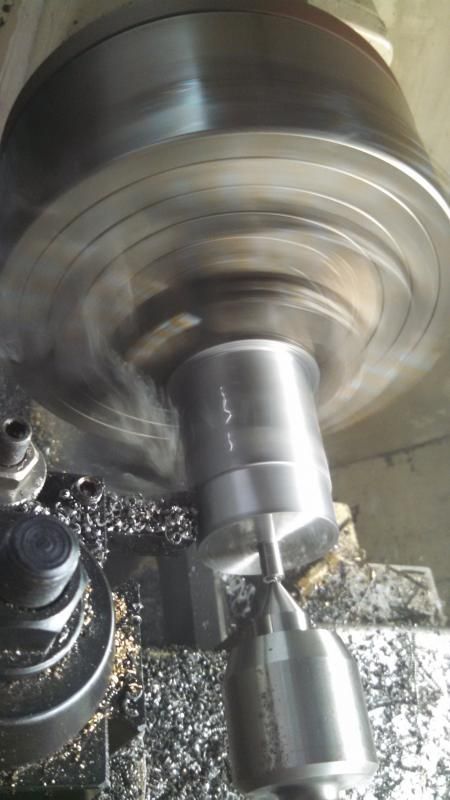
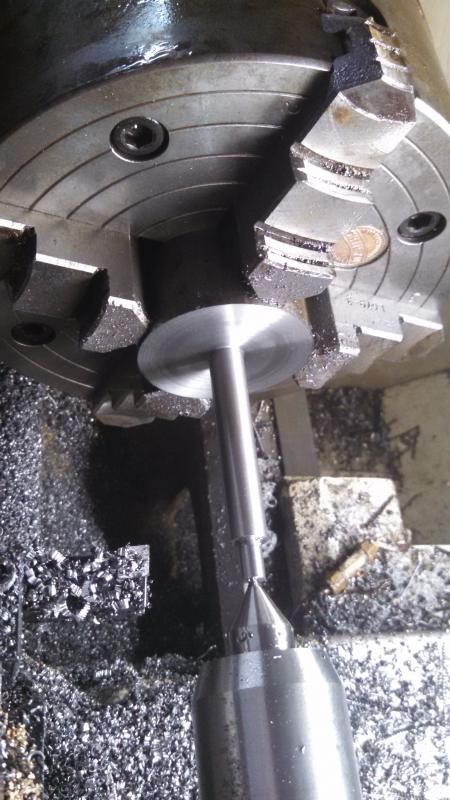
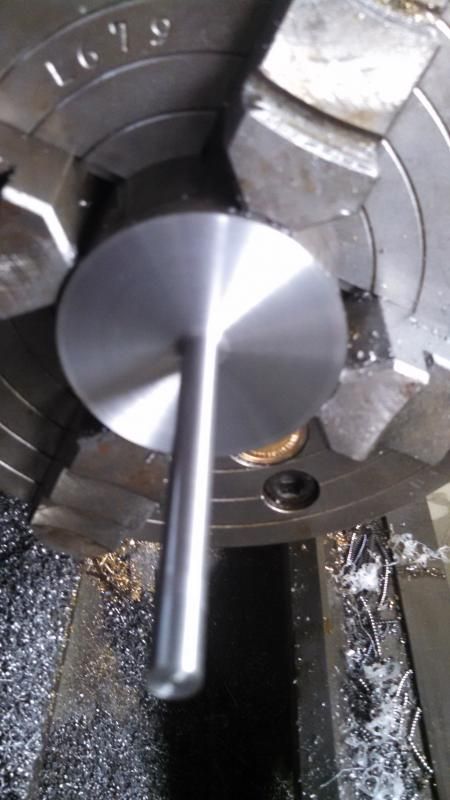
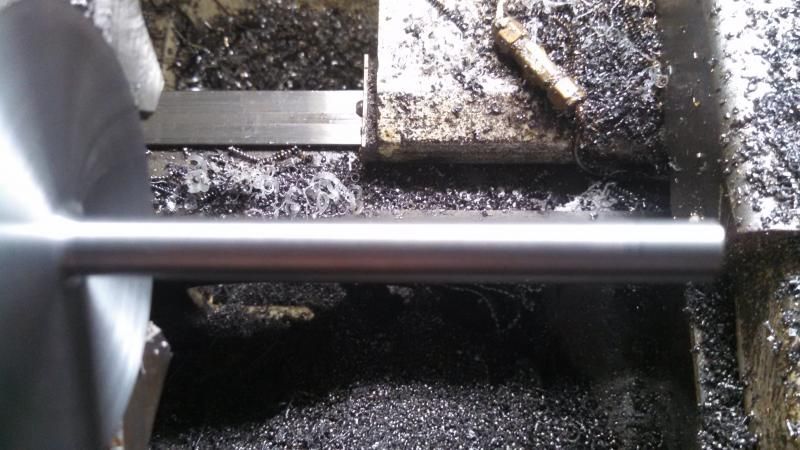
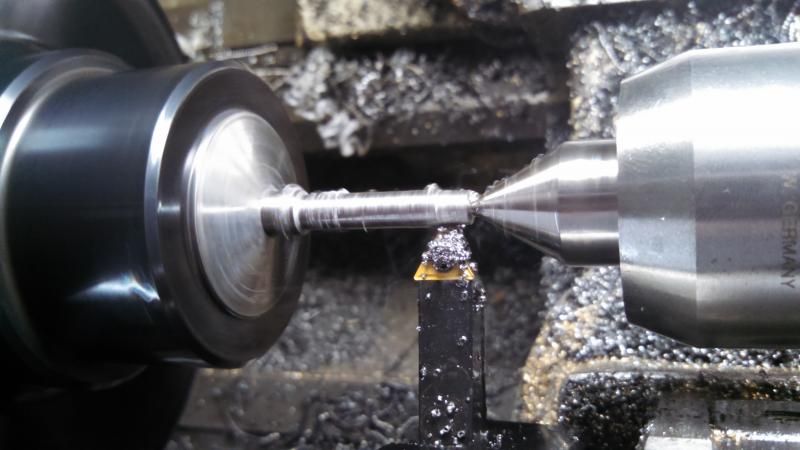
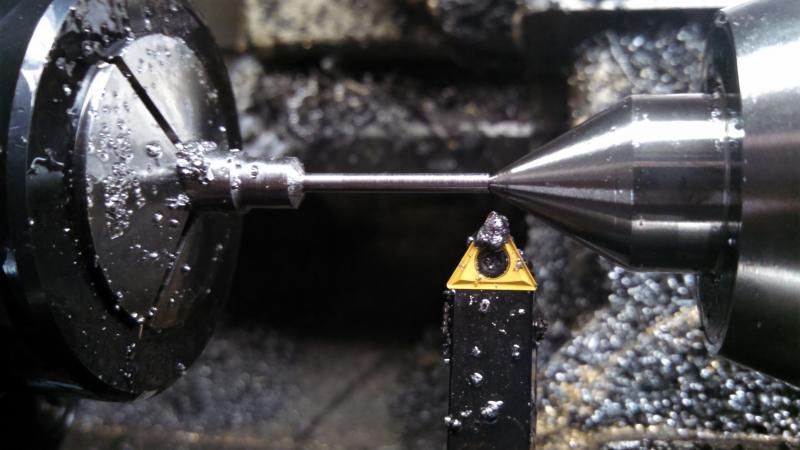
The second crankshaft machined well, but came out with about a .003" taper. Although my tailstock was aligned well to the headstock, I had to extend it a good bit to clear the carriage when using the live center and I think it deflected slightly. I corrected for this on the 3rd crankshaft by taking light cuts and then measuring the taper and adjusting the tailstock to compensate. This crankshaft was made in the 4-jaw chuck with what was left of my 12L14. I also turned a little spud at the end for a bit more clearance on the center before turning the main part of the crankshaft.


Here I've paused the machining to check for taper:


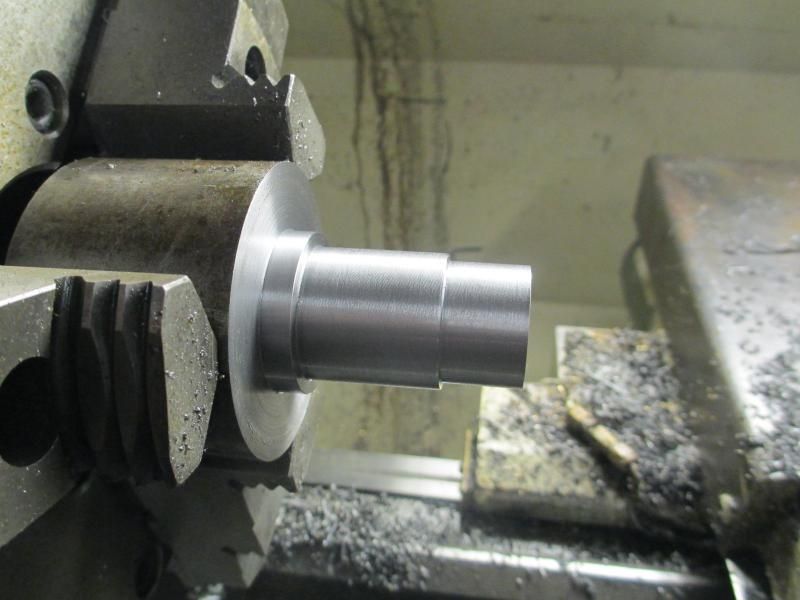
The finished 5/16" diameter:


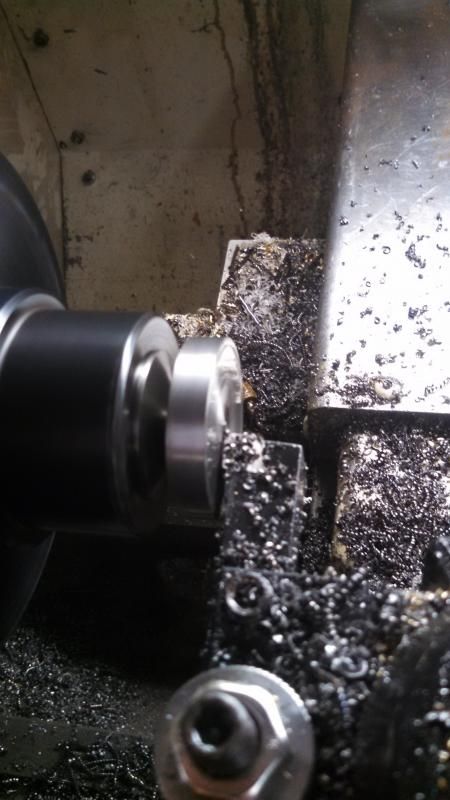
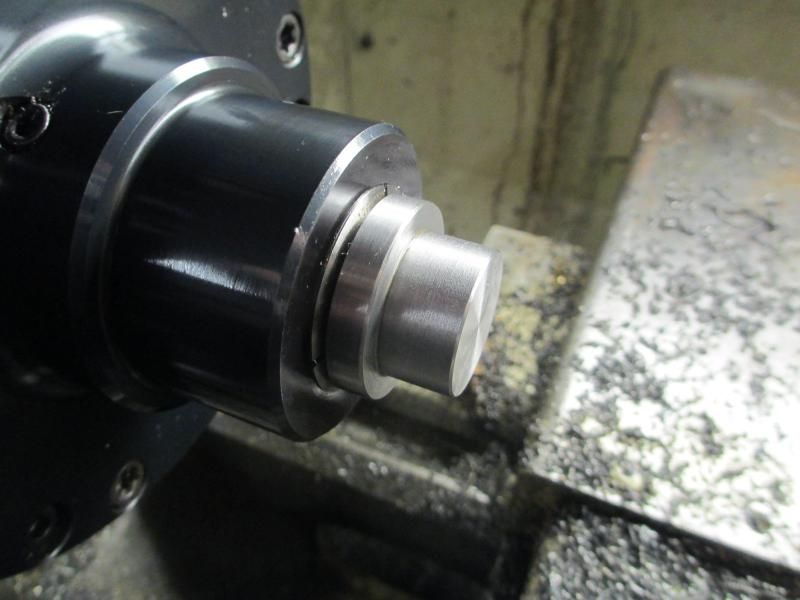
After that I flipped it around and put it in a collet to machine the OD and face off the throw.


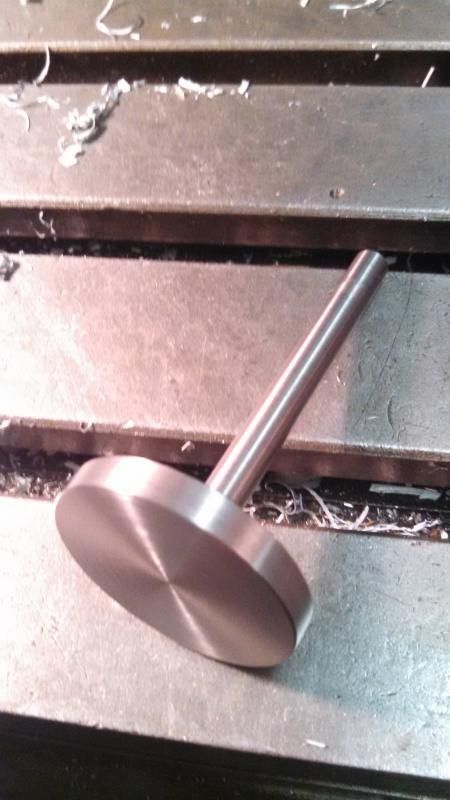
In the end it has about .0007" taper across 3" of length, which I'm fairly pleased with. The bearings fit great. I need to set it up in the dividing head now and bore the crankpin and then machine the throw to shape (although I'm tempted now to leave it as a full "disc"). Also, not sure you can see it, but there's a .090" radius where the shaft meets the throw for increased strength.

It's my first single-piece crankshaft, and although it took 3 tries (and a LOT of chips/scrap) I'm very happy with the final result.
 
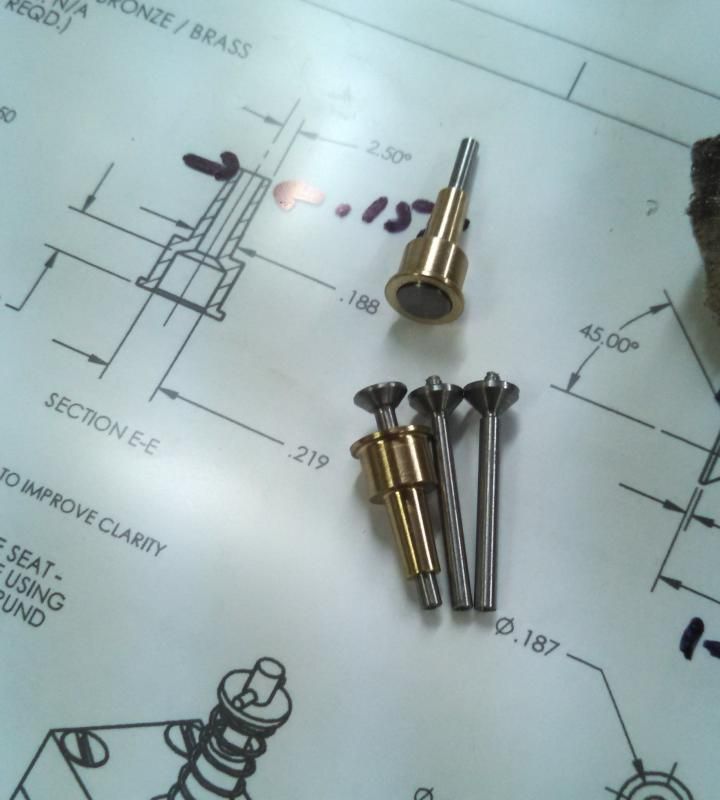
Got my scrap rate down to 50%! Made my valves this evening. The first one actually turned out pretty well out of the gate, but when setting up for the 45* angle the cutter ended up cutting into the stem slightly for clearance. I set up and tried again, backing out the clearance value (or so I thought) but it turns out I needed to back out double the previous clearance (diameter, not radius). So the finished valve on the right has a significant undercut in the stem, and the one on the left has less undercut. I could have used these, but I wanted to do the valves right so I made two more without any undercut at all. Just need to lap them and drill the cross-hole for the keeper.


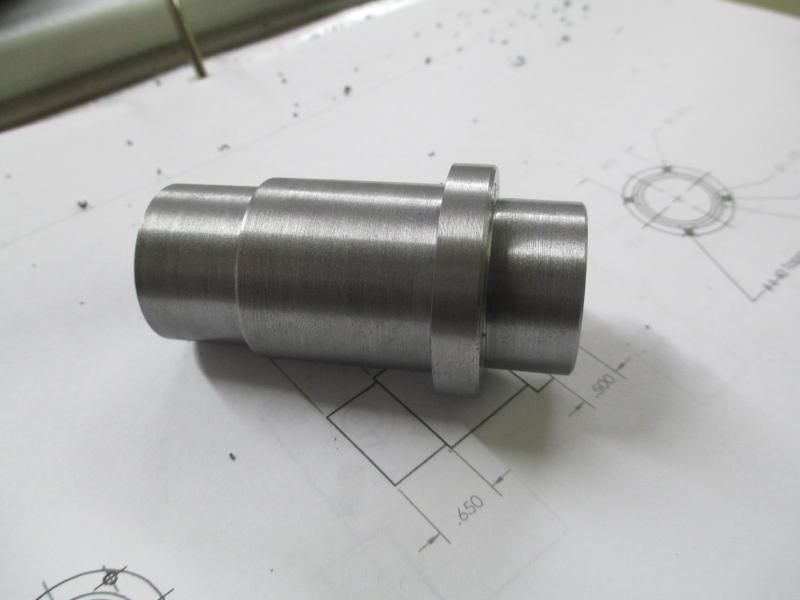
Made the cylinder tonight. I've almost finished up what I consider the "difficult" parts of this engine. Decided to make a bit more work for myself and I'm making this one hopper-cooled. To that end I made a cylinder with no fins. It's made from more 12L14, same as the crankshaft. Started by turning all the rear OD's:


Flipped it around and put it in a collet to turn the 1.000" OD that goes into the head:


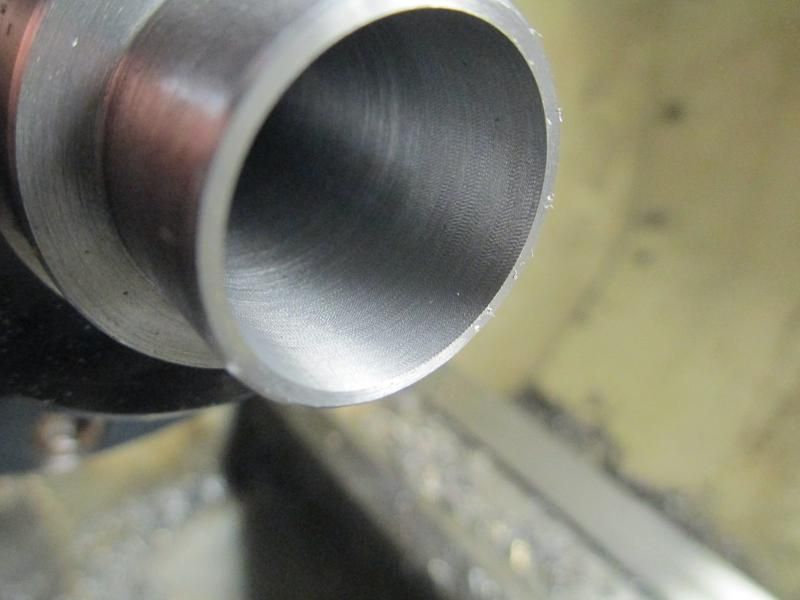
Afterwards, in the same setup, I bored it up to .874". I left it .001" undersize so I could hone it. The finish as-machined was actually quite good:


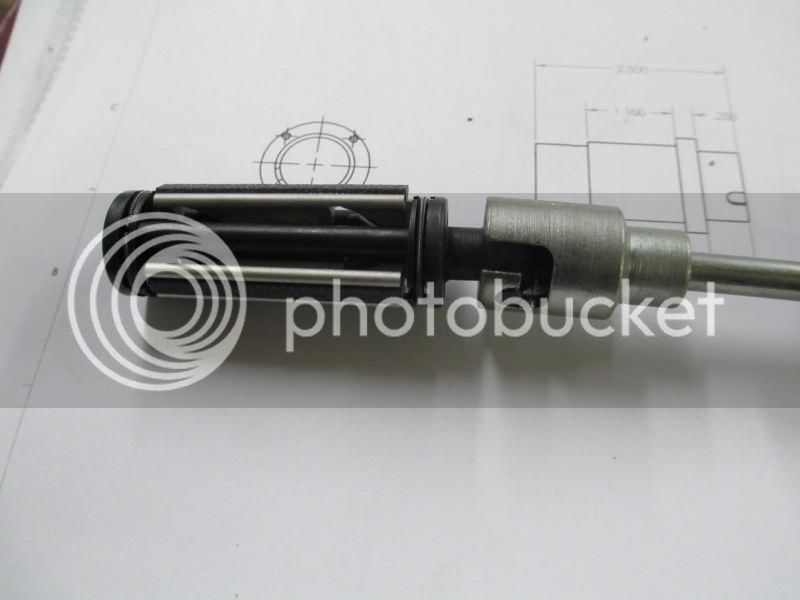
I picked up a set of hones for .75"-2" from an estate sale (the guy was a model engine builder). Decided to try them out:


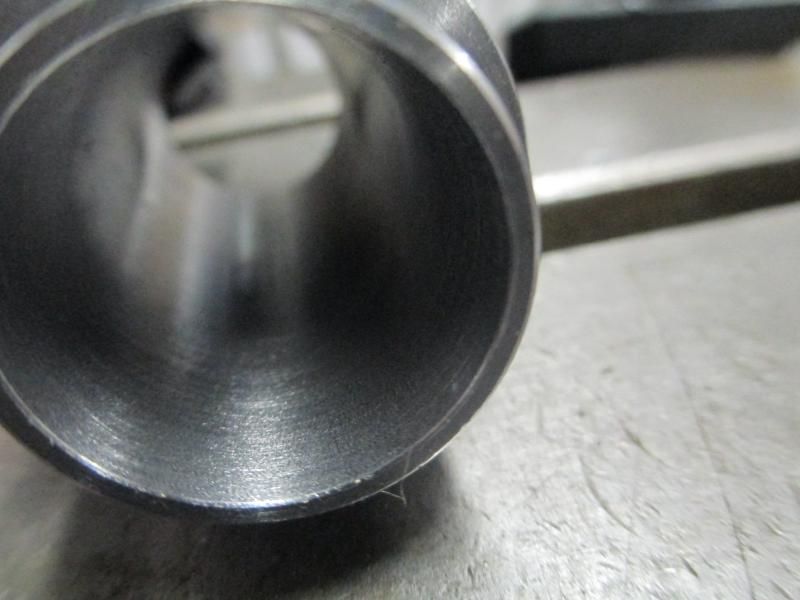
And here's the finished cylinder. I tried repeatedly to take a good picture of the ID, but it wouldn't turn out quite bright enough. Rest assured it is very smooth inside. Should work great.


I did learn that I shouldn't leave the bore a full .001" to allow for honing. It only took about .0002" to smooth it out, so it's a little undersize right now (about .8742"). Should be fine, I'll allow for it when I make the piston.
 
Hey Leatherman
Your Webster is coming along nicely and your machining is looking good.
Personally I don’t think you have to worry about rust on the cylinder. My Webster was my first crack at an IC engine and I finished it back in August (hate to gloat ;D but please see Project of the Month – September). I’ve lost track of how many hours I’ve put on it. Enough time to wear out and have to replace the bearing on the small end of the con rod.

6040 Finished (Medium).jpg
 
I used a cast iron cylinder and as of today can’t see any signs of rust. All I do is after a run is tip it upside down and empty the water tank. The engine is still hot from running and any moisture left just evaporates. Every second run or so I give it a quick shot of WD40 just in case.

IMG_0155.jpg
 
The Webster is a beautiful design and very forgiving. Have fun with it and try new things. This is your engine. If you try something on a part and it doesn’t work out . . . so what. Make a new one. I’ll be watching from the wings.Thm:
 
Thanks Brian and Bob. I've watched builds from both of you with interest during my dry-spell in machining this year. The 12L14 is all I had on hand in the necessary size. I'll paint the OD where it passes through the water hopper and see what happens. If it rusts up too badly I'll replace it later with something else. I'm glad to learn things like this now, on the Webster bar-stock engine, before turning to several irreplaceable casting-based engines :)
 
Hey Leatherman
Your Webster is coming along nicely and your machining is looking good.
Personally I don’t think you have to worry about rust on the cylinder. My Webster was my first crack at an IC engine and I finished it back in August (hate to gloat ;D but please see Project of the Month – September). I’ve lost track of how many hours I’ve put on it. Enough time to wear out and have to replace the bearing on the small end of the con rod.

Hi Bob,

That was a great looking Webster. The Best.th_wav

Trust the weather is OK. Over here its raining almost everyday. Waiting for a good weather window of at least three day to go fishing.
 
Back
Top