MB building Upshur Farm Engines.

Home Model Engine Machinist Forum

Help Support Home Model Engine Machinist Forum:

This site may earn a commission from merchant affiliate links, including eBay, Amazon, and others.
MB

When you did your crank build up's, did you use anything other than the 609 loctite and pins?

Like an activator or anything?

And, would parkerizing the crankwebs before assembly, cause a problem with the loctite?

Matt
 
1hand said:
MB

When you did your crank build up's, did you use anything other than the 609 loctite and pins?

Like an activator or anything?

And, would parkerizing the crankwebs before assembly, cause a problem with the loctite?

Matt

Hi Matt. Just the 609, and I added the pins later. You need the accelerator/activator with aluminum on aluminum and stainless on stainless or the two together. Add brass or steel to either one and you don't need it. I never tried Parkerizing first so I can't say for sure.

-MB
 
Thanks buddy!

I'm going to try the parking first, and will let ya know how it goes.

BTW....My Packers are going to the Dance!!!

Matt
 
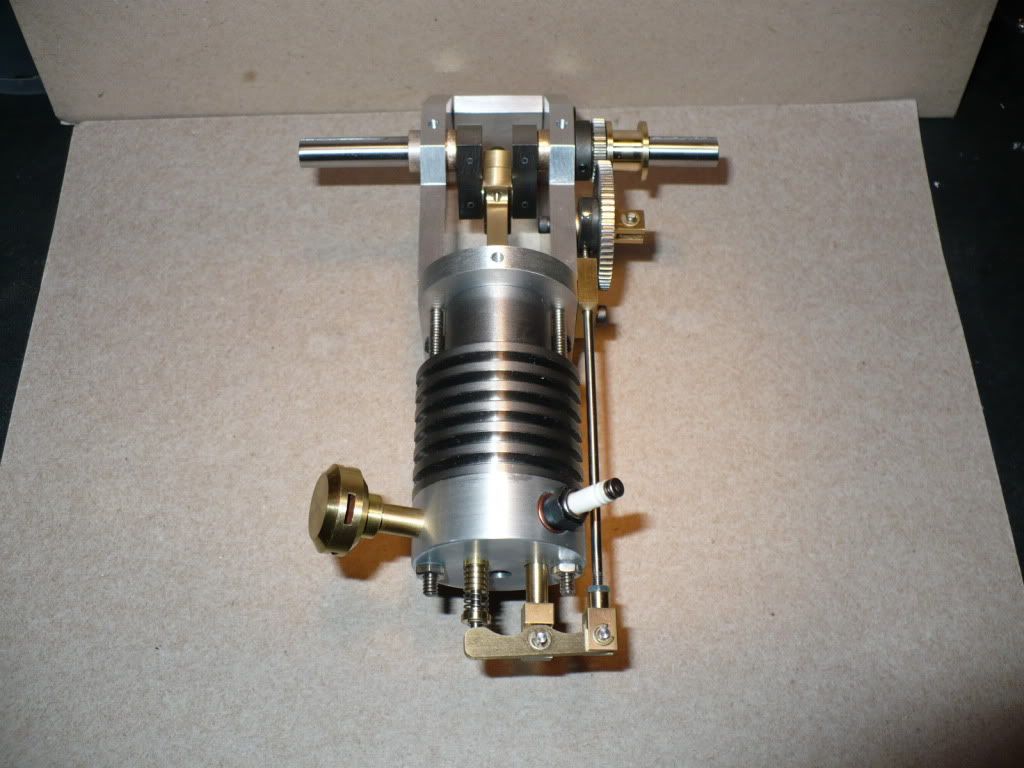
#254 today I finished up sanding all of the aluminum plates. I added a clevis to the push rods which made it necessary to partially assemble one of the engines to get a measurement for the push rods.


P1040978.jpg


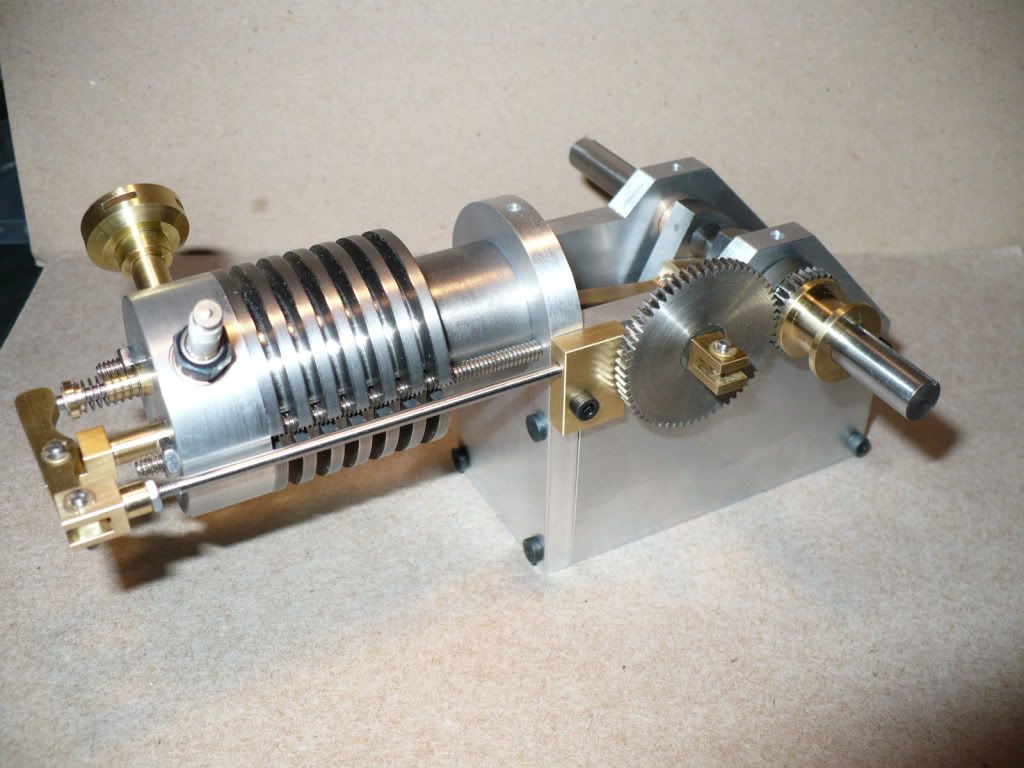
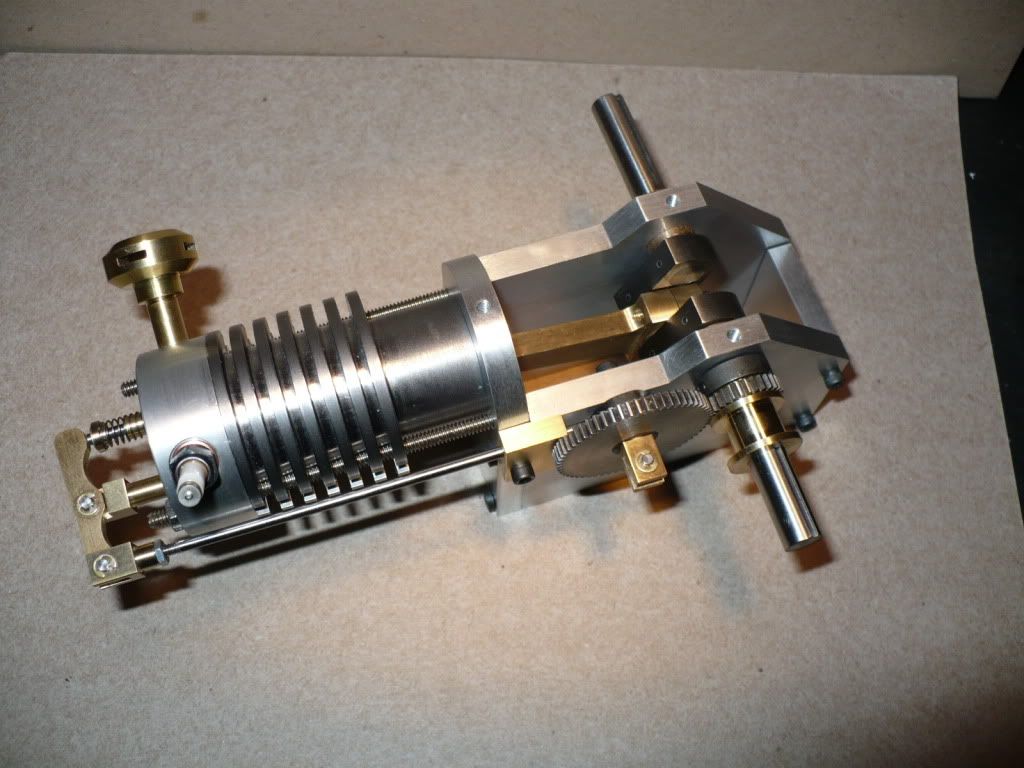
#255 I took a few pictures to show how an engine looks at this point. There are still plenty of parts to make.

P1040979.jpg


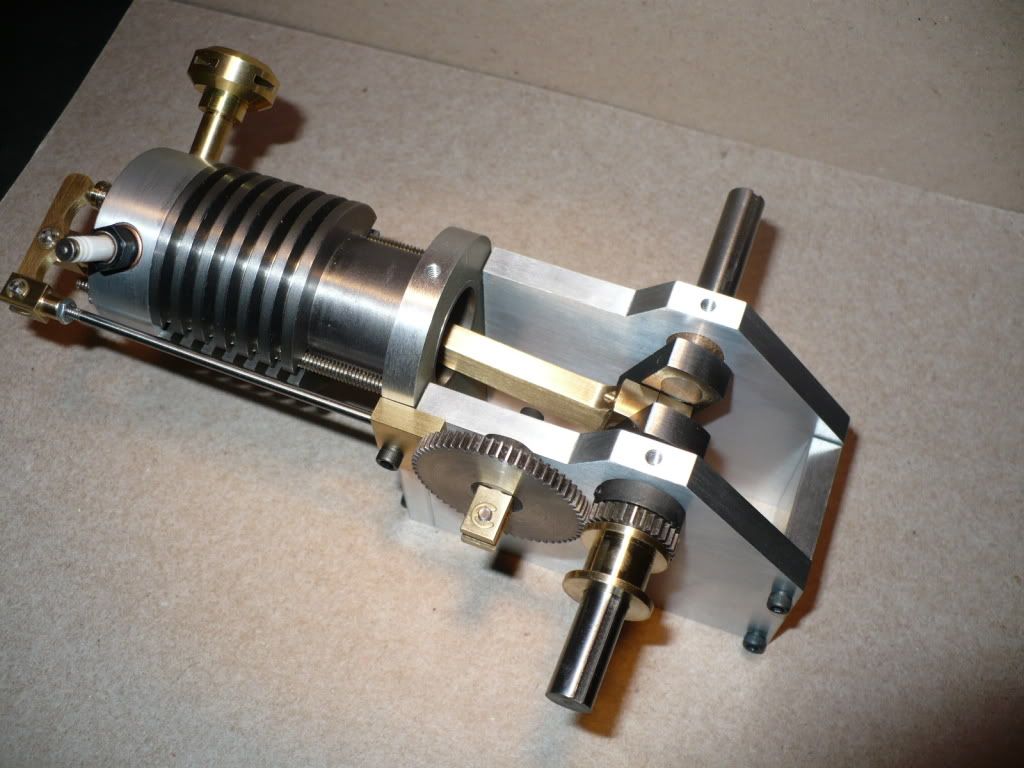
#256 I wanted to show how the plates look before I paint them. I don't use paint to conceal my work.

P1040980.jpg


#257 I'll be using my traditional favorite green on at least one engine. I call it 'trout green'. Rof} Rof}

P1040982.jpg


-MB
 
You know, MB, that is just lovely work. Not much else to say...

Chuck

Edit: Why do you guys put mufflers on these things? Don't you want a lot of noise???
 
Brian, Chuck, Zee, and Pat. Thanks for visiting my thread, and for your wonderful compliments.

Brian, take a well deserved break, and live vicariously

Chuck, I added the mufflers just for looks, I wasn't thinking that they would actually 'muffle' the sound. The muffleres can be removed leaving a louder 'strait pipe'.

Zee, wow it sounds like you really like my project.

Pat, thanks, I still have quite a few big hurdles ahead.
 
Looking just the bees knees MB. I am struggling just to do the few bits so far but you make it look soooo easy.
just loving the explainations and pics
Pete
 
hopeless said:
Looking just the bees knees MB. I am struggling just to do the few bits so far but you make it look soooo easy.
just loving the explainations and pics
Pete

Hi hopeless. Thanks for the compliment. When I look at the pictures of parts that others have made it does look easy in a lot of cases. When I look at parts that I made a while ago they also look easy. It didn't look that way before and during the process of making the part.

For me the difficulty in making a part lies in coming up with the step by step approach to the machining, and this can involve designing and making a fixture, or coming up with a set-up to accurately machine a part.

And when a part is all finished up I usually think, wow that was easy! Some times thinking about it is more work than actually doing it.

The best approach is to focus on making one part at a time. Avoid thinking about how your going to make the next part, it just interferes with your focus and slows down the progress.

-MB
 
Things sure are looking good, Rick. You've done a lot of work to get to this point, that's
for sure. It really shows in your last pics of the assembly.

It always look easy when someone else does it! ;D ;)
 
Really going to be a sight when their all done popping away like corn in the kettle..... scratch.gif..Now I'm hungry!

Nice job !

Matt
 
Thanks Matt.

Don't eat so late. It'll keep you from getting a good nights rest. :big:
 
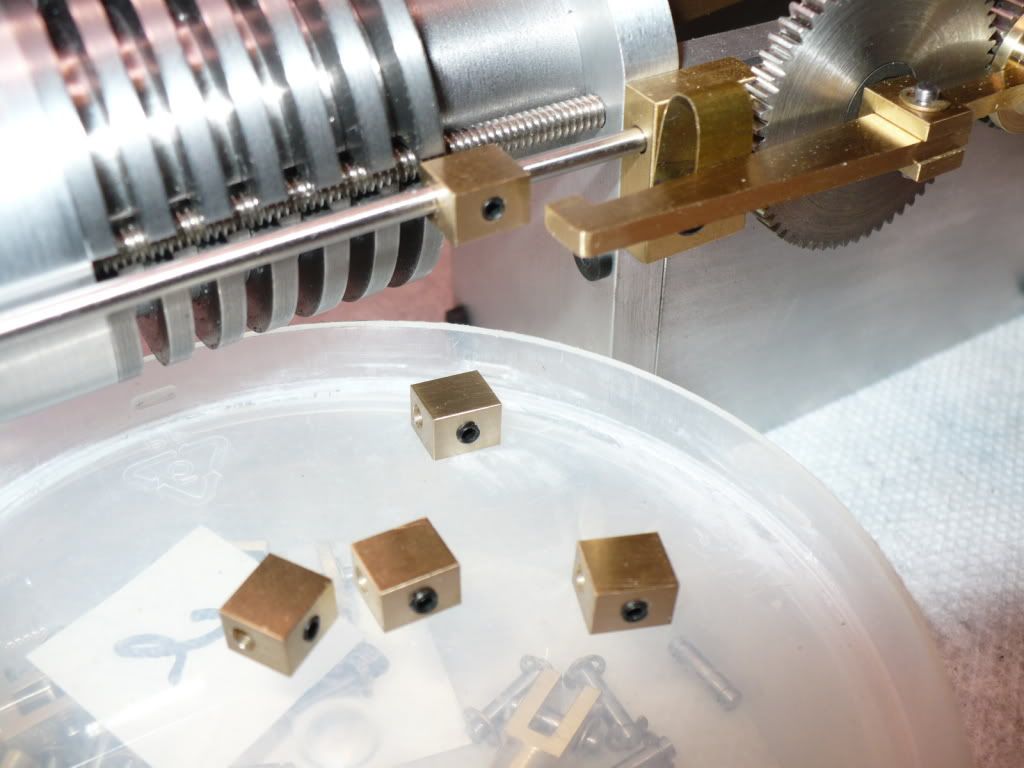
#258 Well, I'm still working on solving some of the numerous but minor issues. With the push rods finished for the water cooled version, and the two air cooled versions, I turned my attention to making the stop block that engages with the lock out lever. The plans call for a block of unknown dimensions to be soldered on to the push rod. I couldn't see myself getting its size and location right, so I decided it might be wise to make a block that could be adjusted along the push rod and removed for milling if its needed. The block can also be locked out of the way to run the engine in four stroke mode. This feature will come in handy during the initial run in and adjustments.

Below is a picture of the adjustable blocks that I made. I think these will better than blocks soldered on. I tried the flat spring that pushes on the lock out lever and it works well. I feared that it might collapse under compression since its only .005 thick. I'll have to wait to find out if it provides enough pressure.

P1040983.jpg


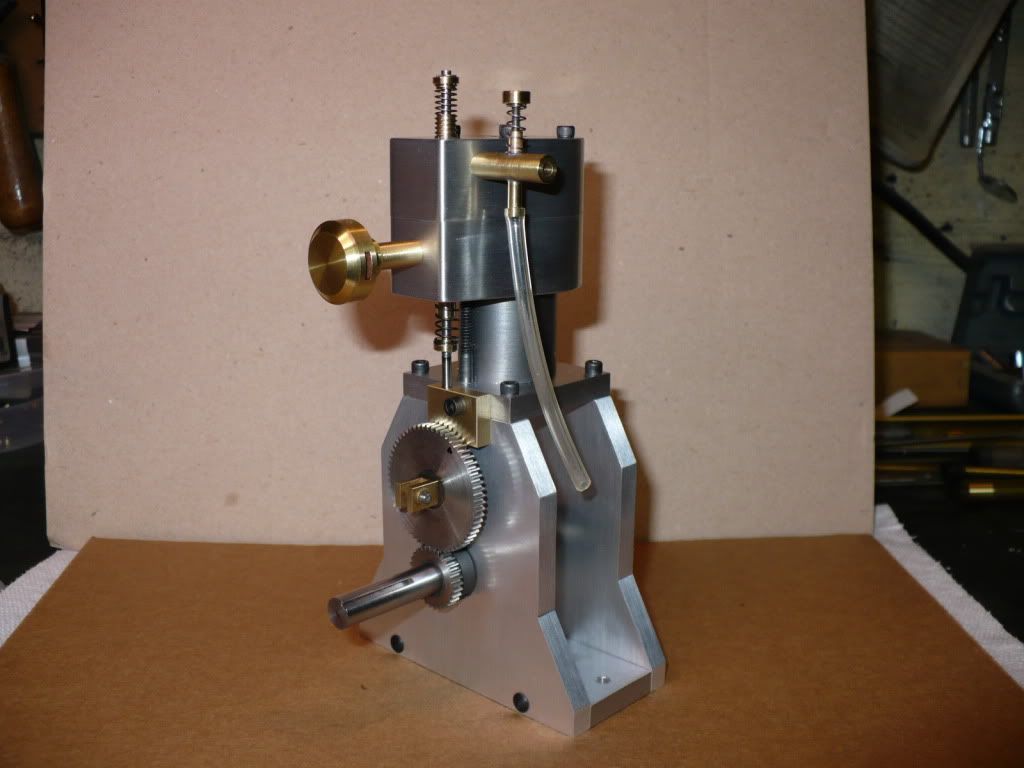
#259 I did a temporary partial assembly of the vertical F-Head version to get a measurement for the push rod, see how well the parts fit up, and also to check the gear mesh. Every thing is looking good so far as the fits go.

There is some bad news. It doesn't look like the all the extra parts I made for the hit/miss mechanism will fit and work on the two F-Head versions. Did I miss a notation about this on the plans?


P1040988.jpg


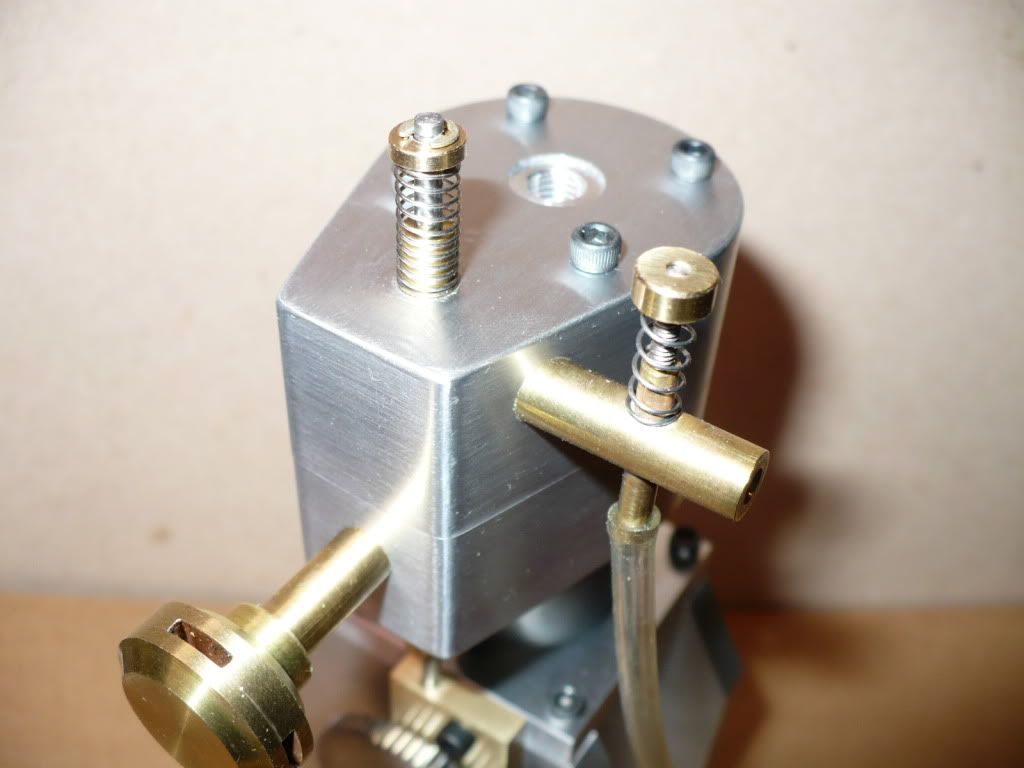
#260 Close-up of the intake valve assembly, with carburetor and exhaust in place.

P1040991.jpg


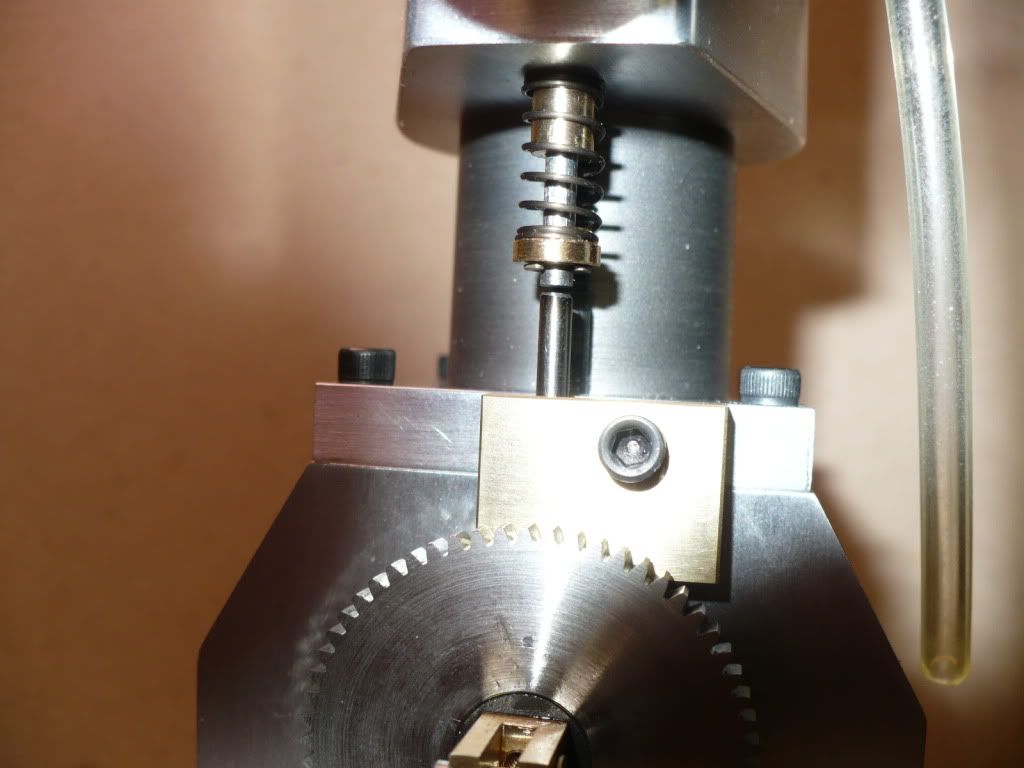
#261 The exhaust valve assembly in place, along with the push rod and its guide block

P1040992.jpg


-MB

 
Looking Good MB!

You got a great finish on all those parts. Very Nice.

Kel
 
Lookin' real good, in fact. Very tidy work!
 
I just caught the "trout green" remark MB. ;D I have to say I'm honored! My only request is that you mention that fact on the plaques that you make for your engines.

I sure am glad you take nice pictures. I'm ready to start back on my Upshur this weekend so I may have a few questions popping up.

I think you may have reinvigorated interest in Upshur's plans. His sister should cut you in on some of the profit, although at that price I'm sure its not exactly a gold mine for her.

Outstanding work, BTW.

-Trout
 

Hi Kel, Tel, krv3000, and Trout. Thanks for taking an interest in my humble project, and for your complimentary remarks. I'll do my very best to avoid disappointing you!

Troutsqueezer said:
I just caught the "trout green" remark MB. ;D I have to say I'm honored! My only request is that you mention that fact on the plaques that you make for your engines.

I sure am glad you take nice pictures. I'm ready to start back on my Upshur this weekend so I may have a few questions popping up.

I think you may have reinvigorated interest in Upshur's plans. His sister should cut you in on some of the profit, although at that price I'm sure its not exactly a gold mine for her.

Outstanding work, BTW.

-Trout

I thought you might enjoy my "Trout Green" remark! ;D

Plaques? I'll already put that idea on my round-tuit list of things to make. You know, you just gave me an idea, adding a 'builder's plaque' or decal would add a nice finishing touch to a project. I saw a post some where about printing decals using your home computer. If I could just remember....

Feel free to ask any questions that you may have and I'll be more than happy to help out. I dropped you a few subtle hints hoping to inspire, and I'm glad to hear that your ready to move forward with your build.

Note to self: I need to contact Helen and request a 1% commission on each set of plans sold if the order is accompanied with a notation saying 'MB sent me'. However I'm very negotiable on the percentage, but if the one percent was accepted than I would be looking at getting 'maybe' 13 cents in a good year? Rof}

-MB
 
Back
Top