Faced with some small engraving needing doing and a lack of intact engraving bits (normally in this situation, I'd just fire up a spotting drill or something else pointy, but that wasn't going to work for the line widths needed), I went searching around the net and ran across the concept of pyramid engraving bits. They are three (or four maybe, I used 3) flats ground onto the end of a tool at an angle. Much simpler to make than the usual single-flute engraving bits, and the one I made worked impressively well in both aluminum and steel.
The grinding setup-- I used an angle-indexer on my surface grinder with a shallow diamond cup wheel. I have a T&C grinder (what the diamond wheel is intended for), but it's buried under piles of junk right now, so thought I'd try the SG, especially as more folks are likely to have one. There are a number of ways to do this setup if you don't have the same wheel or indexer I do-- a Spindex set at an angle on the mag chuck would work, or you could lash something up with collet blocks and an angle vise or something. In a pinch, an AlOx wheel will grind carbide, but it'll take almost as much off the wheel in the process. The indexer is set for 60 degrees since a 60 degree point seems to be the sweet spot between line width and tip longevity for engraving metals.

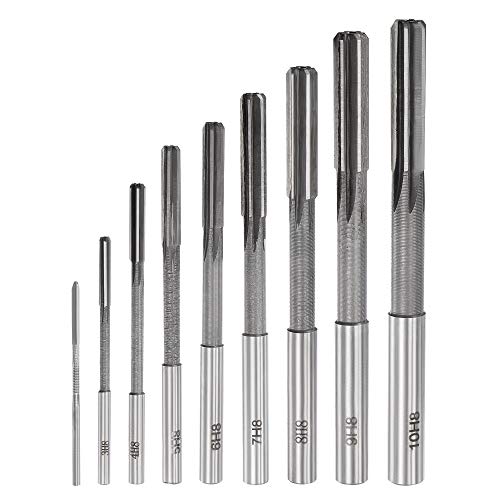
I chose to use a broken 1/8" carbide end mill shank for a blank. I have a number of them in the 'broken bits' box") .
.
Here I've done one flat and indexed around to the next one (yes, I didn't reset the starting index before grinding like I should have and thus had to do the math on the fly...) With this setup, it's simply indexing 120 degrees and infeeding the grinder to the same number each time. You want to be pretty close, but it doesn't have to be perfect (actually non-perfect might help a little with tool life, see below)

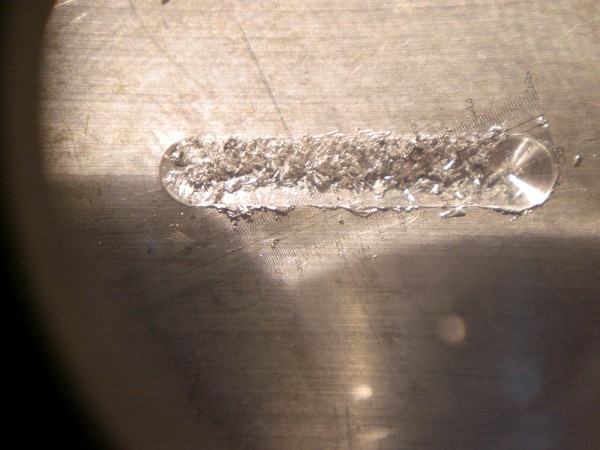
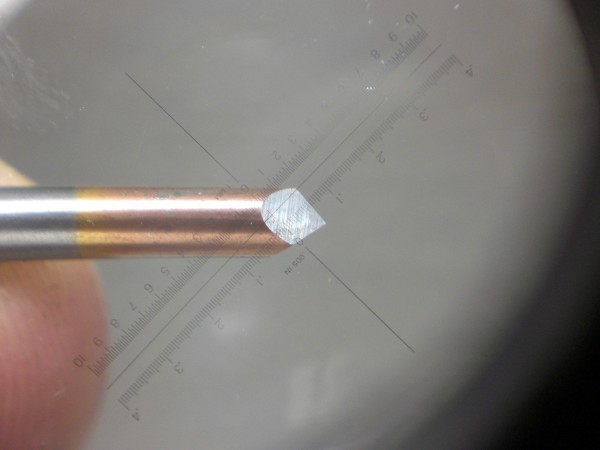
Here's the completed bit seen under 10x magnification (I did both ends of this blank. It seems to be traditional with engraving bits and saves time when you need another point)
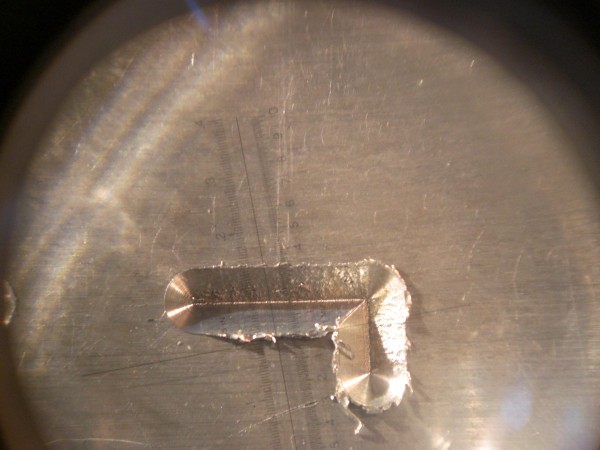
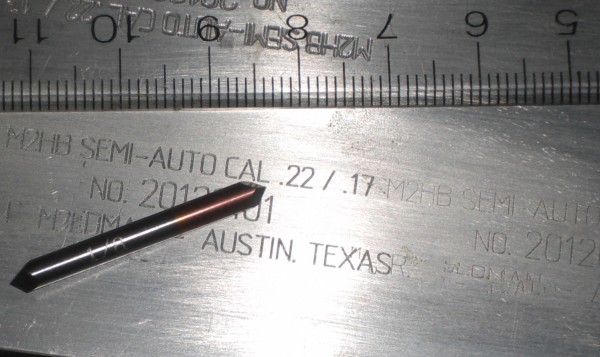
And some results. The bottom two engravings are with this bit. The light one on the right is at about .003" DOC, and the left one at about 0.009". The top version under the ruler is the best I could do with a pointed 'drill mill' prior to making this. These are in alu but the steel piece came out very similar. Inspecting the bit after four runs engraving, it was still sharp and pointed.
In use, you want to downfeed these very slowly (like 1 IPM or less) to avoid chipping the tip. If you got the point perfectly on center, it has effectively zero SFM no matter how fast you spin the bit (and you should spin these bits as fast as you can).
For five minutes effort and recycling a broken bit, I think it's a winner. Anybody else messed around with these?
The grinding setup-- I used an angle-indexer on my surface grinder with a shallow diamond cup wheel. I have a T&C grinder (what the diamond wheel is intended for), but it's buried under piles of junk right now, so thought I'd try the SG, especially as more folks are likely to have one. There are a number of ways to do this setup if you don't have the same wheel or indexer I do-- a Spindex set at an angle on the mag chuck would work, or you could lash something up with collet blocks and an angle vise or something. In a pinch, an AlOx wheel will grind carbide, but it'll take almost as much off the wheel in the process. The indexer is set for 60 degrees since a 60 degree point seems to be the sweet spot between line width and tip longevity for engraving metals.
I chose to use a broken 1/8" carbide end mill shank for a blank. I have a number of them in the 'broken bits' box
.Here I've done one flat and indexed around to the next one (yes, I didn't reset the starting index before grinding like I should have and thus had to do the math on the fly...) With this setup, it's simply indexing 120 degrees and infeeding the grinder to the same number each time. You want to be pretty close, but it doesn't have to be perfect (actually non-perfect might help a little with tool life, see below)
Here's the completed bit seen under 10x magnification (I did both ends of this blank. It seems to be traditional with engraving bits and saves time when you need another point)
And some results. The bottom two engravings are with this bit. The light one on the right is at about .003" DOC, and the left one at about 0.009". The top version under the ruler is the best I could do with a pointed 'drill mill' prior to making this. These are in alu but the steel piece came out very similar. Inspecting the bit after four runs engraving, it was still sharp and pointed.
In use, you want to downfeed these very slowly (like 1 IPM or less) to avoid chipping the tip. If you got the point perfectly on center, it has effectively zero SFM no matter how fast you spin the bit (and you should spin these bits as fast as you can).
For five minutes effort and recycling a broken bit, I think it's a winner. Anybody else messed around with these?


![MeshMagic 3D Free 3D Modeling Software [Download]](https://m.media-amazon.com/images/I/B1U+p8ewjGS._SL500_.png)


![DreamPlan Home Design and Landscaping Software Free for Windows [PC Download]](https://m.media-amazon.com/images/I/51kvZH2dVLL._SL500_.jpg)