I agree Jason, thanks and thanks to everyone else for their comments. I have a couple of options though, I can try for replacement castings or have fun sorting them out. The only replacement I would go for though is a sump but I will leave that until I see how my fix turns out. Plenty of time for that though........On with the build says I!
Well today was a good day. The first of many I hope. I wanted to complete at least one blank camshaft in steel. I expect I could have made 1 ½ blanks if I hadn't made a mistake with the taper end of the camshaft.
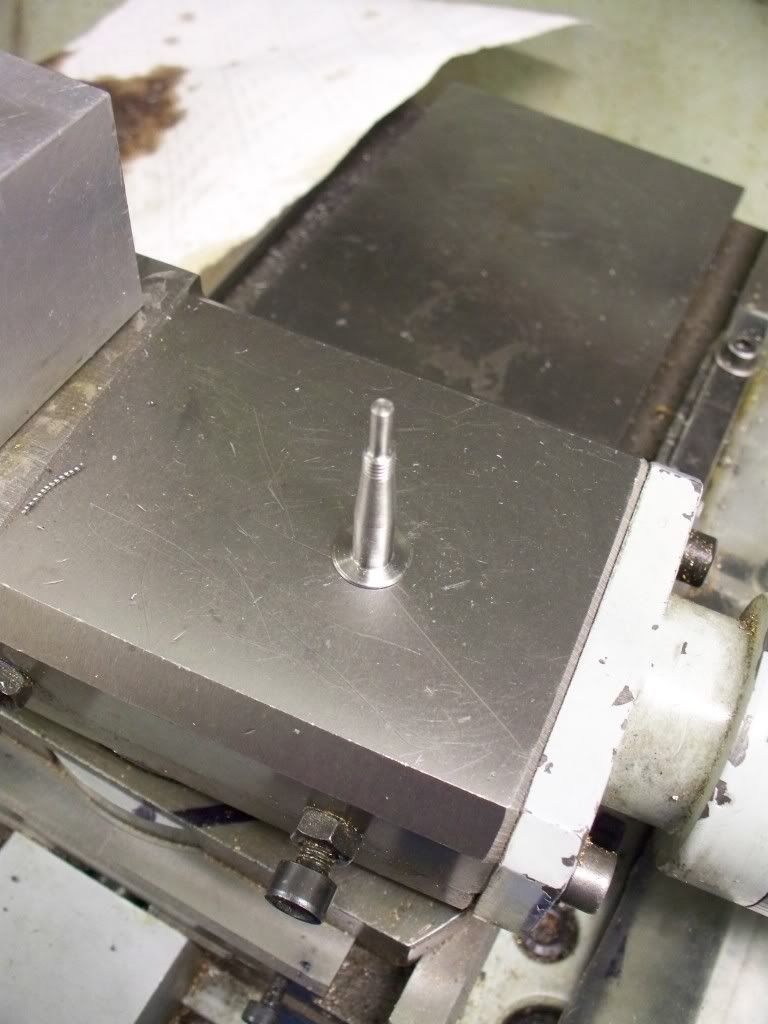
I had completed all the fussy bits and then took too much off the 1/8th tail. So that was parted off and will be kept as a comparator piece (scrap really!). I was a little miffed that I managed to get all the parts within 0.001 only to make a silly mistake at the end (literally).
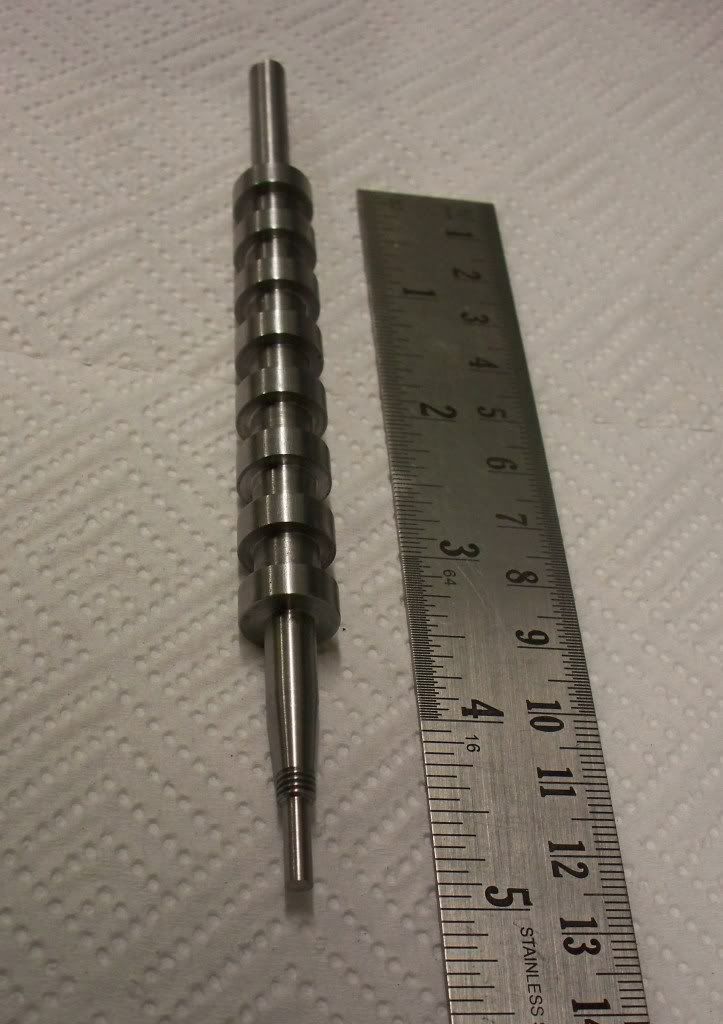
At least the structure I put so much time into for machining seemed to work. Indeed the time I took to make the nearly completed camshaft blank [see photo] was much reduced for the second attempt. This particular camshaft is made from BMS (bright metal steel) and will be for my hardening experiment. I have another two blanks to make over the next couple of days but these will be turned from stainless steel. Not sure if it's the best material but it is surely harder wearing than BMS.
The only task remaining to complete today's example is to drill the small hole in the opposite end from the taper. This is to allow a small steel pointer to be used when turning the camshaft in the fixture designed by Steve Huck (thanks again Steve!). I will drill the hole when I have all three blanks machined to the same point to make use of the set up time involved.
I decided that the best way to approach the task of producing the cam blank was to machine the awkward part first. The first job was to centre the bar in the 4 jaw chuck with the minimum showing. Then the bar was turned down first to 0.250 diameter. Using the digital readouts the start and end of the taper was lightly scored on to the bar, along with the measurement of the length for the thread.
It was then another turning job to bring the diameter down to suit the 2BA thread which was then threaded by use of the die held in the tailstock holder. Once this was carried out the thread was then reduced to size. The next procedure was to turn the 10° taper just in time noticing that the tap setting should be only 5°. I must admit to a little apprehension when sizing the job up especially blending the taper to the threads. In the end though there wasn't any difficulty and the thought was far worse than the deed (as I have found with many engineering tasks done for the first time).
Once the tapered end was completed the 4 jaws were released and the bar drawn out, centered again, and then parted off with sufficient length to make a complete camshaft blank.
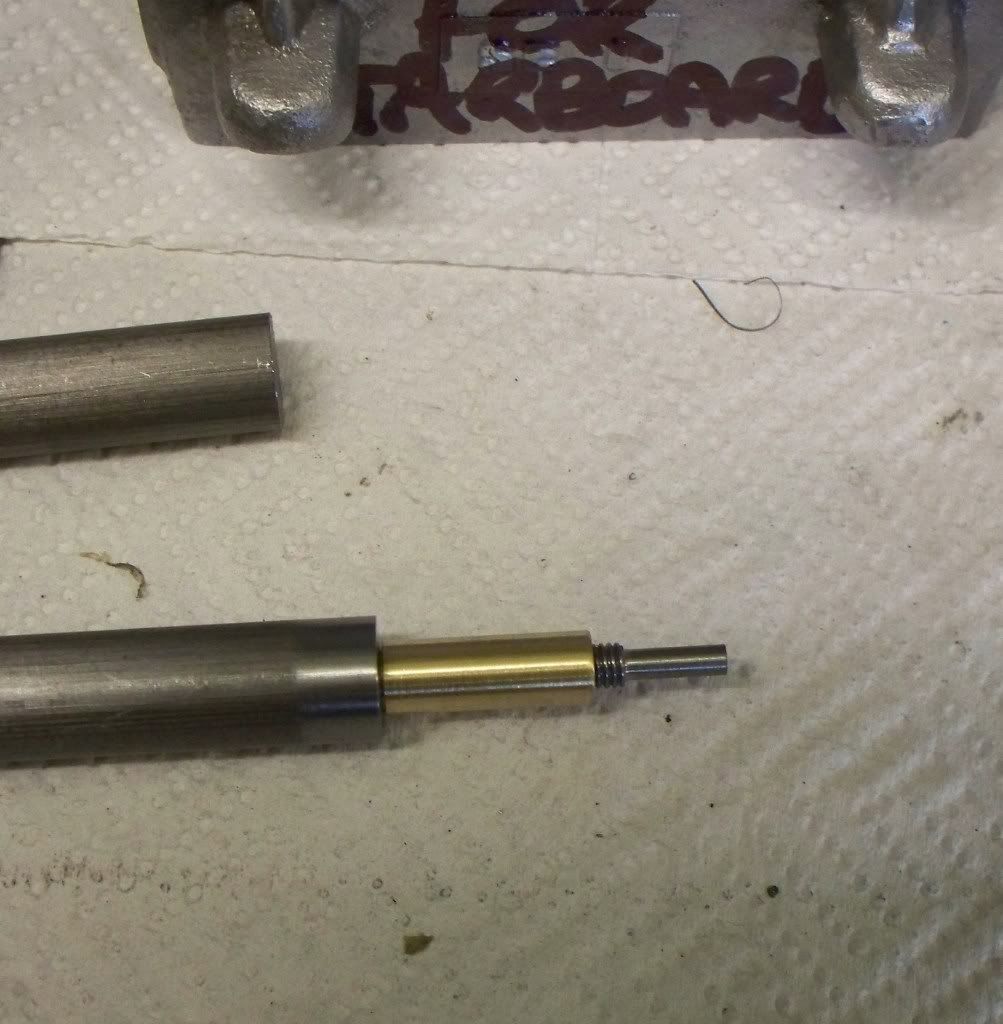
The bar was reversed in the 4 jaw with only enough bar showing to allow the dti to be used to centre the bar. After facing off the end was centre drilled so a live centre could be used in the production of the camshaft. This was the first time that I thought about how I was going to turn the cams in the next stage. In particular because the taper end was very small and certainly too small to centre drill and use against the live centre, but likewise I couldn't grip the nice taper end in the 4 jaw chuck. So I decided to produce a brass bush that would protect the shaft with the taper [photo] leaving the larger diameter faced end to be held with the live centre.

Once the bush was drilled and reamed, it was parted off and the bush and shaft placed in the 4 Jaw chuck, using the dti again to get it running true. I decided (with fingers crossed) that I better check the shaft was true across its length and I was really pleased to find no discernable difference between ends. Now the test would be if my new chart with the dimensions on (chart is too posh a term for the scrap of paper) would work.
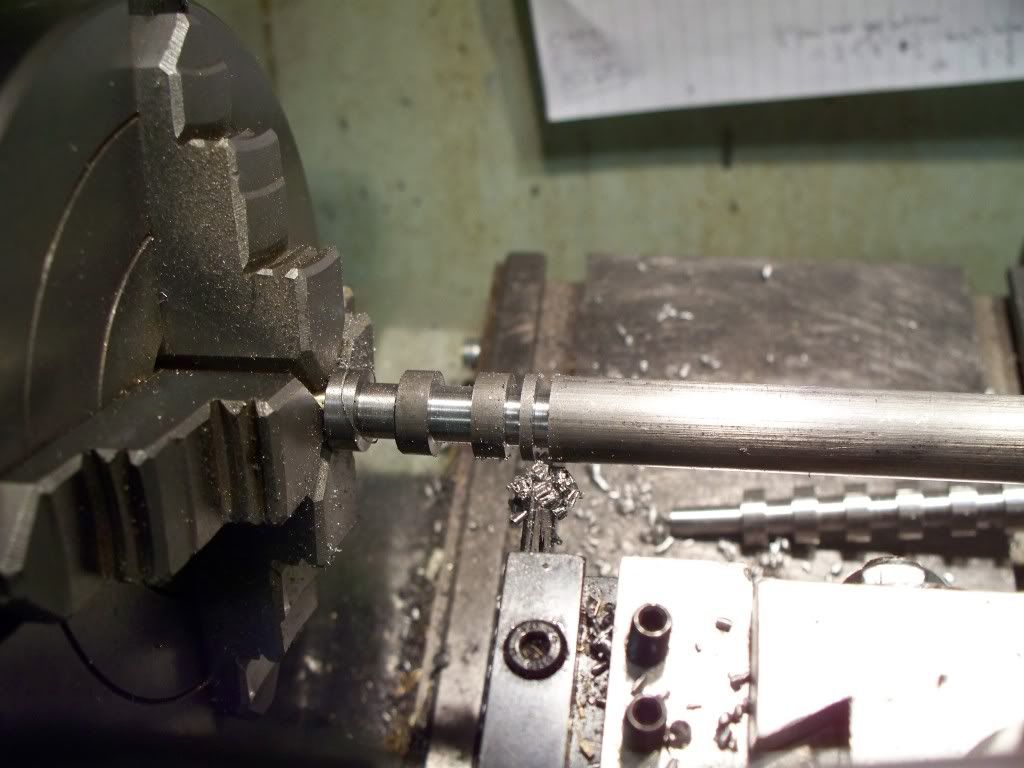
Starting with the end nearest the chuck, the digital readouts proved there worth as I set the position of the saddle into the correct position. With a new insert in the parting off tool I took the cut to depth. Set the y axis reading to zero and moved the saddle to the end position and cutting to 0.005 of the finished size. This left a middle piece to be removed, again to within the 0.005 of finished size. I now carefully moved the saddle between the two cam edges using the parting tool to turn down the last 5 thou to finish across the gap.

Then the saddle was moved towards the tailstock and into position for the next cut to within 0.005 before cutting the end position, removing the centre part last. This was repeated until all 8 cam blanks were cut. The tool was changed and the end nearest the tailstock then turned to finished size using the half method. Since learning about the half method I can nearly always get to the 1 thousandths of an inch allowance I give myself. Well unless I go stupid as I did earlier on in the day, but that wasn't a failure of the methodology, rather the stupidity of the operator!!
And that was enough for me today. At least I made progress. Hopefully tomorrow I will be able to produce another blank (I would like to get both done really but that depends more on health issues than time
)


![MeshMagic 3D Free 3D Modeling Software [Download]](https://m.media-amazon.com/images/I/B1U+p8ewjGS._SL500_.png)


