Design and build side-shaft hit and miss engine from bar stock

Home Model Engine Machinist Forum

Help Support Home Model Engine Machinist Forum:

This site may earn a commission from merchant affiliate links, including eBay, Amazon, and others.
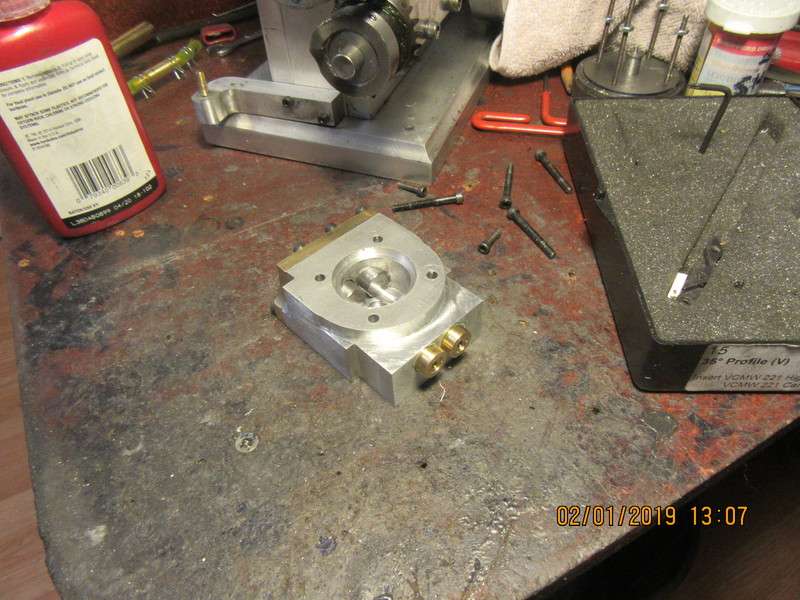
Here is a blurry photo (Sorry about that) of the cap plate that bolts onto the top of the cylinder head. The two round dowels attached to the underside of the bar are only in there as "space occupiers". If I don't put them in, it messes with the engine compression ratio.
ehfnmm.jpg
 
If I don't put them in, it messes with the engine compression ratio.

Could you explain that?

Do you mean spinning the flywheels and watching or feeling how it works? I would guess that with both of them there it would keep the engine from turning - or from turning easily. I must not be visualizing it properly.
 
Okay--time for a lesson--Remember old flathead Ford V8 engines, where hotrodders would "plane the heads" for a faster engine. What they were effectively doing was decreasing the room in the top of the combustion chamber to increase engine compression, which made a much "peppier" engine. On the other hand, if the combustion chamber gets larger, then the compression ratio drops, and the engine has lower compression and lazy performance. I have made my combustion chamber larger than it was before, so the plugs are in there to replace the material I machined away. A hit and miss engine runs best with a compression ratio of 3.5:1 up to 5:1.
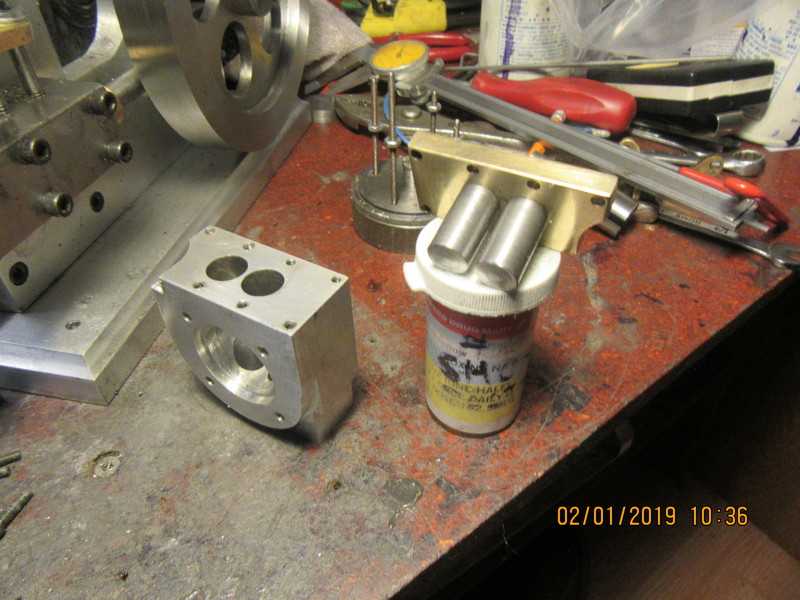
 
That's it for today. Valve cages are finished and installed with press fit and Loctite. One cage was about .00025 oversize, which was where I wanted it to be. The other came out right "size on size" so I knurled the outside diameter to get a press fit. Knurling increases the o.d. by up to .005". In the picture you can see the 7/16" dowels that are in there basically to take up space. They are bolted to the brass top plate.
4uqbnn.jpg
 
Bob
The cylinders take up space which reduces the actual volume of air to be compressed, kind of like taking a head and shaving several thousands off to increase compression. Only the air in the cylinder can be compressed not the metal, larger volume of air will drop the ratio. It is a very special designed valve system and it would be nice to see a CAD animatronics of all the parts working.
Beautiful job Brian.
Nelson
 
Thanks Brian and Nelson. When I saw the two dowels, I just saw them taking up space and reducing the compressible volume.

I don't have a good enough mental picture of what it looks like in there and how it operates.
 
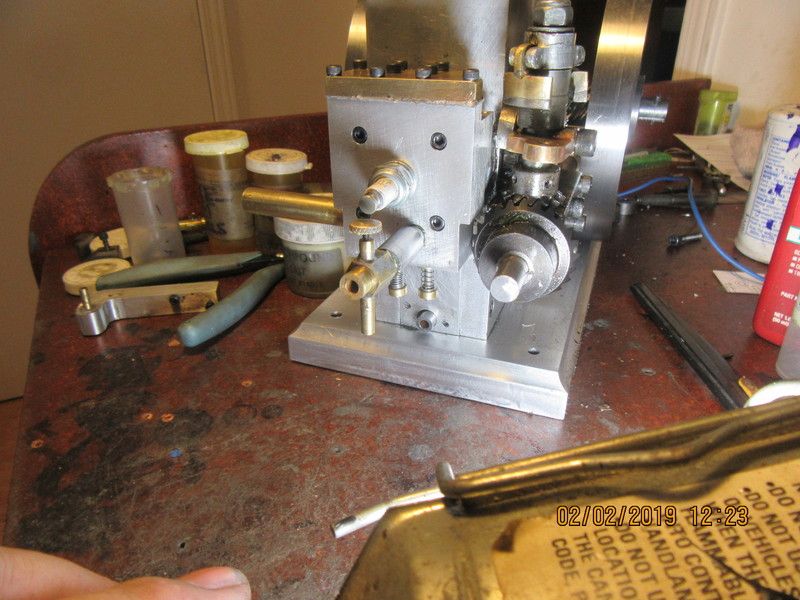
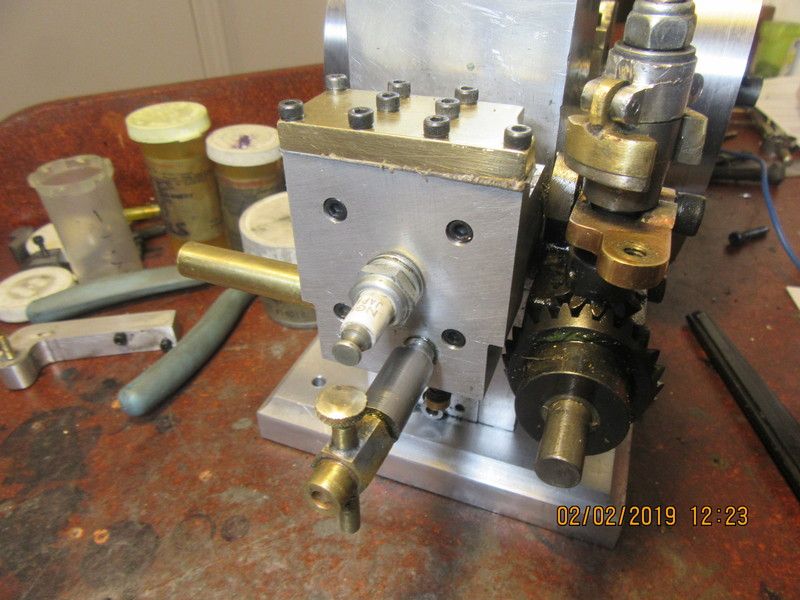
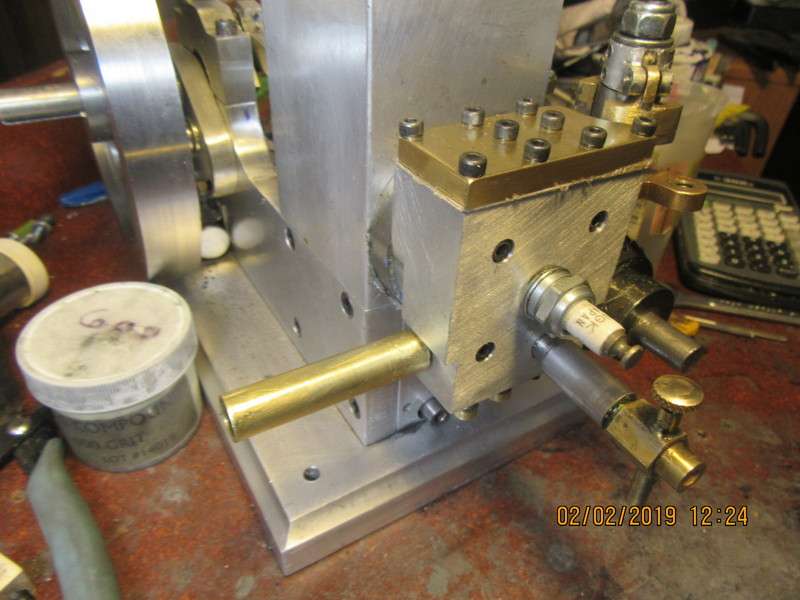
The new cylinder head is finished and bolted in place. As you can see, the valve stems now exit through the bottom of the head and the exhaust pipe sticks out sideways. The bolt on brass cap provided me with a way to insert the valves and lap the valve cages which were pressed in from the opposite side. I toyed with two or three different places to have the carburetor mounted, and settled for the one shown because I didn't want to cover any of the head bolts. I will have to make sure I have a good silicone boot on that sparkplug, or adjusting the needle valve on the carb could be a "shocking" experience. Tomorrow I will make the new cam and rocker arm.
H787H8.jpg

q9SClx.jpg

bkrY8p.jpg
 
Nelson--sorry if I gave you that impression. I post on three international forums, and often, if someone doesn't ask me a direct question, I don't respond to them. I am glad to hear from you and anyone else who find my builds entertaining, but I may not answer every post you put up on the thread.---Brian
 
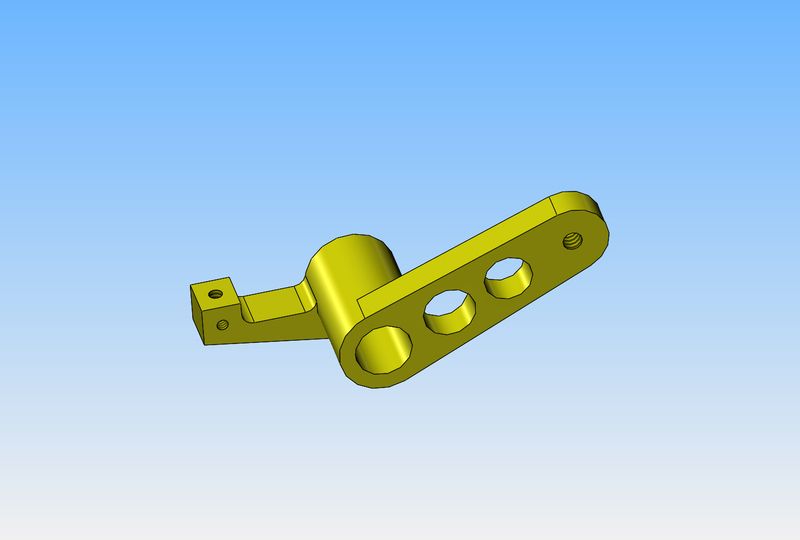
The rocker arm for this new head design is going to be "interesting". Not a real challenge as far as making the part--I will make it in two pieces bolted together. It is however, a very different shape!!
YTtipw.jpg
 
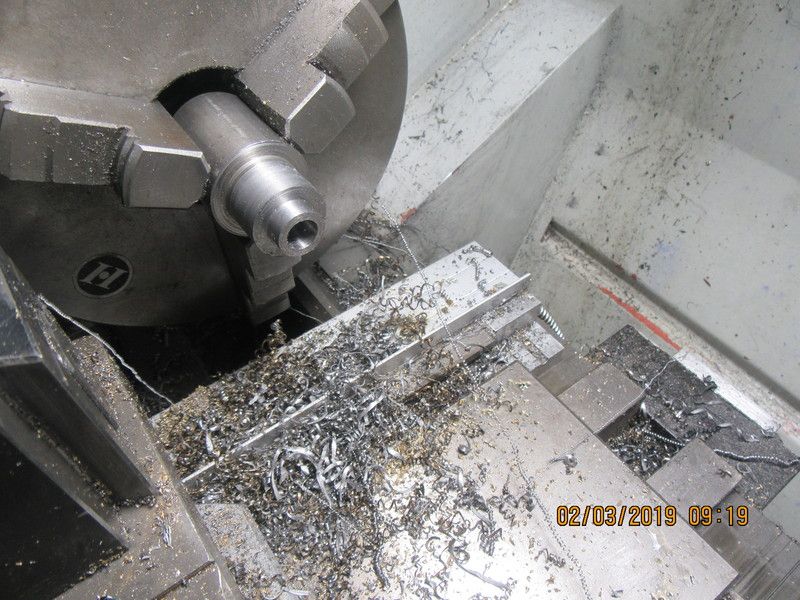
Nothing here for you experienced guys, but a "newbee' is asking about the cam making process. First picture shows a piece of 1 1/4" material in the lathe, turned to the two diameters which will be on the cam, and drilled and reamed to .375". Next picture shows piece parted off to finished length. Next picture shows the layout lines where I am going to remove material.
mdV7nj.jpg

jcIe36.jpg

Wjc08z.jpg
 
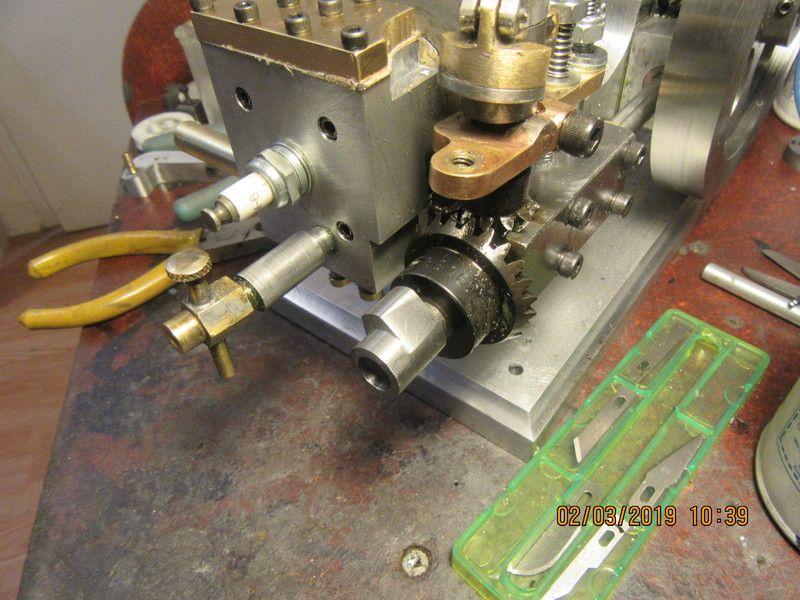
First picture shows most excess material milled away leaving 3 "points". Next picture shows two of the "points" removed on my stationary belt sander, and third picture shows the finished cam in the position it is going to set in the engine.
pTgngw.jpg

29Akbk.jpg

S455Tq.jpg
 
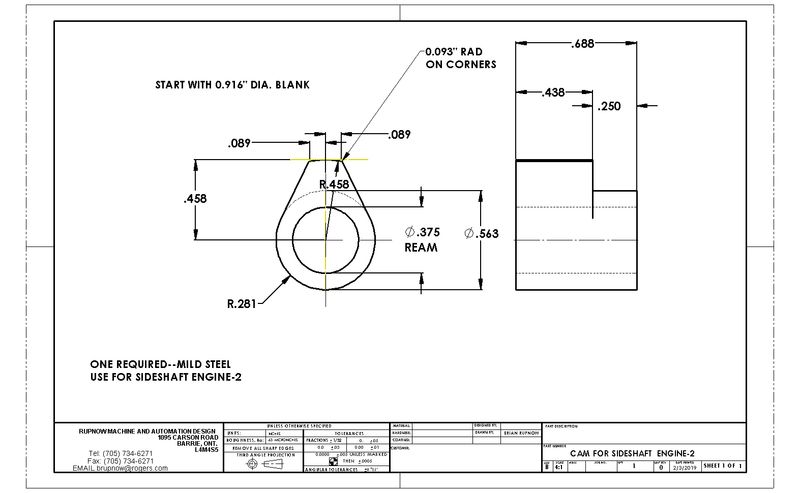
This is the drawing I was working from. Remember--If the cam follower is a round bearing you can get away with a straight sided cam like this. If however you have a flat tappet then the sides or "flanks" of the cam should be curved, and that makes the cam much more complex and difficult to machine.
gKsl8c.jpg
 
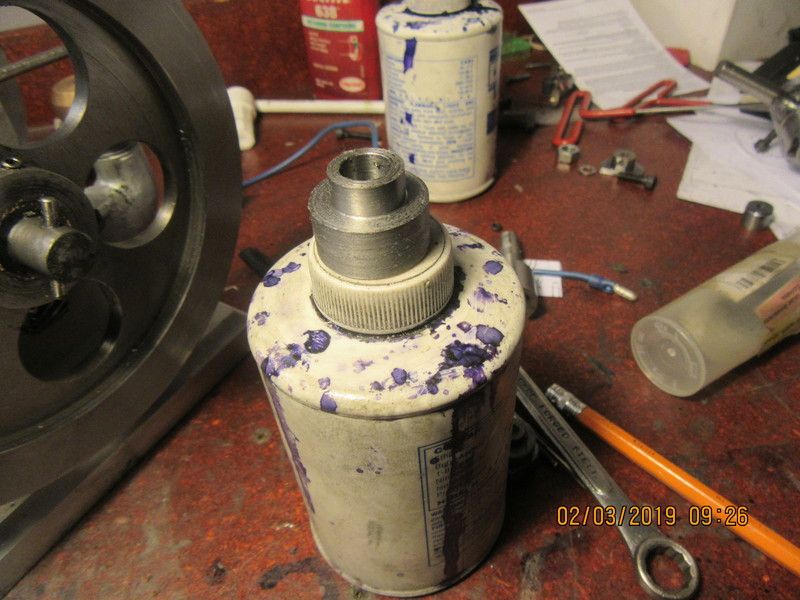
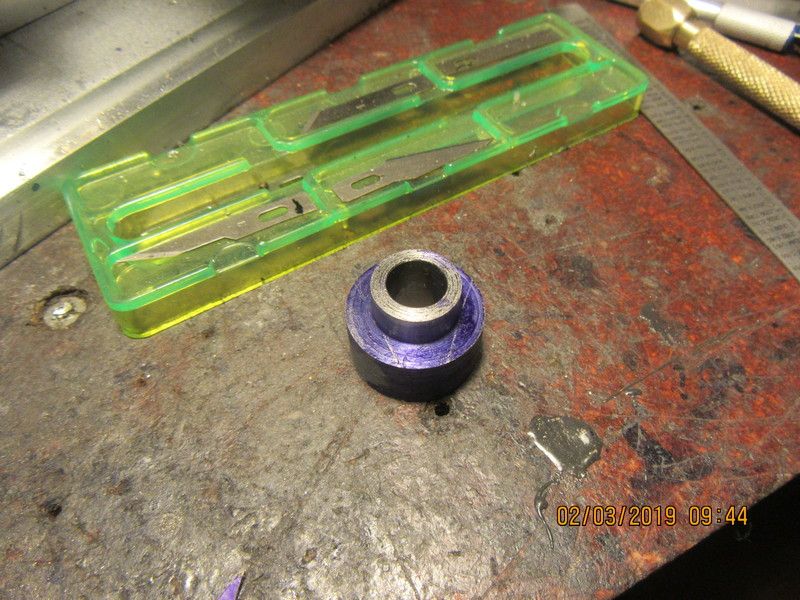
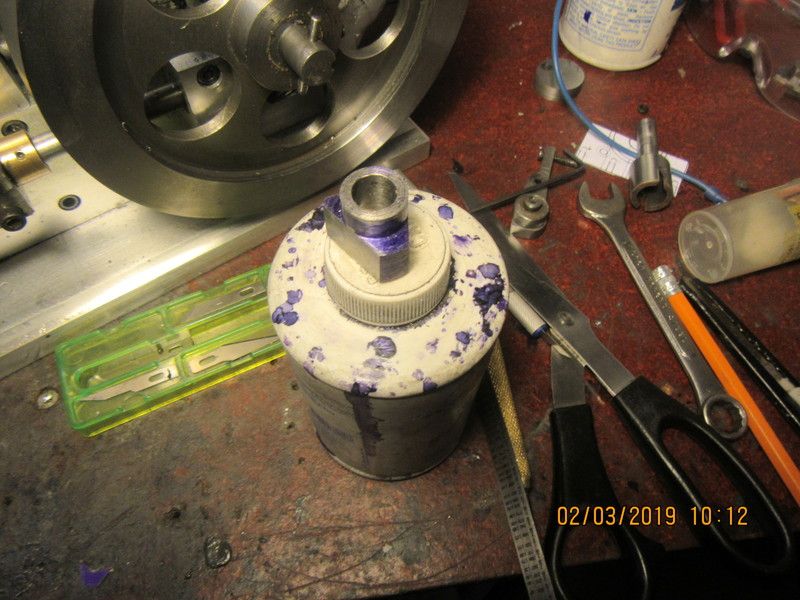
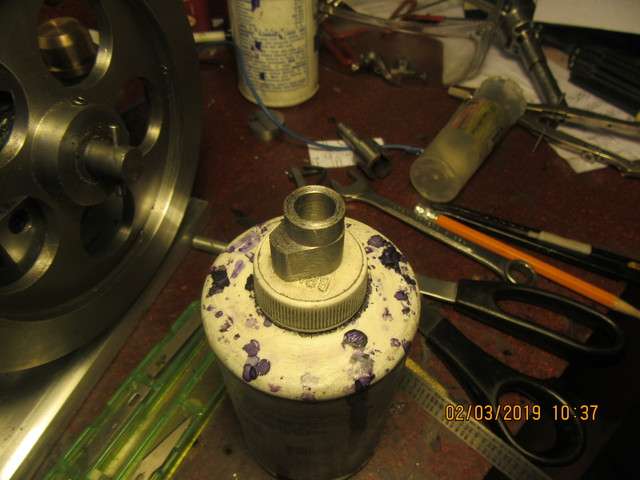
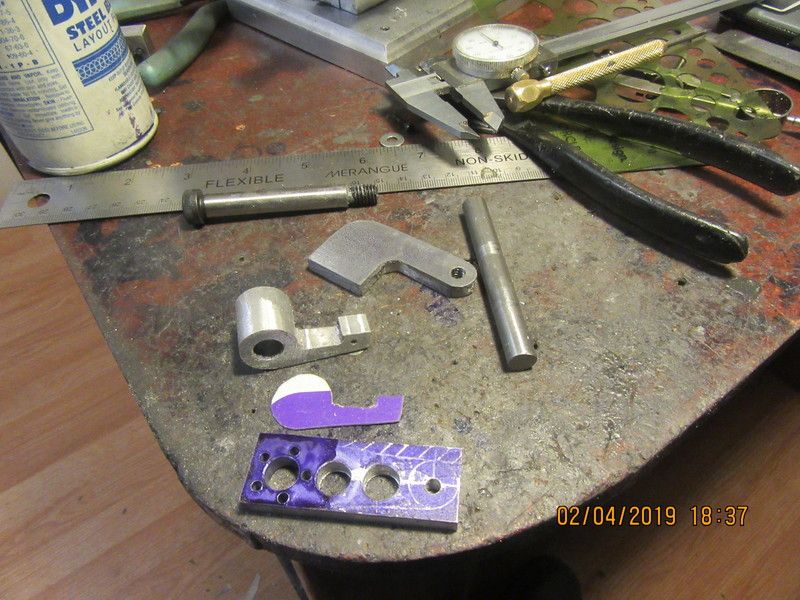
I spent the whole day making itsy bitsy pieces. Not the shoulder bolt. I bought it. Not the piece of 3/8" rod, but I did use it as a mandrel to turn the strange looking rocker arm end on. The other part of the rocker arm which is covered with purple layout dye got to this stage before I realized I was working from an out of date drawing. I may be able to make a save there, I'm not sure yet. The L shaped piece of 1/4" steel plate will get welded to the sideshaft support block to replace the one which is currently there. There is something downright sinful about working so damned hard for a whole day and only making three pieces, one of which may be wrong.
VizDne.jpg
 
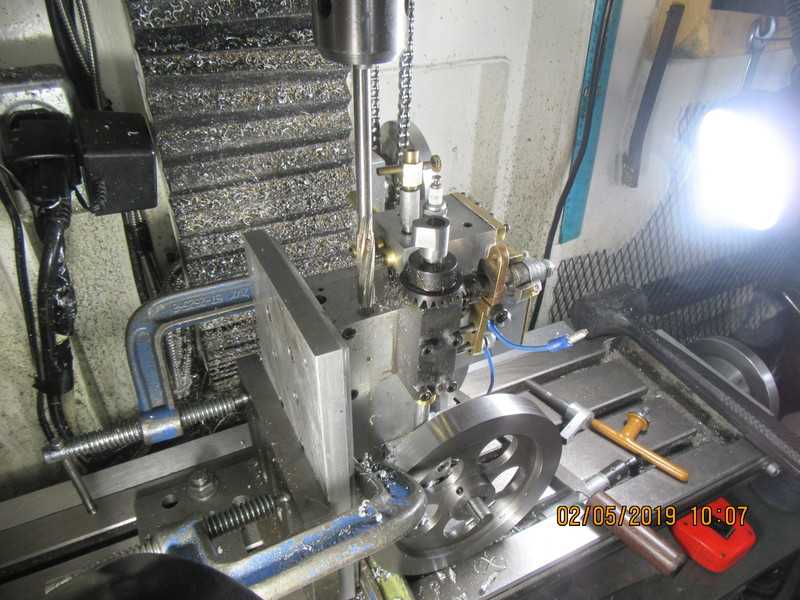
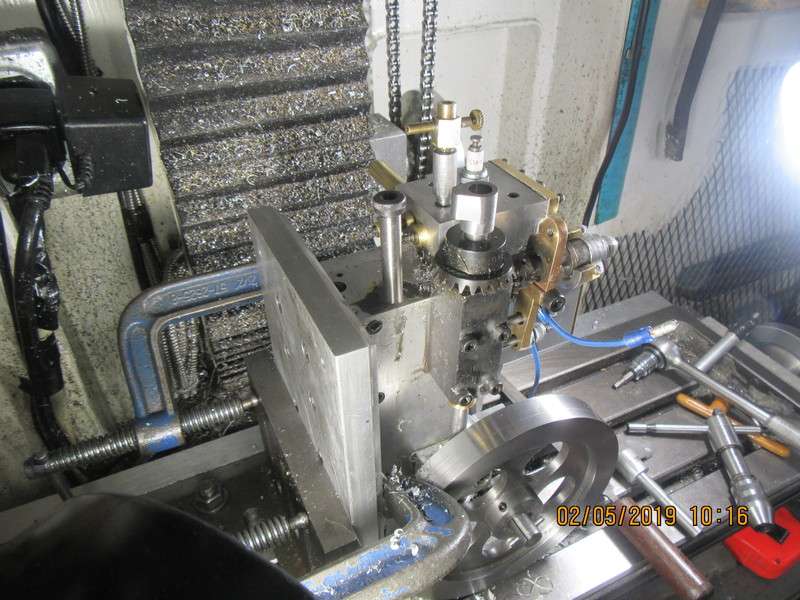
Sometimes ya just gotta do what ya gotta do. My mill has amazing headroom, and this set-up used every inch of it. This was drilling, reaming, and threading the sideplate for a 3/8" shoulder bolt on which the new rocker arm will rock.
Ob72mk.jpg

tKuPKm.jpg
 
There is something downright sinful about working so damned hard for a whole day and only making three pieces, one of which may be wrong.

For perspective, you still get much more done than I do most days. It's mostly because of the way I set up my shop - that everything has to be done under CNC control. I was faster when I could walk up to the mill, fasten something to the table (or clamp in the vise) and then turn the handles.

But still - you get more done than I do.
 

Latest posts

Back
Top