Building the Trevithick engine

Home Model Engine Machinist Forum

Help Support Home Model Engine Machinist Forum:

This site may earn a commission from merchant affiliate links, including eBay, Amazon, and others.
Brian,
I follow your posts and very much enjoy them. I am still working full so my time to check up is during lunch break at my desk.
Another wonderful project.
Mike in Utah
 
Thanks Mike---
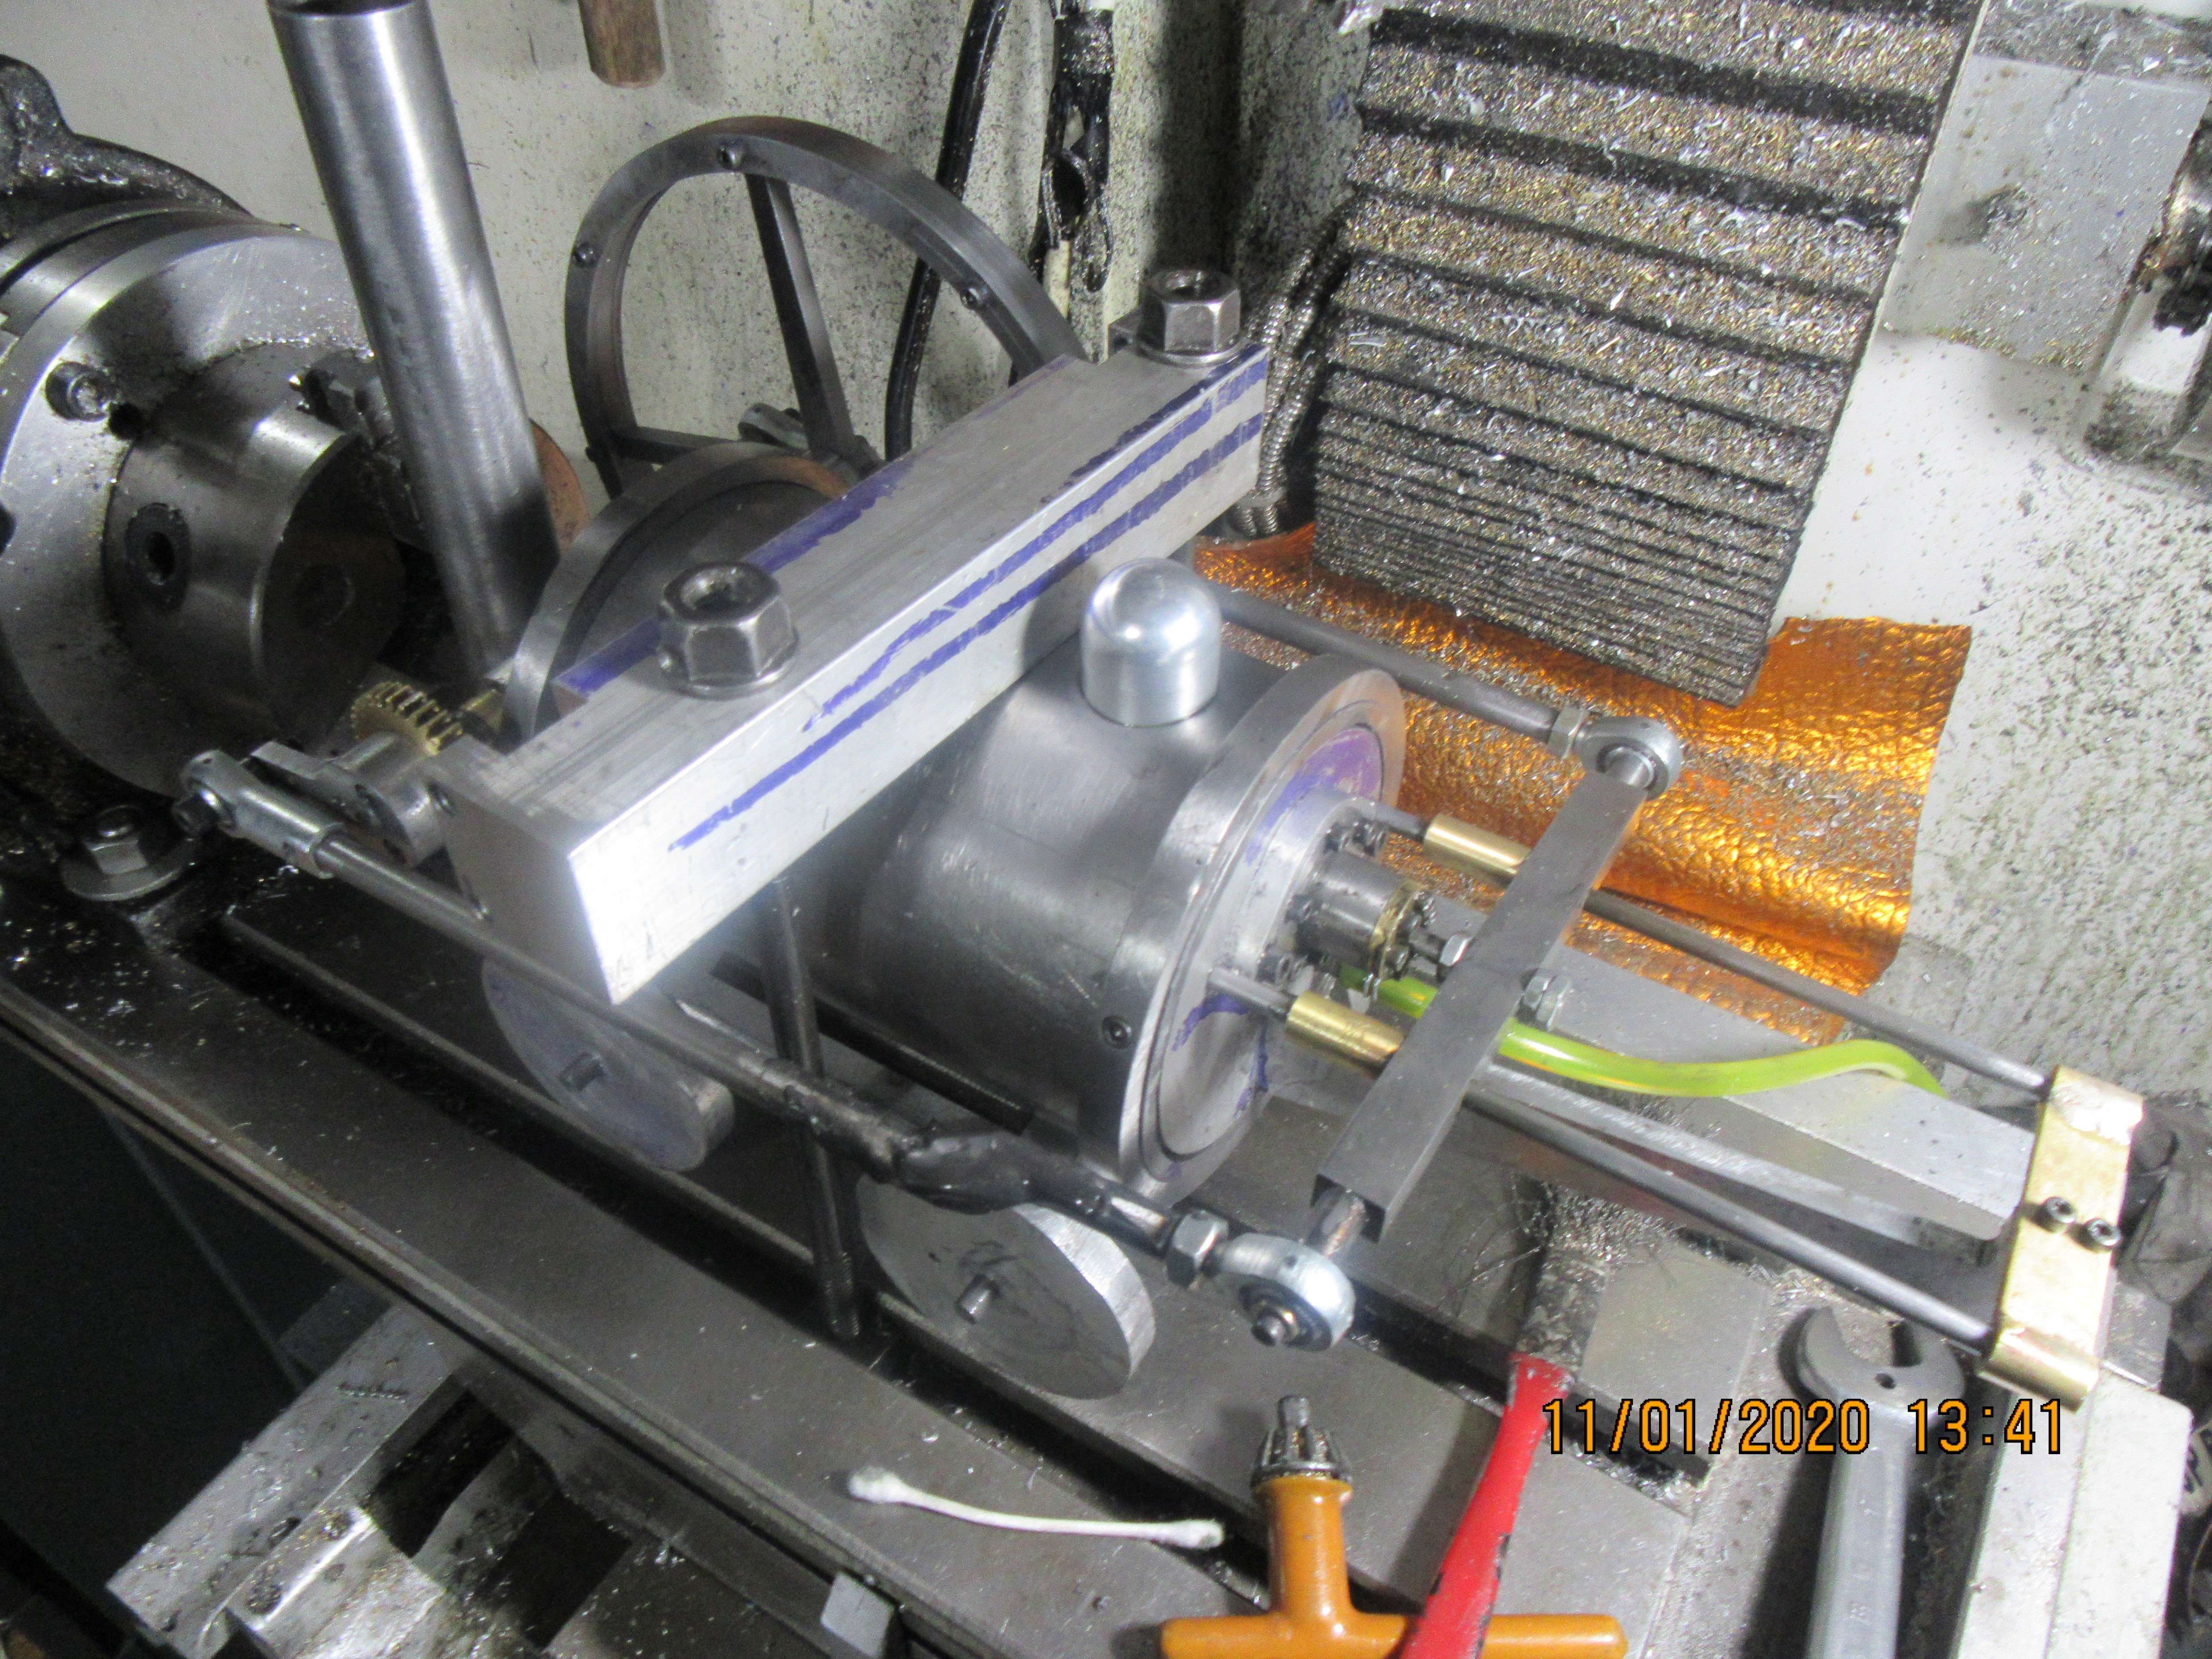
Making progress here, one gear at a time. This morning I reassembled the engine inside the boiler, and added the large gear on the side. Nothing is ever quite the same when you move an engine like this, so all of the battles I fought to get the engine running on my desk were repeated to get it running inside the boiler. I have the heavy flywheel on there for set-up but will eventually put the smaller water-jet cut flywheel back on. I just hung the big gear on there to see if the engine noticed any difference in the load, but the engine didn't seem to care whether the gear was there or not.----Brian
 
So, here we are!!! Everything goes round and round and up and down like I had planned. I still have to make proper wheels for this thing, and connect the gears to the wheels so the axles will be driven in the finished version. I have a nice color scheme in mind for it. I am really pleased with the results at this stage of the game.---Brian
 
Had a visit from three ghostly characters this afternoon. My grandchildren are all getting older. I'm glad they still come across town to Grandpa's house for a visit.
qxTHRo.jpg
 
Not really a lot left on the "build" of this engine, but I still had to contend with the hole in the top of the boiler that the actuator arm for the 4 way valve (that I couldn't make work) stuck up through. I decided that the perfect answer to that hole would be a "steam dome". Steam domes are marvelous things. They can be anything that your fertile imagination wants them to be---a safety valve, a pressure indicator, a speedometer. Most living people under 60 years of age have never actually seen a steam engine. I've been fighting a mild flue all week so I think I'll spend the rest of the day on my couch with a good science fiction book.---Brian
qlyhXa.jpg
 
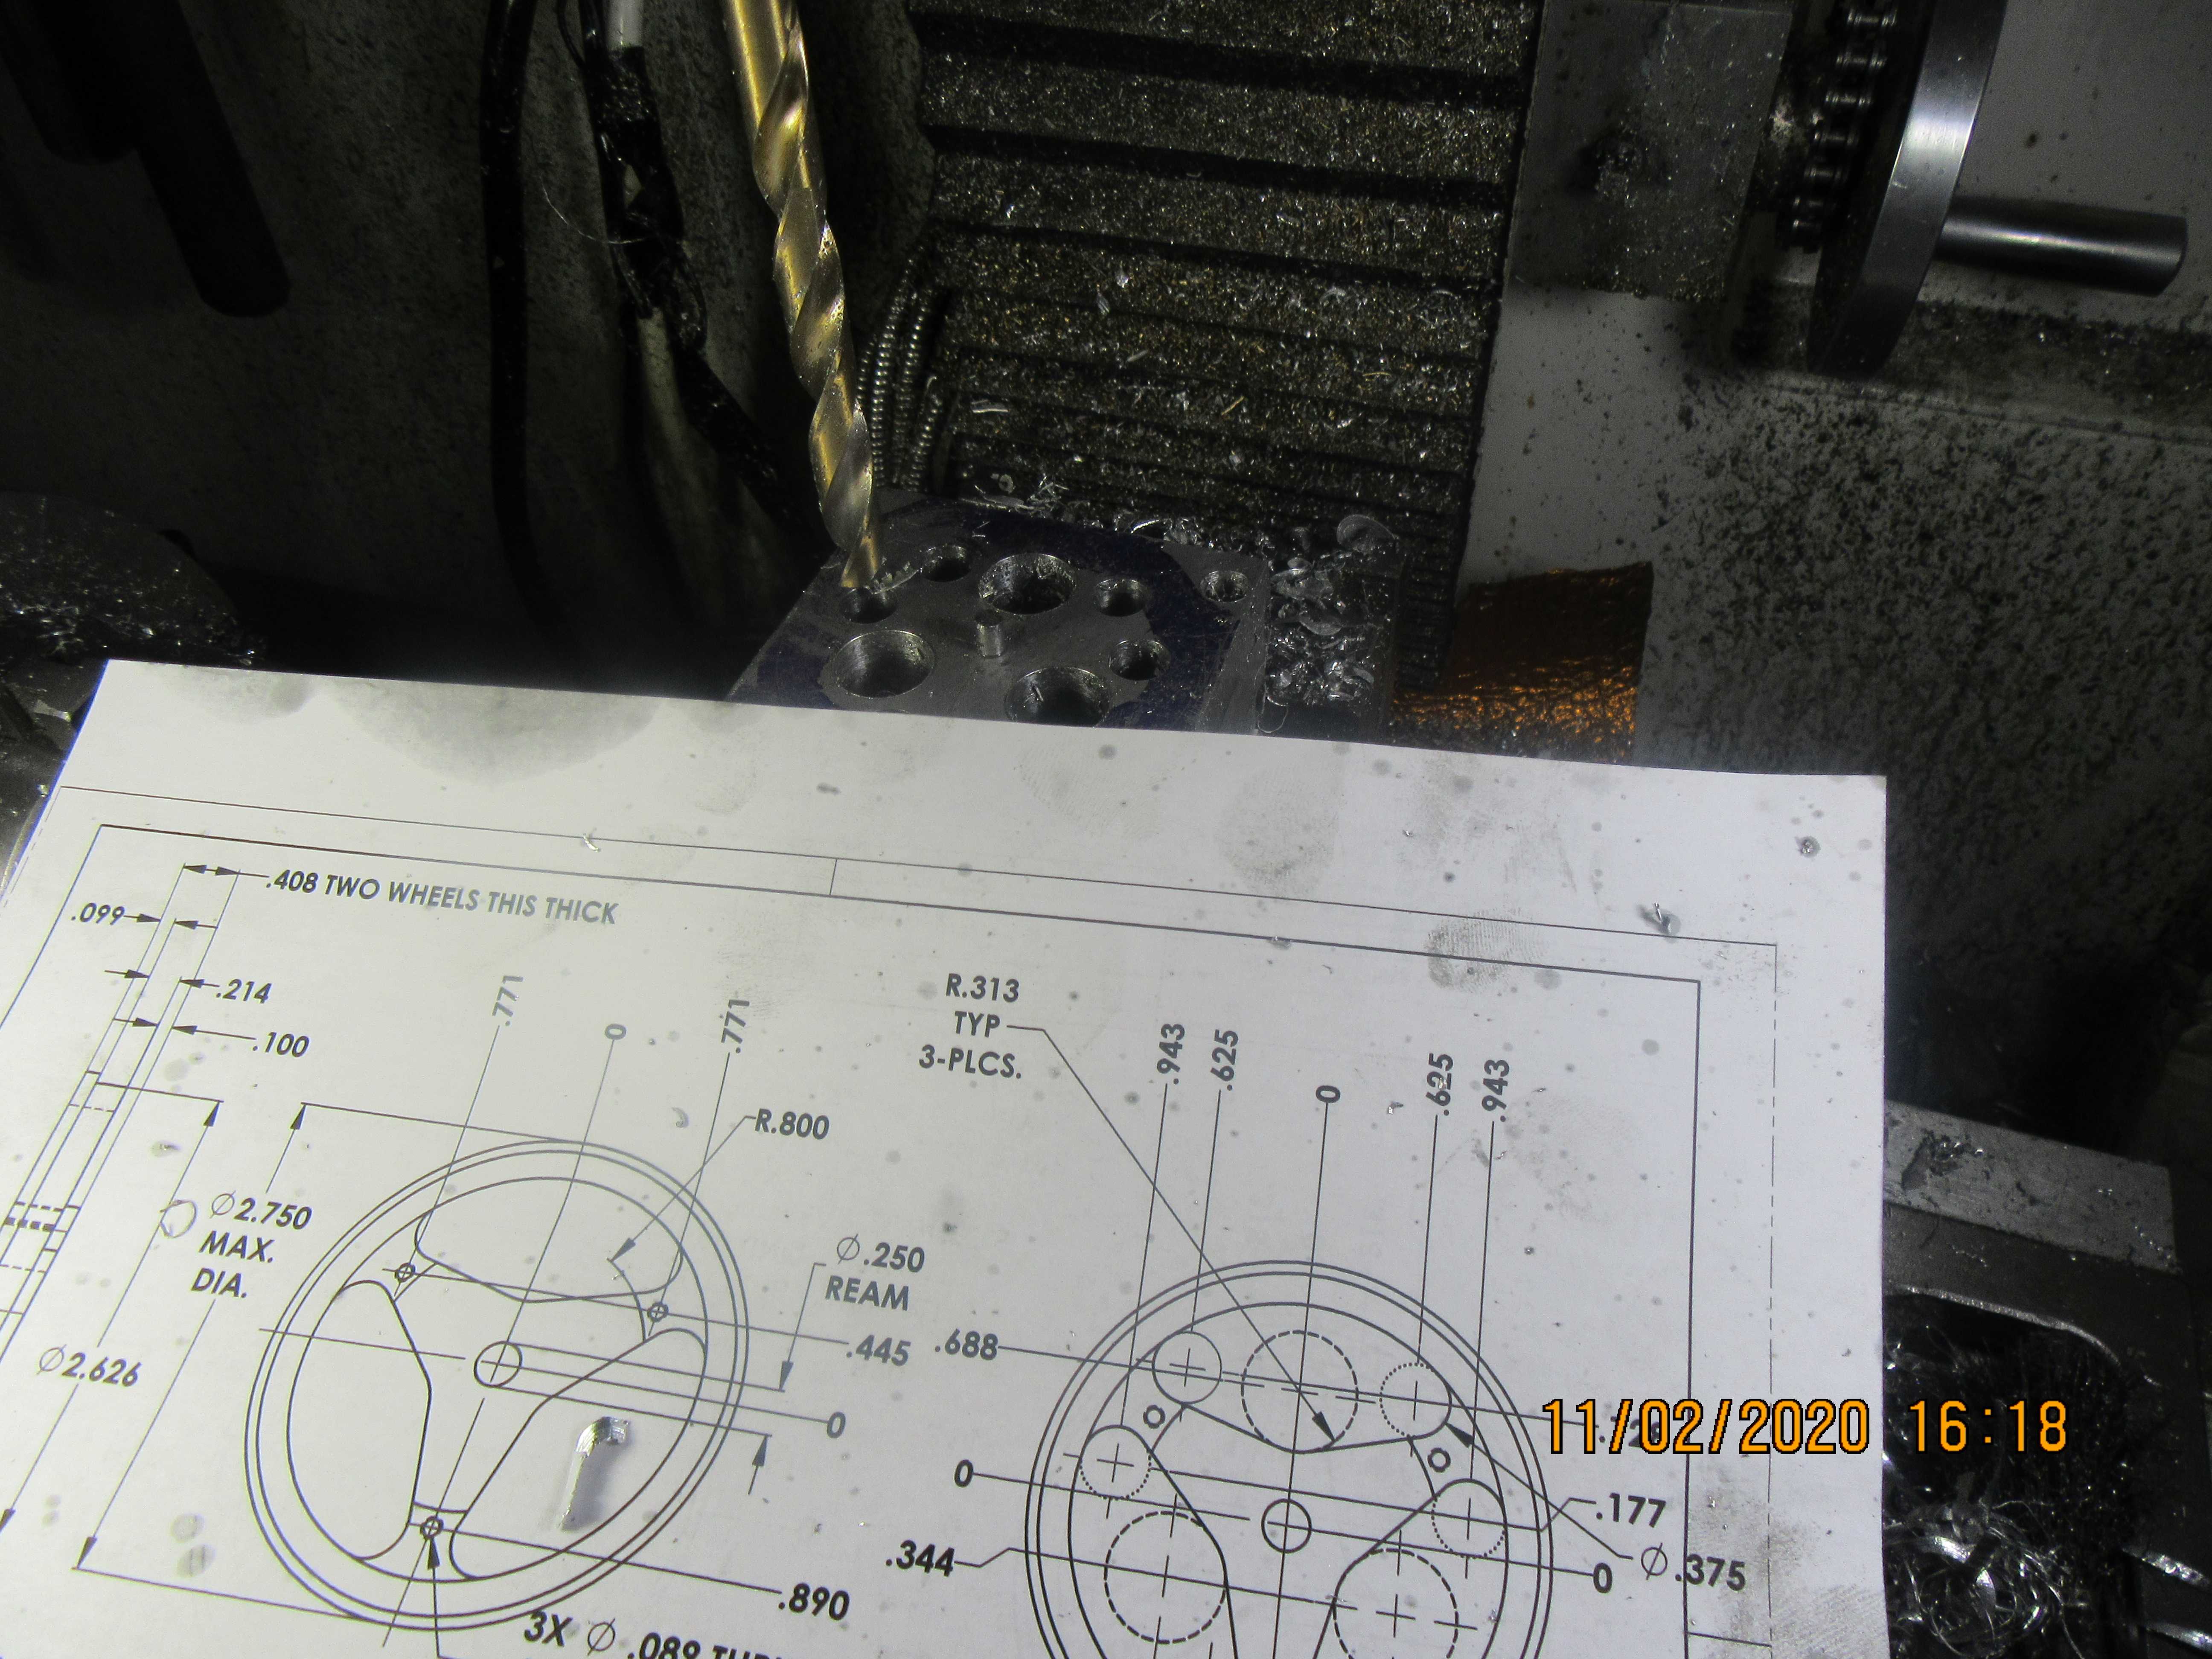
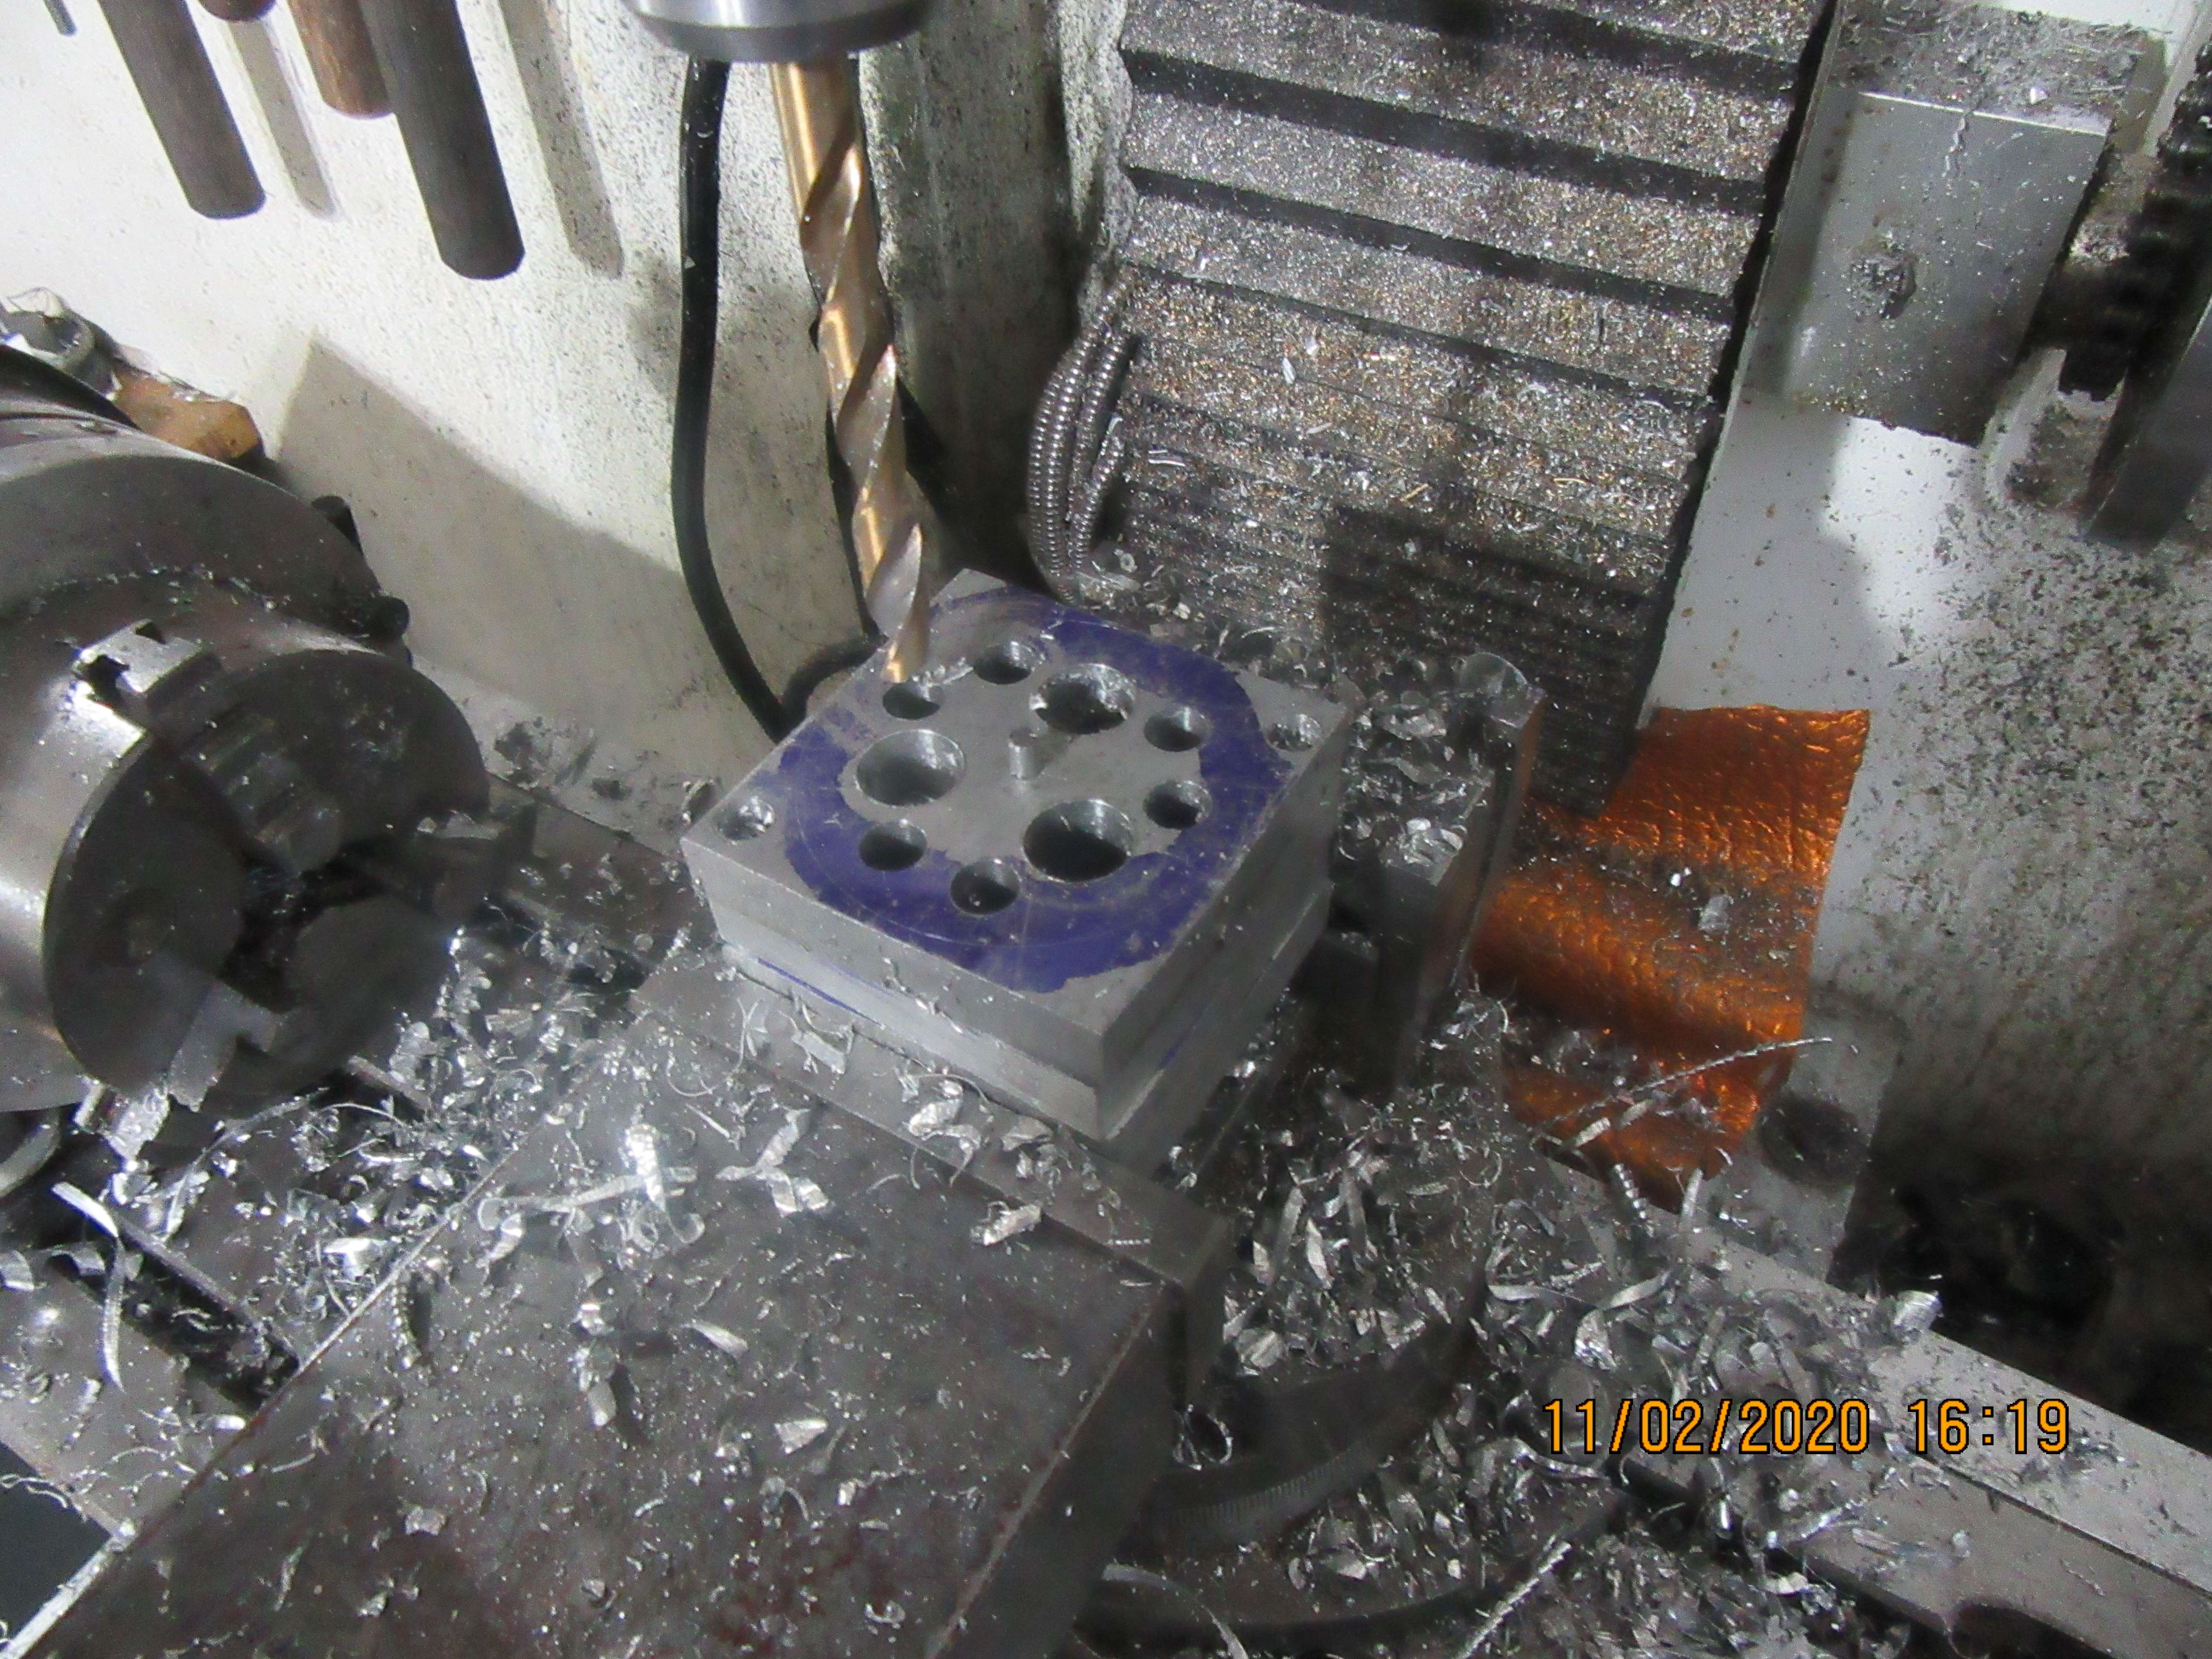
Today I'm making wheels with cut-outs in the face. My approach is a bit different, but worth posting a shot of. I have to make four wheels that are identical in the cut out areas, bores, and outer diameters. I used a caliper and compass to lay out the diameter of the wheels on a sheet of 1/2" thick aluminum, cut out four rectangles, drilled and reamed on center and pushed a size on size rod thru the holes to keep everything centered, then ran bolts thru two opposing corners (which will become scrap), then stacked all four plates together in my machine vice to drill all of the holes in at once. That way I only have to do the set-up once. Next trick will be to separate all of the plates and cut the corners off, then turn to size in my lathe.
btWFPC.jpg

hTqnUZ.jpg
 
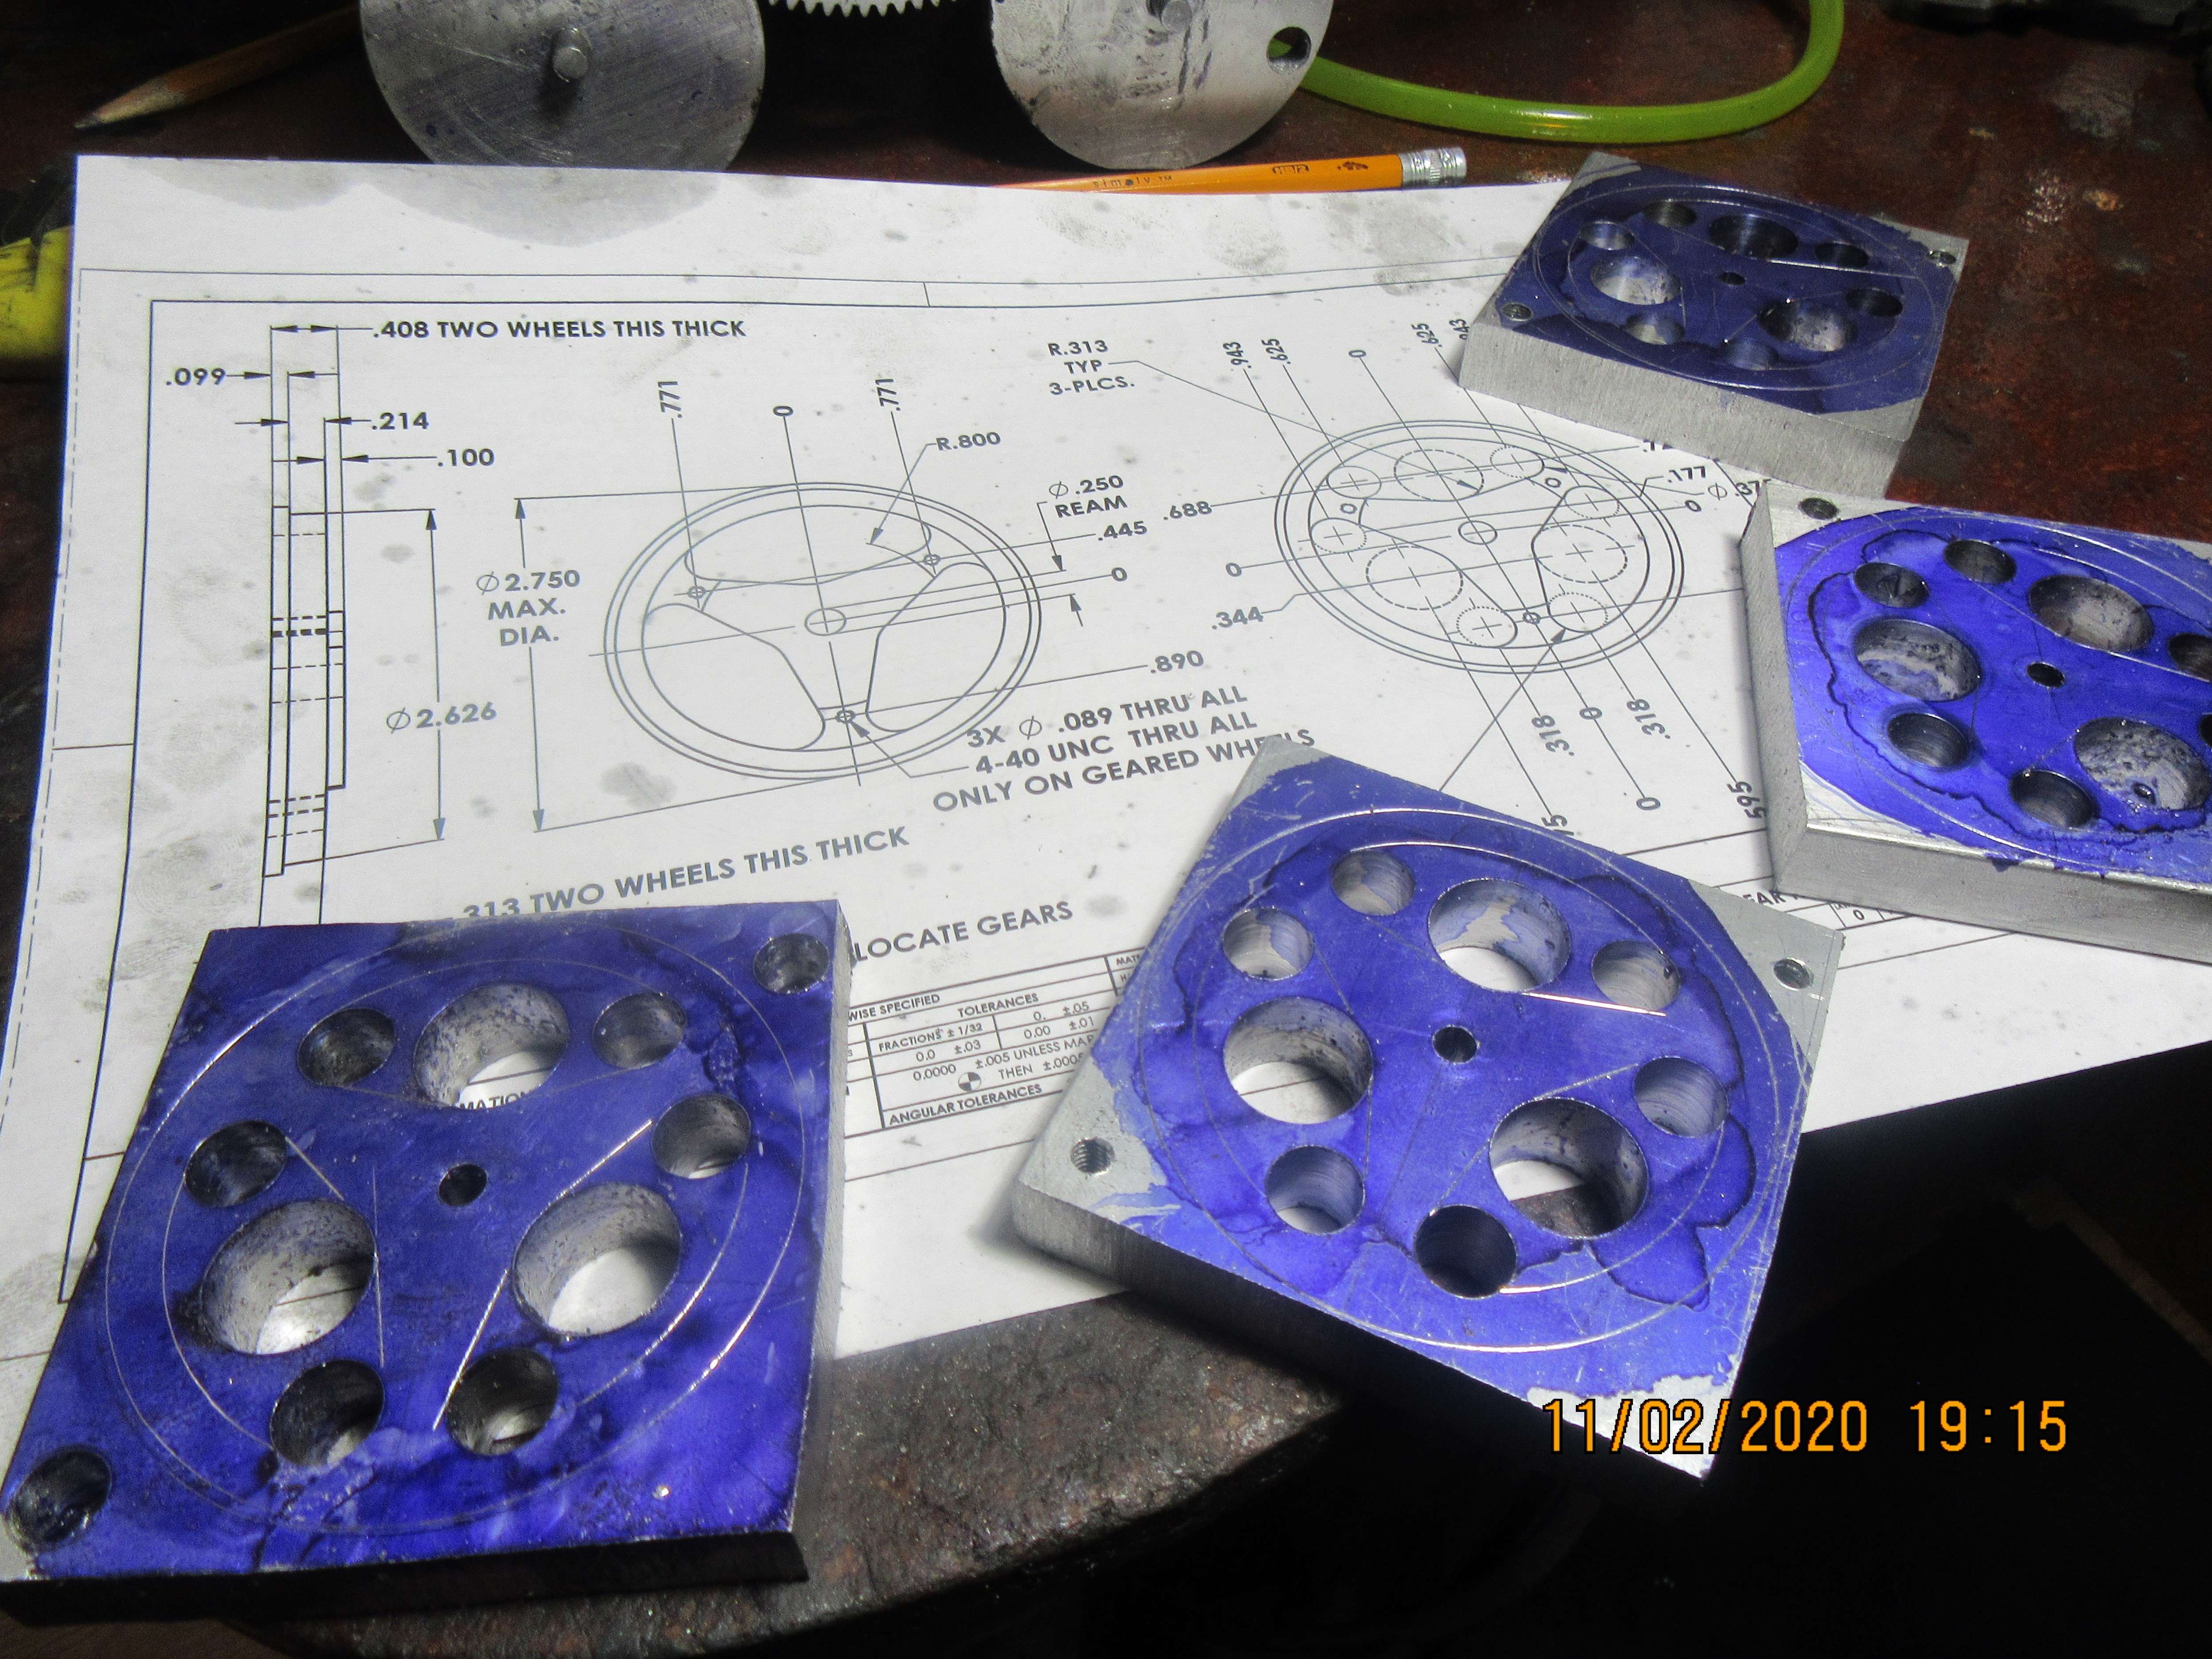
This shows the material that will be cut out of the four wheels. The material is 1/2" thick aluminum. Two of the wheels are only going to be 5/16" thick. The two wheels which have gears mounted on them will be 0.408" thick. My next step will be to cut off all of the outer corners and then turn the wheels to be round. Then I will grip them by the round outer rim with my 3 jaw lathe chuck and thin them down to finished thickness and open the center hole out to a finished diameter of 1/4". The windows will be cut out after the wheels are thinned down.
5dAjoQ.jpg
 
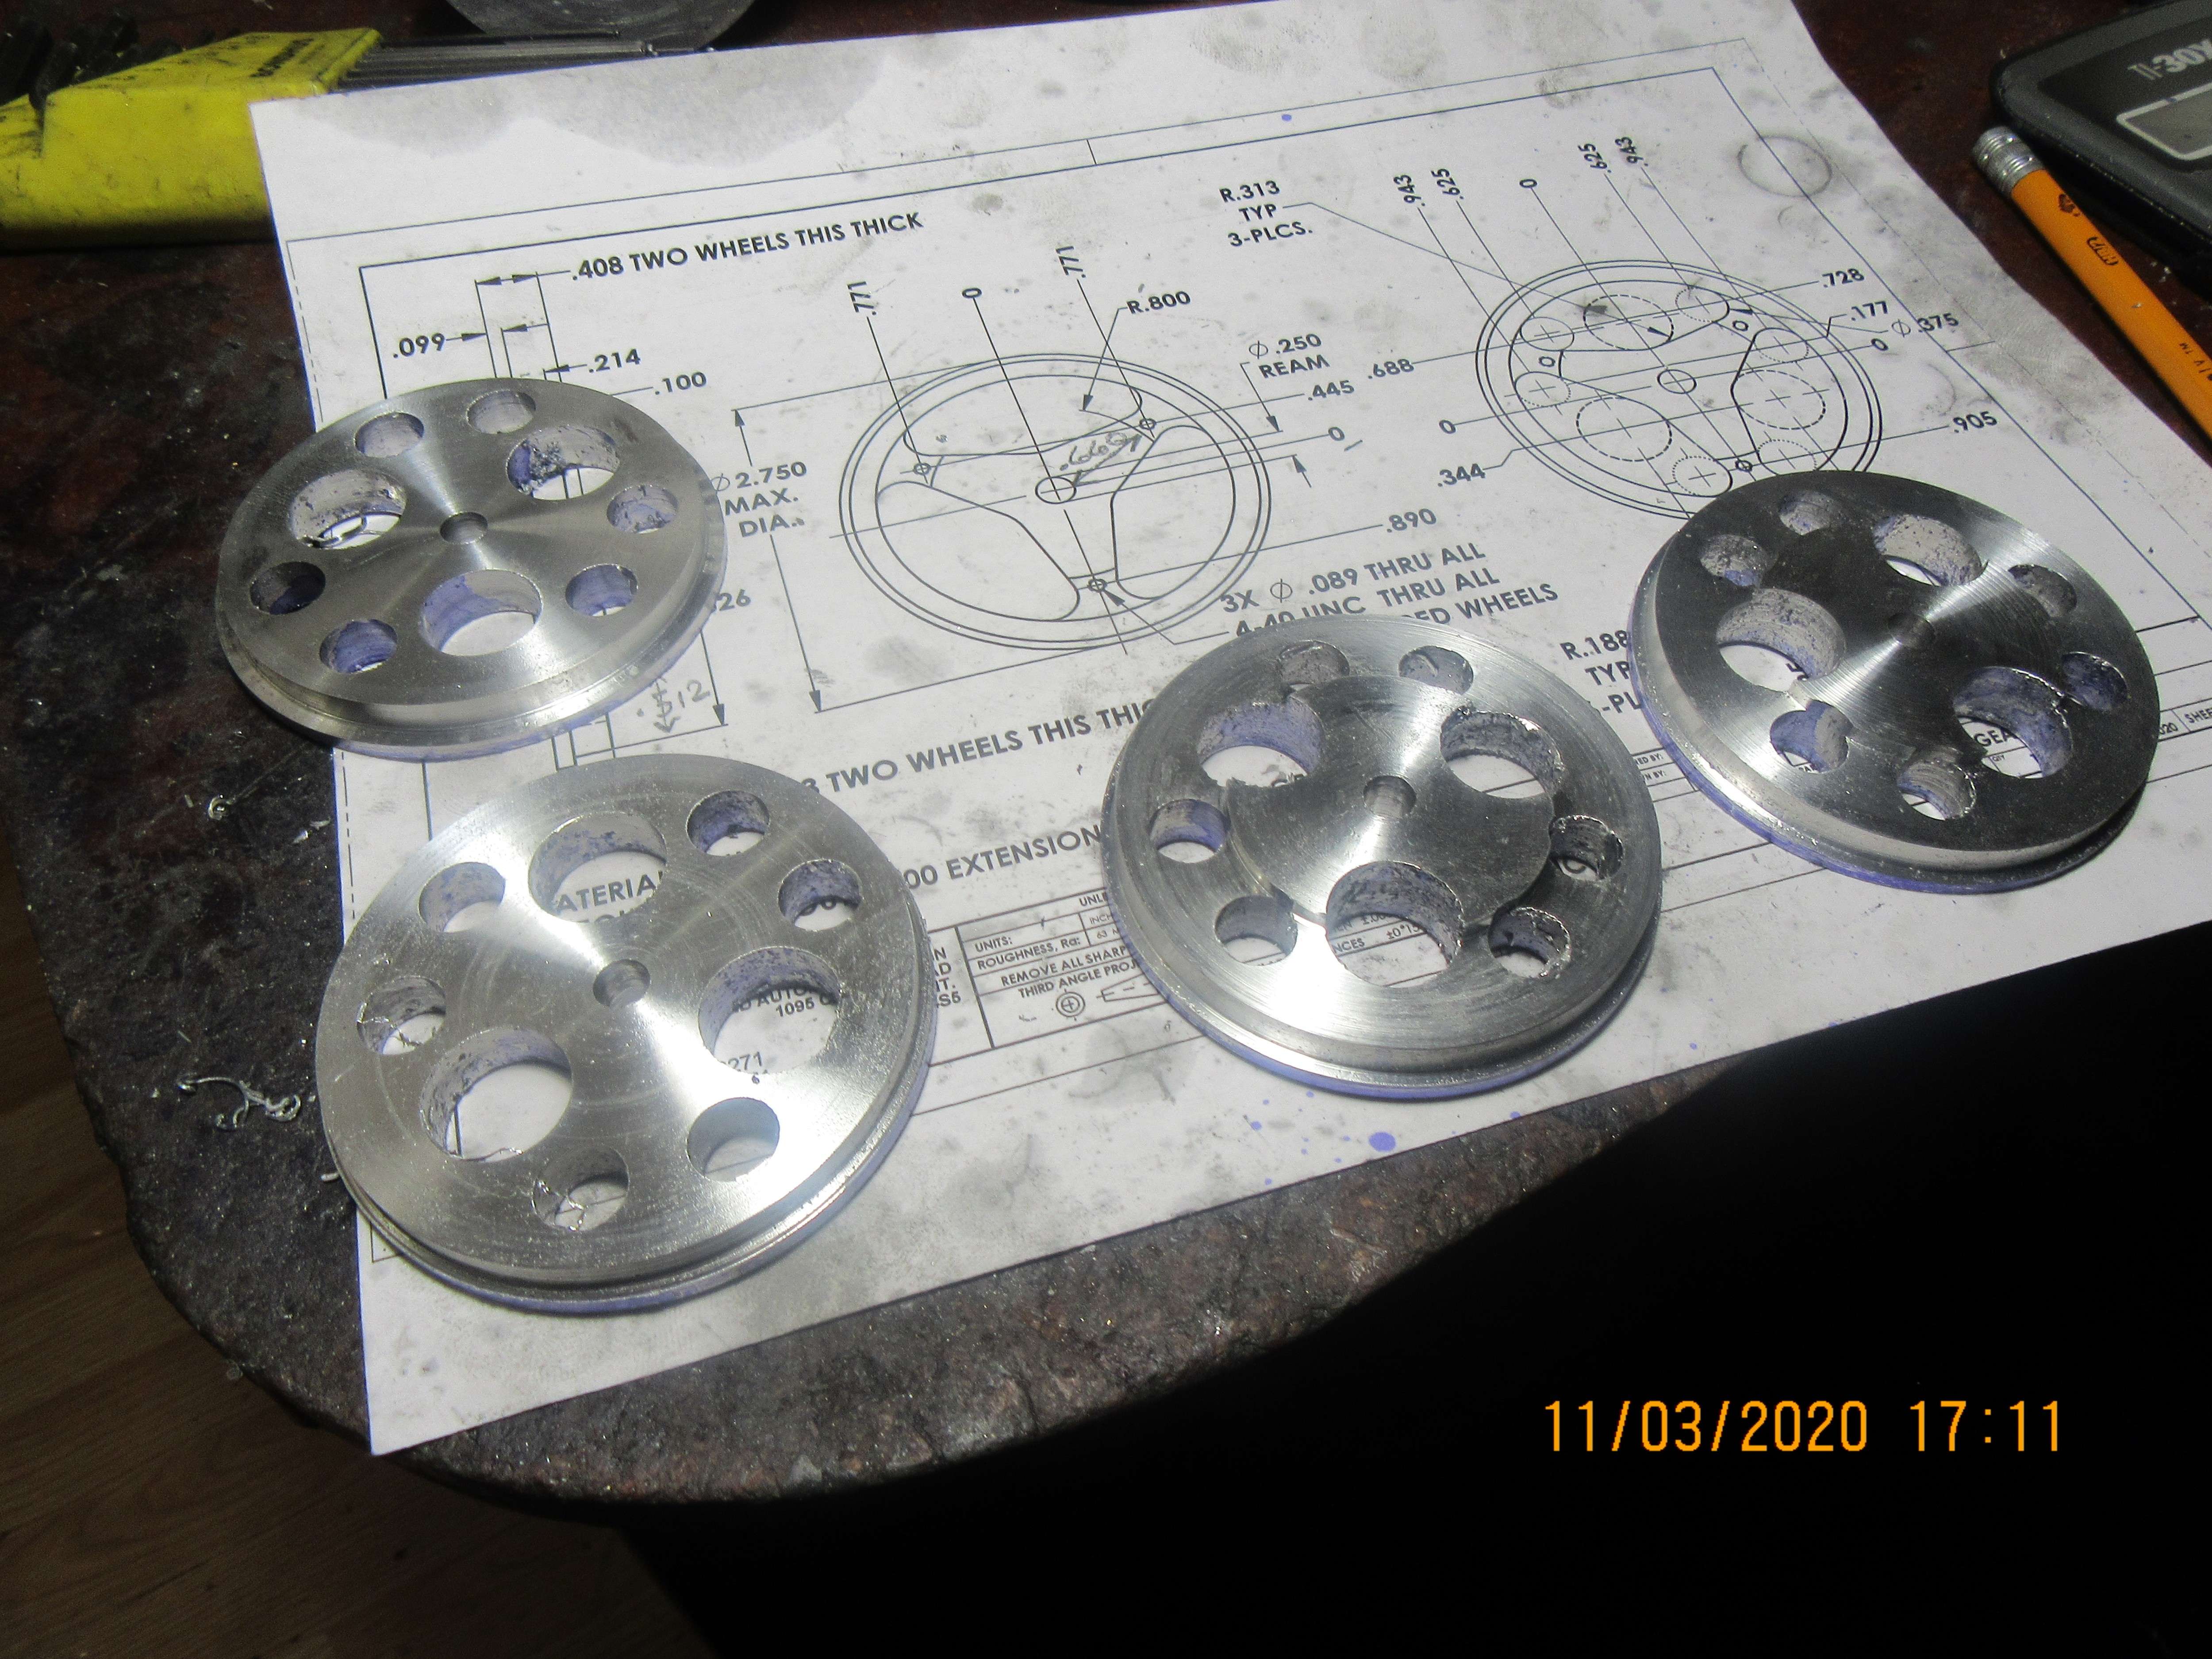
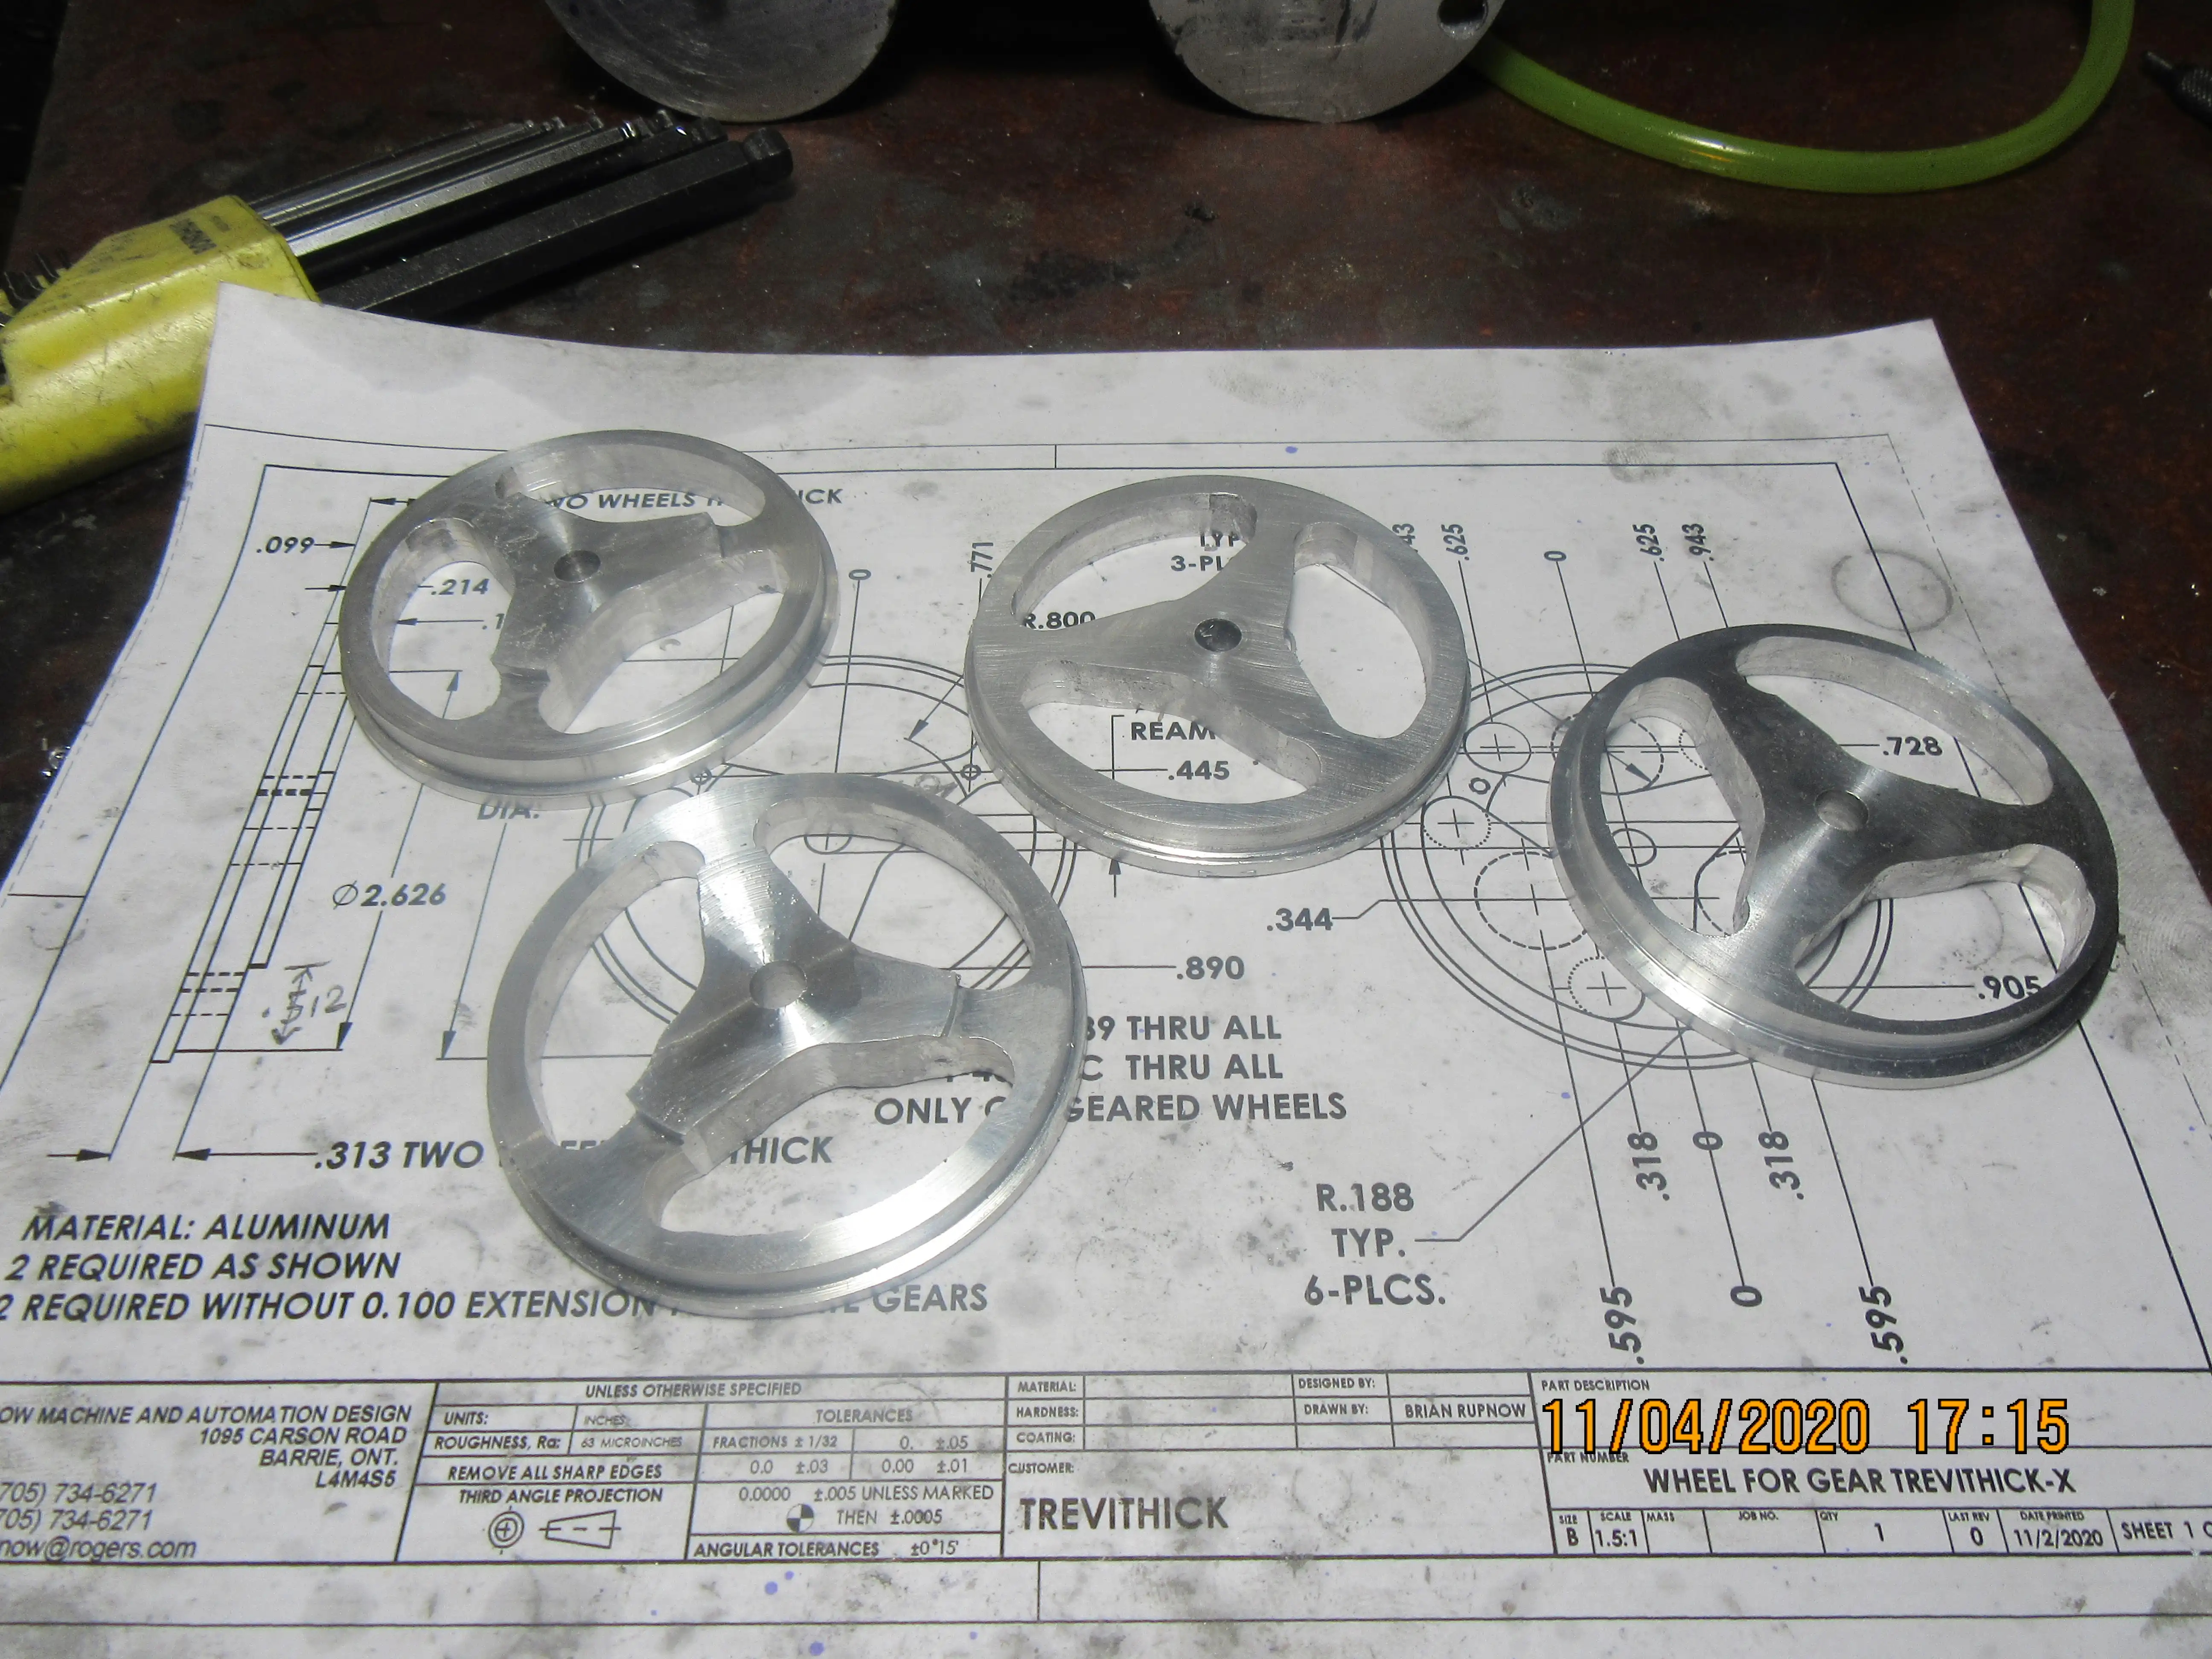
And we spent a goodly portion of the day on my lathe, making shiny wheels. The two wheels on the right which have raised bosses on the face are the ones which the gears attach to. The wheels are finished now except for cutting the windows in tomorrow on my mill and rotary table.
gqrjVO.jpg
 
Not really a lot left on the "build" of this engine, but I still had to contend with the hole in the top of the boiler that the actuator arm for the 4 way valve (that I couldn't make work) stuck up through. I decided that the perfect answer to that hole would be a "steam dome". Steam domes are marvelous things. They can be anything that your fertile imagination wants them to be---a safety valve, a pressure indicator, a speedometer. Most living people under 60 years of age have never actually seen a steam engine. I've been fighting a mild flue all week so I think I'll spend the rest of the day on my couch with a good science fiction book.---Brian
qlyhXa.jpg
I greatly appreciate the effort you put into documenting the successes and failures of the build. The four way valve is an unfortunate mystery. I am curious about the ball end connecting rods. Did you just happen to have them on hand, or are there forces acting on them that cause them to roll (as opposed to pitch or yaw)? Could the cross head have just have been made a bit wider?
Thanks for sharing the adventure. :)
Larry
I have solved the 4 way valve mystery. There wasn't anything wrong with the valve. The crank arm on top of the valve which operated it was too long. This meant that the four way valve shifted too soon. If I had reworked my sliders and the rings at the ends of the boiler I could have arranged things so that the valve shifted position much closer to the end of the piston stroke, and that would let the piston reach top dead center and bottom dead center just as the valve changed position. I used ball end connecting rods because when an engine is made up of multiple bolt together pieces, there is always some "twist" to the con-rods as they move from one extreme position to the other. The ball end allows this to happen without throwing stresses into the engine and causing it to bind.---I may change the ends that connect to the cross-head to be just plain brass ends and let the ball/socket joint at the crankshaft end allow for any "twist" in the system. I could have made the cross head wider, but it wasn't necessary. It just needed to be wide enough for the con-rods to clear the flywheel and the 108 tooth gear.
 
I have solved the 4 way valve mystery. There wasn't anything wrong with the valve. The crank arm on top of the valve which operated it was too long. This meant that the four way valve shifted too soon. If I had reworked my sliders and the rings at the ends of the boiler I could have arranged things so that the valve shifted position much closer to the end of the piston stroke, and that would let the piston reach top dead center and bottom dead center just as the valve changed position. I used ball end connecting rods because when an engine is made up of multiple bolt together pieces, there is always some "twist" to the con-rods as they move from one extreme position to the other. The ball end allows this to happen without throwing stresses into the engine and causing it to bind.---I may change the ends that connect to the cross-head to be just plain brass ends and let the ball/socket joint at the crankshaft end allow for any "twist" in the system. I could have made the cross head wider, but it wasn't necessary. It just needed to be wide enough for the con-rods to clear the flywheel and the 108 tooth gear.
 
I had the same problem with the lengths of the cylinder rotary valve arm and the speed control arm. Once I shorten them and got the stops on the slide rods set properly it runs very well. You can see a video clip at www.thekilmerplace.com/train%20display.mp4
 
Last edited:
I have reached the end. The engine runs very well, and is completely finished mechanically. I started this "design and build" on the last week of August, so it has been about a ten week job. My next step will be to paint the engine and then it goes up on the shelf with all of my other engines. Thank you very much to all of the people that had a look, and thank you for the comments that were made as I progressed with the build. I hope you enjoyed it.---Brian
 
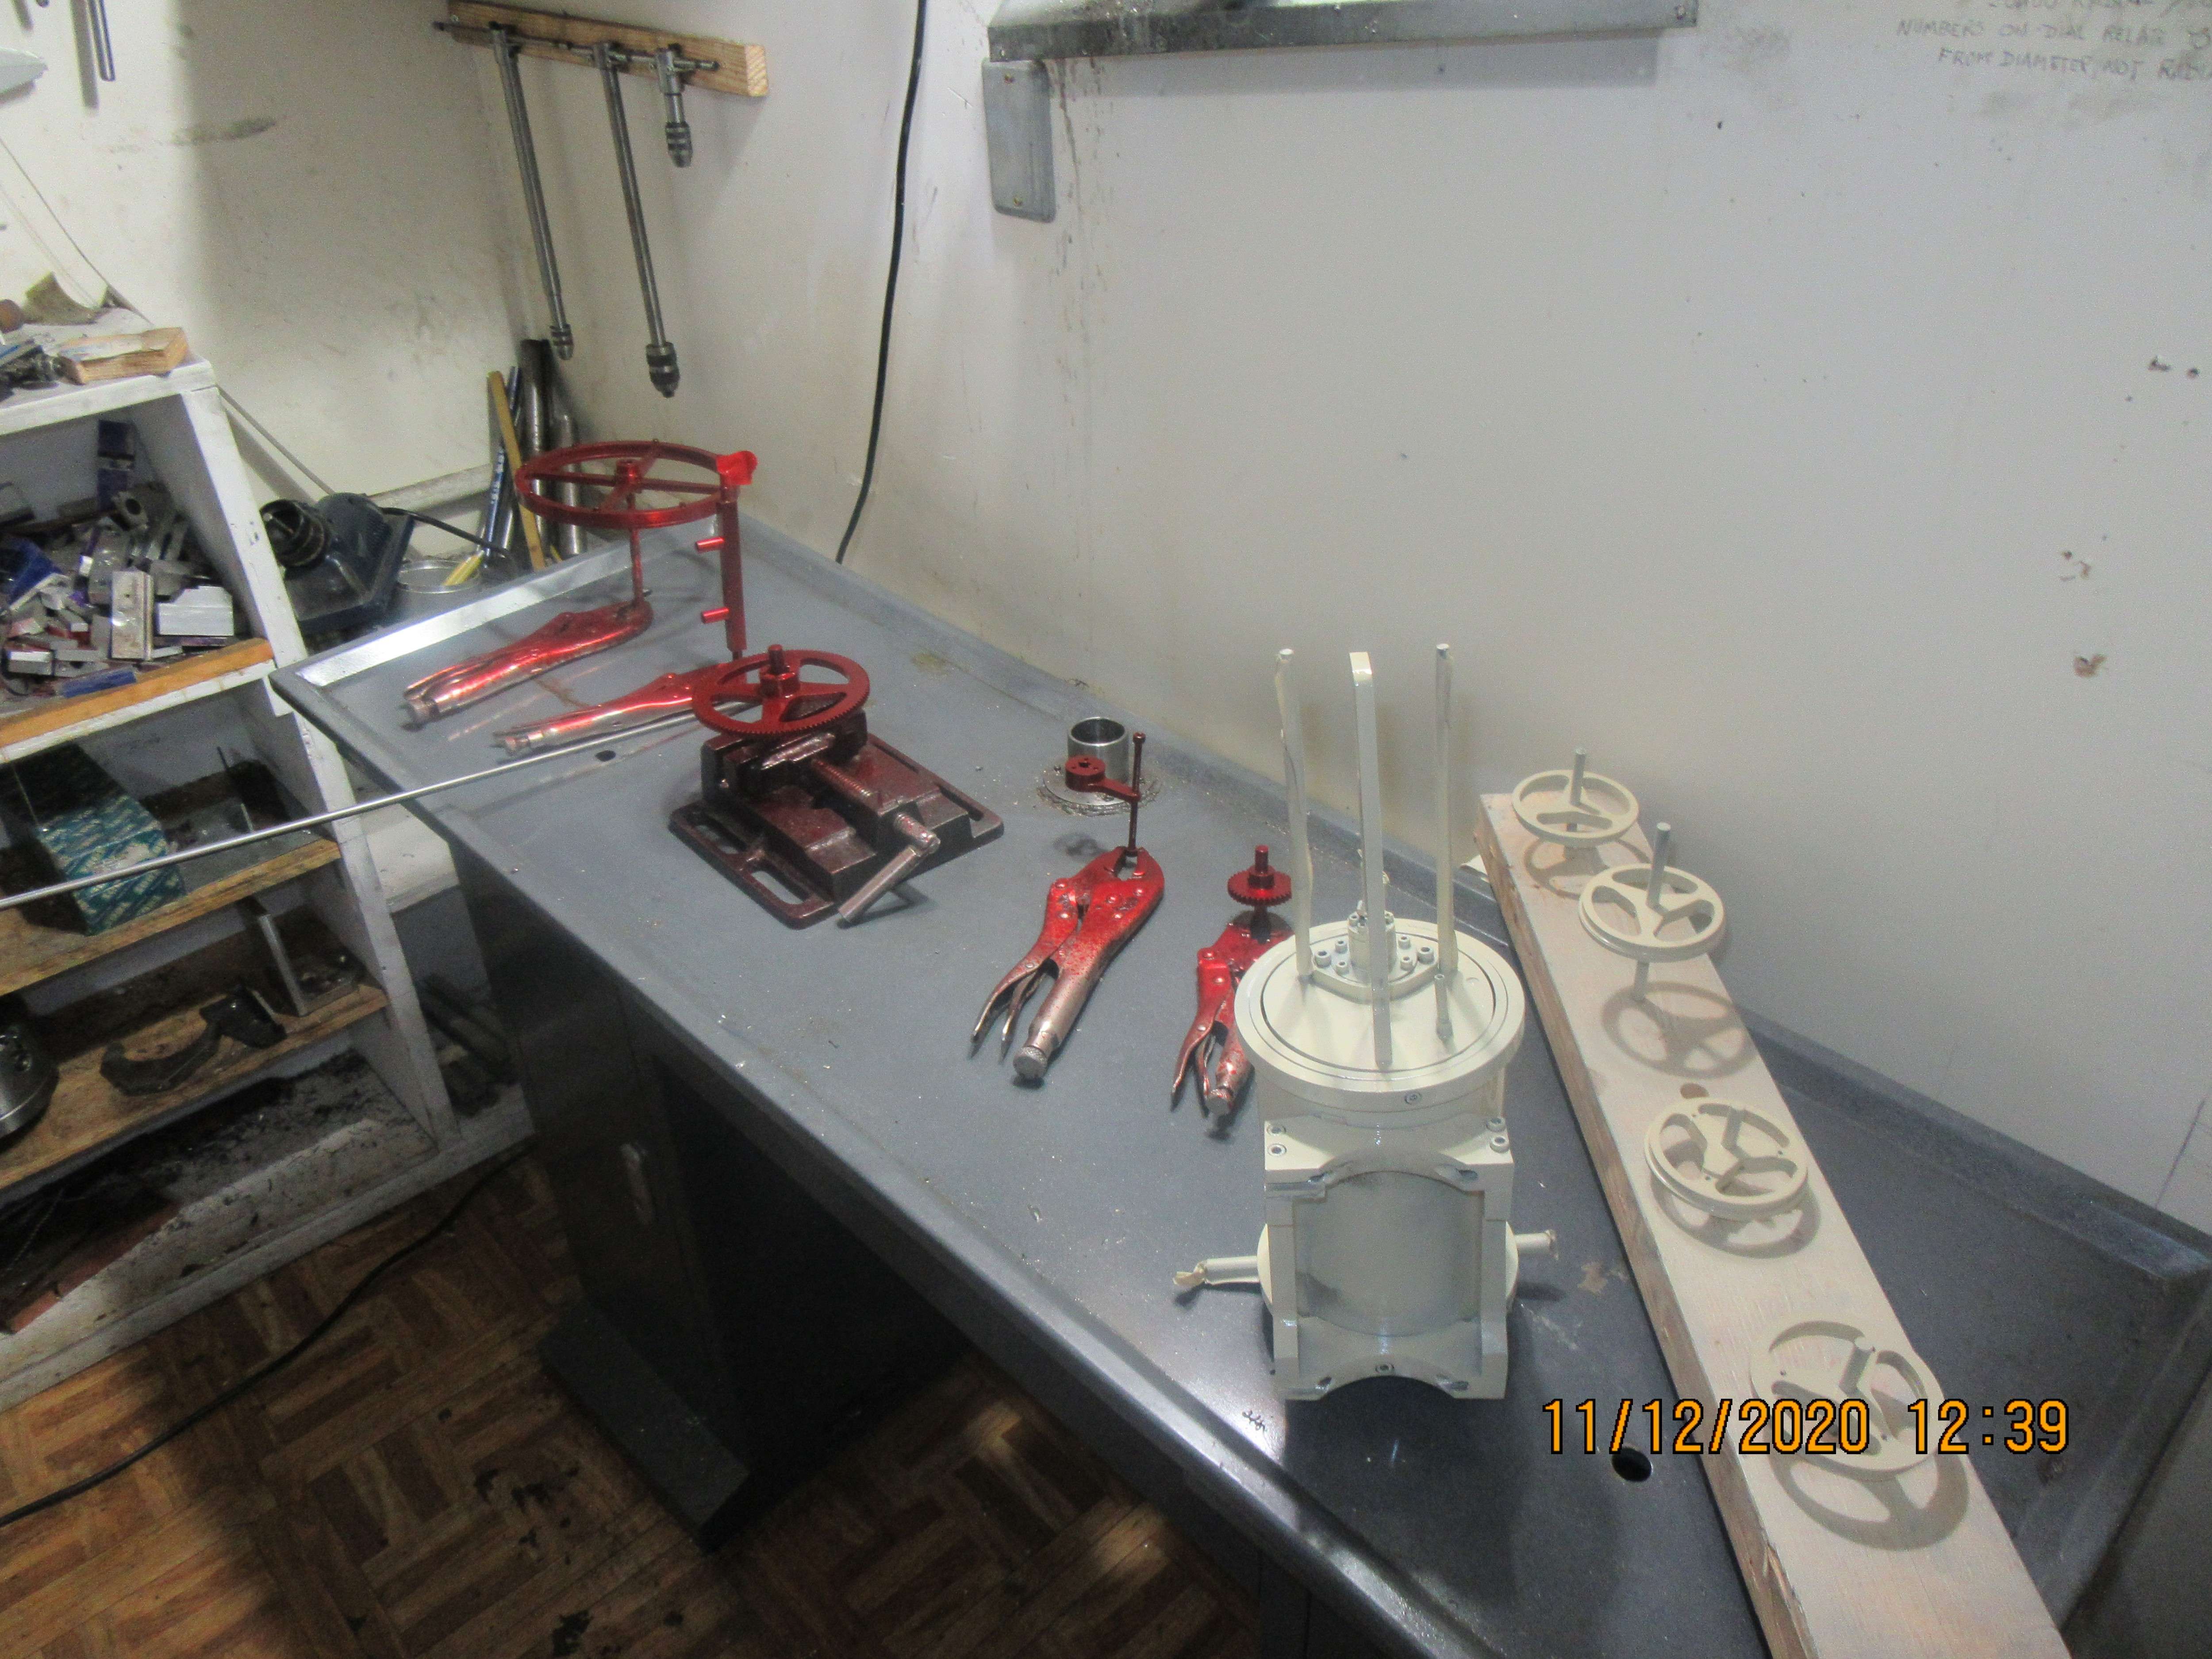
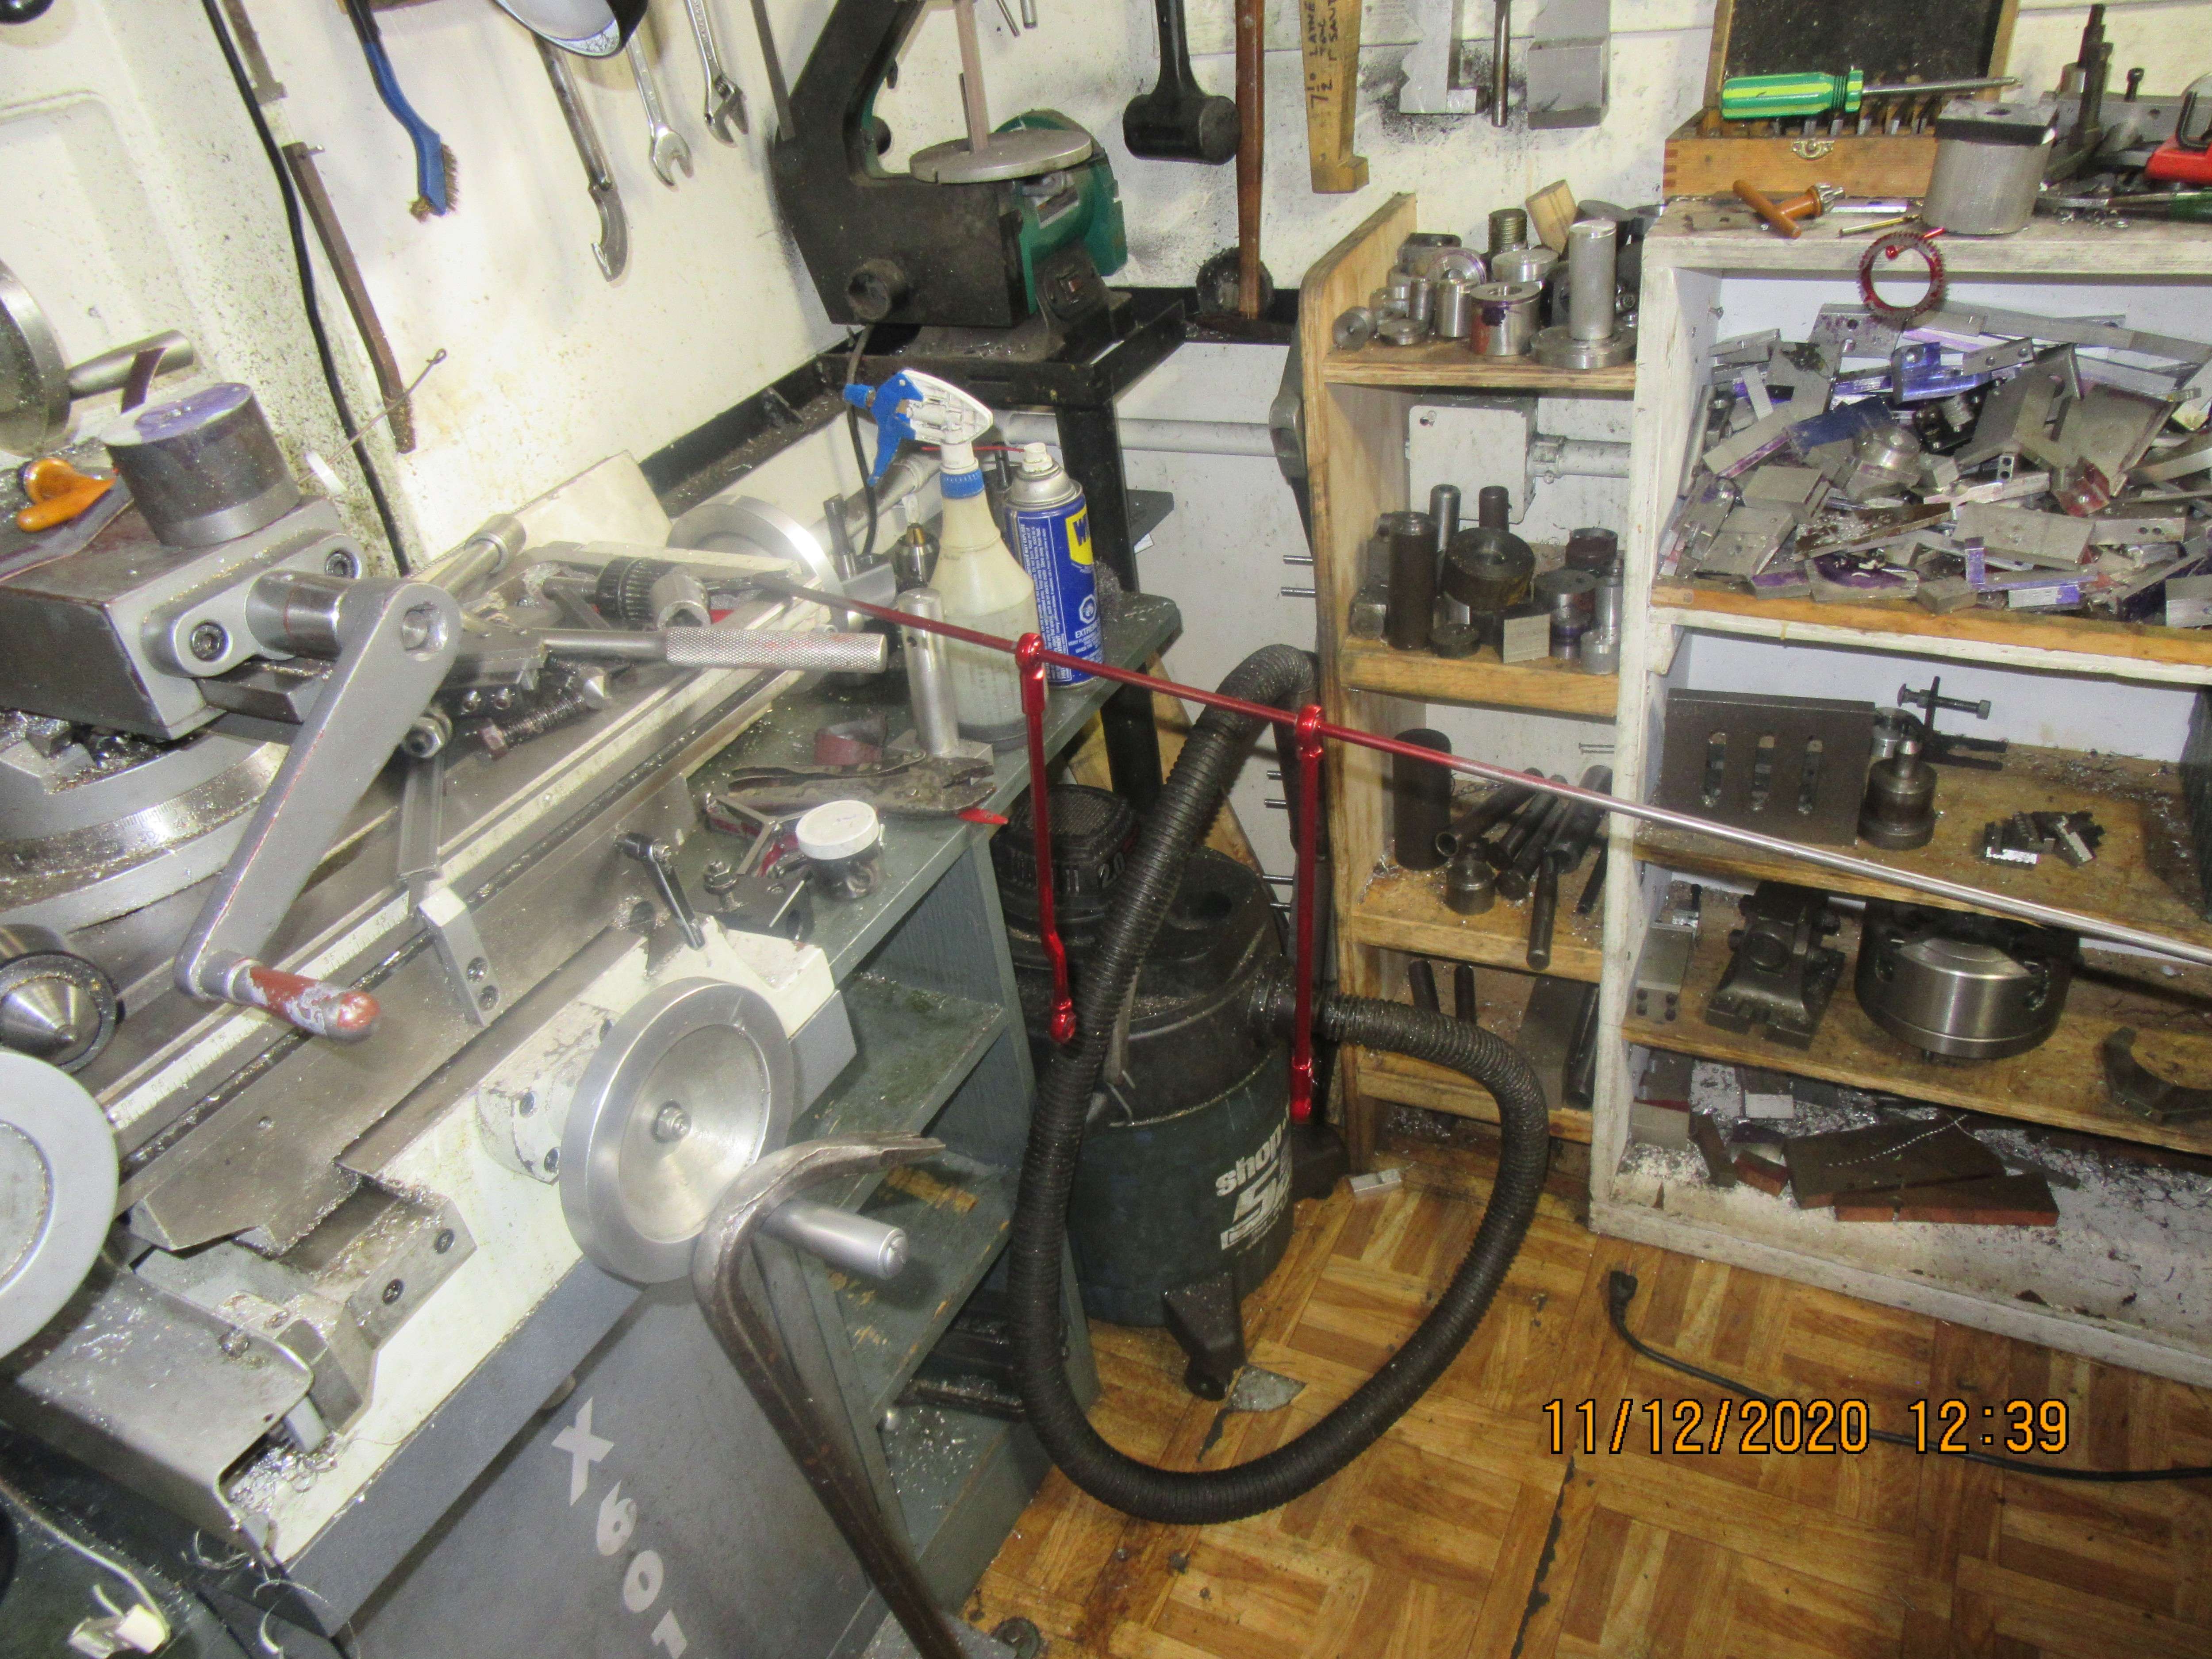
A stinky business!!!--Wish I could have done this painting a month ago when it was warmer outside. As things set, I open my big garage door, set out all the stuff to be spray painted, paint it, then move everything into my machine shop so it will dry enough for a second coat. This comes out to four trips into and out of the garage (2 coats on each side). My house smells like a body and paint shop. I am fortunate to have a very understanding wife!!!
KdbOZU.jpg

hl9n0n.jpg
 
Brian,

I really enjoyed this one. I like the engine and your posts about it were enlightening. The process of solving all the engineering problems is always a great story.

Thank You for posting.

--ShopShoe
 

Latest posts

Back
Top