Matt...I grew up in Southeastern MN. Near Austin.
Dean...Leaving a bowl of unattended M&M's is considered entrapment. You're free to go.
Post #36.
Fuel Tank & Burners (Contd.)
Rudys plans dont specify the material thickness for the burners but by scaling the drawings, it looks like he used 0.062 wall tube. However, in K.N. Harris
Model Boilers and Boilermaking he says:
Wick burners and their spirit supply tubes should always be made from the lightest gauge tube available
I have no idea why that is, but based on his statement (and on the fact that I had some in stock) I used 0.014 wall tubing for the sides of the burners and 0.010 sheet for the bottoms.
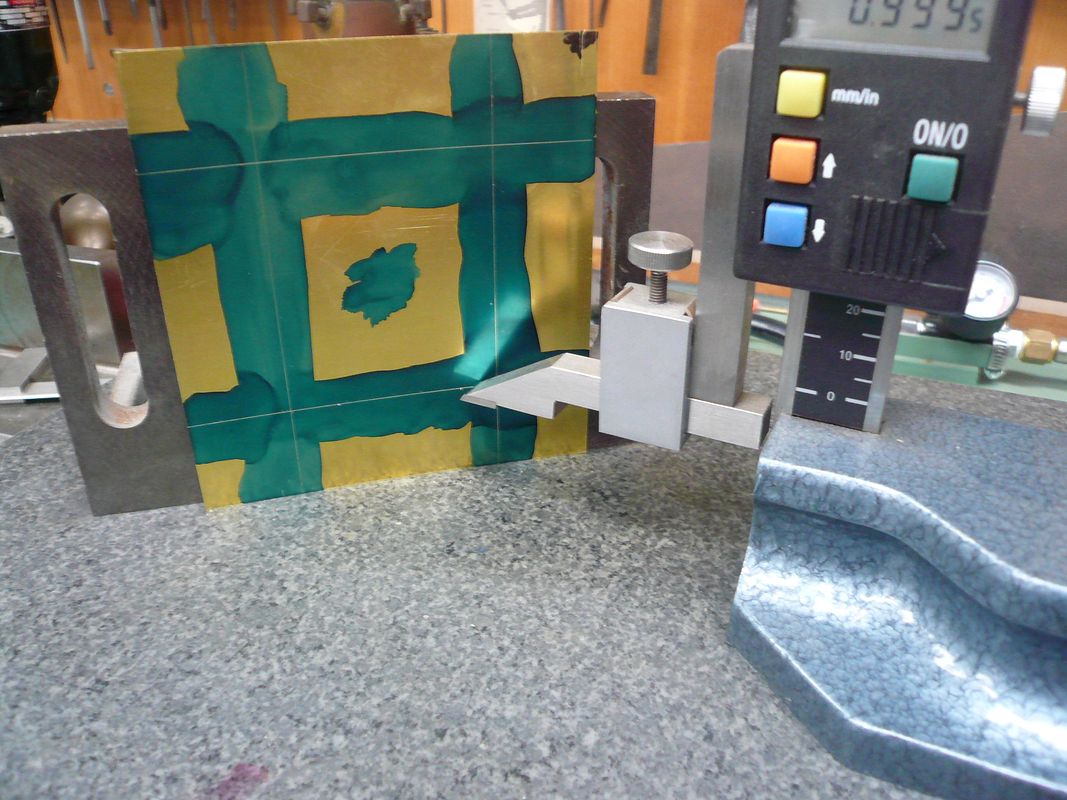
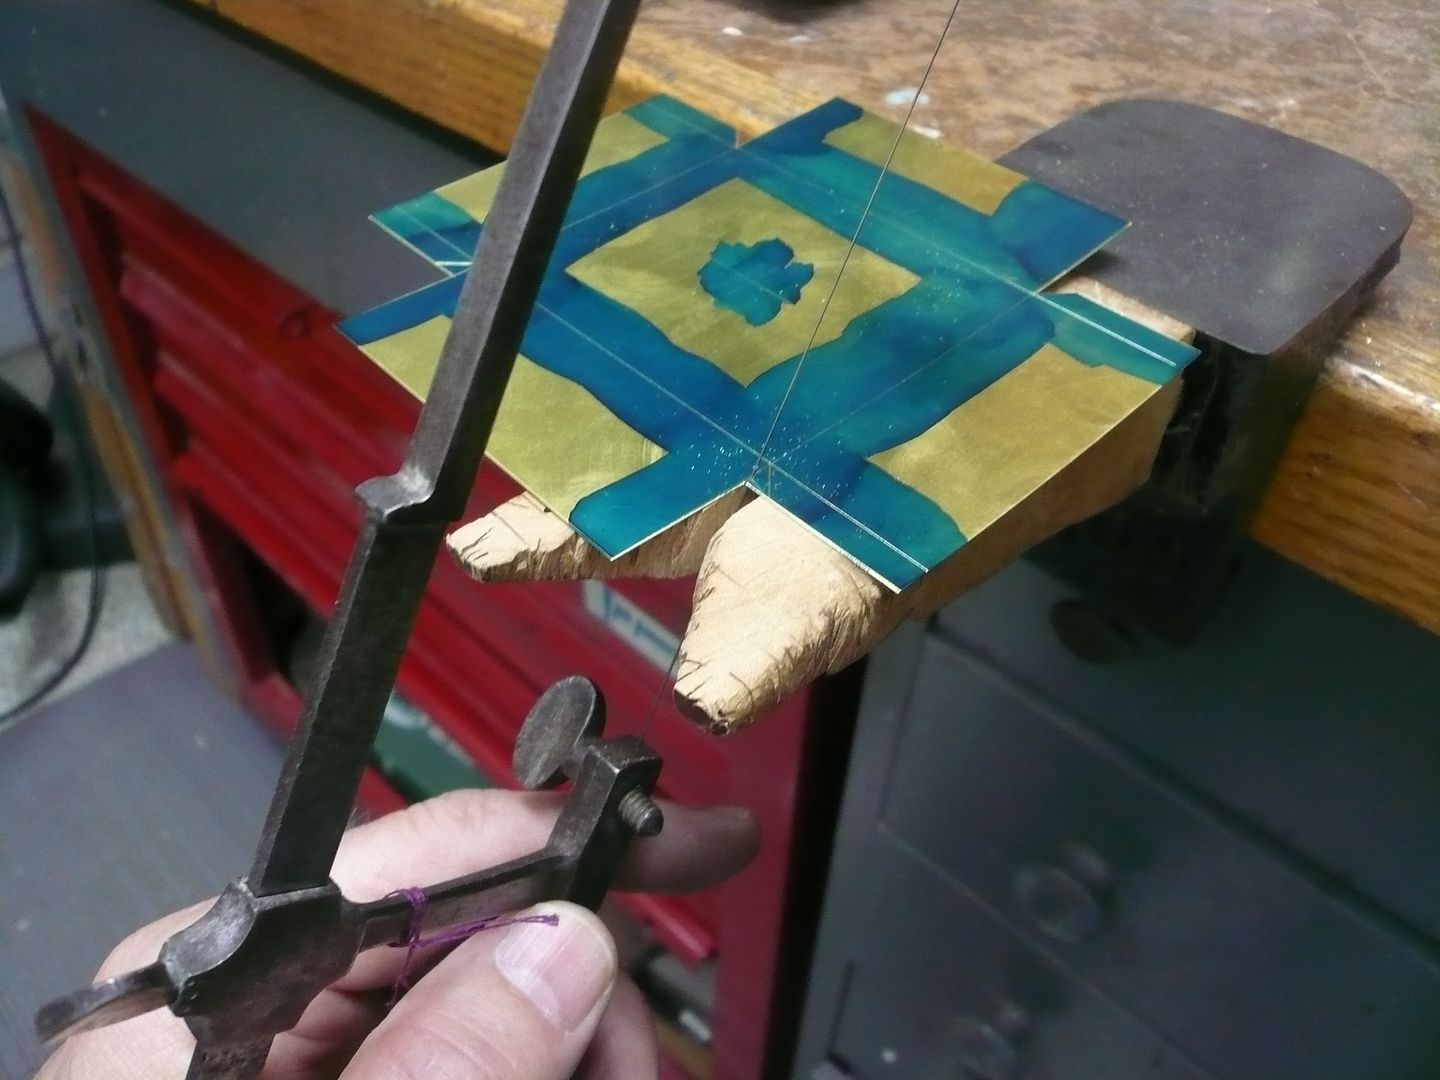
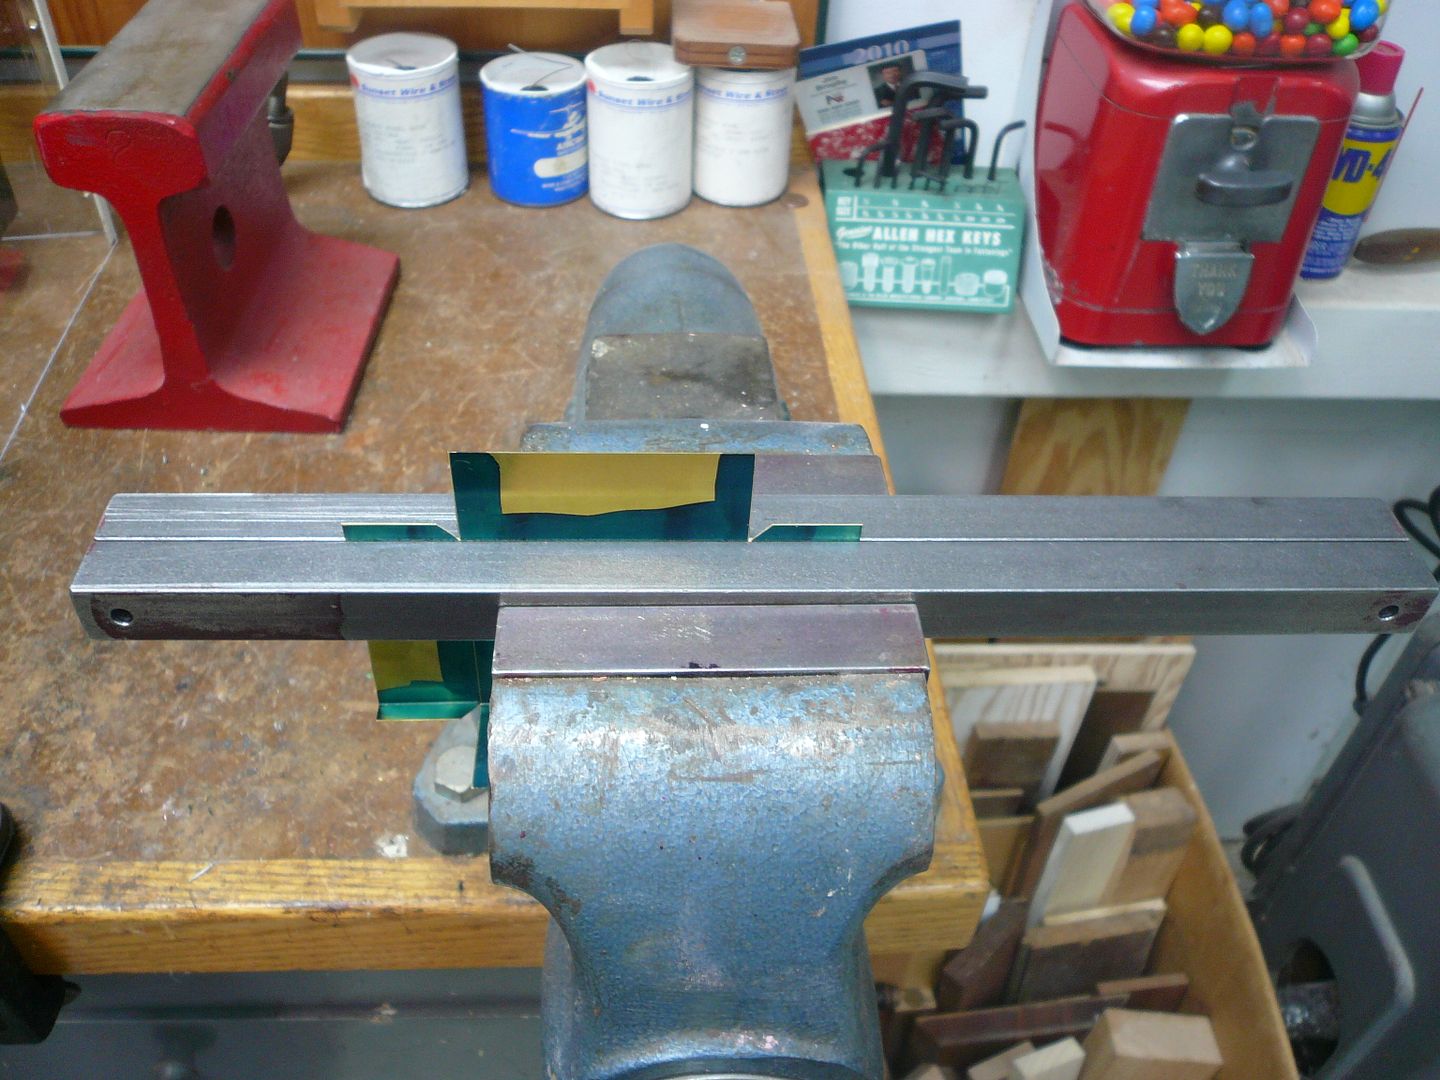
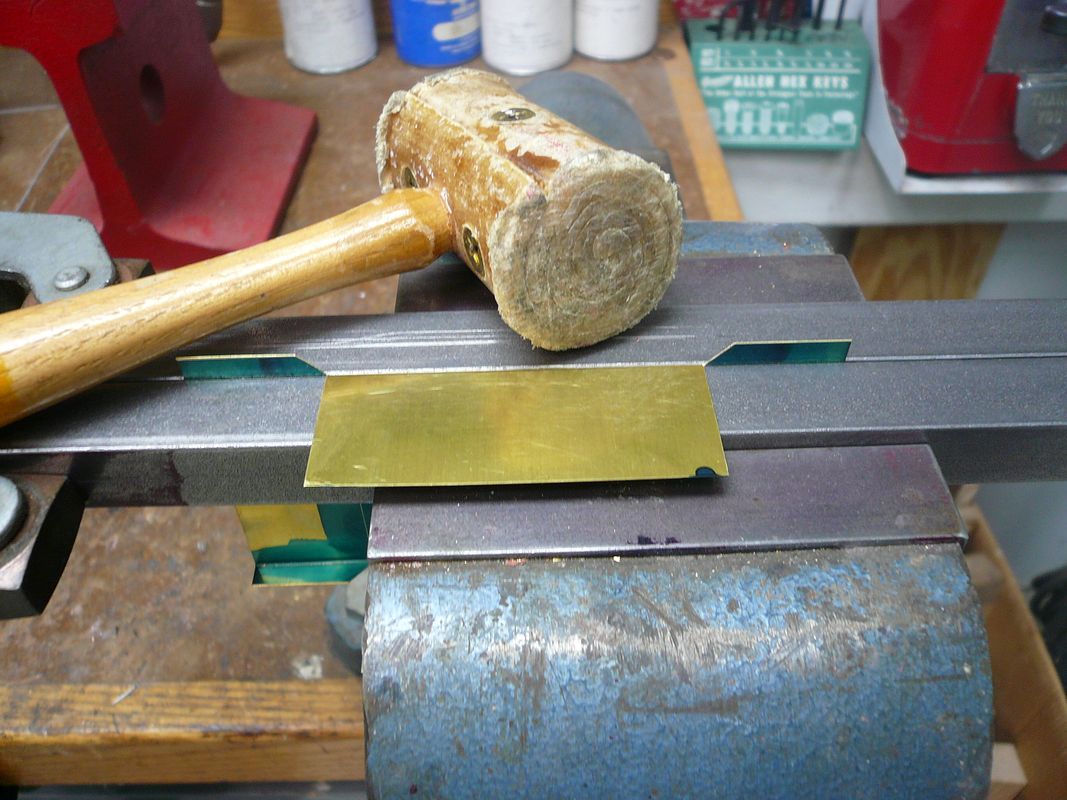
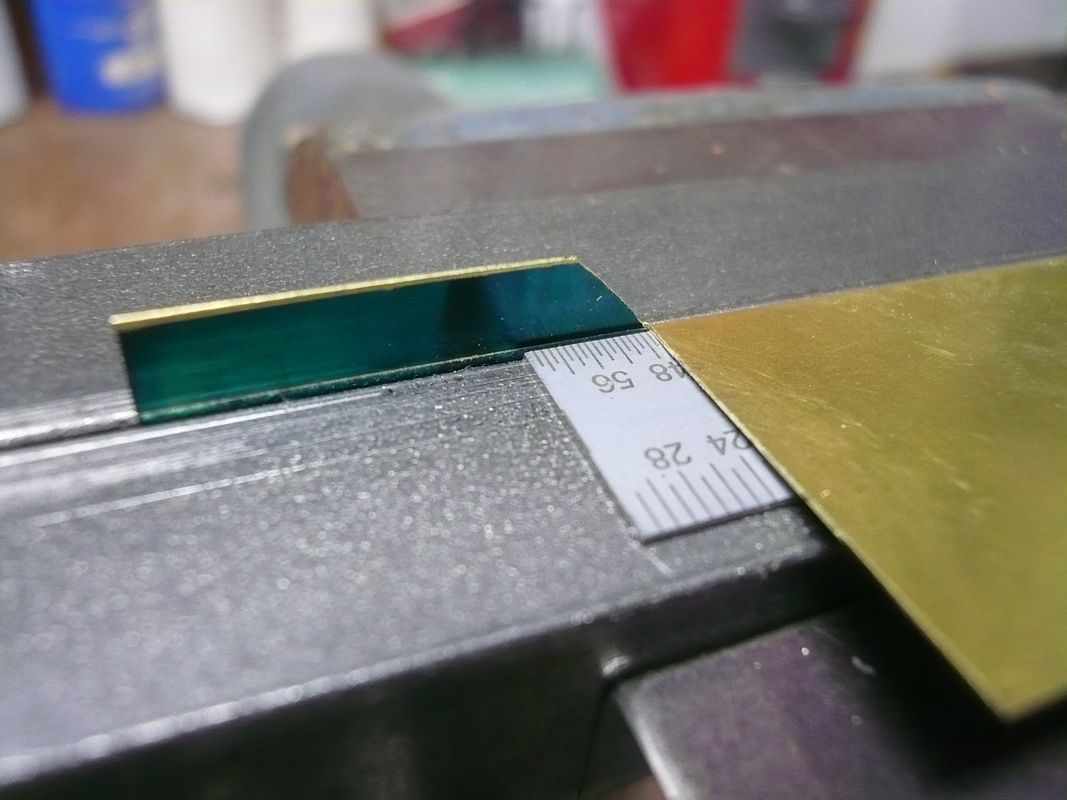
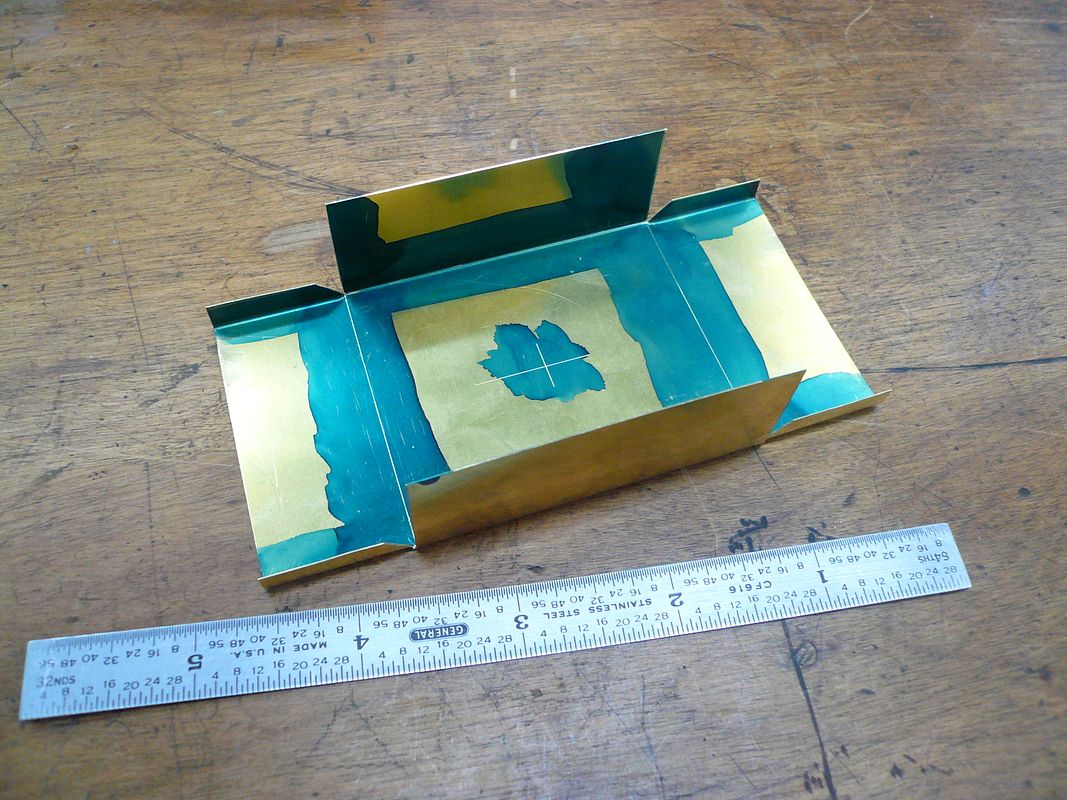
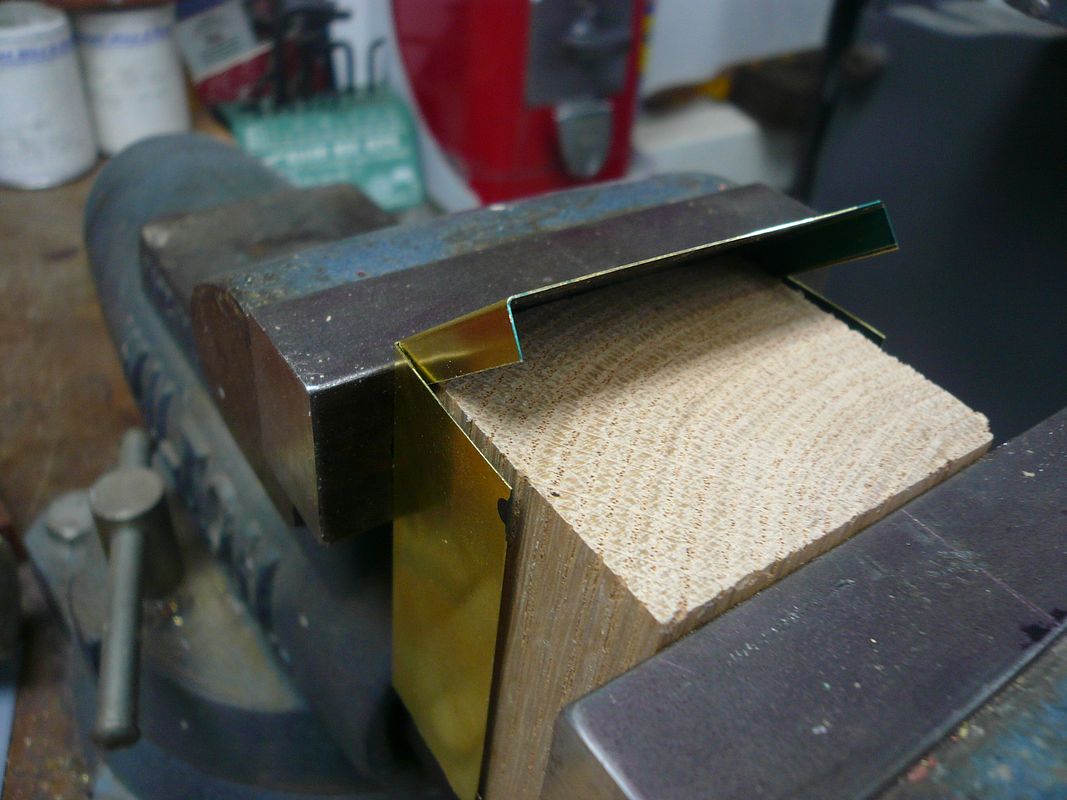
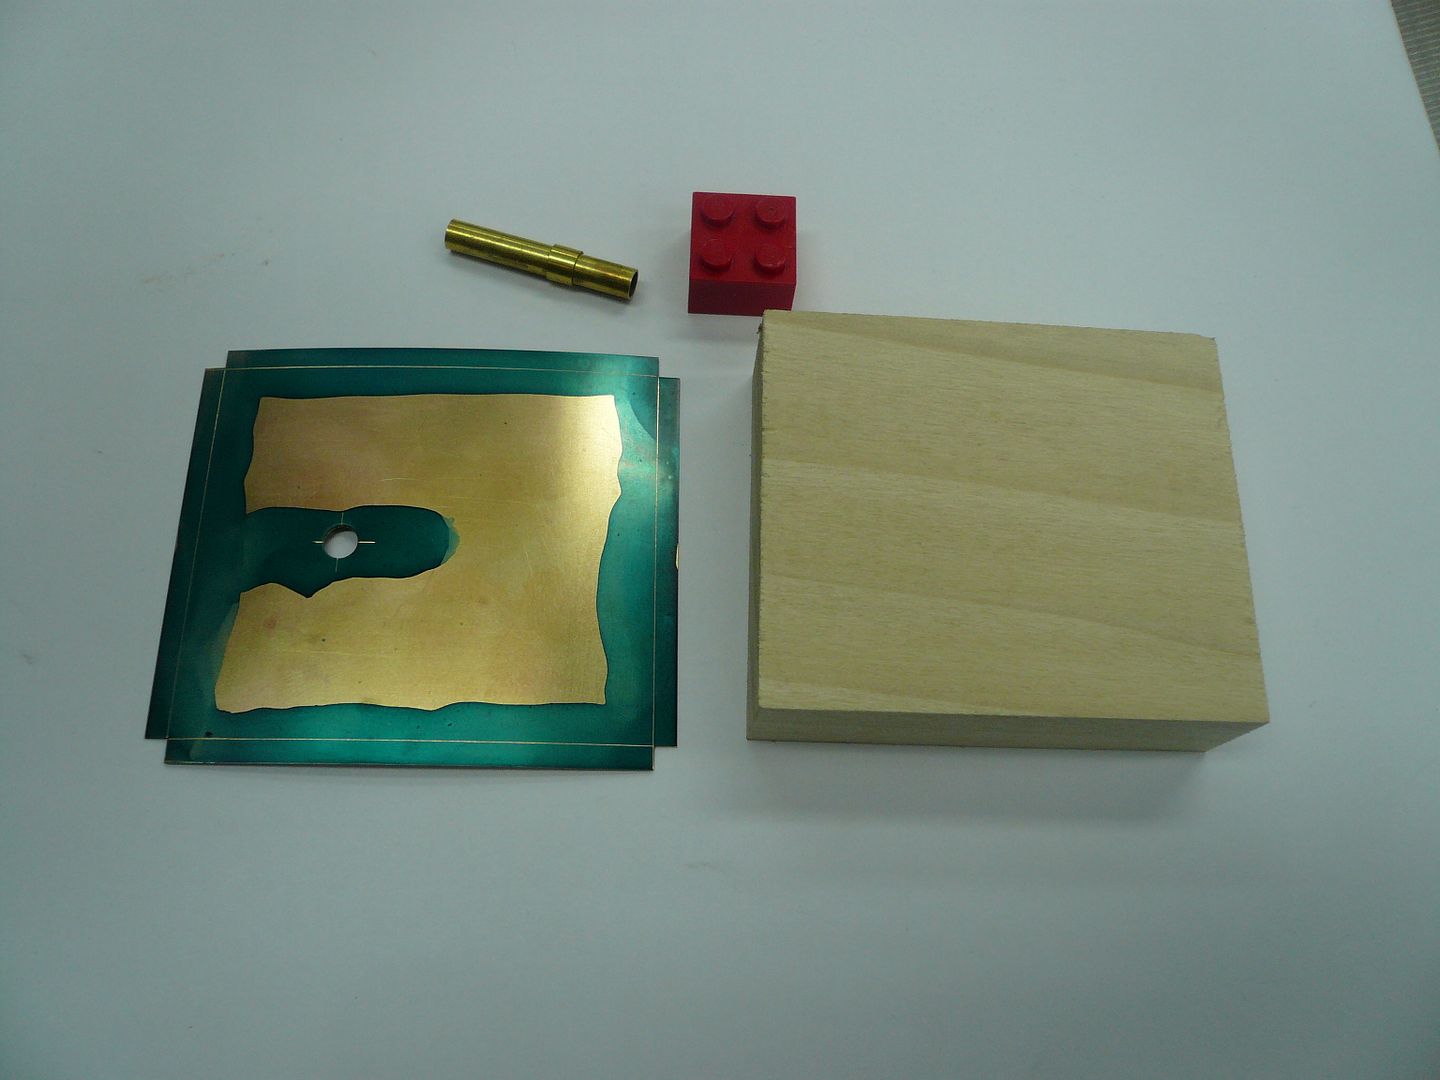
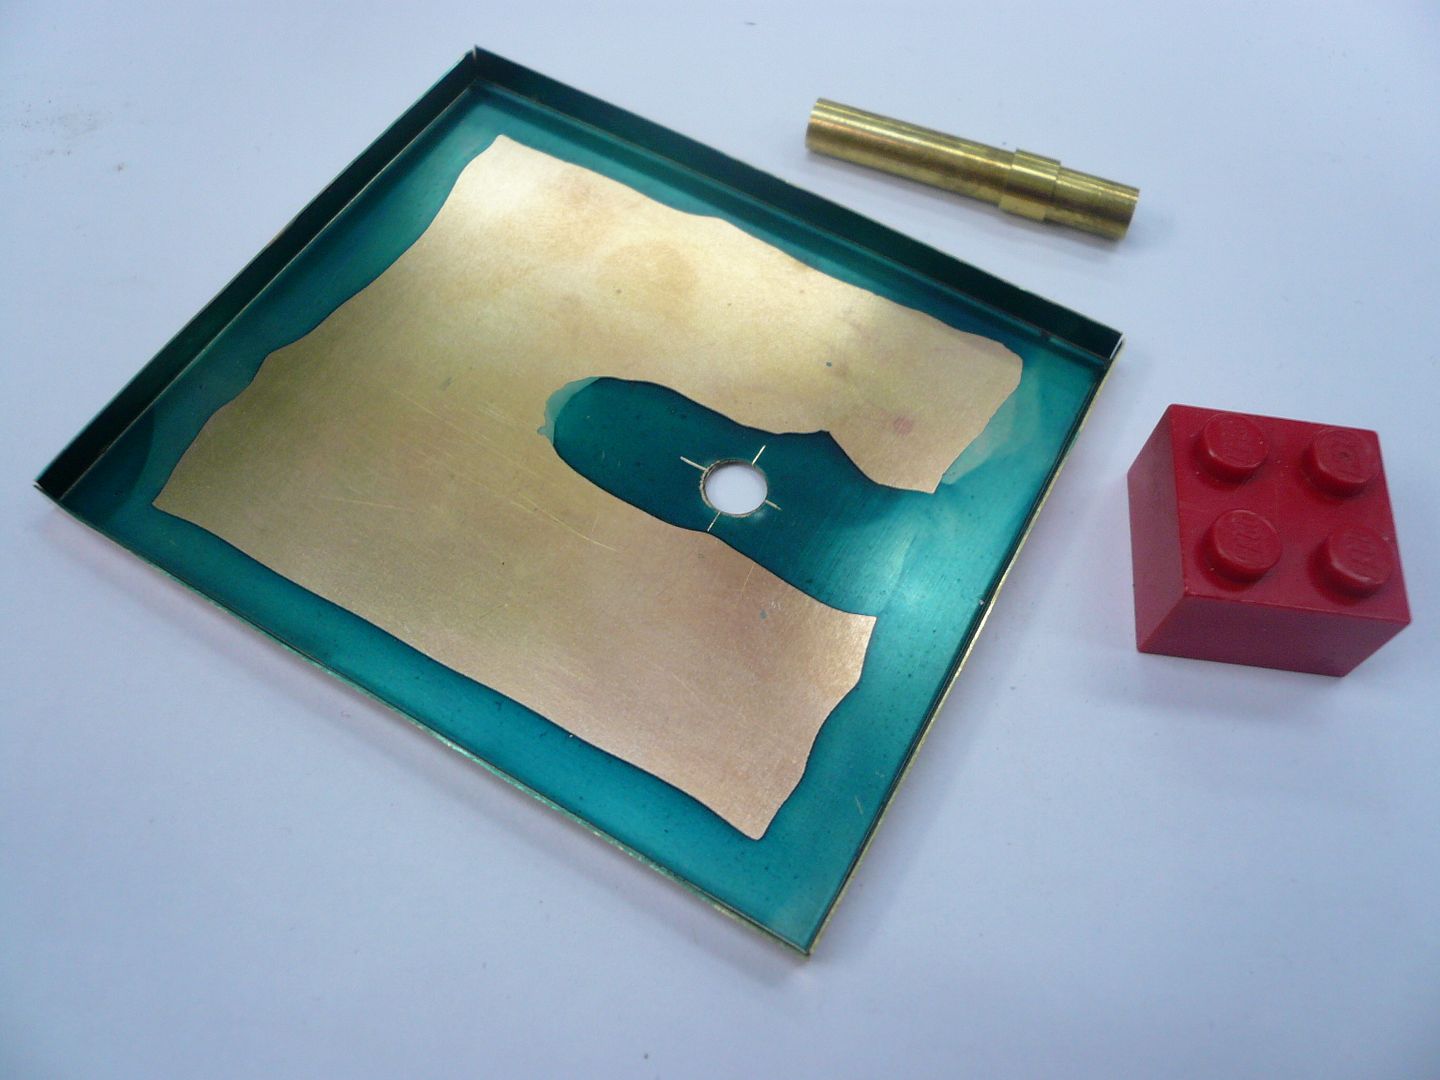
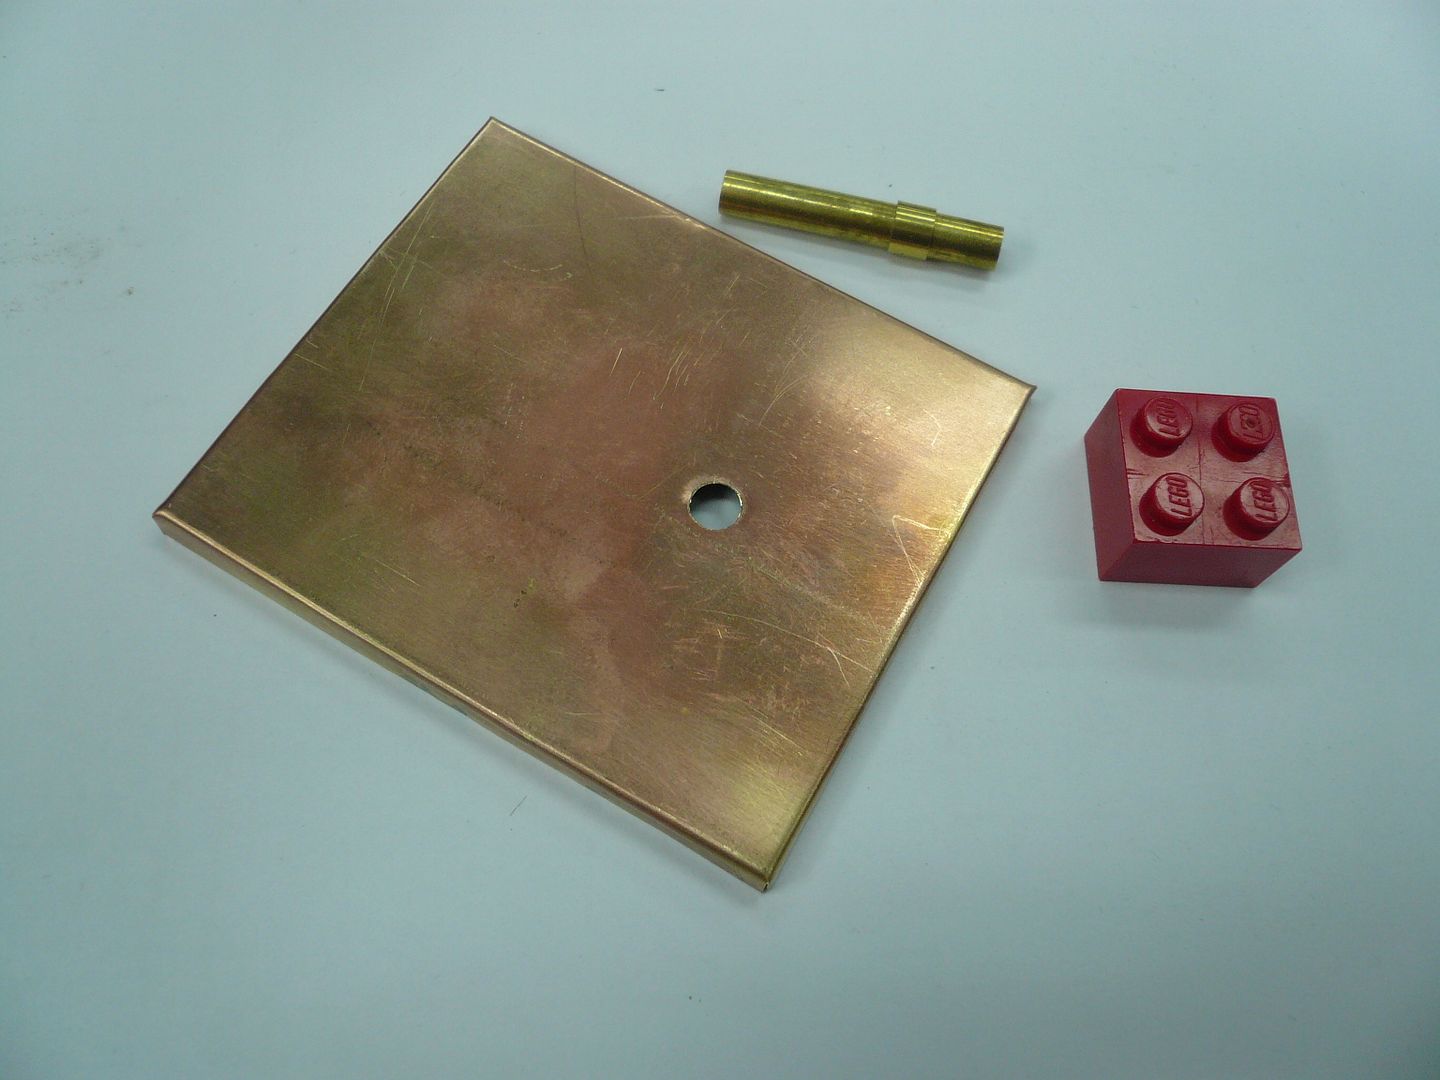
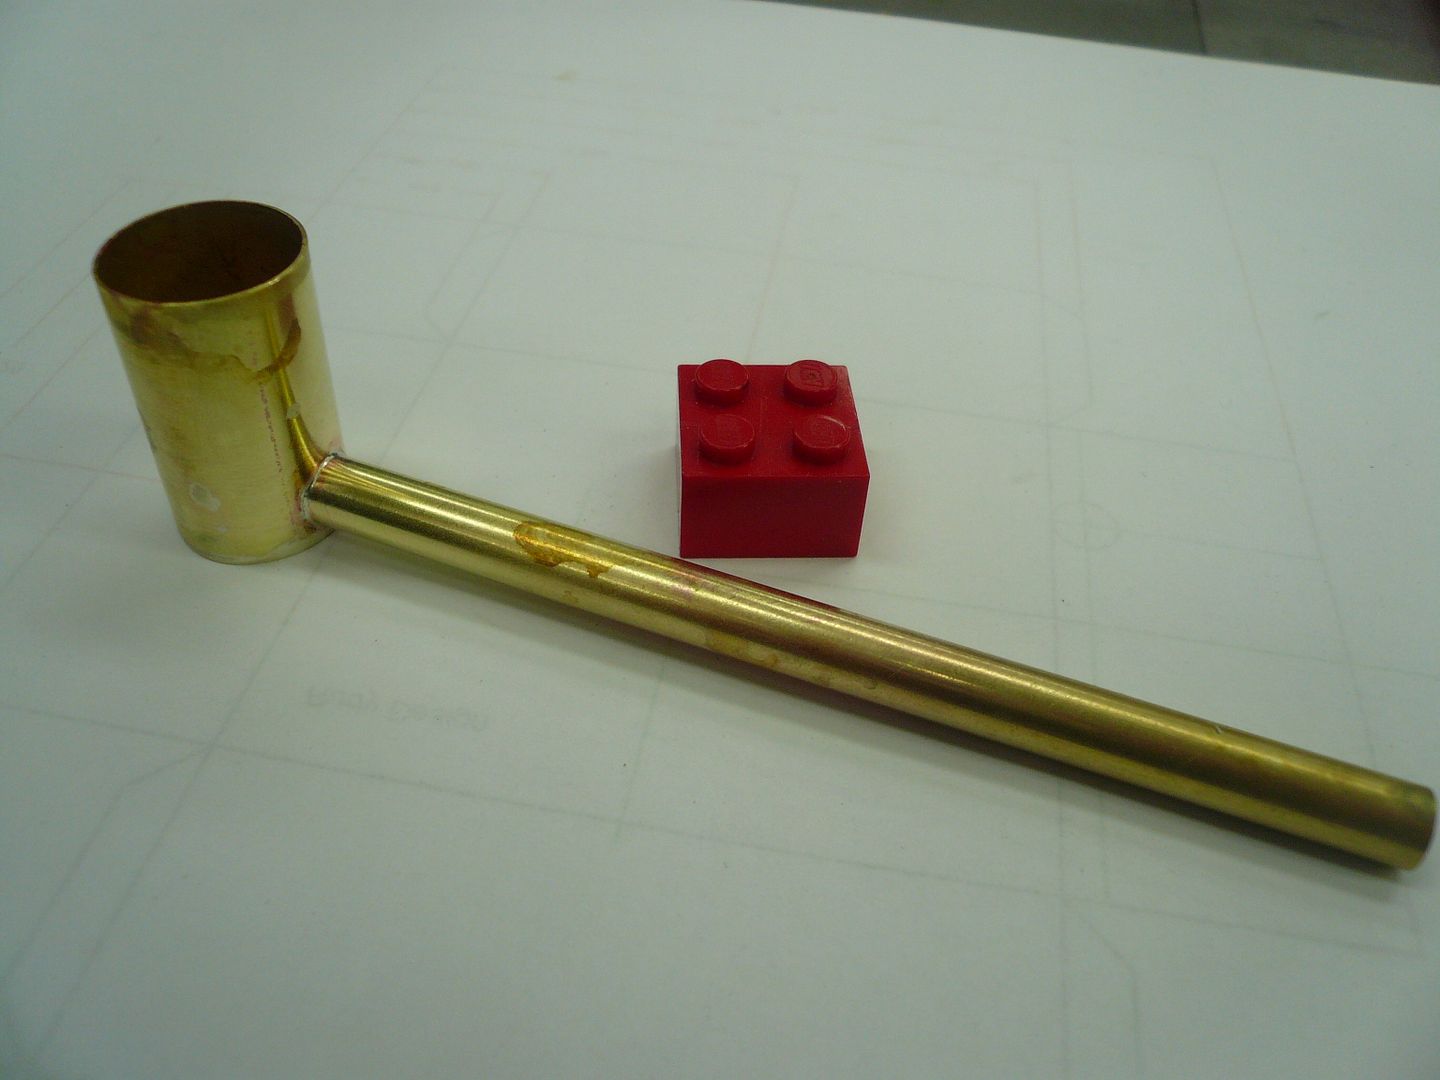
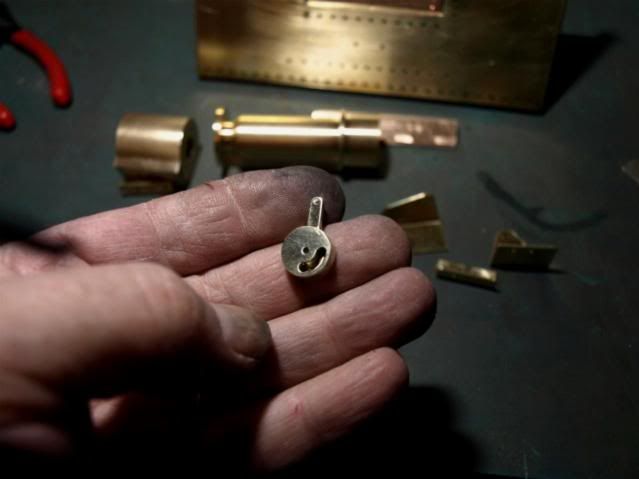
I fabricated the burners much like jewelers make bezels for mounting stones.
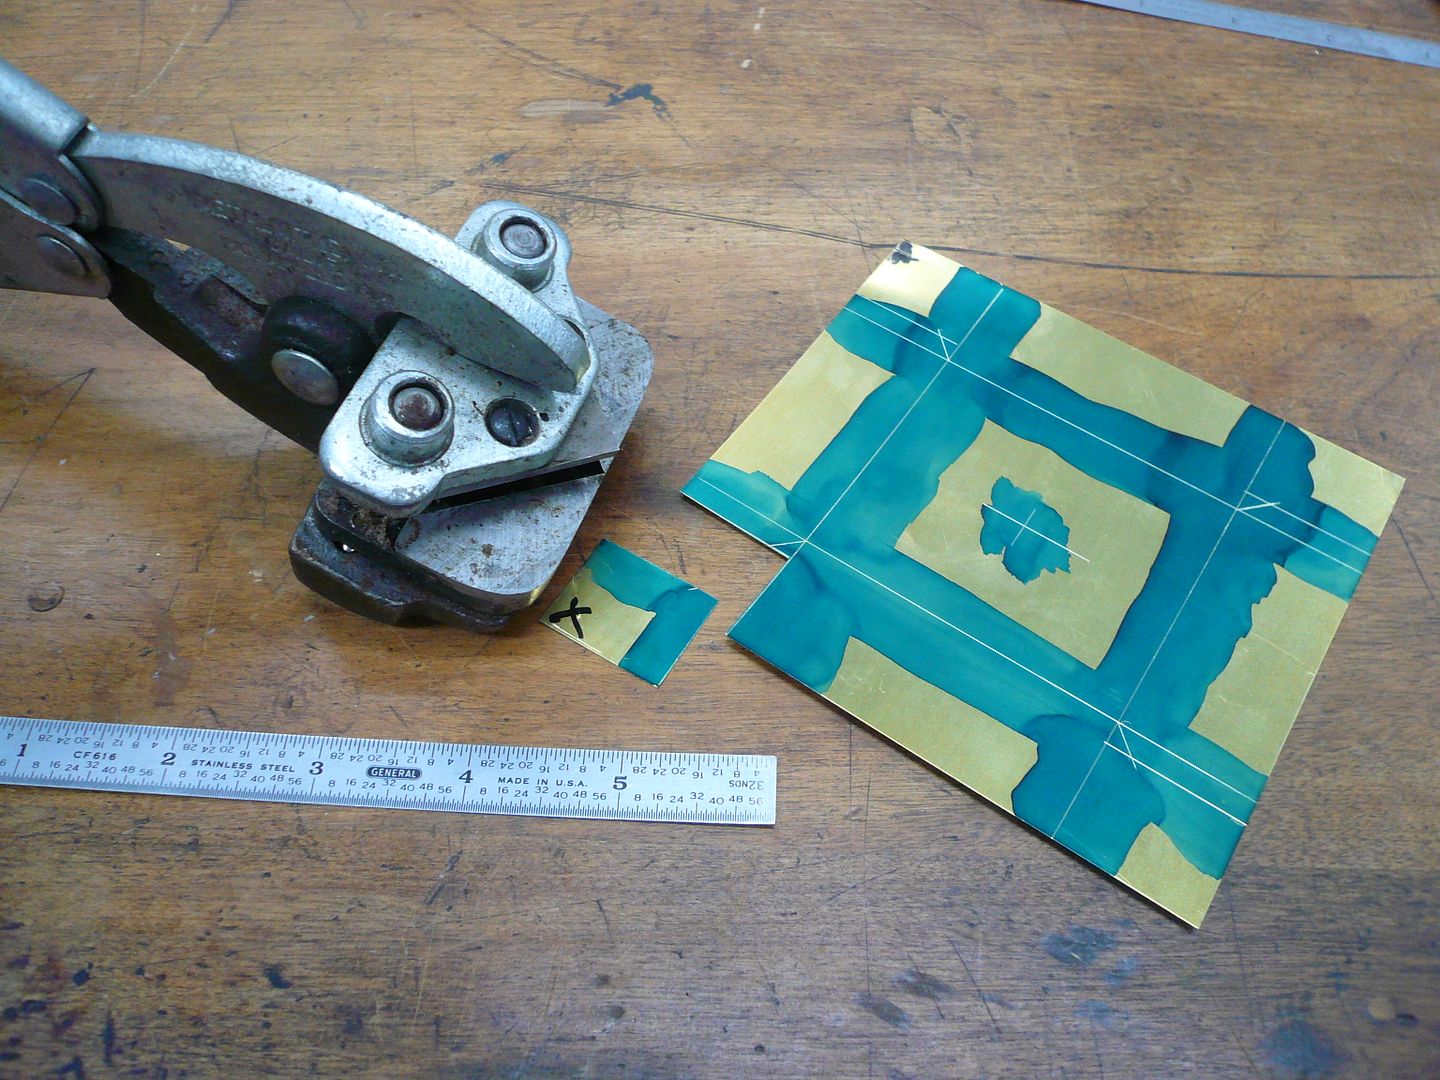
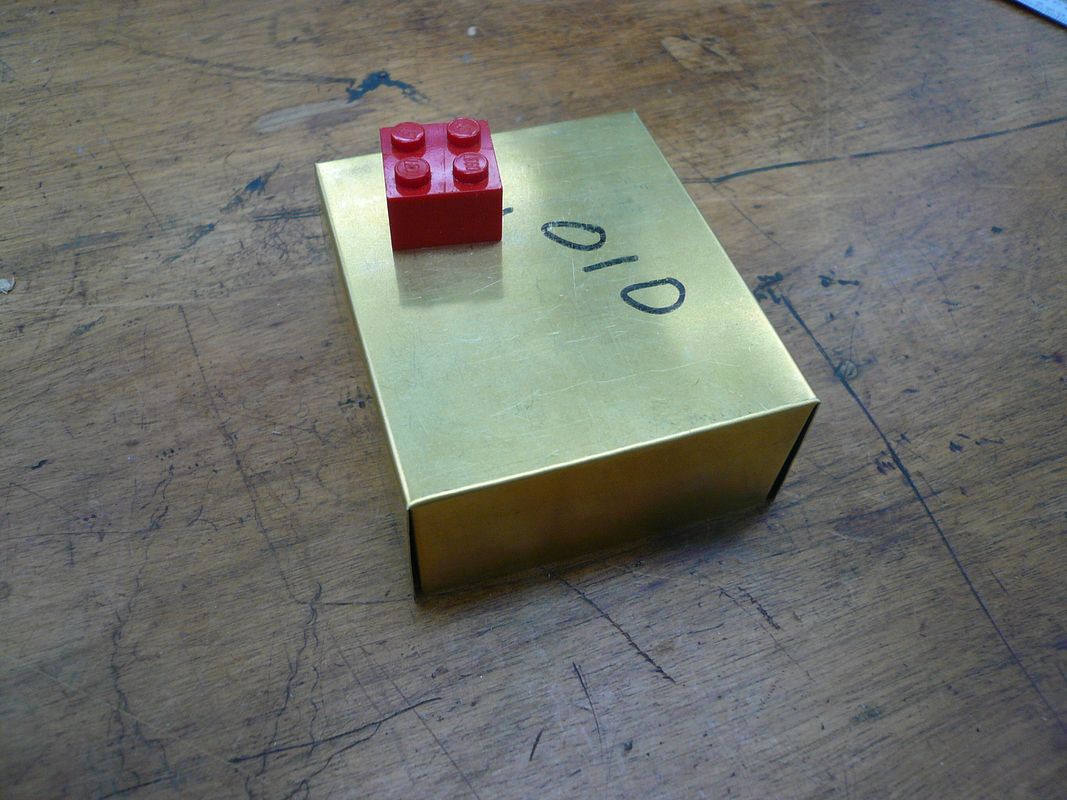
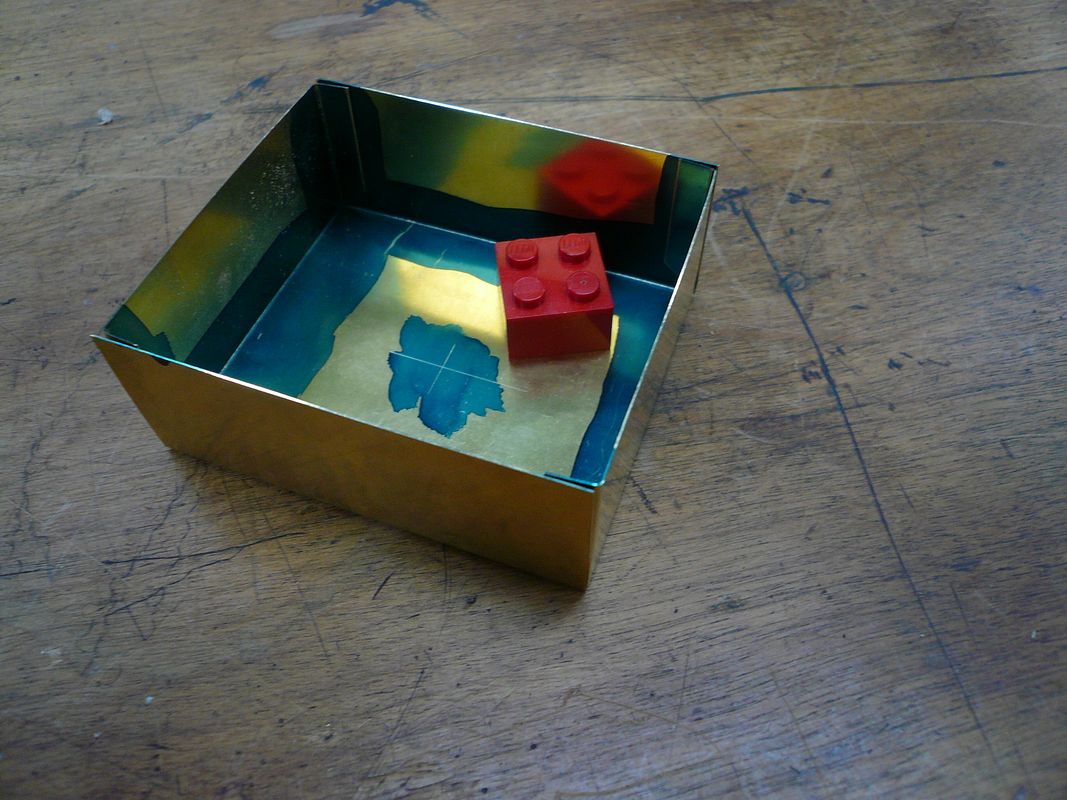
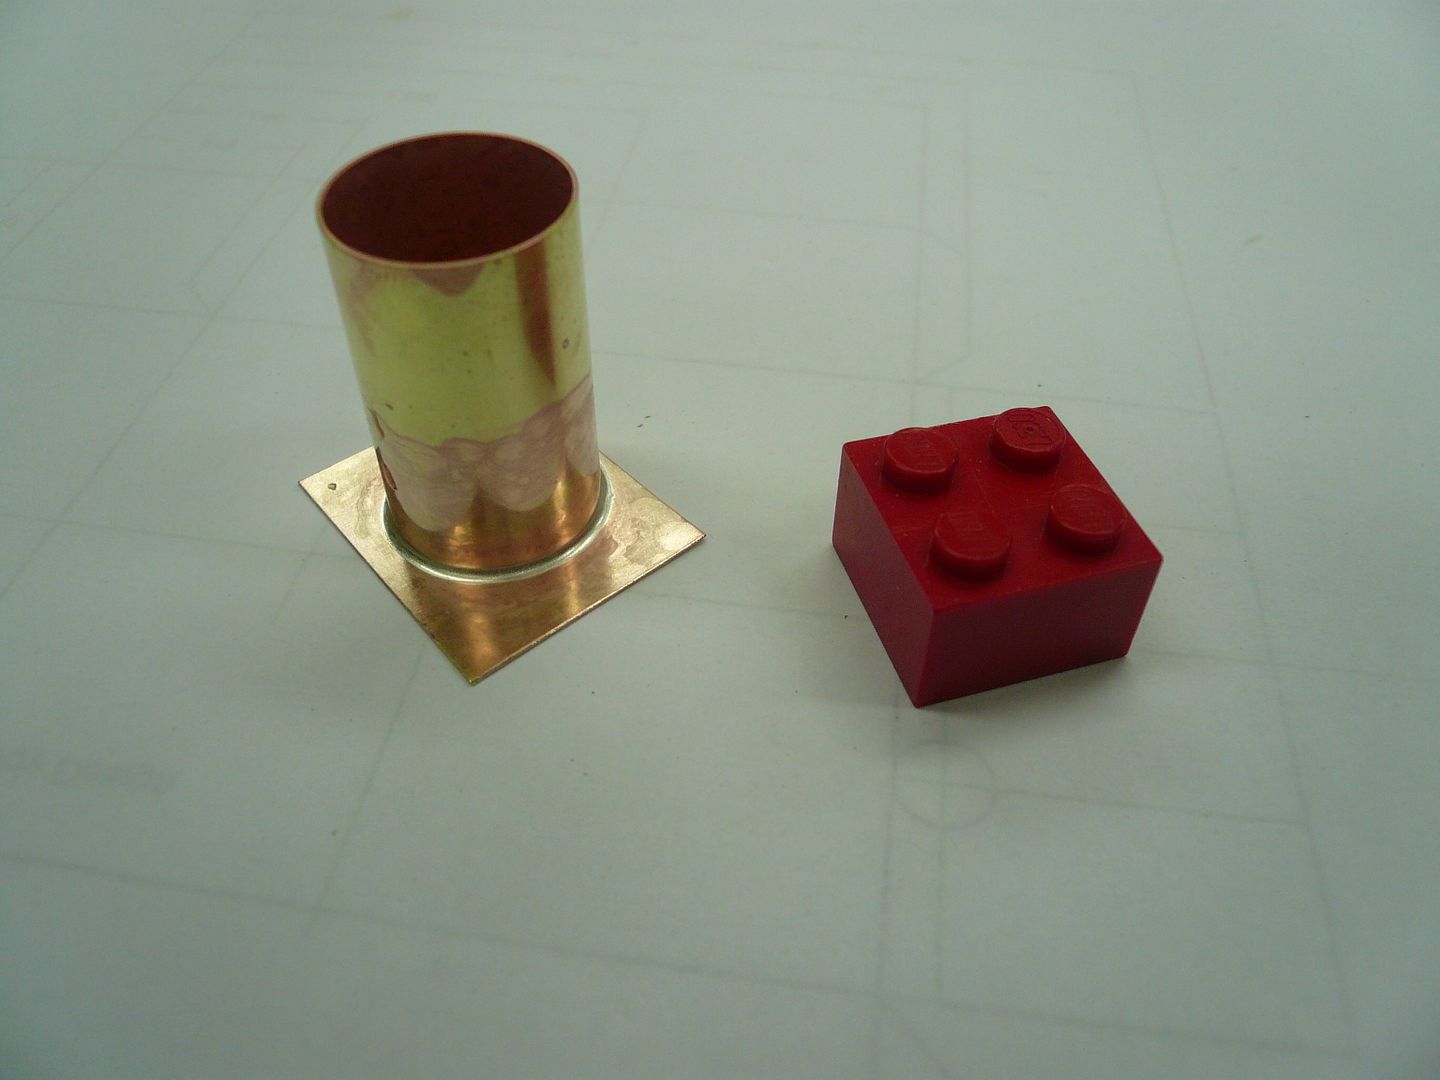
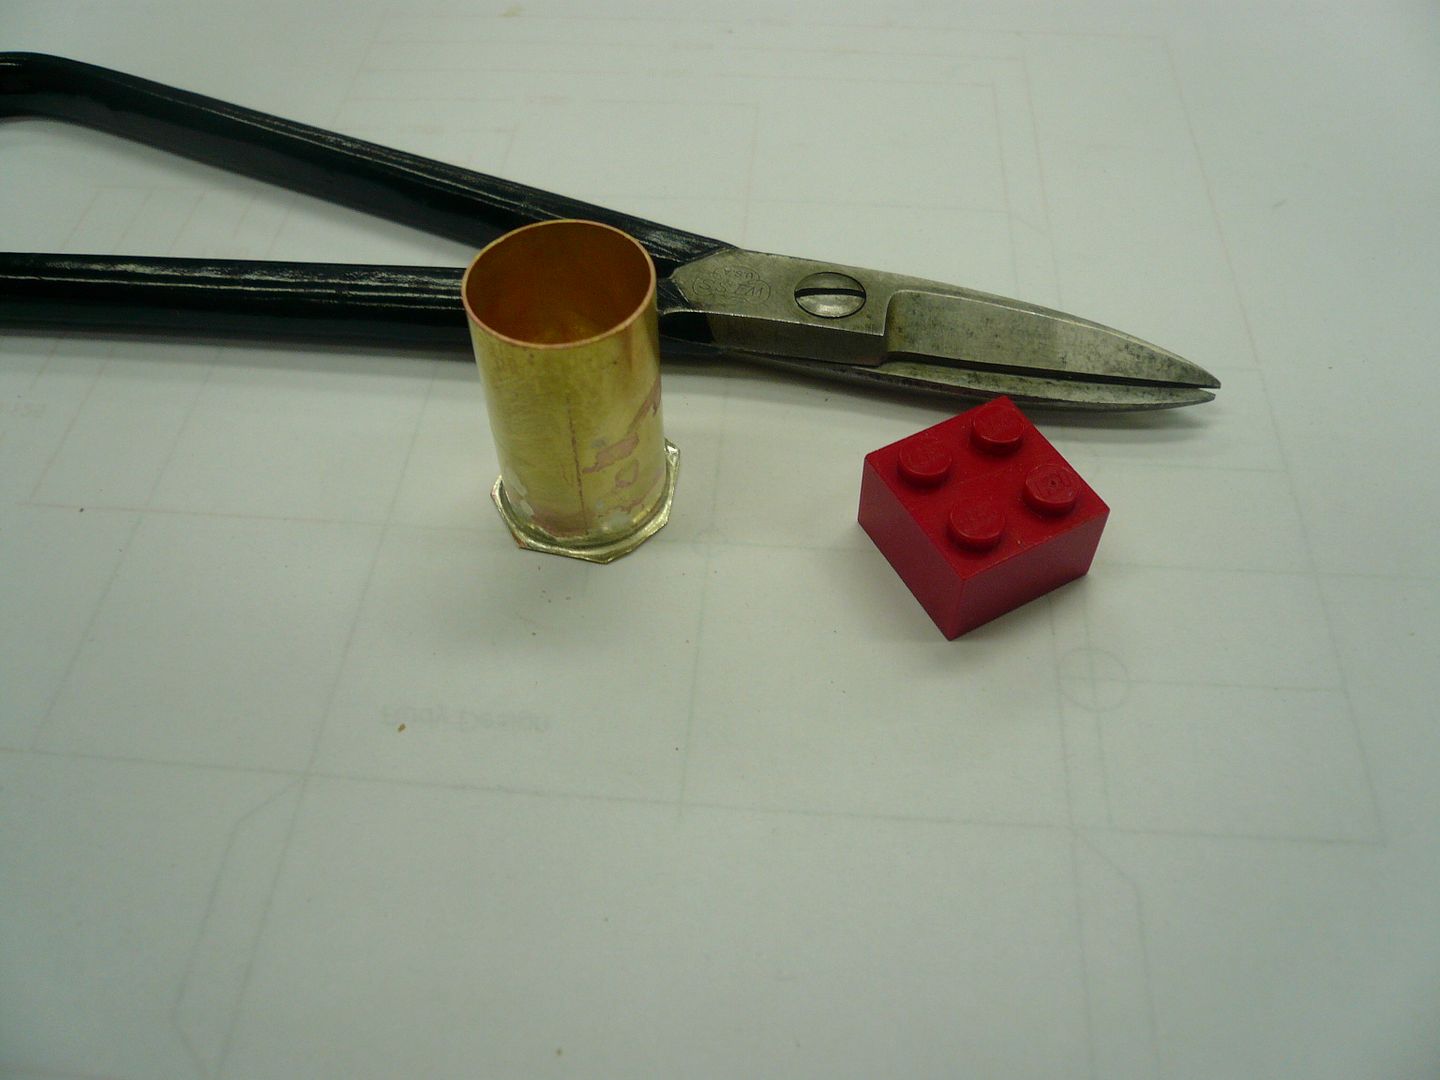
Cut the tube to length. Then cut a base slightly larger than the tube OD. Silver solder the two together. I used Medium solder for this to minimize the chance of the bottom unsoldering later when the feed pipe is soldered in.
I forgot to take a pre-solder picture, but my method was to flux the seam, lay small pieces of solder on the inside of the tube, and then heat the joint from the outside.
After soldering, use a pair of snips to trim the base as close to the tube as possible
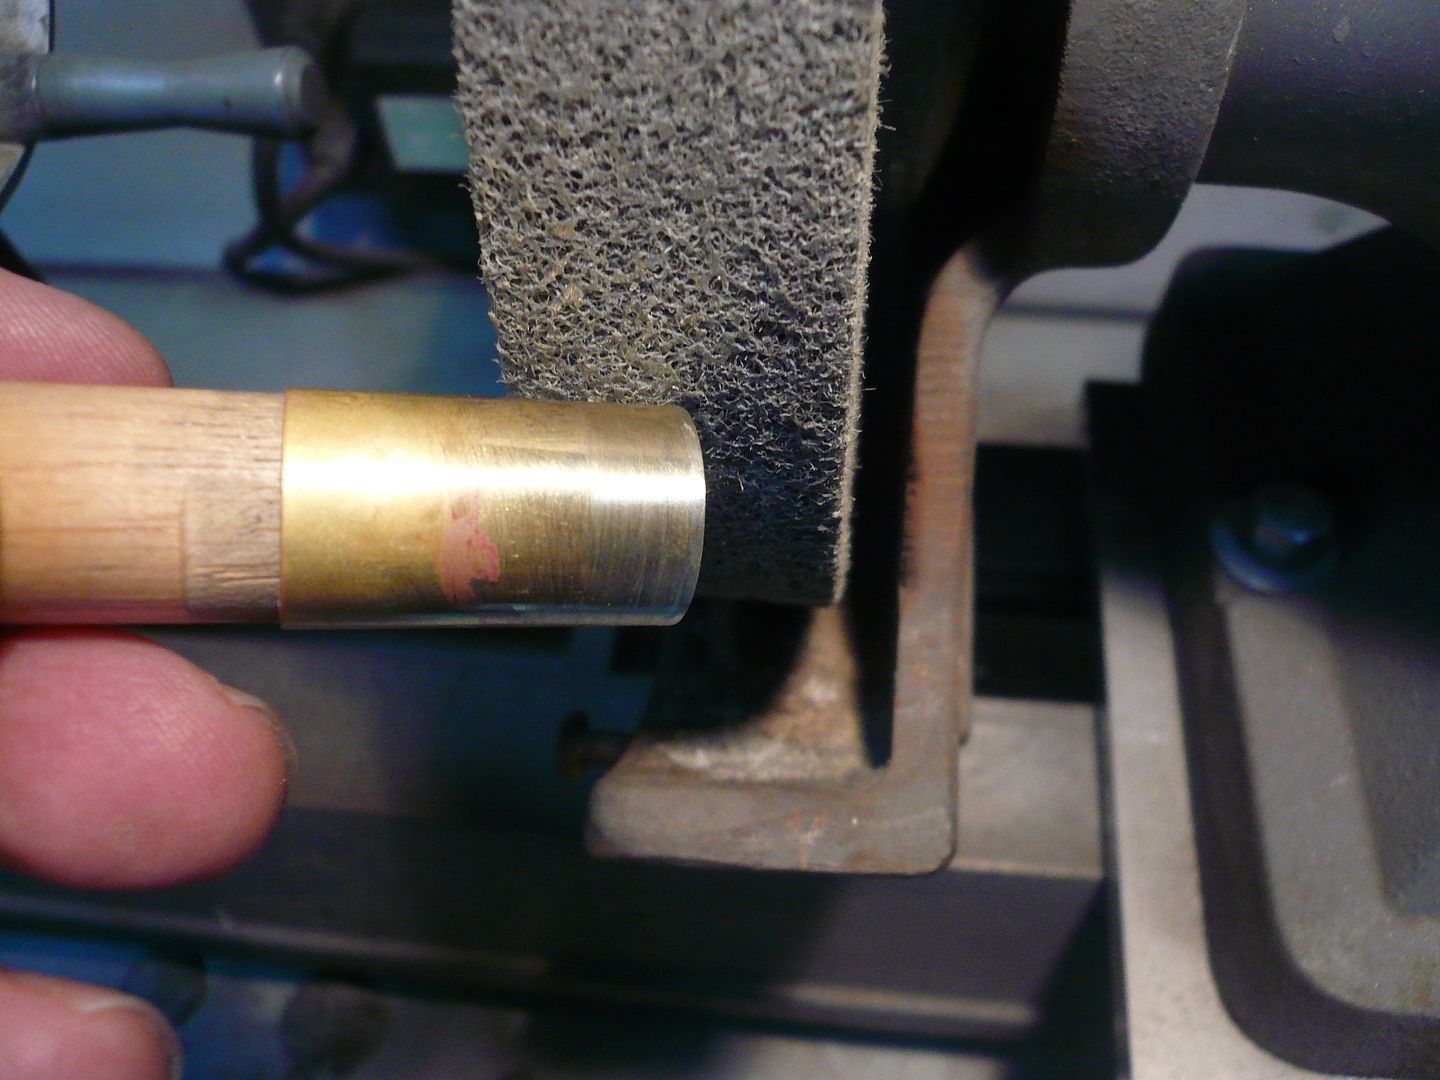
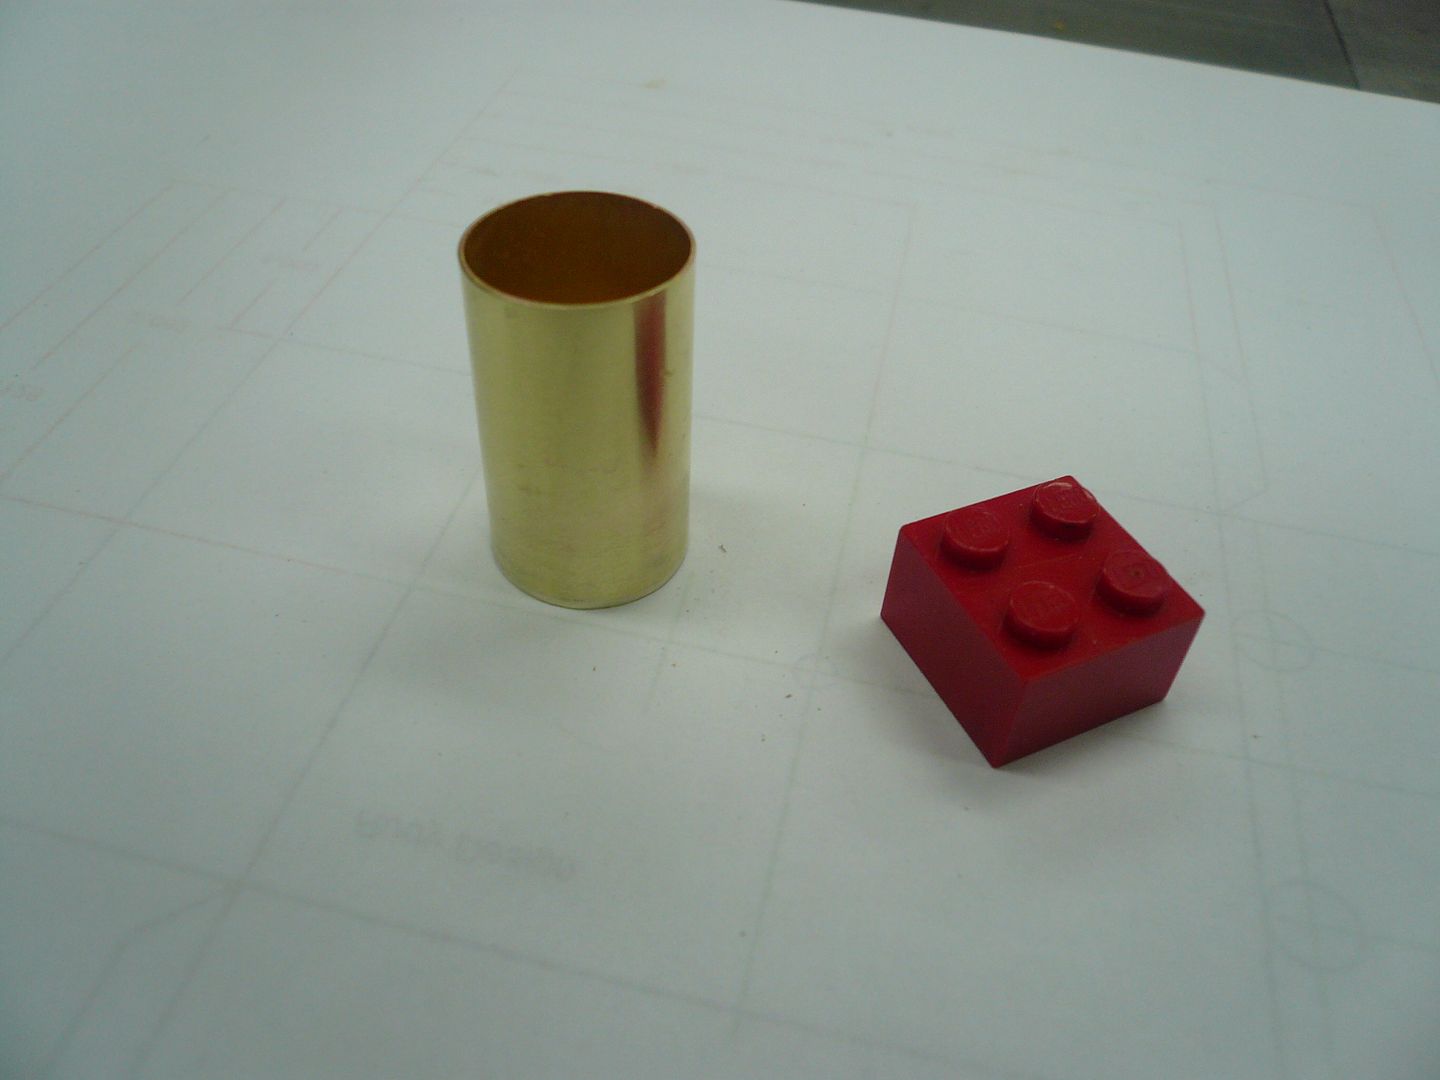
and grind the remaining part of the base flush with the tube. I used a 3M gray wheel. Note I also inserted a dowel as a handle for grinding. Highly recommended as the soft brass gets pretty deformed after flying across the room. DAMHIKT.
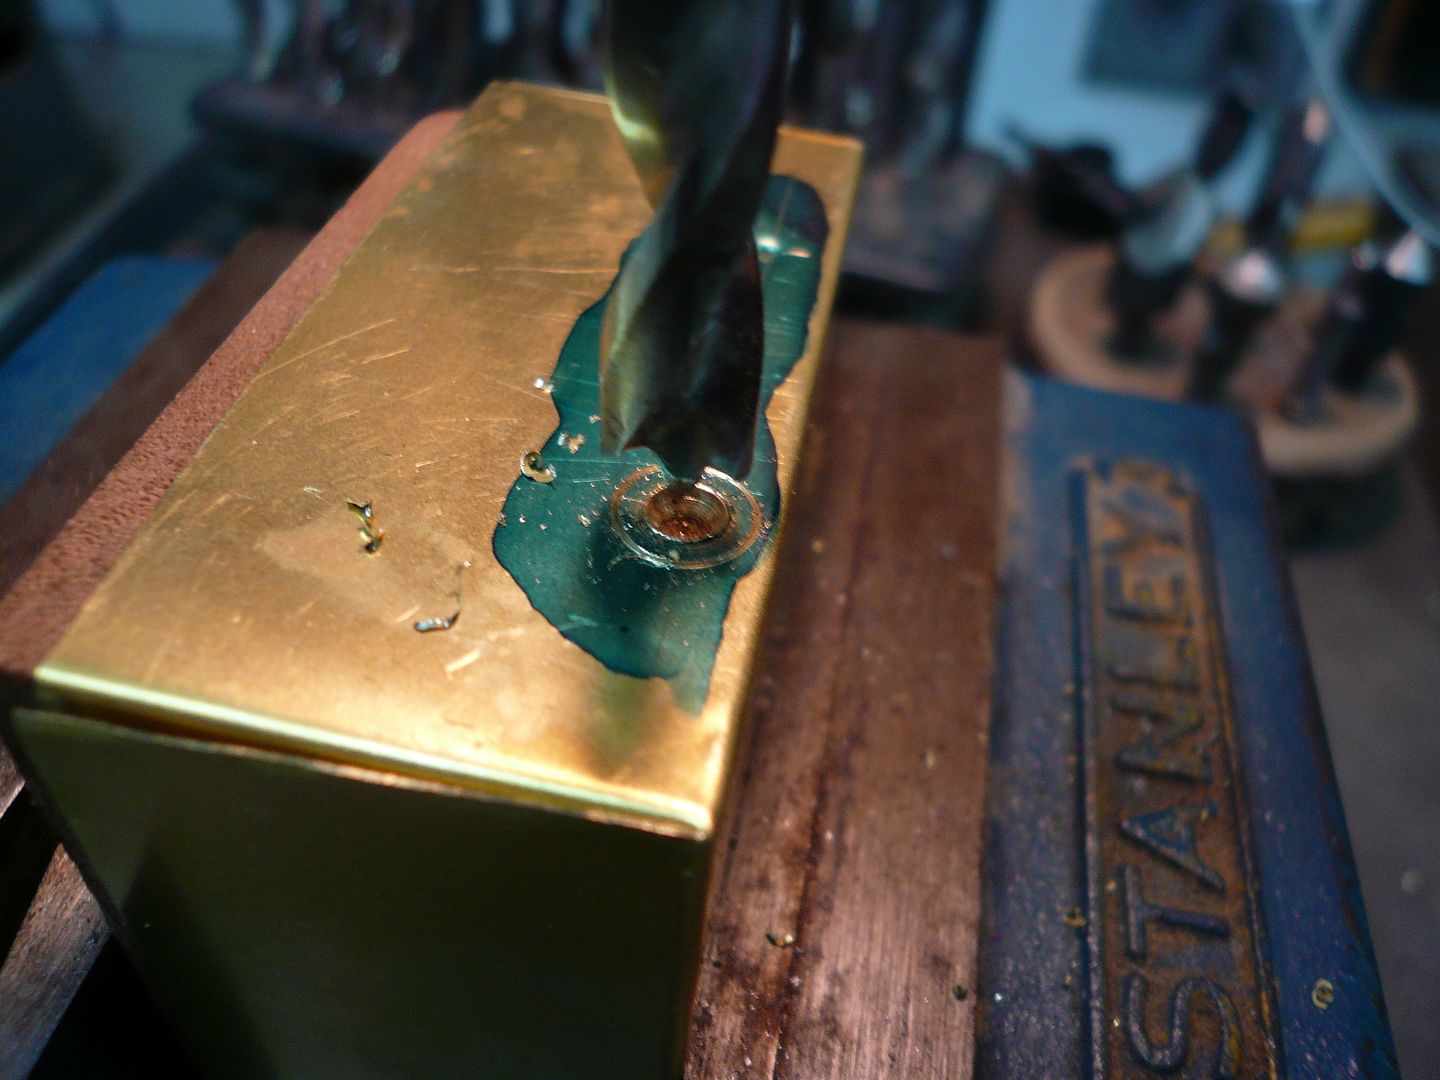
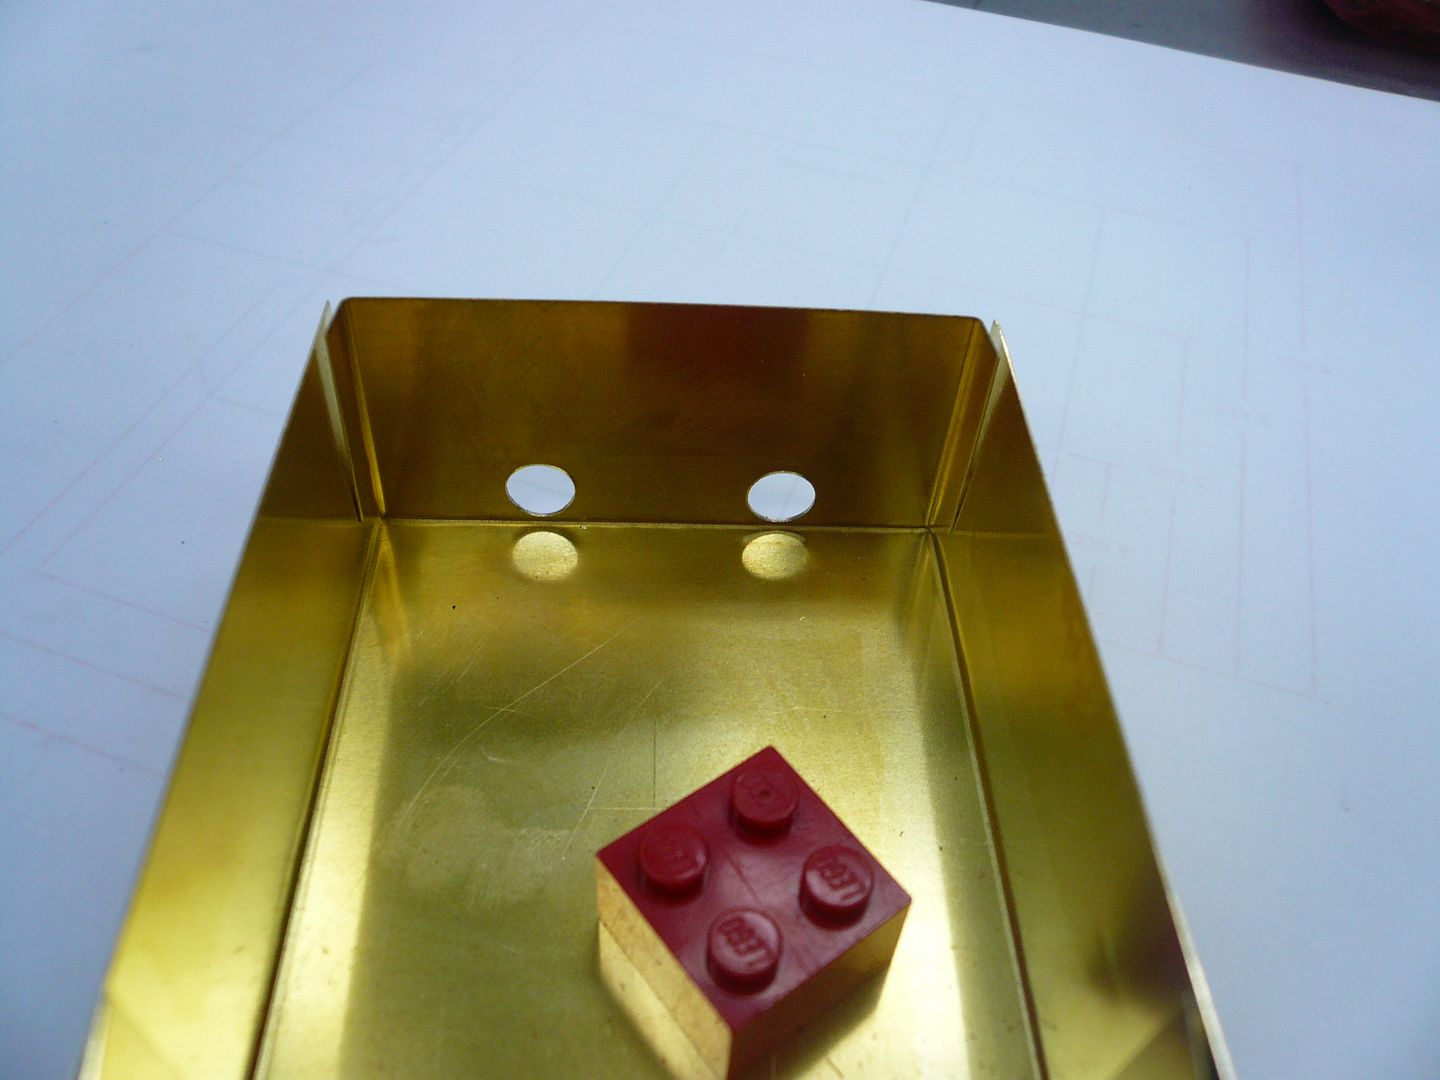
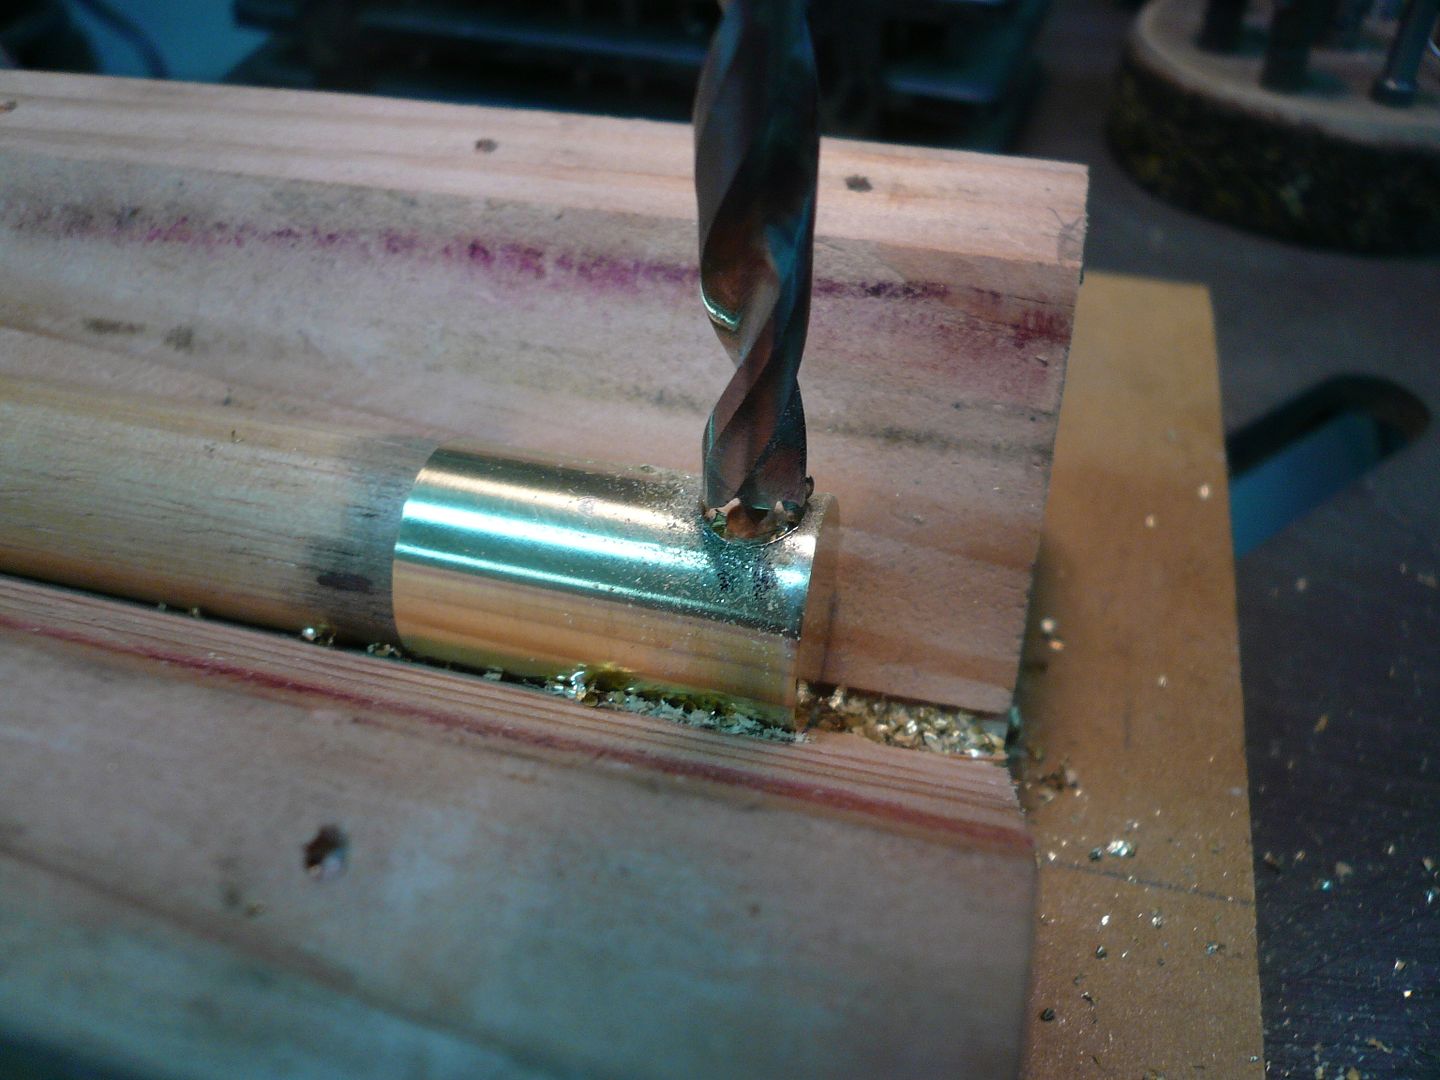
A woodworking spur bit works great for drilling the feed pipe hole. Drill the hole as close as possible to the bottom. I used a dowel to provide support for the soft brass.
The feed pipe is then silver soldered to the burner using Easy temp solder. The solder I have is 0.032 wire so I made a solder pre-form and put it around the feed tube on the inside of the burner and heated from the outside. With the thin material it takes relatively little heat and it solders quickly. In hindsight, I think the bottom could also have been soldered on with Easy silver solder.
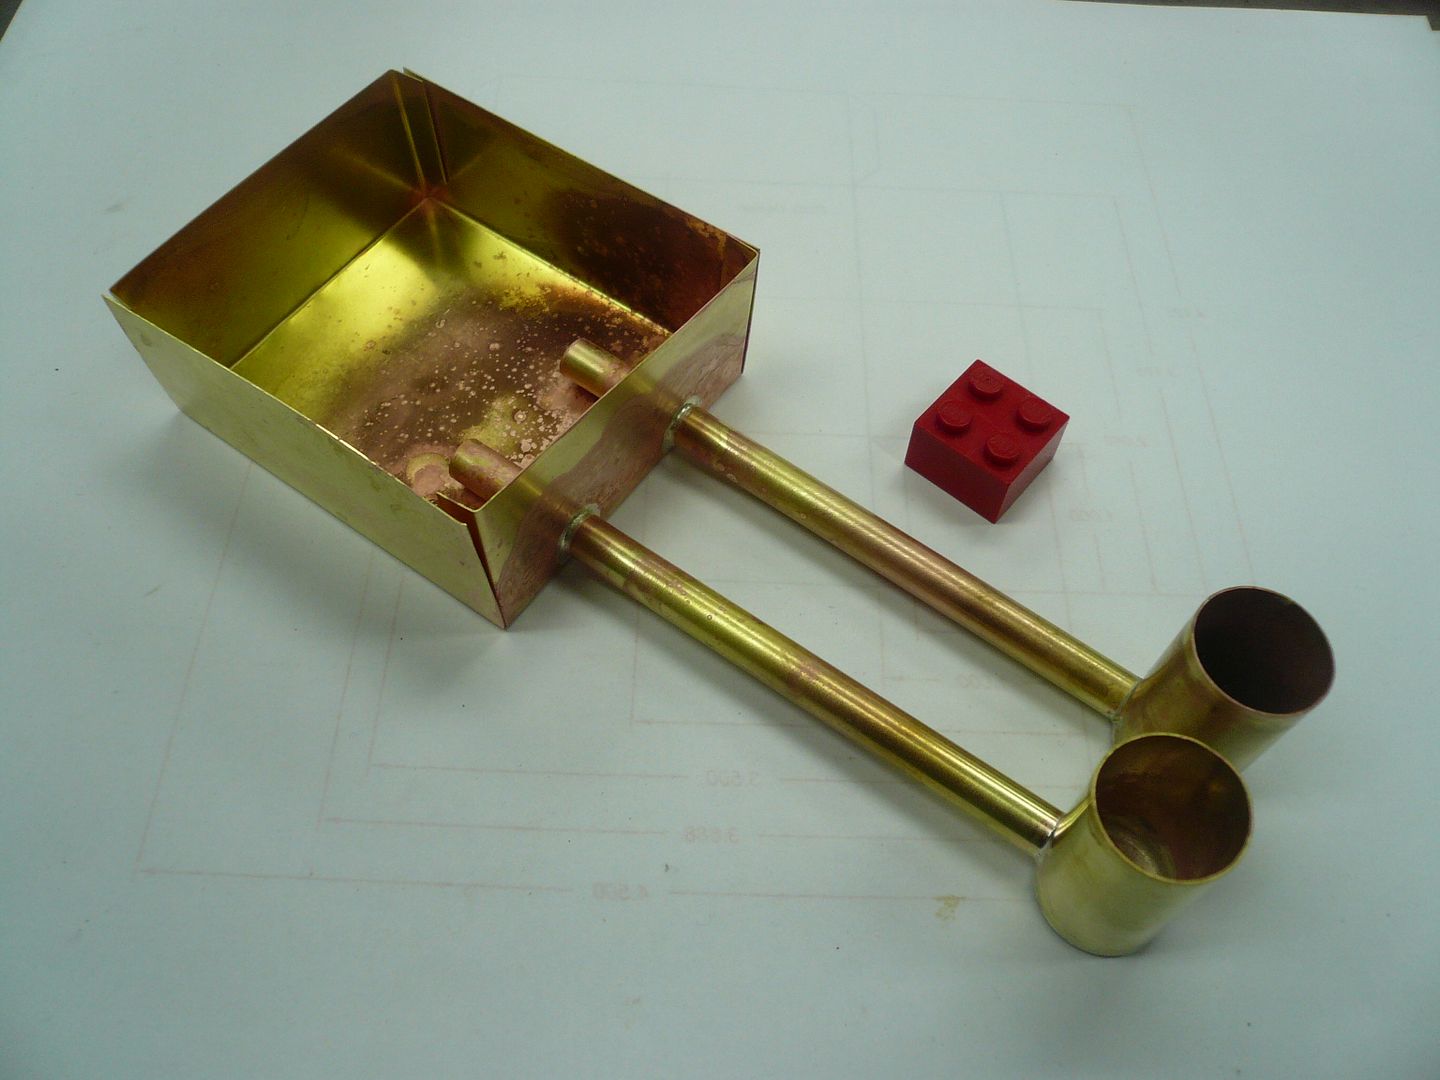
Youll need one more pipe just like this. When both are completed, theyre silver soldered to the tank. Again using a pre-form on the inside.
Thats it for silver solder on the burners. From here on its all 63/37 tin/lead solder.
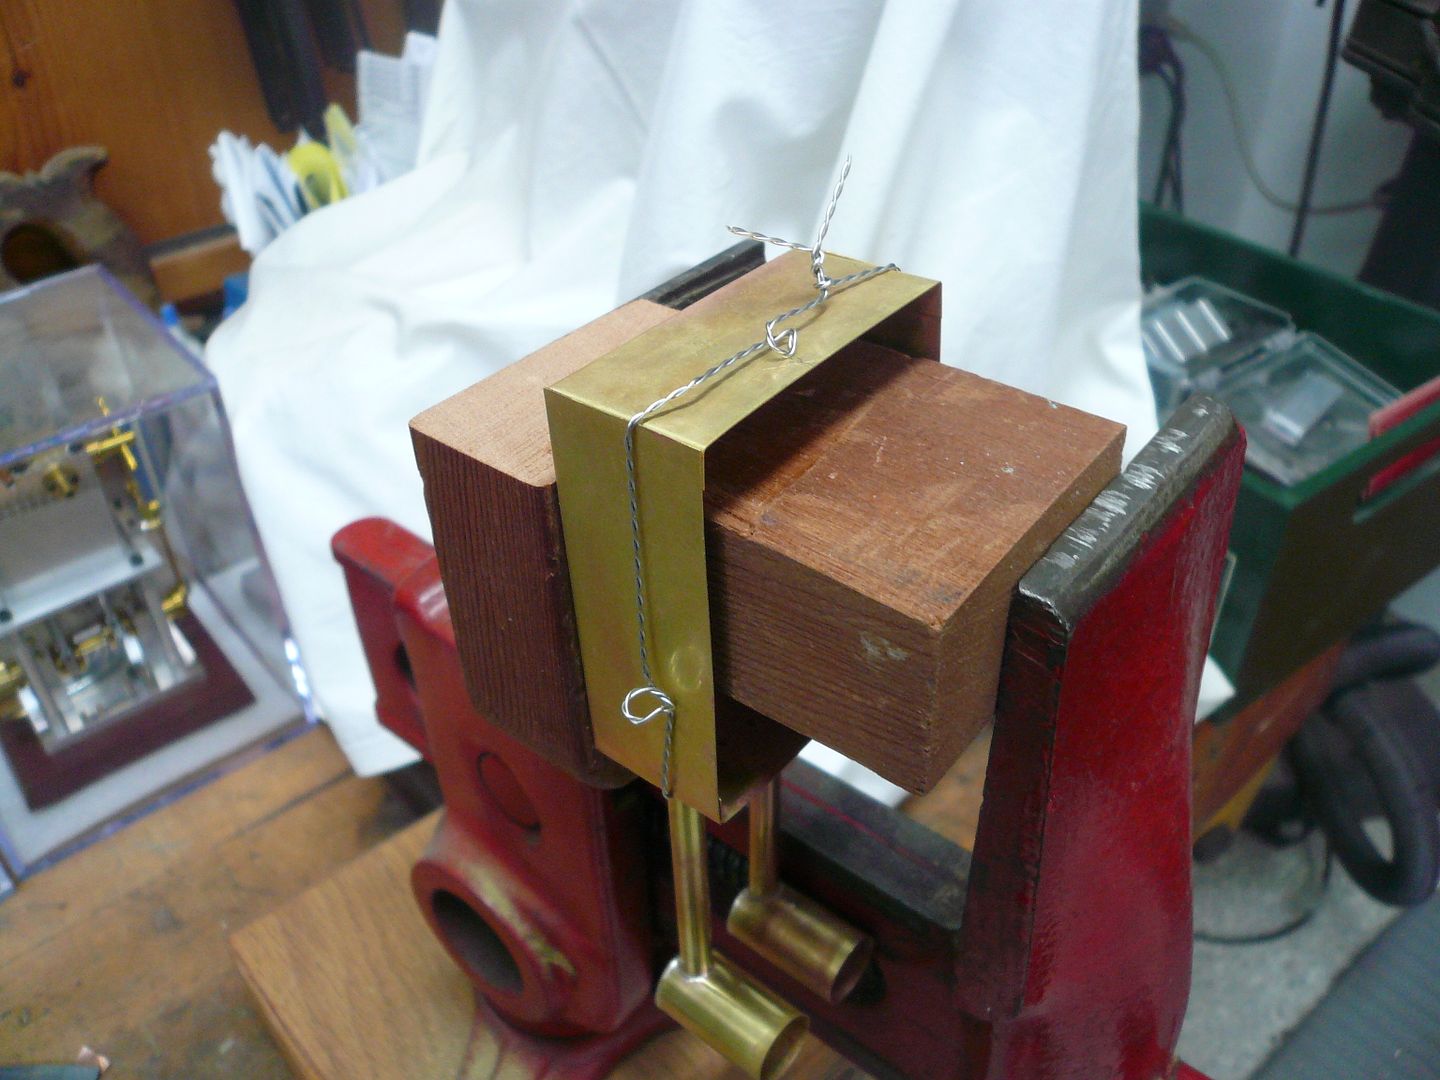
To solder up the sides of the tank I used stainless steel wire as a binding clamp to hold the tabs and ends together.
The binding wire is a twisted pair of 0.020 stainless wire. The partial loops on each side provide stress relief so the wire can give slightly and not deform the sides as the brass heats up.
As an aside, a jeweler told me how to make the binding wire. Double it, clamp the two ends in a vise and use a drill to twist it. Keep pressure on the wires as they twist and the pair comes out straight as an arrow. When you cut it or bend it, it stays just where you put it.
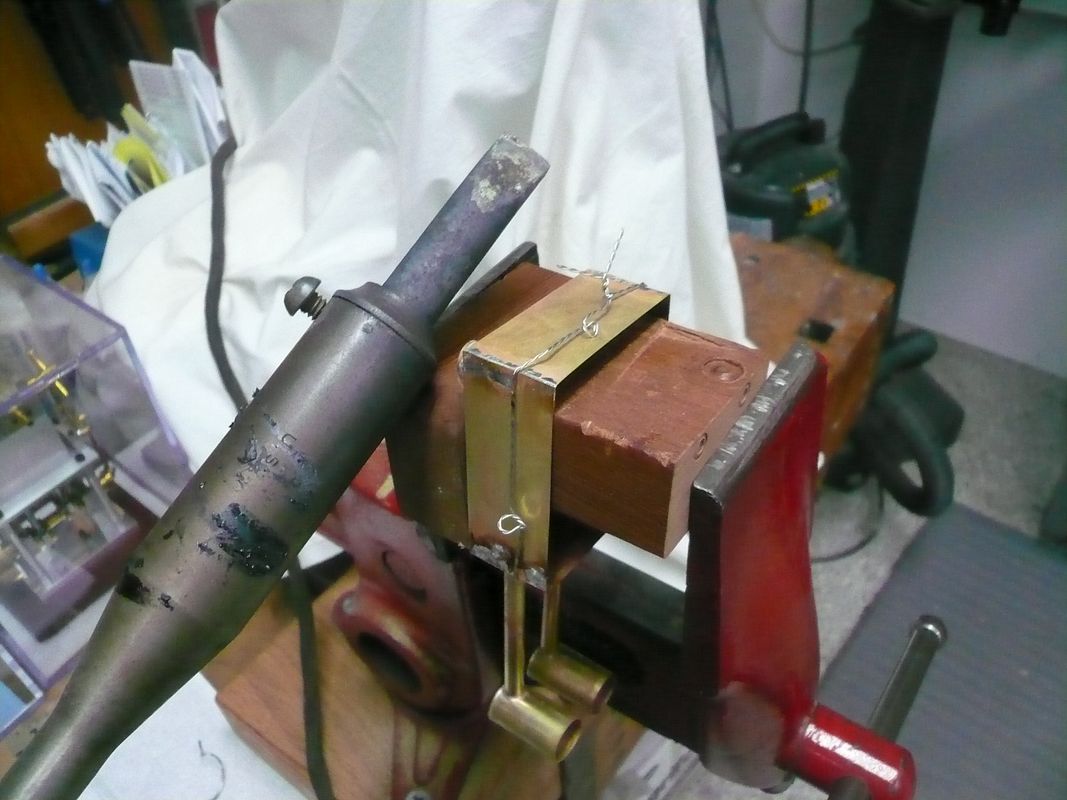
The tank was soldered with a 200W electric iron applied on the outside of the seam. Solder was fed into the seam edge from the outside.
There was no deformation of the brass, but solder on the iron made a mess of the exterior of the box that will have to be cleaned off later. If I had it to do again, Id use a small propane torch and apply the solder from the inside.
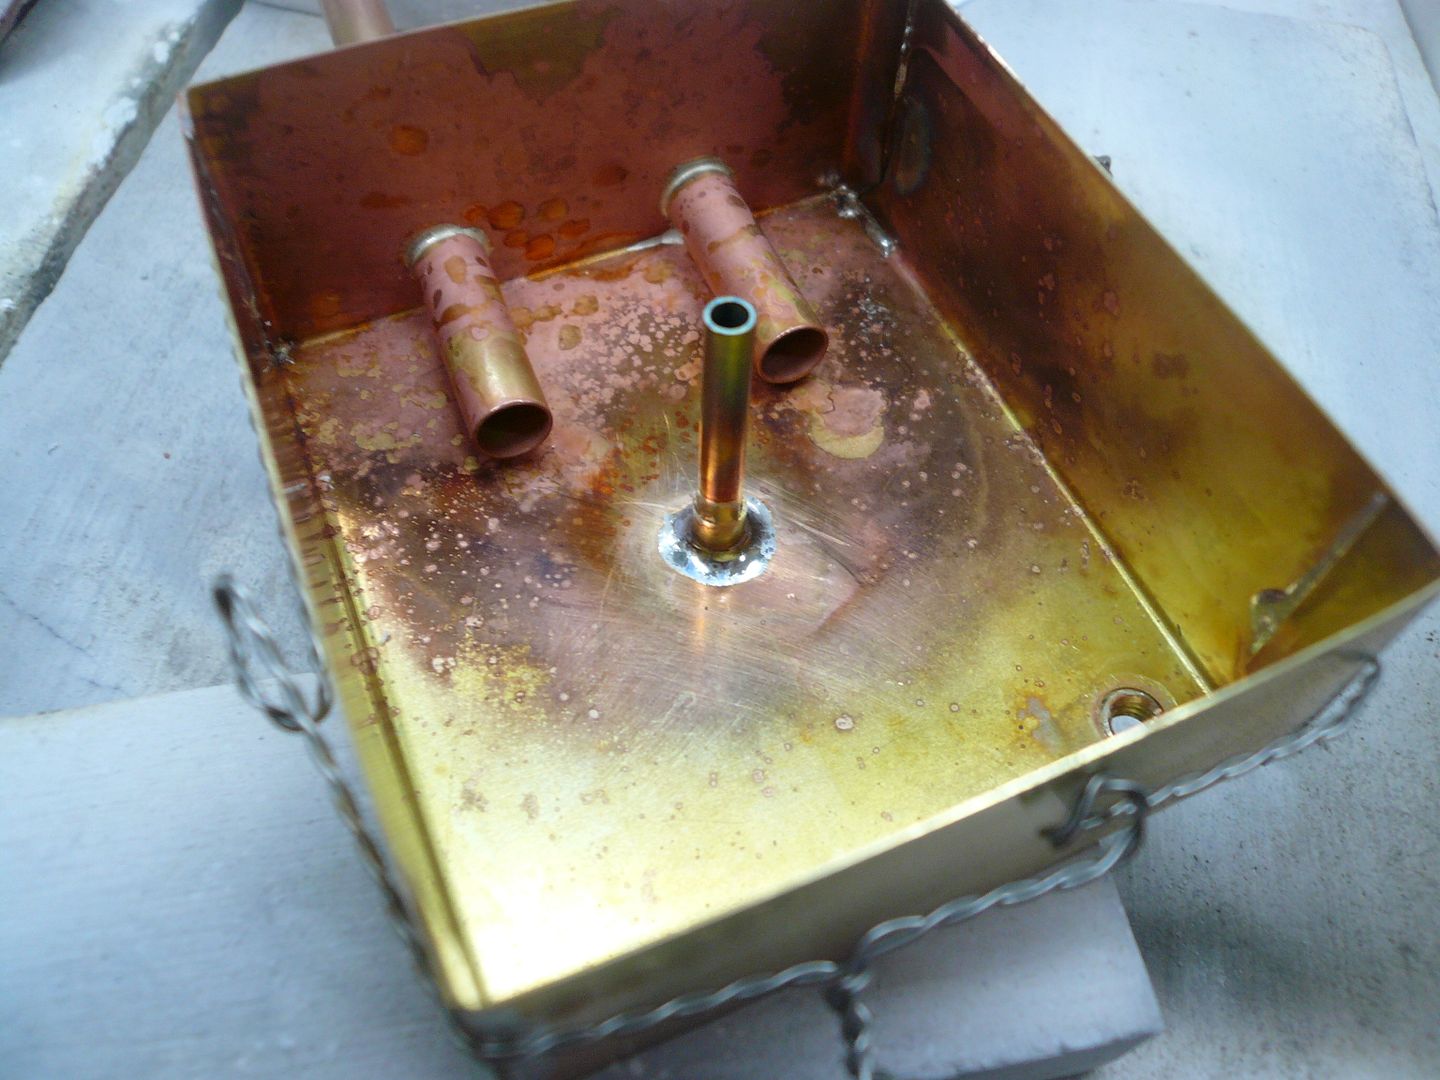
The vent/overflow tube is soldered in next.
A few notes on the above picture
1) The hole in the lower right is for a drain plug. Its not on the plans but I think it will be useful. 2) I extended the feed pipes into the tank because I thought they would need to be soldered to the bottom to get enough rigidity. Once the side seams were soldered it was clear that that wouldnt be necessary. Next time Id leave just enough pipe to hold a solder pre-form. 3) I left the binding wire on in case the side seam solder re-melts when the cover is soldered on.
Make sure the vent/overflow pipe is a little lower than the upper edge of the burners to prevent alcohol from flowing over the top of the burners when the tank is filled.
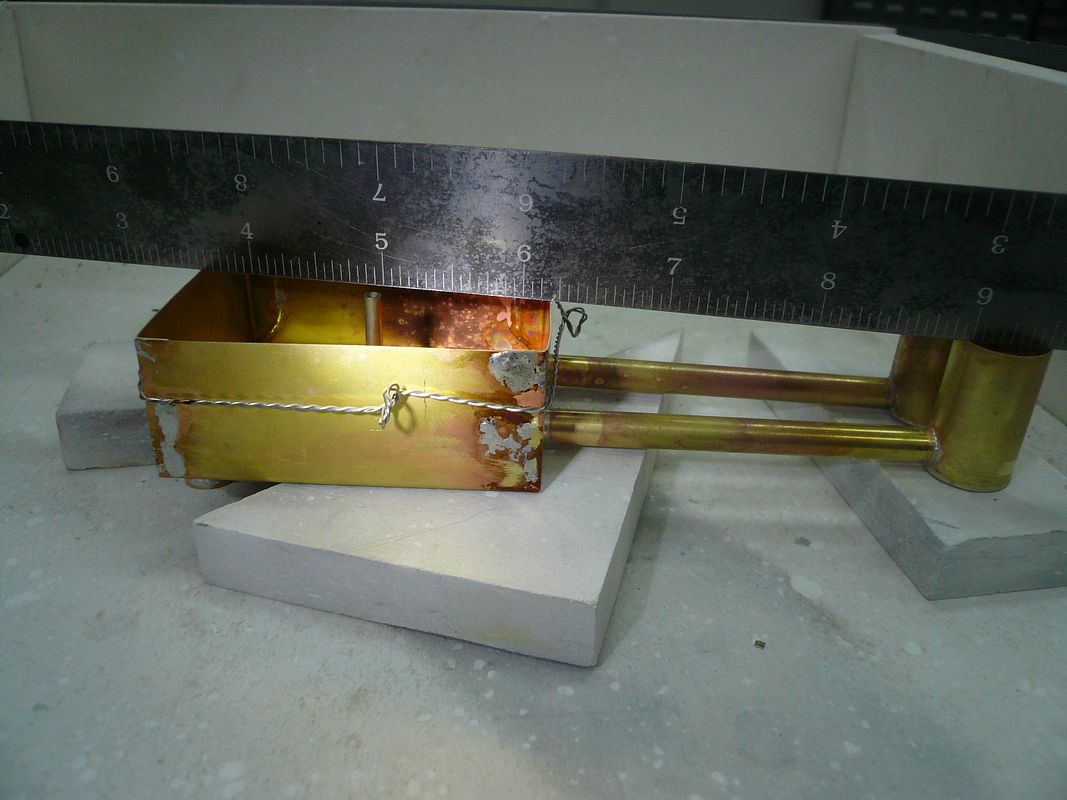
Several things have been done in the next picture; the cover is soldered on, the filler pipe is installed and mounting tabs are soldered to the base of the tank. All this soldering was done with an electric iron, but this time just 100 watts. Also, most of the excess solder has been cleaned off.
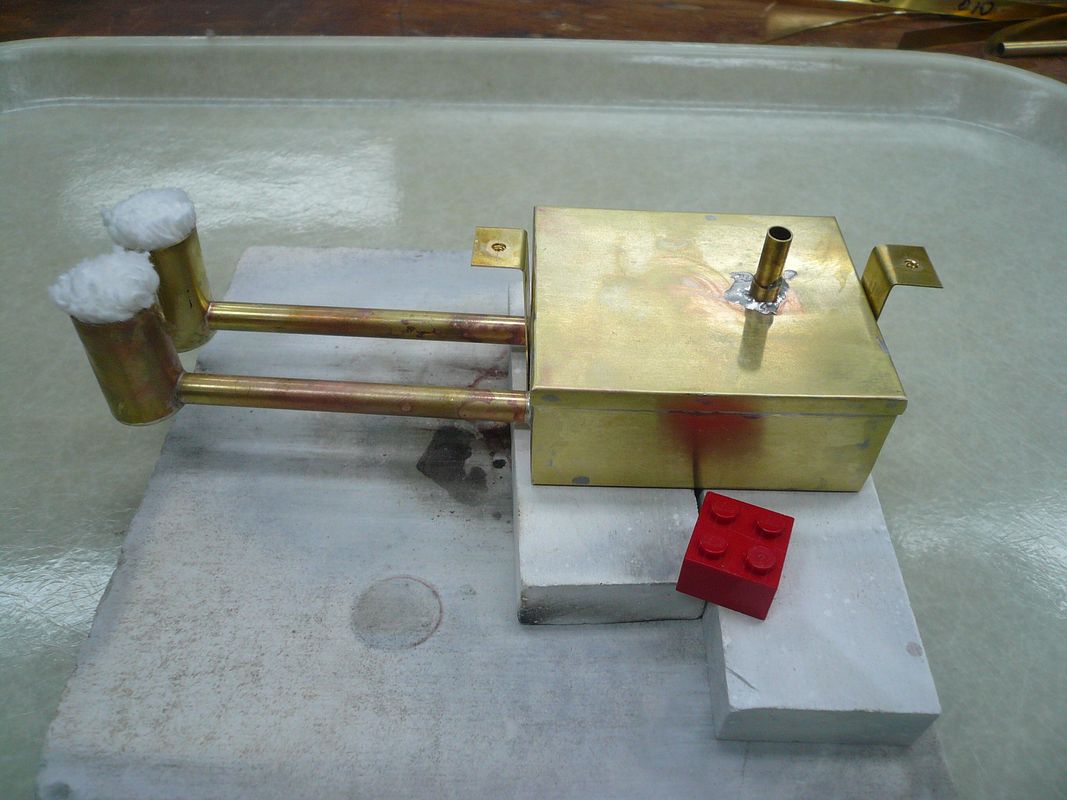
Here's the completed tank and burners.
The burners have been stuffed with cotton yarn in the above photo. There seem to be a lot of different ideas for type, length and packing of wicking. Im going to try a few variations and see what works best for me. Ill post the results. Playing with fire!! I can hardly wait.
Regards,
Dennis


![MeshMagic 3D Free 3D Modeling Software [Download]](https://m.media-amazon.com/images/I/B1U+p8ewjGS._SL500_.png)


![DreamPlan Home Design and Landscaping Software Free for Windows [PC Download]](https://m.media-amazon.com/images/I/51kvZH2dVLL._SL500_.jpg)

