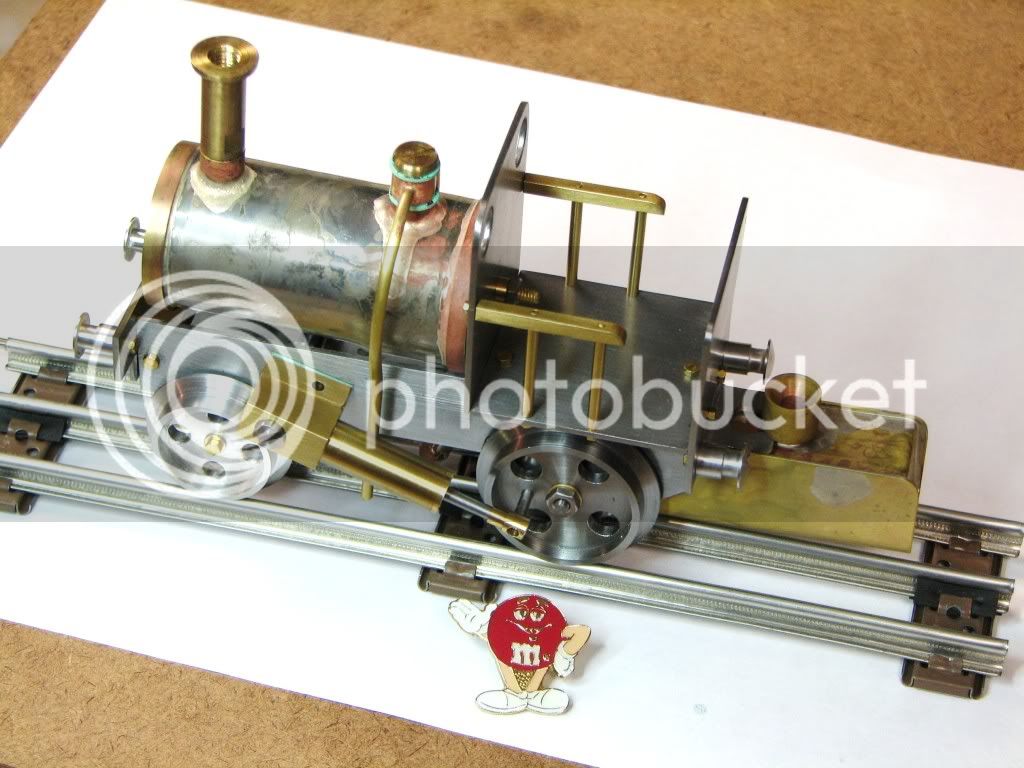
British 0-4-0 Toy Locomotive: he said

Home Model Engine Machinist Forum

Help Support Home Model Engine Machinist Forum:

This site may earn a commission from merchant affiliate links, including eBay, Amazon, and others.
Finally found the wine. I survive.

-----------------------------------

Thanks for the toast Marv.

Prost!

French horns. One of my favorite instruments. My Dad played it in the army band. Lots and lots of memories.

Happy Bastille Day from me too!

------------------------------------

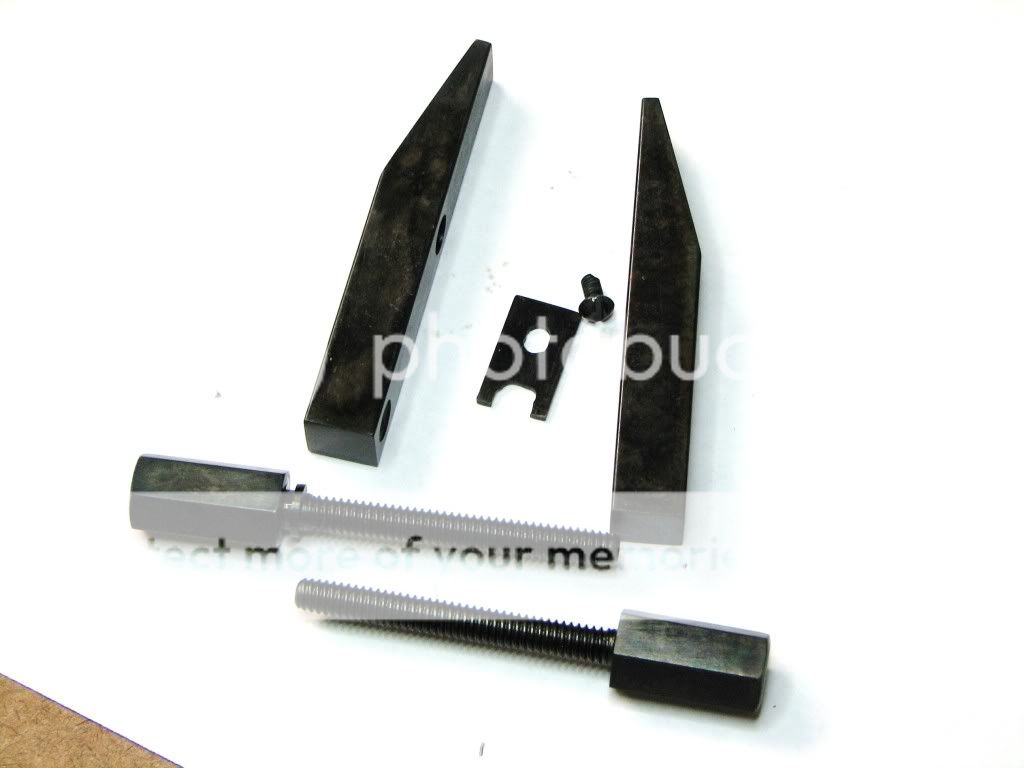
You all might remember my recent trip to get a bread pan for oil. The reason was to blacken my machinist clamp that I made early last year. It was perhaps my 3rd or 4th project and I'm somewhat proud of it. It looks 'good' but it wasn't good machining...it was good elbow grease and lots of sandpaper.

Anyway...here it is...
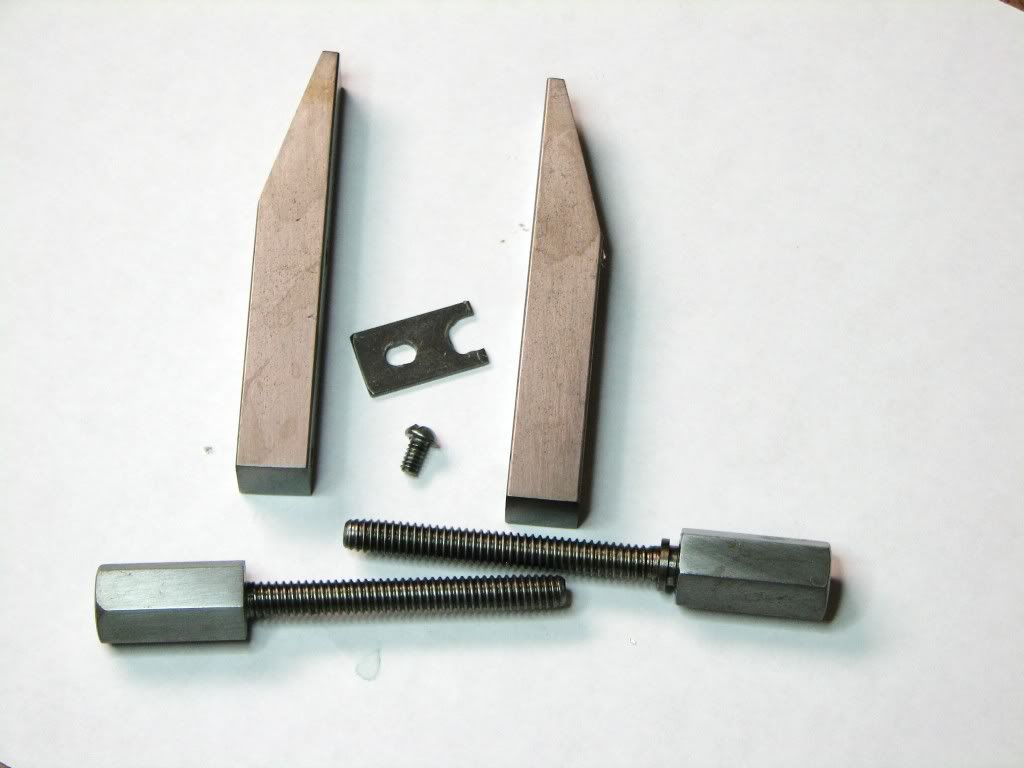
a4e93d1f.jpg


And then blackened...

5f9a4cd4.jpg


And here it is put together with a shot of the steam dome with tubing...
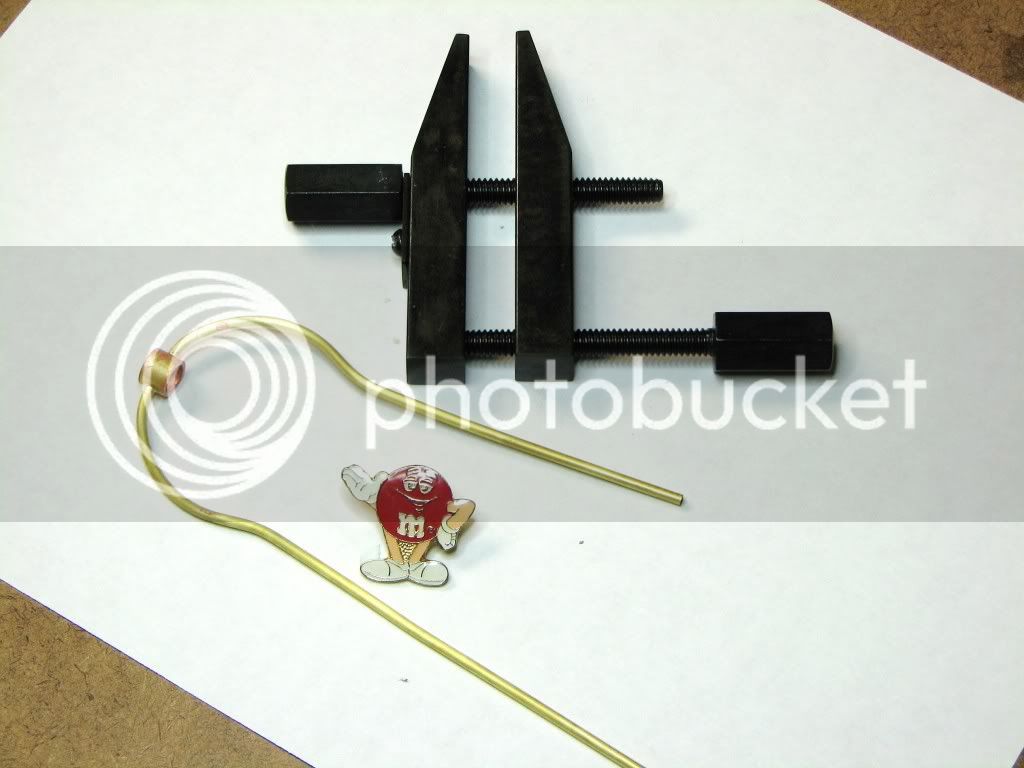
851957ef.jpg


I left the tubes extra long. I figure I'll assemble what I can and see where I need to make the cuts.

Two more solder joints!!!

I still need to figure out how to pressure test the boiler...but I've been getting some help from a forum member and I have some ideas.

---------------------------------------

So what's for dinner Marv?
 
zeeprogrammer said:
Very dangerous. The priority is her. If I run out of wine........

Sure. Sure. Get her good and liquored up *beer* so you can sneak off and play. Nice guy. ::) ;D


Hey, it worked on my wife on many occasion, well done. Thm: :bow: :big:


Stop 'looking' at me like that Zeep, *knuppel2* you're making me nervous.


BC1
Jim
 
bearcar1 said:
Sure. Sure. Get her good and liquored upso you can sneak off and play.
Uh no. At my age...I ain't sneaking off.

bearcar1 said:
Stop 'looking' at me like that Zeep, you're making me nervous.

What? Are you pretty? At my age...
 
zeeprogrammer said:
What? Are you pretty? At my age...


What, Me? Naw.... I'm just a pig's end. At least that's what they say, or was it a horse's arse? I dunno, you're right, at my age it really doesn't matter anymore :big:


BC1
Jim
 
ZEE, I have always though that your work looked the best. Really like your clamps, Imade some but they were destroyed in a very hot fire, several years ago. Anyhow I like to see your posts, and see. your work. Larry1; southeastern Kansas; USA
 
Wow. Thanks larry1. Very much appreciated.

Now if I can make things fit better... :big:
 
Yes, Zee...I agree with larry1 (larry2's brother, I think). You've been pretty hard at it learning this stuff and it shows in your work, so before long you're going to have to shed that "newbie" label, dude. If you were on a crab boat, we'd be moving you from baiting the pots to crab sorting.

-Trout
 
Thanks very much Dennis.

Any advice I can give is limited to 'what not to do' and much of what I know is 'book learned'.


For now I'll keep that newbie security blanket. :big:
 
I met Dave (dreeves) today for lunch. Real nice guy.

He picked the place to meet...West Chester Diner...one of my favorite places for breakfast any time of the day. So I knew he'd be a good guy to know.

Unfortunately, he has some things to learn...he had a burger. :big:

 
I got a little packet of 'fire proof fabric' from Dean yesterday.
Thank you so much Dean.

This will (should) let me solder the steam tubes to the port blocks while they're on the engine without discoloring the frame.

If it doesn't work...I can blame Dean. Wrongfully it is true...but I have enough blame to share. :big:
 
kvom said:
A 45 page thread and you're not done yet?

Sad isn't it? :big:

Sure...there's my posts...but let us consider the quantity, nay, the quality of the various responses. ;D

But it's all part of the plan...people will see a grand beginning and, hopefully, a grand ending...and won't bother with all the crap in-between. :big:

Speaking of endings...I'm afraid to say it's still a bit way off...

Here's comes yet another post...
 
As I just mentioned...I'm a way off from getting this done.
Anyone want to predict the final page number? :big:

I put it together to see how it looks so far. You can see I played with the front end sheet a little. It cleaned up decently. But I haven't pressure tested yet so there's little point in doing more right now.

I've also come across several issues that could give me some serious grief...

4a4e4b8c.jpg


Nothing turns easily. Several very tight spots.

I pressed the drive pins into the drive wheels. One isn't perfectly square but a little tapping seemed to help. Still, it's going to be a problem.

I press fitted the cylinder covers. This is a real problem. While the pistons slid very nicely, as soon as I did fitted the covers, it's tight to the point you can hardly move the piston rods. Certainly this means the hole in the cover is not true to the cylinder. Some fiddling has loosened things up but it's still real bad.

There is a stretcher that goes inside the frame between the two porting blocks. I apparently did not tap it deep enough and the pivot pins don't screw in well enough. That should be easy enough to fix...even if I have to redo the stretcher.

You can see how the fuel tank doesn mate with the tab. That's because the funnel fell in. The tank is pretty tight so I'll just open the tab.

The boiler is a bit higher at the front...but that's not a real issue. Just looks odd.

I'm hoping to solder on the steam tubes to the ports tomorrow. The ports are at a fixed angle due to a pin that fits to the frame. I should just have to remove the cylinders, bend the tubing to the port, mark it for cutting, and be good to go. He said. The idea is to replace that green gasket with the fire blocker stuff that Dean gave me and go at it. I hope you have more flamethrower pictures Marv.


Hi Zee,I'm not trying to tell my granny how to suck eggs but just thinking it may be better to rework the tight spots before the pipe work is all soldered up.
regards Frazer
 
I think Frazer has a good point, Zee. Egg suckin' or not.

I'll bet, (and hope) that the crooked drive pin has something to do with the troubles. Every
time it goes 'round it's going to try to push the con rod sideways in the cylinder bore bushing.
Really, I think you already know what your other problem is, too, with the pistons getting tight
after pressing in the cyl covers.

You're a hand at this now, Zee. You know how it is with all the fiddling at the end of a build.
I know you'll get it.

Dean
 
Thanks Frazer. Yes I'll be working things out more before soldering although I don't know how the steam tubes being soldered would make a difference. They're soldered to he ports and can be removed from the boiler. None of the tightness (that I can tell) is associated with them.

The worst tightness is between the piston rod and cylinder cover, there's some between the piston and cylinder, and there's some either between the drive wheel axle and bushings or the drive wheels and the axle. All of which can be removed and fiddled with.

There's also a big difference depending on the angle (rotation) of the piston rod and cylinder.

The biggest problem is the fact that the cylinder covers aren't true. I think the problem goes back to my tailstock not being true. That is, I think the cylinder covers are probably right...it's the cylinders that are wrong...deeper bore and all that.

Thanks Dean. Jury is out on the crooked drive pin. I did straighten it some but it's hard at this point to say how much (if any) it contributes.

Thanks everyone.
 
Zee, keep in mind Trout's First Postulate as posted in Trout Learns a Thing or Two:

When it comes to finding out which part is making the mechanism stick, Occam's Razor principle (the simplest solution is usually the correct one) almost never applies to model engine making. In other words, the hole you open up to relieve stress is not what was causing the stress.


:shrug:

-T
 
I'm with Dean - fix the drive pin first. Otherwise you've got two competing sources of error and you'll be chasing your tail trying to get them both fixed simultaneously. At worst, you can drill out the existing pins and make new pins to fit the existing holes. If the holes are munged, drill them out slightly larger, ream, and then make a pin to fit the hole. Turn down the projecting part of the pin to fit the connecting rod. Rather than pressing them in I'd use Loctite - pressing straight is harder than it looks.

Next step is to get the cylinder pivot pins sorted. That sounds relatively straightforward and I think you grok how to do it.

If the cylinders are single acting (don't remember) you may be able to remove piston/crod and drill the hole at the bottom of the cylinder slightly larger to accommodate the misalignment of the "cylinder covers" (sorry, don't know that term - I presume it refers to the cylindrical thing sticking out the bottom of the cylinder). Maybe a CoC of the cylinder assembly is in order. I'm beginning to feel as if I don't understand the geometry.

Don't lose heart now. You're soooo close. And, remember, this is the satisfaction of a childhood fantasy. Once it's running you'll feel a twitch of pleasure every time you walk by it.
 
Troutsqueezer said:
(the simplest solution is usually the correct one) almost never applies to model engine making. In other words, the hole you open up to relieve stress is not what was causing the stress.

Oh so many similar rules...

It's never so easy as it looks...
It's never what you first think it is...

I've (almost) developed the habit at work of saying "I know what it is" when a bug is discovered just to get the first round of "It wasn't that" out of the way. :big:

Thanks Marv.

There's really two engines here. The left side and the right side. The crooked crank pin is on one side. (Although I can't tell that's it crooked anymore.) So I can go ahead an play around with the other side. You and Dean are right...if the crank pin is a problem, it needs to be fixed before I can hope to fix the issues with the cylinder.

I tried drawing a CoC of the cylinder...but it's worse than the actual cylinder. (Maybe cause it's late for me...and we've been celebrating T's birthday.) Just look at the pic. The piston rod goes through a cylinder cover to the piston. If the hole in the cover isn't true to the hole in the piston and cylinder then as the piston moves back and forth, the rod will want to move from center.

All I can do at this point (I think) is keep fiddling and playing in hopes that it 'works itself in'. Failing that then I'm reworking the cylinder assembly.

This generated some discussion earlier with T. Whether to switch to more accurate machines (I'm thinking Sherline) or get better at adjusting/fixing/learning my current machines. The plan is to stay the course.

It's worthwhile learning how to fix, adjust, and learn from my machines. And she said no anyway. ;D
 
zeeprogrammer said:
I still need to figure out how to pressure test the boiler...but I've been getting some help from a forum member and I have some ideas.

---------------------------------------

Zee

I use one of these.

boiler46.jpg


Its a mountain bike shock pump which goes to 300psi. $20 on ebay.

http://cgi.ebay.com/Mountain-Bike-High-Pressure-Fork-Shock-Pump-w-Gauge-/230488288176?cmd=ViewItem&pt=LH_DefaultDomain_0&hash=item35aa2c2bb0


You'll need to make an adapter with a schrader valve (from an old MTB inner tube) It has to be used with full of water but you'll have seen the threads on that. I fill the boiler with water, screw in the valve adapter unscrew the pump handle and piston and fill it with water insert the piston and pressurize the boiler. It has non return valves so if you aren't up to you test pressure remove the piston top up and do another stroke.

boiler47.jpg


Of course you only be using it to about 50psi I'd imagine otherwise you'll be starting again...

Pete
 

Latest posts

Back
Top