Well guy's after what seemed like I'd never get there I finally got back to a few hours a day in the 'retreat' this week gone.
Before we get into that though I would just like to say a
big thank you for all your kind comments over this thread so far. What you don't know is that my/our worries began just a few days before I made my first post on this site. Posting on here and focusing on it on a daily basis really helped take my mind off things - you all know what I mean I'm sure - and with all your input it proved a real God send. I'm pleased to say though that worst fears have not been met, the outlook as good as it can be at 67 and despite a significant loss to the 'inards' I've recovered well and though tiring quickly definitely am feeling a bit better each day - I'm workshop bound at last then

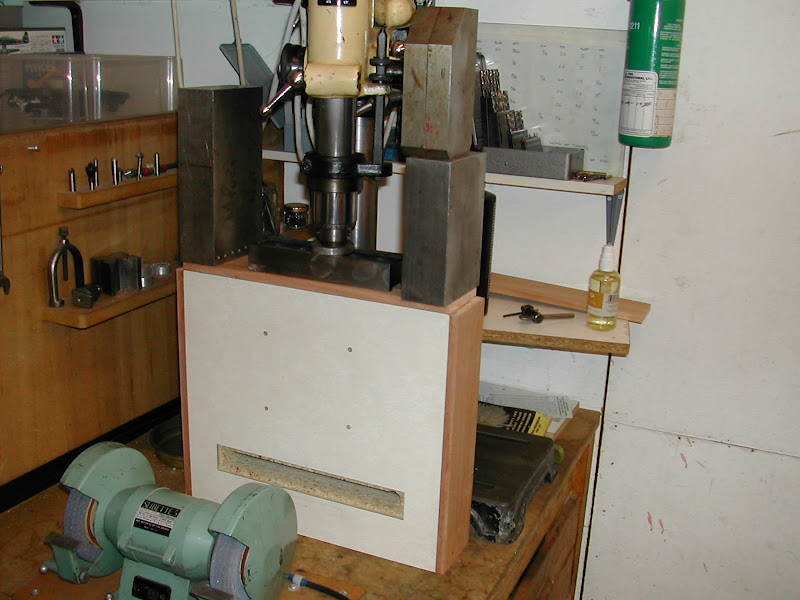
The re-start began by edging the base with some decent wood. The base proper was made quite a while ago and consists of two layers of kitchen work top, the surface of which has a very subtle but patternless textured surface. The cut out for the flywheel which is quite deep was milled out with a long series end mill on each piece and a rebate cut for edging with some dummy 'bricks' at a later stage. Not having any clamps large enough the drill press was pressed (excuse the pun) into service along with some weighty blocks of metal.
The wood is just on 80mm wide and considered to be too wide for a decent mitre to be cut so the corners will be filled in with corner 'posts' and faired off.
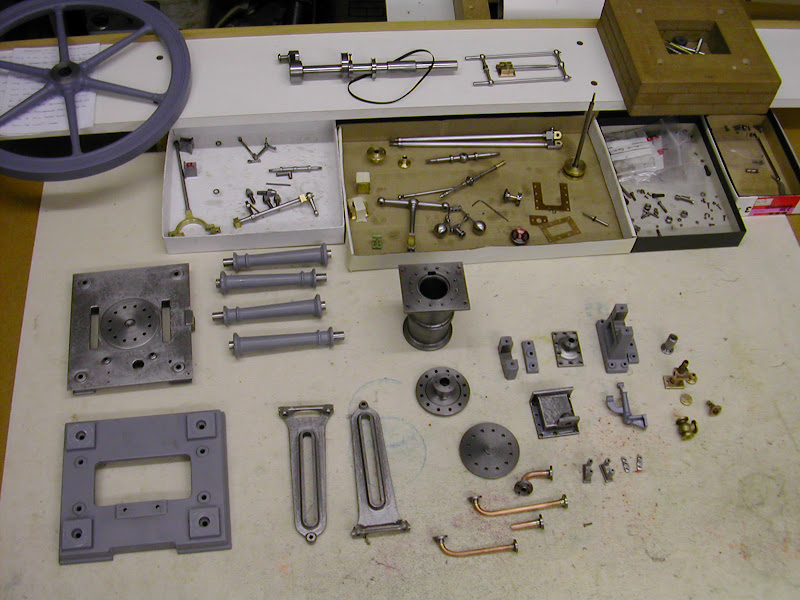
Then it was time to strip the engine down....and start prepping for painting.
All the parts and particularly the previously primed parts were washed in a very hot solution of water and 'Citri-Cleen' a very efficient biodegradeble degreaser to ensure no traces of oil were left in the primed surfaces.
Then the fun bit - masking up.
Time was, masking was considered a real pain, something to be got over as quick as possible so that painting could begin. Then, after returning some time back to some serious plastic modelling it soon became clear that the masking is actually the important bit. Getting that right is worth all the effort, the act of the painting itself is the minor part,to a degree that is - well that's how it's perceived now and masking is no longer the chore it used to be.
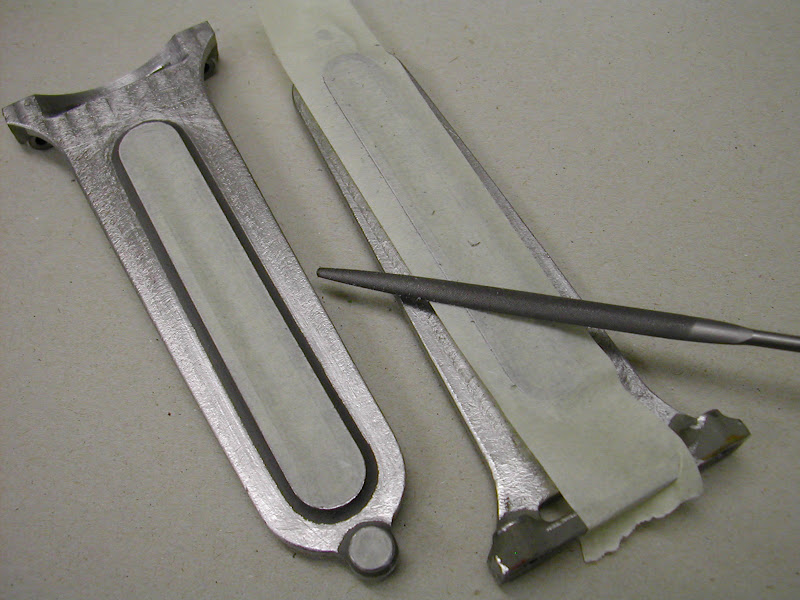
One thing I did find here though was it's much easier to cut the masking tape around an outline using a fine file than a scalpel. This proved much quicker and left a far more consistent edge.
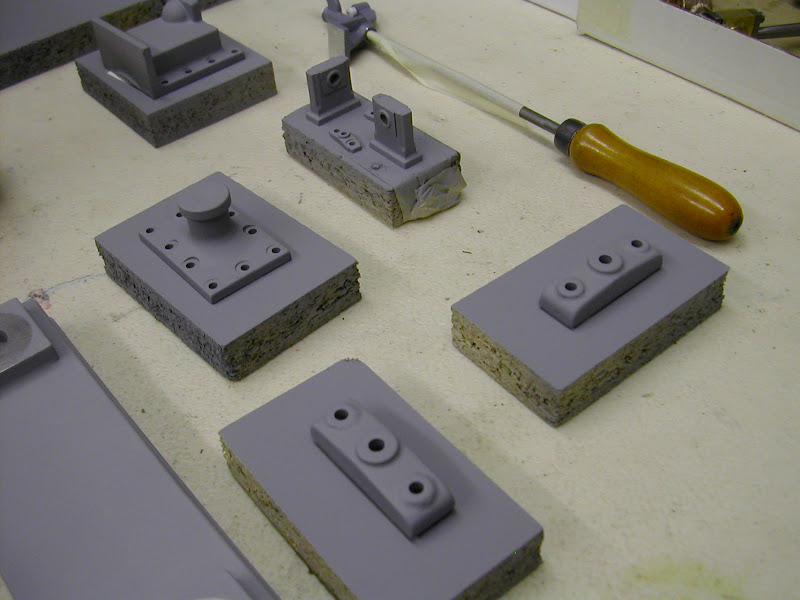
Some of the parts were used as simple masks too, the over spray being cleaned off with thinner before they too were primed seperately
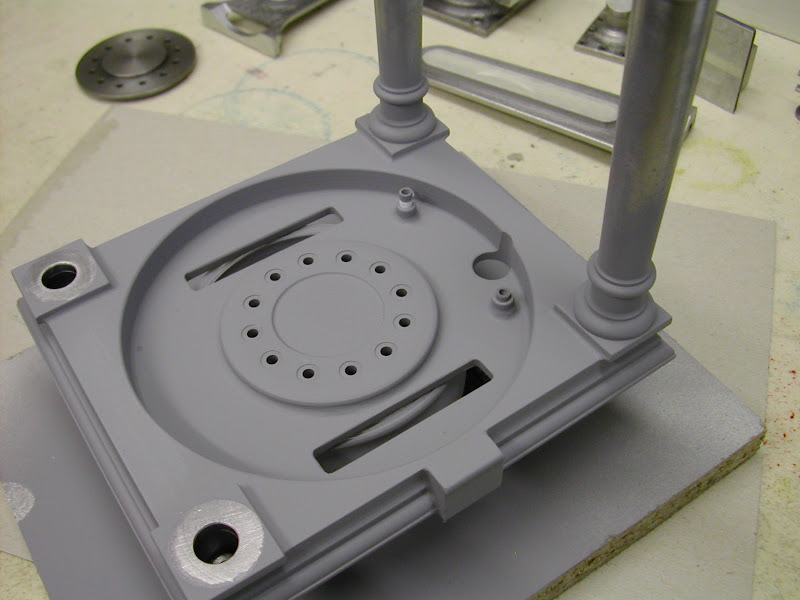
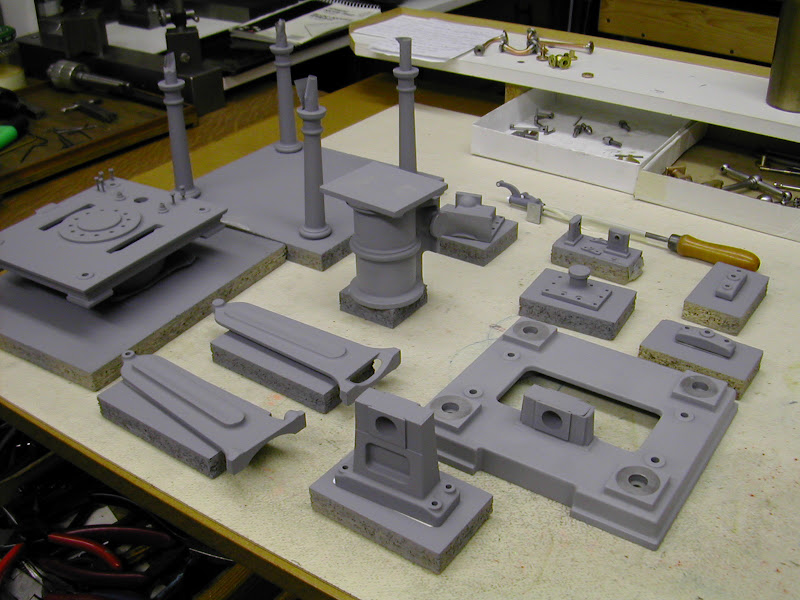
Three good coats were applied, the first two being rubbed down with very fine scotch brite and the last smoothed using a 'microfibre' polishing cloth. These will now be left for a couple of days - well until the next warmish day that is - before the top coat is applied. I'm still having doubts about the colour so a revisit to Halfords paint section is on the cards.
BTW the copper/brass parts in the background have had self etch primer thinly applied using a brush. These too will be left to allow the etch to really get a grip - apparently if a top coat is applied too soon the etching action ceases.
The small blocks are also a carry over from plastic modelling. Small pieces of white faced particle board are ideal for this and with the parts held in place with Blue Tack or similar, make handling so much easier.
Well that's as far as today got - waiting for paint to dry - well harden - can try your patience but I'm sure you'd agree painting should never be rushed. It might therefore be 'a day or two' before there's something else to report but I can tell this for certain - it
is nice to be back.


;D
Regards to you all - Ramon
PS If you are reading this Stew seems I missed your Project of the Month award for your Popcorn engine- Well done and congratulations - well deserved Thm: Thm: Thm:


