A Smaller Steam Engine For A Smaller Boat

Home Model Engine Machinist Forum

Help Support Home Model Engine Machinist Forum:

This site may earn a commission from merchant affiliate links, including eBay, Amazon, and others.
John, that's help way more than just a little !! Thanks for taking the time to give me a thorough explanation. I was looking at running the prop fast but didn't like the idea turning the engine so quickly. I like seeing the movement of the parts instead of a blur. Now don't get me wrong an engine spinning that quick is really neat when it's designed for that. This engine and the type of boat it will power seem to be more on the lazy day cruise type of machine. I will look local for a heavy pitch prop but I can always get one from across the pond if I need to.
Pete
 
Here is what I'm thinking the hull will look like. I may add an inch or two in width depending on how float testing on a foam mockup goes in the tub. I have a cutout of the boiler and a square the size of the engine sitting on the plans to see how they fit if you can see them. That's three inches of prop in front of the rudder. I think the bottom will be more rounded rather than a deep vee but that's all subject to change
Pete

View attachment ImageUploadedByModel Engines1486476919.705508.jpg
Pete
 
I think your plan view needs to be a bit fatter in the stern. Once you reach maximum beam keep that until you get just past the seam that shows in the paper, then curve into a more elliptic shape. I would also flatten the profile view from the prop up and get a fuller stern.

Boats like this tend to squat into the water when under way and your thin stern section will likely sink.

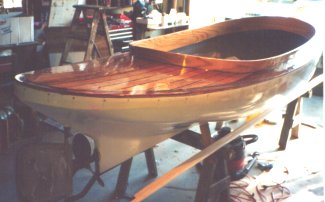
Here is a stern view of the steam launch I built a few years ago.
bot3.jpg
 
Ok that is great feedback, that makes sense. I will change the top profile and post the revision.

That boat you made is amazing thanks for the picture. I had "model" in my head till I saw the sawhorses under it. Is it a wood hull ? What did you power it with ? I would like to do something that big but my wallet won't let me 😀
 
Pete,

You could most probably put another 50% on the length with that size of engine and prop.

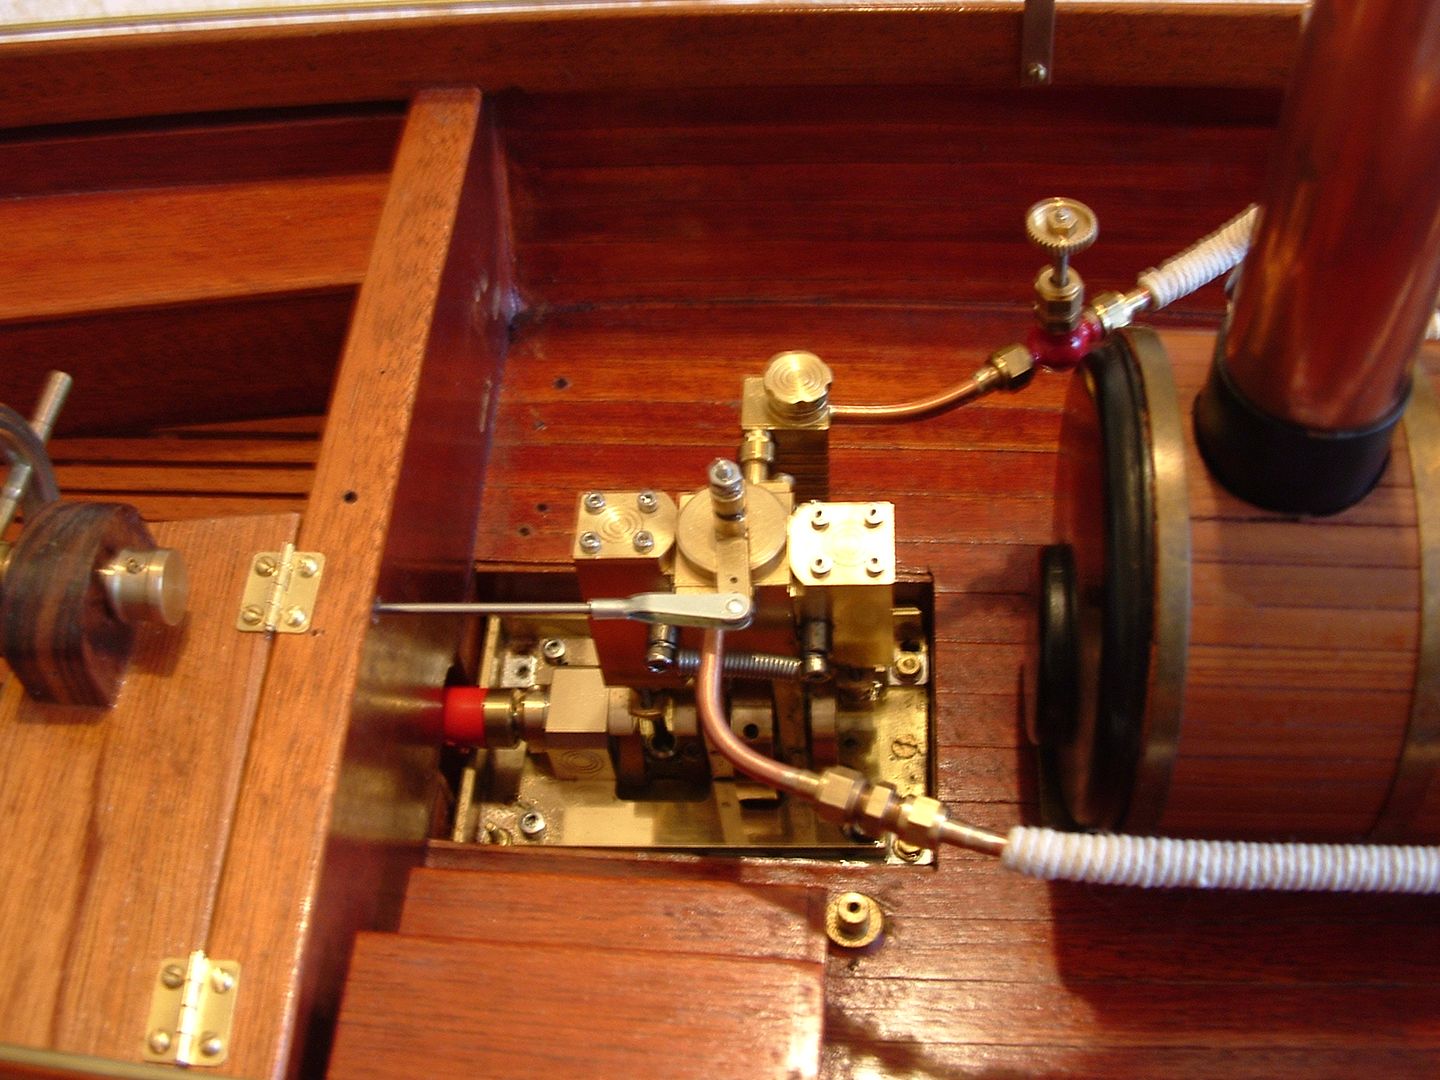
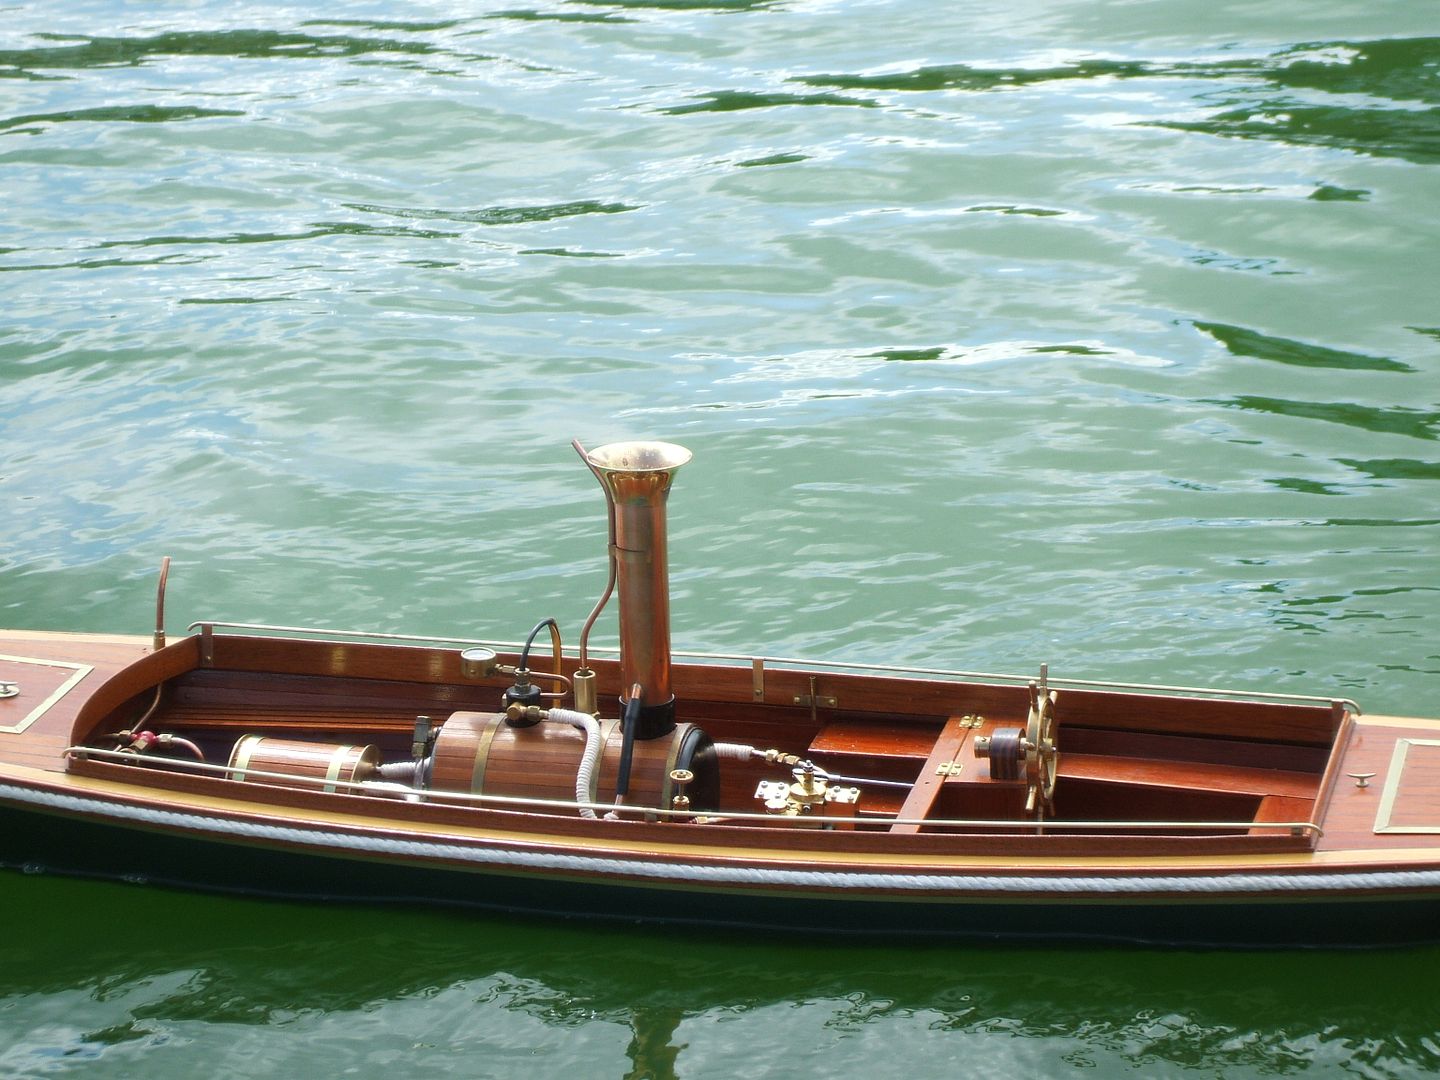
This is one of my 10mm bore X 20mm stroke engines driving a nearly 60" boat along, your engine is much larger. In fact the chap took out his normal engine about the size of yours and put one of mine in, plenty of power and ran twice as long on one boiler filling.

Notice how small the actual engine is in the second picture down, people don't believe how much power these little engines have on such a small amount of steam.

Pandora%2001_zpskyqw7mg6.jpg


Pandora%2002_zpsfyckoqiw.jpg


Pandora%2003_zpsd69hktpk.jpg


But of course, the choice is all yours.

A little later, when you come to install your plant, I can tell you exactly what to do to lower your fuel bill and get very long sailing times.


John
 
My boat was 17ft, a fiberglass hull with wood deck. It was powered by a Ray Hasbrouck #5- a 2 cylinder marine style engine. There is some info on it on my webpage http://pleasantcovemodels.com/stmbot.htm
I sold it after a few years- riding around with a wood stove in your boat in July seems kind of dumb.
 
Pete. I don’t know if you’ve noticed but “Project of the Month”. Congratulations dude!:thumbup:
 
John,
You actually have me a bit on motor size mine is a 10mm bore like yours but a 12mm stroke so you should have me a bit on power. The Cross head gear and valves make the engine physically larger but I'd loose in a drag race !
I'm sure I could go bigger but my goal is to get a small as I can. This boat will look a bit like someone dropped a big block in a yugo ! Well mabey not that bad but I want a light easy to launch and recover boat. I also am keeping in mind being able to pack it up and ship it as checked luggage to go to cabin fever with it. That last idea is a bit scary!!
RonGinger - that's a funny statement! Never thought about that being uncomfortable, maybe in Alaska that wouldn't be so bad!!
 
bmac2,
I had not seen that !!!!! Thanks for letting me know, I really am in shock.....WOW
 
Pete,

Very sorry, I must have misread your post somewhere as I thought it was 20mm bore.

Your 10 X 12 makes all the difference as it is almost a 'square' engine, needing to run at slightly higher revs to produce it's power. I would then suggest something like a 50mm 3blade prop.

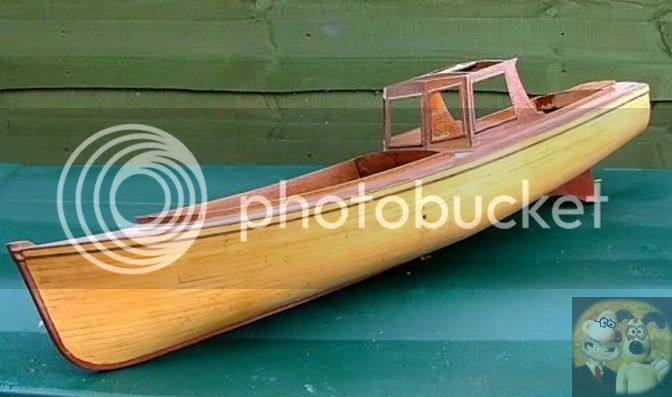
This was my fully planked hull based on the Krick Victoria model, 46.5" long and powered by a 10mm X 10mm twin oscillator. This is after strip down for restoration after nearly 10 years sailing almost every weekend, the hull went to a friend about a week after this shot was taken. I couldn't manage to launch and retrieve them by myself any more, so I gave up and concentrated on my workshop instead.
Notice the shape of the rear end, rather bulky, as suggested by Ron above.

steam_zpsx1rgdwsx.jpg


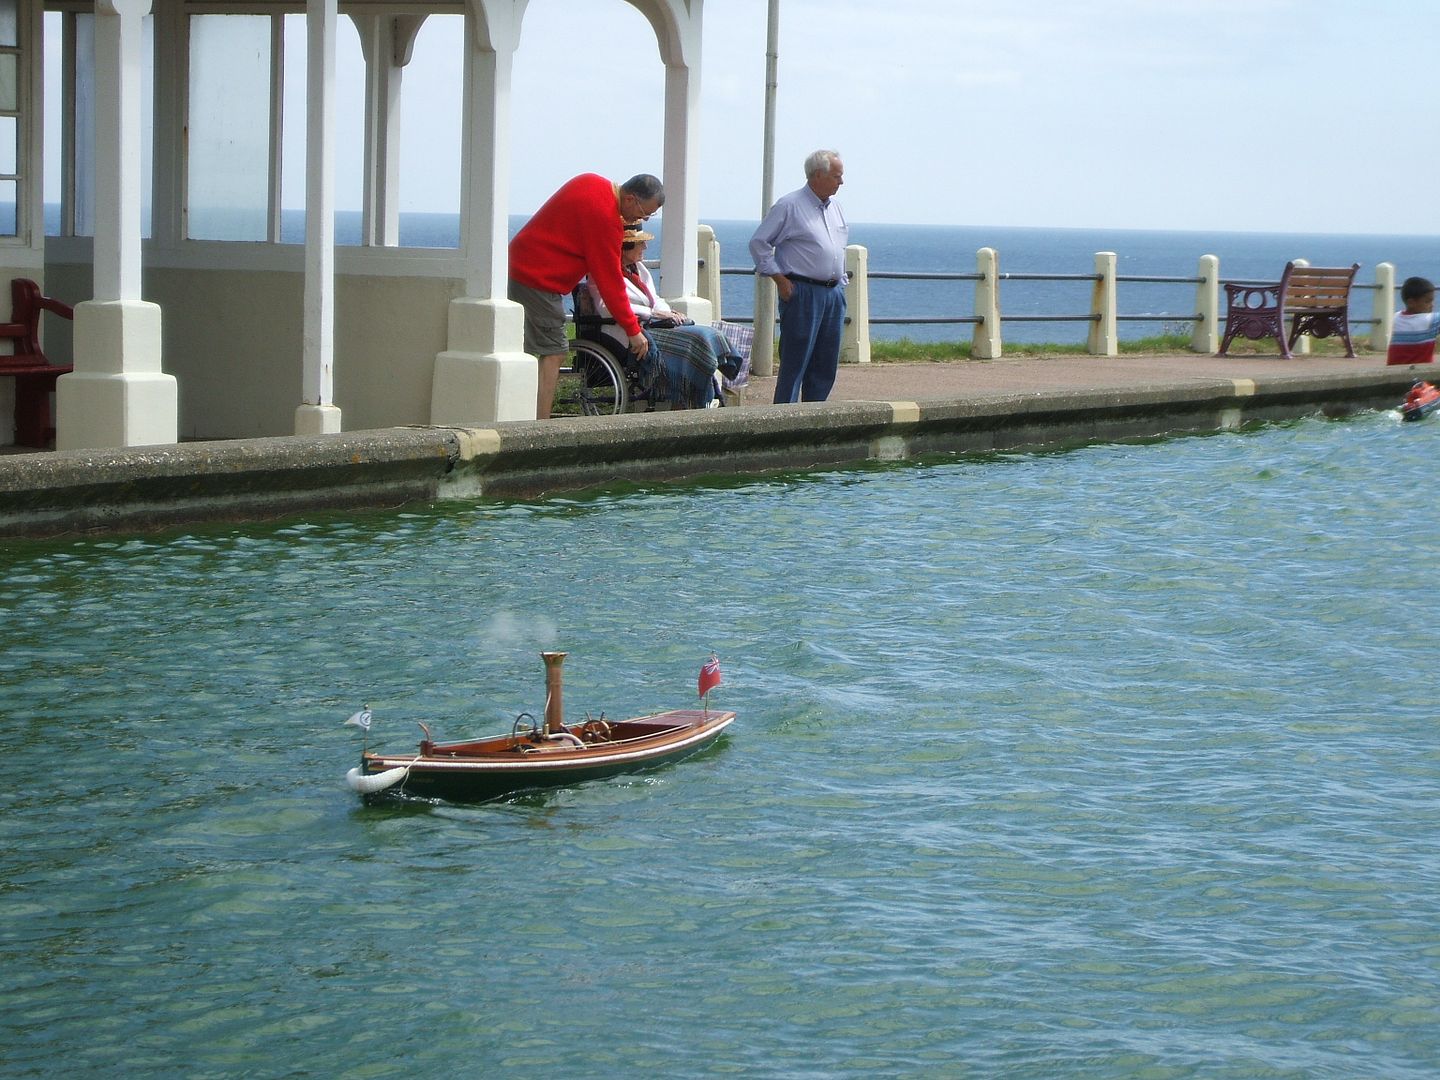
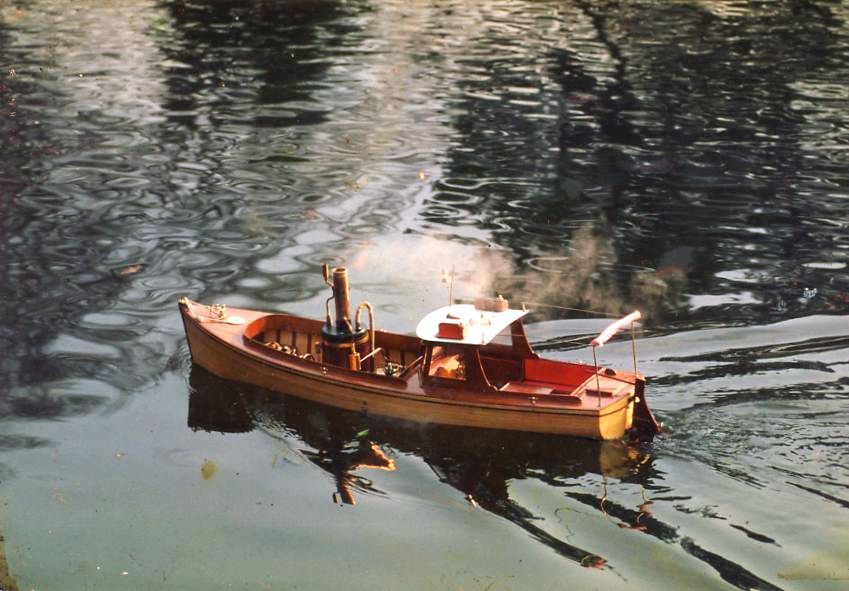
Here it is on the water, even with a small square engine driving a 3 blade 50mm prop running on about 20 psi of steam, it had more than enough power.

victoria_zps0u0k7ei6.jpg


So yours could easily power something like this.


John
 
No problem John, I'm figuring there will be some propeller tweaking before it's all said and done. I rough cut a hunk of foam to see how much weight my design will support. Turns out it's bigger than I want it was supporting 20lbs of weight and wasn't really to the correct waterline. I don't want to go over 15 lbs, really I'd like closer to 10. My boiler is around 4 lbs and the engine I a little under a pound so that gives me 5 to 10 pounds for the hull rc gear, ballast and consumables. I shortened the boat up by around 4 inches and cut down on the height. I thinks is going to look good enough, folks should be able to recognize that it's a boat ! The stern of the boat will not be as high and thin as the foam came out. I was just free handing the hotwire so it's a bit off. I plan on planking the hull lapstrake style might regret it but I'll give it a shot.
Pete
View attachment ImageUploadedByModel Engines1486583474.326098.jpg
View attachment ImageUploadedByModel Engines1486583498.560275.jpg
View attachment ImageUploadedByModel Engines1486583522.968934.jpg
 
Thanks it's a lot of fun trying new stuff.
A little more progress, I mounted all the forms and the keel to my model airplane wing jig that I have had for a long time. It took a long time to get everything lined up correctly. I ended up using my laser level to line up the forms. I wanted to be able to move the boat around while building so mounting the form to my bench wouldn't work for me. I had to mill a 1/16 groove on both sides of the keel to allow the first plank called the garboard to slip between the keel and the center board called a hog plank ( I think ) which was glued in place after the grooves were cut. Now I have to layout where the laps will sit.
Pete
View attachment ImageUploadedByModel Engines1487350916.623376.jpg
View attachment ImageUploadedByModel Engines1487350928.175532.jpg
View attachment ImageUploadedByModel Engines1487350940.990394.jpg
View attachment ImageUploadedByModel Engines1487350951.613311.jpg
View attachment ImageUploadedByModel Engines1487350963.914175.jpg
 
Looking great so far. Love the clear pictures.
 
Thanks guys
There is a lot to this clinker style boat building. Now I have to determine how big to make the planks and how to arrange them. I went with what I have seen guys do to full scale boats on the internet. They use strips of wood called battens to lay out the edges of the planking. I took thin strips of spruce and did the same. The fantail of my boat will be carved out of a larger block and attached to the stern. I can't get my head around how to make it look right now so after its planked, a float test will show me how she sits in the water and I'll figure the back of the boat then. It doesn't support anything it's just for looks. I'm sure it will cause problems doing it this way but I'm no sailor so this is all new.
Pete
View attachment ImageUploadedByModel Engines1487696156.390181.jpg
View attachment ImageUploadedByModel Engines1487696168.518874.jpg
View attachment ImageUploadedByModel Engines1487696178.290013.jpg
View attachment ImageUploadedByModel Engines1487696190.828700.jpg
 
That is a great description of the process, its a lot tougher than I thought it would be now that I am cutting wood. When I started this I thought making something full scale would be fun too. Well those thoughts are gone now. Its tough enough to shape the 1/16 thick basswood, I can't imagine dealing with real lumber and pulling off the kinds of fit and finish that is required to keep water out !! My hat is off to all those who have built boats like this !!!
 
Planking has begun, it's tedious and I might get the hang of it by the time I have done all 16. It's not perfect but as I learn the planks closer to the top of the boat should look pretty reasonable. The planks that will be under water have some spacing variations but it is symmetrical and this is just for fun not a museum.
I have to make a paper template first by laying it on the forms and then transferring the marks made earlier on the forms. I cut the paper and then check it before cutting wood. Each pair of planks are different and not even close to straight. I am steaming the wood in a makeshift aluminum foil box that I pump steam into from a cheap steam cleaner. If the wood was any thicker I don't think the little cleaner would be enough. I am just glueing them into place with superglue because I am planning to paint the hull. If I were staining it I would have to do something else.
Pete
View attachment ImageUploadedByModel Engines1487964298.096283.jpg
View attachment ImageUploadedByModel Engines1487964313.734920.jpg
View attachment ImageUploadedByModel Engines1487964329.484737.jpg
View attachment ImageUploadedByModel Engines1487964344.023139.jpg
View attachment ImageUploadedByModel Engines1487964376.289511.jpg
View attachment ImageUploadedByModel Engines1487964387.225819.jpg
View attachment ImageUploadedByModel Engines1487964402.671101.jpg
View attachment ImageUploadedByModel Engines1487964415.158767.jpg
 
I have made two planked boat kits over the years and my first effort didn't look as good as yours. Planks look very straight. Great job.
 

Latest posts

Back
Top