A new attempt at making piston rings

Home Model Engine Machinist Forum

Help Support Home Model Engine Machinist Forum:

This site may earn a commission from merchant affiliate links, including eBay, Amazon, and others.
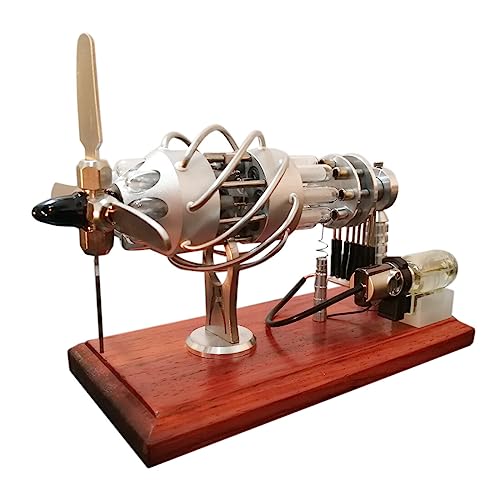
Hello all, I've been reading with interest the many ways of producing piston rings for model engines. My experience with making rings started in 1967, I was a spring chicken of about 18 years when I decided to build a model diesel four stroke from scratch. I had a few scribbles for plans, but mostly the plans or ideas were in my head. I lived on my Fathers farm and bought an old lathe as old as the hills, but it served its purpose. I had about two years experience working on a centre lathe at a local engineering firm. Finding scrap aluminium, cast iron from old machinery etc was no problem.
I melted the aluminium in my mothers rayburn "much to her annoyance" but she put up with me. I made everything except the ball races for the crankshaft and valve springs. I had it running on commercial diesel fuel blended with a small amount of model diesel fuel. It was stored for some 53 years until 2020. when I had renewed interest. Improving the fuel pump and injector and had it running again on 8 parts diesel to 1 part model diesel fuel. It would probably run on 100% diesel fuel when hot. I want to improve the fuel injection system more when I have a chance. I have a small recollection of making the piston rings. Made of cast iron, outside diameter turned to within a few thou of the required size. Cut them and bolted them to a mandrel with a centre screw to grip them and machined them to size with the required gaps preset to whatever size I came up with. Perhaps I should have posted this to general engine building. Hope you enjoy it.&
20200630_113910.jpg
20191105_180815.jpg
20200904_095937.jpg
20191104_194921.jpg
20191105_180326.jpg
20200906_150959.jpg
20210621_130215.jpg
 
Last edited:
Interesting that you have five rings. The bottom ring below the wrist pin would not be for compression. What would it do?
It's an oil control ring, it originally had two oil control rings, but the original aluminium con rod broke catching the piston. I left it as it is.
P.S The sump has oil just like most engines and lubricated by the crank splashing in the oil. The oil control ring prevents the oil from migrating past the piston although it also allows the piston to be lubricated.
Regards Paul.
 
Last edited:
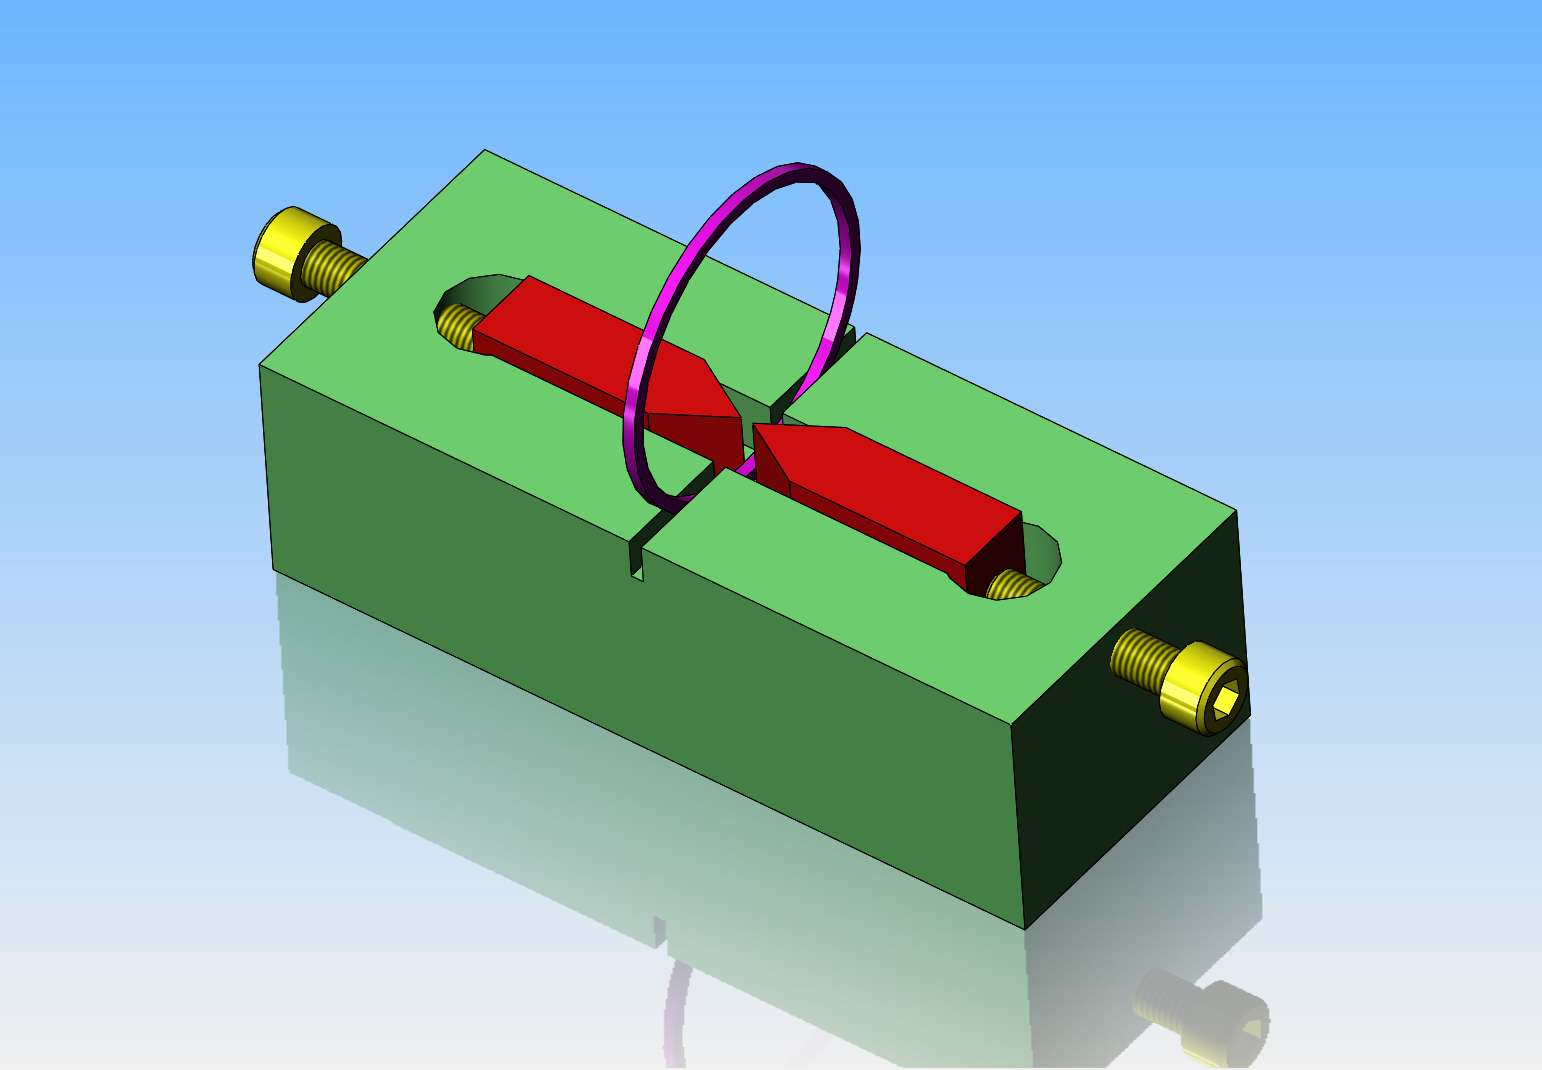
It's summer time and the livings easy--Kinda sounds like a song, doesn't it. Wife and I have both had our second shots, and we are enjoying summer. My desire to work in my shop is at a very low ebb, but that's okay. We have a visiting grandson this morning who is doing his schoolwork on my wife's computer, so I have found a bit of time to sneak down to my shop. First order of the day was to design something, so I started with Trimble's ring splitter. I am still waiting for my "fine india stone" to arrive, but decided to design the ring splitter in 3D cad. The two square red sections are made from 01 steel, hardened. The rectangular body is aluminum, and the #6 set screws are 3/4" long. The ring shown is 1" o.d. x 0.038" x 0.038".
4EiBCM.jpg
 
I can't believe how much effort people go to cleaving thier rings. I've said this before, but just hold the ring with 2 pairs of pliers( close together) and tweek. I've made literally dozens of ring and never had a "duff" one.
Just try it people.
Graham
 
I just use an end cutter/wire cutter. I cannot believe that a homemade cleaver is going to be any better than a good quality end cutter. Just make sure that the cutting jaws are lined up.
 
I didn't know these methods (above) as I was taught to use a piece of gauge plate on a machine bed (flat and strong) and a gentle tap with a hammer on a sharp chisel. But can't say I have ever done it... that was 55 years ago and I don't remember everything. Most rings back then came from the Hepworth and Grandage agent's shop. Collected by muggings using a push bike....
K2
 
That 3D mode I showed is made exactly to Trimble's drawing. It seems like a case of overkill to me, but since none of my attempts at ring making have yielded good results I am going to follow Trimble's method as closely as I can.
 
Hi Brian. I think you are following the right way. You can prove the cut of the machine with many pieces from a broken ring. I suspect the material will make a difference though. The major factor is probaly the accuracy of the cutting edges aligning...
I made a device (My job at the time) when developing the method of cutting glass fibres on fibre-optic cables. This was 1976... The first fibre optic cable had been made in USA, and my factory (telephone cable manufacturer) wanted a device for accurately cutting the ends of the fibre optic "glass conductors" for making joints in long cables - as the traditional "silver soldering of copper conductors" was to become partly obsolete.
They had a device, Very accurate, with microscope to see the cut of the carbide tool and fibre against an anvil. But is wasn't robust and "simple" for the factory use, or down a hole in the road or pavement for joining cables "on-site" during installation/repair. I made a machine that applied just a tad of pressure as the blade rocked across the fibre. It cut the glass fibre (which was encased in three materials of polymers as a coating for strength). But not perfectly. However it was used for training purposes, until the "proper" tool became available, about a year later. The first cable made was an experimental 2-pair cable. The first production cable was a 6-pair, to carry the same number of telephones as the existing largest with 1012 pairs of copper wires! Round Glass fibre is different from square cast iron, and you must ensure high accuracy of the blades for opposite alignment. I suggest 2 blades clamped together and ground in a single setting on your tool and cutter grinder? A tad of loctite can hold them together until you have finished grinding.
Anyway, do let us know how you get on.
Enjoying reading your stuff!
K2
 
I can't believe how much effort people go to cleaving thier rings. I've said this before, but just hold the ring with 2 pairs of pliers( close together) and tweek. I've made literally dozens of ring and never had a "duff" one.
Just try it people.
Graham
before you tweek them, do you score it where you want it to break?
 
Hi Richard,
No scoring needed, I just use 2 pairs of flat nose pliers right next to each other and twist. It's surprising how little you need to twist. In fact once you hear it break, it can be difficult trying to find where the break is.
Graham
 
All I use is a new bit of hss square about 3/8 I think in the mill in a drill chuck ( yes your chuck will grip it ) it’s not turning so it’s all good and use the quill to put slight pressure on ring in a position in the middle of a t slot or could set your vice jaws to about right I found it so easy no need for fancy tool I think about .034 wide 1 inch dia I did maybe 30 in a batch and maybe 3 or 4 broke on a angle I didn’t like so no reel loss
 
I just push the ring down a Morse taper sleeve easy does it.
 
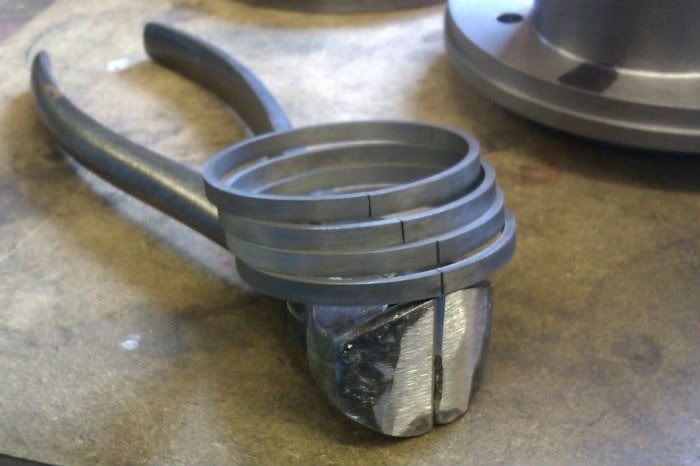
Old pair of end cutters works for me too, gives a nice straight "cut". Can't remember if these were 3/32" or 1/8" wide

IMAG0423.jpg
 
Yeah. Yeah. We've heard it all before. I do it like this.... I do it like that......
But is there anything wrong with Brian making the dedicated tool to do the job?
BTW there is something to using the proper cleaving method. A similar method is used in cleaving fibre optic cables before the connectors are applied and the ends are polished. Nobody ever told us (at work) to just whack the end off the fibre with a pair of side (or end) cutters. That can crush and fracture the glass.
Continue on Brian.

BTW make sure the two cutter ends meet dead on in all axis' in your fixture. When you lightly tighten the tips against each other they should not shift.
 
Just last night I was watching a "History" program on TV. It turns out that Mr Soichiro Honda, of Honda motors, started his entry into the auto business making piston rings for Toyota. He had lots of problems at first but was then VERY successful in the auto business.
 
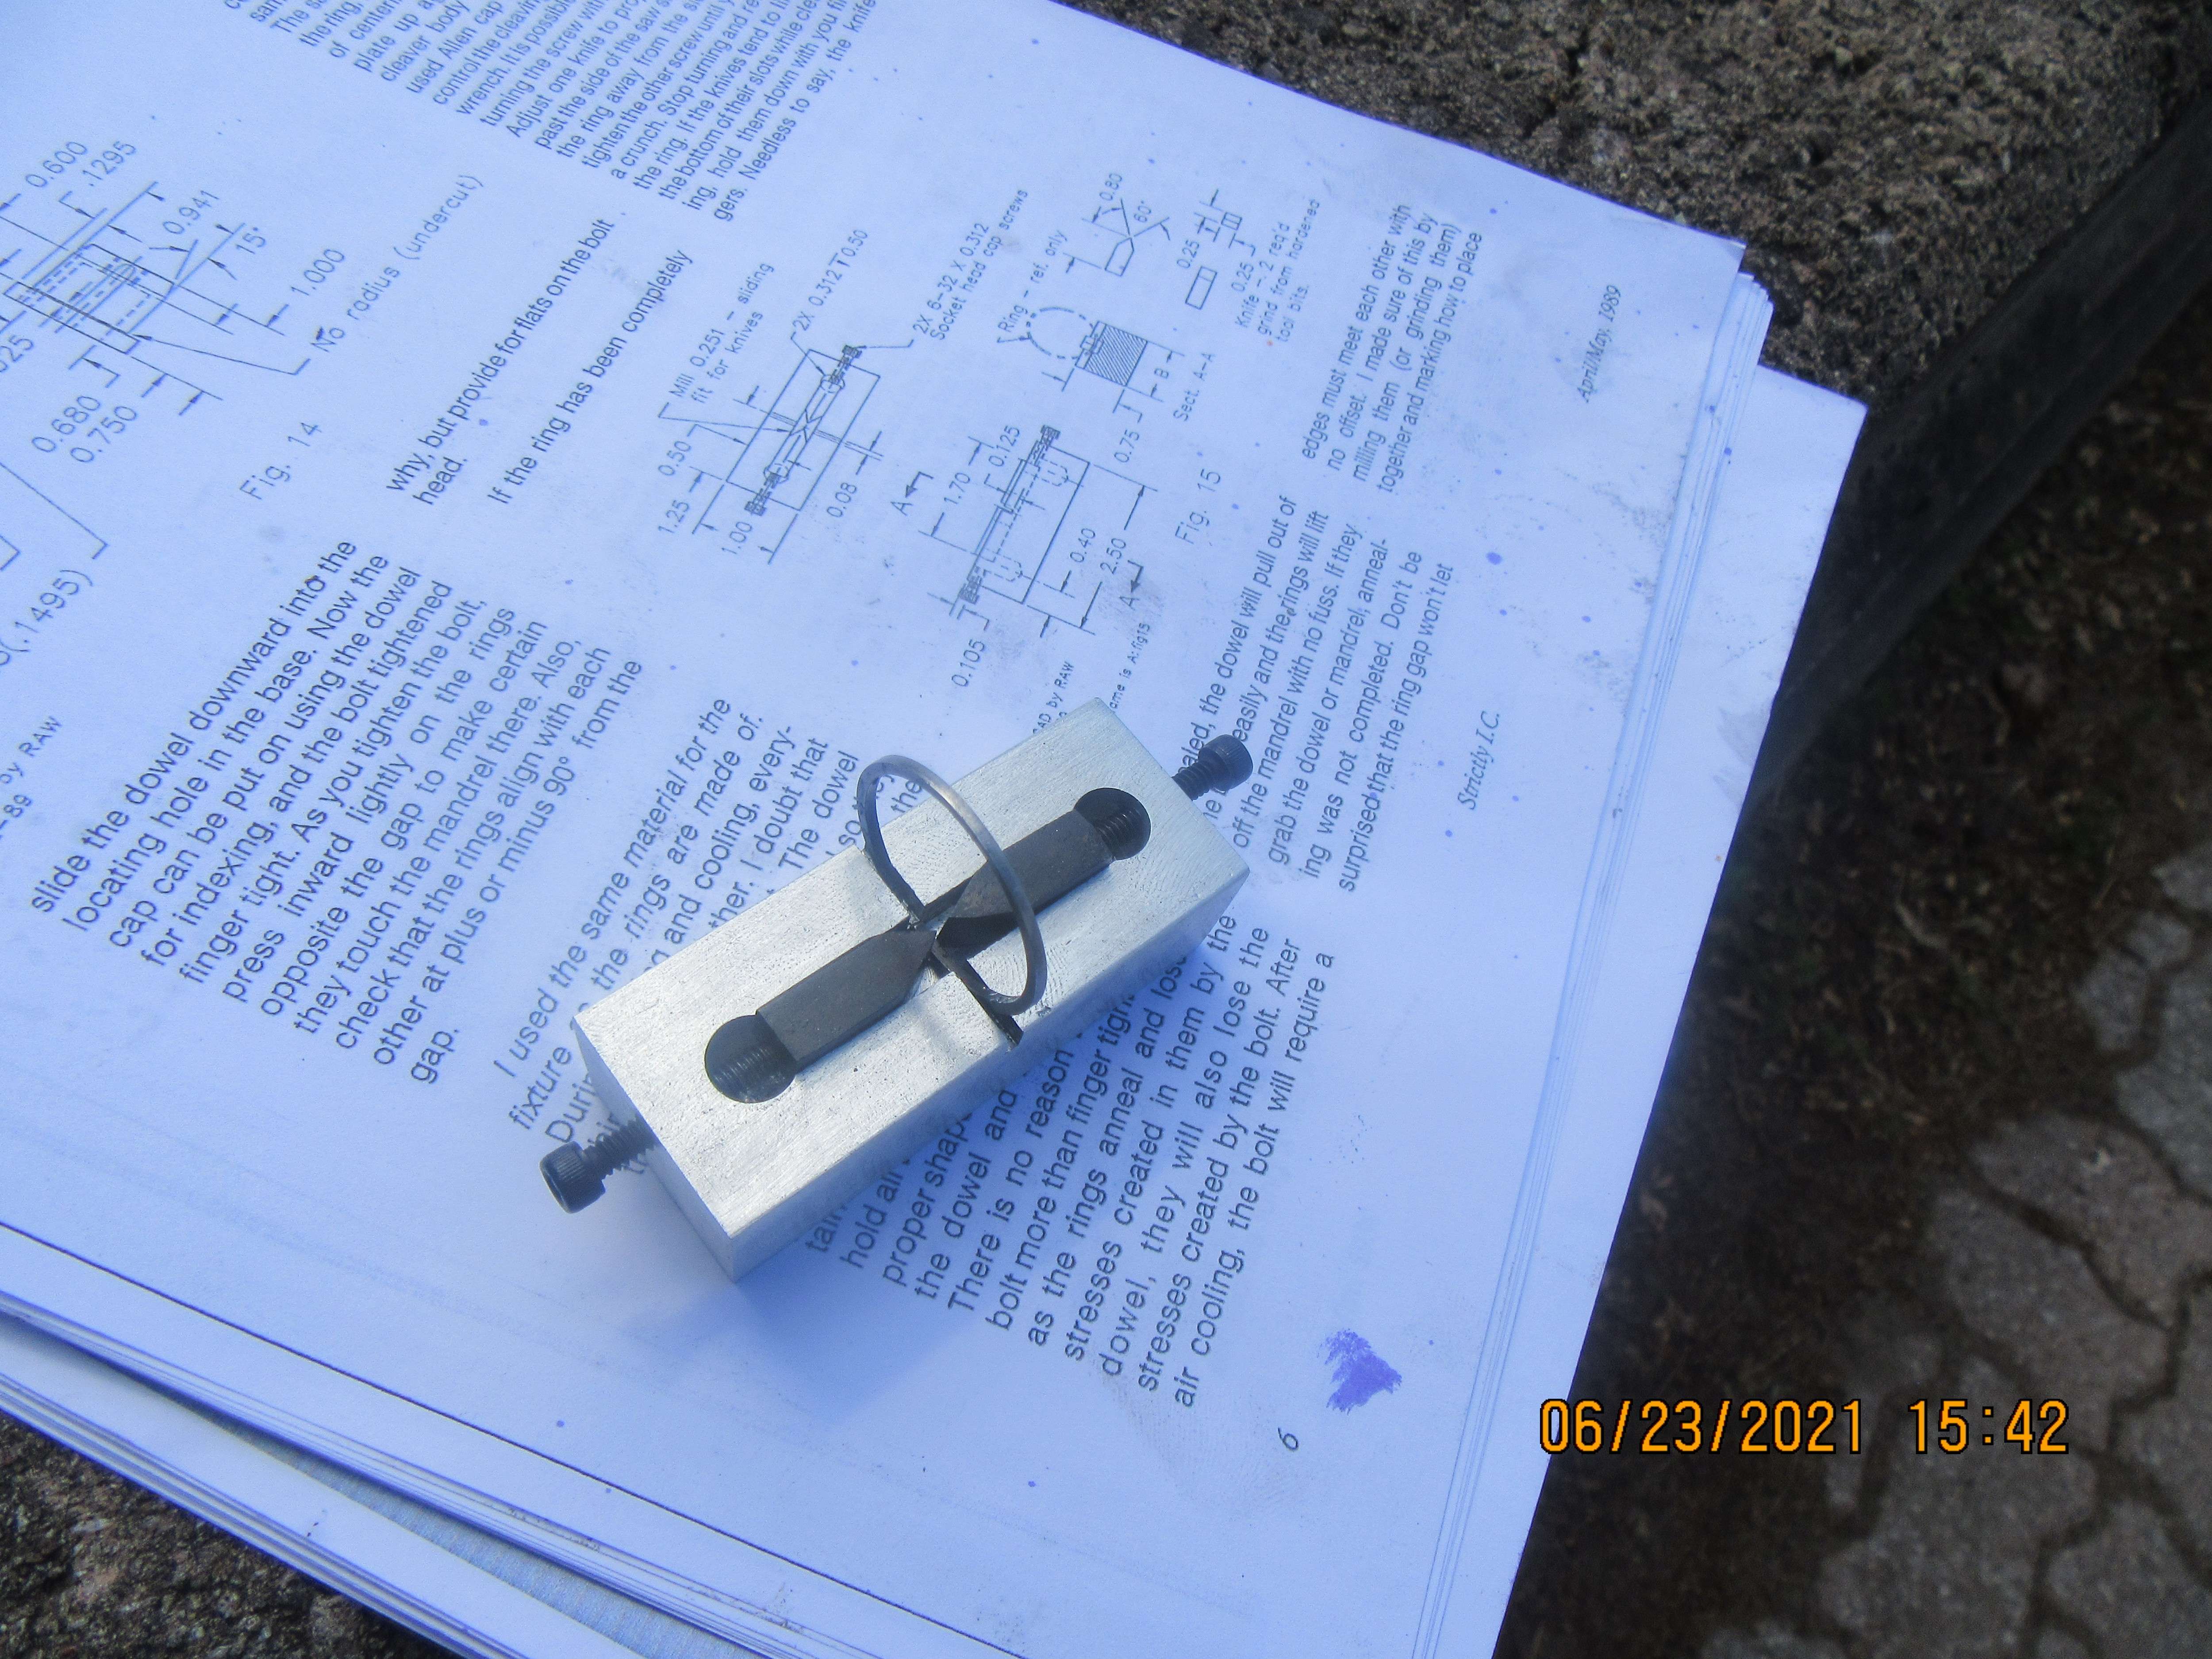
So, here we have Mr. Trimble's ring cleaver.---does it work? Well yes, I "cleaved" one ring and I already see room for improvement. When you tighten the screws to push the hardened 01 "cleavers" into contact with the ring, they pop up out of the slots, just as I kind of figured they would. I will add my version of a "hold down" and then we will try this again.
bDCXsI.jpg
 
Back
Top