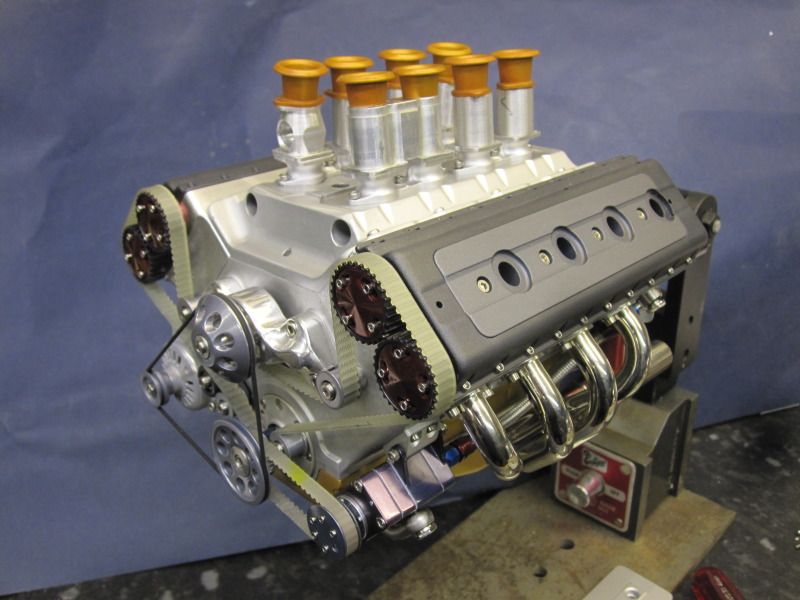
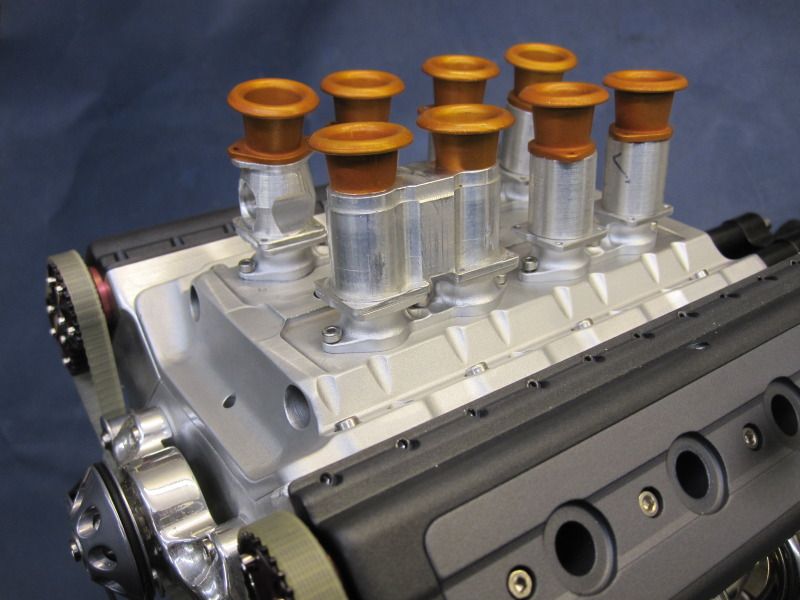
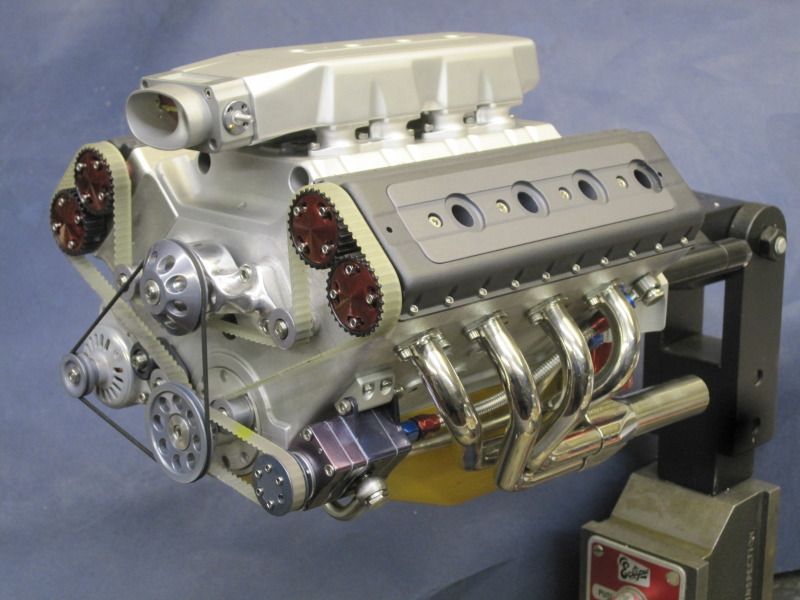
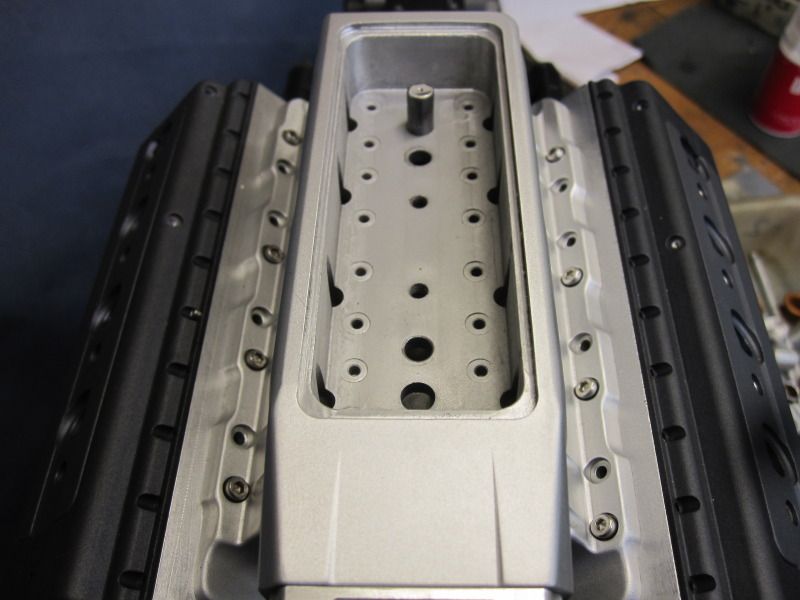
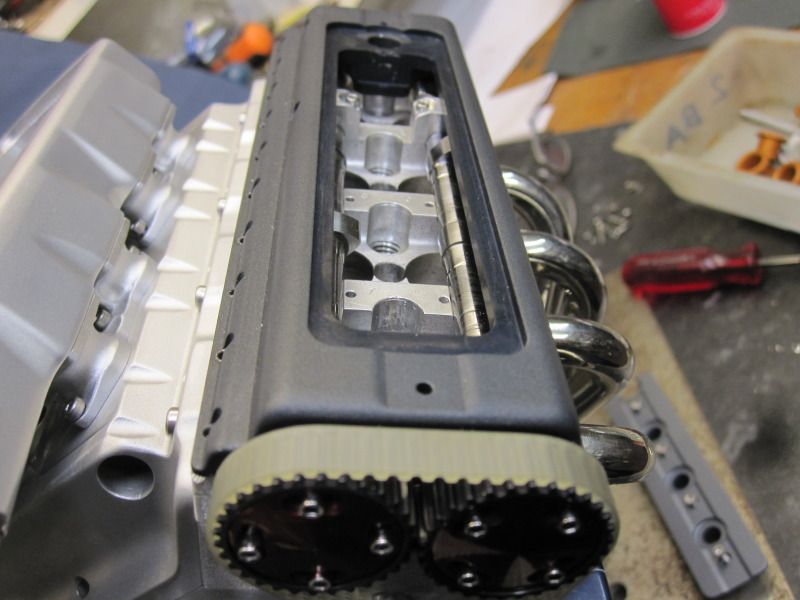
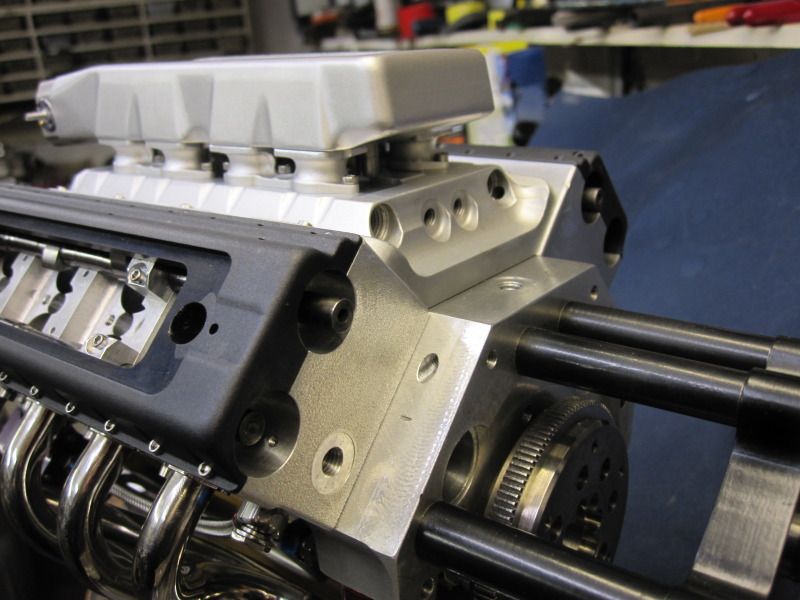
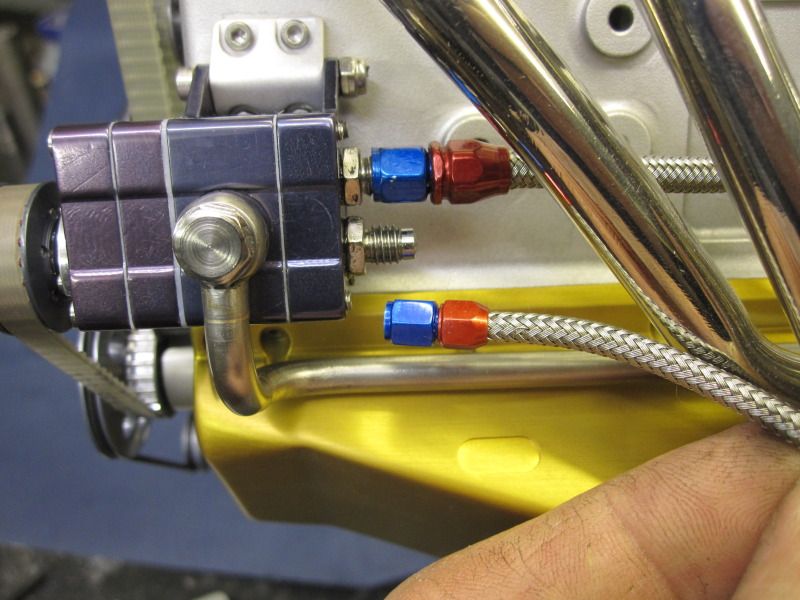
1/4 scale V8, first project.

Home Model Engine Machinist Forum

Help Support Home Model Engine Machinist Forum:

This site may earn a commission from merchant affiliate links, including eBay, Amazon, and others.
Amazing! :bow:
 
I'll put in a milder word then the first one I used when I saw those pics that come up once I logged in .

"Bugger me that's amazing."

I've just picked my jaw up from the floor.
I also showed my 16 year old son and he asked "Is that a real one"?
You have my deepest regards,

Ron.
 
Absolutely incredibe, can't stop looking at it :bow: :bow: :bow:

Andrew
 
keith5700 said:
I thought about using methylated spirit as the test liquid. Any better suggestions welcome.

If you plan on running it on gasoline, then Viscor seems to be the proper test fluid.

Some people use plain mineral spirits. If you dont plan on doing the math and actual flow testing, if your just trying to see that it works, that would work just fine. Just be careful with anything flammable.

Cant wait to hear this thing run. :)
 
All I can say is WOW !!

If it wasn't for the top view of the valve train I'd say we'd all been had because the last two pictures look like the output from a CD program. Your finish work is amazing and the light cube is doing a nice job.

I think someone asked before but I'll ask again. How do you get the nice satin finish especially on the (what appears to be) anodized coloured pieces. I use super fine glass beads for plain aluminum but it never looks that good.

Amazing.....

Will you be bringing it to any shows?

Sage
 
Thanks all.
The satin finish on the cam covers was only arrived at after numerous trials with bits of ally in the blast cabinet and the anodizing tub.

The final method used on the covers was firstly to blend all the edges in with fine foam backed sanding pads, then polish on the buffing wheel.
Then into the hand cabinets for a blast of fine glass, then a blast of 170 steel shot, at low pressure, say, 16psi.

The surface is then rubbed with a rag, just to remove any sharp sticky-out bits.

Then degrease, and 30 seconds in the caustic soda bath.
Then a minute in the nitric acid, just in case there is any iron residue left from the peening.

Then anodise for an hour, both covers at the same time, so they match.

Wash in filtered water and then into black dye for about 20 secs. Then quick wash, before any dye left in the corners can stain those bits darker.

Then 10 mins in the boiling de-ionised water to seal the dye in.

Sorry, I wish I could say it was all a piece of cake and only took 5 mins!


Just making a new plenum chamber for the intake. Decided I don't like the one on it at the moment, it's a bit square. Looks like an elongated shoe box.

Really must get on with the internals and stop mucking about with the pretty bits.

Keith.
 
Will the toothed belt you use to drive the cams cause any problems when it comes time to properly time the thing? id imagine the teeth would mean you can only rotate the cams X degrees at a time and if you need the position to be say 0.9X your going to run into trouble.

how is this little problem overcome???

also keith, truly beautiful work!!!!!!!!! if seeing images of this engine dosnt inspire more people to start model engineering i really dont know what could. :bow:

cheers

Mackye.
 
Mackye, the pulleys on the cams have +/-15 degrees adjustment built in. The 4 bolts run in slots on the pulleys.
Cheers.
 
I really liked the way you did the pulleys. In reality they must be extremely small!
They have a passing resemblance to some of the nicest full-size camshaft pulleys on the market (HKS slide cam pulleys).

image6_3_84.jpg


Thanks for the process tips on the finishing.
I have been experimenting myself and not using the nitric acid stage. I think I might be compromising a little on the result because of that.
 
keith,
How do you plan to "run" the injector/s, are you going to use a o2 sensor , maf and com etc?
thanks
Mark
 
Longrat, I wouldn't place too much emphasis on the nitric acid stage. I only did it with the cam covers as there was too much work gone into them to balls it up at the last moment, and as I'd used the steel shot to peen them.
We shot peen a lot of titanium at work, and most of these components get a nitric acid dip afterwards, or a glass bead decontamination.
I didn't want to use the glass afterwards as it makes the surface too porous for anodising, hence the steel shot stage, to 'seal' the surface.
It makes for a super finish after dying, but it shows fingermarks up something terrible, and is therefore unpractical for an engine.

Most of the other anodised bits on the engine haven't had the acid dip, or the caustic soda for that matter. I mostly degrease with washing up liquid, and then straight into the anodising tank.
My only tip would be once the part has gone into the anodising tank, don't let it ever dry out until you've finished the hot water sealing step

Mark, I haven't thought too much yet about the injector control. I am familiar with setting up stand alone injection ecu's and when I get that far, if I haven't had a brainwave I'll just buy a Megasquirt or similar and control it with that. I'll use a Map sensor, in case I get bored in the future and supercharge it, but won't bother with o2 sensor
 
Keoth,
sounds like you have it all sorted out mentally anyway regarding the injection, I am really enjoying this and can't wait for more updates! especially the injection control.

in admiration
Mark
 
Still can't quite get the idea of multiple carbs out of my head.
Made a new plenum last week but still not 100% happy with it.

Some random pics:-

009-5.jpg


010-2.jpg


011-6.jpg


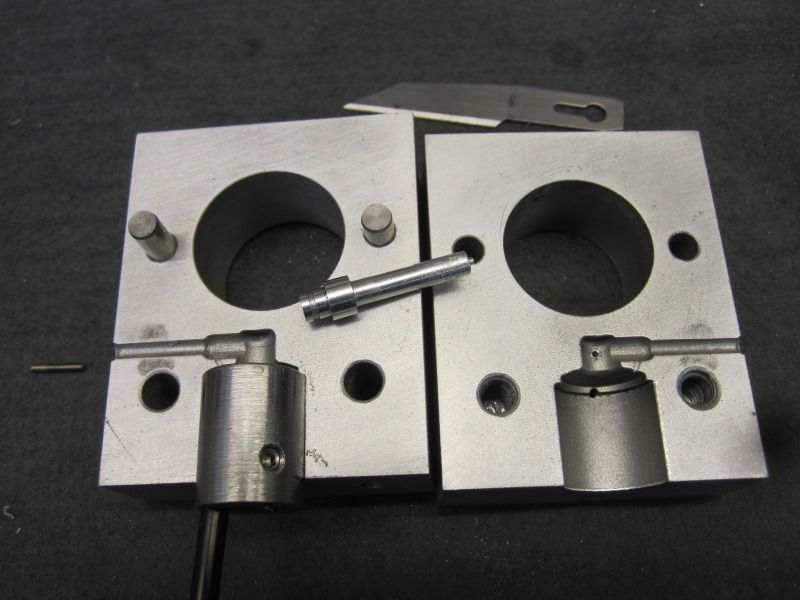
Injection mould for the plug caps......

012-3.jpg


013.jpg


014-3.jpg


015-2.jpg


small fittings for fuel system.....

016-4.jpg
 
4 Twin Weber DOE's??? Bitchin!

Whoops! DOE means D (doppio- double) O (orizontale-horizontal) etc. right? Would they be DVE? doppio verticale?
How about some help from our Italian friends?

I'm probably way off base here, but look up "Inglese" Weber carburators to see some fantastic units, including their fuel injection systems. The will fit right on your big-bore American engine.
 
Keith

Are my eyes seeing what I think they are seeing or are they playing tricks on me? Dam. that is good work. Thanks for letting us look over your shoulder.

Cheers :)

Don

 
Back
Top