You are using an out of date browser. It may not display this or other websites correctly.
You should upgrade or use an alternative browser.
You should upgrade or use an alternative browser.
Upshur's opposed twin engine
- Thread starter Brian Rupnow
- Start date

Help Support Home Model Engine Machinist Forum:
This site may earn a commission from merchant affiliate
links, including eBay, Amazon, and others.
- Joined
- Jul 16, 2007
- Messages
- 3,072
- Reaction score
- 1,212
OK here's how you fix a stripped 1/4-32 thread. Drill and tap the hole 3/8-24. 5/16-24 won't give you enough metal at the thread root to re-tap to 1/4-32. Now take a piece of steel or aluminum and cut the 3/8 thread on it with a die. The starting side of a die has a chamfer or lead on it. This will leave an imperfect thread where the die stops. Cut the threaded piece off leaving enough to grab with vise grips. Tighten the threaded stud into the threaded hole using Loctite. When it gets to the imperfect thread it will start to bind up in the hole. Tighten it reasonably tight. It will never leak or come loose. Set up your head and mill off the extra stock then drill and retap for 1/4-32 thread.
That is the correct solution to resize mis- sized threaded holes. Especially into the combustion chamber, an oversized threaded plug with a sealant. This also works if you need to relocate off your original spark plug position or change the spark plug angle into the chamber when you redrill and tap."......I've been thinking about making my own threaded insert to repair the damaged sparkplug threads on one cylinder head. It looks like I can make a piece 3/8" outside diameter with 3/8"-16 thread and a hole through the center with a 1/4"-32 thread, tap a 3/8" thread into the cylinder head and screw in the insert along with some J.B.Weld on the threads.".......
Today I was busy like the beaver. I made four rocker arms, which are just about at the limit of "littleness" for me to make. Then I made four pushrods, which are posed for the picture, but I haven't actually made the cams yet.
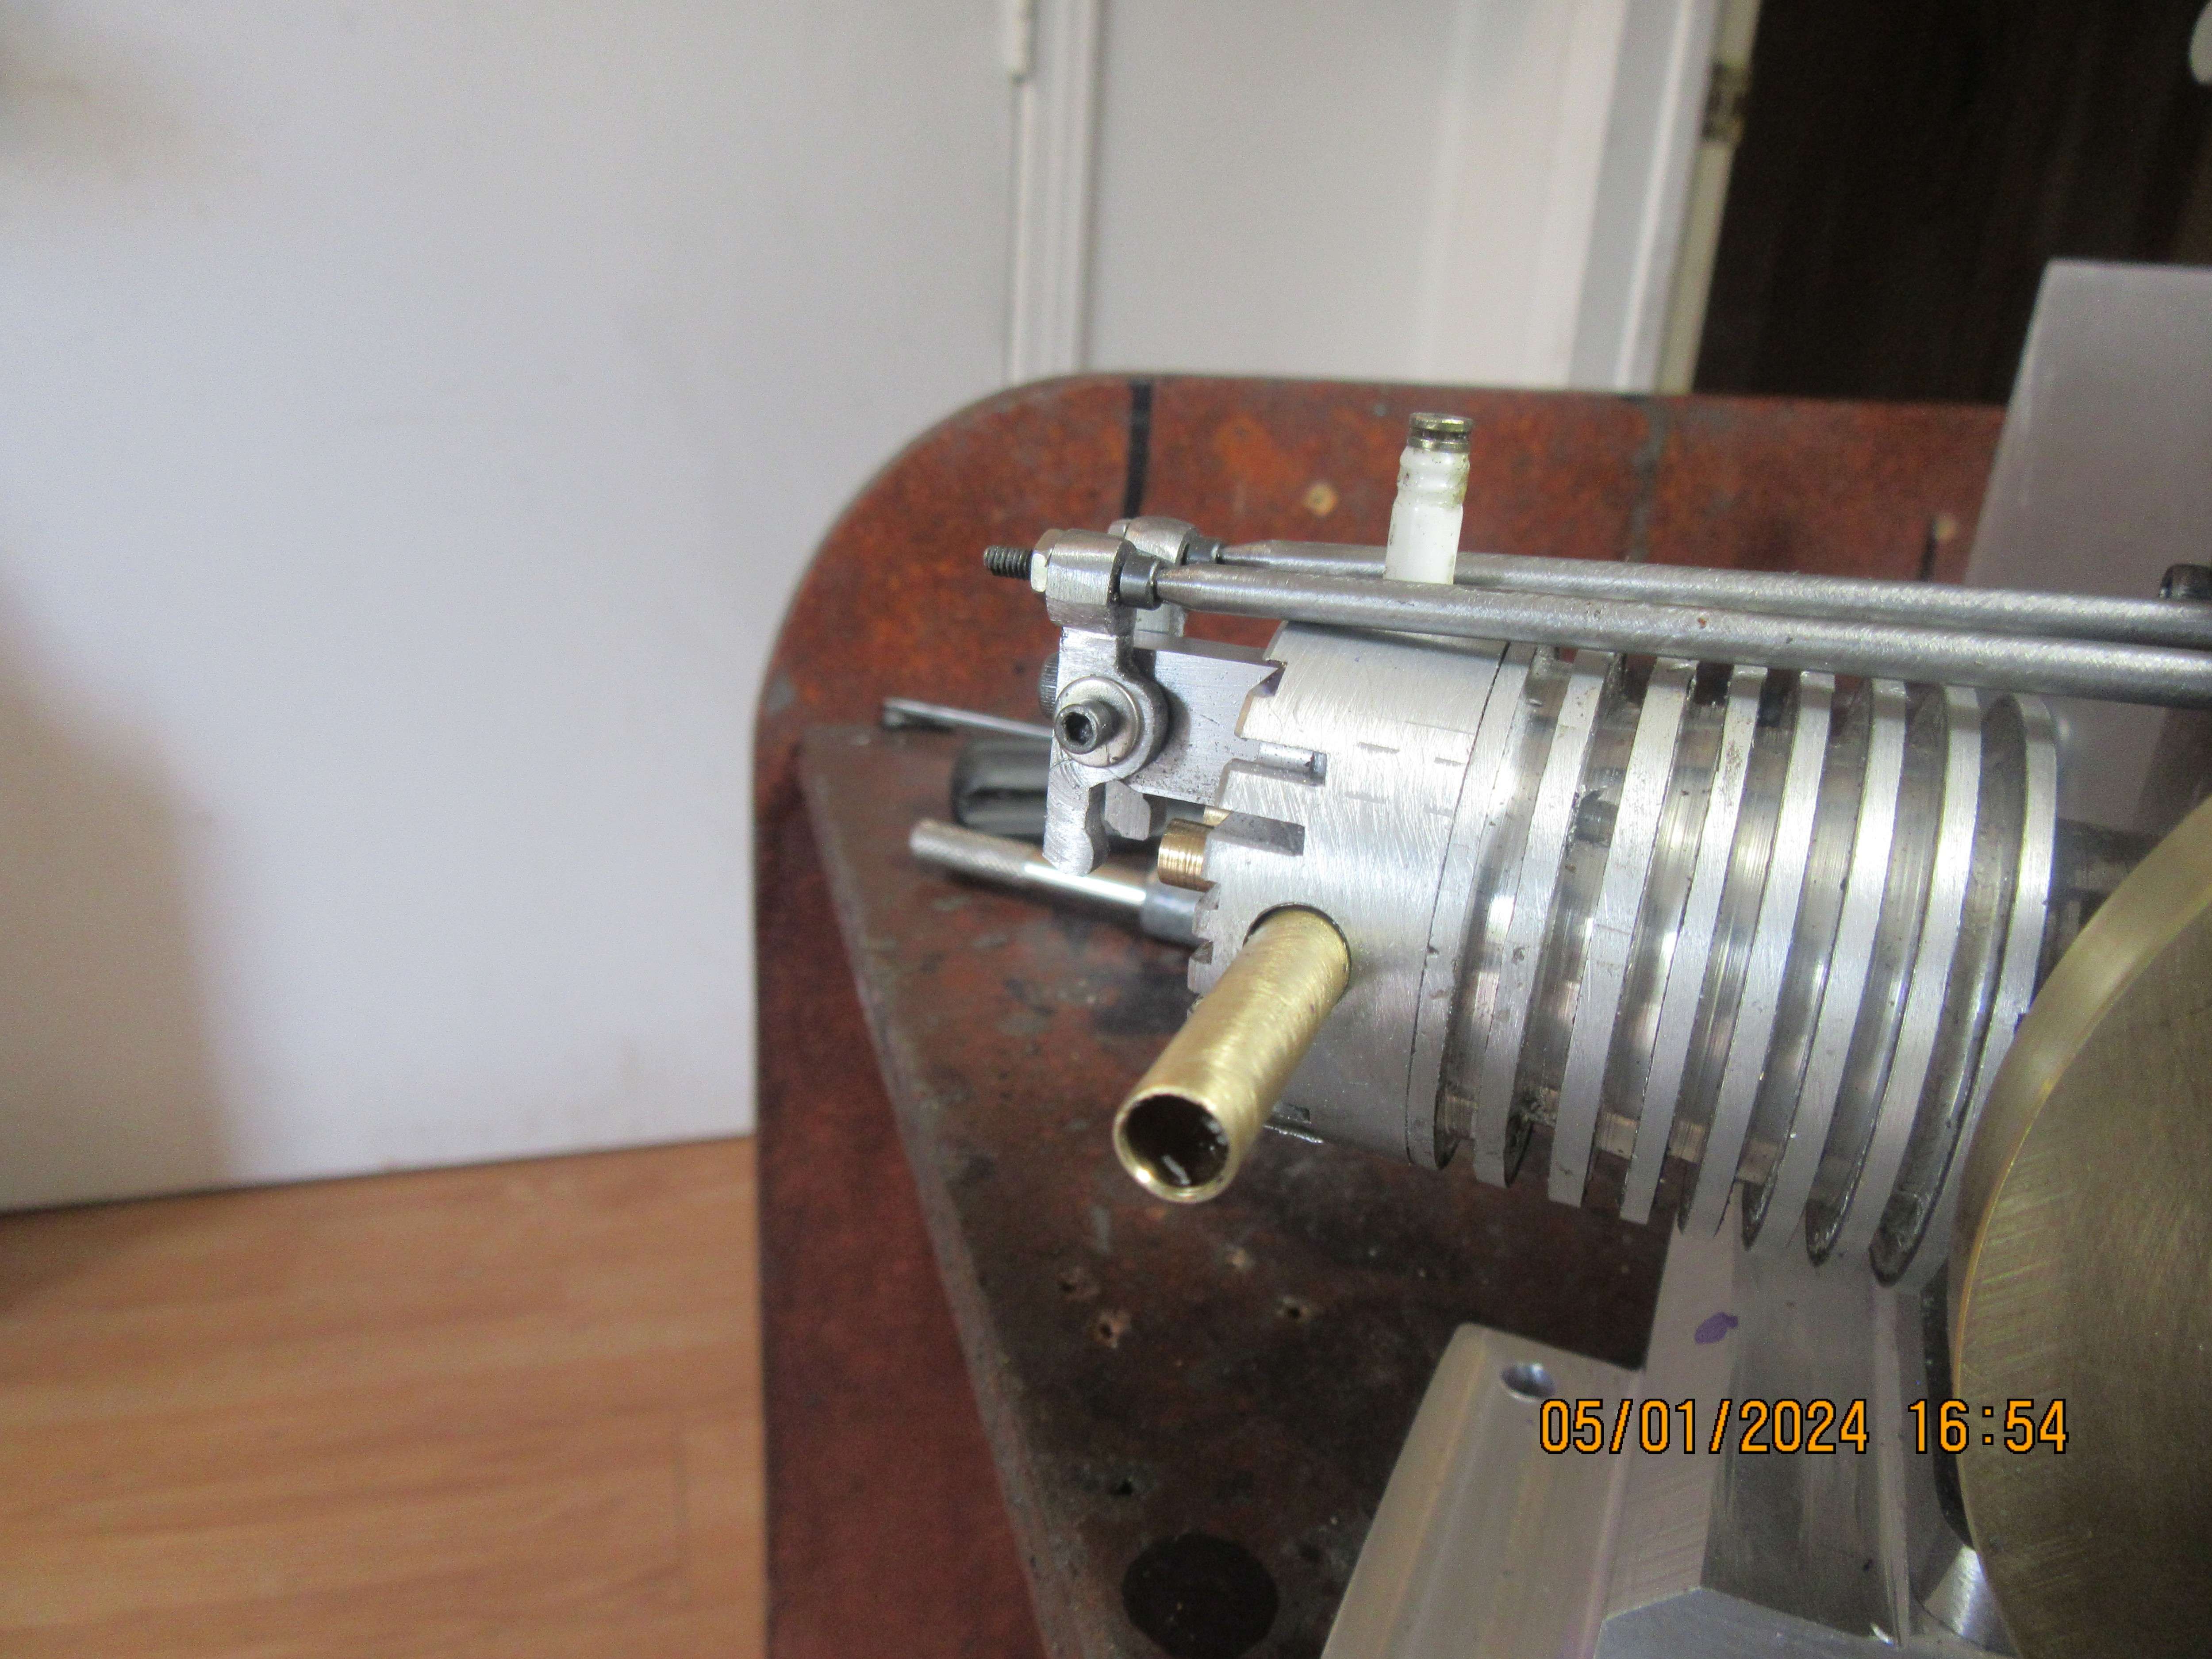
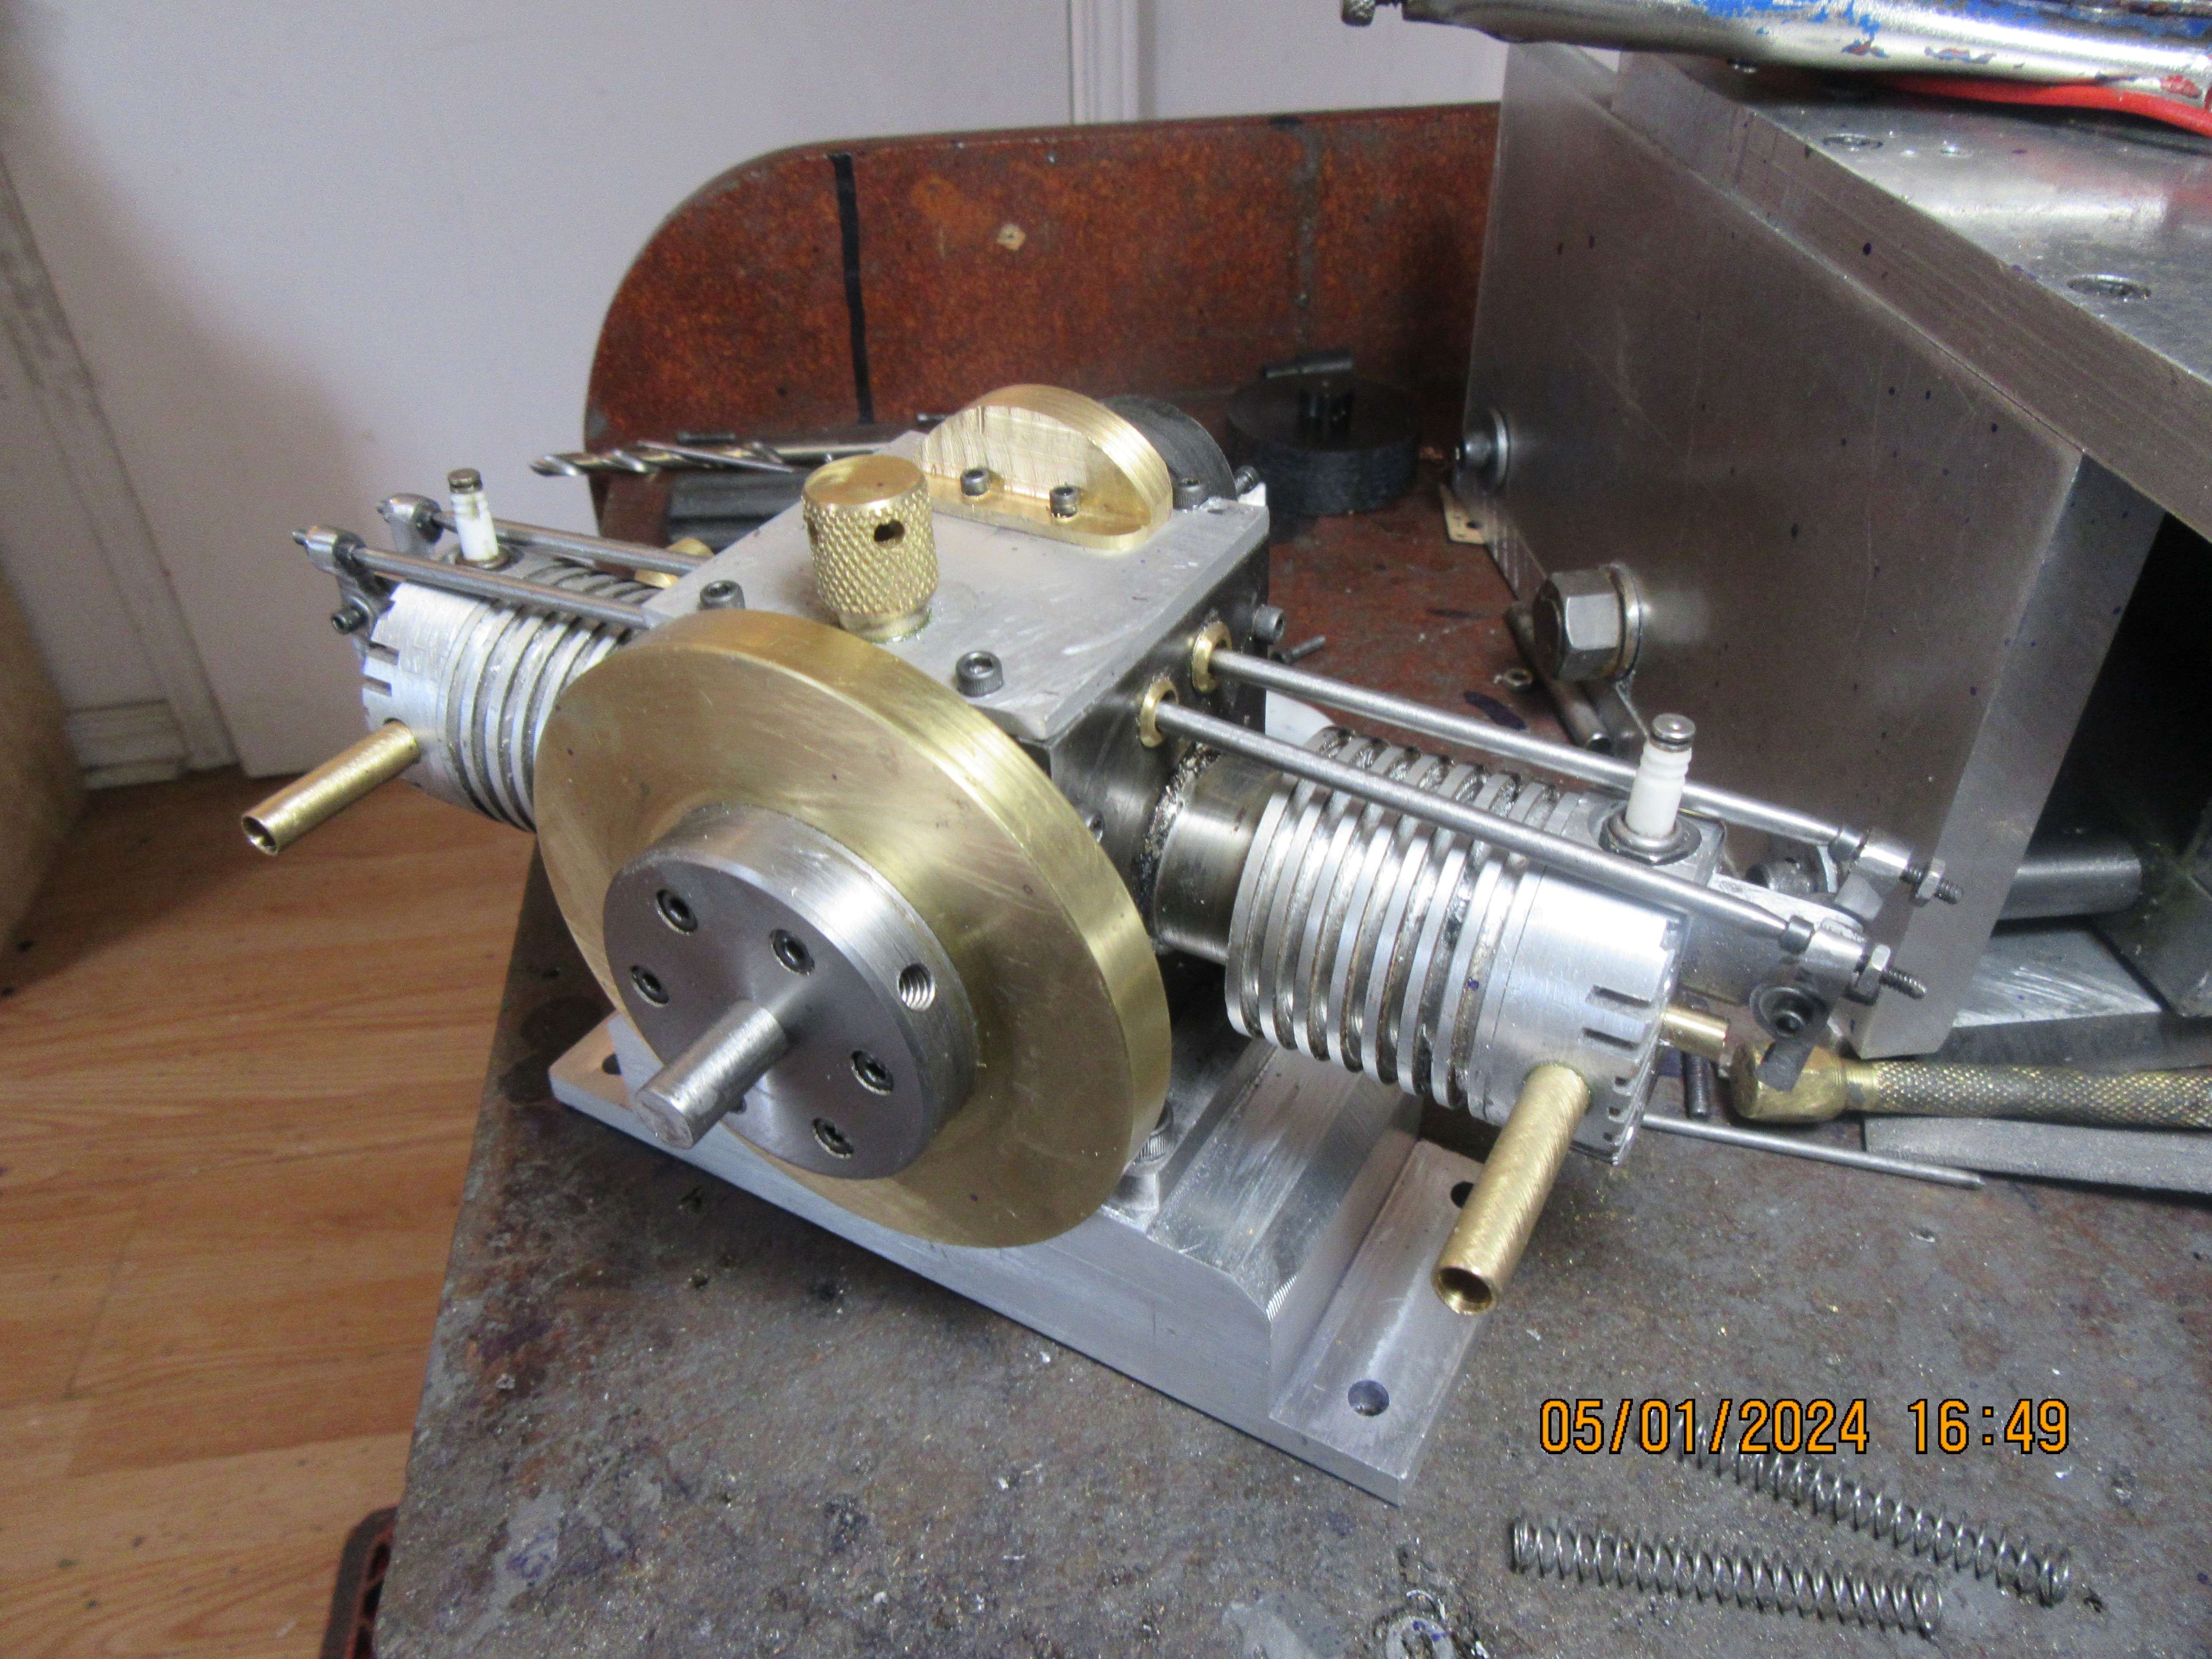


Do those pushrods follow the plans as far as diameter?Today I was busy like the beaver. I made four rocker arms, which are just about at the limit of "littleness" for me to make. Then I made four pushrods, which are posed for the picture, but I haven't actually made the cams yet.


They look disproportionately large.
If not, extra mass is not desirable.
Yes, that is what the plans call for.---Brian

$171.00
$190.00
Genmitsu CNC 3018-PRO Router Kit GRBL Control 3 Axis Plastic Acrylic PCB PVC Wood Carving Milling Engraving Machine, XYZ Working Area 300x180x45mm
SainSmart Official
![DreamPlan Home Design and Landscaping Software Free for Windows [PC Download]](https://m.media-amazon.com/images/I/51kvZH2dVLL._SL500_.jpg)
$0.00
DreamPlan Home Design and Landscaping Software Free for Windows [PC Download]
Amazon.com Services LLC

$599.00
$649.00
FoxAlien Masuter Pro CNC Router Machine, Upgraded 3-Axis Engraving All-Metal Milling Machine for Wood Acrylic MDF Nylon Carving Cutting
FoxAlien Official

$26.89
$34.99
Peachtree Woodworking Supply Bowl Sander Tool Kit w/Dual Bearing Head & Hardwood Handle, 42 Pieces Wood Sander Set, 2 Hook & Loop Sanding Disc Sandpaper Assortment, 1/4 Mandrel Bowl Sander
Peachtree Woodworking Supply Inc

$40.02
$49.99
Becker CAD 12 3D - professional CAD software for 2D + 3D design and modelling - for 3 PCs - 100% compatible with AutoCAD
momox Shop

$99.99
AHS Outdoor Wood Boiler Yearly Maintenance Kit with Water Treatment - ProTech 300 & Test Kit
Alternative Heating & Supplies

$104.99
Sunnytech Hot Air Stirling Engine Motor Steam Heat Education Model Toy Kit M16-CF
stirlingtechonline
For what its worth, I have had good luck using knitting needles for push rods. They are hollow, come in a variety of cool anodized colors and are light and strong. Simply use the pointed end in the rocker and press a ball shaped stub in the push rod end.
Thank you, Vietti. That is a very novel idea. My engines are only ran at low speed, so I don't anticipate issues with the pushrods. I will keep your suggestion in mind for future engines.---Brian
Anyone who single point cuts a thread when they could have used a tap or die has waaaaay too much time on their hands.A die? Blasphemy! He has a lathe.
I say this as someone who has single point cut a lot of threads.
What's even better is when you can cold form the thread with a fluteless tap. No stopping to clear chips, just send it all the way in, back out and on to the next one.
You don't need a fluteless tap for that. Just use a spiral flute or spiral point. First lifts the spiral of swarf out the top of the hole, second pushes it forwards and is used for through holes, neither are backed off to break the swarf. Very good for hand tapping not just machine tapping. And works in all metals.
Same with Dies, if you get a "gun nose" one that will push the swarf forwards.
Same with Dies, if you get a "gun nose" one that will push the swarf forwards.
Attachments
danallen
Well-Known Member
This is true provided you first have the die you need and second have a way to hold and start it perfectly square to the part being threaded. Then you have to fiddle with the adjustment on the die.Anyone who single point cuts a thread when they could have used a tap or die has waaaaay too much time on their hands.
I'm getting down to the short strokes on this engine. I still have to make cams, valves, and an ignition point system. The valves are a bit more delicate than those I have built in the past. The valves are 0.094" diameter. All the valves I have made are 0.125" diameter. When will I repair the stripped sparkplug hole?--sometime in the next 3 or 4 days. As the weather gets nicer, I'm losing my interest in spending every day in my shop. I go in for knee replacement surgery on the 23 of this month, and I certainly hope to have this engine up and running before that.
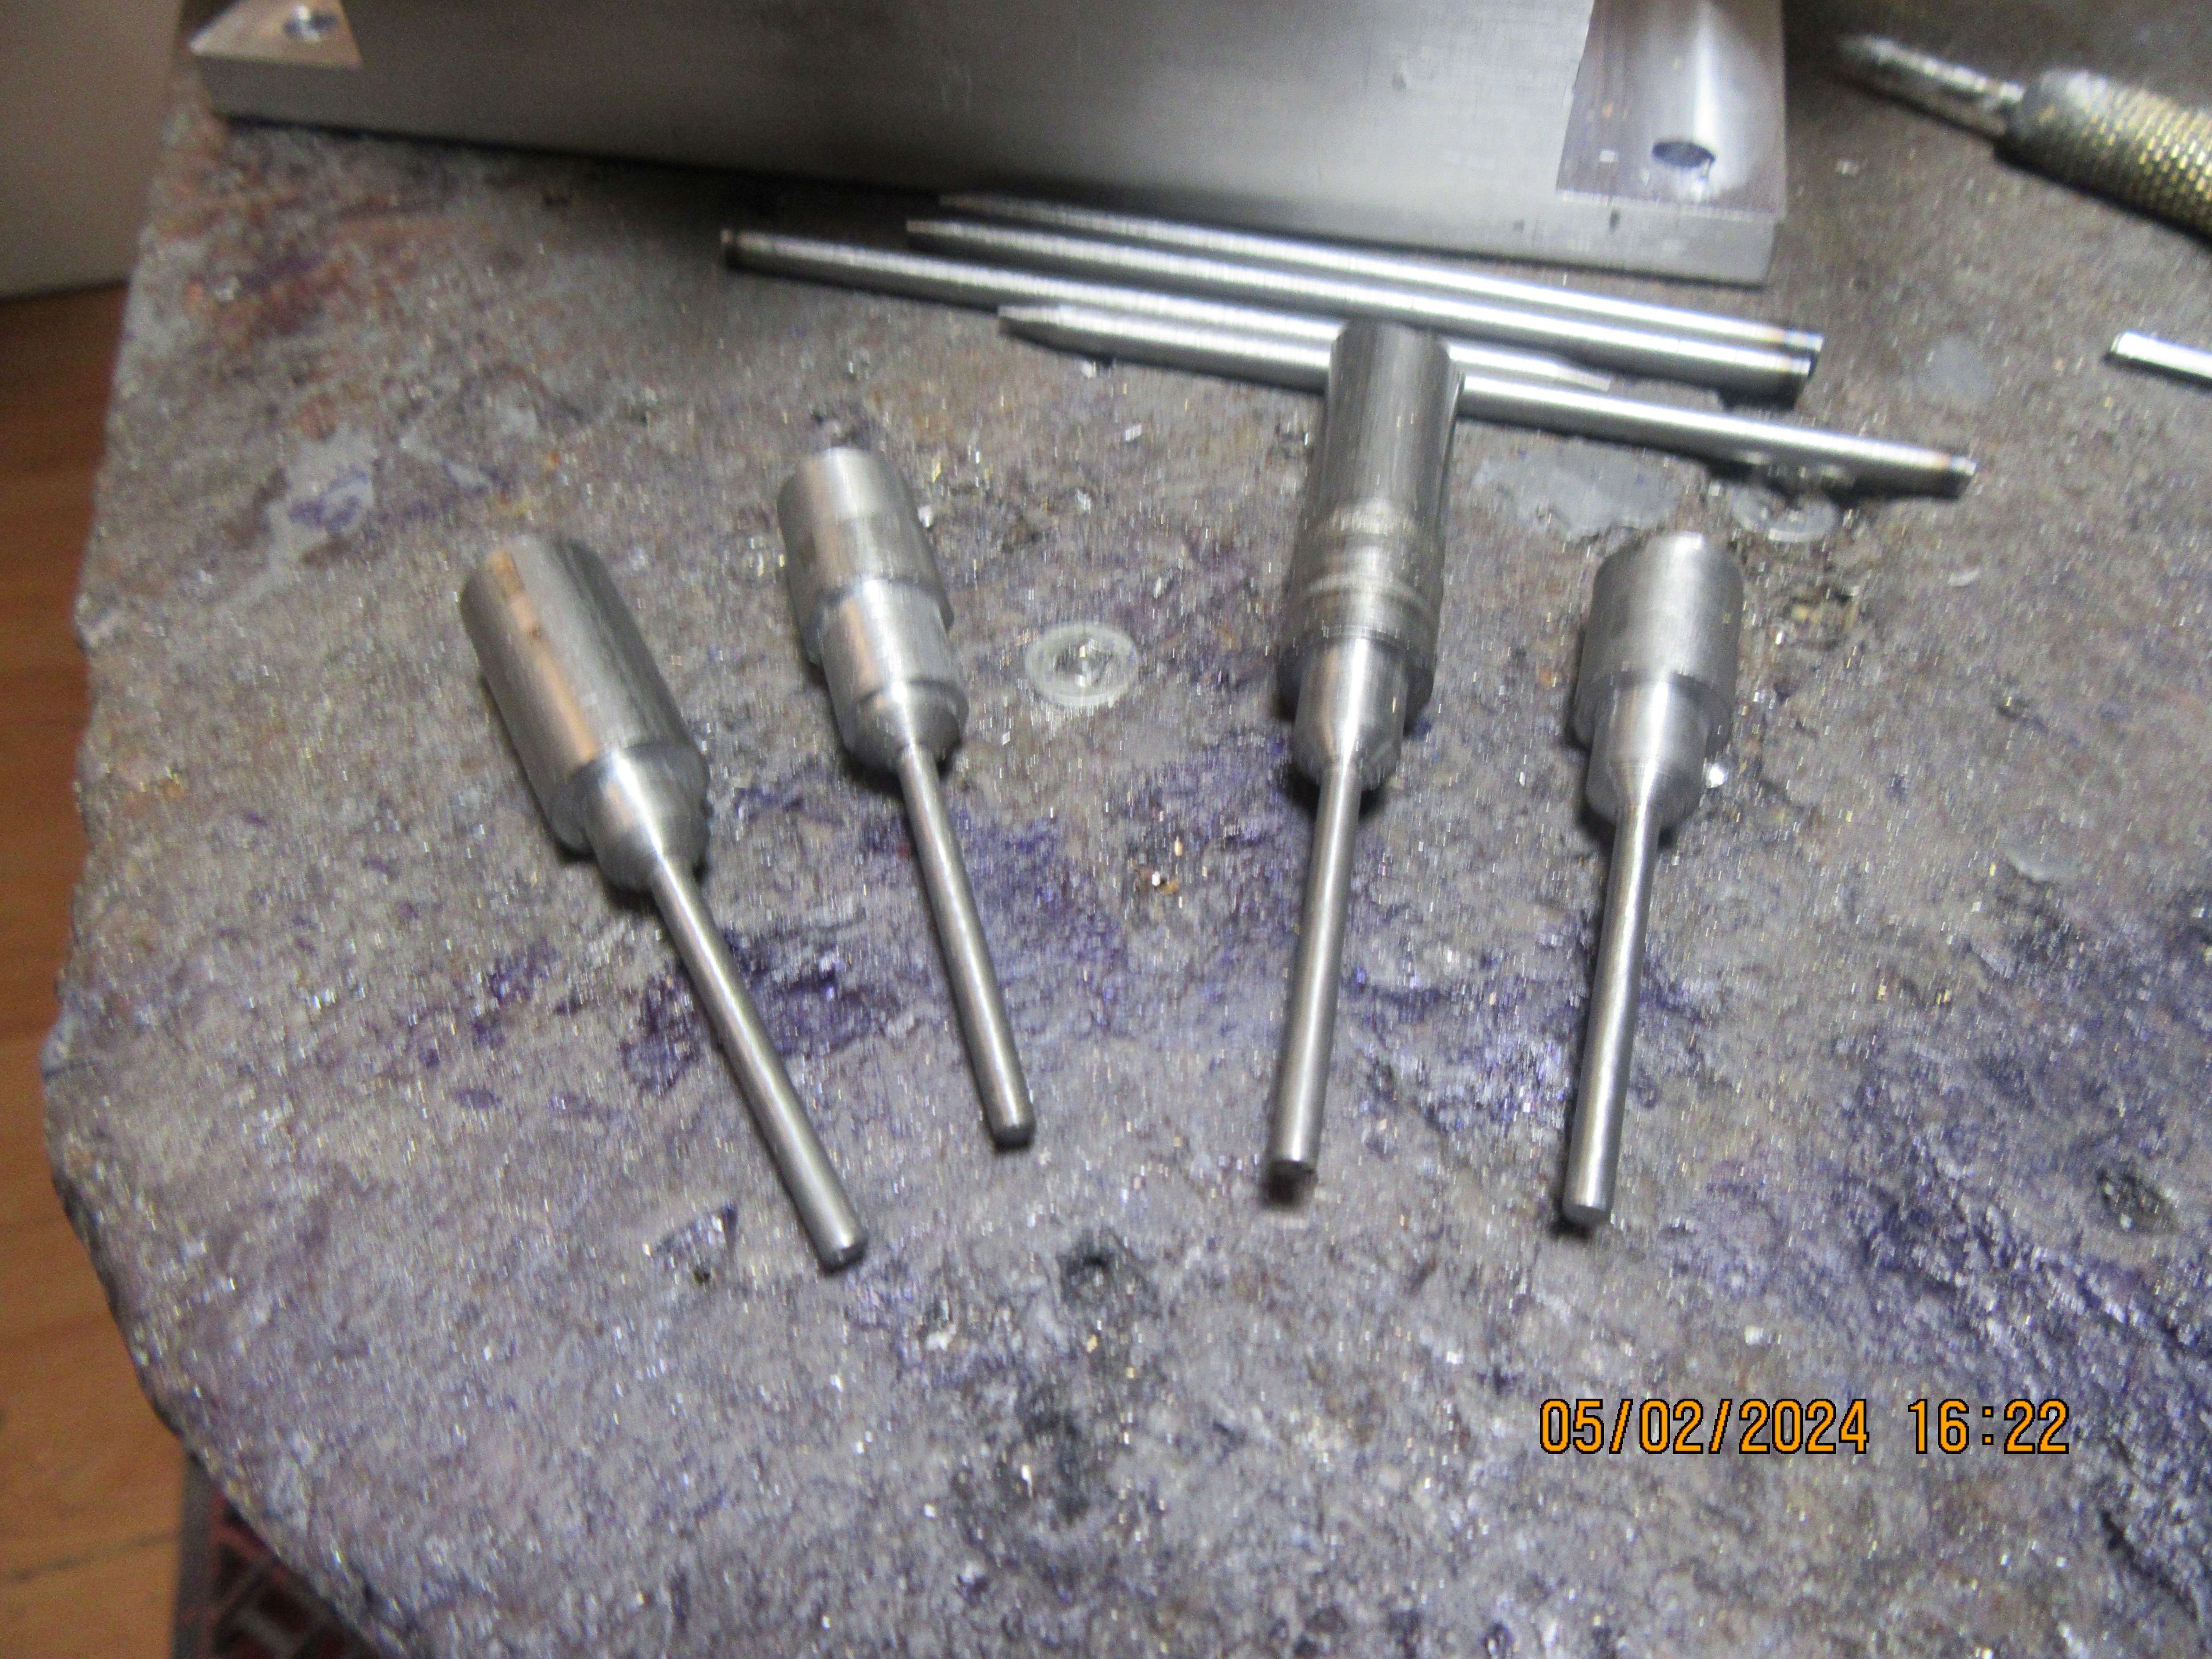
So, today I made valves. Very small valves. They still have to be cross drilled with a 0.039" hole at the ends for the valve keeper cross dowels.---And I lied!!! Sometime or other I must have made this size of valve before, because in my box of George Britnell wonderful valve seat cutters, I have one for cutting the mating face of these valves into the cylinder head. I don't actually remember making this size valve before, but after the first 40 engines the memory gets a bit blurred.

Last edited:
The downside to spiral taps is that in my experience they are easier to break than a standard tap (also they don't seem to work so well in small sizes). Spiral point is good for through holes but awful for blind holes. And of course fluteless is useless for brittle materials and plastics. Horses for courses, as they say.You don't need a fluteless tap for that. Just use a spiral flute or spiral point. First lifts the spiral of swarf out the top of the hole, second pushes it forwards and is used for through holes, neither are backed off to break the swarf. Very good for hand tapping not just machine tapping. And works in all metals.
Same with Dies, if you get a "gun nose" one that will push the swarf forwards.
I've never seen a gun nose die, but I'll be on the lookout for them now! I have a tailstock die holder so I often use dies for small threads.
Have a look at Dormer Pramet, just about all theirs are gun nose
M2.5 is a small as I go with spiral flute, YG-1 brand for good work, cheaper for general
Most of my threading is small so dies do the job. It is usually odd sizes that I need to screwcut or more recently thread mill on the CNC
M2.5 is a small as I go with spiral flute, YG-1 brand for good work, cheaper for general
Most of my threading is small so dies do the job. It is usually odd sizes that I need to screwcut or more recently thread mill on the CNC
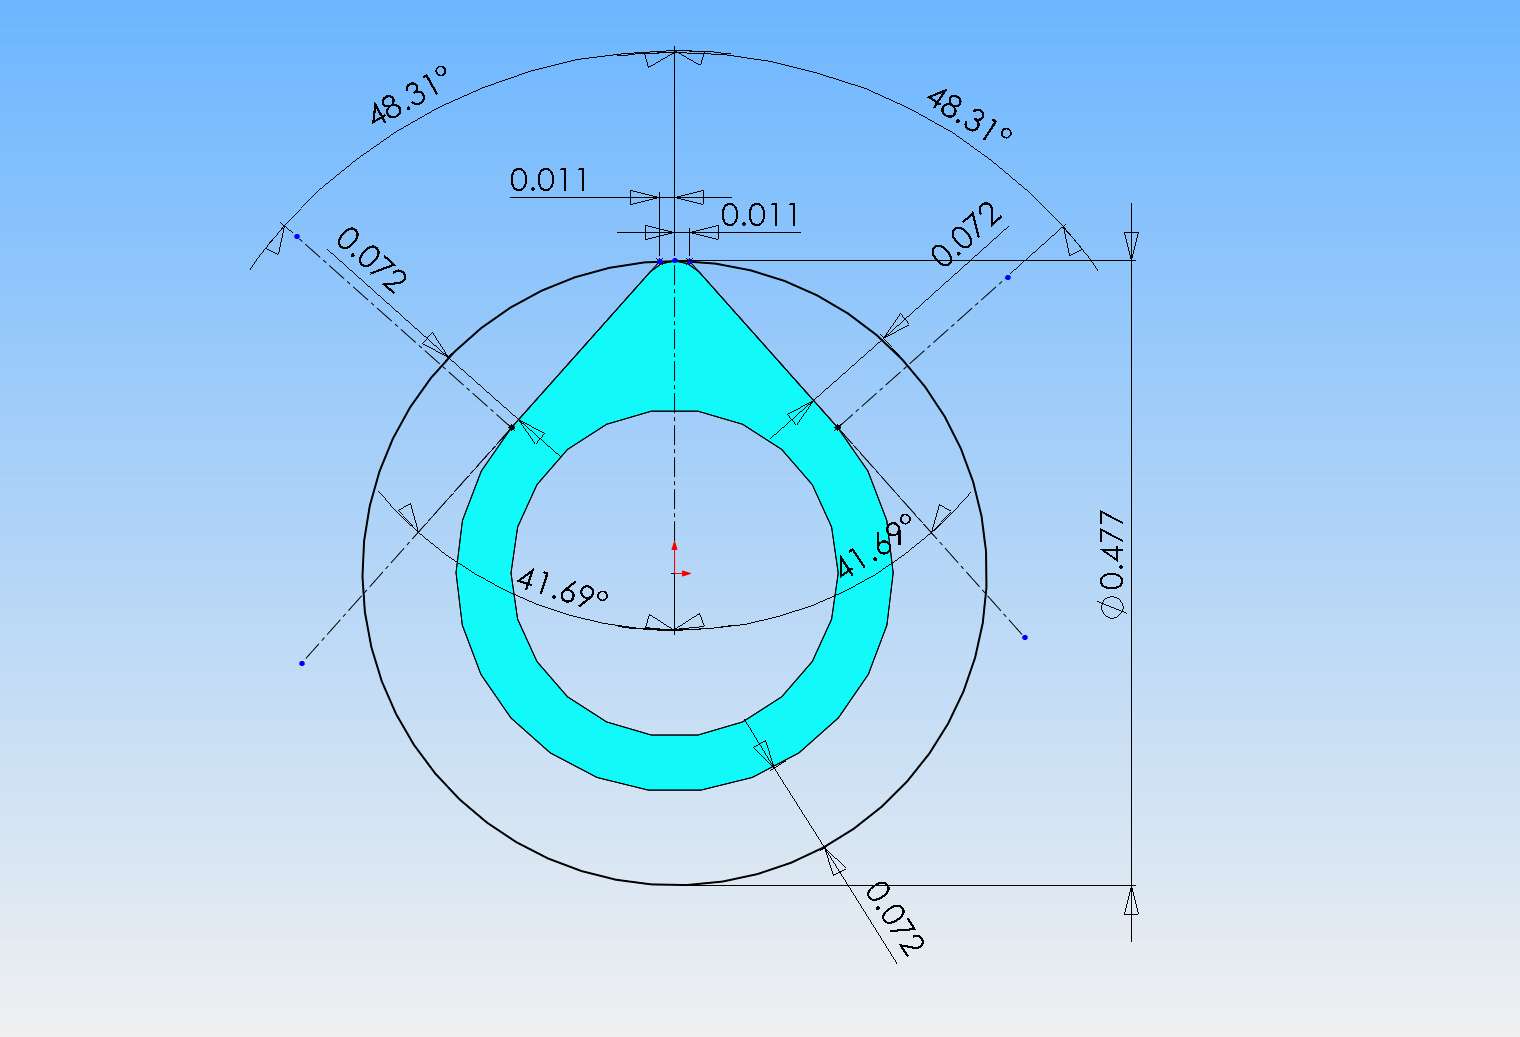
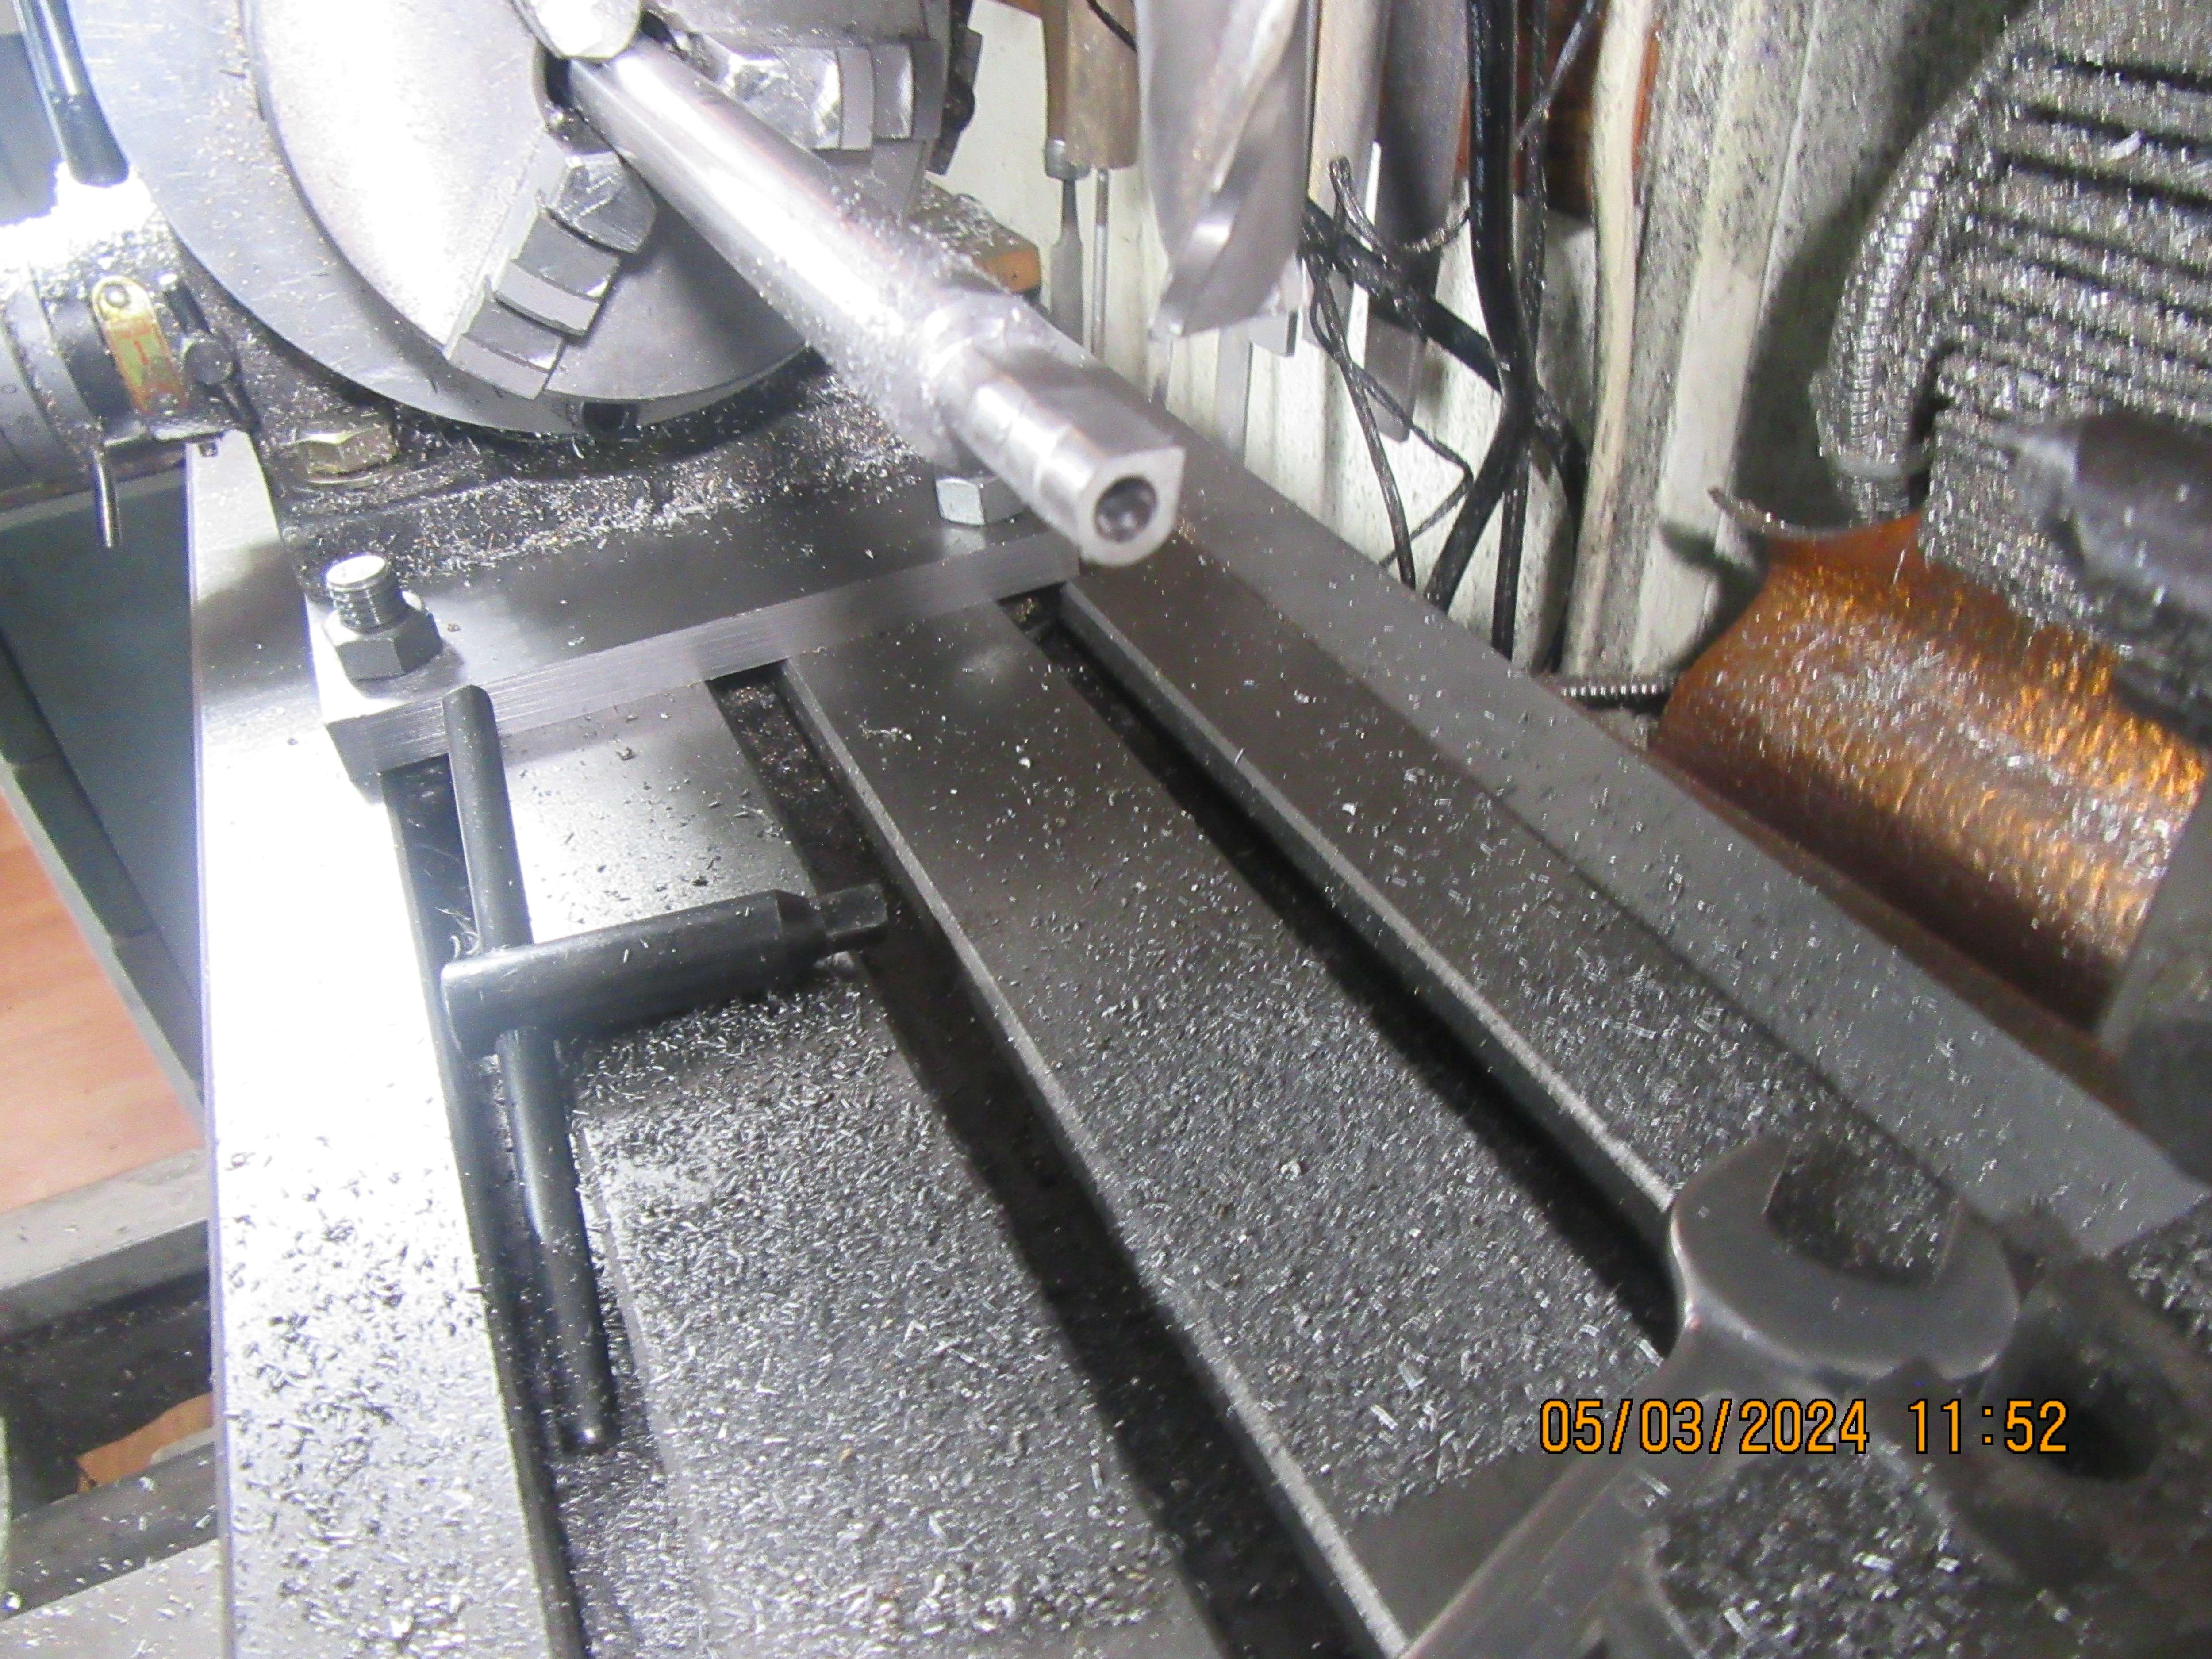
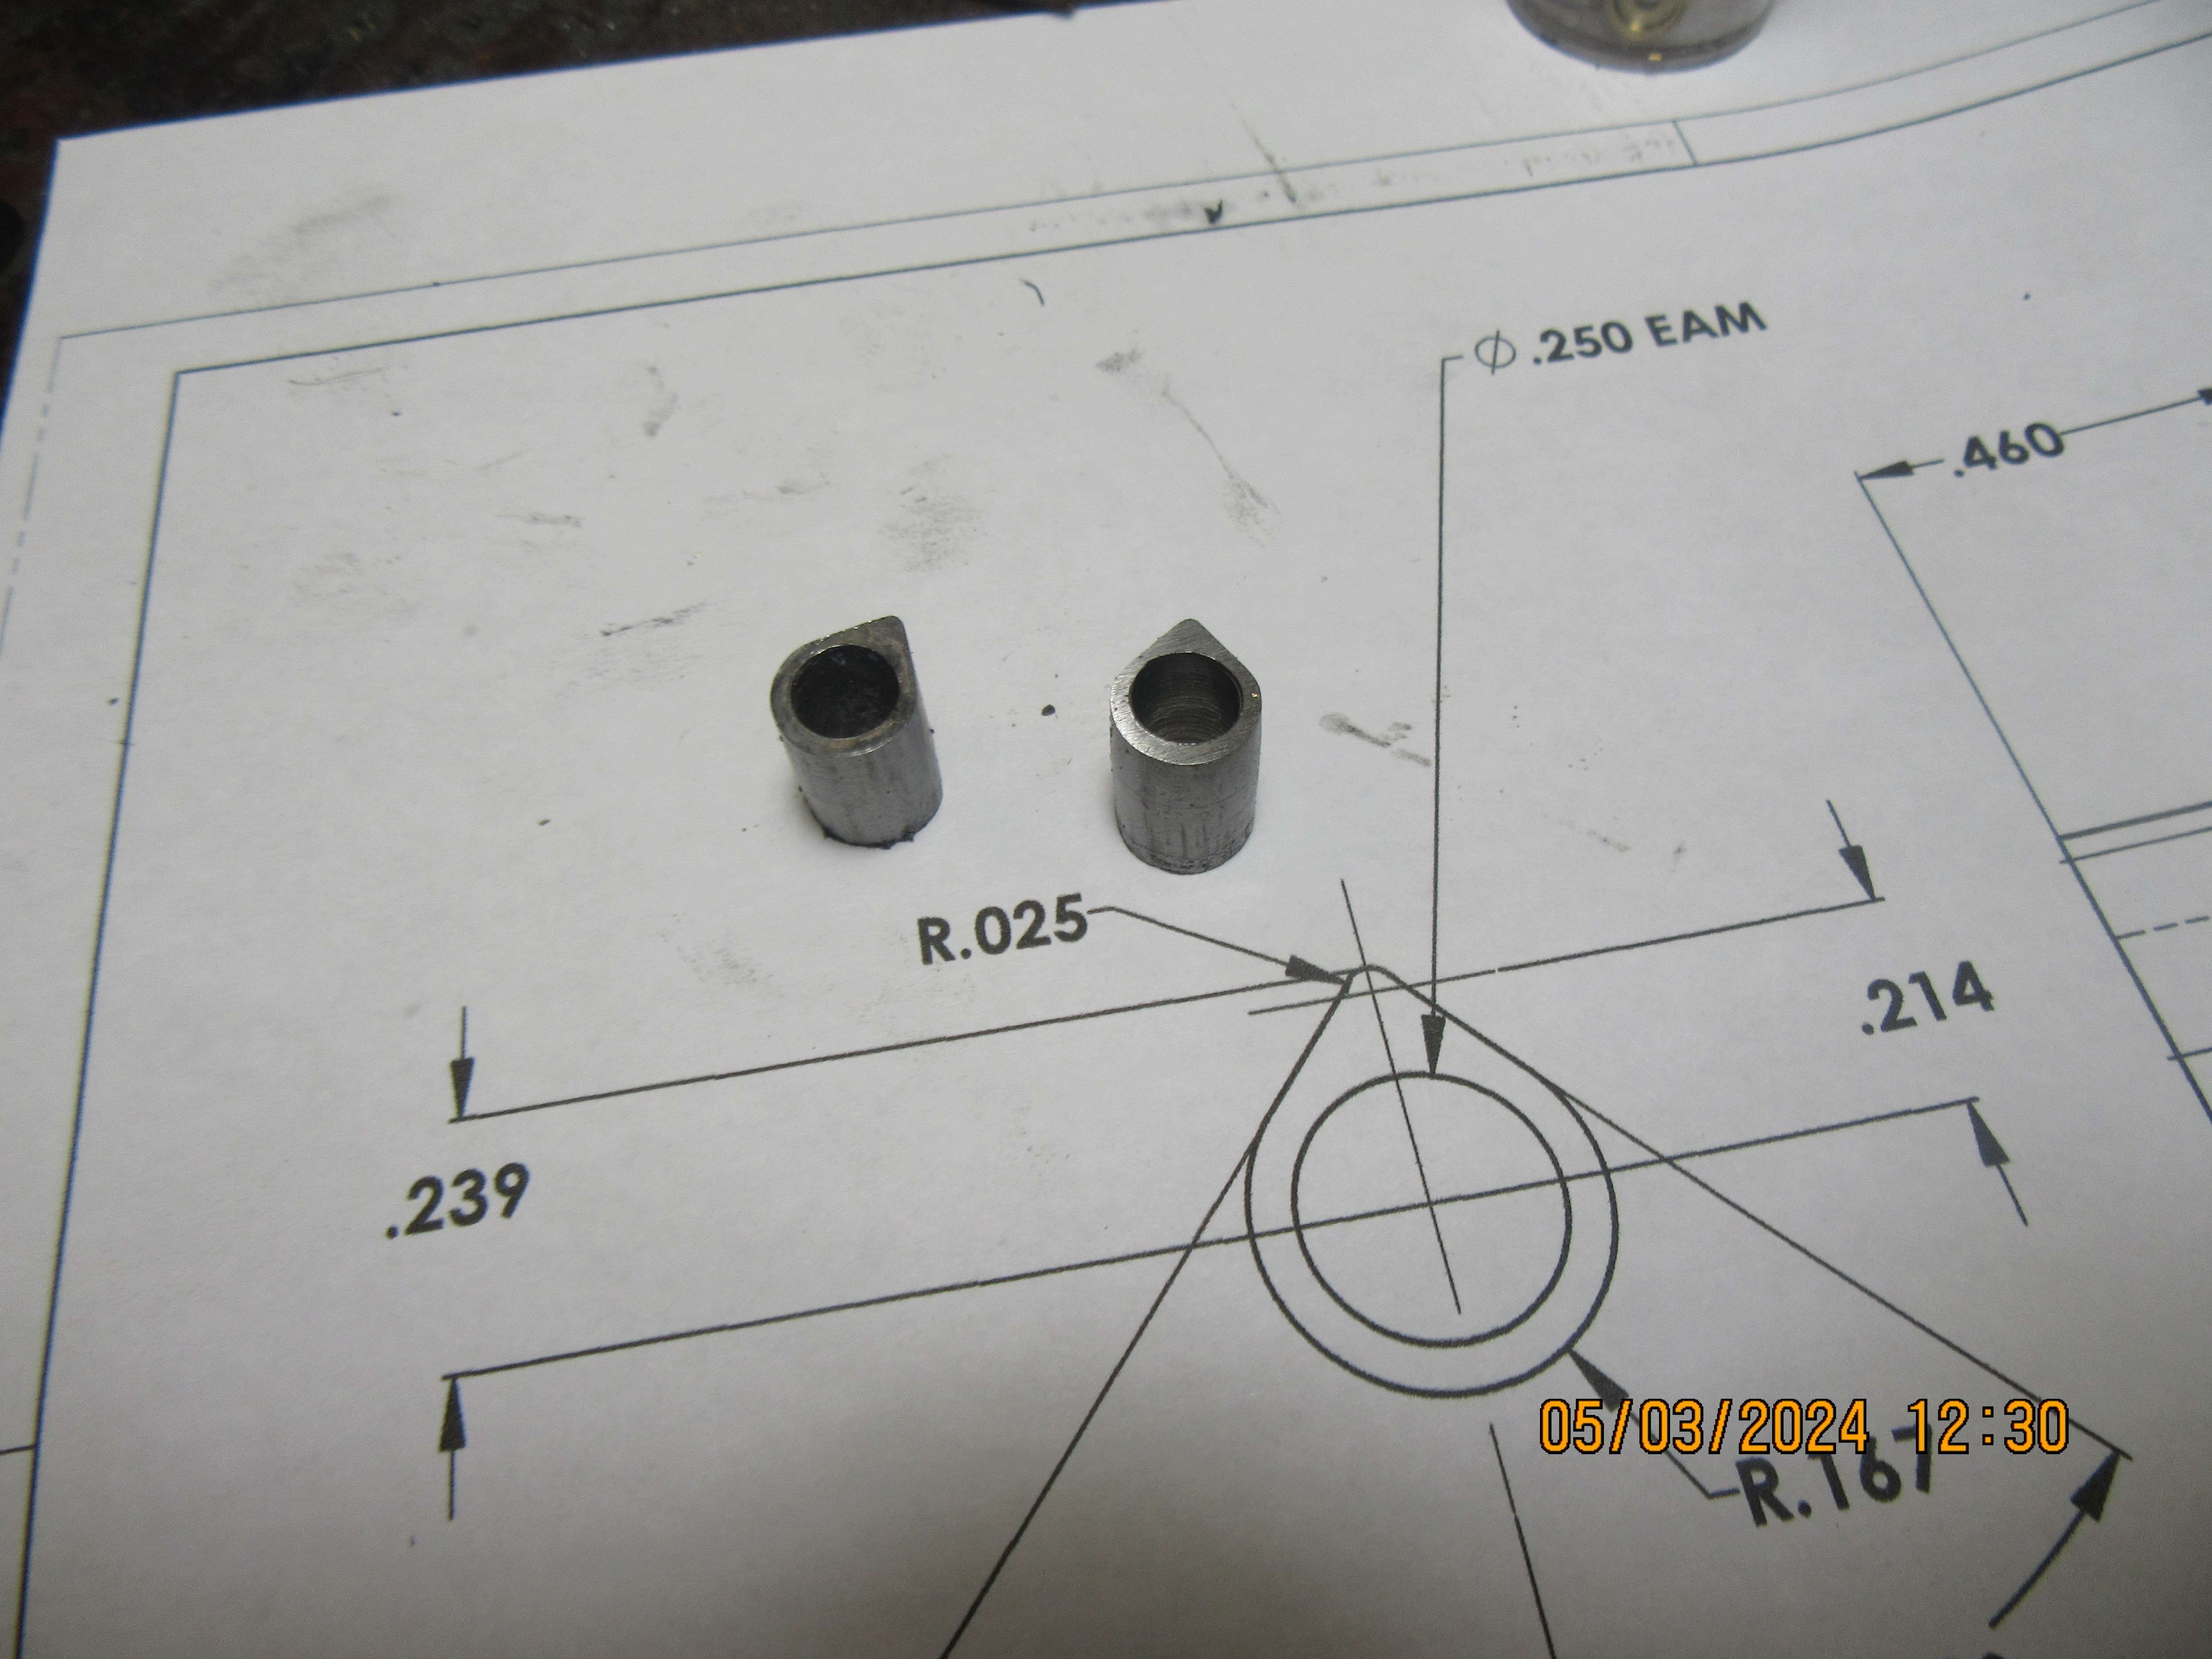
Today I will take a crack at making the cams for this engine. These cams do not have a curved flank, so they should be easier to make. I have attached a sketch of the finished cams which will be made from 01 steel and hardened. Lucky for me, I have a piece of 1/2" diameter 01 material on hand.

One thing for sure, for sure. I'ts a heck of a lot easier to make cams with flat flanks.


Yowzah!!!--I rooted around in my plate stock and found a sheet of 0.030" brass plate. That will do to make my ignition points arm and the piece that attaches to the ignition rotor. I have enough black nylon left to make the block that holds the other side of the ignition points. I need to make an ignition cam. I should get all of that made up over the weekend. I'm running out of things to make. I may get time to fix my one cylinder head with the buggered up sparkplug threads.
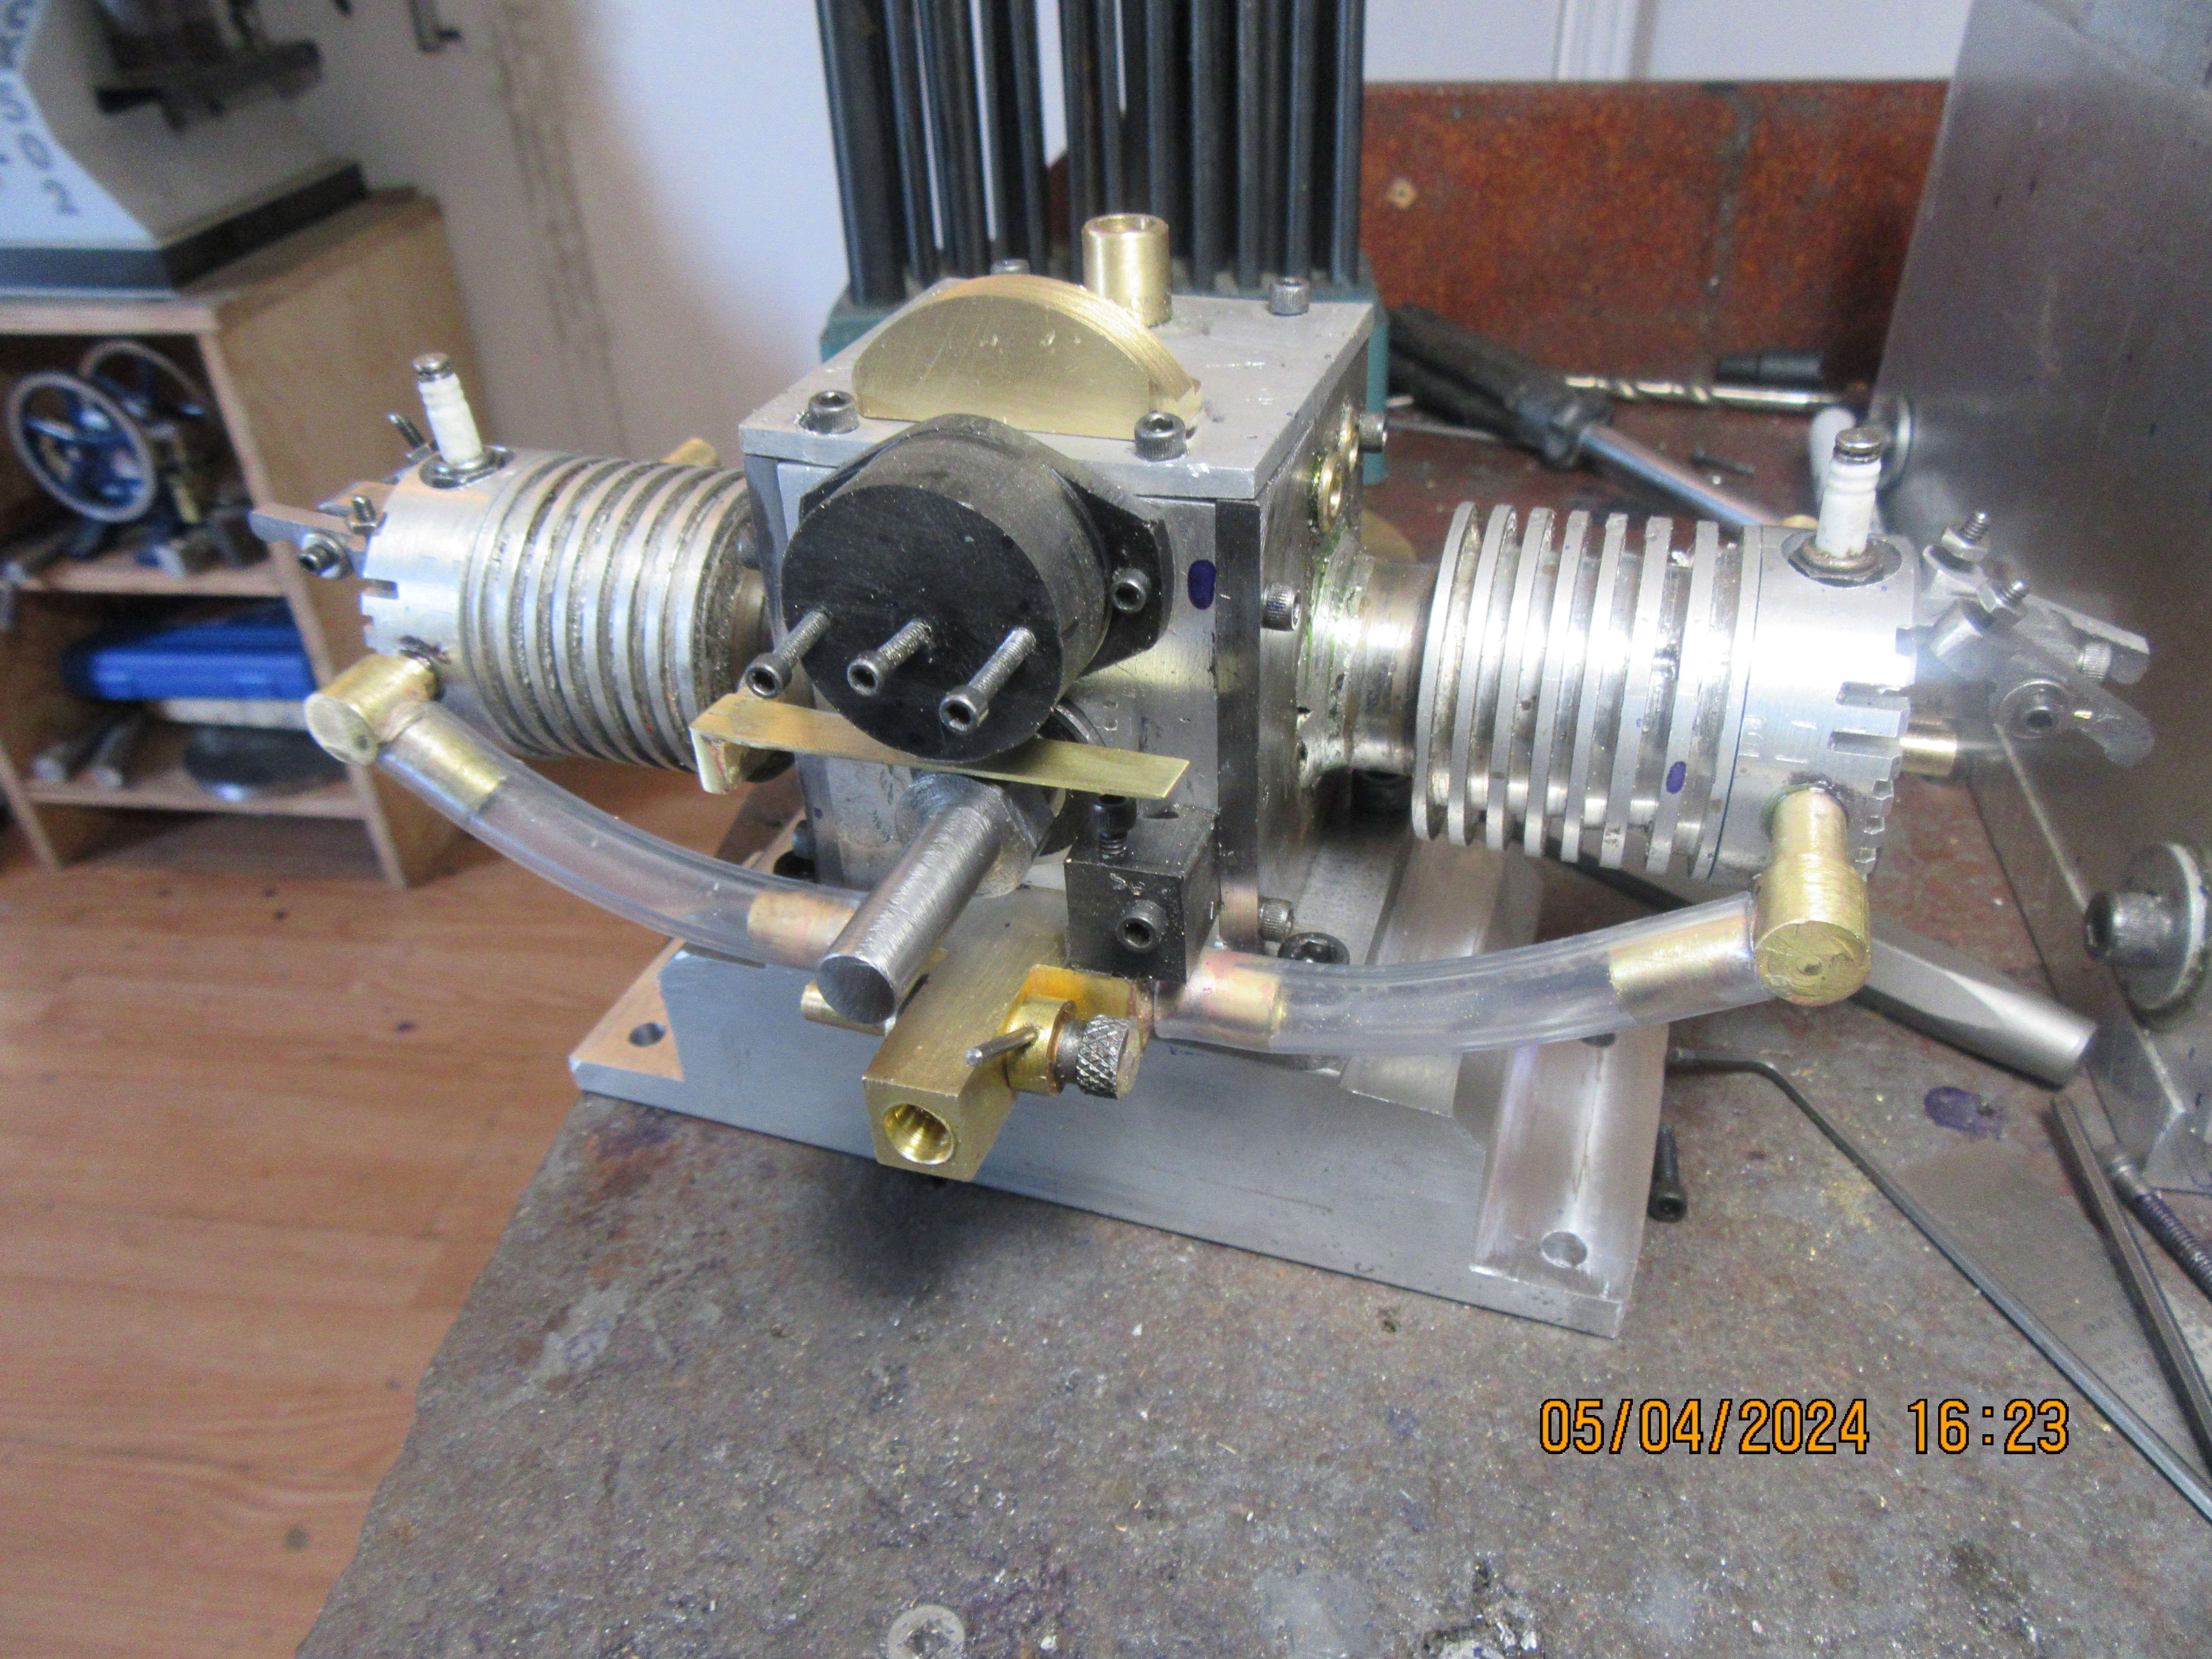
Today I made the nylon points mounting block, the brass ignition points mounting assembly, the ignition cam and opened up a few clearance holes on the main crankcase assembly. It's a beautiful day here in Ontario, bright sun and 70 degrees F. Wife and I went to a take out restaurant and then went to a local park to eat. This is the nicest day we've had this year.

Similar threads
- Replies
- 413
- Views
- 68K
- Replies
- 27
- Views
- 8K
- Replies
- 27
- Views
- 5K
- Replies
- 61
- Views
- 14K


![Learning AutoCAD Civil 3D 2014 [Online Code]](https://m.media-amazon.com/images/I/51F3yi9fokL._SL500_.jpg)


