Rattler

Home Model Engine Machinist Forum

Help Support Home Model Engine Machinist Forum:

This site may earn a commission from merchant affiliate links, including eBay, Amazon, and others.
metalmad, looking good thus far. That is a very interesting engine with lots of opportunities to put your personal touches to it. By the way, you might want to take a little more out of the bore of the cylinder sleeve. 0.010" is quite a bit to hone out. I use to do a lot of honing and 0.001" to 0.002" was gracious plenty enough especially on a small bore such as you have. Keep up the good work and I will be following your progress.
 
Thank u Chaffe for your support I find it a big boost so early in the build when I'm still trying to find my feet :)
Hi Steamin
maybe your right, but I think id be scared to put er back in the 4 jaw now.
I will give it some thought and maybe just a bit of a hone and make the piston to suit :big:
The cyl bore is .995 not .990 ( i wrote the same thing on Madmodder and it did not click till just now )
Pete
PS The bevel on the front of the cyl makes it look thicker then it really is
 
Hi guys
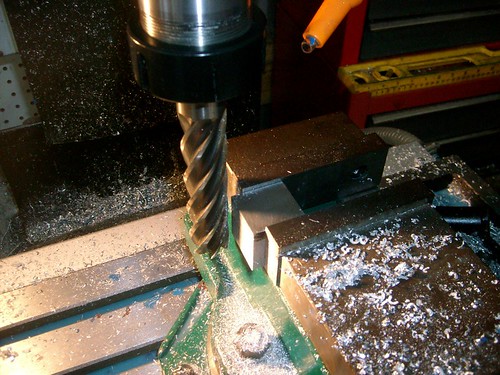
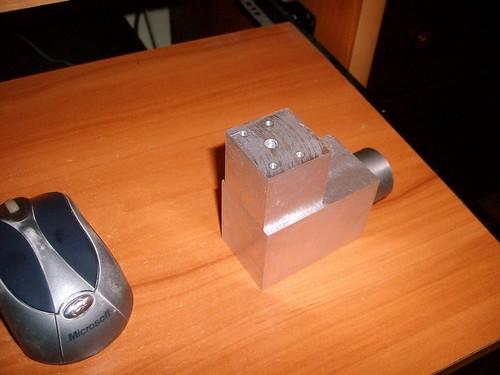
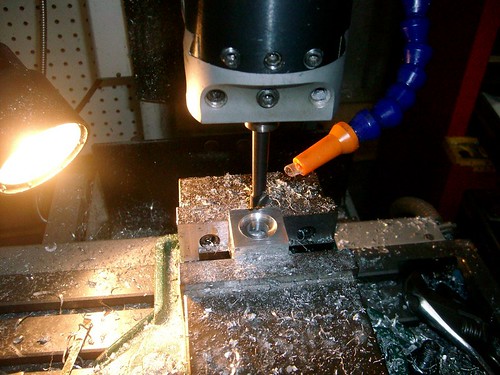
I did a little more today and started the valve chest.
I had someone ask me where they can buy the plans, as a google search did not turn up anything.
This is a new design by Dave G and mine is only the second made, so its probably best if u ask him.
( he replys on this post )

SANY1608 by metalmad2011, on Flickr


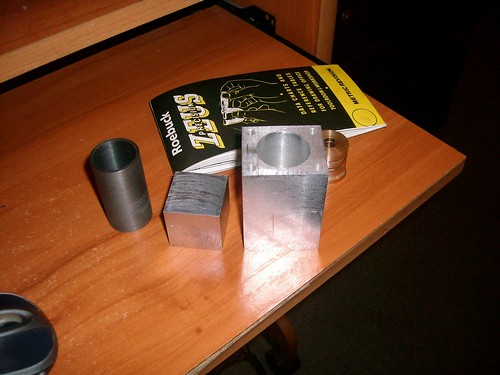
parts by metalmad2011, on Flickr
Pete
 
Hi Pete, Looking good so far. I really admire your intestenal fortitude for taking on this project. I'm sure we all are aware of the difficulties of doing a project like this and hopefully everyone will be here to help. I know I will be. It's the first time around the block with this engine and there will be roadbumps.
As for plans, I have the component prints drawn with Turbocad, machining instructions, bill of materials, and purchased parts list. Once Pete has finished his engine and the prints are proven to be correct they will be available. This is my first attempt at documenting one of my engines so please be patient. For those that have done this, my hats off to you because it's alot of work. Because of the amont of time invested I will charge a minimal fee for the plans. Believe me, my goal is not to get rich from this and I think the info in the plans will be a good value in the end.
I tried to design this engine with the novice machinist in mind. It's a 4 stroke design with no gears. I'm hoping it will become a good first IC engine project for those interested or just something a little different on the shelf for those who have built before..
Looks like Pete's off to a good start and I thank you Pete for everything you are doing. Dave
 
My pleasure Dave
I actually printed out the instructions tonight ;D
I am getting a bit confused with the valve chest, but I will try to get some more done tomorrow.
Pete
 
Pete, wake up and get back in the shed - I need you to finish up so I can buy a set of plans from Dave stickpoke

All jokes aside, it's looking awesome so far, and I'm really enjoying your write up of the build. Keep up the great work.
 
Hi Richard
I really had a problem getting my head around this part and after drawing it and swearing at it I suddenly realised that I was expecting a round port for some reason and was not seeing anything but what I expected to see :big:
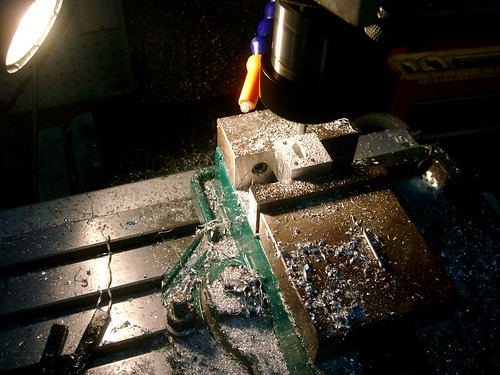
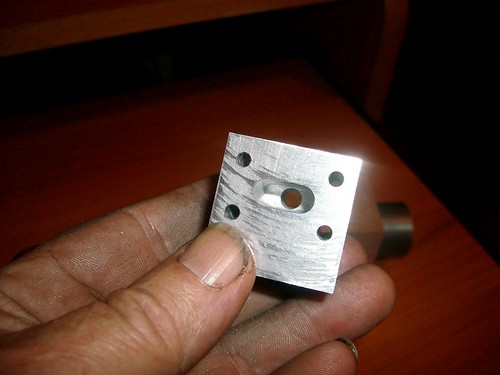
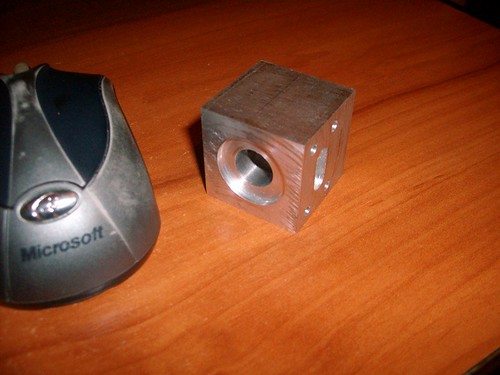
here we have the transfer port on one side and the sparkplug hole on the other ( I really hope I got that right LOL)

SANY1614 by metalmad2011, on Flickr

transfer port by metalmad2011, on Flickr

sparkplug hole by metalmad2011, on Flickr
 
If I get a chance I will bore out the valve block for the valve cages tomorrow.
i started to enjoy myself this arvo once I started to understand the part I was making.
Pete
 
metalmad said:
If I get a chance I will bore out the valve block for the valve cages tomorrow.
i started to enjoy myself this arvo once I started to understand the part I was making.
Pete
All good feedback im sure, it will all be put to good use in prehaps modifying or adding drawings to help future builders
 
Hi Pete, looks like you have it figured out and yes the dwgs will be changed to help clarify. This is one of the more complicated parts to make and I wondered how good of a job I had done to describe it and it looks as though I should have spent a little more time on it. Your doing a good job and pointing out where the dwgs need more work will help us all.
By now, I think we all know how big of a challenge Pete has taken on with this project and I know I admire his courage in doing so. I only hope I don't have a mad Aussie at my door someday wielding an ax.lol
I wanted to increase my drawing skills with this engine and I have done so but there is still room for improvement. How much improvement we shall soon see. Keep up the good work Pete, Dave
 
Hi dave
I think Im starting to find my feet now after a shaky start
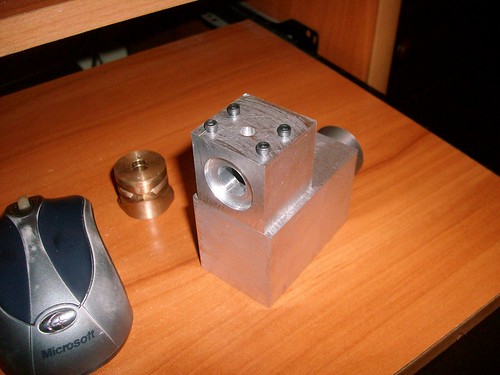
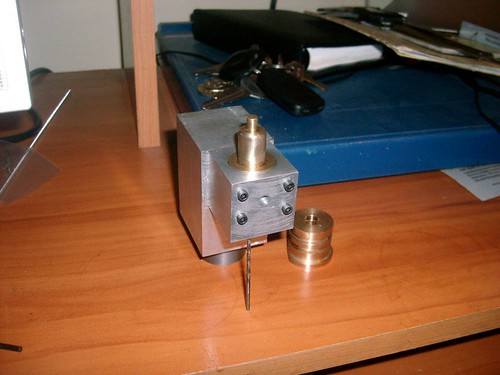
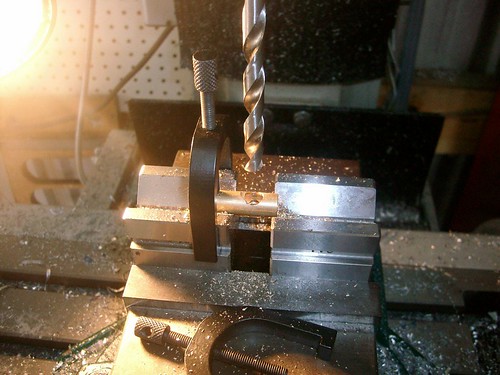
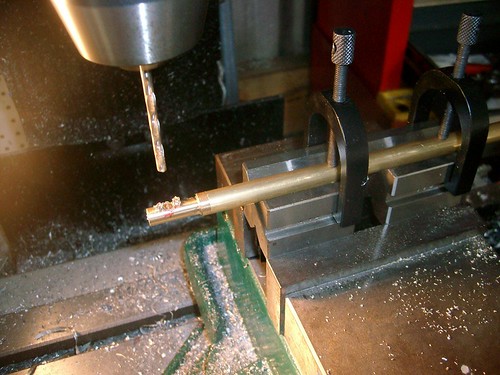
this arvo bored out the holes for the valve cages and all went well
tomorrow I will put the chest in the dividing head and drill and tap the carby holes and Sparkplug hole.
Im hoping to get started on the valve cages tomorrow too if all goes well!!
Pete

SANY1618 by metalmad2011, on Flickr

SANY1619 by metalmad2011, on Flickr

SANY1622 by metalmad2011, on Flickr
 
metalmad said:
My pleasure Dave
I actually printed out the instructions tonight ;D
I am getting a bit confused with the valve chest, but I will try to get some more done tomorrow.
Pete

Again with the instructions? You becoming some sort of fanatic? ;)
 
tel said:
Again with the instructions? You becoming some sort of fanatic? ;)

Rof}

Weez' don't neeed no stinking instructions !! :eek: The last time I followed the instructions, what I was doing actually turned out correct on the first attempt. Go figure that ??? :big:

BC1
Jim
 
Hi guys
there are some of us who just need a bit more of a hand then others :big:
As with my other builds I start every part, with a, I hope I can do this attitude ;D
Oh by the way I finally got my choo choo train :big:

SANY1626 by metalmad2011, on Flickr

SANY1627 by metalmad2011, on Flickr
Pete
PS
should have cleaned the fingerprints off cos it looks nice on the bench :))
 
Coming along nicely Pete Thm:

Kind regards, Arnold
 
Looking good Pete. Watching you build the Rattler is uplifting experience for me, Dave
 
I can vividly remember my start into machining and how overwelming it was. Now I look back with great amusement at how I struggled with even the simplest of tasks that now I could do with very little effort. I'm sure you will feel this way soon also.
Keep up the good work and I think it is coming along nicely.

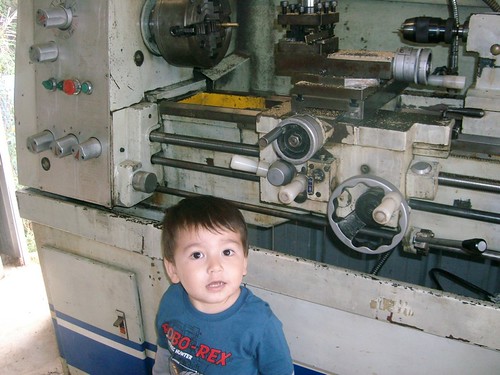
As for the helper, I envy you a great deal being that mine grew up and I miss having him and her in the shop. Dave

Oh, This struggling thing rears it's ugly head around my shop from time to time and sometimes I wonder if I should be building birdhouses instead. No offense to birdhouse makers intended as this was one of my fathers favorite activities.
 
Hi Dave
When I first turned on the lathe I very neally shat myself :eek:
But Im starting to get comfortable now :)
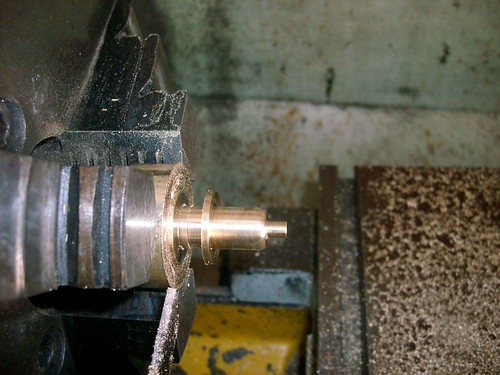
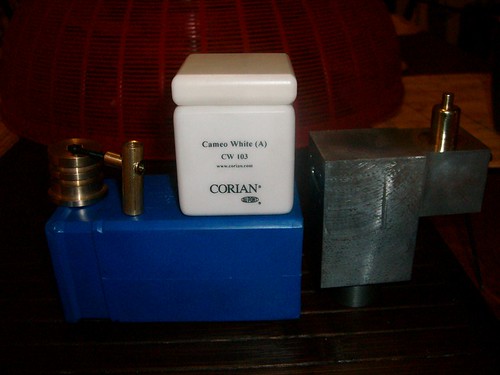
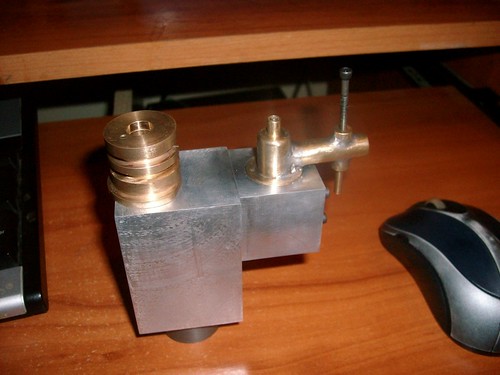
anyway today I did a little more on the carby, but still need to tidy it up a bit tomorrow and make the valves etc

SANY1638 by metalmad2011, on Flickr
Pete
 
Hi Pete, the carb looks great. Keep up the good work, Dave
 

Latest posts

Back
Top