Rattler

Home Model Engine Machinist Forum

Help Support Home Model Engine Machinist Forum:

This site may earn a commission from merchant affiliate links, including eBay, Amazon, and others.
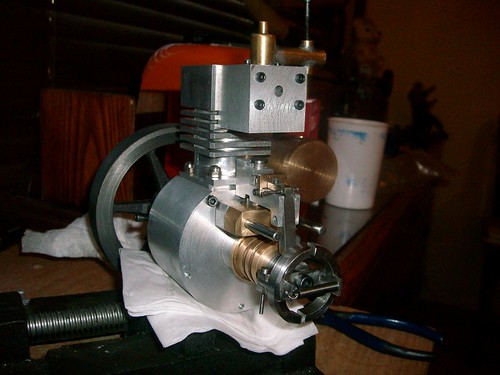
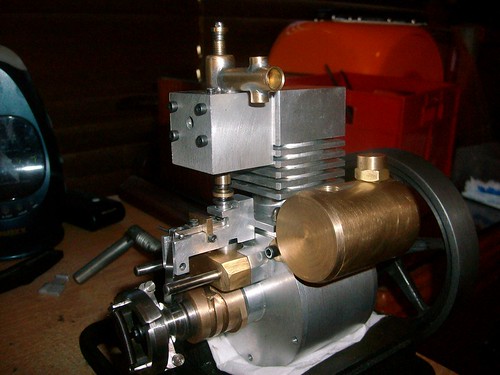
Excellent work on the engine Pete :bow: and

Your ingenuity for finding ways to prop it up for photos seams endless :bow:

;D Surely, you must be starting to think "I'll have to build a stand next" :big:


Keep up the good work!
 
Hi Bez
Thanks Mate
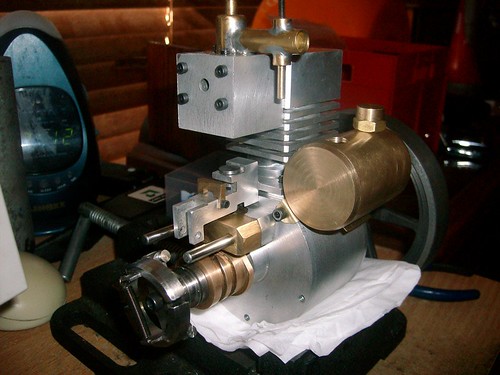
Yes I know it needs a Stand, but I have a sort of idea of what I want for that and don't have suitable stock for it yet, but do have the meterial for everything else :big:
 
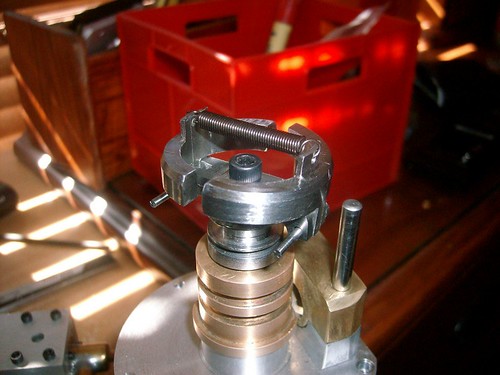
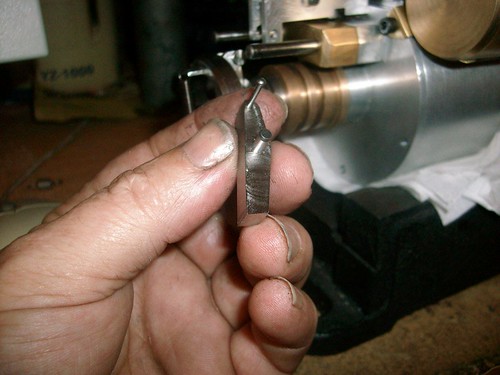
I ended up making the lockout lever from Stainless as the offcut from the other lever was already to size on one Dim !!
the lockout has a hard spring steel plate that is bolted on with the two 2-56 bolts u see.
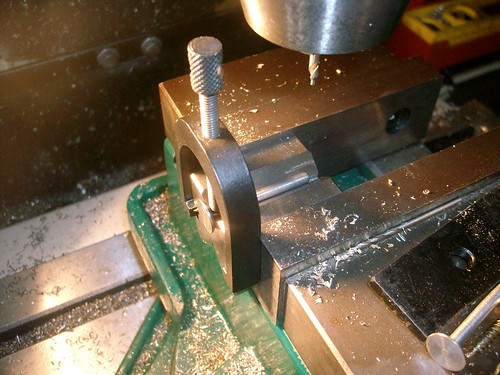
I have no idea how im gunna drill the clearence holes, I had a go at this part early in the thread, so tomorrow will be my second attempt at this bit.
last time, I drilled the lockout for 4-40 and had to scrap both bits.

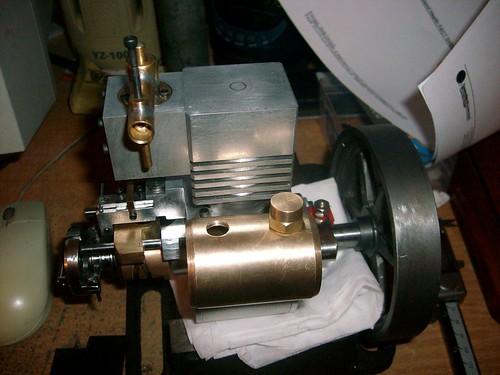
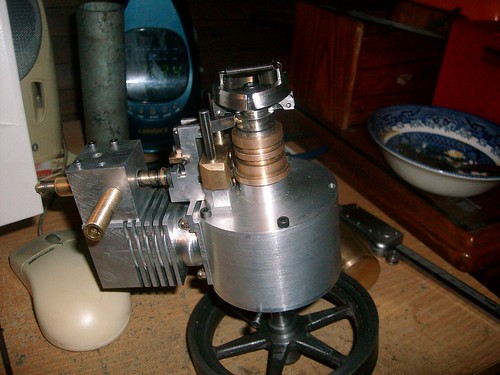
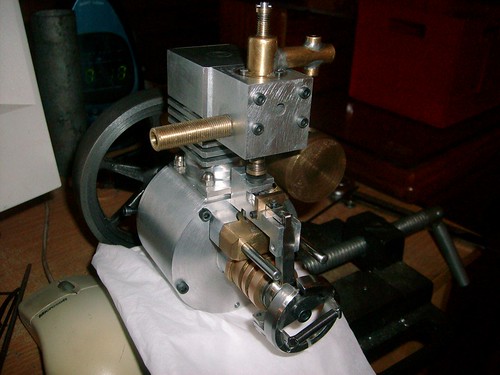
SANY1735 by metalmad2011, on Flickr


SANY1736 by metalmad2011, on Flickr
 
Got to love stainless, keeps you alert, also causes alot of stress if you are anything like me. Engine looks great. Thought of a stand for that beauty yet? Would hate to see it fall over.

Brock
 
Hi Brock
I'm trying to make every engine I build a little bit harder or more complex then the last.
And mate in that I have succeded :big:
its starting to get quite complex now and The thought of doing something so mundane as the Stand is impossable at the moment ;D

SANY1738 by metalmad2011, on Flickr
 
Hi Pete, Looks like you're making short work of all the small pieces. I used a #2 carbide center drill to drill the holes in the spring steel piece. The small dia of a #2 center drill is.094" and provides enough clearance for the 2-56 bolts which are .086" dia. A small carbide burr could be used also. You may be able to secure it to the mating part with 2 part epoxy instead of bolts but it does take a fair amount of abuse so I don't know how long this would last. The spring steel is trapped by the guide and supported by the trip so epoxy may be fine. The first trip I made was soft and it soon peened the edge over and wouldn't catch the ledge on the governor lock pin. I modified the design to use the hardened spring steel and have had no issues since. I think you could make the trip from O-1 steel and harden the whole piece instead of making it 2 piece construction and this would work fine. The trip and lock pin should be hardened steel as these see a good amount of impact when the engine is running and will soon fail if not. I hope this helps, Dave
 
Thanks Dave
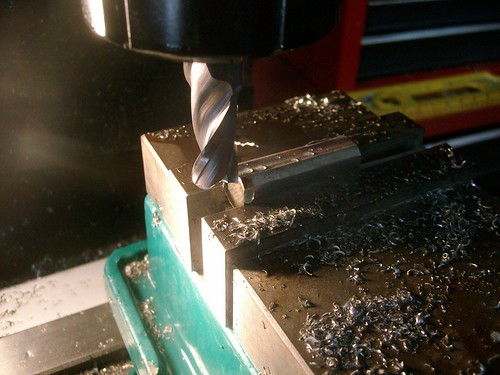
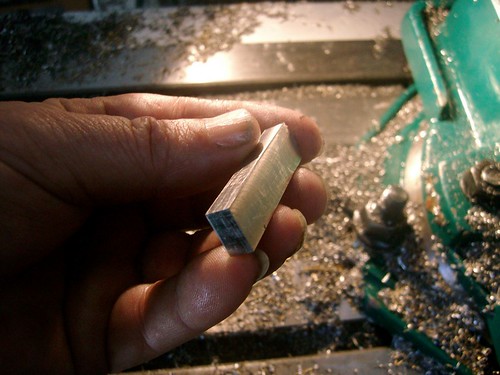
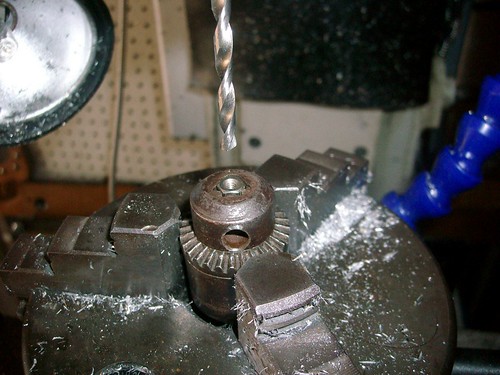
Today I made the wear plate for the lockout lever and had a good look at my 2-56 clearence drills, both I had, were sharpend so badly from the factory that i'm surprised they would drill anything let alone hard spring Steel.
So after sharpening one by hand I had no trouble doing the holes.
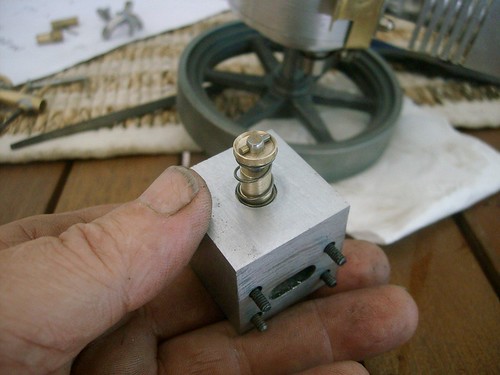
The only 10-32 nuts I have been able to get have a huge, out of scale head so I bought some small metric dome heads and redrilled and tapped them for the cyl barrel.

SANY1741 by metalmad2011, on Flickr


SANY1742 by metalmad2011, on Flickr
 
HI its cumming a long nicely don't no if you no this but their is drillbits made especially for drilling stainless steel dormer do them
 
Hi Bob
I did not know that and I'm sorta hoping, I never have to drill another bit of Stainless in my life :big:
unfortunately all my drills are very cheap and nasty, but I was rather surprised today how bad they were :eek:
Pete
 
metalmad said:
Hi Bob
I did not know that and I'm sorta hoping, I never have to drill another bit of Stainless in my life :big:
unfortunately all my drills are very cheap and nasty, but I was rather surprised today how bad they were :eek:
Pete

We're taught three basic types of drill bits at Boeing when we're in training, HSS, Cobalt, and Carbide. the latter two are used for titanium, depending on size of hole and user's preference, but titanium is expensive, so in training they have us drill stainless (which is actually harder). Here is what we learned in that class :

HSS can drill Stainless, but it's VERY finicky. Even with a brand new drill bit, chances are you'll break the bit 9 times out of 10 (in my case, I broke 40 before I got my first good hole, I'm told that's not uncommon). Once you learn the feel of the stainless, you get an idea of how much pressure and feed rate (VERY slow) to give it. Once you've got a pilot through (we pilot virtually every hole to .1285in , before bringing it higher) subsequent sizes go through much easier.

Cobalt is great for upsizing holes, but very fragile for pilots. Otherwise, same as above. feed and speed are key.

Carbide tends to be good for piloting, but overheats quickly if you upsize too much at once.

The trick to stainless, is that it work-hardens VERY easily. if you're not putting a constant smooth pressure on it, it'll work harden, and it'll be a real pain to punch a drill through it no matter how sharp or what it's made of. After my 40 bad drill bits, that one 'good' one got me 20 holes before my hand slipped on the drill and snapped the bit. Titanium is a bit more forgiving, but also requires VERY slow speeds, as the swarf can catch fire in a heartbeat if it gets hot enough. And it's almost impossible to put out a titanium fire with common methods.

In a Drill Press, I had much better success with stainless. constant pressure and a good slow RPM (350-500) and a good bit will chew through it with ease.

I'm not very familiar with how well it machines, but for drilling, there's my 5 cents. (i talk too much for it to only be 2 ;D )
 
Hi Ryan
Yes I agree Stainless does work harden easly and when drilling to tap 2-56, as I have been doing the last few days a good sharp drill is a must !!
One day I hope to get a nice big expensive set of drills but it will not be this week :big:
It machines much like it drills, u really need to take your time.
Pete
 
Pete, a secret to tap in stainless steel is to use a slightly larger tap drill than the typical drill chart suggest. The chart will give you 75% thread contact which is way more than us modelers need. For threads up to #6 or #8, I go at least one drill size larger. Anything over that I will go two drill sizes larger. This gives around 50% to 55% thread contact and makes tapping stainless a whole lot easier.

If you feel that the stst is work hardening, then your speeds and feeds are to high and/or the tooling is not sharp. I have done a lot of machining of stst and I actually prefer machining it to any other ferrous materials.

Keep up the great work on the "Rattler". Looking forward to hearing it run.
 
Hi Larry
Thanks for That.
I do kinda hope it will run, but I recon it will be a couple of weeks yet before I try to Start her. Ive got my fingers crossed :big: :big:
Did not get a whole lot done today, but a little progress every day is better then a lot one day and then nothing for a month LOL
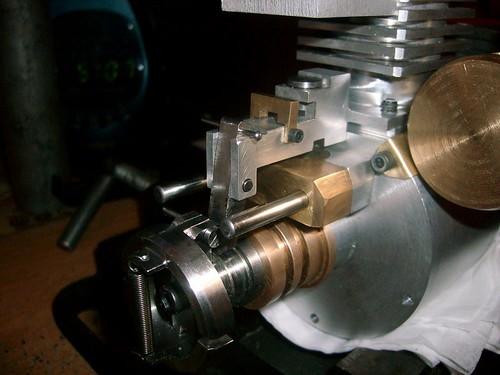
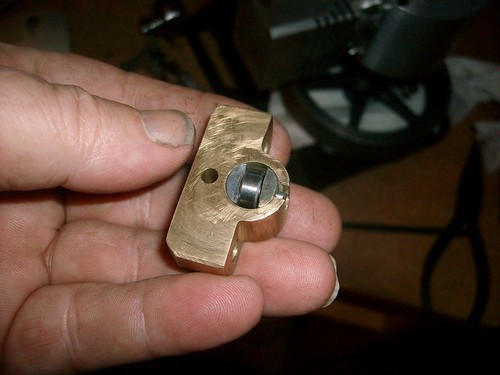
The plans call for a .380 by .123 roller for the lifter but it just so happens I had a ball bearing of the same Diameter. I think it was .155 wide but doing a dry run it clears by heaps so it should be OK (I hope)
In the second pic u can see that the roller lines up with the cam and the Valve Cage Hole and the Stylus hole lines up with the slot the Stylus will run in (Thank goodness LOL)
PS
always wanted Roller Rockers as a youngster on my 350 chev ;D

SANY1744 by metalmad2011, on Flickr


SANY1743 by metalmad2011, on Flickr

SANY1745 by metalmad2011, on Flickr

 
Today I made the Spring keepers and drilled the valves after that I wasted a couple of hours trying to find the spanner I had just used :mad:
still have not found it.
PS
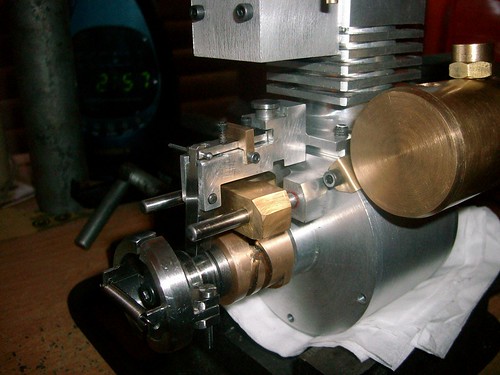
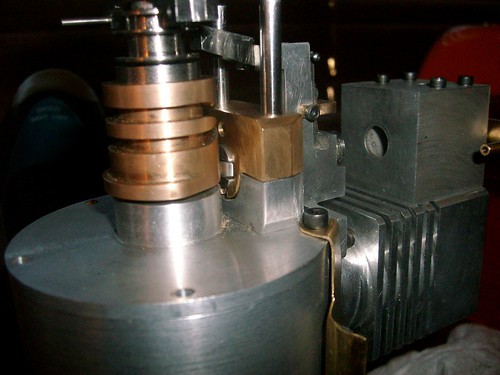
in the third shot I did a trial installation to get a sense of how its going together. I made both the lifter and the lock pin a bit too long so I can sneak up on the valve gap, at the moment the exhaust valve is held off its seat when it should be closed. The keeper pins I made out of the drill I used on the valve holes.


SANY1746 by metalmad2011, on Flickr


SANY1747 by metalmad2011, on Flickr


SANY1749 by metalmad2011, on Flickr
 
metalmad said:
I wasted a couple of hours trying to find the spanner I had just used :mad:
still have not found it.

Start looking for something else! your bound to stumble across it :))


Bez

 
Hi Bez
I found it :)
I made the little ball for the governor bobbin today and started adjusting everything to get the Governor system working correctly.
It is just so close "but" still needs a little work.

SANY1750 by metalmad2011, on Flickr


SANY1751 by metalmad2011, on Flickr
 
Went out all day to see Bez
when i got home it was late and I drilled the exhaust hole (in the wrong place)
any damage is after the valve seat and I can drill the mount hole again to clear it.
its not what I wanted, but I dont think it will impact on the engine.


SANY1768 by metalmad2011, on Flickr
Pete
 
Ive never seen a exhaust pipe with a cotter pin before
sort of adds character I recon :big:

SANY1769 by metalmad2011, on Flickr
 

Latest posts

Back
Top