PIP 3 Cylinder Radial
- Thread starter michael-au
- Start date

Help Support Home Model Engine Machinist Forum:
This site may earn a commission from merchant affiliate
links, including eBay, Amazon, and others.
danallen
Well-Known Member
Looks good so far. I looked long and hard at a set of Pip plans and finally decided to build an Edwards 5 cylinder instead. I didn't like the crankcase induction system and I wanted whatever I built to be spark ignition. The Edwards looked to be a better choice. We shall see.
- Joined
- Jun 24, 2010
- Messages
- 2,447
- Reaction score
- 969
The OP's post #1 parts layout looks to include spark plugs, not glow plugs. Which was going to be my question to @michael-au anyways - if indeed spark, what is the plan for ignition system? Nice parts btw!and I wanted whatever I built to be spark ignition.

$443.98
TM NEXDYNAMI AT29618 Water Pump Compatible With/Replacement For John Deere 1020 1520 2020 300 301 400 401 440 440A 480 AT29618
VIVID MARKET CORPORATION
![DreamPlan Home Design and Landscaping Software Free for Windows [PC Download]](https://m.media-amazon.com/images/I/51kvZH2dVLL._SL500_.jpg)
$0.00
DreamPlan Home Design and Landscaping Software Free for Windows [PC Download]
Amazon.com Services LLC

$38.26
$49.99
Becker CAD 12 3D - professional CAD software for 2D + 3D design and modelling - for 3 PCs - 100% compatible with AutoCAD
momox Shop

$519.19
$699.00
FoxAlien Masuter Pro CNC Router Machine, Upgraded 3-Axis Engraving All-Metal Milling Machine for Wood Acrylic MDF Nylon Carving Cutting
FoxAlien Official

$54.46
Amana Tool - 46280 CNC 2D & 3D Carving 6.2 Deg Tapered Angle Ball Tip x 1/32 Dia x 1/64
Express Tool Supply

$53.00
$59.99
Keetopteep Hot Air Stirling Engine Motor Education Model Electricity Power Generator LED Lights Kit Teaching Stirling Engine Kit for Adults Desktop Educational Toy Gift for Engineers (KTP01)
wanrongxianzhisuojiatingnongchang

$39.99
$49.99
Sunnytech Low Temperature Stirling Engine Motor Steam Heat Education Model Toy Kit For mechanical skills (LT001)
stirlingtechonline

$99.90
$109.90
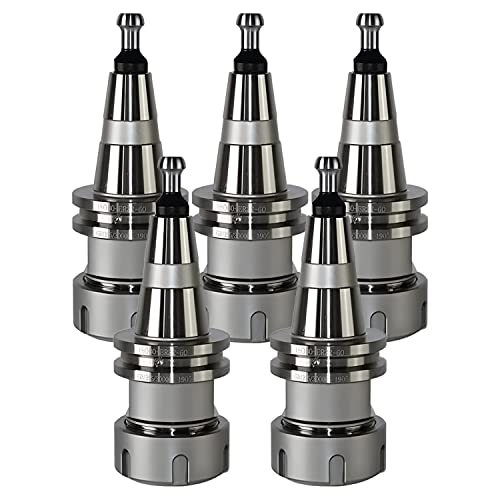
5PCS/Lot ISO30 ER32-60 Balance Collet Chuck G2.5 30000rpm CNC Tool Holder Stainless Steel Nickel plated With Pull Stud Woodworking Machine
david PA system
Off to a good start
PIP was featured in Model Engine Builder mag, over three issues if I remember rightly. Digital back issues still available quite reasonably priced
PIP was featured in Model Engine Builder mag, over three issues if I remember rightly. Digital back issues still available quite reasonably priced
Impressive work !
.
.
Very nice work!
The distributor and gearbox is my own design as others mentioned this was originally designed as a glow plug engine, that would be the reason the intake is through the crankcase to lubricate the bearings
I think if the through the crankcase intake doesn't work very well it would not be to hard to plug the intake hole and change it so it goes straight through the intake valves.
This is the gearbox I came up with to drive a distributor


I think if the through the crankcase intake doesn't work very well it would not be to hard to plug the intake hole and change it so it goes straight through the intake valves.
This is the gearbox I came up with to drive a distributor


Last edited:
Machining the master rod, the larger hole is threaded and the bronze bearing the goes in it is threaded also, it has to be made this way because the bearing is screwed in to the rod after it is installed in the engine and on to the crankshaft, because there is no way you can get it on the crankshaft with the bearing installed in the rod first
The bronze bearing is locked in place by the slave rod pins, these pins are also threaded and screw into the master rod


The bronze bearing is locked in place by the slave rod pins, these pins are also threaded and screw into the master rod


- Joined
- Feb 26, 2020
- Messages
- 686
- Reaction score
- 429
Impressive things we see here. How did you get the ring gear?Cam gears were cut on the cnc mill,
I did not make the ring gear
View attachment 156587View attachment 156588View attachment 156589View attachment 156590
View attachment 156591
I purchased the ring gear for a place in the UKImpressive things we see here. How did you get the ring gear?
I just had to machine to the right diameter and thickness then drill the holes
The other gears I cut my self
Similar threads
Latest posts
-
-
-
-
-
-
-
-
-
A New Method (?) to Dynamically Change Cam Timing when Engine is Running
- Latest: Niels Abildgaard
-


![TurboCAD 2020 Designer [PC Download]](https://m.media-amazon.com/images/I/51UKfAHH1LL._SL500_.jpg)


![MeshMagic 3D Free 3D Modeling Software [Download]](https://m.media-amazon.com/images/I/B1U+p8ewjGS._SL500_.png)


