Nalon Viper 2.5cc CI Engine

Home Model Engine Machinist Forum

Help Support Home Model Engine Machinist Forum:

This site may earn a commission from merchant affiliate links, including eBay, Amazon, and others.
Peter - Next to bad deformation marks on screw on cylinder heads where the wrong tool has been used for removal I don't think there is anything worse that offends my eye as much as seeing plier teeth marks on a prop driver !! Most collet types will ease with heat - I use a heat gun as opposed to a torch - but some just won't budge so I'm with you all the way using a puller. As I thought, it seems then the holes 'for the use of' are in much larger engines than I have handled.

The worst type of driver fittting in my view is the straight knurled shaft - the driver 'graunched' on and a devil to remove without loss of tightness when refitting.

Only engines I know with a flat on the shaft Jason are OS - that's not an OS in Peters image I recognise straight off - are there other manufacturers using that method? Thunder Tiger perhaps

Greg - Had some real problems at first but finally managed to get on Adrians site - fully up to date with the VIKHR 👍

Just found some still sealed Hoffman bearings too ;)

Tug
 
The one in your first picture is not a even a collet type, it has a flat on the crankshaft and "D" shaped hole in the driver so could be overtightening or its been on there a long time.

You're right, I didn't look close enough. Was just referencing yet another jerry-rig puller pic, of which there are many.
OK probably beat this issue to death. Good luck with the build.
 
Hi everyone, just a quick update. Not had a huge amount of shed time recently as I have been really busy at work. Every evening I think I'll give it a go but when the time comes, my brain just seems so fried that I'm worried I'll just fill the scrap bucket or worse still, have an accident. I have two weeks off over Christmas and really exited to carve out some quality time then.

Anyway, I've got going now. No turning back!

So this weekend I squared up some stock and started making plug gauges for the crank case and the cylinder bore. Still the gauges for the bearing seats and the cylinder heatsink to go. I used EN1A PB steel for these and it seems to work OK and get a decent shiny finish with a light finishing cut of 0.05mm or so at 1000RPM.

Squaring the stock is something that took me FAAAAAR too long (frustrating). I've only done it once before and really there are just so may things to get you out of whack. With a bit of patience and 8 machining operations per block (6 plus two to measure and mill to final size) I got there. A couple of thou under dimension on one of the blocks in the horizontal direction but this will be this will just be the mounting screw lugs so I'm not worried.

One thing which I figured out (no idea if this is silly or not) is Iremoving 2 of the cutters from a 3 cutter cheepo indexable face mill to use it as a flycutter gave me a lot more accuracy on setting the z-axis. One cutting tip was a lot easier to set accurately (with a thin cigarette paper Rizla blue). This seemed repeatable to 0.01mm ish. I wasn't in a hurry so took light cuts at 0.1mm and the vibration from the single cutting tip and interrupted cut didn't seem to be a problem

The front of the crank case and the top were left about 0.5mm oversize in order to be able to skim the face on the lathe before boring to make absolutely sure everything is perpendicular.

Next operations are to mark out everything, finish making plug gauges and then the fun starts.

I'm thinking it makes sense to drill/tap the cylinder head and crank case front housing mounting screw holes while I'm at it. Rationale is that If I do everything from a single setup/datum surface, there is less opportunity for errors to cascade. The other alternative is to make a PCD drill jig to fit into the crank-case openings later. I would be interested to hear people's thoughts on this. I got lucky on the BollAero and the holes lined-up OK but always on the lookout for tips n' tricks / better ways of doing things.

Anyway, please enjoy the most boring model engineering photos you've seen all week :). It will pick up pace soon promise!

Patrick

IMG_0417.jpeg
 

Attachments

  • IMG_0420.jpeg
    IMG_0420.jpeg
    235.4 KB
  • IMG_0416.jpeg
    IMG_0416.jpeg
    255.1 KB
  • IMG_0413.jpeg
    IMG_0413.jpeg
    226.7 KB
  • IMG_0414.jpeg
    IMG_0414.jpeg
    247.8 KB
Last edited:
A good start Patrick 👍

Given that you are making two a drill jig that could fit both case bore and front and back housings would be a well considered way to ensure compatability. Second option would be to wait until after the bores are done then do them on the mill using co-ordinates - much more reliable from a positioning point of view than marking out.

Good to see you making swarf on this :)

Regards - Tug
 
Hi All, after a few weeks of fettling with my machines etc ( fixed and re-fitted the DRO kit I had gathering dust) Im back in business! Managed to get some quality 'shed time' this weekend and started making some swarf. Amazing how minutes, hours, days all blur into one when you get truly heads down. I have some making up to do with the family who might have got an hour with me tops.

Anyway, I managed to turn those two blocks of ali into a pair of crank cases. this is the journey.

First up. Marked out to remind me where what was and centres set using the DRO on the Mill. The stock was left 0.5mm oversize on two dimensions to allow me to take a skim on the lathe before boring.

IMG_0543.jpeg


Next up used the 'wiggler' to set the stock up in the 4-jaw running true to the spot drill marks from the previous step.


IMG_0544.jpeg


Now first up, take an 0.5mm skim off the stock mounted in the chuck to make sure the hole is perfectly perpendicular. I really need to experiment with using the lathe faceplate. It came with my SC6 and I have never used it since I got it 7 years ago. Suspect that would open up a world of alternative work-holding. One to try.


IMG_0537.jpeg


Now I spotted again and drilled progressively larger holes up to 16mm where the boring bar fitted with ease. Now boring to make as decent a surface finish as possible on the final passes: This thing needs to be airtight!


IMG_0542.jpeg


Now time to flip over and repeat the procedure for the top of the crank case.


IMG_0548.jpeg


The finished intermediate articles. From here on in, everything is referenced relative to the bores. The external dimensions I figured were cosmetic more or less. The Important measurements are vs the crank case bores.

IMG_0554.jpeg


Using the new toy I got for Christmas this year to locate everything nicely on the mill. No idea how I survived without one of these!.


IMG_0557.jpeg


Milling, milling, more milling... and then some more..

IMG_0563.jpeg


After several operations. Thought I would get the tapping drill holes done while in this setup.


IMG_0569.jpeg


Flip 45deg to get the chamfer. Not super happy with the result as I have a small ridge left over at the edge. It was very hard to set up the position of the cutter here and relied on 'by eye' perhaps a bit too much.


IMG_0573.jpeg
 
Last edited:
And flip it over to mill the bottom:


IMG_0585.jpeg


Now drilling and tapping for what seemed like a whole day. No broken taps today which is a first and very lucky given the amount at stake with each of the crank cases!

IMG_0583.jpeg


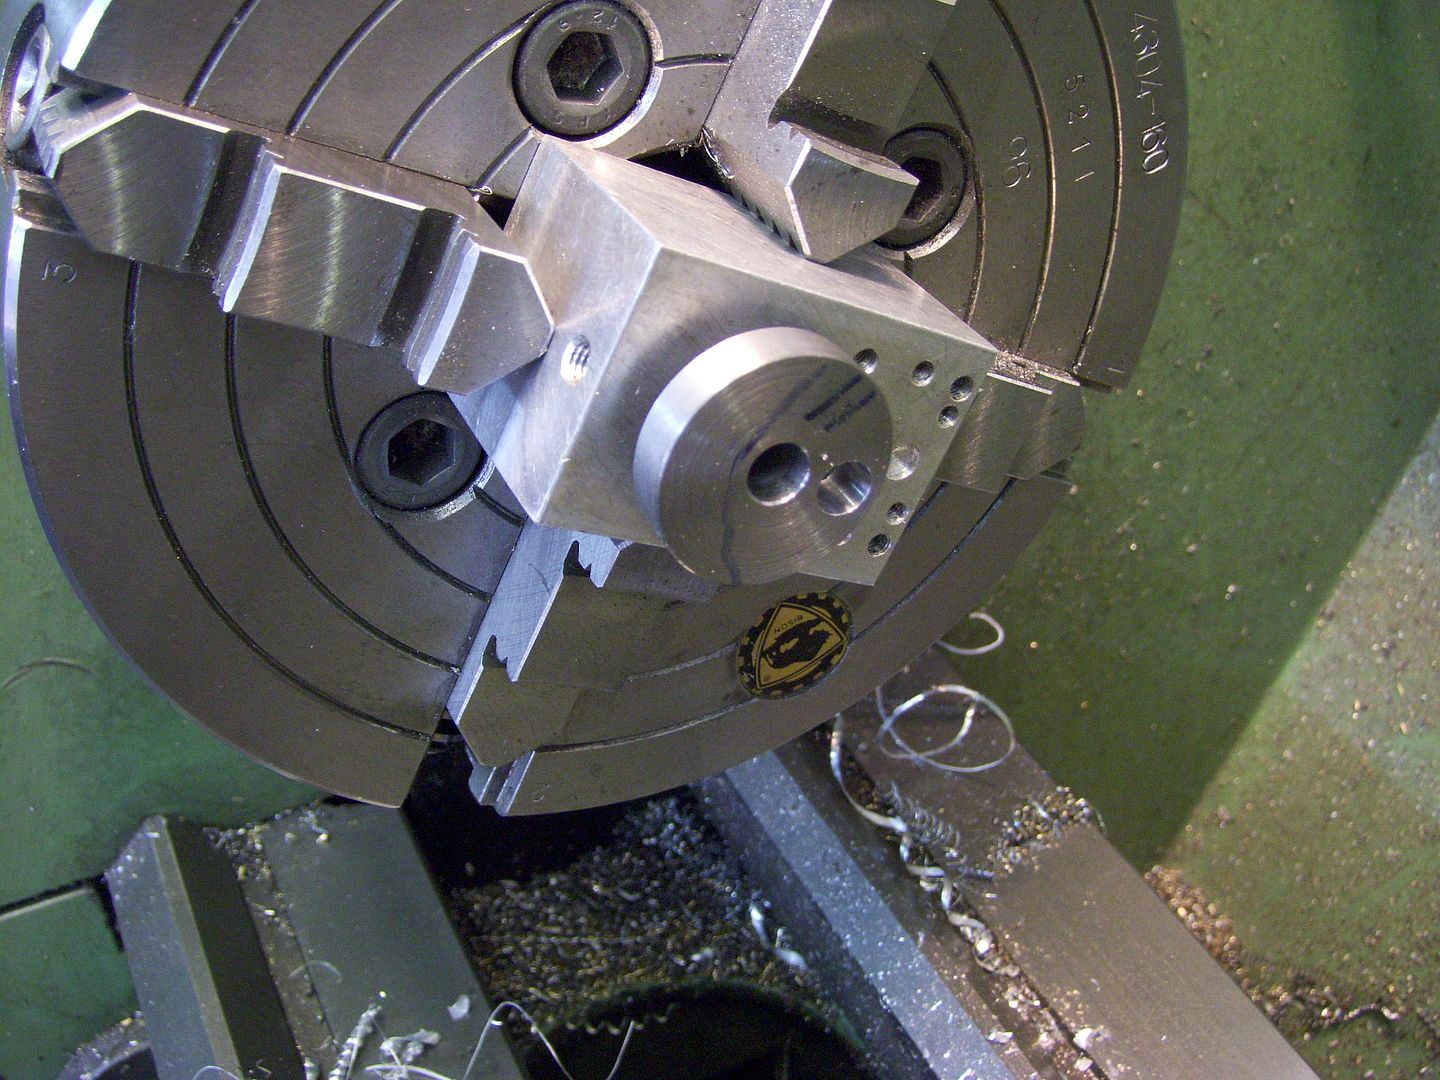
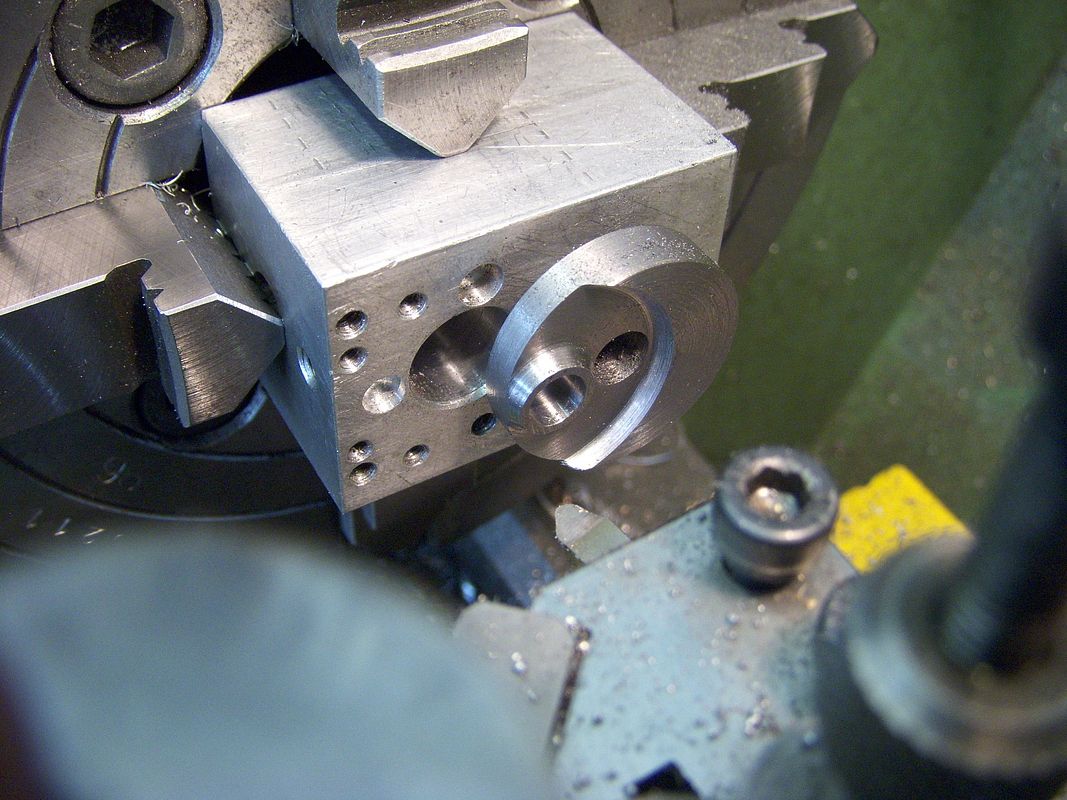
The hardest part for me was to figure out how to do the 5mm round bit near the top of the crank. I thought the best would be to make a simple mandrel. The eternal dimension again was 'cosmetic' so it didn't have to run 100% true. I used the taper tap method I've used for laps before. The stock was a bit too thick for it to expand easily but it seemed to grip firm enough with the odd slip here ad there.


IMG_0567.jpeg


The first attempt was to mount the mandrel in the lathe and use a parting blade to cut the recess. The process aged me about 10 years! interrupted cut, crank case that i'd already invested 10 hours + into held by the flimsy mandrel. Chatter! lets just say I won't be trying that again!!


IMG_05753.jpeg


So in the end i went for a plan 'B' on the second case and used the rotary table instead. Milling with a 2-flute endmill and 0.2mm at a time turned out to work a lot better and cause less stress to both myself and the part. I think this is the way ill do it next time although it was very slow.


IMG_0587.jpeg


After everything else was done, I tapped the tops of the crank cases using a tapping fixture and a 'floating' vice arrangement.

IMG_0584 2.jpeg


Right. I've been going on about this for long enough! Here they are. I'm happy enough and happier sill i didn't destroy anything with a silly mistake at the final stage. Surface finish leaves a lot to be desired but i think tweaking feeds-speeds etc will be one for next time. I think the spindle bearing on my SX3 has seen better days too. I'm sure that can't help matters.


IMG_0590.jpeg


Anyway. Thanks for looking. That's all for today. Next stage I think will be turning this bolt into a pair of crankshafts.

IMG_0586.jpeg
 
Last edited:
Good to see you back onto these and they are taking shape quickly..

For when you start the next engine project the reduced diameter below the flange could have been done while the block was in the 4-jaw for boring the hole removing as much as possible with a turning tool then swapping to the parting tool once down to max dia across the flange. Talking of turning as you seem to like insert tools treat yourself to a couple of half decent CCGT inserts with a 0.2 tip radius and add a drop of paraffin to the work and you will get a very good finish.

As for the milling first check that the backlash of the bearings is adjusted OK and then look at your milling cutters and cutting methods as you should be producing nice chips not crumbs.
Thanks Jason, ill have a go with the CCGT inserts. I've been meaning to disassemble the head on the mill for a while now as its a bit noisy but been putting it off! I think that's the next project after these two engines are off the workbench. Patrick
 
Hi Patrick, Yes good to see you back on this again.

Re the mandrel. You will get a far better grip if you put four cuts in rather than two. Secondly it's best if the cuts do not go past the work piece. I always turn the mandrel over size then tap and deeply centre before cutting - the actual expanding bit does not need to be very long so I relieve the mounting part using a parting tool. Remove and cut to the depth of the relieved area then replace in lathe - clean the thread and centre. Put in the expanding screw till it just touches and turn the OD to the diameter required. It is not a good idea to make mandrels for ali parts from aluminium due to the risk of galling. If it does and it's potentially likely too, you wont get it off the mandrel without damage occurring.

I turn a 60* angle on caphead screws for the expander - usually 2BAor 5MM or so but to suit the size of mandrel.

Looking forwards to further progress - I'll reply to your PM later

Tug


DSCF4327.JPG
 
Thanks Jason, ill have a go with the CCGT inserts. I've been meaning to disassemble the head on the mill for a while now as its a bit noisy but been putting it off! I think that's the next project after these two engines are off the workbench. Patrick
Just double-checking, those **are** the inserts I used in the end for the boring which turned out really nice (the grey/silver ones). I bought them from Glanze a few years back but havent had a chance to use. Ill stick them in the left-hand tool also for the future turning ops. Seems to make a difference.
 
The bright ones are what you want. Good on aluminium, brass bronze etc and can also be used for fine finishing cuts on steel and stainless. In your first picture facing off the block you can see the surface is picking up a bit which you should not get with the CCGT and a bit of paraffin or WD40.

This sort of tip Pack of 2 CCGT 060202 ALU AK10 Carbide Tips
Just ordered a few to give them a try + have my paraffin on standby.
 
Hi Patrick, Yes good to see you back on this again.

Re the mandrel. You will get a far better grip if you put four cuts in rather than two. Secondly it's best if the cuts do not go past the work piece. I always turn the mandrel over size then tap and deeply centre before cutting - the actual expanding bit does not need to be very long so I relieve the mounting part using a parting tool. Remove and cut to the depth of the relieved area then replace in lathe - clean the thread and centre. Put in the expanding screw till it just touches and turn the OD to the diameter required. It is not a good idea to make mandrels for ali parts from aluminium due to the risk of galling. If it does and it's potentially likely too, you wont get it off the mandrel without damage occurring.

I turn a 60* angle on caphead screws for the expander - usually 2BAor 5MM or so but to suit the size of mandrel.

Looking forwards to further progress - I'll reply to your PM later

Tug


View attachment 122665
Thanks Tug. Ill give that a go. Good tip on the different metals. Currently setting my mental energy to figuring how to machine a 'crescent' style counterweight in the crank web as per the plans. Re-reading your ETA thread for some tis n tricks as usual :) .
 
If you bore a hole in a scrap block of metal and add a couple of grub screws from the side to clamp the crankshaft and then it's easy to offset the block in the 4-jaw to do the pin hole or turn the pin followed by the crescent. Put a bit of soft aluminium in the grub screw holes first then they won't mark the shaft. Now I Have collet blocks I would possibly hold in that then block in the 4-jaw or a Keats angle plate would do the job too.

HPIM1457_zpsefn0k1u2.jpg


HPIM1458_zpsbvkjlc2o.jpg
Thanks again Jason! On the last engine I used a piece of round stock with the offset precisely drilled and the shaft bolted through per below. Worked well but I guess you can get much more precise with a 4-jaw (also use to do the counterweight as you show + can re-use the fixture rather than one per engine). I cannot see the the cutting tool you are using very well. Do you happen to have any more detail you could share?

IMG_7718.jpeg
IMG_7719.jpeg
IMG_7720.jpeg
 
Last edited:
IT's just a 3/16" HSS toolbit ground with a round nose and a good amount of clearance so it does not run on the concave surface
 

Attachments

  • 20210202_155311.jpg
    20210202_155311.jpg
    151.6 KB
  • 20210202_155341.jpg
    20210202_155341.jpg
    156.3 KB
Hi Pat,

I'm not keen on using a block to hold in the four jaw for a couple of reasons. Even with careful set up there is no 'absolute guarantee' that the shaft is co axial so the pin could, might, be off to the shaft. However slight that is not a good thing to have. Obviously it would have far less effect on turning a scallop out but it's worth pointing out. Secondly with drilling a block and holding with screws it's dedicated block - both in diameter and in offset (throw) for that particular op.

Depends on if you are intending to make other engines but something on the lines of this is far better
Tiger (82).JPG


This is infinitely variable within its range, holds a shaft exactly coaxial and of varying diameters. It does not mark the shaft when holding either and can of course hold a finished shaft without any chance of marking the finished surface. I rough the pin first as above, finish the shaft diameter between centres then finish the pin similar to the image. Every thing in line and you have the fixture for the next engine.

I happen to have a spare piece of the cast angle used - yours if you want it, just let me know

Tug
 
Thanks for the reply as always Tug! I will have a go at using your method and indeed a piece of the angle cast iron would be very useful.

A couple of questions if I may:

1) I assume you machine a 'V' in the cast angle in order to seat the shaft?

2) I saw from the ETA build that you rough out the pin square first on the mill and then take it to the lathe for these operations. What is the rationale there? Just a less violent machining operation than removing all that material as an interrupted cut on the lathe/risk of distorting something or disturbing the fixture?

3) In terms of the order of build I assume you would do the conrods before the crankshaft so you can fine-tune the fit on the crank-pin?

4) How do you go about polishing the crank journals? Just a bit of fine emery paper/wd40 and a flat edge?

There were a couple of things on the Viper design that I'm tempted to change. 1) Domed piston and contra. Added complexity potentially negligible running benefit. May make one of each to compare however there are so many other variables here that this wont be particularly useful comparison. (2) The integral threaded shaft rather than using a high-tensile bolt at the end as I think the work holding will be easier and more rigid if I only need to hold the 'thicker parts' of the shaft as per your pictures. Shouldn't cause too much uproar from the purists I would think.

I'm really chuffed with the crank cases so far (all relative to my previous accomplishments but obviously have years of practice to get to your standards :) ). Looking forward to moving on to the next stage.

Thanks,

Patrick
 
Hello Patrick,

In answer .....

1, Yes best if done with a 45* cutter having gashed the slot with an endmill to relieve the bottom. Do the groove and clamp first. Turn a piece of steel to a parallel dimension (no taper) and clamp the part to it then face the bolting face with very light cuts. This will ensure squareness of shaft to the lathe axis in both planes.

2, Yes again, I find there is far less stress on the part than interrupted cuts on the lathe especially if using tough steel such as En24T.

3, No I usually do the rods towards the end of the build - just make sure the pin is on top tolerance to allow for that last bit of finishing

4, I use wet and dry carborundum paper either free hand for small sections eg under a bearing or stuck to a flat parallel with double sided tape and plenty of paraffin and oil as a lube (approx 90:10 ratio paraffin to oil) for wider areas.

I must admit I've never seen an engine with a piston design as drawn. If you do change things make sure the top edge of the piston remains at the same place. A straight cone and much more obtuse would be acceptable on both piston and contra

PM me your address and I'll sort a bit of cast out for you.

Regards - Tug
 
Re the mandrel. You will get a far better grip if you put four cuts in rather than two.
I turn a 60* angle on caphead screws for the expander - usually 2BAor 5MM or so but to suit the size of mandrel.

Ramon, what is your preferred method to make the slits?
I've put my part in a square collet block & used the bandsaw along a makeshift fence. Its rarely exactly down the center, but I haven't been able to determine if it ultimately makes a lot of difference if doing the finish OD turn prior to mating the part anyways. Slitting saw sounds like a better plan but its a long messy process & probably not feasible on longer parts anyways.

So you turn the head of a capscrew to 60-deg primarily to match taper of 60-deg of center center drill?

I've seen other references to pipe threads (tapered threads?) but I've never quite understood this. If the head is snugged before final OD cutting & the fit is say 0.001" undersize, then its just the expanding squeeze that's doing the internal clamping right?

Have you ever tried any of those expand ID collar sets? Aside from 'yet another tooling set' its more like an ER collet principle with alternating slits on either end so theoretically a more unified diameter change over length. I bought a single size offshore model. The grip wasn't bad but I wasn't happy with the runout even supported between its centers. Maybe got a Monday model but kind of cooled my jets.
 

Latest posts

Back
Top