Right, I took the plunge today and had a go. I needed to create a cup shape approx 7/8" deep and 2-3/8" dia.
I made a former and backing plate that plugs onto my live centre - don't use your best one as some pressure is required. The former is two times the thickness of the sheet smaller in diameter plus 5thou. I thought that I would be thinning the steel so I had to start somewhere and I could always skim it smaller if required. The rad on the former is 5/16".
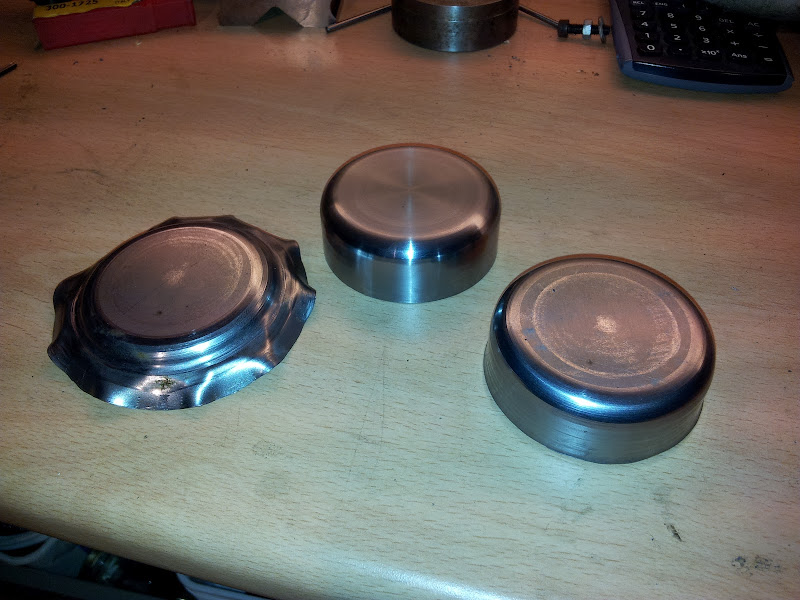
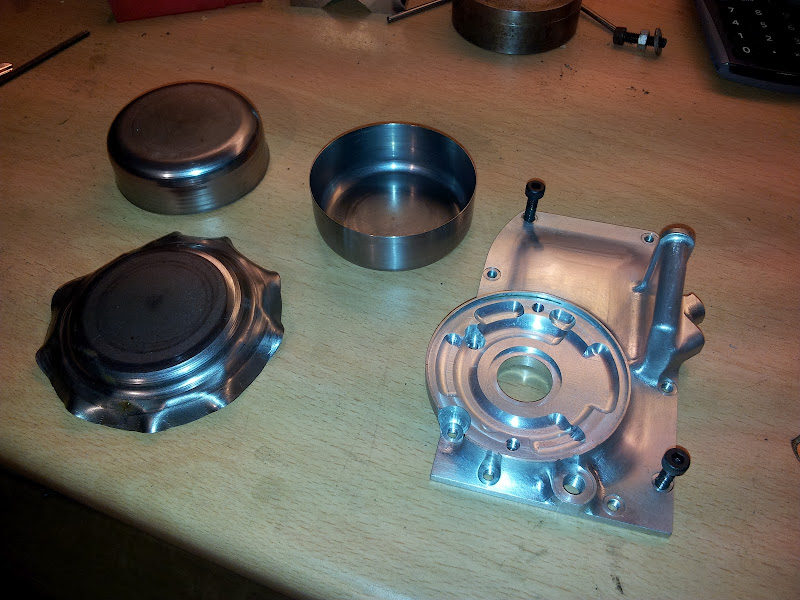
I used the formula D=(0.8*(l+r)) to get the diameter of the disk I needed in my 22gauge steel. This steel is intended for car body shops so at the time I thought it would be ok to use for this. You should be able to tell the first go I had in the photograph below, if you cant its the one on the left

.
Major fail. It was a mix of user error and tool failure. I had pressed a shaped steel ring onto my bearing and this had come loose and become wedged in the slot, on top of that I had not fanned out the material enough whilst working it around the bend and so it just warbled - almost impossible to come back from. I then stood back, loctited the shaped ring on the bearing and had a cup of tea.
Take 2 (on the right of the photo). I was happier with this try as it looked roughly like what I wanted to achieve. I was grooving the parallel part of the job too much but was happy with how the round was looking. I needed a differently shaped wheel for the finishing stages, more round almost semi-circular and less pointy. But that will be an improvement later on as I currently don't have a spare bearing. I think im lucky getting this steel as it is working really nice.
Take 3 (middle). I took more care to use the less pointy sides of the wheel after getting the shape. This worked much better and I was getting the hang of 'flowing' the steel round. I think longer handles would be better but shorter ones let yo know how much abuse your spindle bearings are getting. I wouldn't want to do this all the time on my myford although I can't imagine its much worse that drilling large holes. I used a scotchbrite pad to polish up the surface but no other work was required.
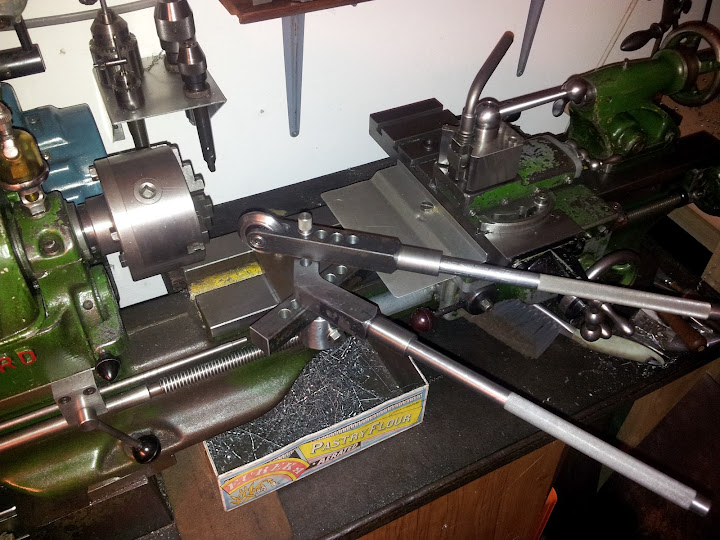
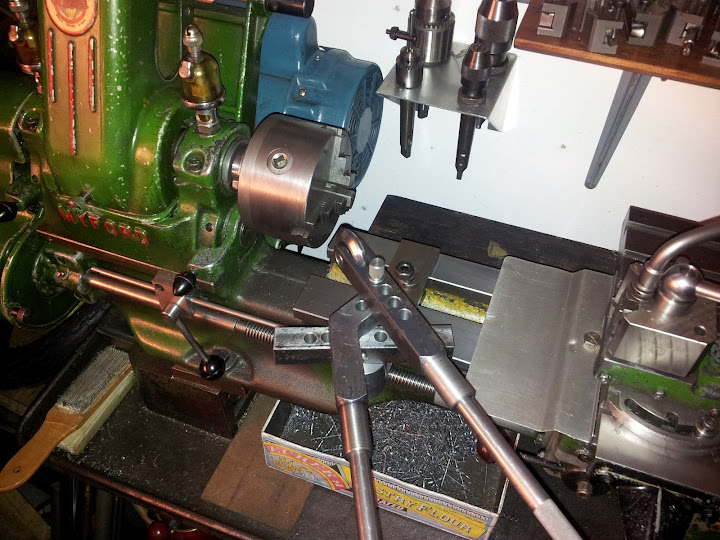
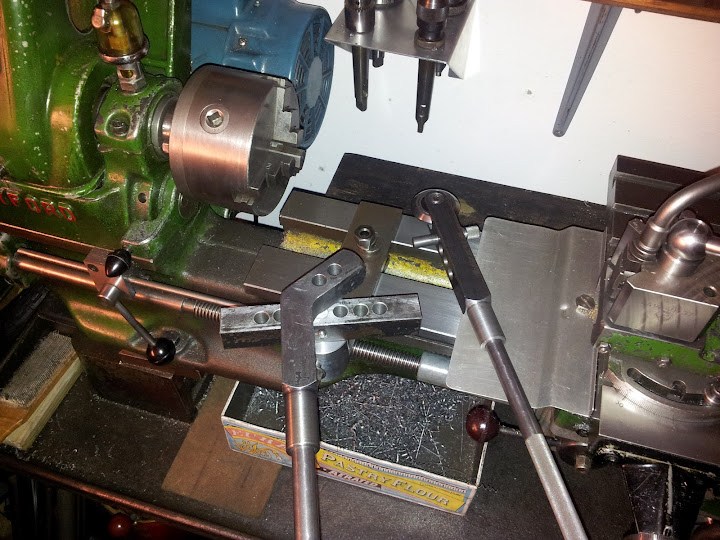
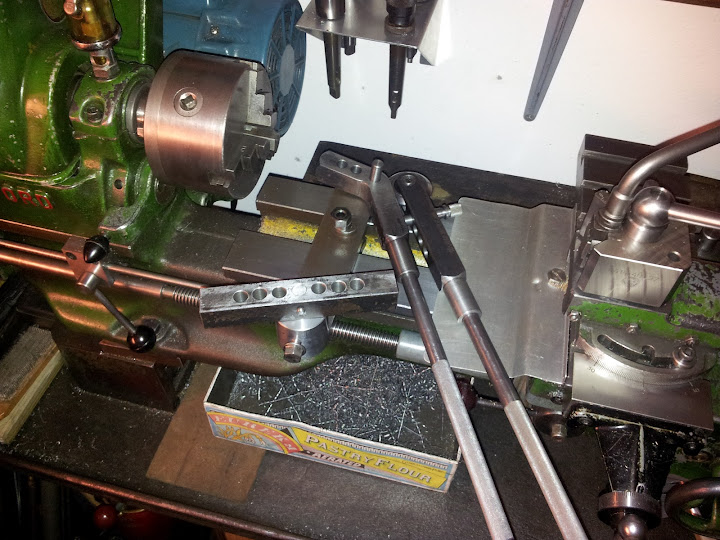
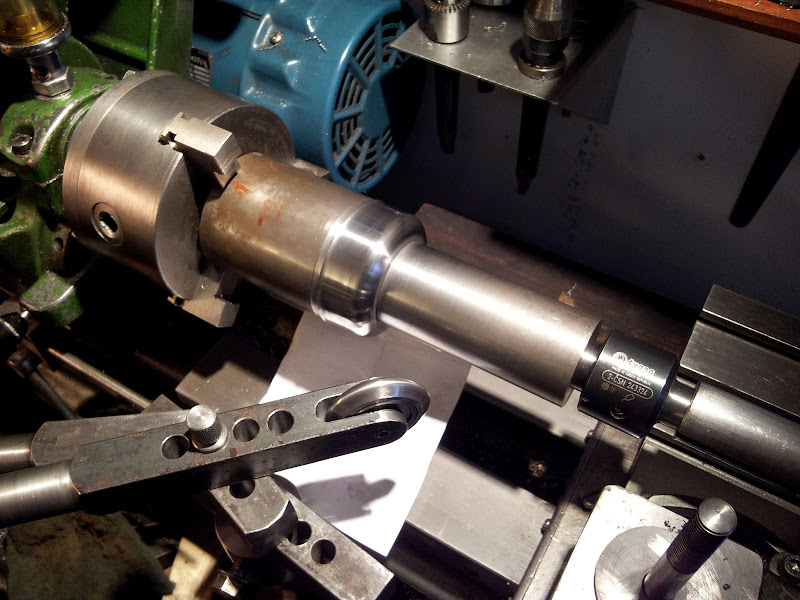
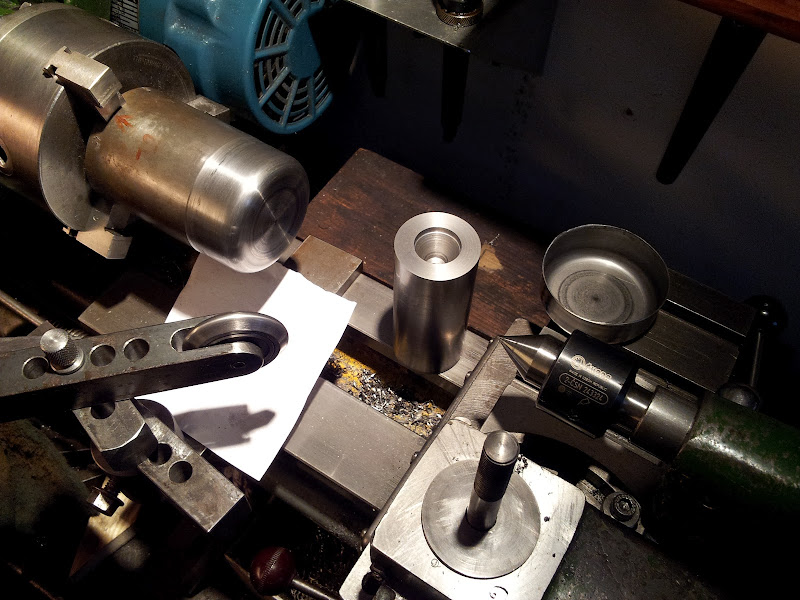
Here is my set up, the final part is finished and still in the mandrel. I needed the long pressure pad as I dont want to take off my saddle:
The parts unassembled:
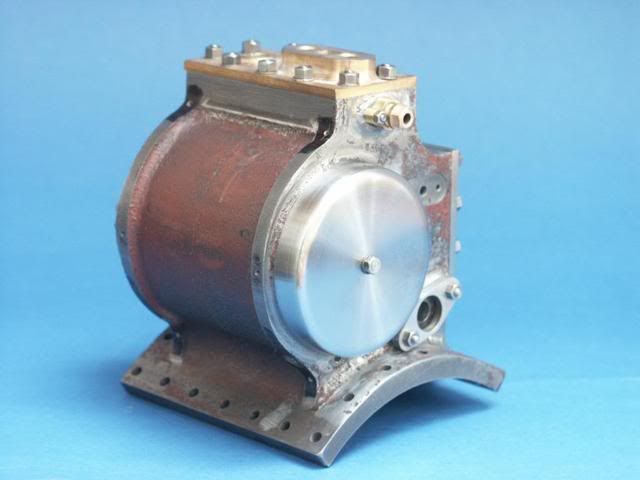
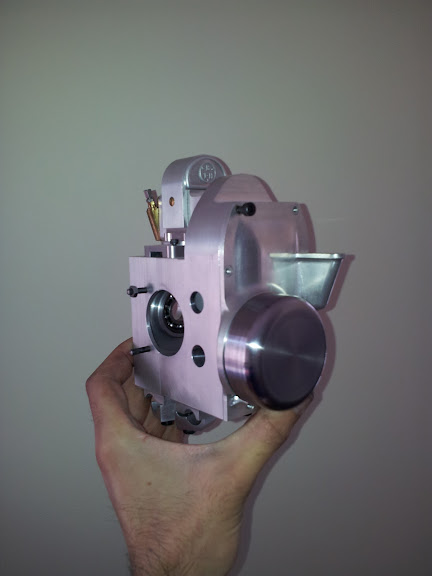
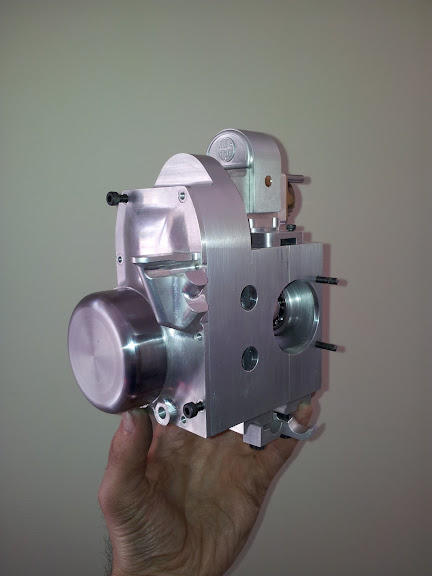
What the part is for:
This is how it looks in its final position, I still have a BTH logo to emboss in the centre but thats another trial.
Im happy and in the third try im done! Im sure I could bash it around a former and make it look presentable but after the tools are made, this is much quicker. I believe it took me around 7-8 hours to make the tooling including the formers and maybe 2-3 to produce 2 scrap and 1 final part. And now that I know how to do it im sure I could make another one in 30 minutes with all the faffing I do!
So, I will try and get some quick drawings done as this set-up seems to work ok.
My next challenge is a headlamp bowl approx 4" in diameter....but that wont happen for a while due to holidays etc.
I want to put this:
http://www.ebay.co.uk/itm/REPLACEMENT-LENS-FOR-DOMINATOR-HEADLIGHT-ASSEMBLY-ALL-GLASS-LENS-/310308575918?pt=UK_Motorcycle_Parts&hash=item483fd51aae#ht_2245wt_1062
in it which would give me a dipped, road legal good looking headlamp pretty much half scale to go with my road legal tyres.
I worked out that a half size adult equates to a 3 year old :-[
Im not sure I'll be able to ride it after all.
So, over to you guys.
Rob.




![MeshMagic 3D Free 3D Modeling Software [Download]](https://m.media-amazon.com/images/I/B1U+p8ewjGS._SL500_.png)


![DreamPlan Home Design and Landscaping Software Free for Windows [PC Download]](https://m.media-amazon.com/images/I/51kvZH2dVLL._SL500_.jpg)


