You are using an out of date browser. It may not display this or other websites correctly.
You should upgrade or use an alternative browser.
You should upgrade or use an alternative browser.
Maryak 10
- Thread starter Maryak
- Start date

Help Support Home Model Engine Machinist Forum:
This site may earn a commission from merchant affiliate
links, including eBay, Amazon, and others.
K
Kludge
Guest
Bob, I'm scribbling notes as fast as I can. Thank you for the excellent show and tell as you go. (Also thanks to you and Tel for the info on dead center lubricants.) Phil has the right of it; this is an excellent workshop in machining, including what to do when things go "oops".
Kee going! A lot of us are following along learning as we go.
BEst regards,
Kludge
Kee going! A lot of us are following along learning as we go.
BEst regards,
Kludge

$426.53
DM14 Engine Build Kit, Metal Engine Build Model Great Metal Material for Engineer for Factory
Easoger Official

$160.35 ($1.43 / oz)
Replacement Combustion Chamber Kit, Burnham V8 and V8H, 1-6 Sec, 108136-01, 1129
Plumbing Planet

$649.00
$699.00
FoxAlien Masuter Pro CNC Router Machine, Upgraded 3-Axis Engraving All-Metal Milling Machine for Wood Acrylic MDF Nylon Carving Cutting
FoxAlien Official

$39.99
$49.99
Sunnytech Low Temperature Stirling Engine Motor Steam Heat Education Model Toy Kit For mechanical skills (LT001)
stirlingtechonline

$40.02
$49.99
Becker CAD 12 3D - professional CAD software for 2D + 3D design and modelling - for 3 PCs - 100% compatible with AutoCAD
momox Shop

$188.98
TM NEXDYNAMI RE41157 Water Pump Compatible With/Replacement For/John Deere 6200 7400 6300 6600 6500 6400 7220 7600 7200 RE41157
VIVID MARKET CORPORATION
Maryak
Well-Known Member
- Joined
- Sep 12, 2008
- Messages
- 4,990
- Reaction score
- 77
Dave,
Due to other commitments, Please I need a start bell : Yesterday was a dead duck on the model front but very busy with the rest of our lives.

Managed a little more on the conrod this morning now all ??? ??? I need to do is round the ends.
Some bronze for the bushes.
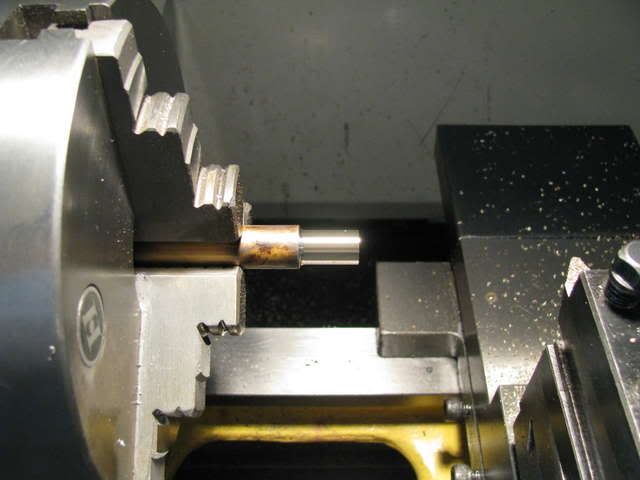
The 2 bushes ready for pressing into the conrod.
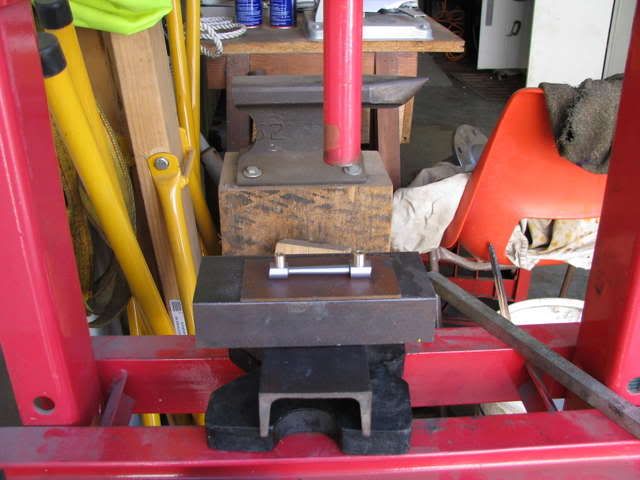
The conrod with the bushes pressed home.
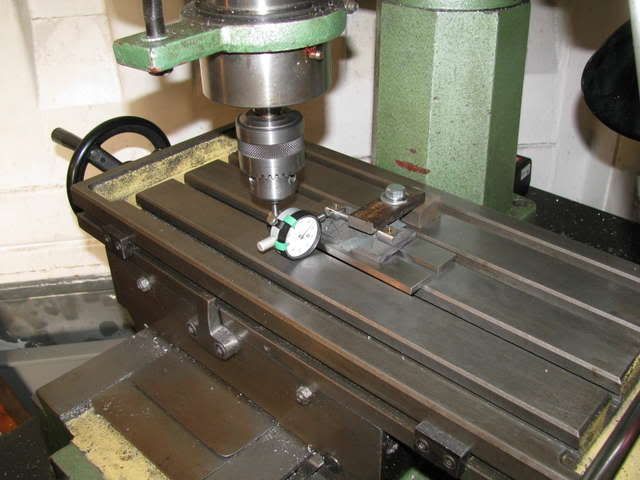
Setting up to drill and ream the bushes.
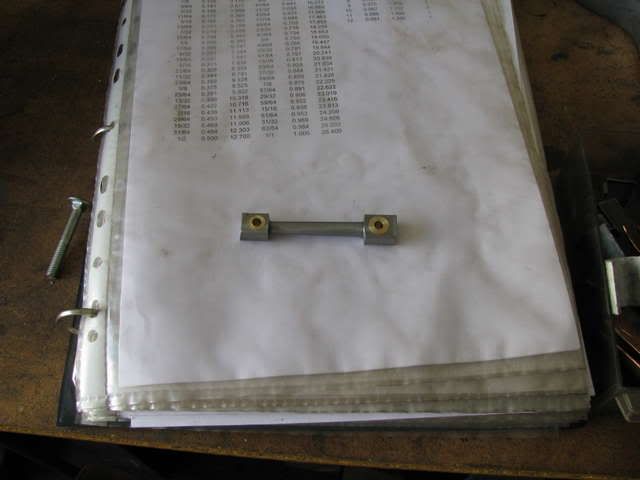
The conrod with finished bushes.
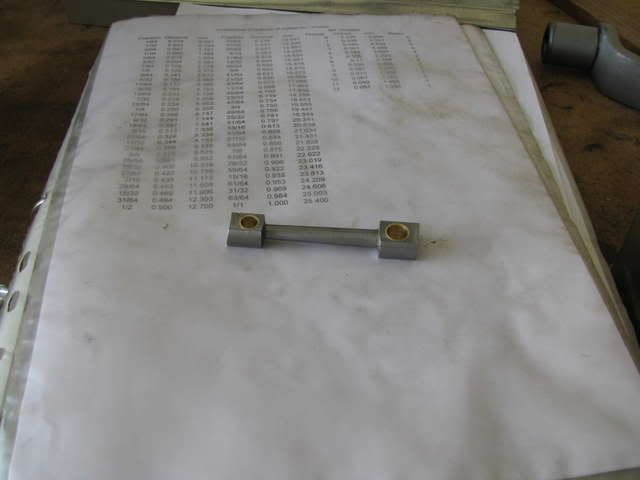
Due to other commitments, Please I need a start bell :

Managed a little more on the conrod this morning now all ??? ??? I need to do is round the ends.
Some bronze for the bushes.

The 2 bushes ready for pressing into the conrod.

The conrod with the bushes pressed home.

Setting up to drill and ream the bushes.

The conrod with finished bushes.

- Joined
- Dec 14, 2007
- Messages
- 1,181
- Reaction score
- 31
Beautiful work!
I rounded some ends by drilling and reaming with the chuck into a piece of flat bar held in the tool post .
bolt up the rod end and swing past an end mill held in the chuck. (carefully )
as you were.
:bow:
K
Kermit
Guest
Maryak said:
(Kermit raises his hand and waits for teacher to call him)
Uhm, I got a question here. I see you clamp down rig and understand it. Less to it than I would have thought, but then your just drilling a hole here...anyway. I see the two parallels and think I understand what those are doing. I also see a plate of scrap under the part so I don't think you aren't concerned with setting depth. What's the dial indy doing for ya there Bob?
Maryak
Well-Known Member
- Joined
- Sep 12, 2008
- Messages
- 4,990
- Reaction score
- 77
Kevin 1&2,
Thanks for your continued support and encouragement. :bow: :bow:
Kermit,
The scrap plate on top of the parallels will be a jig to hold the conrod whilst I round the ends. The DI is being used to set the conrod along the Y axis so that I can use the axis movement to give the correct centre distance of the big end and gudgeon, (2.250"). The parallels are for clearance from the table so that I can drill through the scrap piece and not damage the mill table. - Hope that explains it OK. ??? ???
Best Regards
Bob
K
Kermit
Guest
I got it. Thanks Bob.
I didn't think of the need to round the ends at this point, but you did!. I think it is incredible how you guys plans all these steps out and like Chess you think ahead to the next few steps as well.
Long way go and late getting started,
Kermit
I didn't think of the need to round the ends at this point, but you did!. I think it is incredible how you guys plans all these steps out and like Chess you think ahead to the next few steps as well.
Long way go and late getting started,
Kermit
Metal Mickey
Well-Known Member
- Joined
- Jul 5, 2008
- Messages
- 612
- Reaction score
- 6
Hello Bob, still going well I see. I liked Kermits question as I thought the same as he did. Chess is a good analergy and thats where experience comes in I suppose....Hmmmm even more to store away. No wonder I have a head ache...... :bow:
Maryak
Well-Known Member
- Joined
- Sep 12, 2008
- Messages
- 4,990
- Reaction score
- 77
Dave,
Thanks for your continued support. :bow:
Today saw the conrod completed.

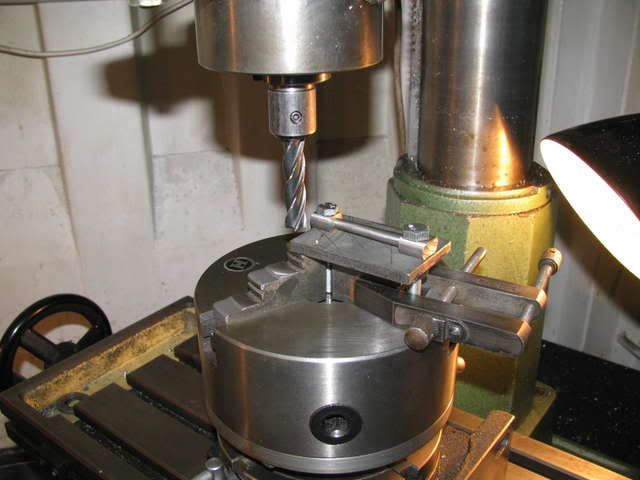
The set up for milling the conrod ends.
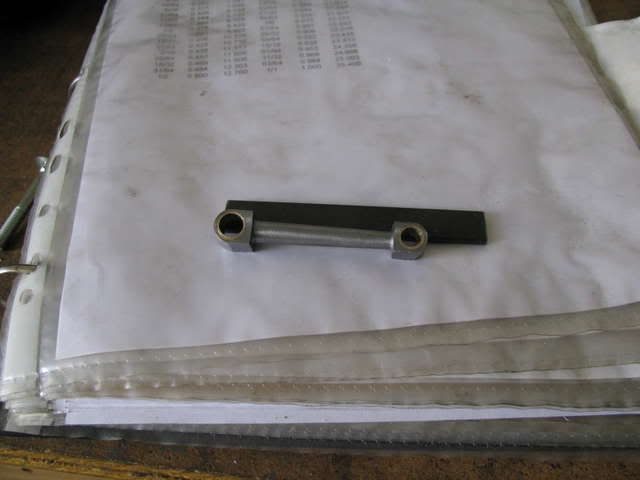
The finished conrod.
Doesn't look like much but by the time I'd messed around finding the right sized bolts and got the RT set up, it was smoko. So I didn't jump anything out of wack I only took 0.010" cuts and after a little clean up with emery cloth, I was pleased, so called it a day before something jumped up and bit me. Besides its starting to get hot again and was 38C in the shop at 11:00.

Thanks for your continued support. :bow:
Today saw the conrod completed.

The set up for milling the conrod ends.

The finished conrod.

Doesn't look like much but by the time I'd messed around finding the right sized bolts and got the RT set up, it was smoko. So I didn't jump anything out of wack I only took 0.010" cuts and after a little clean up with emery cloth, I was pleased, so called it a day before something jumped up and bit me. Besides its starting to get hot again and was 38C in the shop at 11:00.

Similar threads
- Replies
- 117
- Views
- 40K


![MeshMagic 3D Free 3D Modeling Software [Download]](https://m.media-amazon.com/images/I/B1U+p8ewjGS._SL500_.png)


