Maryak 10

Home Model Engine Machinist Forum

Help Support Home Model Engine Machinist Forum:

This site may earn a commission from merchant affiliate links, including eBay, Amazon, and others.
WOW! That's a beautiful plane!

It looks like a real full size plane to me!

Are you building the Maryak 10?

If not, you should give it a try. I bet you could finish it before I'm done with the red Deere.

-MB
 
Metal Butcher said:
Are you building the Maryak 10?

If not, you should give it a try. I bet you could finish it before I'm done with the red Deere.

-MB

Let's see if it runs ;D

Best Regards
Bob
 
Hi All,

Our new home is starting to bite into my play time. Still I am happy about the shift in priorities.

Got a little more done today.

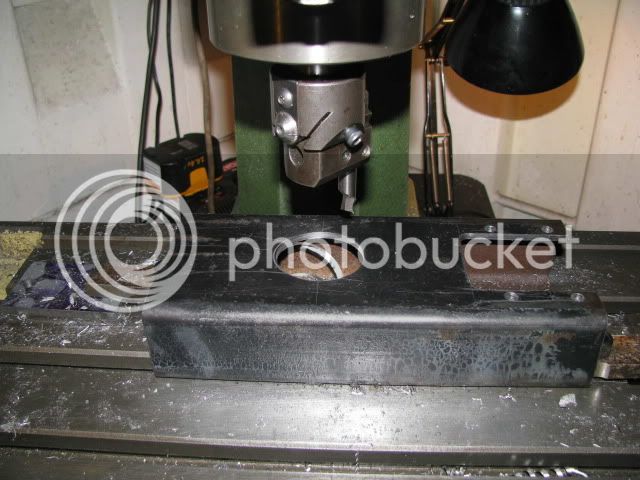
Boring the hole in the test bed for a fuel tank.

IMG_0542.jpg


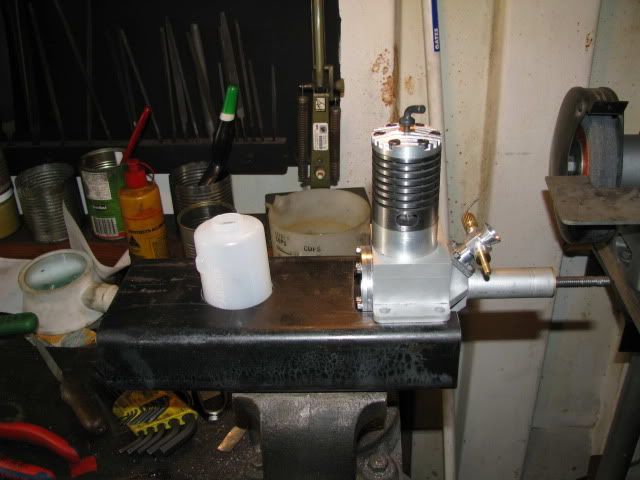
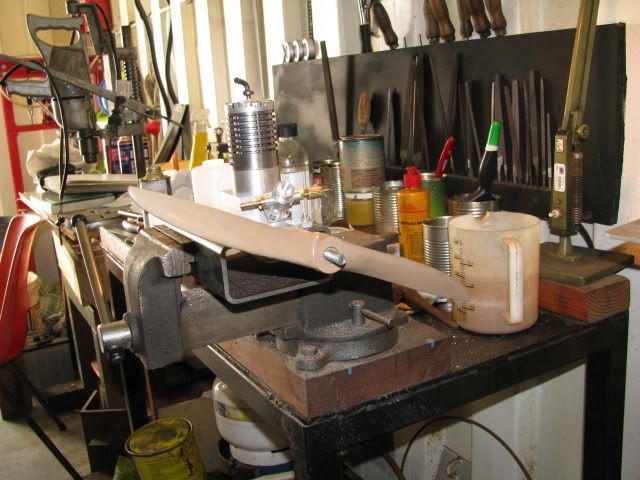
Tank and engine in the test bed.

IMG_0543.jpg


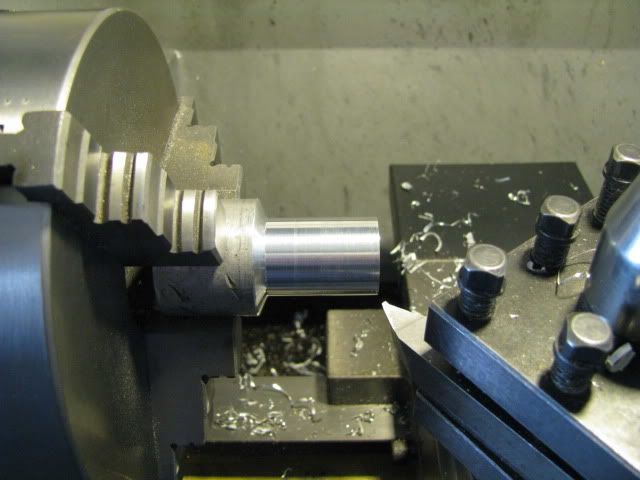
Some Aluminium for the propeller backing and cone nuts.

IMG_0546.jpg


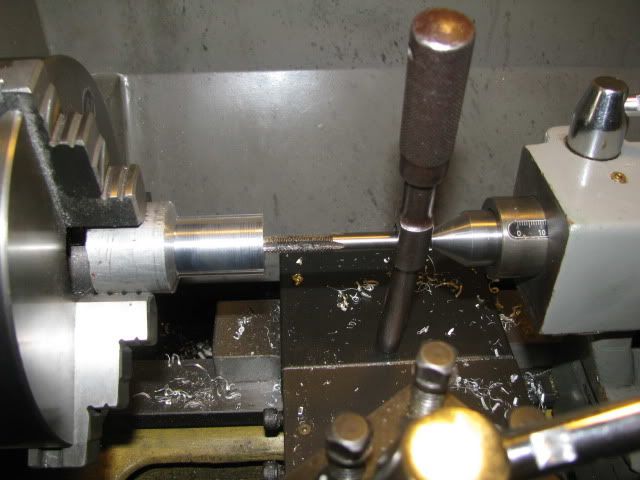
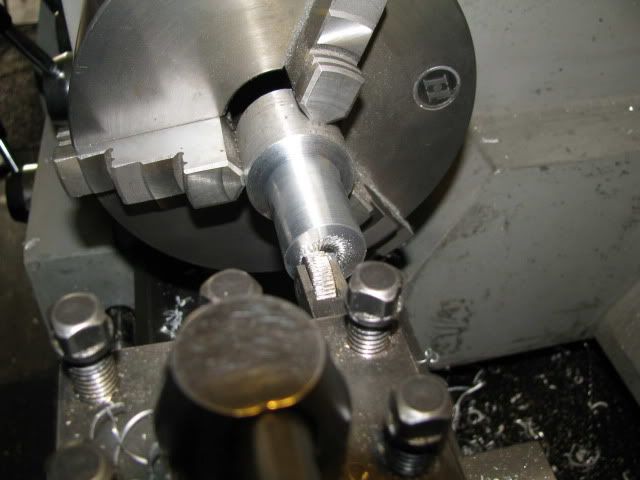
Tapping the backing nut.

IMG_0547.jpg


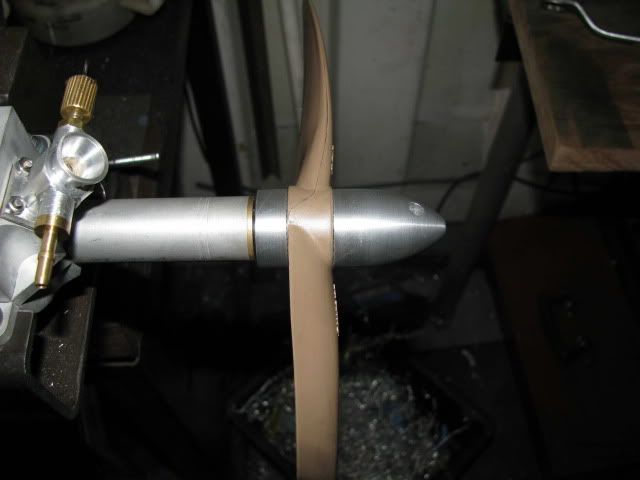
Knurling the backing nut.

IMG_0548.jpg


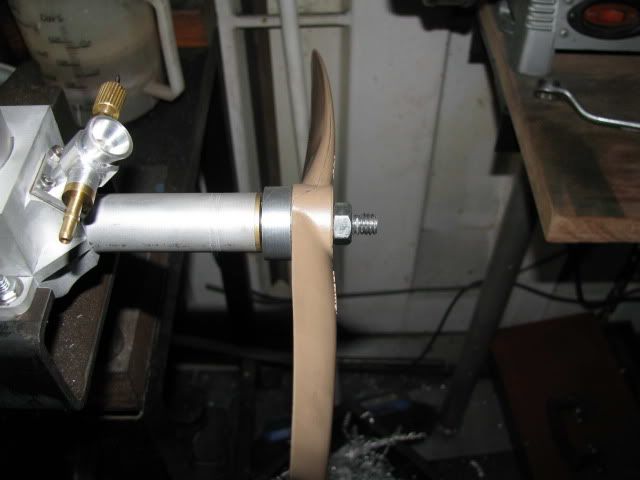
The backing nut and propeller fitted to the engine.

IMG_0549.jpg


Next is the cone nut, As I don't run DOS non of Marv's great programs run so it will need a bit of playing with CAD to get the offsets for the spline curve.

Best Regards
Bob
 
Next is the cone nut, As I don't run DOS non of Marv's great programs run so it will need a bit of playing with CAD to get the offsets for the spline curve.

You don't need DOS to run my programs. They will run under COMMAND.COM, which is included with most MS OS releases. OTOH, if you're running UNIX, I can't help. There may be a way to do it but I'm not that much of a computer guru.

Most spinners I've seen are an ogive shape, and not a "cone" nut, so I presume you're talking about my OGIVE program. If worst comes to worst, send me the specifications for what you want and I'll be glad to run off the incremental cutting schedule for you.

If you need background on ogive mathematics, there's an excellent treatment at:

http://www.geocities.com/rocketguy_101/ogive/OgiveNoseCones.htm
 
M10,
the other alternative from a spinner is this arrangement. You can use a starter motor with it also (if you decide to go that route)

http://www3.towerhobbies.com/cgi-bin/wti0001p?&I=LXL746&P=ML

http://www.tru-turn.com/product_line.html
Just so you get an idea of the diff shapes!

http://www3.towerhobbies.com/cgi-bin/wti0001p?&I=LXFT87&P=7
I can give you dims on the starter cone and you can use the rubber inserts with a drill if you'd like.

Nice Prop BTW, dia? pitch? Simtar? Just curious!

Tony
 
Paolo,

I sure hope so and it's great that you salvaged your small boiler. :bow: :bow:

Marv,

Thanks for your offer of help with the propeller nut and also for straightening out my poor terminology. Yes ogive is the shape I'm after. I drew what looks about right in CAD last night and derived a table of offsets from it. :bow: :bow:

Tony,

Thanks for your offer, I would be very happy to know the dimensions of a starter cone. My proposed Major OD of the propeller nut is 1". I will hold off on the nut so I can match them up. :bow: :bow:

The propeller is 11.5" dia and 7" pitch. It is locally, (Oz), made and was $AU5.50, can't remember the brand name but will write it down for you.
 
Thanks Marv..I'm curious to ear the sound of your magnificent engine!!!
Cheers Paolo
 
Paolo said:
Thanks Marv..I'm curious to ear the sound of your magnificent engine!!!
Cheers Paolo


I am also!.....but with all your fingers remaining firmly attached.......yeash! ::) ;D

Dave

 
Hi M10,
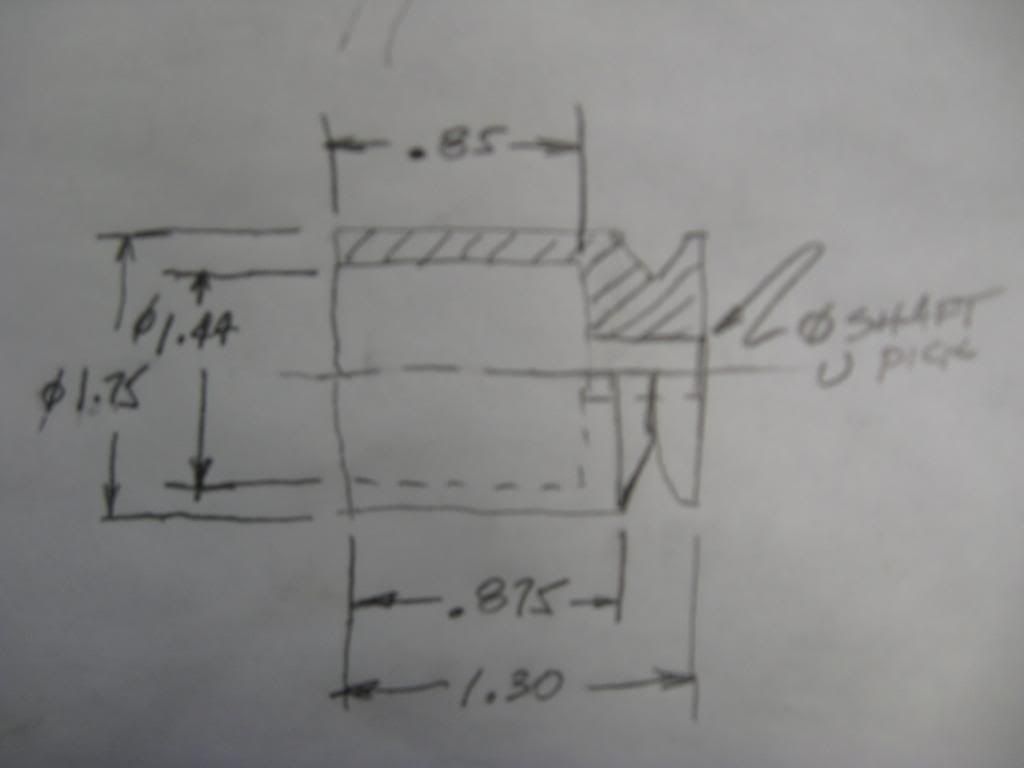
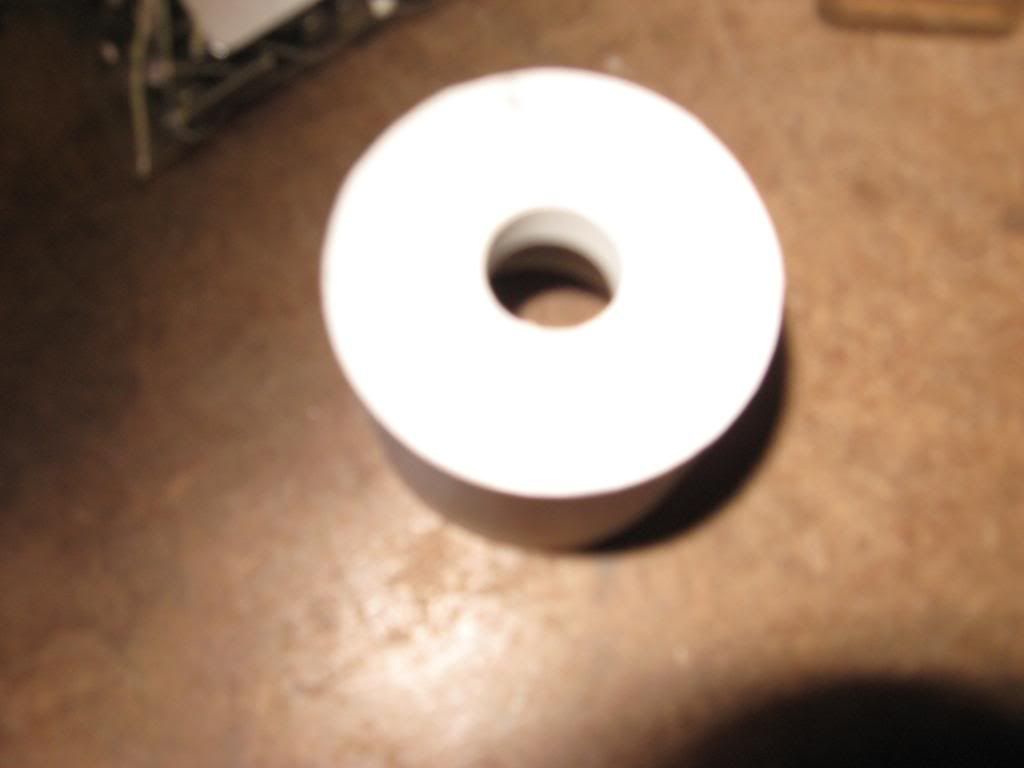
Here's some pic's and a sketch of the starter cone (don't know why they call it a cone). I just found out that the Hobbyco rubber is loose in this cone. Hobbyco $1.99, Sullivan which I have $9.99 th_wtf1. It's only by a small amount maybe .03~.04. ....... Just measured Hobbyco rubber 1.40 OD. I would have thought by the pic of the eng. and prop that it was a 18" prop. I tried to eye your vice up for a guesstimate. Got to have the eyes re calibrated :big: Anyway here's the pic's anymore questions just give me a hollar.
IMG_0142.jpg

IMG_0147.jpg

IMG_0151.jpg

This is in Inches!
This is my new home CAD system called HanCad It's never crashed on me yet Rof}
I have Inventor and Solidworks at home (from the job) but I spend 8hrs, a day doing that stuff :rant:
Good Luck I can't wait to see the video
Tony

PS the V is for belt starting boats/cars
 
It looks wonderful Bob.
I figure that I will either hear the first POP or you whoop soon.

OOPS. Lets see -- distance between us divided by speed of sound equals about 11 hours.

Nope, I am sure I will see the first POP posted here before I hear you whoop it up. Then I will know when to listen.

Gail in NM,USA
 
Tony,

Thanks for the info on the starter cone. :bow: Your Hancad is much more refined than my Crap-O-Cad, (which is why I bought Turbocad). ::)

One further question, if I may, how hard/soft is the rubber insert and what holds it in place. ??? Oops that's 2 questions :eek:

Gail,

Thnaks for your continued support and advise. :bow:

Yes it's getting ever closer to pop or poop time and if it's pop, I'll do the whoop in the video.

Paolo and Dave,

Thanks guys. :bow: :bow:

I intend to try and keep my pinkies in their original positions hence all the long winded preparation. ;D

Best Regards
Bob
 
Hi M10,
The silicon rubber is a med to med hard. Sorry I don't have a durometer for you. Something like a pencil eraser or a little harder. Just friction holds it in. it looks like a .01 to .02 interference fit. It takes quit a bit of
hand pounding it into place.

This side out for spinner]
IMG_0158.jpg


This side out for acorn style nut
IMG_0159.jpg

Tony

 
Hi Bob,

My, My you have been busy, well done that man.
The engine looks terrific and I am eagerly awaiting the first run.

I would like to ask one question though.... how is your prop driver (back nut) connected to the crank shaft, it looks like you have threaded it?
If this is so, and the final front spinner nut is also threaded on to the same shaft, thus clamping the prop between the 2 then there is a risk (especially if you are using an electric starter) that the front spinner will slacken slightly under the engine compression, which would leave the prop, and both nuts capable of unscrewing from the shaft when the engine is running.  NOT RECOMMENDED.

Normally, when a starter is used a separate spinner is fitted (with the front shaft nut inside it) which envelopes the prop hub, thus the force from the starter is applied more to the prop hub than to the spinner nut.
This would not cause the same, potential, loosening and is therefore a much safer option.

Having said that, it is not usually recommended that you start compression ignition engines using an electric starter, the forces are just so much greater than with a GLOW PLUG engine, which has much lower, and constant compression, and can lead to con rod damage or worse.

If you must use a spinner nut and the electric start, then might I suggest that you also use a standard prop nut to clamp the prop then fit the spinner nut as a lock nut.

Remember, make sure you run your drill in REVERSE when using it as a starter.... otherwise you could be there all day :) :) ;D ;D

I trust you will consider this as a safety warning.

Congratulations on a great build.

best regards
 
SandyC is right. I didn't notice how your prop drive washer was set up. Usualy on comercial engines the drive washer is on a taper with a woodruff key. Or a "D" hole and shaft. Some engines double nut the prop nuts. I never messed with desiels but when you start them don't you back off the compression screw and start tightening as you flip or use starter???
Tony
 
Hi Sandy and Tony,

Thank you both for your words of wisdom. :bow: :bow:

Back to the drawing board whist I find ways to incorporate everything I've learned into securing the propeller.

Better Safe than Sorry.

Best Regards
Bob
 
Back Again......

Had a think about securing everything so I don't get chased around by propellers and/or fingers or have the engine take off and self destruct. :eek: :eek: :eek: ??? ??? ???

This is the result of the above process which is very often fraught with peril. If it's NBG please say so.

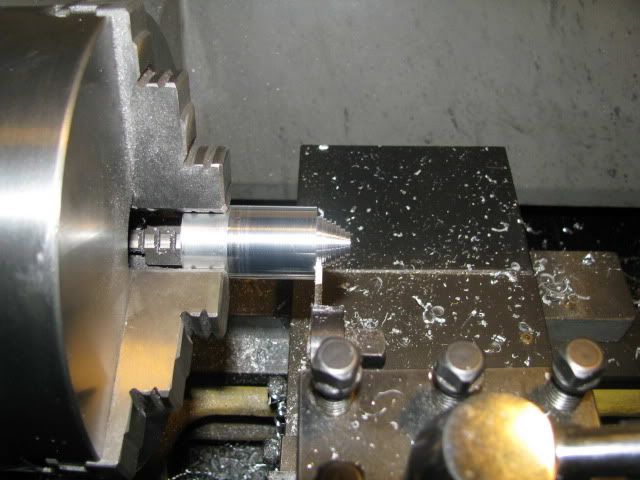
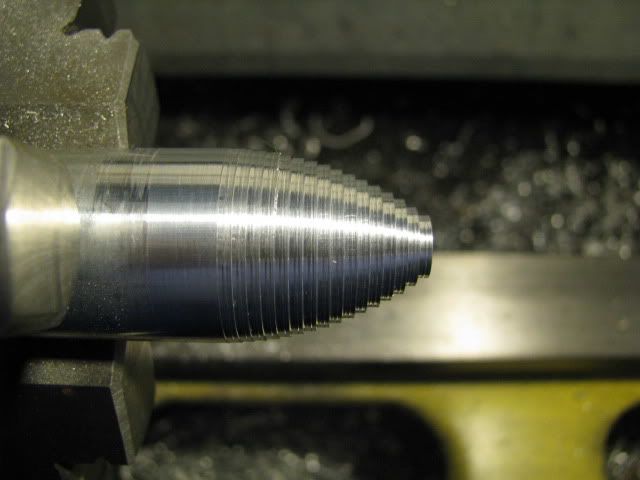
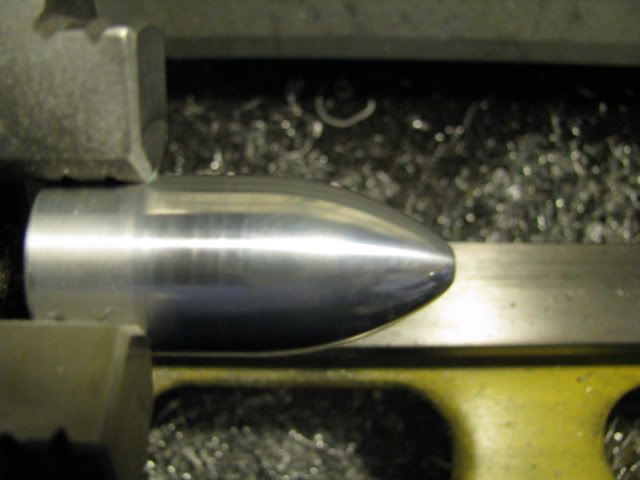
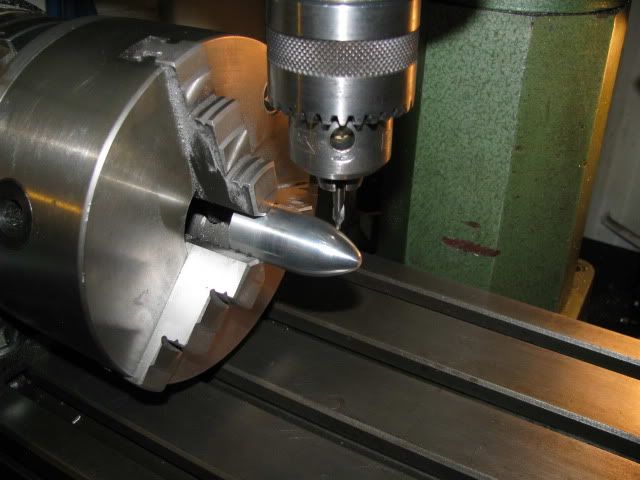
Using my modified, revised, (doesn't come to a sharp point) and totally a 1st time ogive calcs, starting the stepping out of the propeller boss/nut

IMG_0552.jpg


The completed steps.

IMG_0553.jpg


After filing and sanding.

IMG_0554.jpg


X drilling for a tommy bar.

IMG_0555.jpg


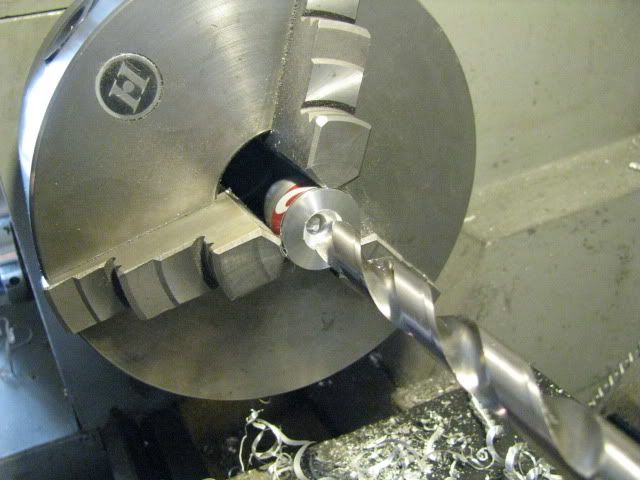
Counterboring and threading the boss

IMG_0556.jpg


Trial fit, backing nut, prop and prop lock nut.

IMG_0557.jpg


And with the boss added.

IMG_0558.jpg


The backing nut needs X drilling for a tommy bar and the lock nut needs a star washer. If it looks OK we make a starter. (My fingers and my back can't handle a manual start).

Best Regards
Bob
 
cobra428 said:
I never messed with desiels but when you start them don't you back off the compression screw and start tightening as you flip or use starter???
Tony

Tony,

Apologies, so worried about locking everything tight I forgot to answer your question. In a word YES, (well thats how I do it). I also forgot to read the name off the prop - Senility is a pain. ;D ;D ;D

Best Regards
Bob
 
Bob

If it's of any assistance I have a model engine starter, runs off car battery, with the cup and rubber which I'm happy to lend to you. I'm up in the hills at Aberfoyle Park. Let me know if you need it.

Rgds - Gavin
 
M10,
Very Nice! I don't flip props anymore either. I just like to push the sticks around on the transmitter ;D Well except on my 1/4 scale gasers (they do make starters for those too $200 ouch!). But then it's just one flip and I'm on my way.
Anxious for the video!
Tony
 

Latest posts

Back
Top