Duplex Vacuum, (Heinrici type stirling)

Home Model Engine Machinist Forum

Help Support Home Model Engine Machinist Forum:

This site may earn a commission from merchant affiliate links, including eBay, Amazon, and others.
Very elegantly done Dean and definitely in keeping with the engine!! I agree as to the brass vs. aluminum and think either the red or the black would look just fine. Those thin blades and outer band might be a little difficult to clean up to suit you if not painted also. This is a fine piece of machining (all of it) on a nice Howell design. What a fine addition to the the collection. As our Aussie members would no doubt say..."good on ya!!!'

Bill
 

Marv, that's a great idea. I think the print shop has some kind of transfer/masking sheet. They might even be able to do patterns from my prints. Thanks for putting the jelly back in the old bean.
You mathematicians are awright.

Bill, thanks for confirming my thoughts on the metal color mismatch. Sometimes another view helps put things in perspective.

Dean
 
Dean,
Hope you'll try the pens. If the base paint is dry, you can always wipe off mistakes.

However, Marv may indeed be on to something. But rather than self adhesive paper, go to Michael's(or any other craft store) and look for a masking material called "Frisket". Hobby shops or art supply stores might have it too. It's used by airbrushers for masking. Very thin and easily removable.
Regards,
Dennis
 
Hobby shops will have the liquid paint mask. Although it may be called something like liquid mask. The RC car guys use it for painting their lexan body shells.

I too have to agree the fan looks out of place color wise against the silver of the cylinder. Not sure what I would do about it though if I were in your shoes.
 
Twmaster said:
I too have to agree the fan looks out of place color wise against the silver of the cylinder. Not sure what I would do about it though if I were in your shoes.

Very nice fan. :bow: :bow: Black with red blades ???

Best Regards
Bob
 
That is one FAN-tastic looking fan you got there.

Well Done Thm:


Kel
 
Thanks again all, for more nice comments and suggestions.
I think the blades need to be red, and the OD ring around them, along with the
mounting bracket should be black.
It makes it easier to paint over something when I get a little help from friends.

Dennis, I'm still thinking about the stripes. It may not come for a while, depending
on what I can find here as an aid.

mklotz said:
Despite not being "real" people?

Heh, I wonder how many know what you're talking about, Marv.
Well, I do. You're fairly well redeemed, at this point.

Thanks all. Gotta go. Another poor relative is getting hitched this morning and I'm
expected to witness the affair.

Dean
 

Well, that wedding I wanted to attend didn't last very long. Both were eager to say "I do".
Short and sweet.

This will be the last post where anything is being made. Finally!

All that is left is a stepped pulley needed to run the fan, and what ever else I may like to hook up to it.
The pulley is of aluminum and has three drive grooves of different sizes so it will have a few different ratios.


209.jpg


The pulley is 1.5" dia at the largest end, and the other two diameters are stepped down from there. The grooves
were cut with a 60° tool, then widened enough that a 1/16" o-ring fit nicely. It's drilled and reamed for the
crankshaft diameter, the waste cut off, and that's it. Last part!


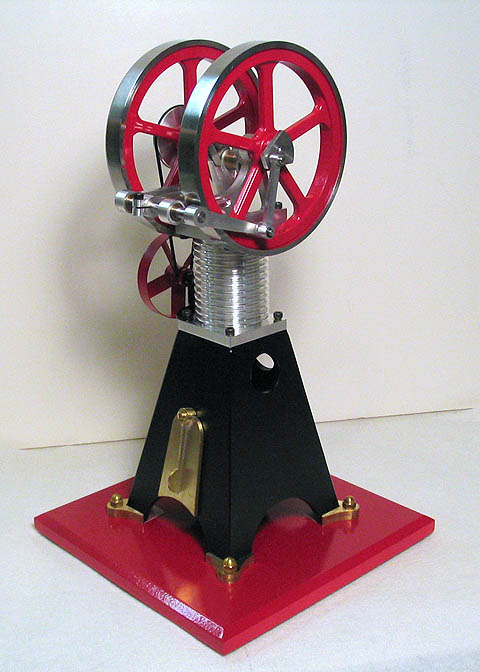
With no more parts to make, I painted the fan and mounting bracket, and I think I've decided I like it as it
is now. I went back and forth on painting the fan rim black, and came to the conclusion that I like the red.
Pin stripes, I think, will wait until I've looked at this thing for a while to settle on it.

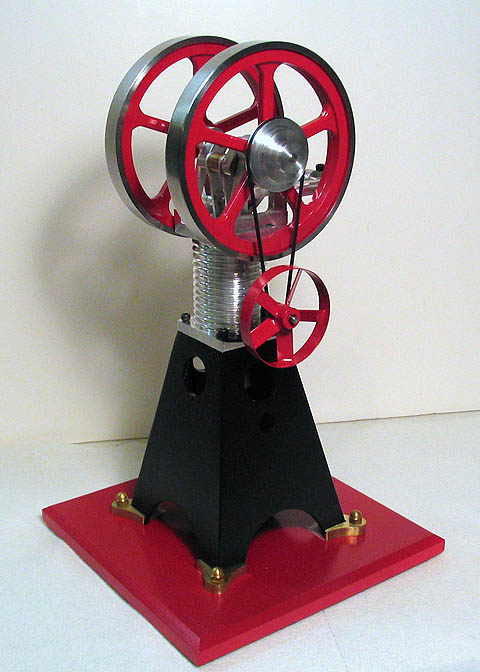
Time for the finished shots, then.


210.jpg


212.jpg


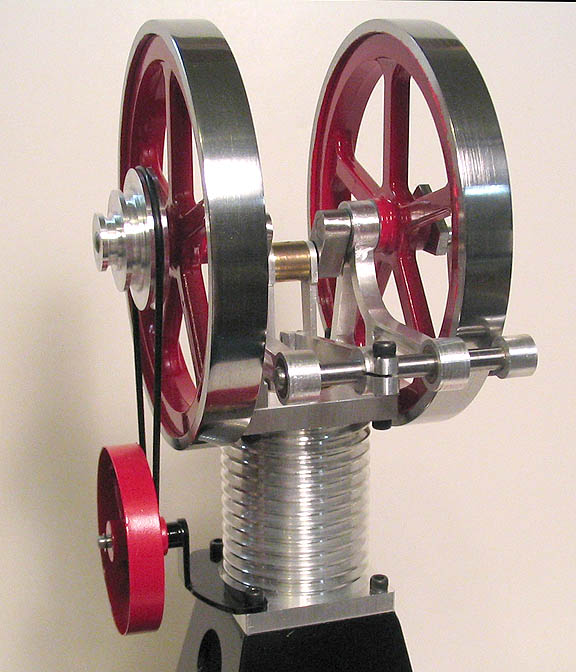
Couple of close ups, warts and all:


213.jpg


214.jpg


Can't do a video until Monday. I bought the wrong sized o-ring, and it's so tight the engine
won't turn freely. It's about 1½" too short and is stretched to it's limit. I have it put on
for pictures, but will have to get a new one Monday, and I'll have a new video sometime Monday evening.

Thanks to all of you who stuck with me to see this out! I sure do appreciate the many remarks, suggestions,
and tips, and time you all took in making your comments!

Dean
 
Dean,

That is one fine looking engine. :bow:

An easier way to pin stripe is to use the tape.

You can put it on, and if you don't like it, just peel it off.

I think that I would let the paint cure for a while though.

Can't wait to see it running.

SAM

 
Looking really sharp there, Dean. At first glance I didn't like the all red look of the fan, it seemed to be too much. But the more I look at it the better it fits. Excellent choice.
 
Incredible looking engine Dean.

The red paint turned out beautiful.

Looking forward to the video.

Kel
 
Very nice Dean.
Gail in NM
 
That really turned out to be a sharp looking engine. The colors set it off nicely. It makes a beautiful avatar also.

Looking forward to the vid.
 
Just perfect Dean !! If there are any warts they sure don't show. The fan and pulley turned out great and I am anxious to see how much improvement you get in cylinder temp over longer run times. Arv beat me to it, but the first thing I noticed this morning after signing on was your nes avatar.

Looking forward to the video once you get the o-ring sorted out.

Dare I ask what you have up your sleeve for your next build? ;D

Bill
 
Dean,
It's a beauty! The fan and black stripe look just right. Looking forward to the video.
Dennis
 
Very well done indeed Dean :bow: ! And thank you for the build log; it was most educational :)

Arnold
 

Latest posts

Back
Top