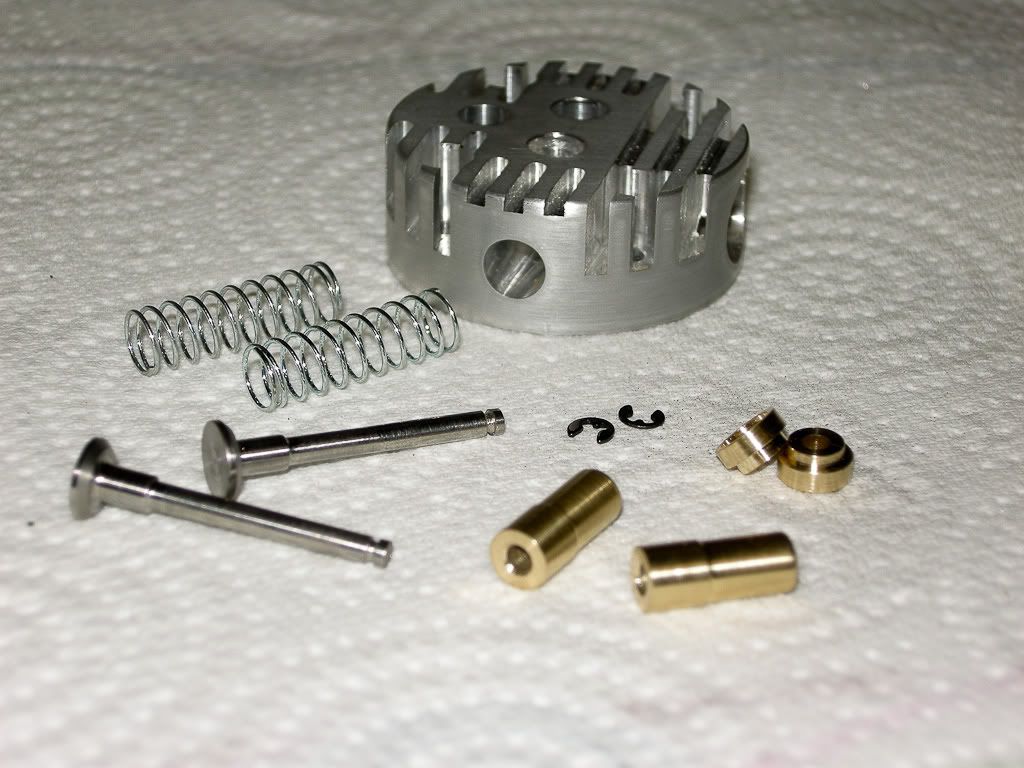
004 Valves, guides, springs and bits.
Valves, humm, first one I made is in the bin, did not get a very good finish on it and just was not happy with the way it turned out. Second one was to my satisfaction. Made out of stainless, turned down about ¼ inch at a time to stop it springing while cutting. I cut the grove for the E clip with a dermal, now I am not taking any credit for this idea I have seen this done before on this very forum, but cant for the life of me remember who it was, but looked like a dam good idea, so I tried it.. The mount for the dermal I have I made a long time ago for a different project and been using it for all sorts since. The holder replaces the tool post, it did the trick.
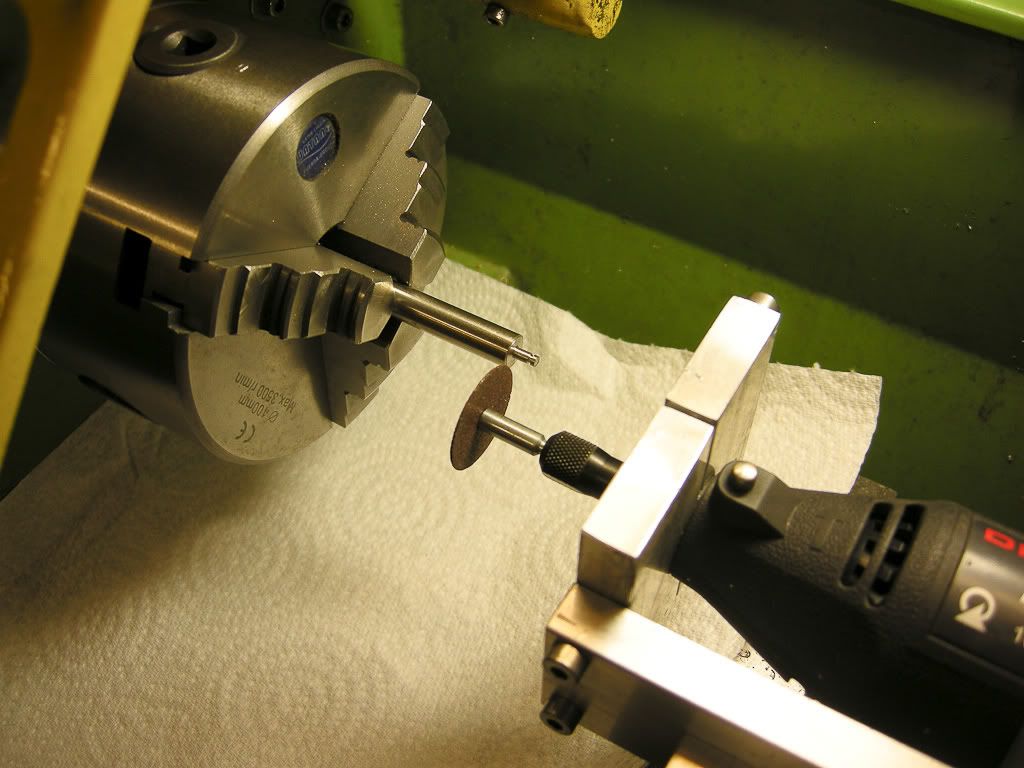
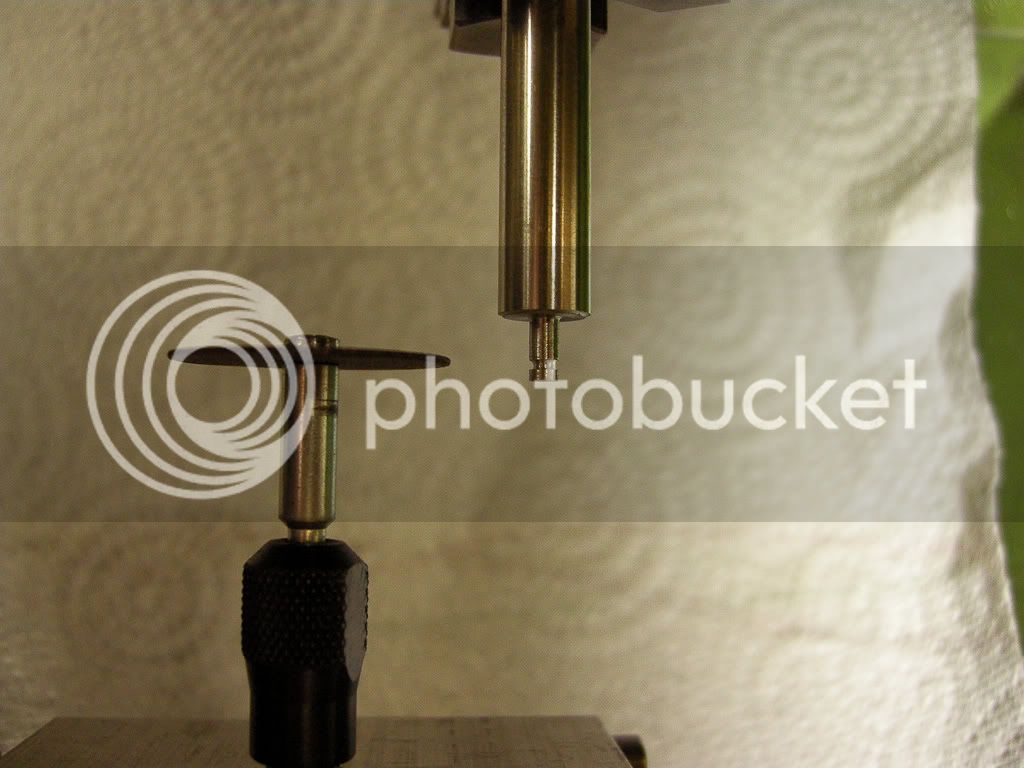
Finished valves
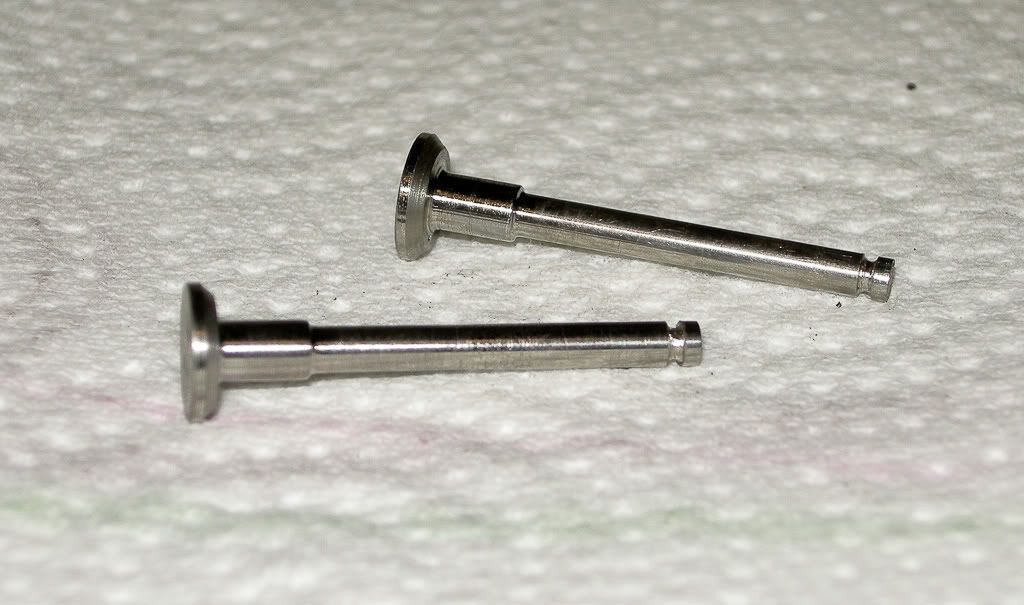
Valve guides made from brass and the caps as well, springs I had kicking about.
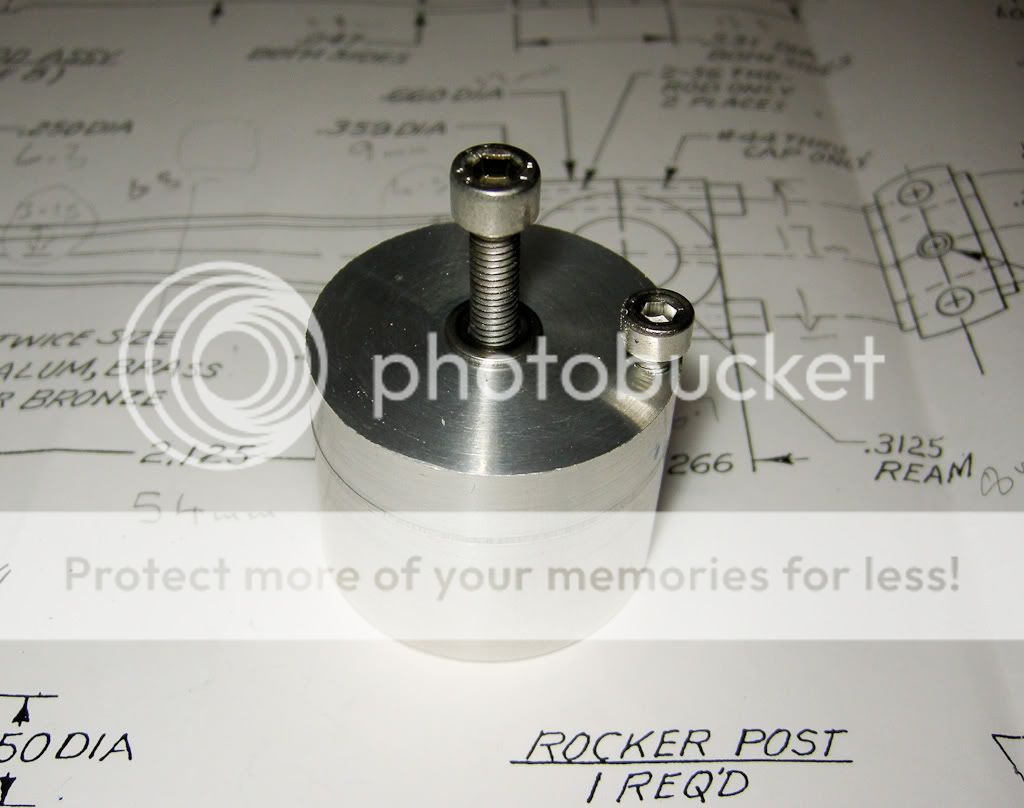
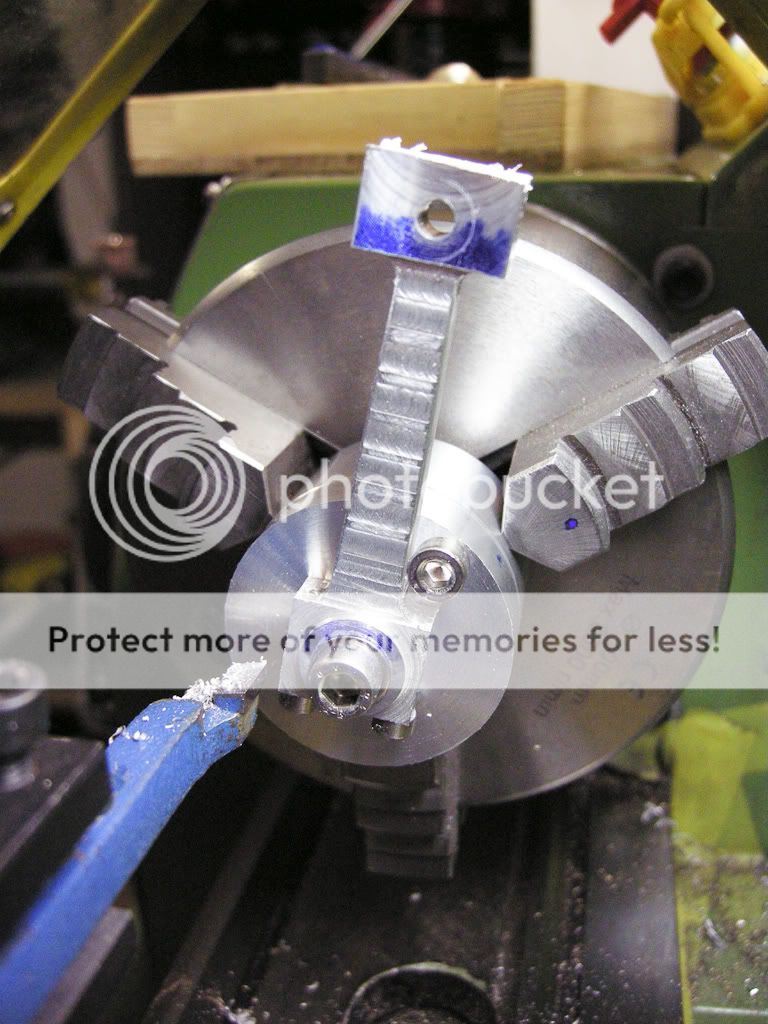
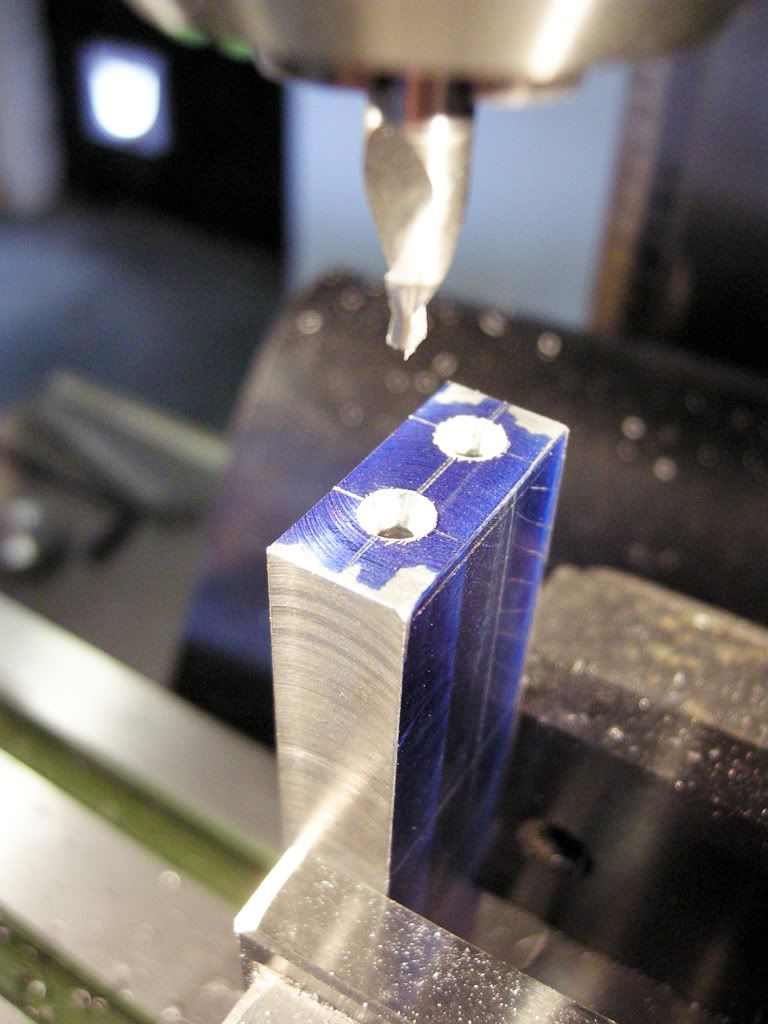
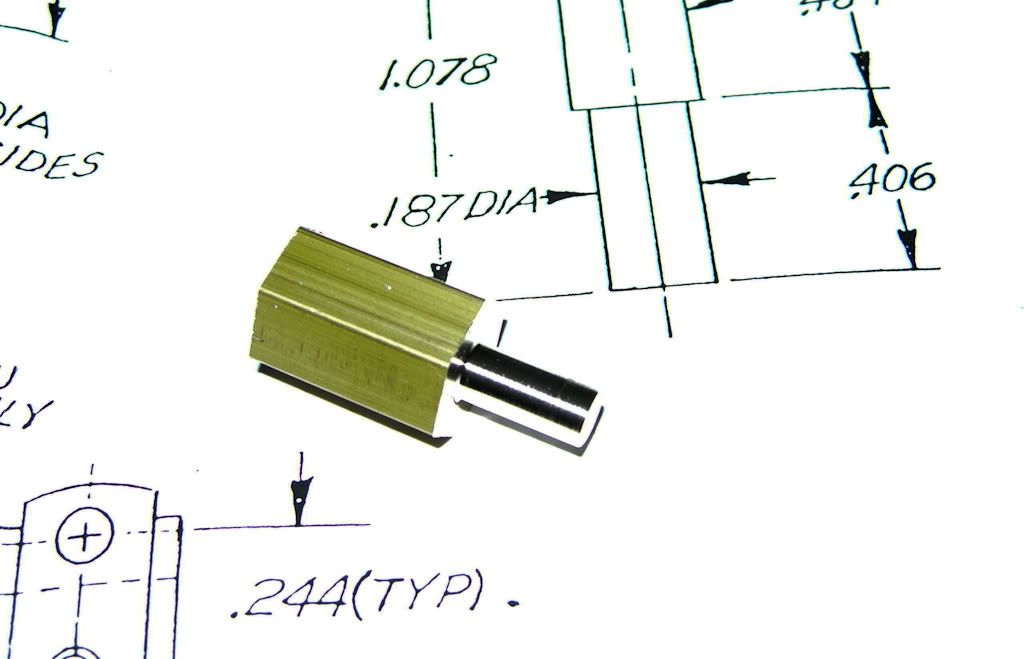
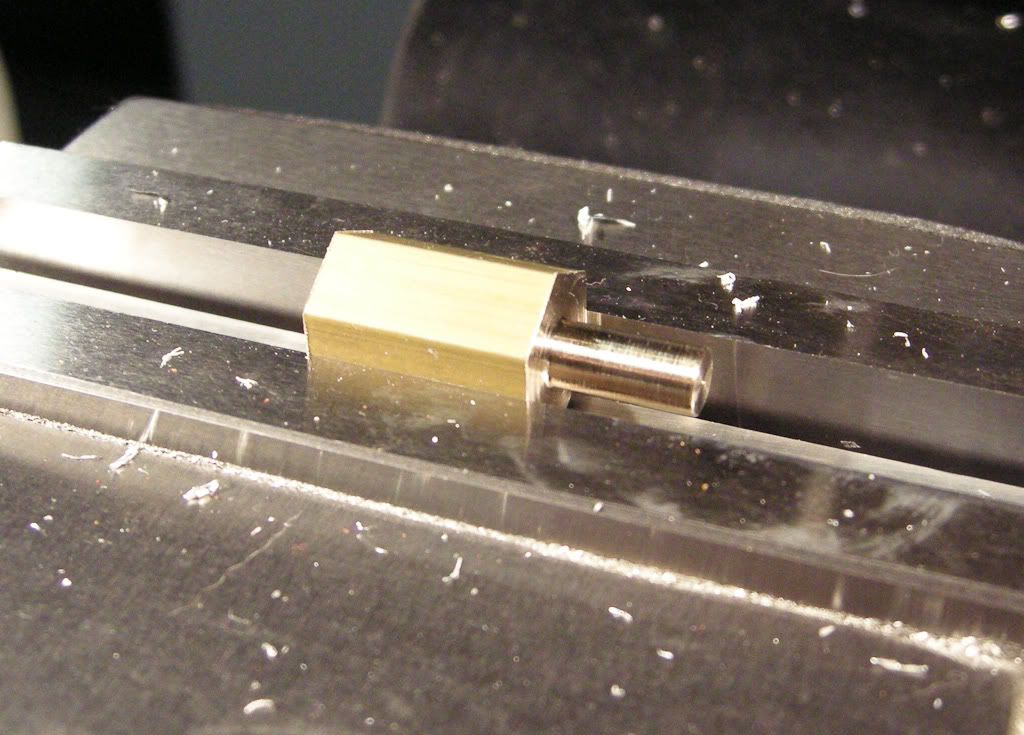
Next was the rocker support. I have probably made this back to front, I am sure others would have made the square post first and this with a 4 jaw in the lathe turned down the mounting post. I did this the other way, I used a bit of hex to start with, turned down the mounting post and then it was easy to mount in the mill to make the square post.
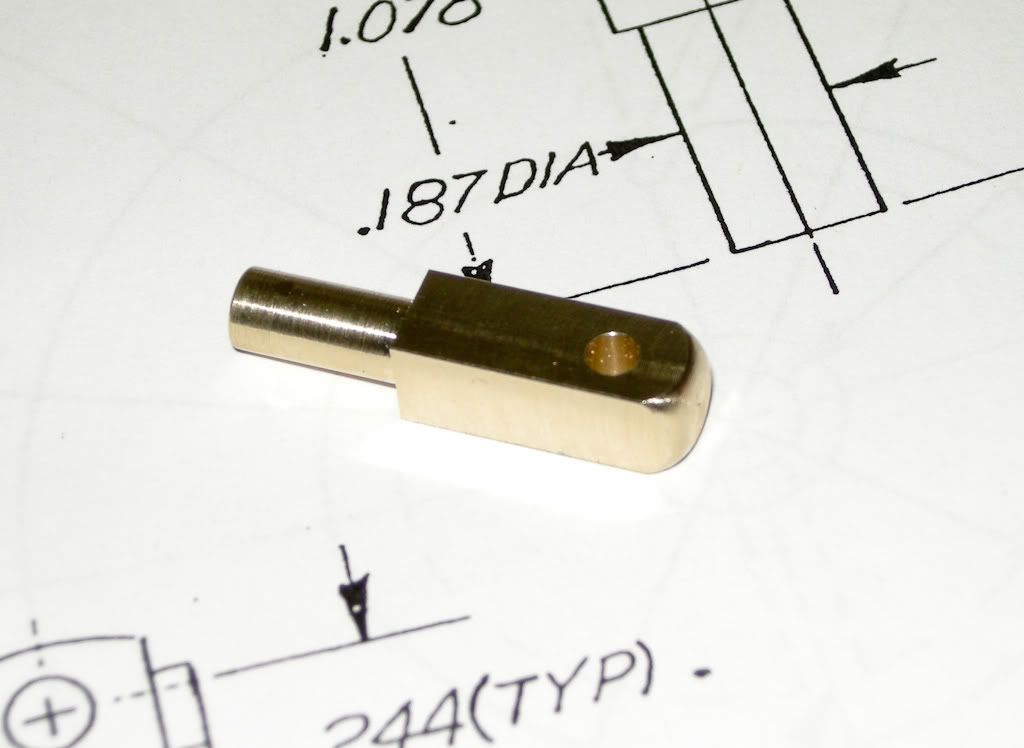
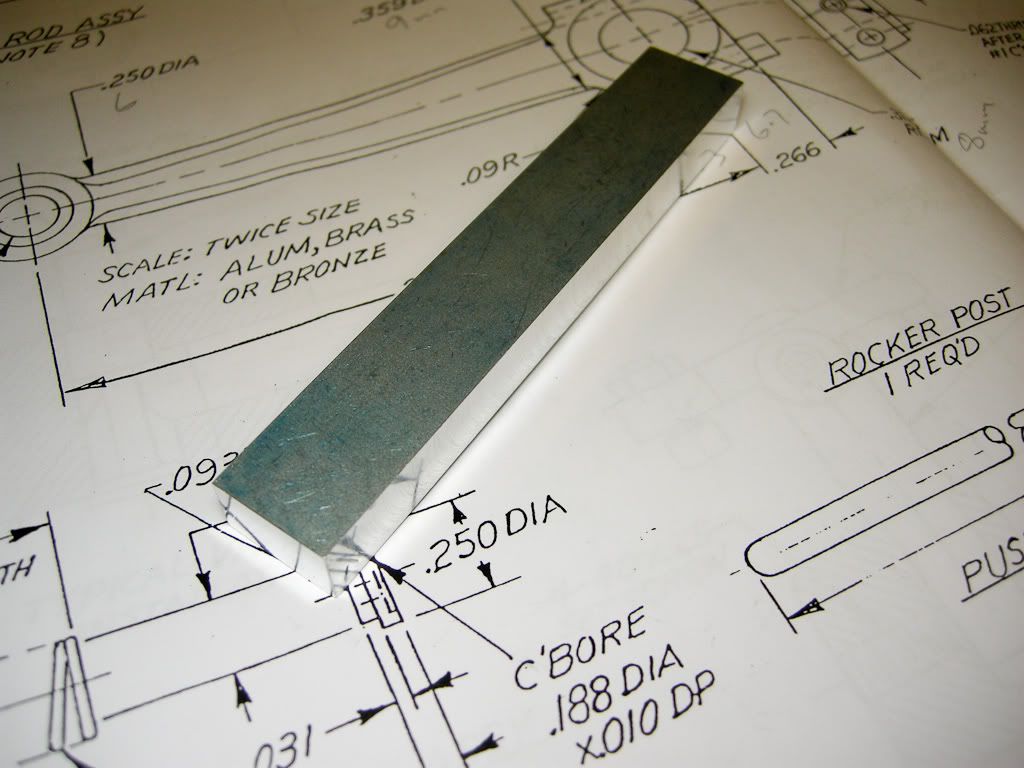
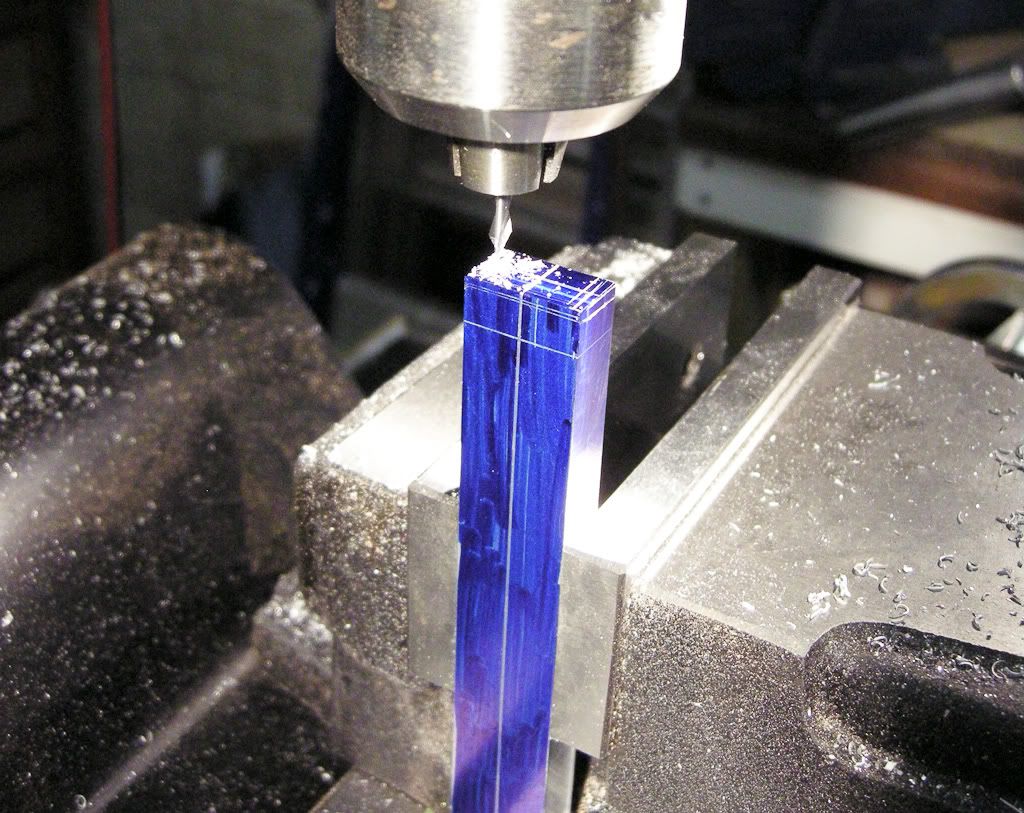
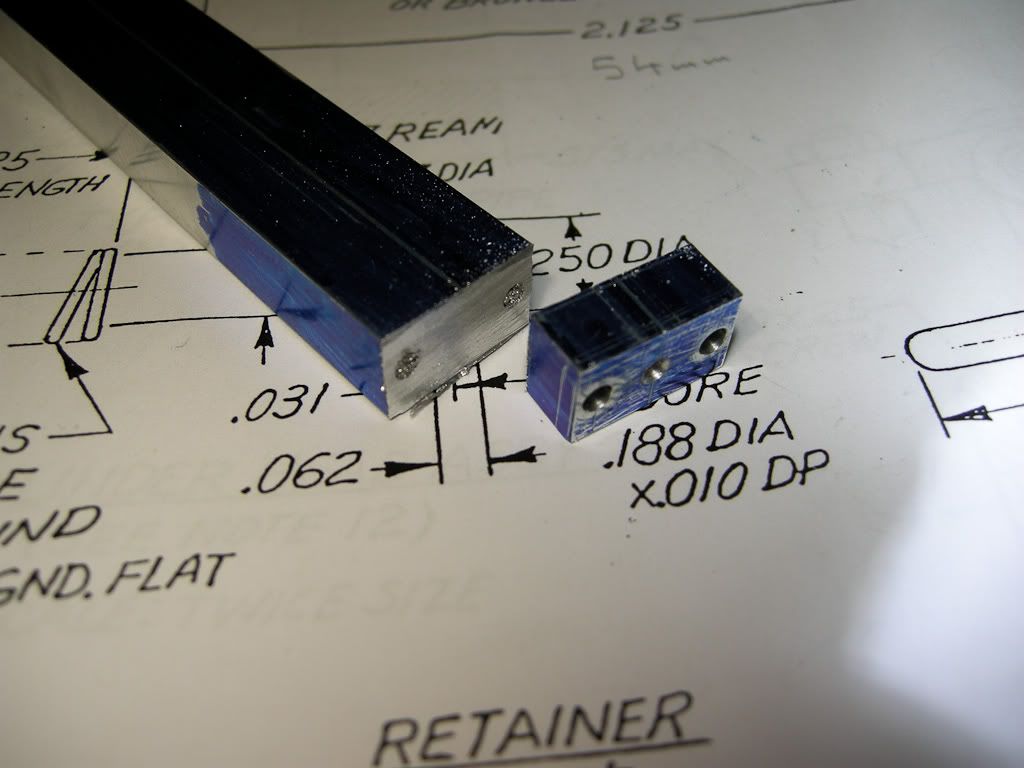
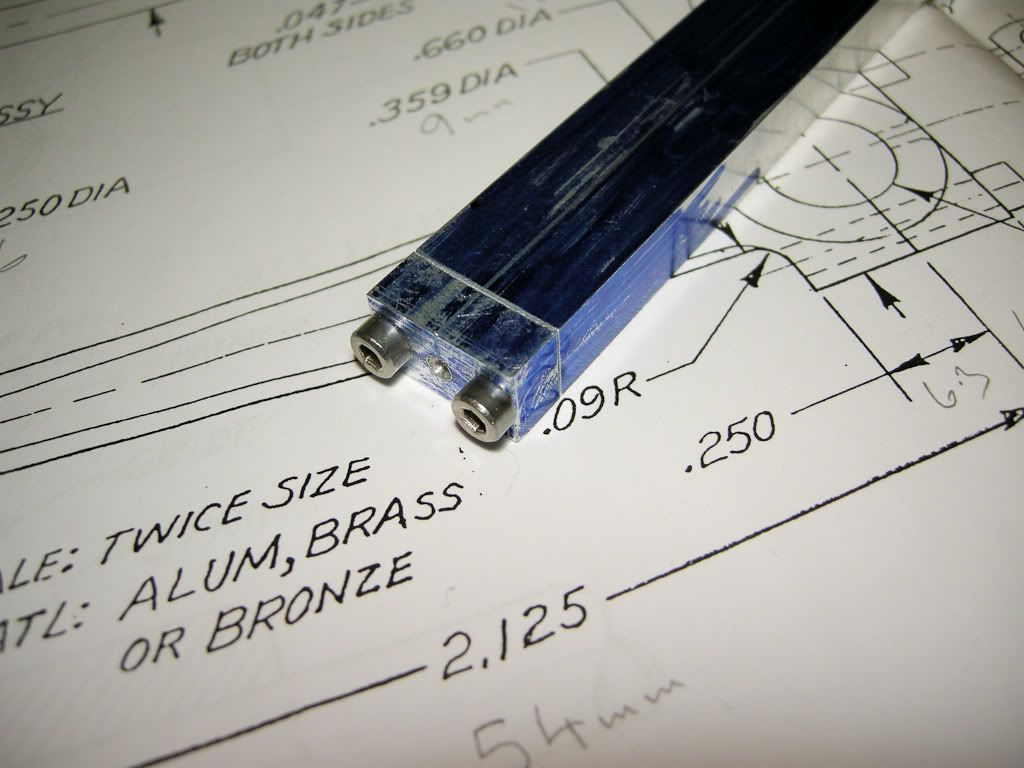
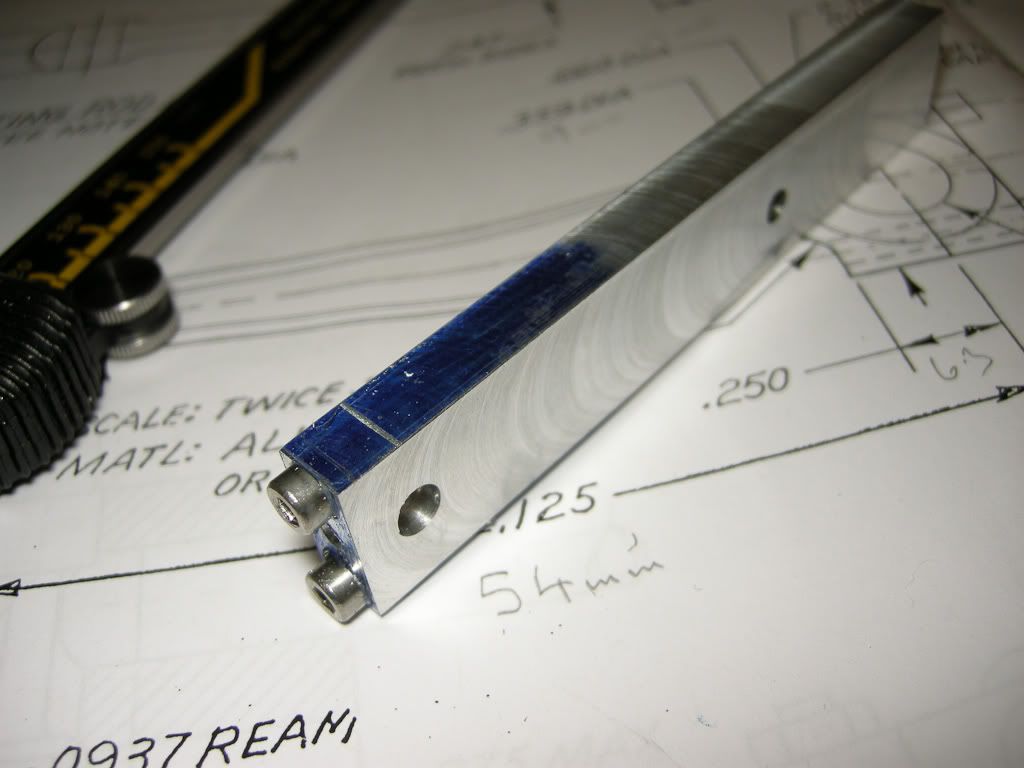
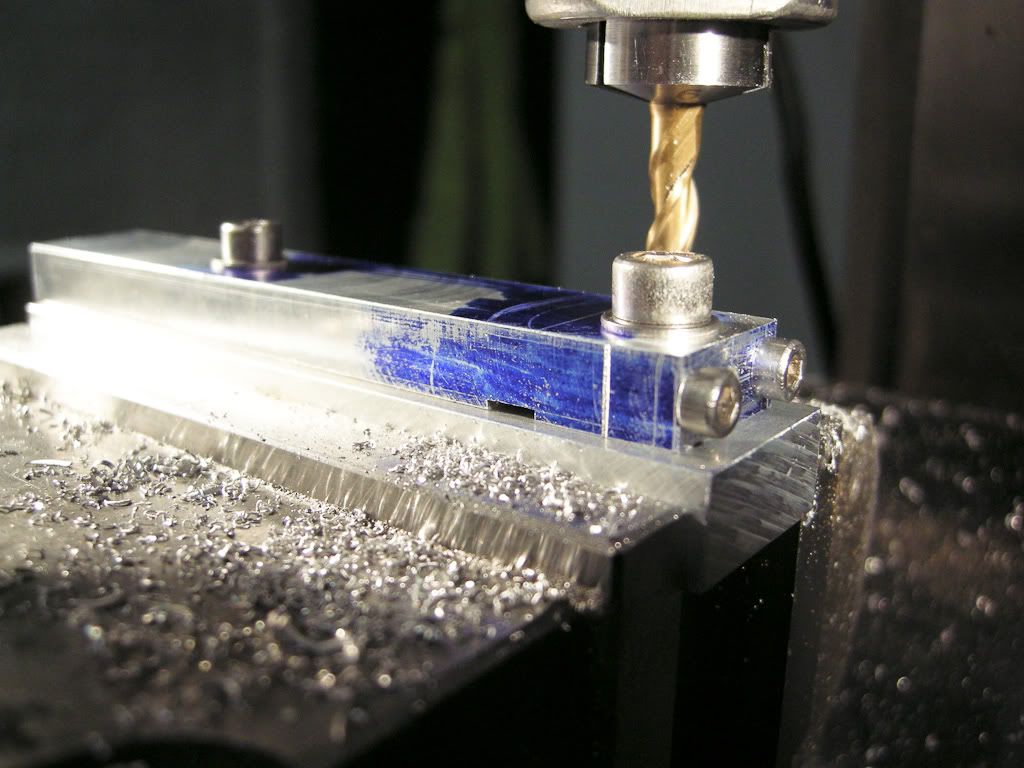
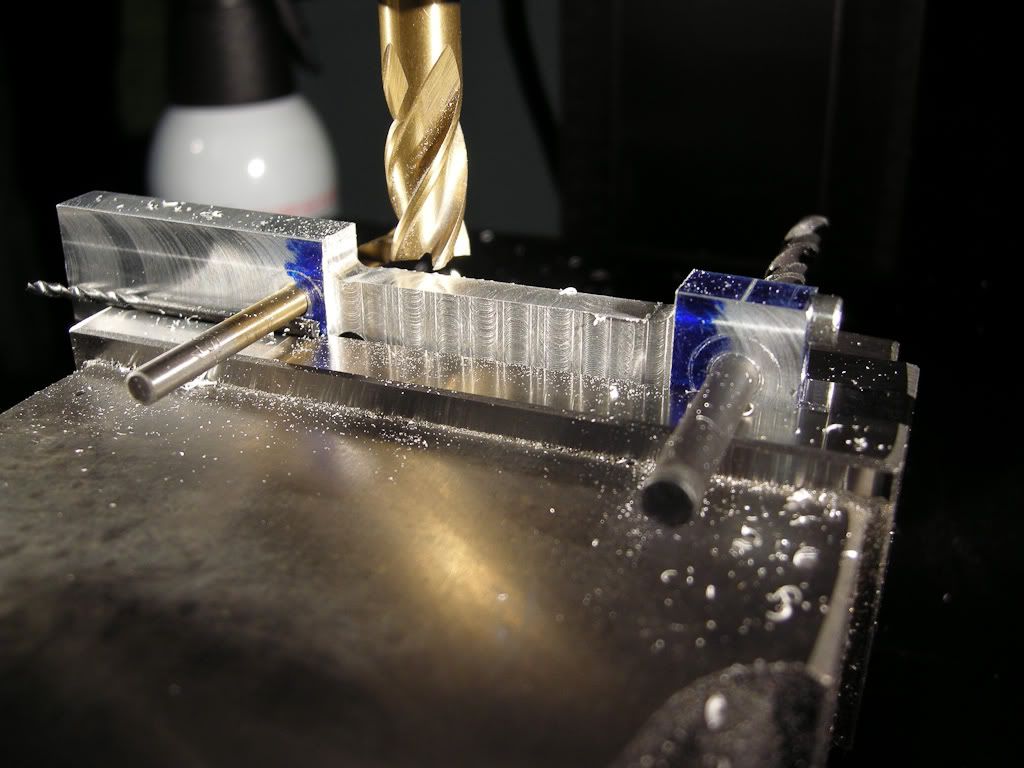
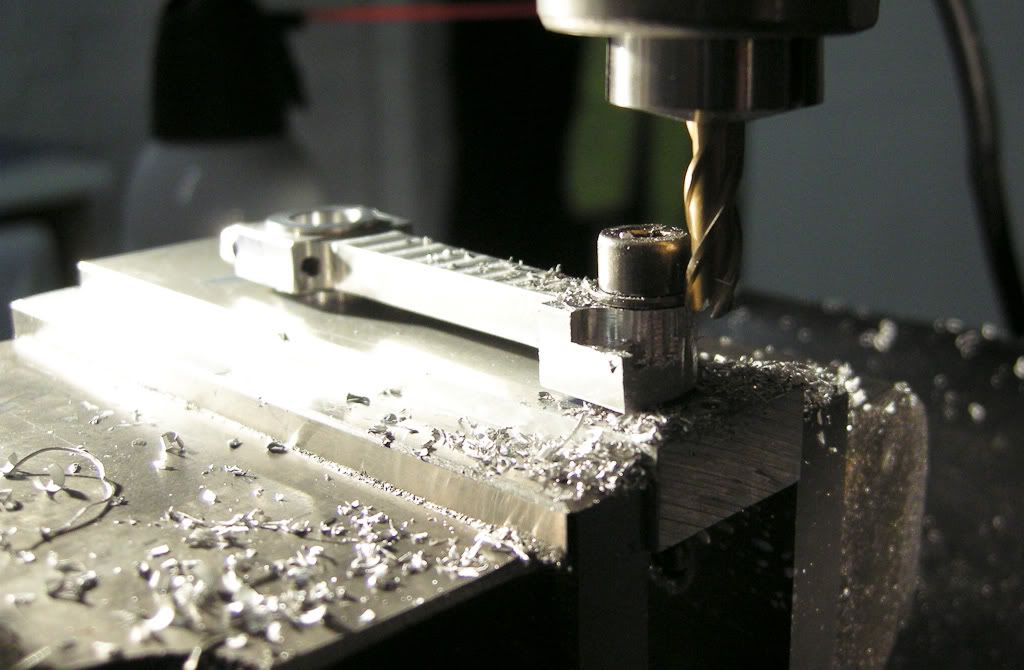
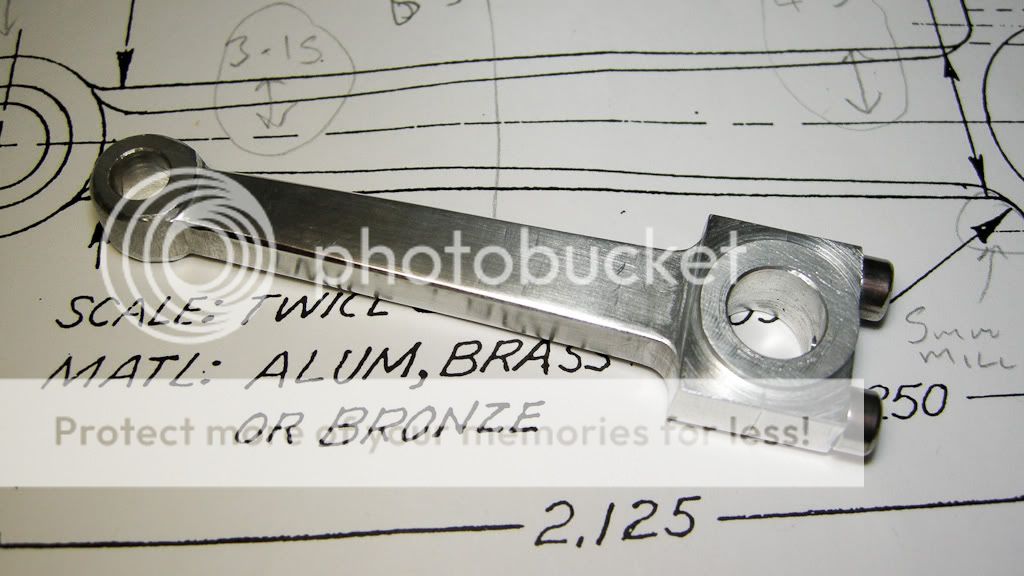
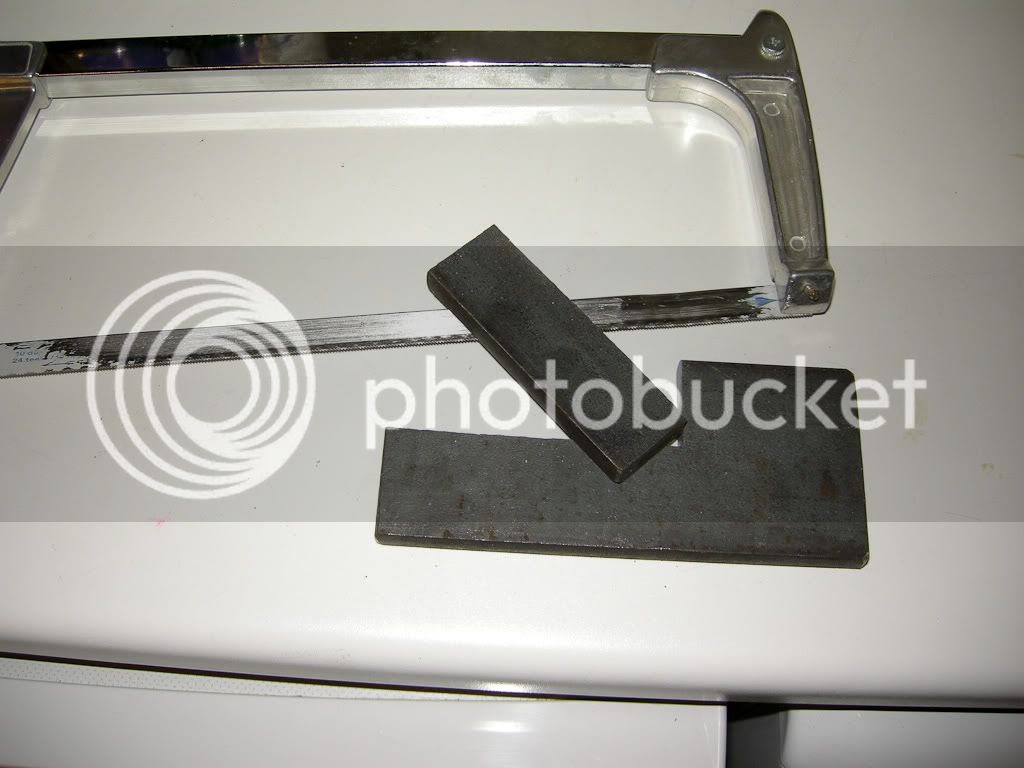
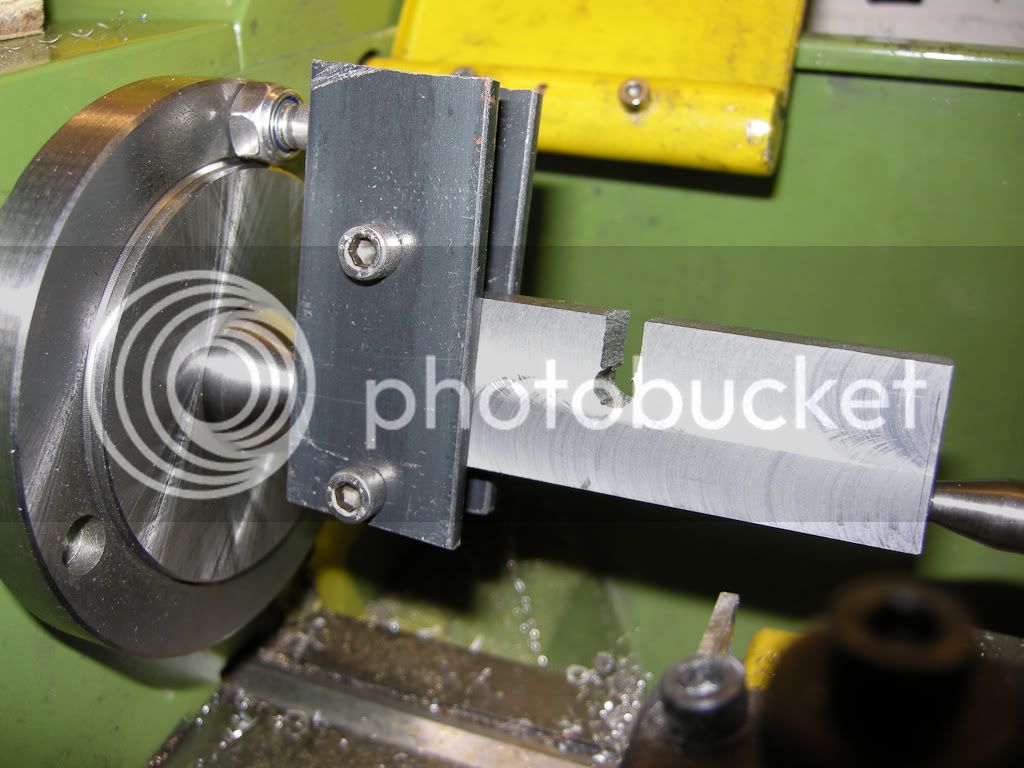
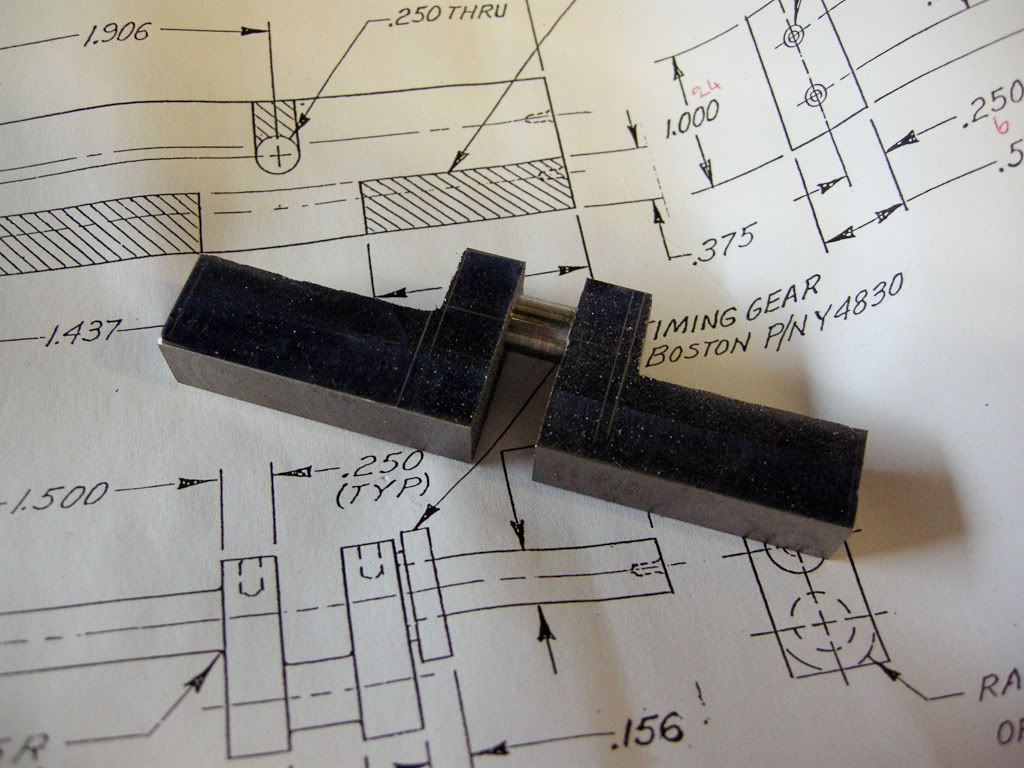
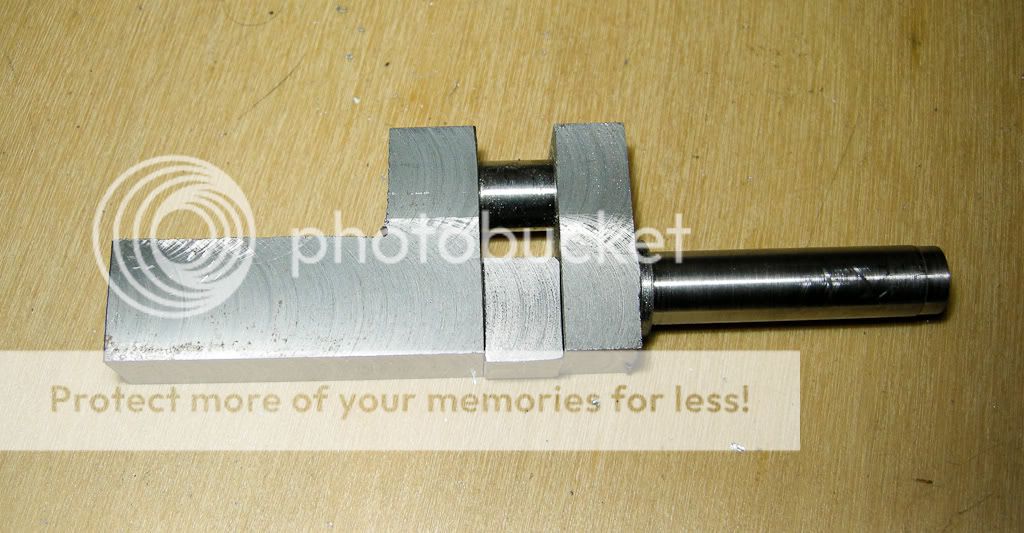
Next was the rockers, wow, these were a pig to make. I thought I would be clever (bad idea) and make the basic shape to size for both at the same time in one long bit, then cut them in two to finish off. First problem was the mill bit slipped in the collet (never happened before) and dug in to it, first bit in the :toilet:. Next I got myself confused with the left and right handed bits and cut them the wrong way, next bit in the :toilet: So I decided to mill one at a time, much better, I did bolt then back to back to finish off, but it was worth the effort and I think they look good, the final rounding was done with a drum sander in the dermal and then finally with a file.
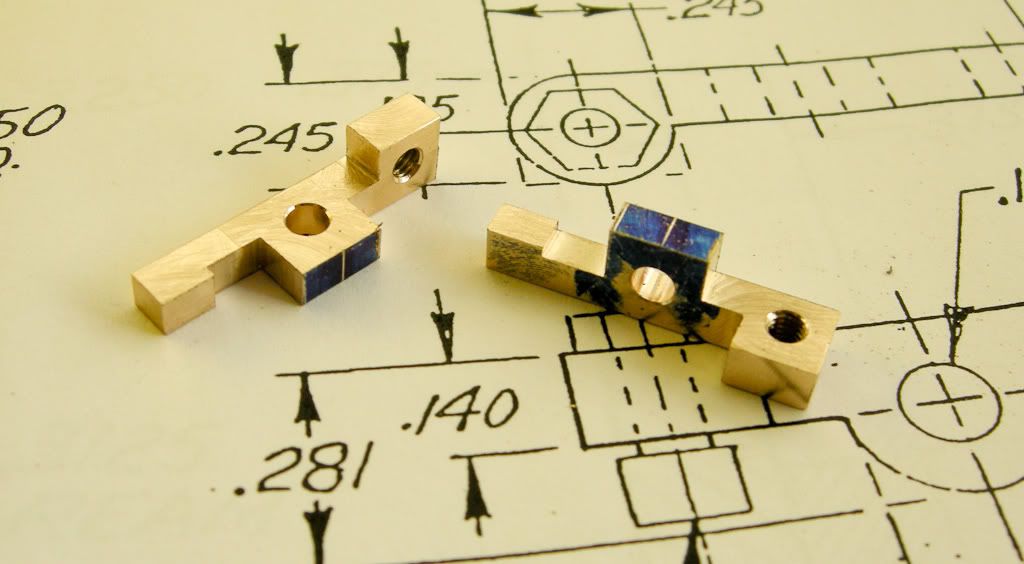
Last was the rocker shaft, tried to follow the original plan and drill and tap the ends for some very small bolts, just could not get it to dill small enough in something so small and hard. Gave up and used 2 more E clips.
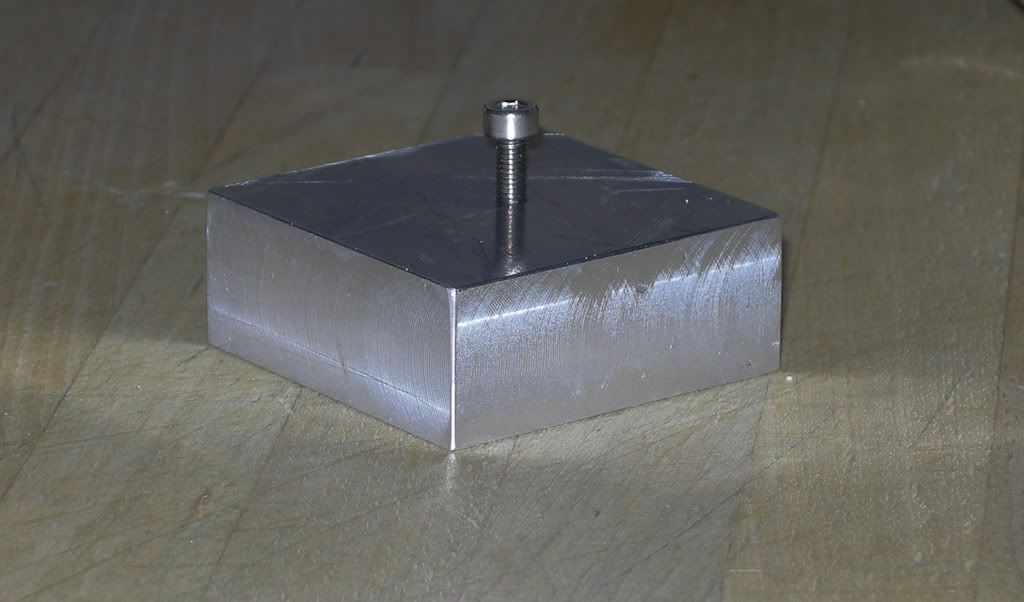
With the valve guides finally glued in there final resting place, there where a good push fit but a bit of loctite on them just to make sure. I put a small bolt into a block to act as a stop so they would go to the right depth and not go in to far, I put the head over the bolt through the valve hole one at a time and pushed the guide in to the stop. I was dreading doing this as I dont think the Loctite gives you to long to mess about.
005 Final assembled Head woohoo1
And this is it, the final assembled head. I am so impressed with the way that all came together. I am sure only you guys on here can appreciate how happy with the result, my wife gave it the same appreciation as she would to something the cat dragged in .
Anyway, gold head, thought it was a nice touch. The fins will be going black, not sure about the crank case yet
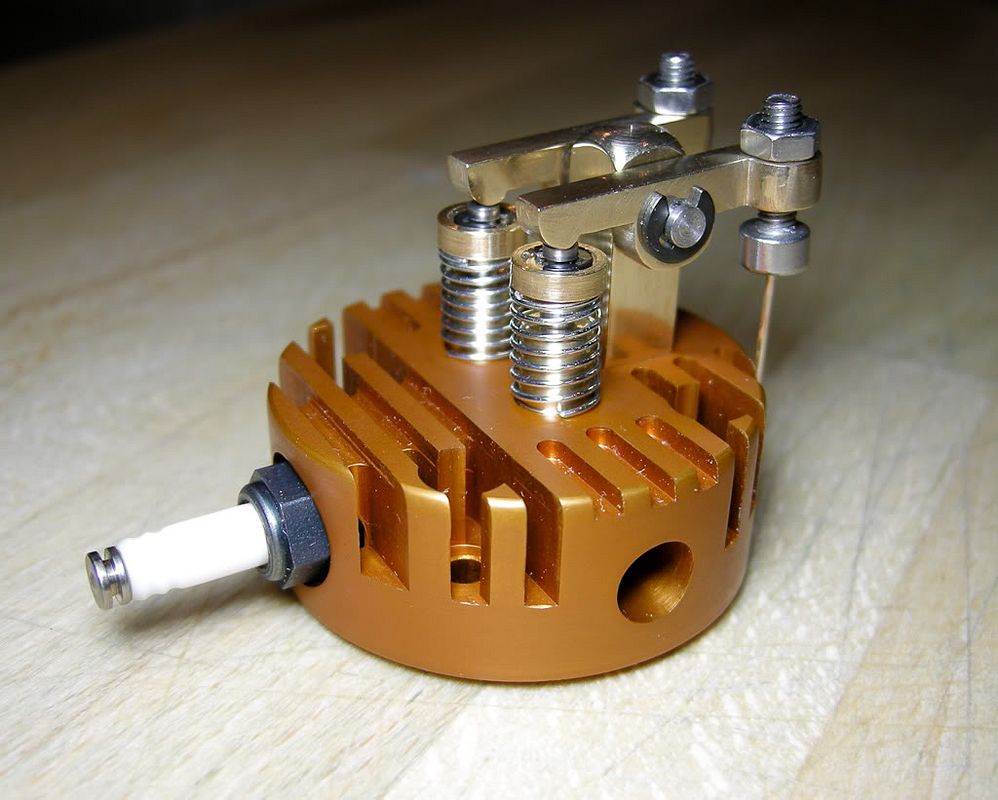
The gold anodising dye is strange stuff, its clear green in colour and watching the head turn gold in it was very odd .
Valves, humm, first one I made is in the bin, did not get a very good finish on it and just was not happy with the way it turned out. Second one was to my satisfaction. Made out of stainless, turned down about ¼ inch at a time to stop it springing while cutting. I cut the grove for the E clip with a dermal, now I am not taking any credit for this idea I have seen this done before on this very forum, but cant for the life of me remember who it was, but looked like a dam good idea, so I tried it.. The mount for the dermal I have I made a long time ago for a different project and been using it for all sorts since. The holder replaces the tool post, it did the trick.


Finished valves

Valve guides made from brass and the caps as well, springs I had kicking about.

Next was the rocker support. I have probably made this back to front, I am sure others would have made the square post first and this with a 4 jaw in the lathe turned down the mounting post. I did this the other way, I used a bit of hex to start with, turned down the mounting post and then it was easy to mount in the mill to make the square post.


Next was the rockers, wow, these were a pig to make. I thought I would be clever (bad idea) and make the basic shape to size for both at the same time in one long bit, then cut them in two to finish off. First problem was the mill bit slipped in the collet (never happened before) and dug in to it, first bit in the :toilet:. Next I got myself confused with the left and right handed bits and cut them the wrong way, next bit in the :toilet: So I decided to mill one at a time, much better, I did bolt then back to back to finish off, but it was worth the effort and I think they look good, the final rounding was done with a drum sander in the dermal and then finally with a file.

Last was the rocker shaft, tried to follow the original plan and drill and tap the ends for some very small bolts, just could not get it to dill small enough in something so small and hard. Gave up and used 2 more E clips.
With the valve guides finally glued in there final resting place, there where a good push fit but a bit of loctite on them just to make sure. I put a small bolt into a block to act as a stop so they would go to the right depth and not go in to far, I put the head over the bolt through the valve hole one at a time and pushed the guide in to the stop. I was dreading doing this as I dont think the Loctite gives you to long to mess about.

005 Final assembled Head woohoo1
And this is it, the final assembled head. I am so impressed with the way that all came together. I am sure only you guys on here can appreciate how happy with the result, my wife gave it the same appreciation as she would to something the cat dragged in .
Anyway, gold head, thought it was a nice touch. The fins will be going black, not sure about the crank case yet

The gold anodising dye is strange stuff, its clear green in colour and watching the head turn gold in it was very odd .


![DreamPlan Home Design and Landscaping Software Free for Windows [PC Download]](https://m.media-amazon.com/images/I/51kvZH2dVLL._SL500_.jpg)


