D bits

Home Model Engine Machinist Forum

Help Support Home Model Engine Machinist Forum:

This site may earn a commission from merchant affiliate links, including eBay, Amazon, and others.
You could always use pressurized air, maybe even a mist coolant. Anything that helps to remove the chips. Of course then you have to be able to drill a deep hole in the tool steel. Pecking is cheap and easy. Further peck drilling is a good habit to develop.

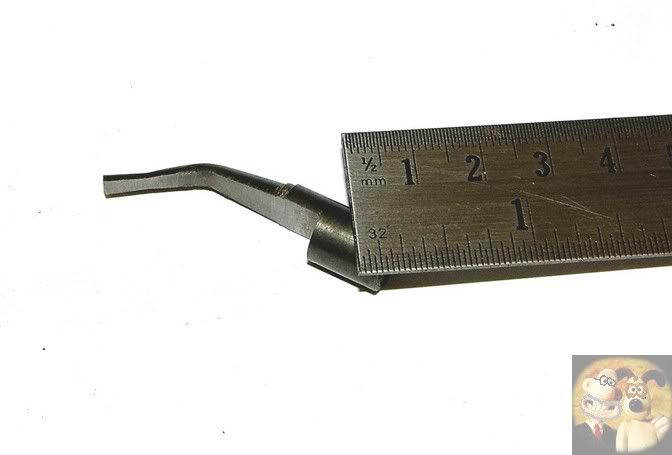
Peck drilling is indeed the best method for any hole. I have even considered silver soldering a piece of heavy tubing onto a drilled D-bit to allow the flow of cutting oil under moderate pressure to remove swarf, much like a gun drill, but without the high pressures needed with that setup.

Cutting fluid flow plus peck drilling might be just the ticket!

Thanks again,
John W.
Camp Verde, AZ, USA
 
BTW, I didn't just make one venturi, I made a few, and the D-bits stayed sharp all the way through.

Bunsen160.jpg


John
 
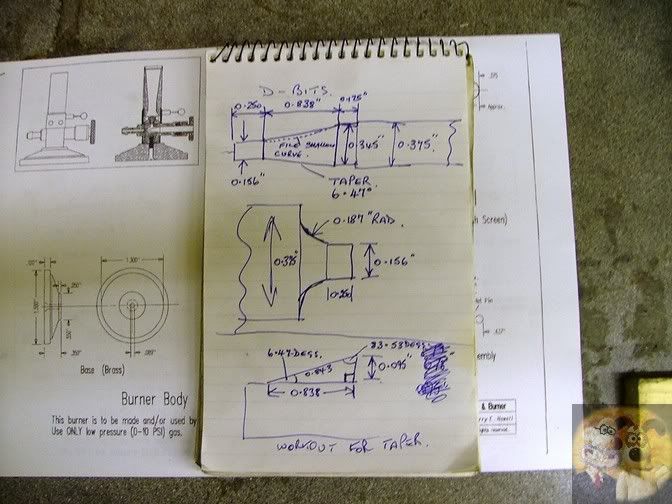
Não consegui encontrar meu artigo sobre como fazer um D-bit, então inventei um do meu arquivo de fotos.

Primeiro eu trabalhei a partir do desenho o que era necessário para obter as formas corretas em cada extremidade do venturi. Parte no canto superior esquerdo ao lado do bloco de notas.

Bunsen02.jpg


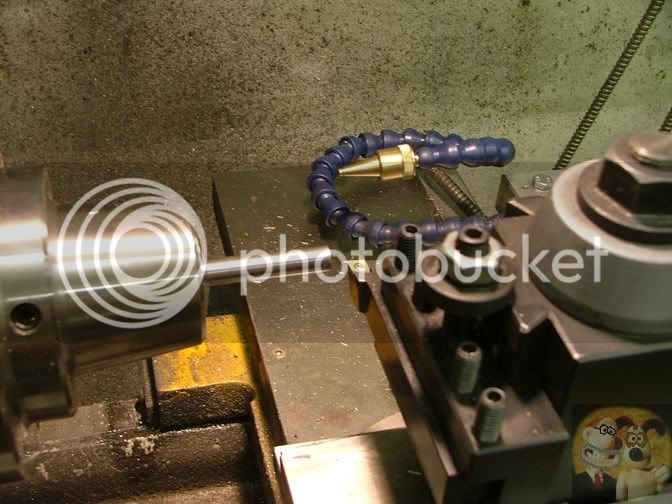
Um pedaço de aço prateado de diâmetro correto montado no mandril.

Bunsen14.jpg


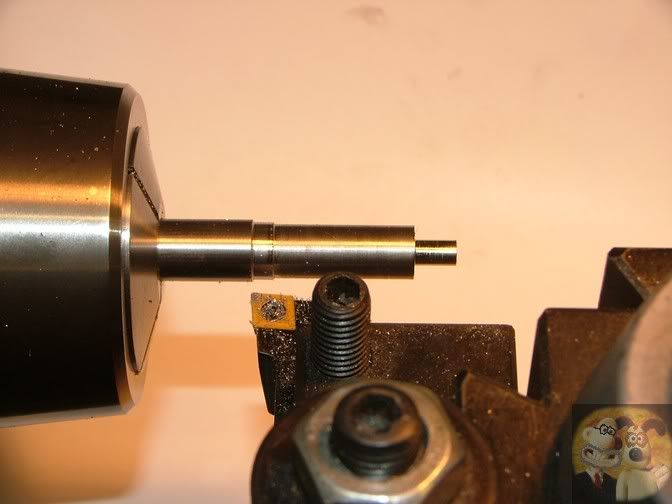
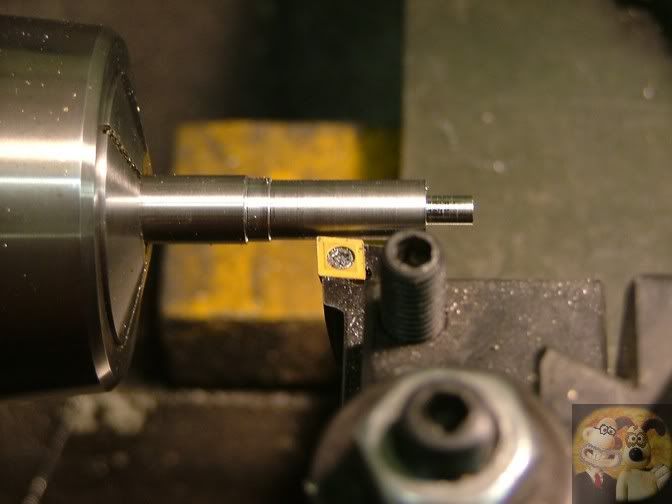
O perfil dianteiro e traseiro virou para cima em cada extremidade de onde o cone estará.

Bunsen17.jpg


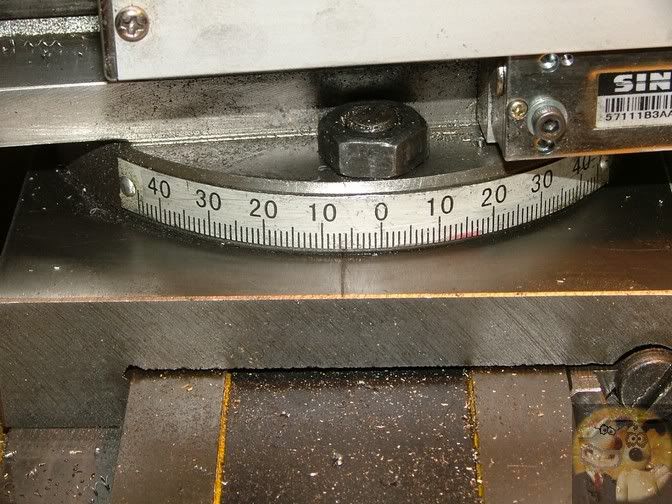
Topslide ajustado para o ângulo correto.

Bunsen18.jpg


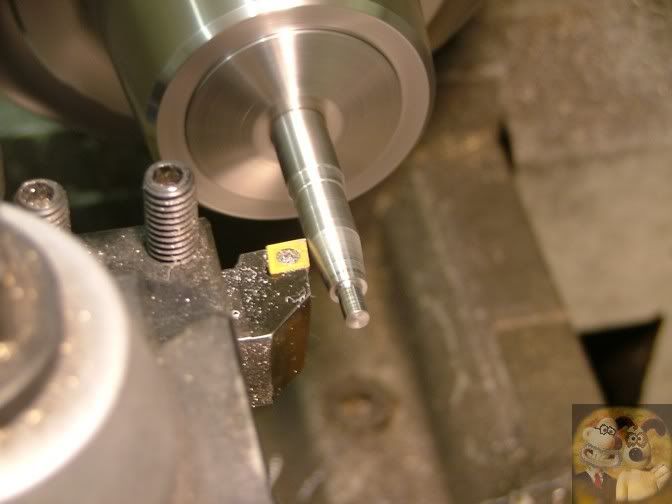
Começando a cortar o ângulo entre os dois diâmetros das extremidades.

Bunsen19.jpg


Bunsen20.jpg


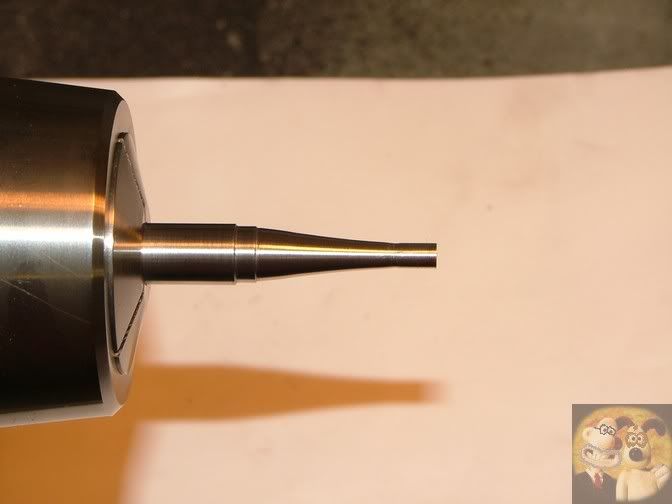
Finished angle after filing on a slight curve and polishing with emery and wire wool.

Bunsen24.jpg


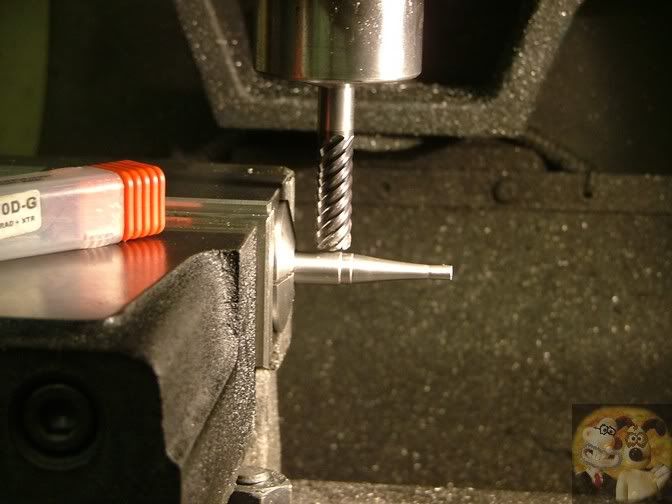
Now transfered onto the mill to start the cutting down to halfway + 1 or 2 thou. Notice that I am cutting into the original size of silver steel, this is where I am going to take my measurements from.

Bunsen25.jpg


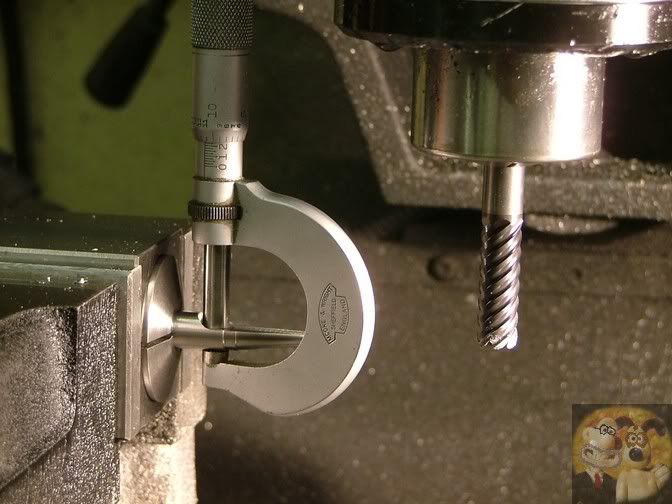
Measuring up, half the original diameter plus a bit.

Bunsen26.jpg


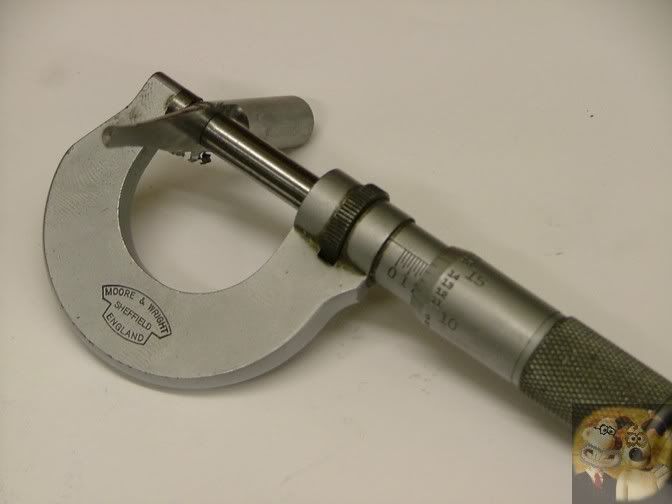
Notice that I haven't removed the burrs, if you do that, you are liable to round over the cutting edges and the D-bit won't cut. Disregard the mic readings as these were just set up to show where to measure it.

Bunsen27.jpg


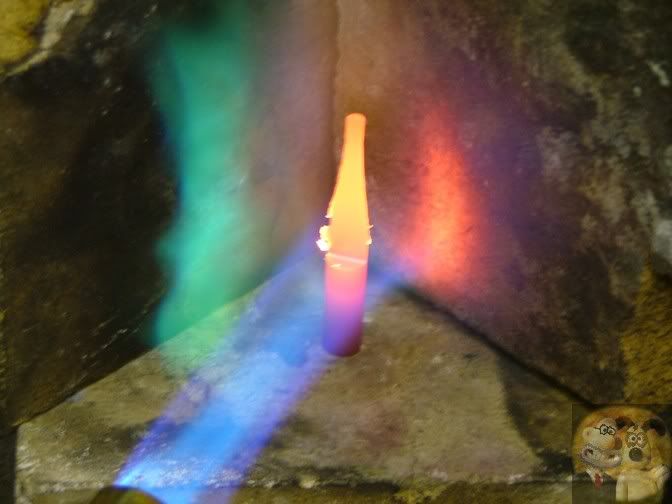
Heat up the bit and hold it there for at least a couple of minutes, then quench. It should end up rock hard.

Bunsen28.jpg


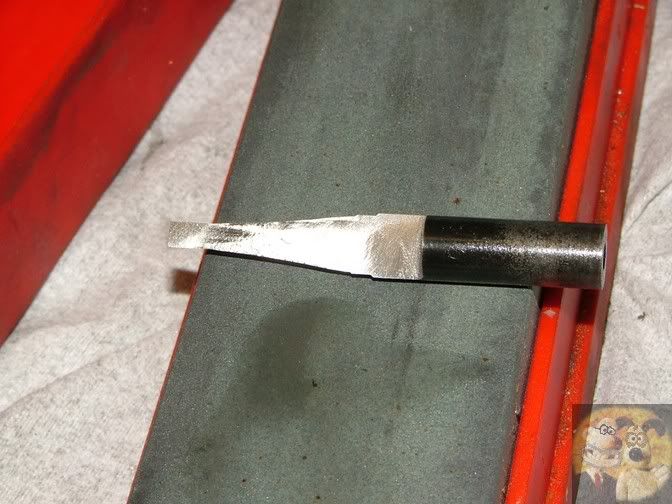
Now onto an oil stone or W&D paper and gently flat down the cut face. You should be able to remove very little material and still retain a thou or two oversize. This should enable you to resharpen a few times if it goes a little dull without going below the half measurement.

Bunsen30.jpg


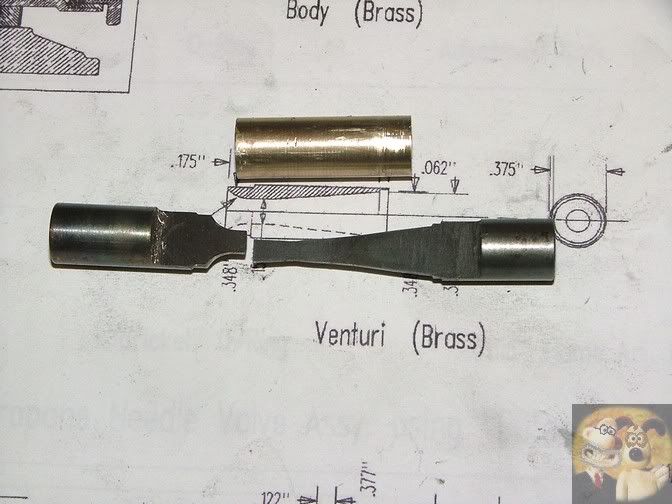
The two cutters made to allow me to make the venturi.

Bunsen05.jpg


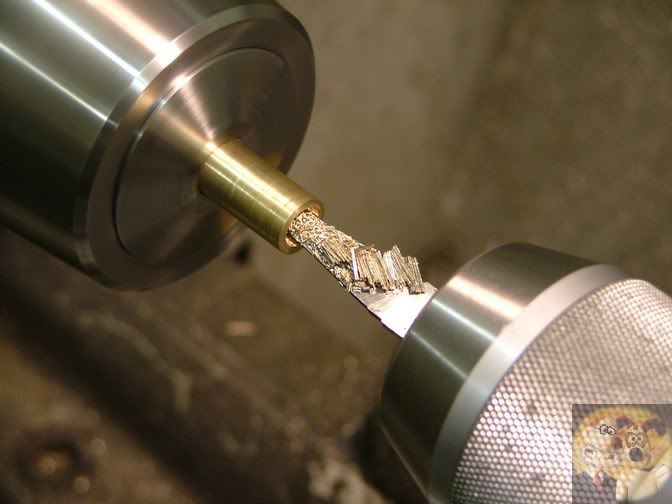
Cutter in action. Because it can't get it's own swarf away, you peck at the job, cleaning off the swarf as you go deeper. See how nicely it shaves the material out if you have made the D-bit correctly. If it doesn't cut this well, there is something wrong.

Bunsen31.jpg


Unlike this one, which I completed then found that my supplier had slipped a bit of the wrong stuff into my silver steel order. It cut on the lathe like the right material, but it wouldn't harden,

Bunsen11.jpg


D-bits são um método para obter furos de precisão sem recorrer a alargadores de tamanho especial ou especialmente retificados. Às vezes, eles podem ser a única maneira de sair de uma situação complicada.

Esqueci de mencionar, esses dois bits seguiram um furo previamente perfurado, então não precisaram cortar na ponta da frente. Se isso for necessário, a borda frontal precisa ter uma inclinação de corte na ponta de cerca de 5 graus.

Eu espero que isso ajude


João
[/CITAR]
 
Não consegui encontrar meu artigo sobre como fazer um D-bit, então inventei um do meu arquivo de fotos.

eui a partir do desenho o que era necessário para obter as corretas em cada extremidade do venturi. Parte no canto superior esquerdo ao lado do bloco de notas.

Bunsen02.jpg


Um pedaço de aço prateado de diâmetro montado no mandril.

Bunsen14.jpg


o perfil anterior e

Bunsen17.jpg


Topslide ajustado para o projeto correto.

Bunsen18.jpg


Começando a cortar o ângulo entre os dois diâmetros das extremidades.

Bunsen19.jpg


Bunsen20.jpg


Finished angle after filing on a slight curve and polishing with emery and wire wool.

Bunsen24.jpg


Now transfered onto the mill to start the cutting down to halfway + 1 or 2 thou. Notice that I am cutting into the original size of silver steel, this is where I am going to take my measurements from.

Bunsen25.jpg


Measuring up, half the original diameter plus a bit.

Bunsen26.jpg


Notice that I haven't removed the burrs, if you do that, you are liable to round over the cutting edges and the D-bit won't cut. Disregard the mic readings as these were just set up to show where to measure it.

Bunsen27.jpg


Heat up the bit and hold it there for at least a couple of minutes, then quench. It should end up rock hard.

Bunsen28.jpg


Now onto an oil stone or W&D paper and gently flat down the cut face. You should be able to remove very little material and still retain a thou or two oversize. This should enable you to resharpen a few times if it goes a little dull without going below the half measurement.

Bunsen30.jpg


The two cutters made to allow me to make the venturi.

Bunsen05.jpg


Cutter in action. Because it can't get it's own swarf away, you peck at the job, cleaning off the swarf as you go deeper. See how nicely it shaves the material out if you have made the D-bit correctly. If it doesn't cut this well, there is something wrong.

Bunsen31.jpg


Unlike this one, which I completed then found that my supplier had slipped a bit of the wrong stuff into my silver steel order. It cut on the lathe like the right material, but it wouldn't harden,

Bunsen11.jpg


D-bits são um método para obter furos de precisão sem precisão alargadores de tamanho ou especialmente retificados. vezes, eles podem ser às vezes uma única maneira de sair de uma situação complicada.

Esqueci de mencionar, então esses dois bits seguirão um furo previamente perfurado, não precisaram cortar na ponta da frente. Se isso for necessário, a borda frontal precisa ter uma inclinação de corte na ponta de cerca de 5 graus.

Eu espero que isso ajude


João
[/CITAR]
 
Hello Blogwitch, how are you? although this topic is old, it is relevant to what I'm looking for and I hope it's active. read on wiki: "AD bit cutter is a specialty bit in the shape of a "D" when looking from above. Often used to make precision holes using a lathe. This type of drill was first used in the early manufacture of muskets and other artifacts requiring a long straight holes in the days before modern accurate machines were available." Wikipedia" you say that Dbits should be thought of as reamers, but this wiki article says that this type of tool was already used in antiquity to make straight and long holes in muskets. was it only used to enlarge the hole or was it used to manufacture the hole? wouldn't it be possible to create a Dbit that drilled a long straight hole?
 
So these are half diameter + a few thousands of the D-bit your making ?
thanks
animal
 
When I first learned about deep boring I was learning musical instrument making, oboes in particular although my “masterpiece “ was a Northumbrian smallpipe. The bore of those is typically ⅛“ (3mm for the younger viewers!). We drilled them in the manner of gun drilling of old - a cylindrical single-point bit which will hold itself on centre to make the pilot, then a D-bit pecking through to size the hole. For oboes and others with a tapered bore we’d finish with a D-bit taper reamer. African Blackwood is hard and not easy to work but all the boring work was done holding the bits in a hand chuck, the work held in a 3-jaw on a huge Dean, Smith & Grace toolroom lathe. We made all the boring tools ourselves, part of the training!

Richard
hi Richard, how are you? thanks for your reply! could you answer me some questions? What was the concentric accuracy of the holes you made with the D bit Drill? Do you have any drawings of the drills you used? Do you have any contacts we can correspond with? cheers!
 
Concentric accuracy was not measured, we had two objectives: first to have the drill exit the blank on-centre in a bore of 120mm+ and two, to be sufficiently straight that any cross-holes could meet the bore precisely. I am trying to find any drawings but so far none and the internet is no help because no-one uses flat bits anymore.
 
Concentric accuracy was not measured, we had two objectives: first to have the drill exit the blank on-centre in a bore of 120mm+ and two, to be sufficiently straight that any cross-holes could meet the bore precisely. I am trying to find any drawings but so far none and the internet is no help because no-one uses flat bits anymore.
thanks for your reply. did you start the hole with the D bit or did you use a propeller drill and then use the D bit to reaming? Do you believe I could drill a hole triple the depth you did, ie 360mm?
 
Find attached the actual design of a D bit for drilling a hole in a 30" long rifle blank for a .30 calibre projectile. Using the basics of the design you should be able to resize the dimensions to suit what you require. I hope this will be of some help to you.

Regards

David
 

Attachments

  • 20220306_D Drill Design.pdf
    73.4 KB
For drilling wood, have you thought about using a ramrod drill? It seems the commercially available ones with a brad point tip are more accurate than the commercially available D bits. The brad point bits do better in the end grain of wood.

Mark
 
Hi,
I've had success making reamers as described in this video by clickspring, the clock guy.
[ame]
I used silver steel which I hardened without annealing. They are relatively easy to make and use.
Regards,
Alan C.


Clickspring's method & design could be translated to drill blanks, which are ready-to-grind HSS and readily available in metric, fractional, letter & number drill sizes at reasonable cost from McM, MSC & Grainger (and Amazon & eBay). You could also grind a D-Bit profile into them: a lot of grinding, but no moe than when you are grinding a profile tool for the lathe. Saves the hardening step, and drill blanks are slightly undersize (+0.0000"/-0.0005") so it would be difficult to get an oversized hole.


Charlie

Sorry - - - - I will differ with your assessment - - - that it would be difficult to get an oversized hole.

Drilling holes - - - oversize - - - very easy, lobed hole - - - happens, undersized - - - NEVER, right on - - - almost never.
 
Back
Top