CX601 Milling Machine

Home Model Engine Machinist Forum

Help Support Home Model Engine Machinist Forum:

This site may earn a commission from merchant affiliate links, including eBay, Amazon, and others.
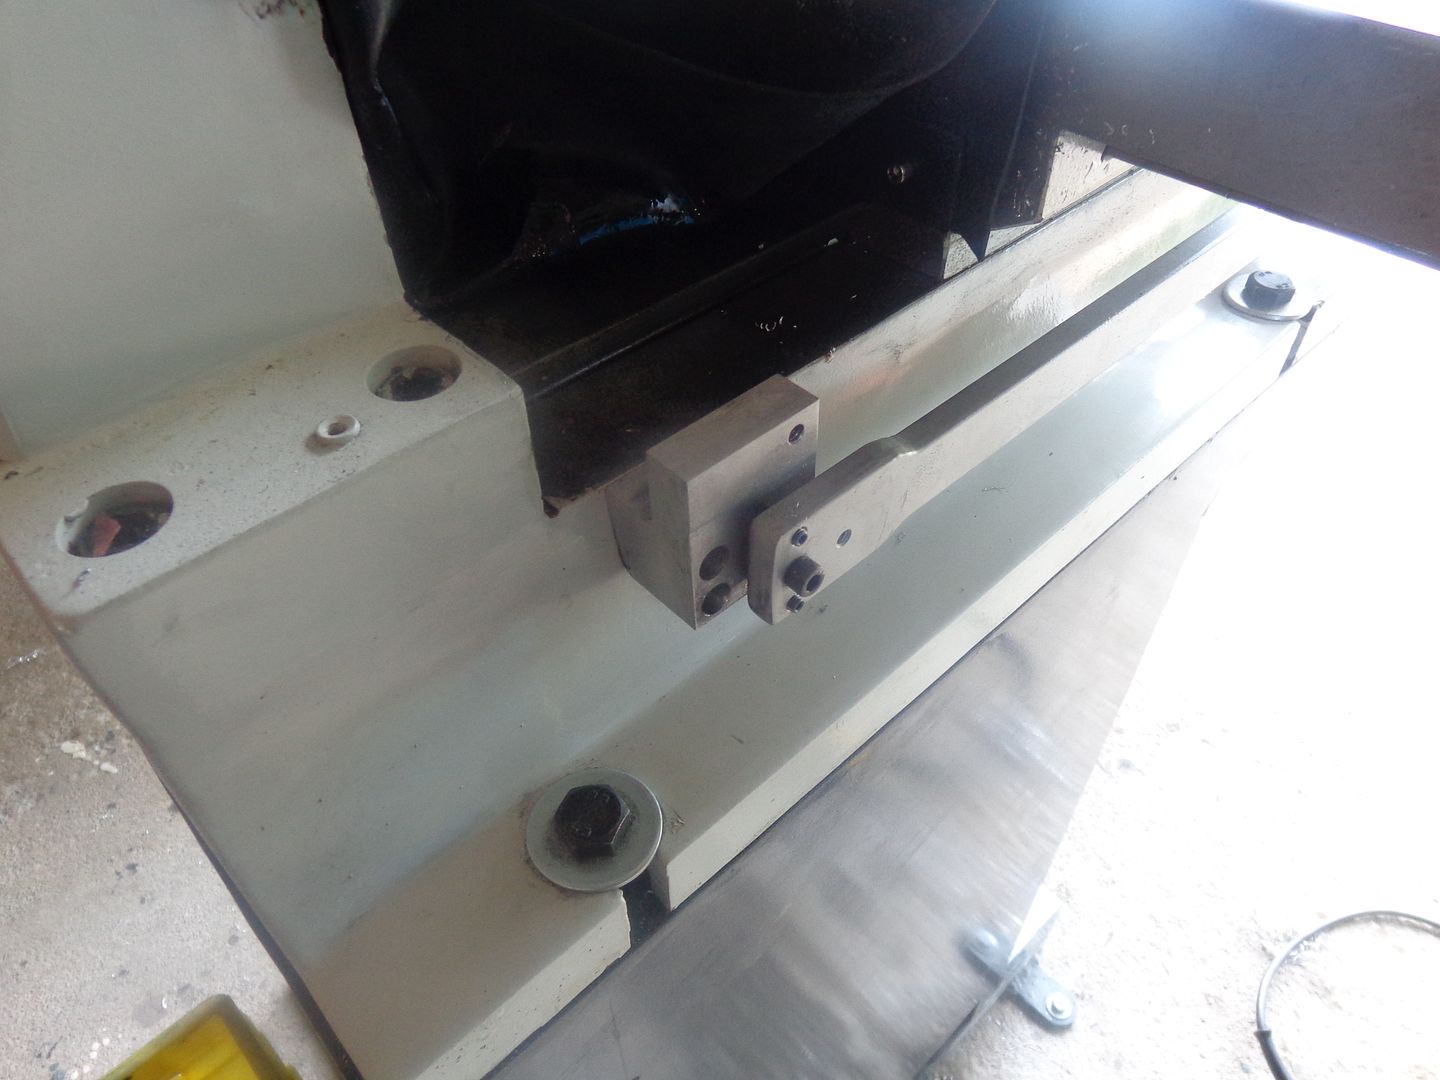
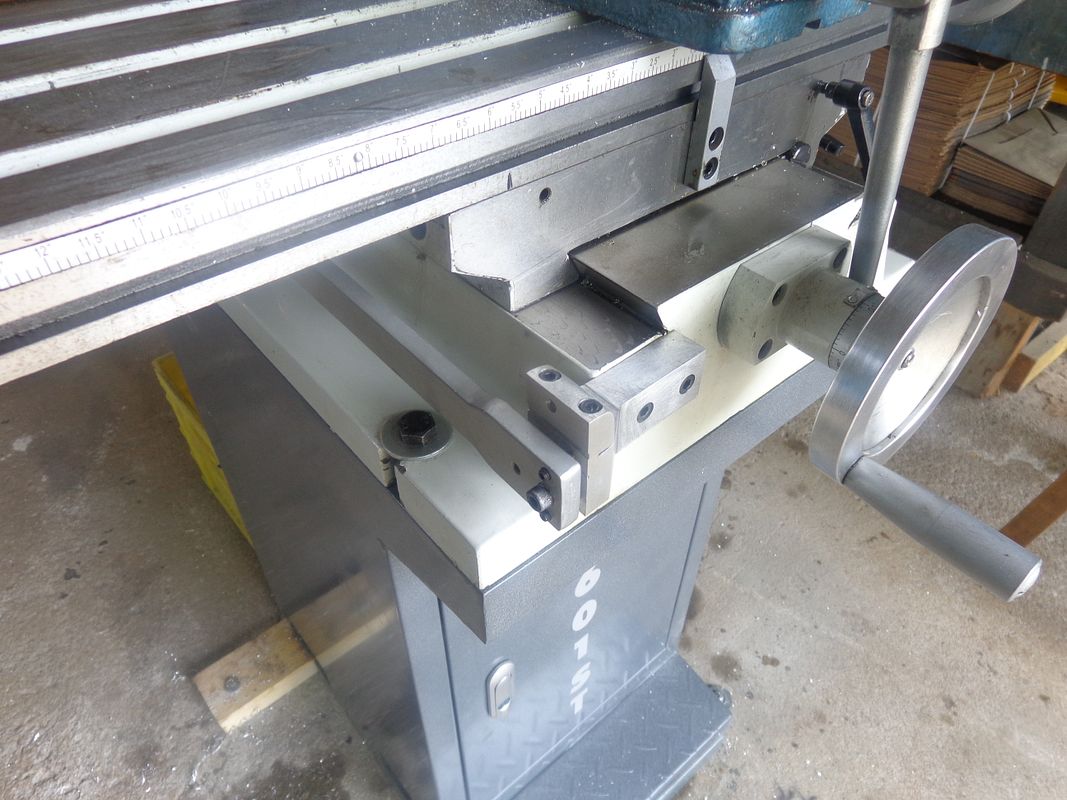
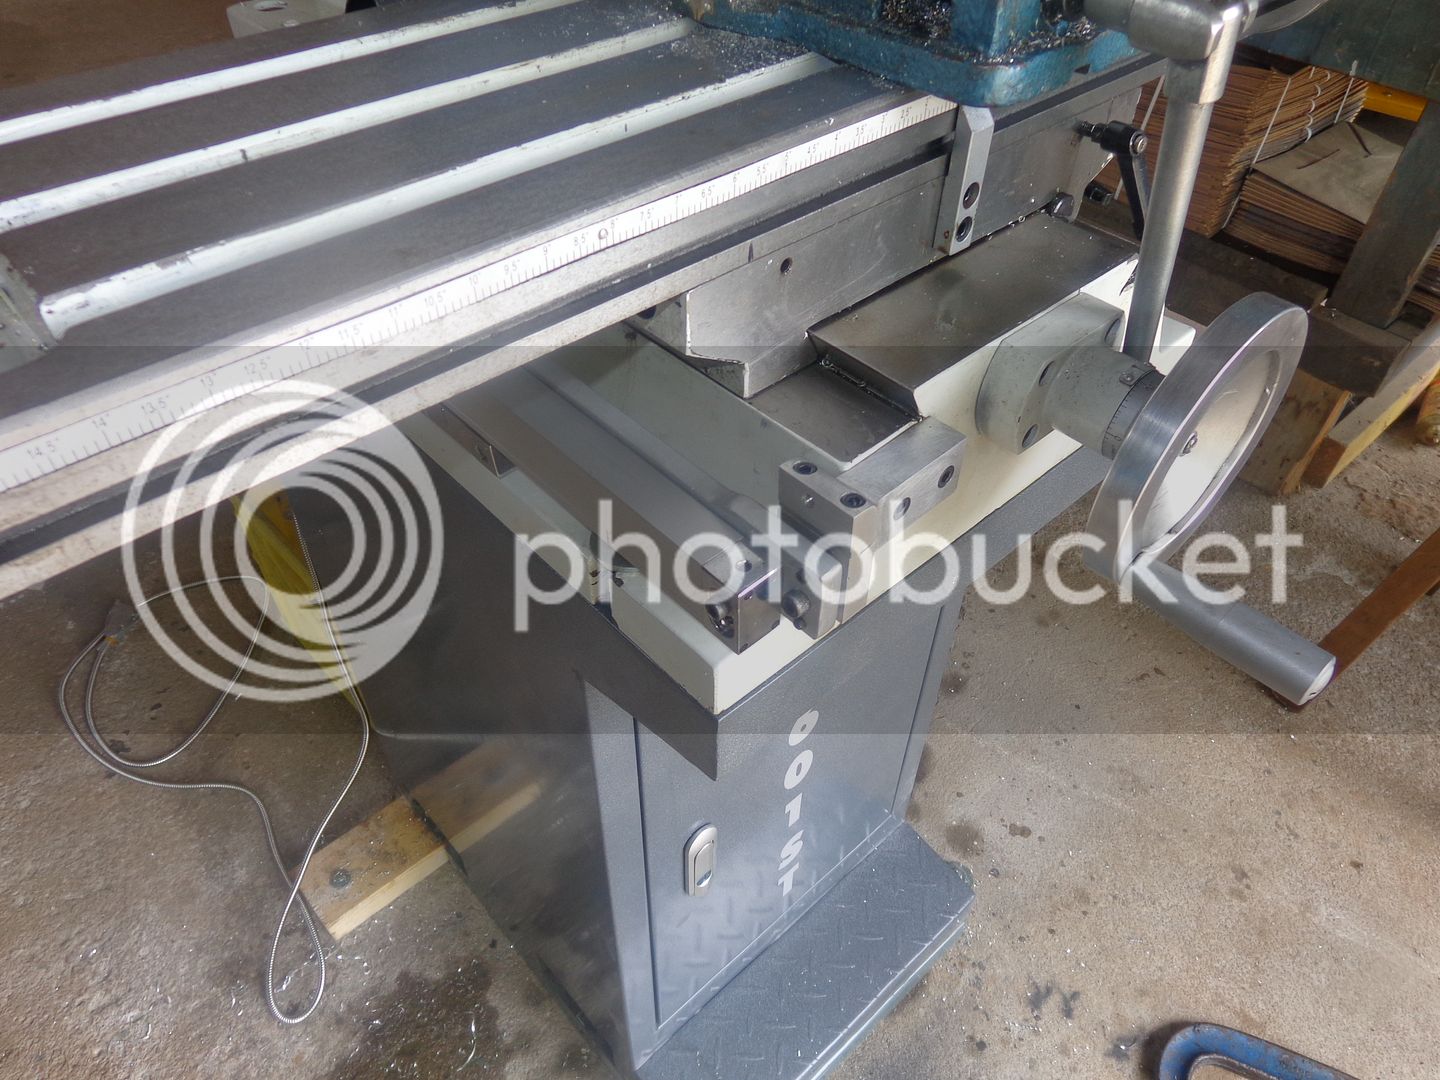
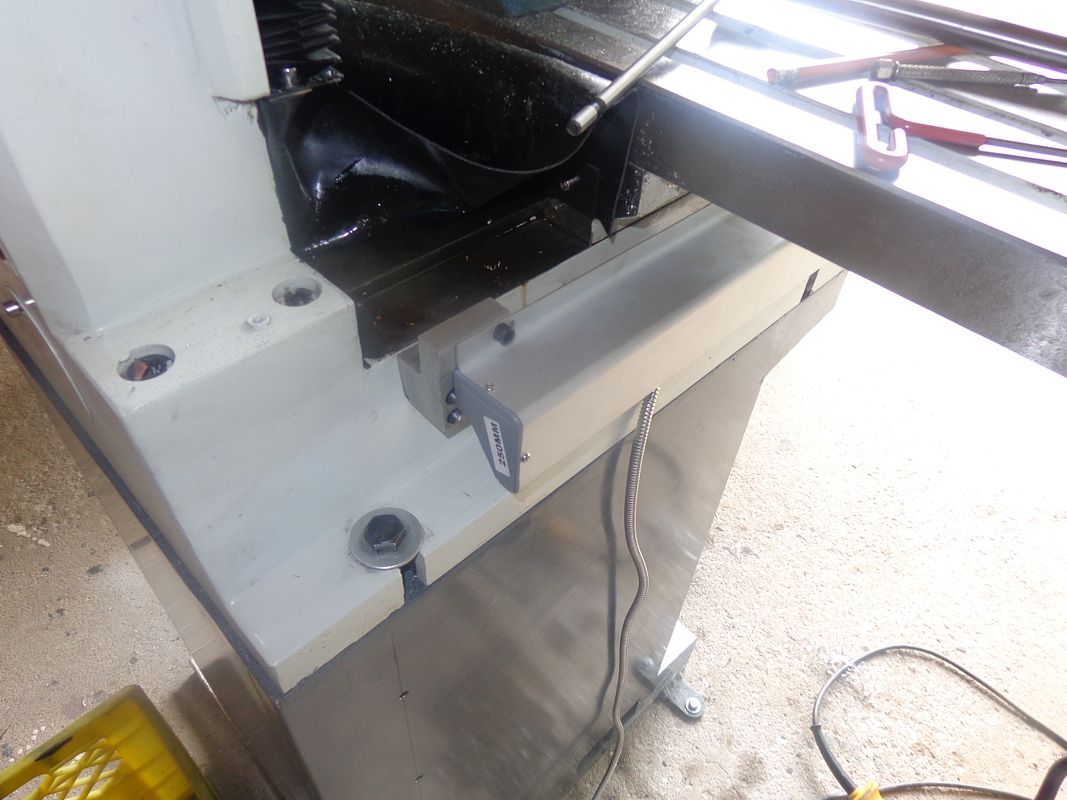
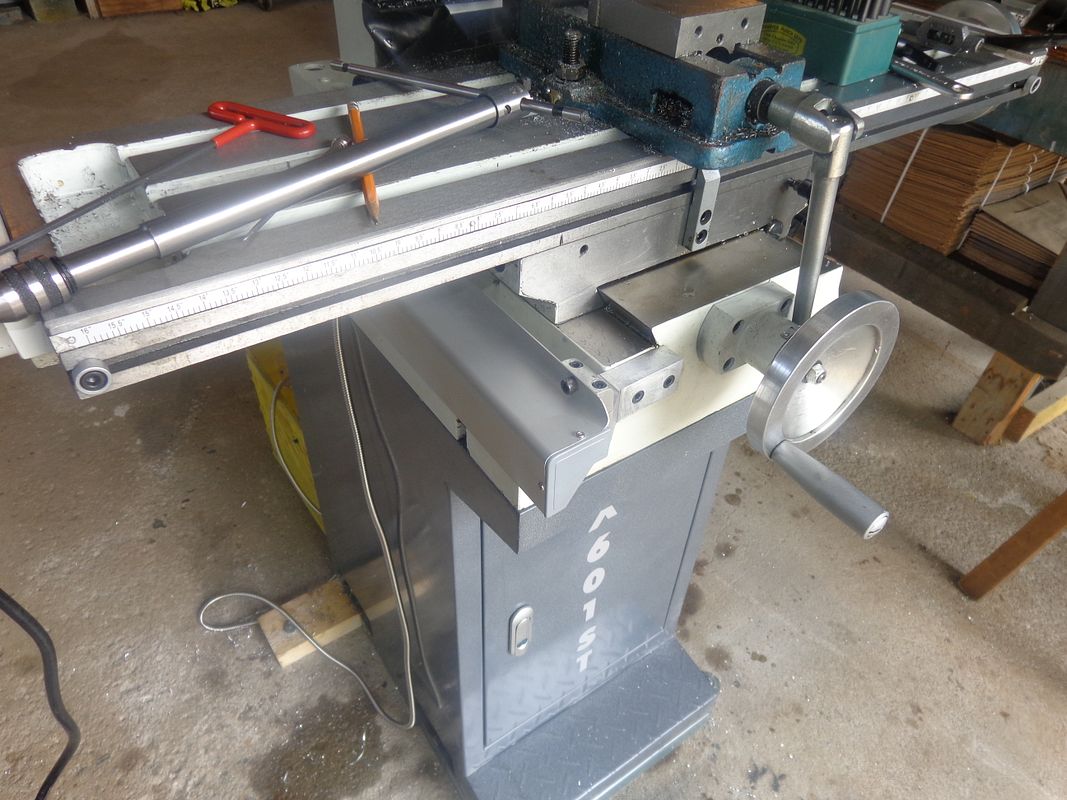
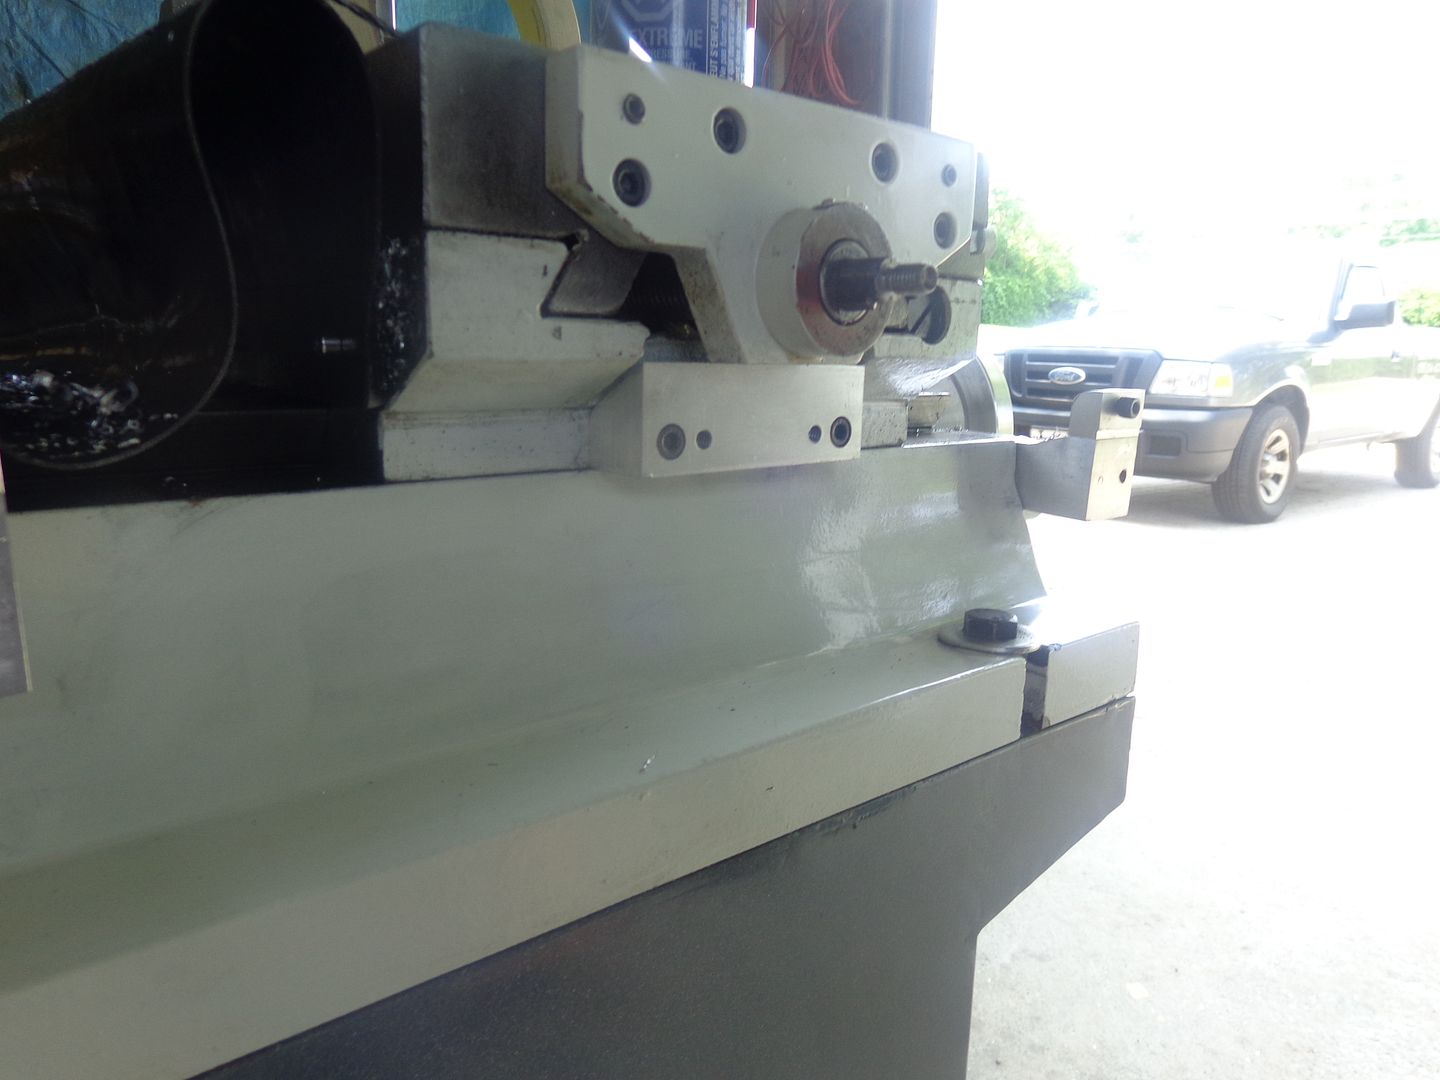
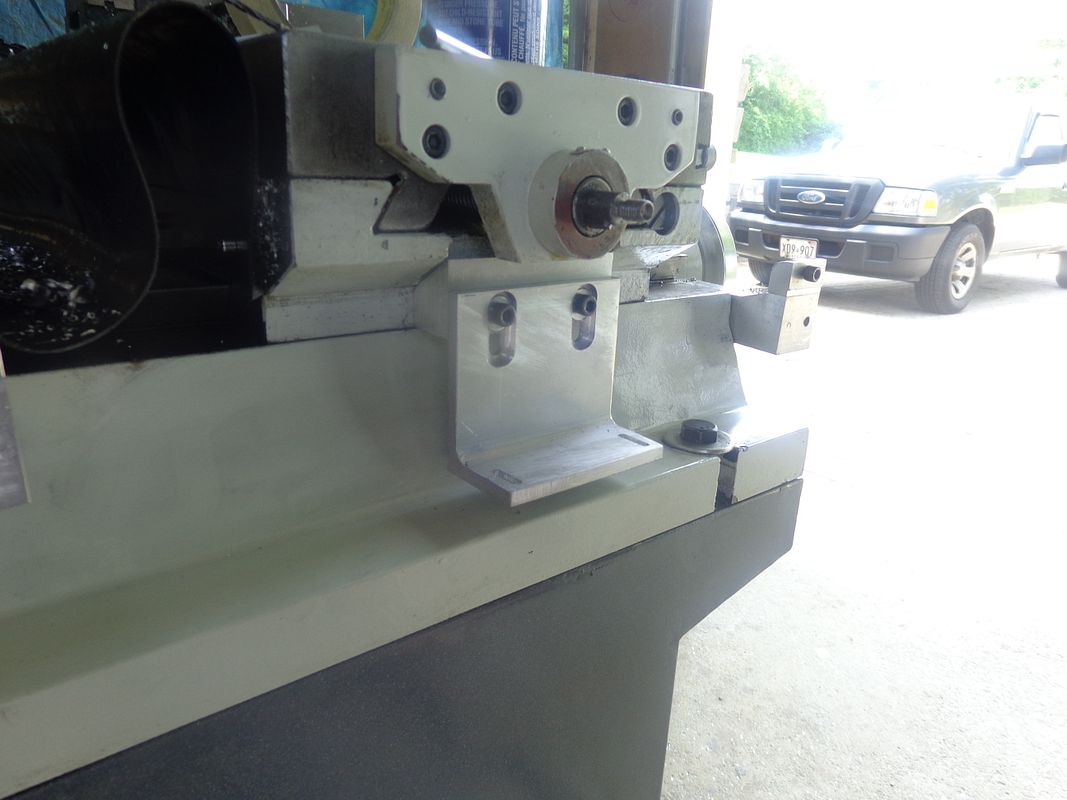
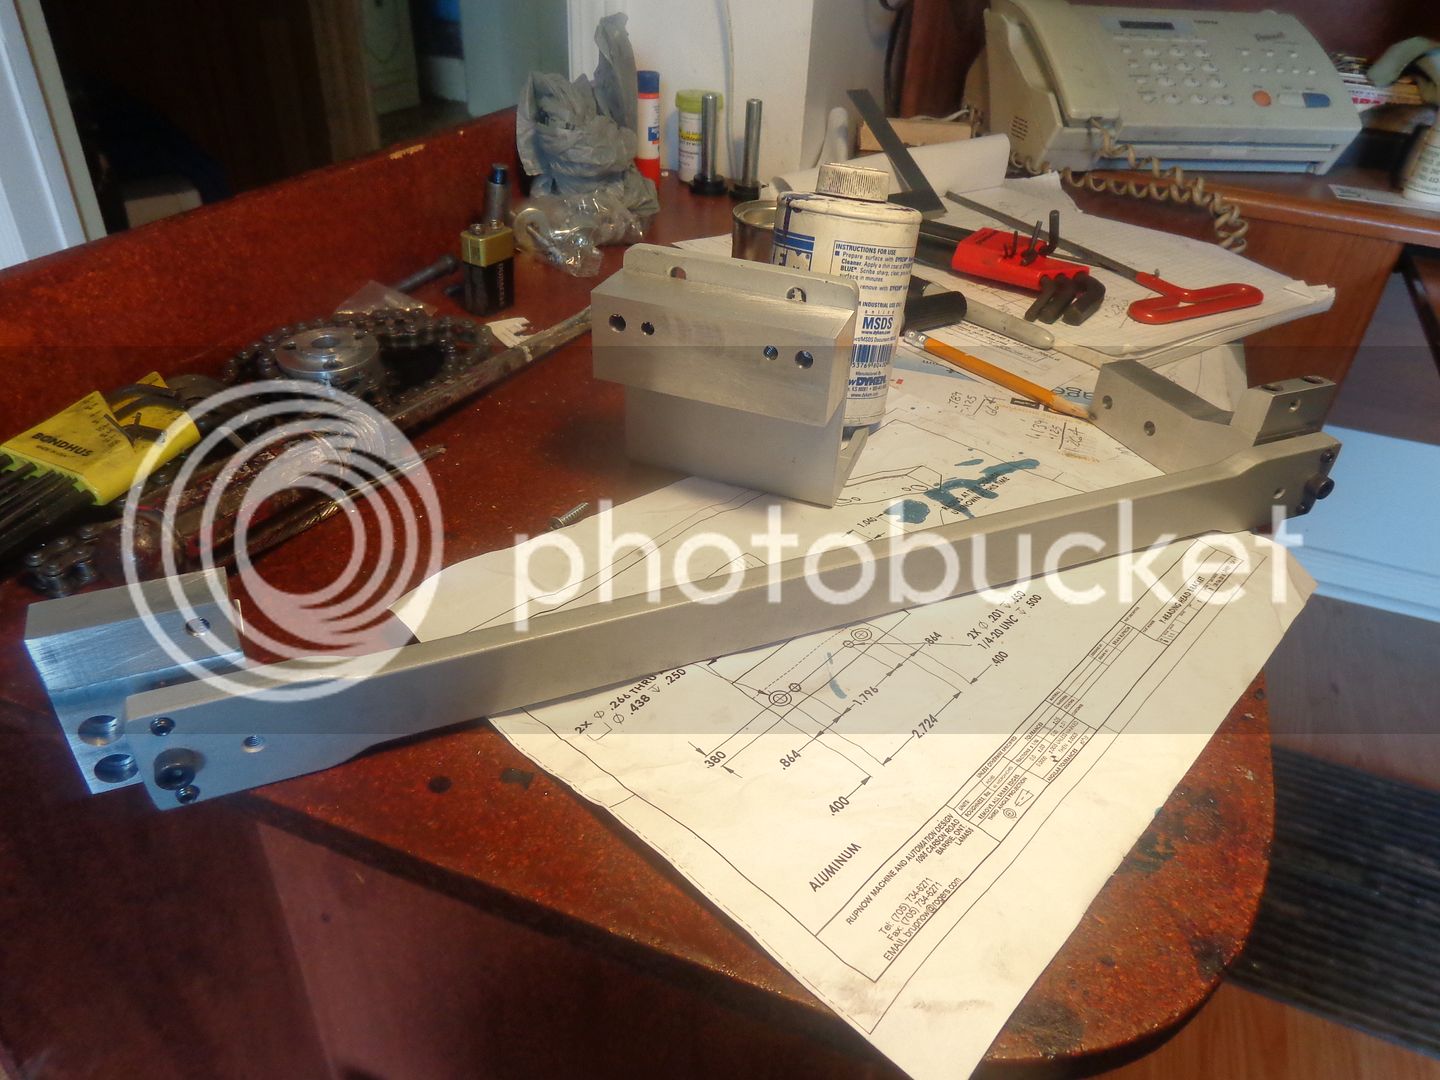
And that, boys and girls, is all of the brackets made!!! I haven't cut the contour on the two brackets that attach to the mill base yet. I'll save that for another day. The bracket on the right bolts to the face of the mill base, right beside the Y axis dial. The left side bolts to the side of the mill base, right in that nasty radiused area. The piece attached to the DRO angle bracket bolts to the carriage which fits between the mill table and the base. (The angle is facing the wrong way round in the picture.) The outstanding leg of the angle bolts to the underside of the Y axis read head. The bar setting between my brackets is supplied by the DRO guys, and you will notice it has jack-screws at each end to level it perfectly and to make it parallel with the Y axis travel. The guard bolts to the two 1/4"-20 tapped holes just above the bar.
 
Great minds think alike Brian.I too prioritise jobs to suit my wife.Quiet jobs to not wake her,jobs to suit her when shes that way out,so as to keep her sweet
and the noisy jobs i want to do when shes not there
 
--The scary part comes next---Drilling and tapping holes in my new mill. The folks who sell the DRO kit have an installation manual that goes on at great length about how important it is to have perfect, alignment, perfect parallelism between all components, no binding, etcetera. I am a bit freaked out by this, but will forge on bravely. There are about a zillion milling machines running around the world with "add on" DRO kits on them, so I should be able to make it work. As soon as I get the DRO kit up and running, I will do the modification to lower the head lifting handwheel. Then I have to disassemble everything and move it into my machine shop, then reassemble everything.--I can see all of this eating up a sizeable portion of July.---Brian
 
Happy wife equals happy life. I'm even happier when my wife is out with her friends, more machining time for me.

Paul.
 
Hi Brian. The only advise I can offer from personal experience is to leave yourself some wiggle room designed in the brackets. The mill casting surface will be irregular, plus drilling & tapping holes is a non-precise exercise relative to alignment required. If the brackets were being mated to machined surface then simple slots would suffice. But in reality adjusting them is more of a 3D exercise. Any bending tension or non-alignment of scales/encoder is a bad thing.

Attaching a sketch from Newall just to show you their mounting hardware principle. All you need is one tapped hole 'pretty close'. Then the scale (or tube in case of Newall) can be tweaked & secured in all 3 dimensions. Got mine all within 0.001" of bed XYZ axis in no time. The base of green arrow represents the mounting bolt going into machine. Your scale & encoders may have something different or adjustability already integrated, but I just wanted to mention what to likely expect.

Drilling cast iron with hand drill can have its 'fun' moments. Fortunately I didn't hit any hard spots but many of my casting surfaces were tapered off-axis or weird positions. If you can utilize temporary drill & tapping guide type bushings, that pays dividends.

7-2-2015 0000.jpg
 
Last edited:
I once tried to put a lathe on a very rough piece of granite.The best way was to put six blobs of Araldite on aproximate positions.put teflon baking foil over and let the six machined flats under lathe bed do the aligning.After curing lathe was adjusted by three shims less than .2 mm for cylindrical turning.
If the brackets here was kept in correct position while glue hardens a simple and stressfree solution maybee?
 
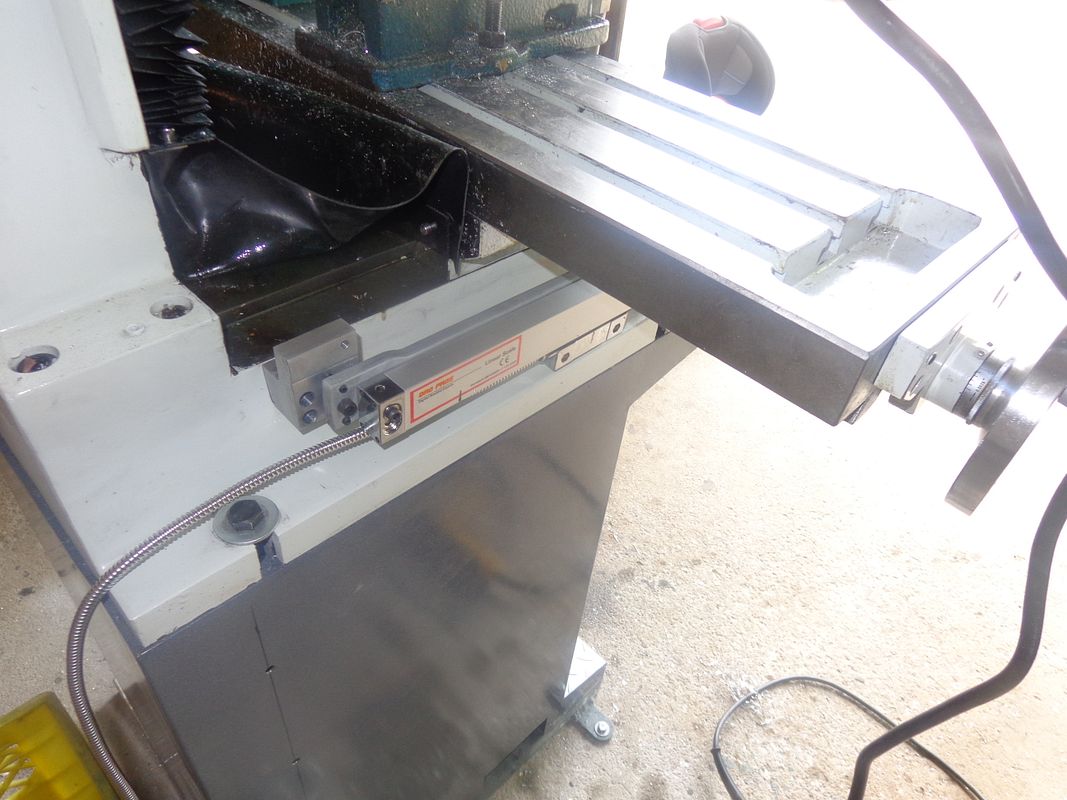
And this is, I think, what they call "Beyond the point of no return!!" The mill is drilled and tapped for my home made brackets, which in turn hold the "backing bar" supplied by the DRO company, and the glass scale mounts to it. The drilling and tapping was very straightforward. A LOT of measuring, some breath holding, and away we went. No broken taps, no holes in the wrong place, all went well. Next up is fitting the funky bracket that attaches to the reading head.


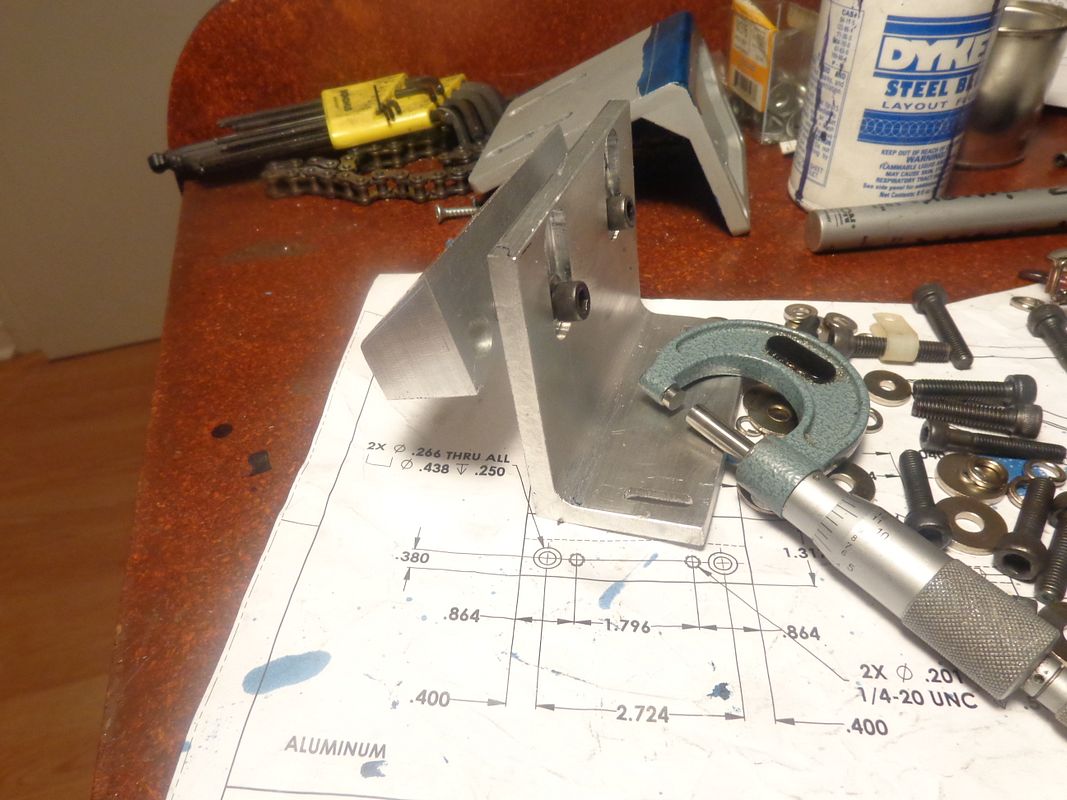
This entire bracket business is somewhat subjective---You measure, you design, you build, and then in the final go-round, you file a little bit here, grind a little bit there, and make it fit. I had planned on using one of the brackets which came with the "kit" to attach to the "reading head" of the Y scale, but it turned out to work better if I made a new bracket cut from 3" x 3" x 1/4" aluminum angle. Everything is slotted to give me lots of flexibility for aligning everything, and if I need to I can always use some shim stock between the parts which bolt to the cast surfaces of the mill and the mill body. I have two holes left to drill and tap to complete the Y axis installation, so I am of to do that next.---Brian
 
P1010040.JPG


Brian,

I know the feeling of drilling holes in a nice new machine. I recently fitted 3 axis DRO with magnetic readheads on a Cowells vertical mill. Very delicate work, drilling m3 and m4 holes in the various components. It all worked in the end and I'm very happy with the result.. You wont look back when you have them all up and working. Couple of pictures attached showing the brackets I had to make. I also made the electronics box (based on YUristoys design) and use with an Android tablet. Best regards, Colin.

P1010043.JPG


P1010044.JPG

P1010049.JPG
P1010041.JPG
 
Last edited:
And that, gentlemen, is all of the brackets finished for the Y axis. Now it's simply a matter of leveling, shimming, and measuring until the Y axis scale and guard are mounted. Tomorrow, I hope to accomplish that and move on to the x axis. Twiseven---Thank you for the pictures---You may want to use a resizing program on them.---They show up HUGE on my screen and I can't see their -extents without scrolling back and forth. ---Brian

 
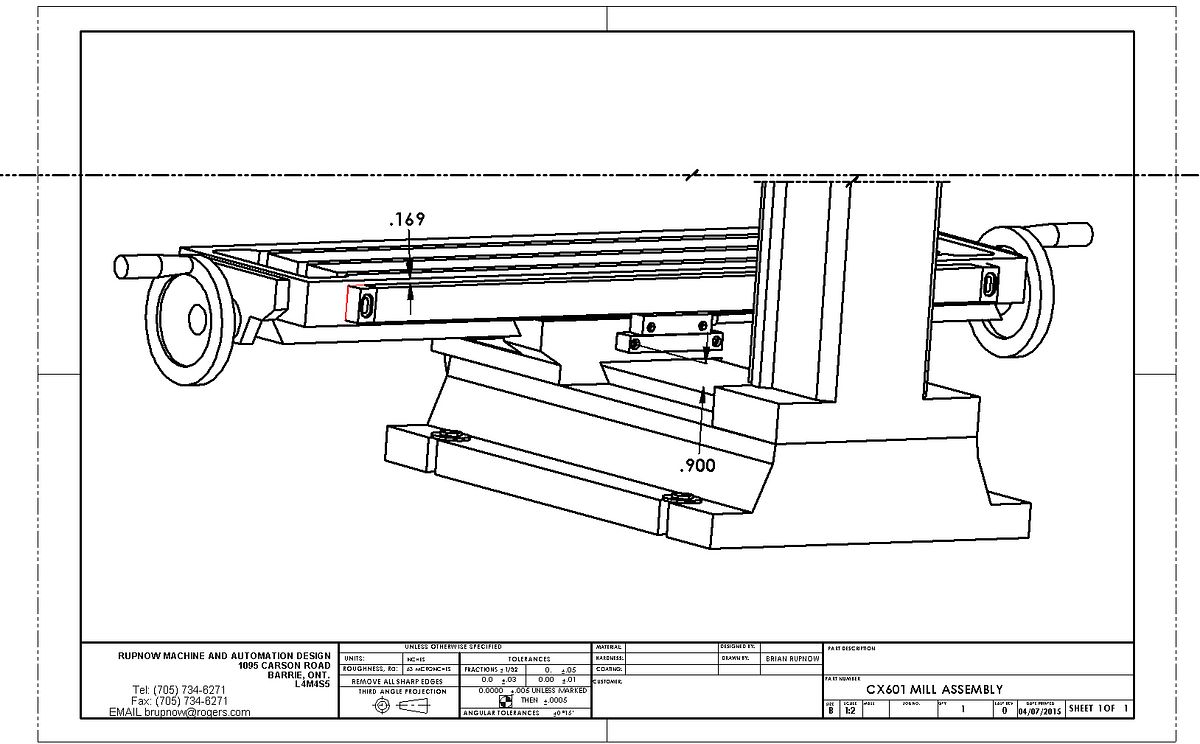
I'm learning as I move along here.--I have been thinking about drilling the holes in the back of my milling table to mount the X axis scale. I want the top of the glass scale to be about 0.68" below the top of my milling table. This would leave adequate space above it to mount the flange of the guard, plus the thickness of the guard, plus 3/16" clearance as the DRO guys recommend between the underside of the guard and the top of the scale..---However--The limiting factor here is where I drill the holes to mount the bracket for the "reading head". I just got my smallest electric drill up on the table and measured it, and the closest I can drill a hole to mount the reading head is 0.9" backing. This puts the top of the scale only .17" below the top of the table. This simply won't do!!! Tomorrow I will design a new bracket with offset ends which will let me mount the X axis scale where I want it.
 
A new X axis reading head bracket shaped as shown, will let me get the holes into the dark blue 0.9" off the dark green surface (which is as close as I can get to it with my electric drill without disassembling my milling machine) and still allow me to mount the glass scale almost 1/2" below the top of the milling machine bed For the guard, I think I will forget about a flange along the top and just use a piece of 3/16" thick aluminum angle, supported at the ends only. This lets me keep the top of the angle down 1/16" below the top of the table and leaves 1/4" clearance between the underside of the angle and the top of the glass scale.
 
Why are you mounting the X scale on the back of the table? That looses almost an inch of the Y travel, which is already the shortest range of the machine. On my G0704, which looks like the same machine I put it on the front table edge and have had no problem with it.
 
One advantage of having it at the back, is that you run less risk of damaging it when putting vices and rotary tables on the table. My Bridgeport clone has it at the back, but then again, I don't have any Y axis shortage of travel. There is actually a stop on the Y axis to stop the scale hitting the back of the mill. However, we did have a few at work with the scales at the front.

Paul.
 
My table position locks are on the front of my table. The scale is less likely to be damaged on the back side of my table. I have 8 1/2" of travel now, will lose about 1 1/2" of travel.--I can afford that.---Brian
 
I did mount mine at the back also "same mill", never had any problem
and installed under the apron not afraid of using liquid cooling

Luc
 
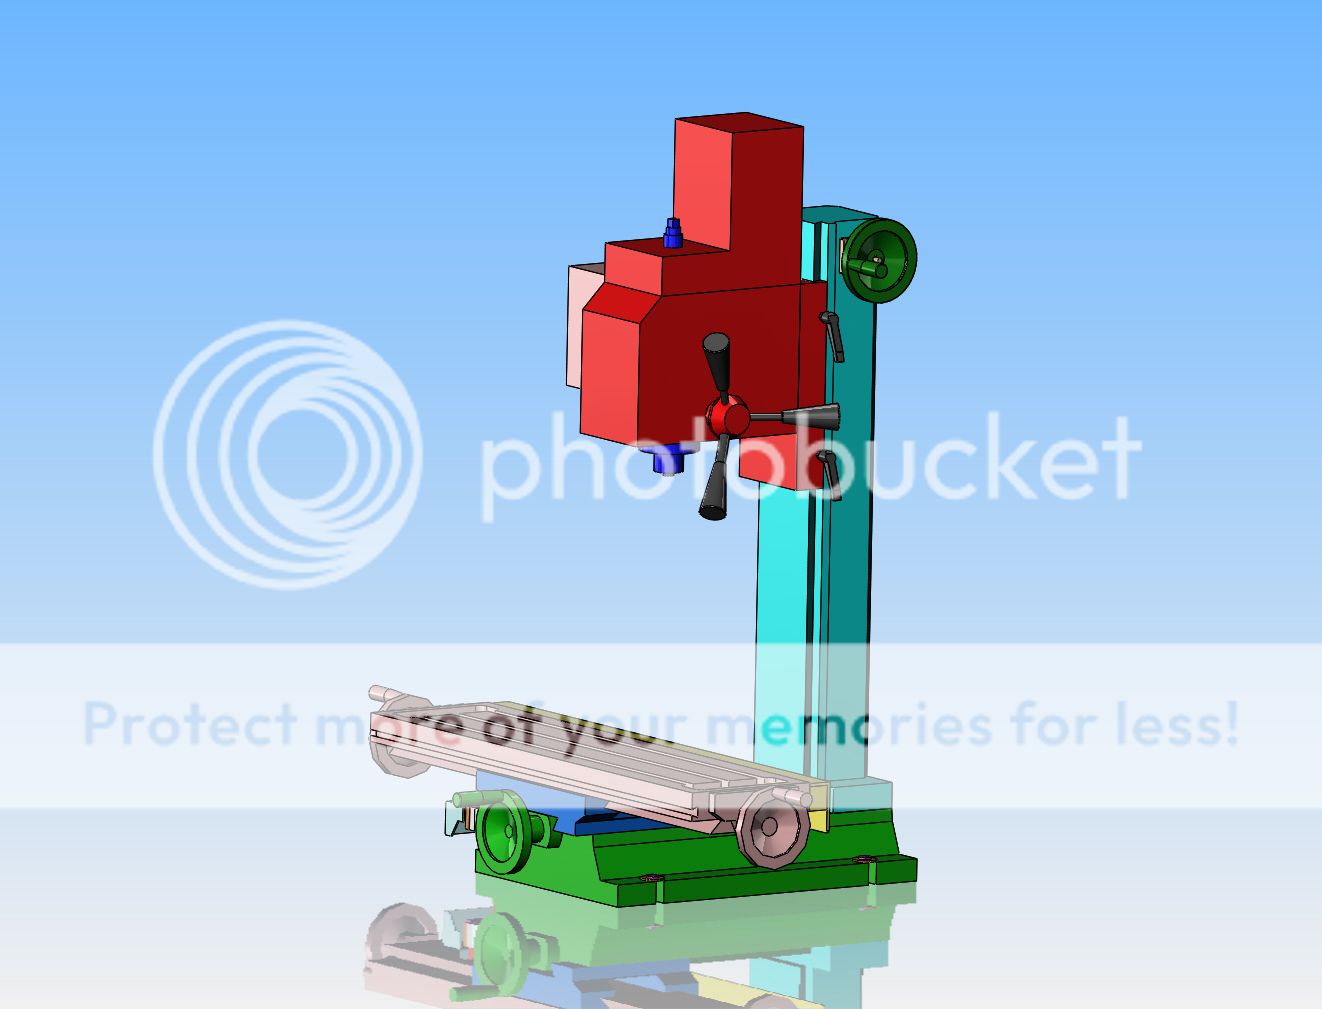
We had a quiet day here yesterday. Had family home for big feast and everybody got to meet Jacob, the newest grandson. I snuck down after everybody had left and cut down most of the head thickness of one of the bolts in the milling machine base which was going to interfere with my Y axis read head bracket. I'm up early this morning, so again, in aid of being quiet until good wife gets up I have finished all of the 3D modeling of the mill. This is not just an exercise in creating pretty models. This will assist me when I go to drop the head raising handwheel. I have to buy one piece of aluminum this morning from my supplier to make a new bracket for the X axis read head, and then I will mount the scales and the electronic display head. If all of my customers leave me alone, i may have read-outs by the end of this week.---Brian:eek::eek:
 

Latest posts

Back
Top