- Joined
- Dec 2, 2008
- Messages
- 971
- Reaction score
- 9
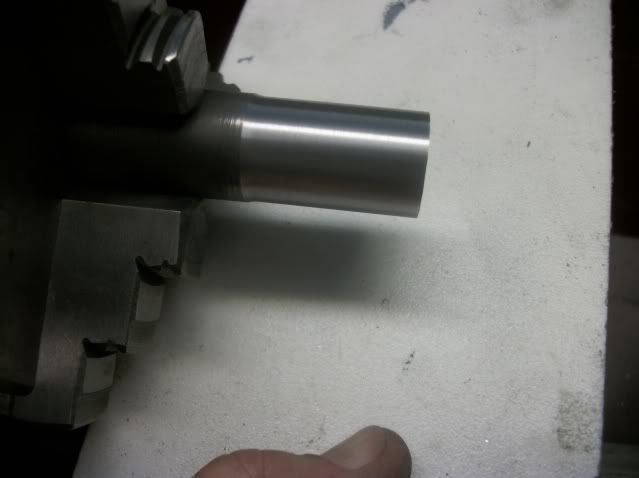
I am not going to show anyone how to work cast iron. I am going to see what I can learn about turning cast iron with my lathe, a 9 x 20 import. Mine is an older Harbor Freight version (they are all the same under the paint) that I bought used. It has two non-stock accessories that are highly recommended. The 4-bolt compound clamp and the AXA QCTP, both are bolt on/no machining req,d, from The Little Machine Shop and both improve the rigidity of the machine.
This is still a light home shop machine. It was a 72nd birthday gift to myself and when I brought it home 3 years ago, I was not able to get it out of the pick-up truck and into the shop by myself. I removed the tailstock and the tool post but I still needed help so I called my wife. She's a couple of years younger and the two of us got it off the truck, into the shop, and onto the cabinet stand. I'm not bragging but I took the heavy end. I mention this so that people who are not familiar with the machine can get a feel for the size.
I am going to use good material (3/4" diameter Durabar) and maybe OK material (new and scrapyard plumbing fittings). I have turned cast iron before and it is not difficult but I have never done any real investigation with speeds, feeds, cutting tools and finish, so that I what this is about.
The lathe has 6 speeds with belt change. The three high speeds (620, 1120, 2030 RPM) run direct to the 3/4 HP motor with a three step pulley, and the three lower speeds (120, 350, 540 RPM) run off of a three step pulley on an intermediate shaft. The great majority of my work, I use the 620 or 1120 RPM speeds. On rare occasion, I have used the low ranges for large diameter material (3" or greater).
When I first got the lathe, I worked mostly with aluminum and brass, a little bronze, and from time to time various grades of steel. I have, from time to time, favored HSS tools, Brazed carbide tools, and indexable carbide tools. The carbide tool come with a manufactured geometry and cutting edge. The cutting edge of these tools is not very sharp, but they are not meant to be. They don't work that way. They depend on their hardness and rigidity to crush the target material and plow it away.
The standard carbide tools just don't cut it. Literally. So I learned to grind HSS tools and surface finish improved greatly. I also learned about coolant and lubricant and how this could improve the surface finish. I don't have a flood or a mist system but I do use a squeeze bottle or a brush if I have to but I really don't like to use the stuff. Its messy, smelly, and the night cleanup crew has had to be laid off due to the economic conditions.
I found ( was told here on HMEM ) that honing, stoning, polishing the cutting edge could reduce the need for coolant and lube. It does. I never use it on aluminum, and only rarely on steel. A sharp, smooth, edge creates less friction and heat. A shaarper, smoooother edge does it even better. But there is a limit. A sharper edge dissipates heat less well, and dulls more quickly. Catch-22.
Not long ago, I needed to turn a piece of HSS. Carbide seems like the obvious tooling except that the part was less than 1/4" diameter and the pressure needed to start the cut with the typical blunt carbide edge caused a lot of deflection. The part would try to climb up over the tool and increased pressure would fracture the carbide.
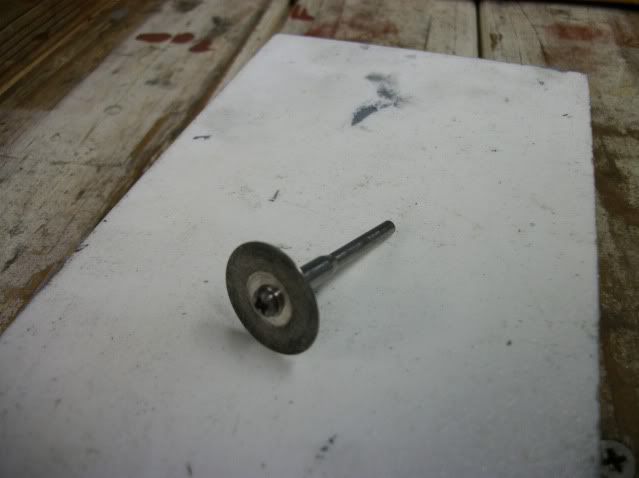
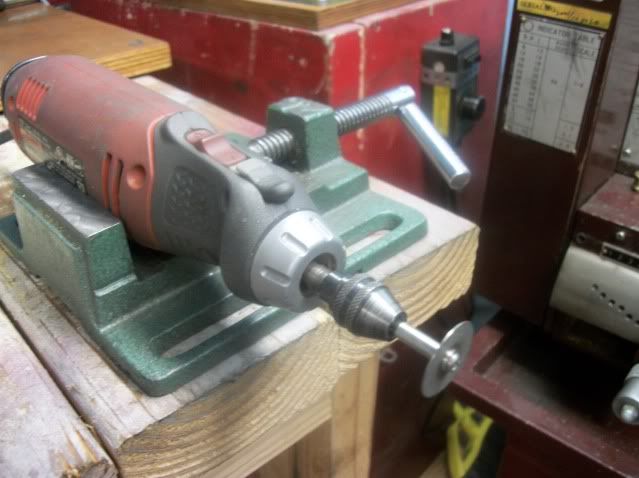
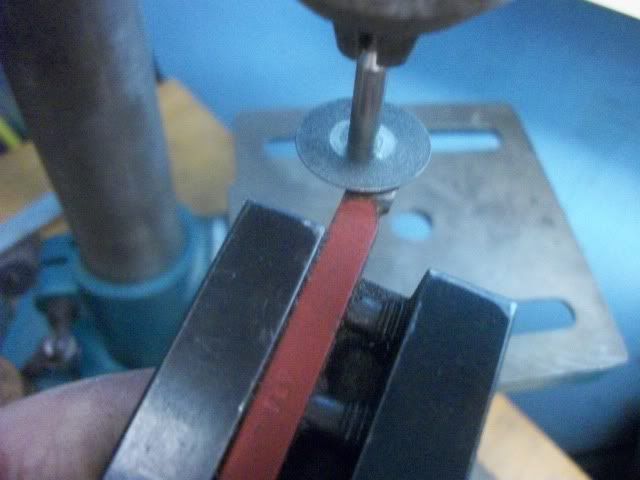
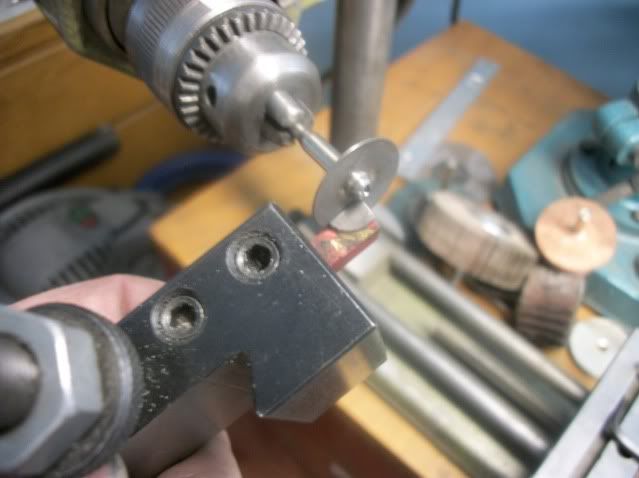
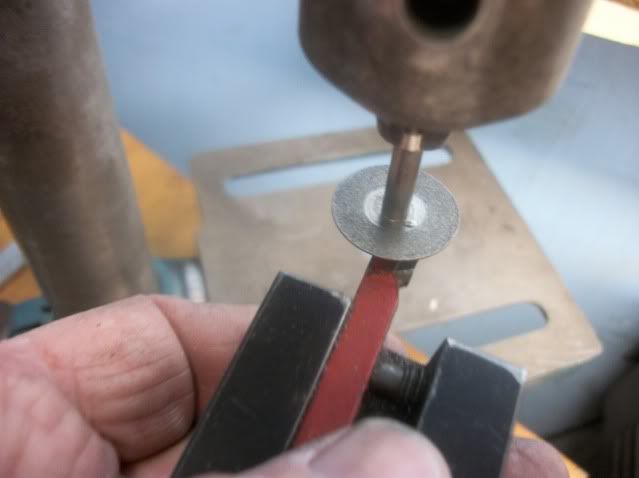
I have read that there are SHARP! carbide insets. Pricey buggers I'll bet. I hear that carbide can be shaped with silicon carbide or diamond wheels so I hurried out to HF and returned with a diamond sharpening system with 3 diamond wheels. The cost was about the same as the cost of 2 large bags of potato chips.
I had no idea that it would take this long to get this typed and it has gotten very late. I'll get back to this tomorrow and will include some findings.
Jerry




![MeshMagic 3D Free 3D Modeling Software [Download]](https://m.media-amazon.com/images/I/B1U+p8ewjGS._SL500_.png)


