No problem Bob, anything for you.................
Today's efforts:
Overnight I considered how to make and fit a safety guard for the saw table project. So at breakfast time (0600) I took pencil and paper in hand and roughed out a design that I thought may work. When going out into the workshop my first task was to see what materials I had that could be used for the design.
So armed with some brass angle and sheet brass I started to mark out my design. I must admit it would have been easier if I had made the guard from stiff cardboard as I have done previously but for some reason I forgot to do this until I was a fair way through the making of the guard.
Fortunately the spare blades for the Proxxon bandsaw had arrived from Chronos and it was really nice to cut some brass sheeting with a new blade! It reminded me that the new saw table would be ok for some tasks relating to sheeting (differing materials) but I should forget my trusty Proxxon.
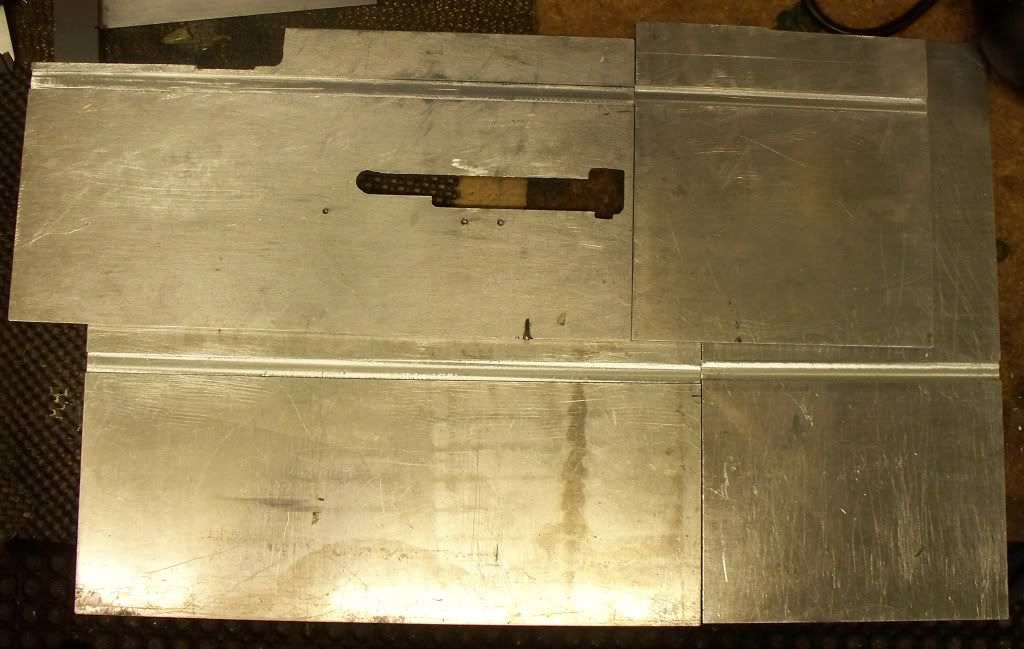
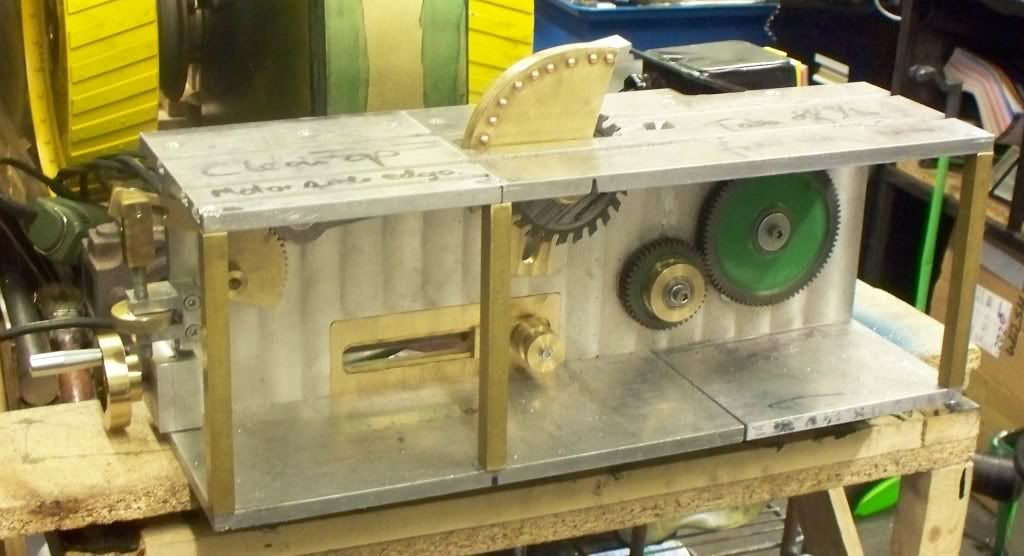
After making the brass back plate for the guard I fiddled for quite a while trying to work out how I could fit it without the guard fouling the blade. I wanted to offset the pivot point to clear the end of the saw pulley but the circle of movement was then moved. In the end I decided to adjust the slot in the top table to give me the clearance required. Simple to write but that was an hour or so gone!
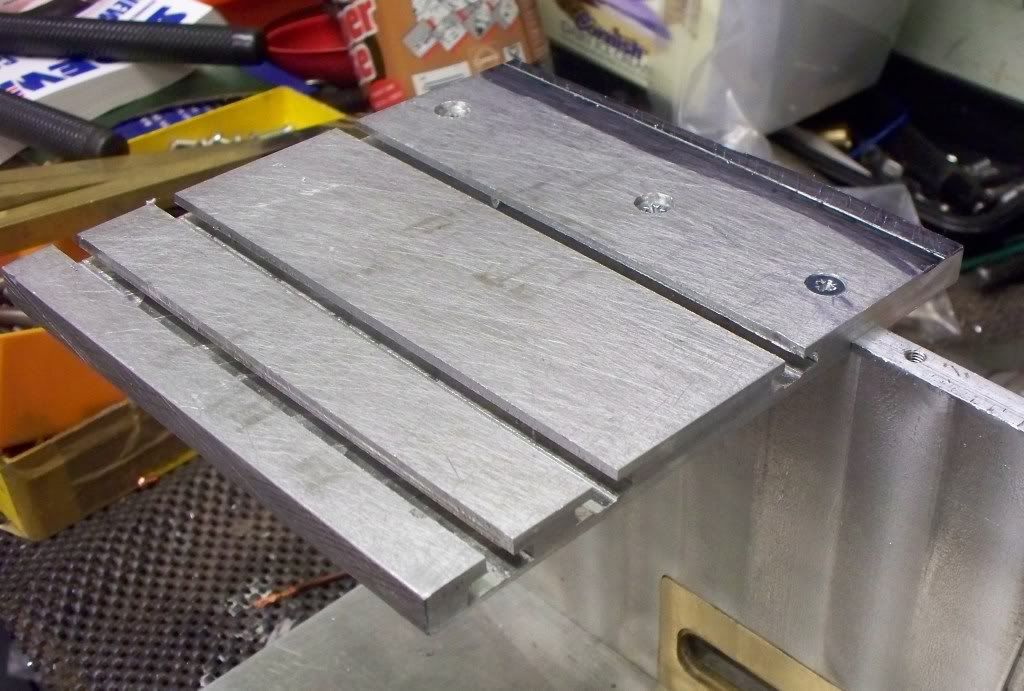
To form the top of the guard I decided to use brass angle and to allow the curvature required I cut slits at ½ intervals using the bandsaw and then drilling holes in the centre of each newly formed tab.
I mulled over whether to silver solder, bolt or rivet the angle in place and in the end thought that copper rivets against a brass fitting would contrast nicely when it came time to add some bling. The brass angle was held in place with 4 equidistant temporary 4BA bolts whilst all the holes were drilled before the inside holes were countersunk so the copper would have somewhere to go. This will help the rivets hold the two parts together.
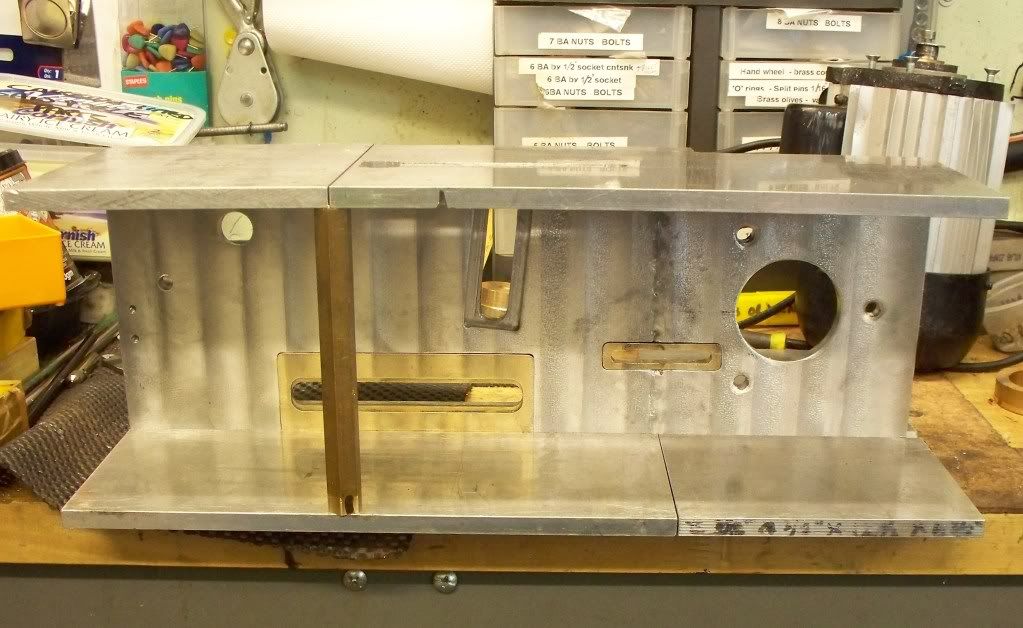
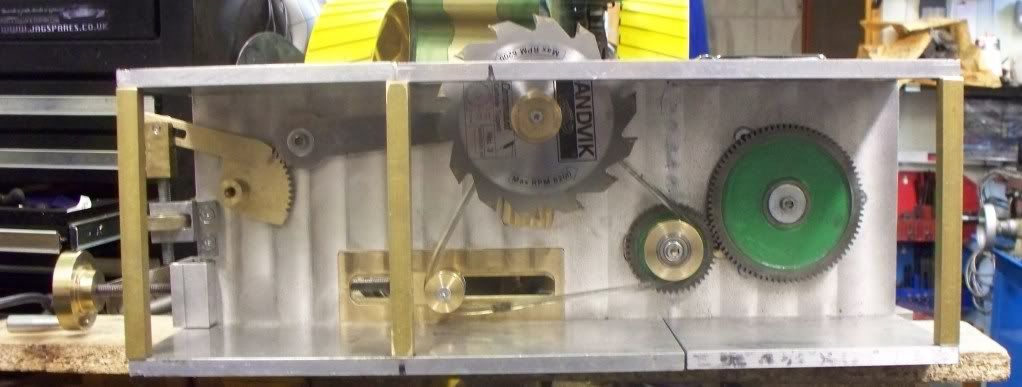
With the outer part of the guard in place the final slotting of the table top could be done and a piece of brass angle was used to form the pivot bracket. it is secured to the underside of the table top which is where I got to at the end of the session. However I may have another problem to overcome since I made sure the work was done when the largest saw blade is at its highest position. When reflecting on what needed to be done next time I thought that the system may not work! When the saw blade is lowered the guard does not go with it!
My initial reaction is that the guard will still serve its purpose if it sits above the blade but just on the edge so that when it is lowered it does not foul. If that isnt a solution then I will have to rethink how the guard can be secured to the saw pivot arm. And that would be a problem!
The guard will be held in position by a spring once I have the system sorted out. Again, dont take too much notice of the finish of the parts since it will be dismantled when finished and blinged up then
.


")


![DreamPlan Home Design and Landscaping Software Free for Windows [PC Download]](https://m.media-amazon.com/images/I/51kvZH2dVLL._SL500_.jpg)