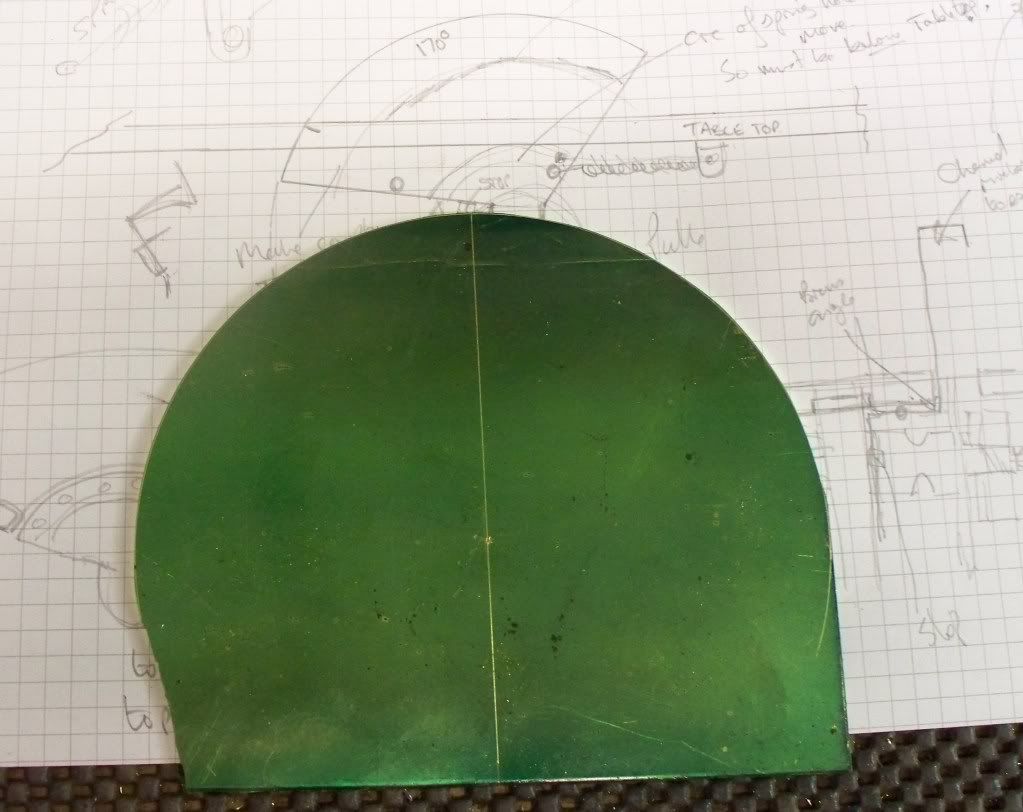
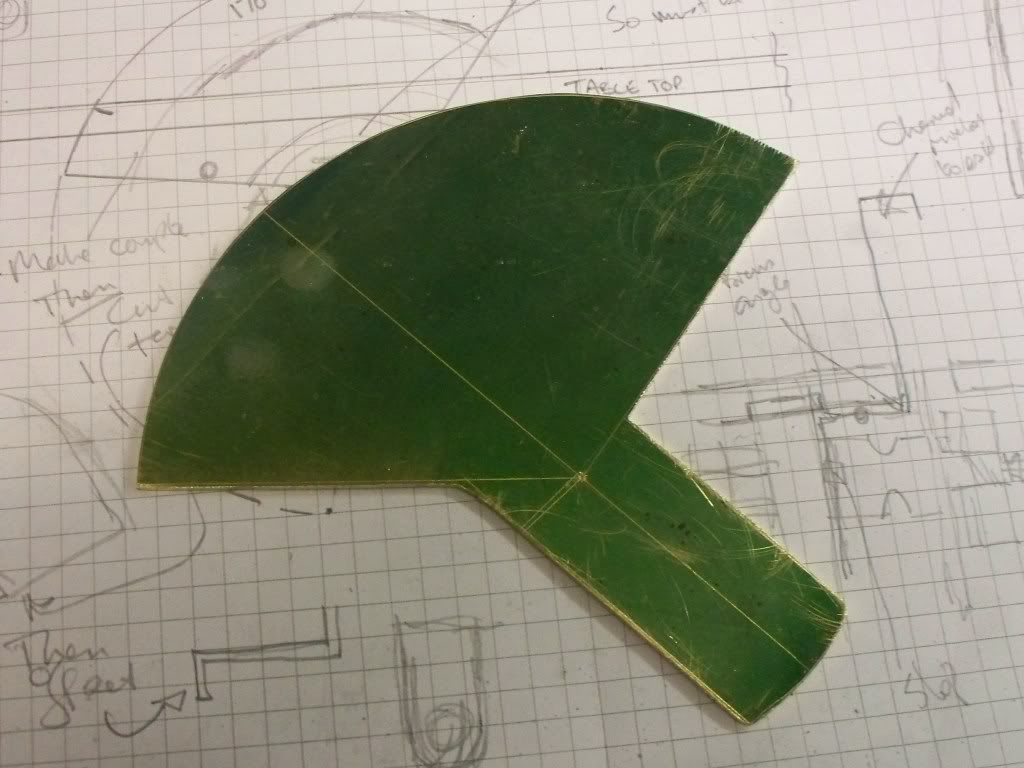
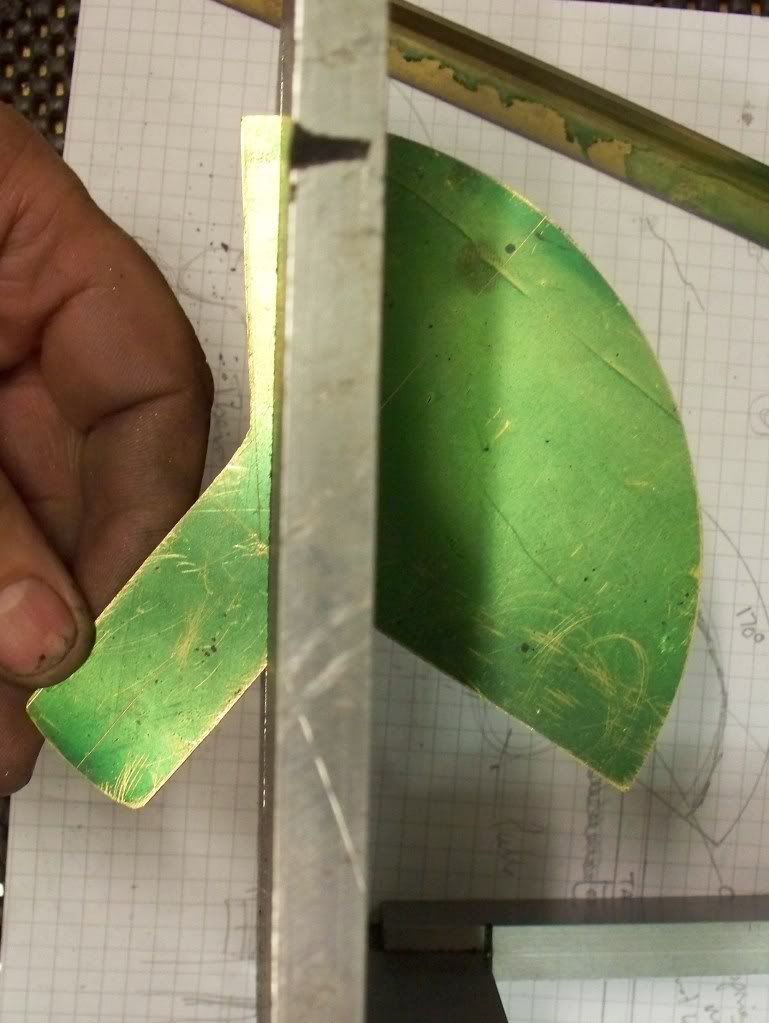
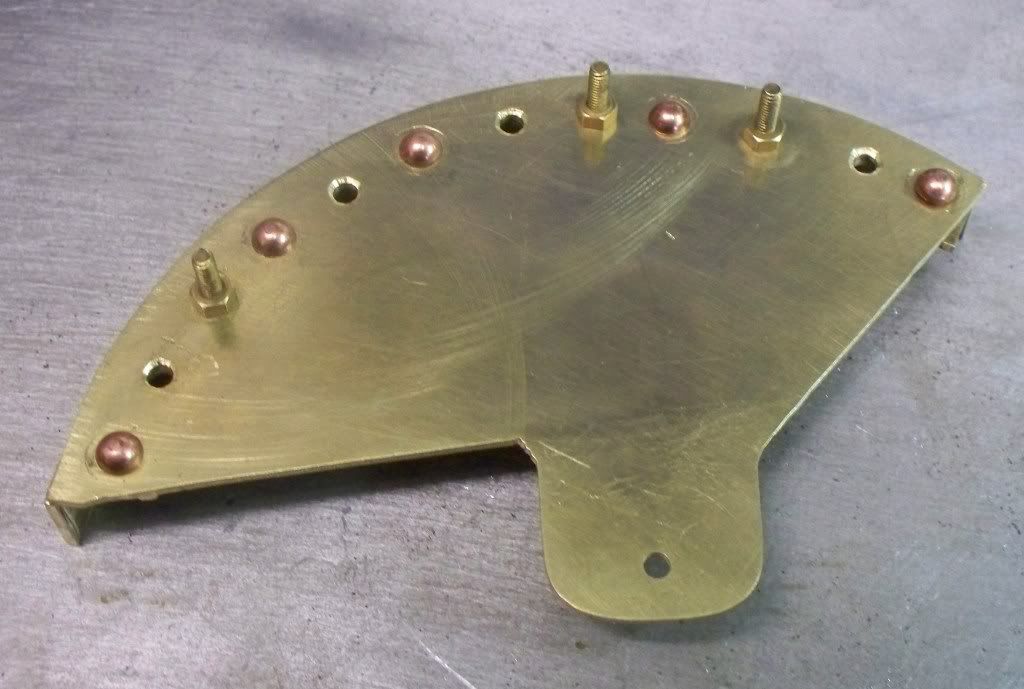
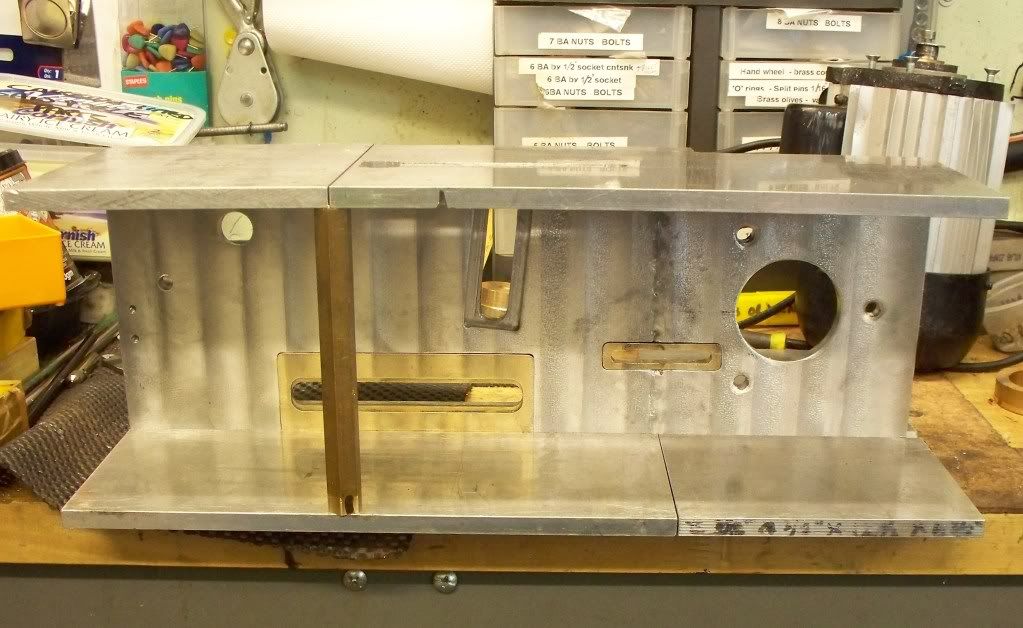
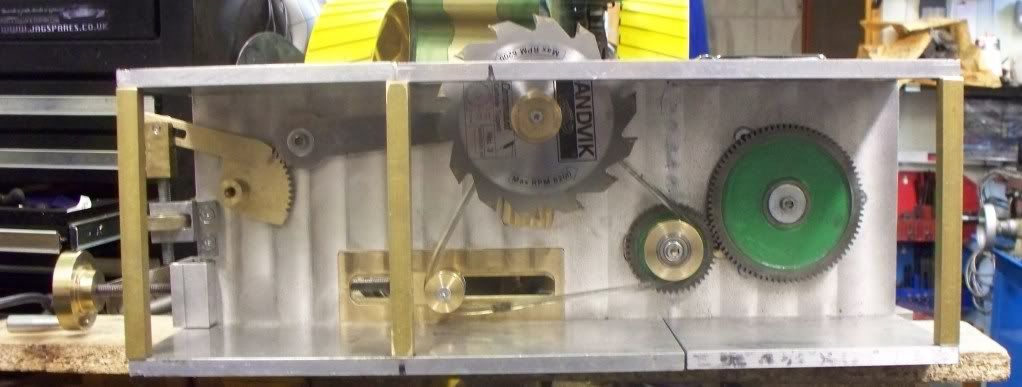
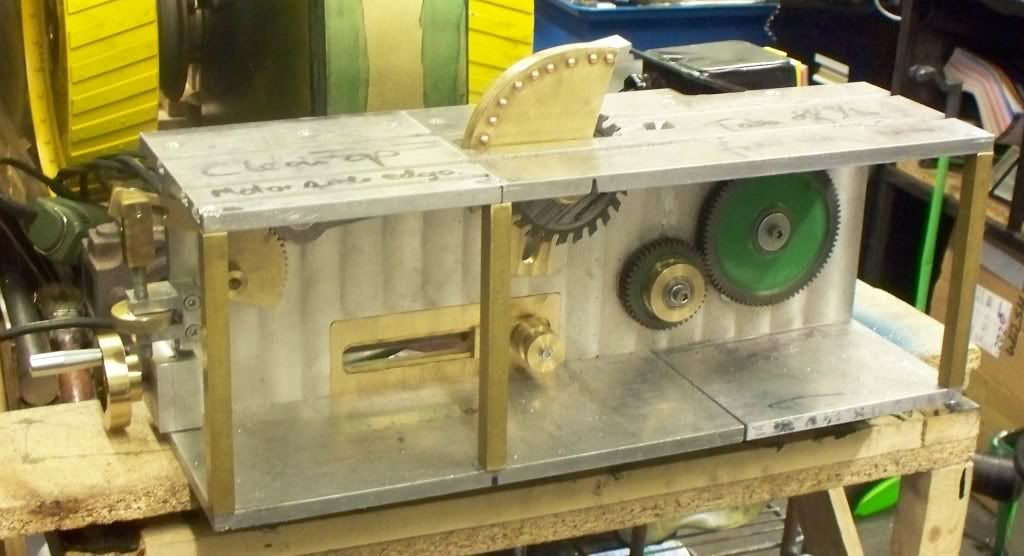
Over the last couple of sessions I have made some progress on the saw table project. Today I completed the quadrant for the saw height adjustment and assembled all the parts to date. I decided that the next job would be to give the back plate a little clean up and used a wire brush in the milling machine to polish off the marks that naturally occur when making an item.
Now that the mechanism was complete it allowed me to make up the drive belt which I found more difficult than expected. I tried out the process on a couple of scrap pieces and simply melting the ends produced all sorts of results. After some practice I managed a reasonable result that allowed me to make a good joint on the proper belt.
When running the system for the first time I was pleased that all turned as expected and the drive from the belt worked with varying tension settings. After 30 seconds or so the whole thing stopped dead. The pulley that holds the gear wheel on has seized up.
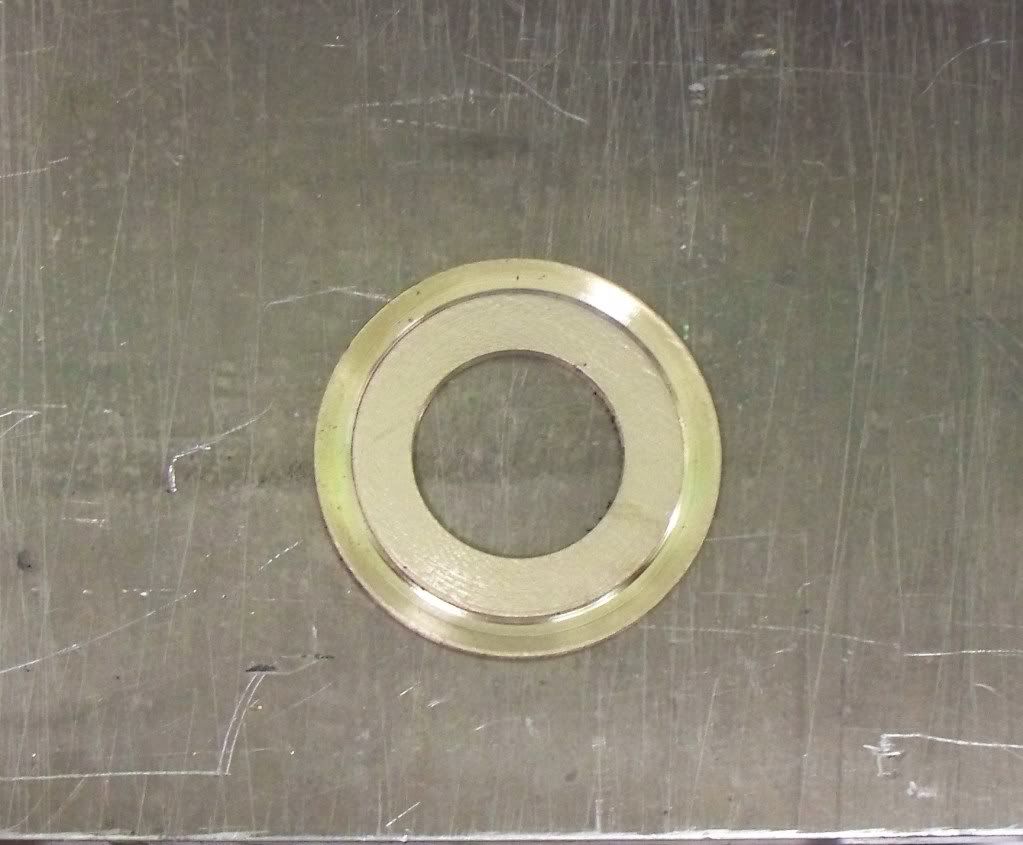
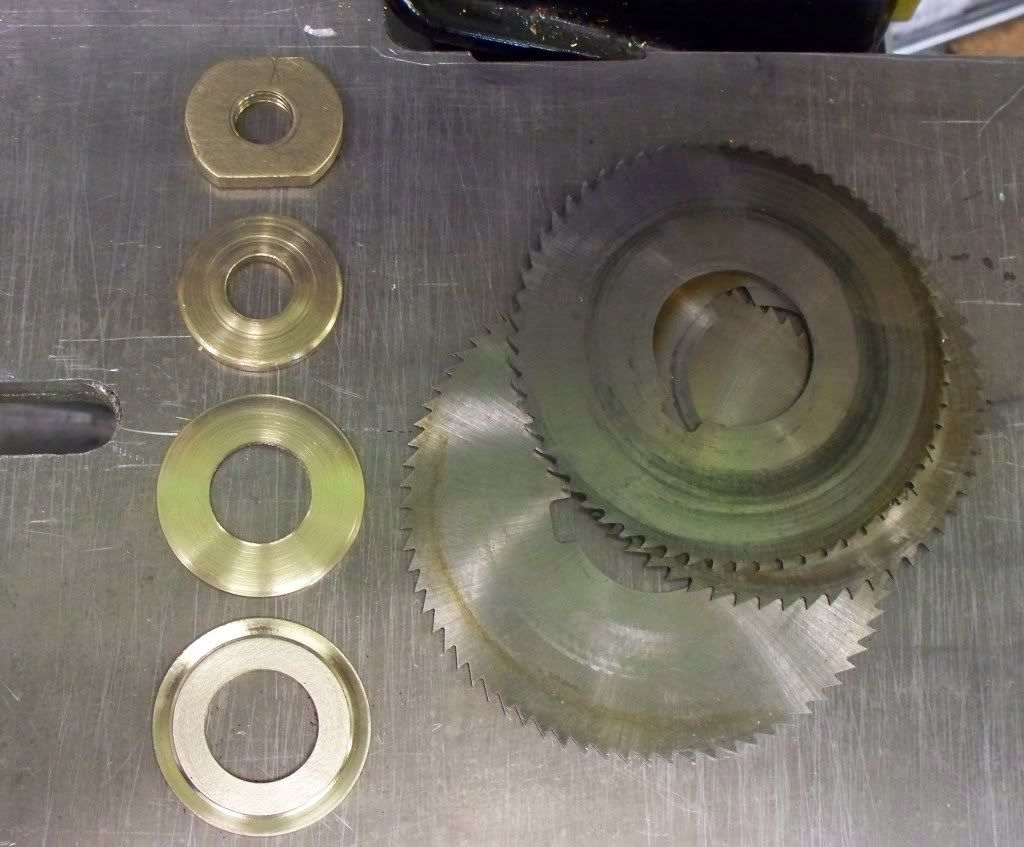
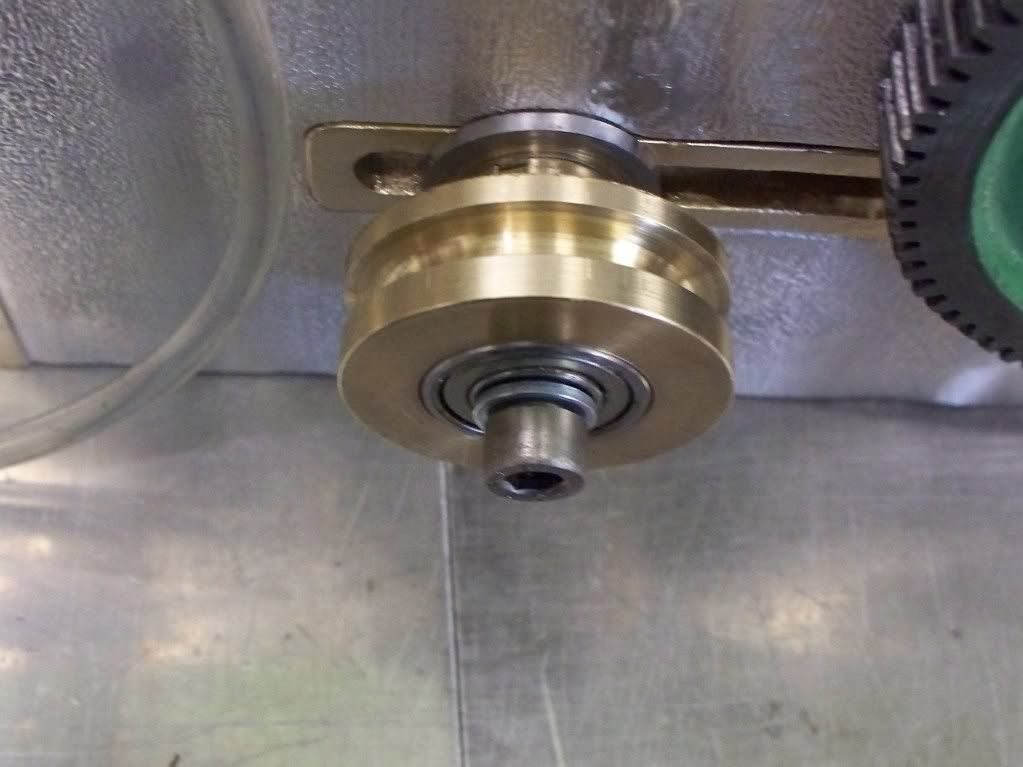
On investigation the bolt holding the pulley on had tightened itself up sufficiently enough to stop it. The design was not meant to rely on any securing method to impact on the pulley turning. I had turned the shaft so that it extended beyond the brass pulley and in theory it should have worked. When looking at the problem further I thought that perhaps I had not left enough showing and all sorts of ideas came to mind particularly taking some of the pulley width off. However the answer was simply to change the washer on the end of the shaft from one that covered the whole bearing to a much smaller one that only covered the end of the inner shaft.
http://i353.photobucket.com/albums/r379/brixham-engineer/saw%20%20table/19062009sawtable002.jpg/img]
This cured the problem so the motor was started again and run for a couple of minutes before the saw blade stopped again. This time it was the pulley that holds the saw blade that had seized. Looking closely it was the shaft that was binding and I simply took a couple of thou off the end of the shaft being careful not to reduce the shaft part that the bearing sat on.
[IMG]http://i353.photobucket.com/albums/r379/brixham-engineer/saw%20%20table/19062009sawtable002.jpg
The motor was started again and all ran as it should do. I then varied the height of the blade to the two extremes and tensioned the belt to suit. All ran well and I will now be able to cut the studding used for the blade adjustment.
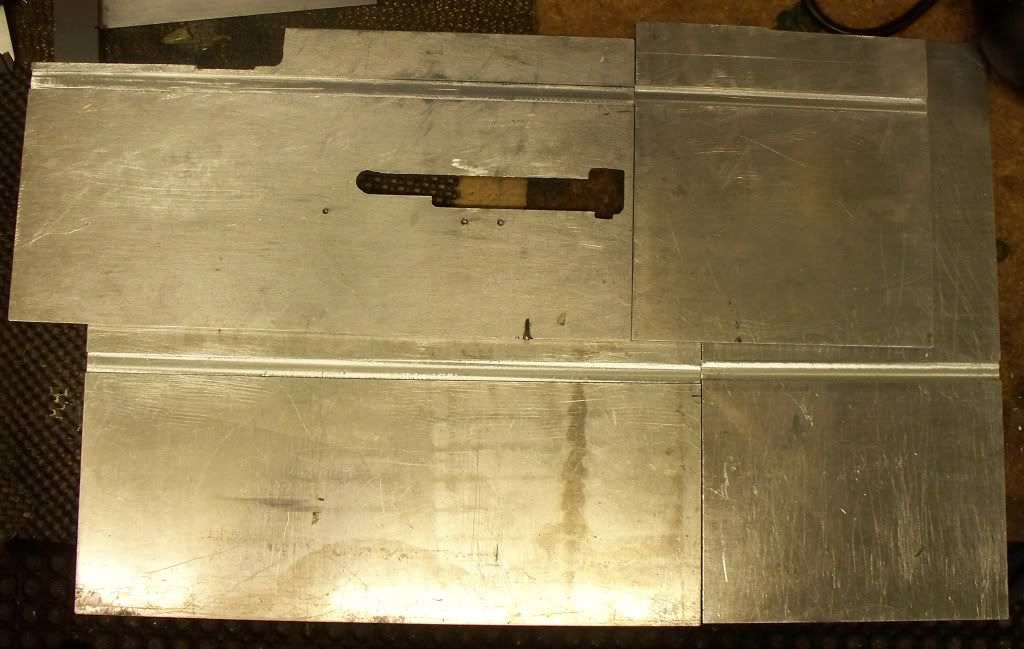
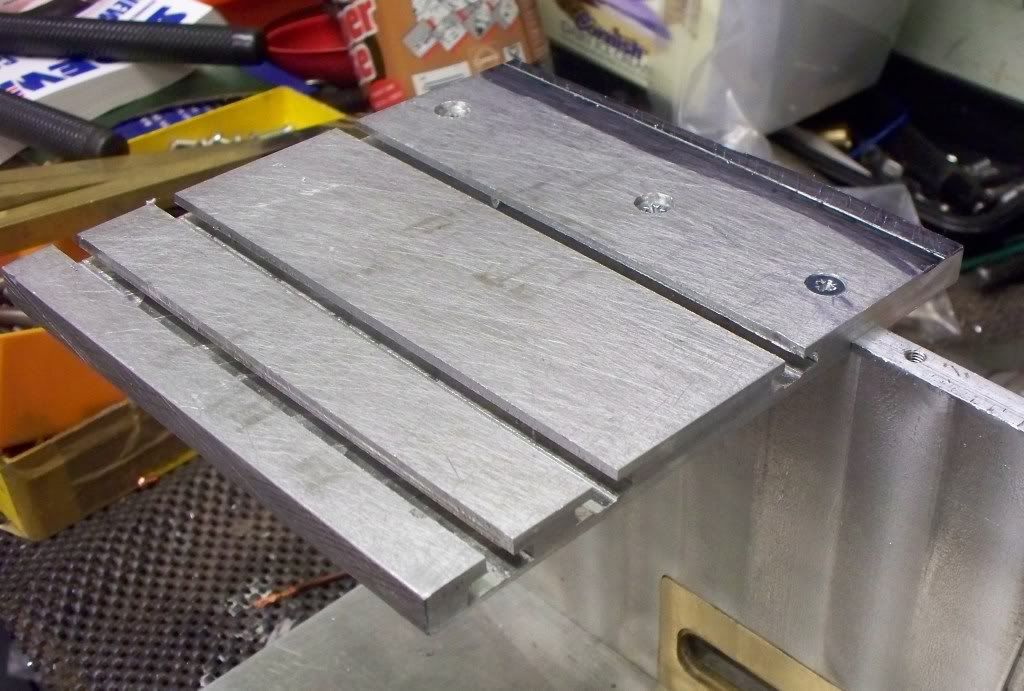
Suitable pleased I thought I would make a start on the top plate and soon produced the first part of the top with the slot for the diamond grit and two sizes of saw blade to fit in. This was placed in situ and I thought I would just try the blade to see how it would cut. I am glad I did since I will have to ensure that any clamping system will take into account the kick back effect found when cutting some brass sheet.
I then tried a ¼ diameter steel bar and you can see the results in the pictures. It wasnt really a proper test since the bar wasnt held properly but it actually cut better then the brass sheet. I have no doubt about the blades ability to cut. Then I tried the end of the HT steel that bar that started the whole project and was really pleased to see the small cut that appeared in the end of the bar! It will cut it and thats good news.
So todays session really is the beginning of the end
.
To make a change I thought I would show a short video....don't forget there is a lot more to do yet!
"
http://www.youtube.com/v/wtg0Qh0peeg&hl=en&fs=1&"


![DreamPlan Home Design and Landscaping Software Free for Windows [PC Download]](https://m.media-amazon.com/images/I/51kvZH2dVLL._SL500_.jpg)


