Building of TINY INLINE 4 in Brazil

Home Model Engine Machinist Forum

Help Support Home Model Engine Machinist Forum:

This site may earn a commission from merchant affiliate links, including eBay, Amazon, and others.
Joined
Jan 3, 2012
Messages
406
Reaction score
305
Location
Curitiba - Paraná - Brazil
Hello People!
I`m new here and on the HMEM.
After some research on the web I found some very nice projects (V8 from Steve Huck, Tiny Inline 4 from Kelly, The Peewee from Dirk, Jerry Howell V4, 4 Cyl. Horz. Opposed from Dale Detrich and another V8 from Coles Power Models).
I decided too buy all them. After some study I decided as my first IC Engine building project the TINY INLINE 4. First I though it would be easier but the parts are so small that is being a real challenge. "I will not give up."
Bollow is the first pictures:
Sorry for the English writing mistakes.
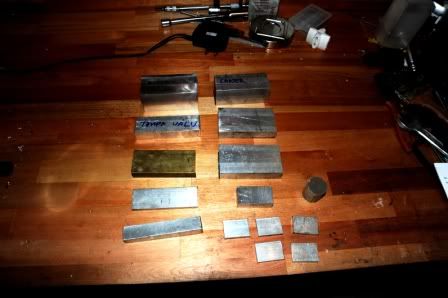
Part of Raw Material
DSC_0004.jpg


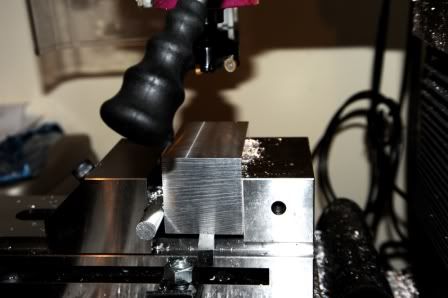
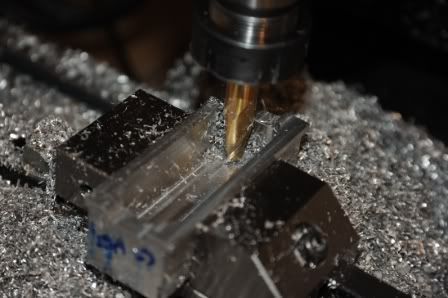
Preparing the stock for the block
DSC_0002.jpg


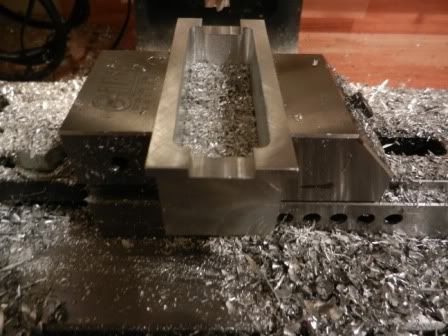
DSC_0001.jpg

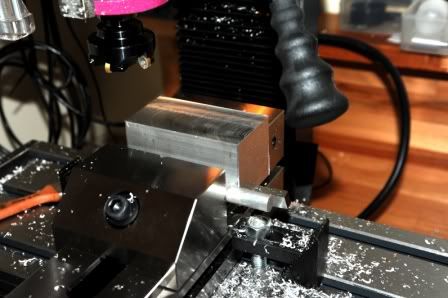
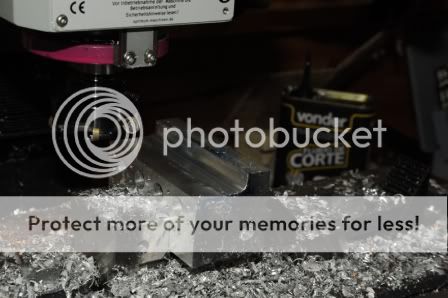
Start of botton machining
DSC_0009.jpg

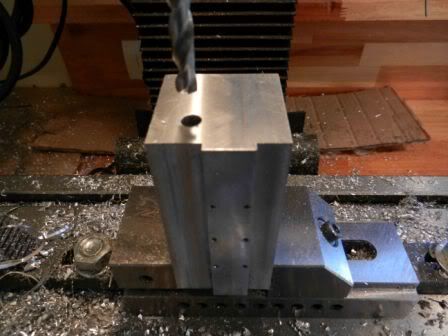
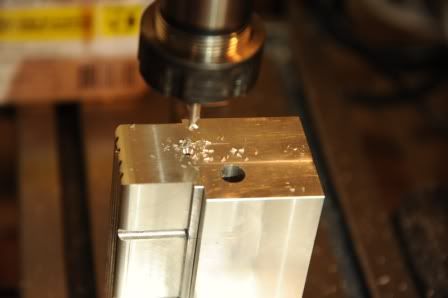
Drilling the Camshaft Tunel
002.jpg

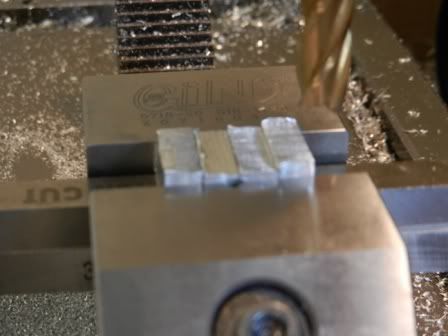
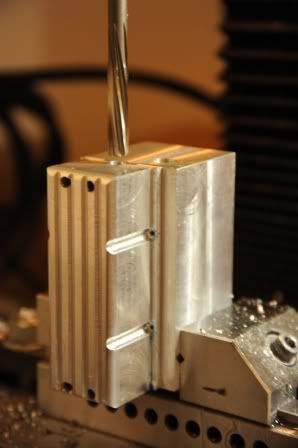
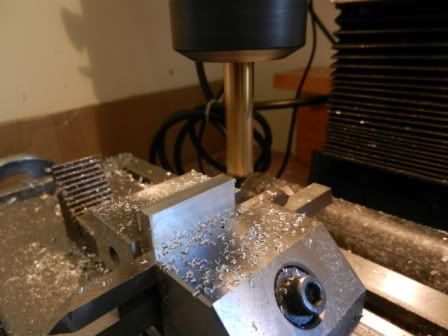
The Center Main Bearings Caps. I machined the material to its lenght than I sectioned using Hand saw.
003.jpg

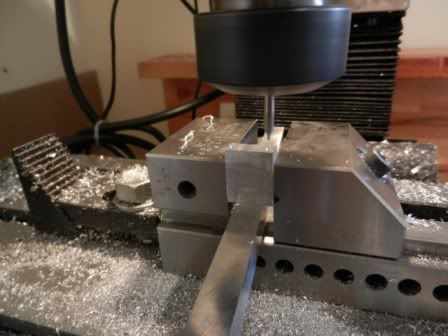
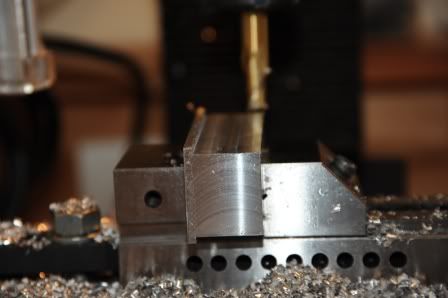
Machining the caps to its thickness
007.jpg

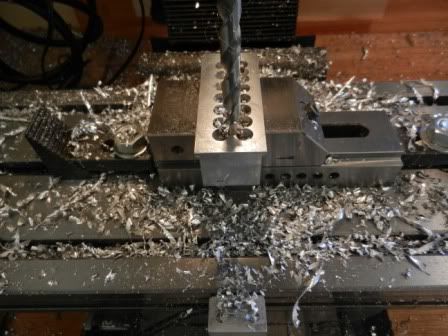
Drilling the screw holes on the caps
008.jpg

Ready for starting digging the botton
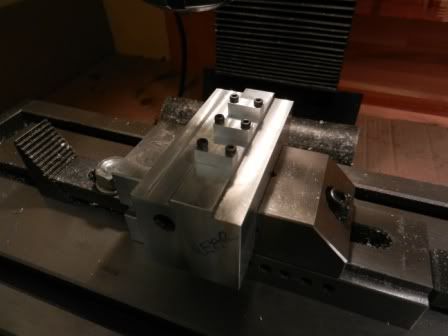
010.jpg


MORE PHOTOS IS COMMING. See you soon guys.
 
I will be watching this one with great interest. Very nice E, Dave
 
As I told, here are some more pictures.
The oil pan
DSC_0011.jpg

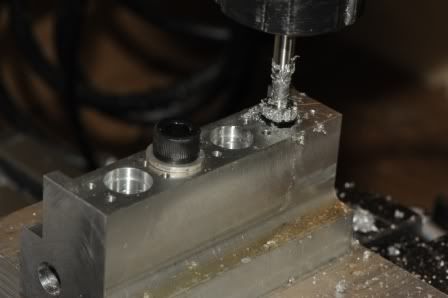
As a lot of material must be removed to provide the pan, I decided to drill sevral holes. It showed to be very productivy.
015-1.jpg

Almost finished
DSC_0014.jpg

019.jpg

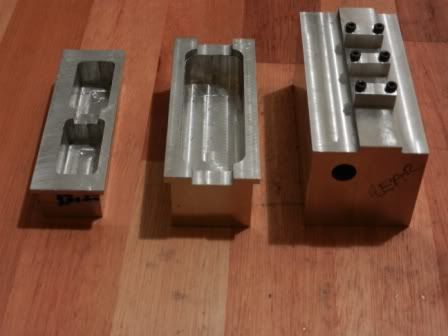
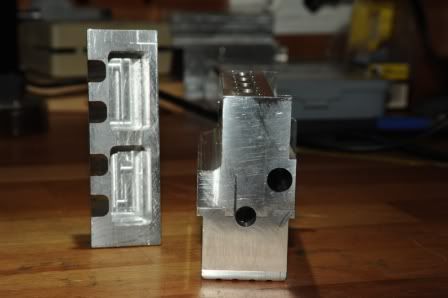
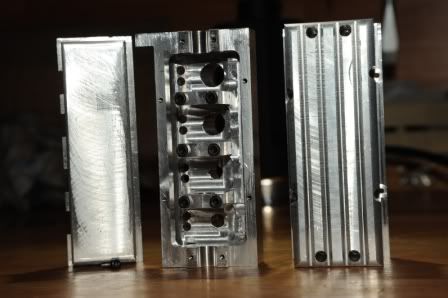
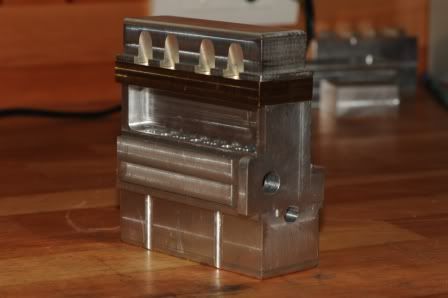
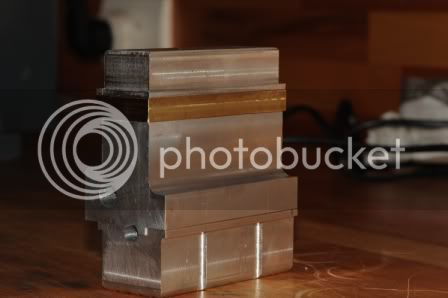
Here is the Block, Oil Pan and Valve Cover pre-machined
013.jpg

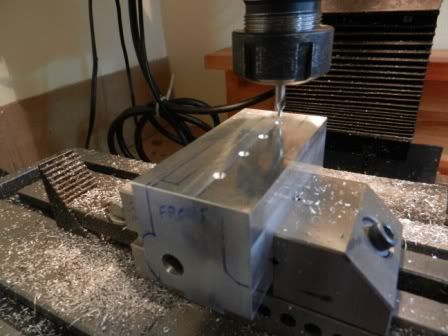
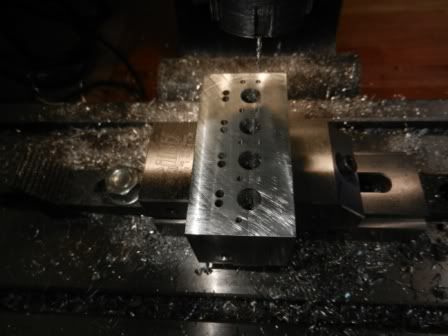
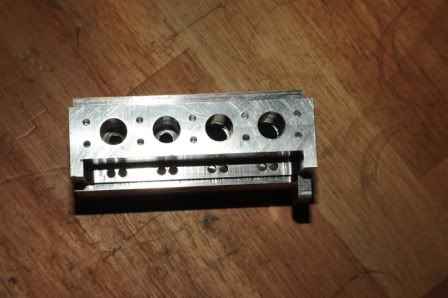
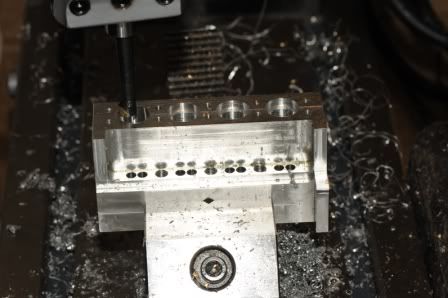
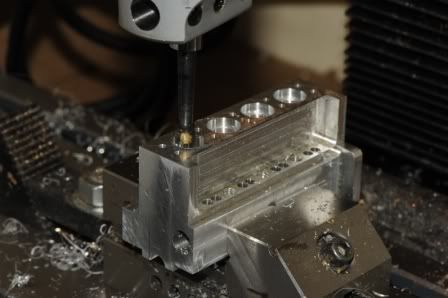
Now it is time for making some holes on the block
020.jpg

You can see the Pushrod, Cylinder and head bolt holes
028.jpg

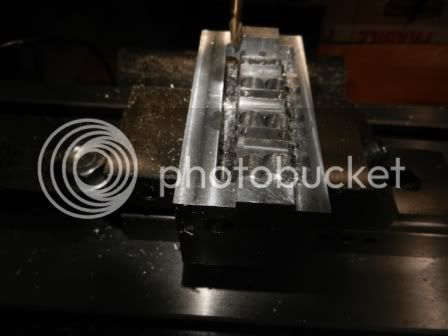
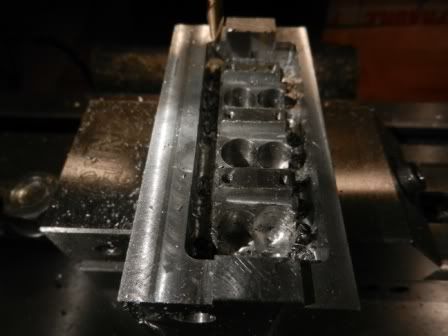
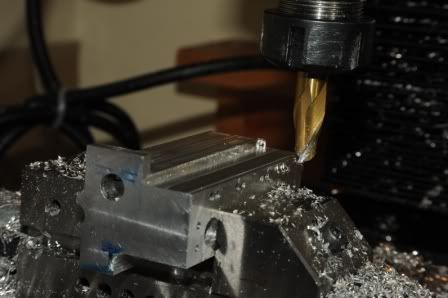
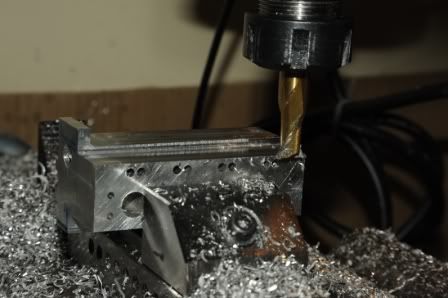
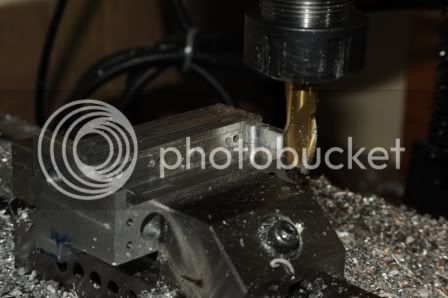
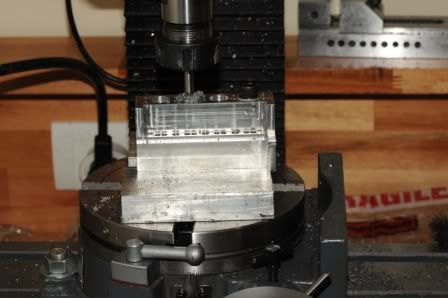
Digging the botton of the block
029.jpg

030.jpg

031.jpg

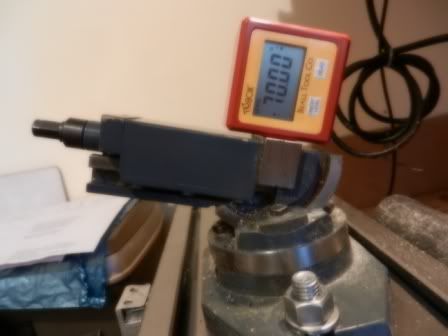
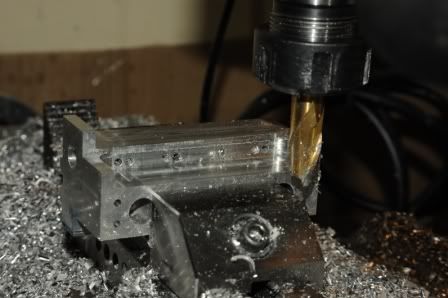
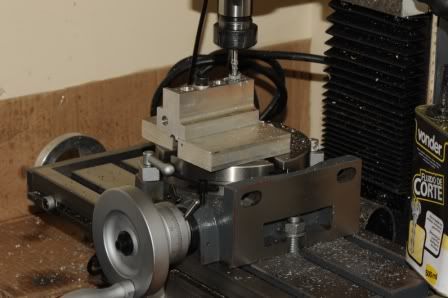
I decided to back to the Valve cover and do some more material removing so, I changed the vise to a angle adjustable
and used a electronic angle measuring device to set it to 70 degrees
032.jpg

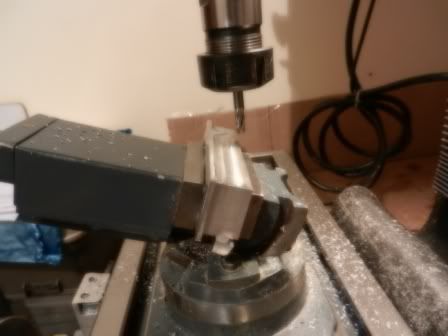
The Valve Cover fixed on the vise
039.jpg

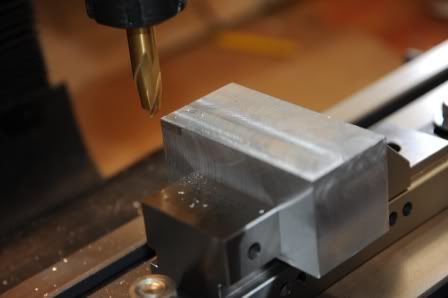
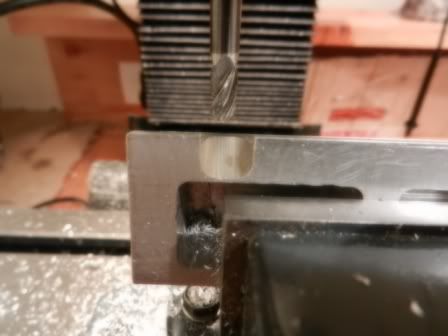
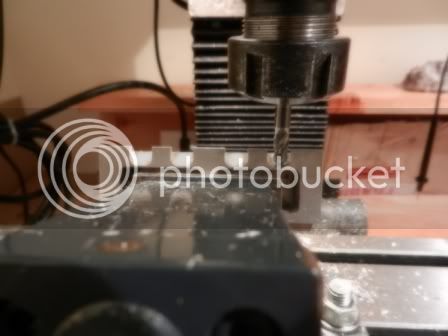
Using a ball end mill I made the spark plug pockets
037.jpg

043.jpg


I think I will go back to the block and do some more work. Wait more PICTURES.
What you guys think, is that too much pictures?
 
Thanks Steve and Dave.
If you have any comments that would help me, feel free to do so. Maybe late today I will post more pictures of what I've done on the block (the crankshaft jornals drilled and reamed.
Hey Steve this is a trainning for your engine project.

TKS,
Edimilson
 
Hi Edimilson,

You've got a good start on Kelly's little 4 cylinder and I am enjoying your photos.

What part of Brasil are you located in?

Regards,

Chuck
IL USA
 
Hi EDi
Good to see other have start on the building of the Tiny.
I started on the build before Christmas.

BTW nice work.

CS
 
One can never post up too many pictures and be reprimanded for doing so. Pictures tell stories that words do not always reflect. E, keep up the good work and we will all be watching with anticipation. (at least I will be)

BC1
Jim
 
Hi Edi,

Very nice your project... the pictures are fantastic and as I like!

Soon I will begin my project too... very cool see this hobby here in Brazil... we need to promote it and organize an exhibition... maybe in some machining or mechanical fair!

Who wants to come to Brazil to prestige or display their work? :)

Edi... th_wwp always!

Cheers,

Alexandre
 
Hi Edi,

In the late 1980's and early 1990's I was lucky enough to get to travel to Brasil on business. These were visits to piston and ring suppliers, mostly in the Sao Paulo area. The companies were then Metal Leve, CoFap, and Mahle. I always enjoyed the trips. Great people to work with and great food!

Good luck with the little 4 banger. Kelly got some great sound out of that little engine.

Regards,

Chuck
 
Hello everybody.
By request, more pictures bellow.
.
Drilling the crankshaft journals
UsinagemdoBloco005.jpg

Reaming operation
UsinagemdoBloco007.jpg

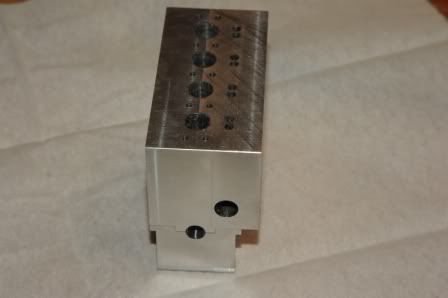
The block with Crankshaft and Camshaft journals
UsinagemdoBloco016.jpg

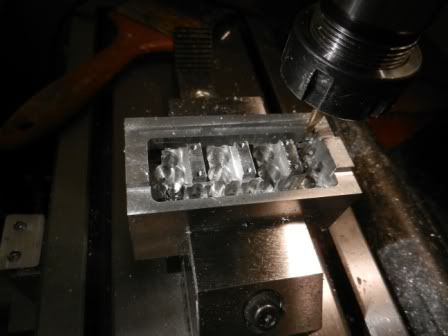
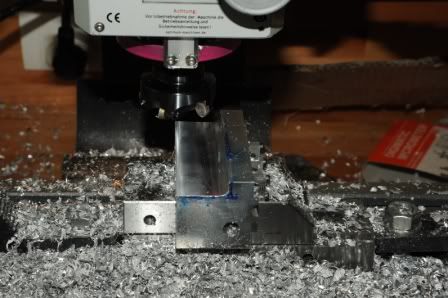
Machining the rest of the block
UsinagemdoBloco017.jpg

UsinagemdoBloco018.jpg

UsinagemdoBloco020.jpg

UsinagemdoBloco022.jpg

UsinagemdoBloco024.jpg

I first used a 12mm end mill then I finished the corners with a 6mm end mill
UsinagemdoBloco025.jpg

The block still missing some work. (breathing holes, water jackets holes etc.)
UsinagemdoBloco031.jpg

UsinagemdoBloco035.jpg

Here is all the job done so far
UsinagemdoBloco038.jpg


Kelly as you can see I decided to make the oil pan in one piece
 
Hi Edi,

I love the pictures, keep 'em coming!

I do like the oil pan you made, it looks great!

I will be watching for sure.

Kel
 
Hi Kel, thanks for the nice words.
I was thinking to make the crankshaft from a round blank prepared on the lathe then machine the connecting rods journal on the milling machine using a rotary table. Is there any desadvantage doing that?
:mad:Do to a missaligment of the crankshaft journals I need to do that againg increasing the diameter from 8,0mm to 8.5 or even 9.0mm do you see any problems on that? Will it afect any other part of the project?
Thanks
Edi
 
Hi Edi,

The method you describe for making the crankshaft sounds a little hairy. (But that's just me) It works fine for the camshaft, but the crankshaft journals will need to be vary concentric, with a smooth finish.

I don't see a problem with making the main journals larger in the block, as long as they don't interfere with the journal cap screws. You can leave the crankshaft mains the same but you will have to make the bushings outside diameter larger.

Kel
 
Hi Edi

You have made a flying start on this project, and plenty of pictures too, which we all like. As the man said, “A picture is worth a thousand words” can’t have too many in my opinion. Keep up the good work, I will be watching all the way. Good luck with the crank

Les.

 
:DHello Guys!
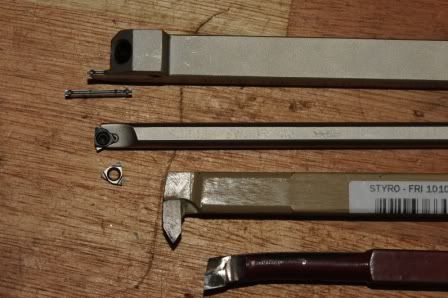
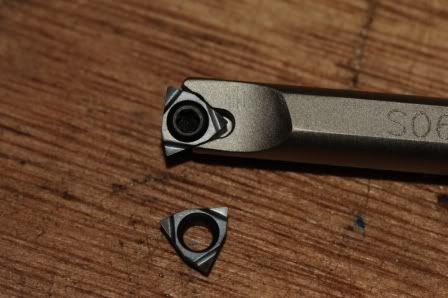
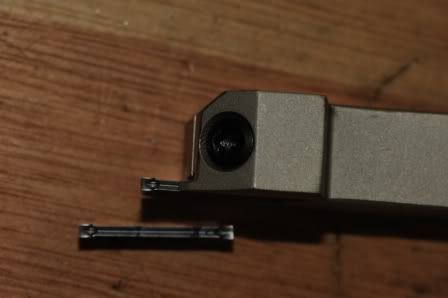
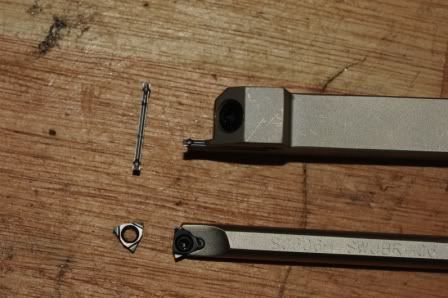
I'm here again. Not much activities this last week. I purchased some tools for the lathe.
Bellow are the pictures of the new tools
Apr_00027.jpg

Apr_00025.jpg

Apr_00024.jpg

Apr_00023.jpg


Now some more pictures of work
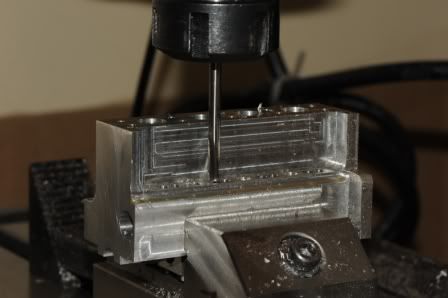
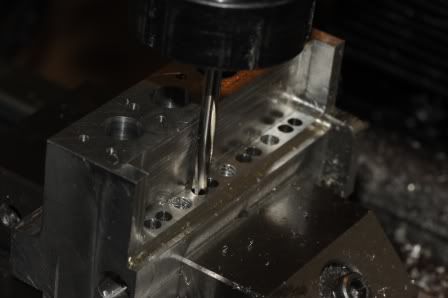
Reaming the tappet guide holes
Apr_00028.jpg

Apr_00029.jpg

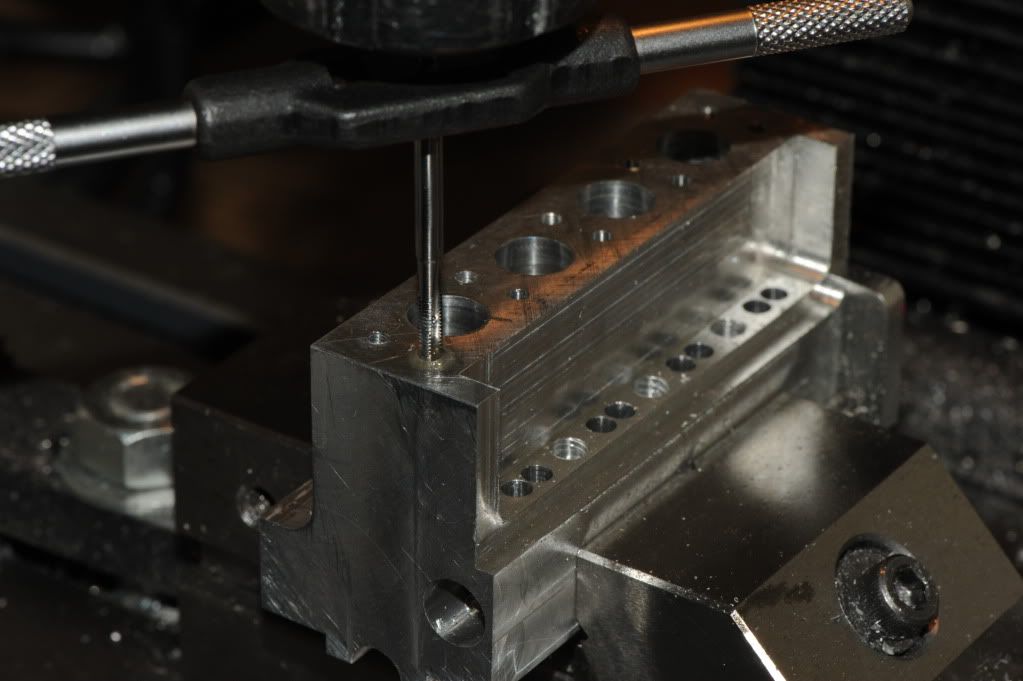
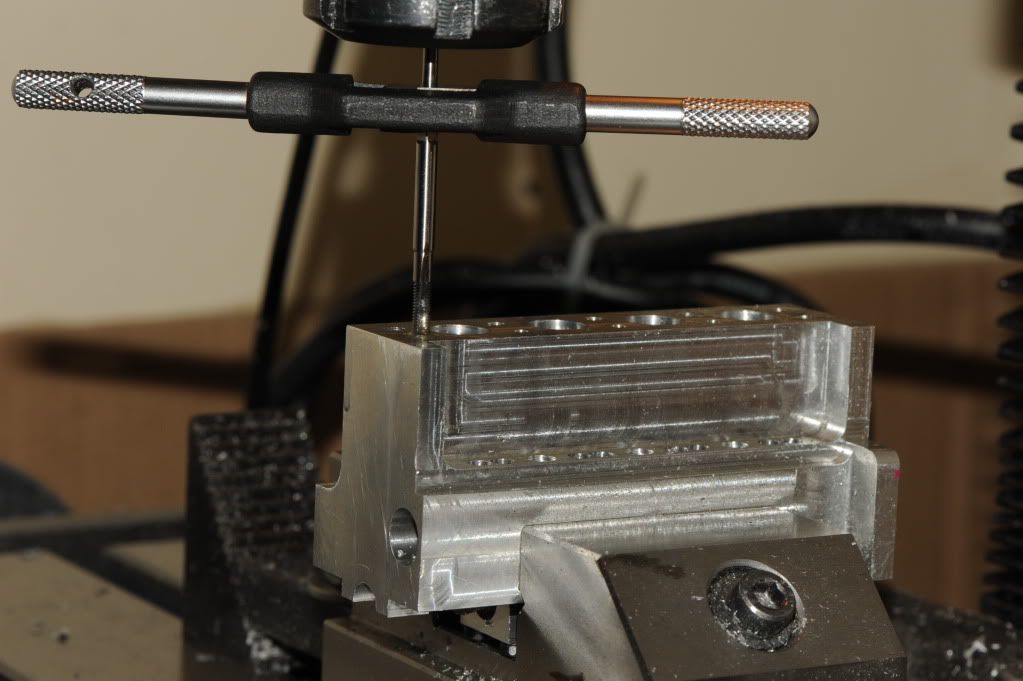
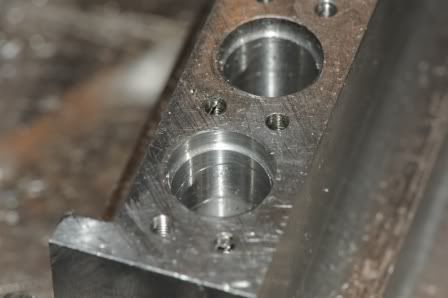
Tapping the head holes
DSC_0016.jpg

DSC_0017.jpg


I'm wating some more tools to continue the work on the block (head boring, small bore gage and some reamers)

See you guys until next post
Edi
 
Excellent stuff there Edi! I'll be watching for sure!

:bow:

Cheers, Karsten
 
Hello everybody.
I got able to do some more work done this week. Still on the block.
As I received the boring head I ordered few weeks ago, I was able to finished the liners holes and water jackets. The tool showed to be very precise holding the dimensions and easy to adjust. Photos ahead!
21-04-1201329.jpg

Counterbore operation
21-04-1201330.jpg

21-04-1201328.jpg


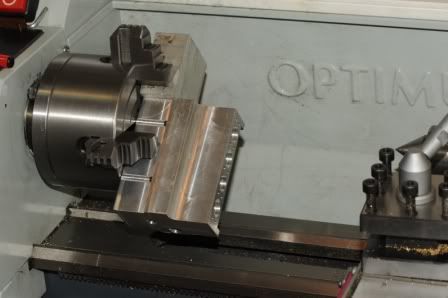
Next operation was the water jackets.
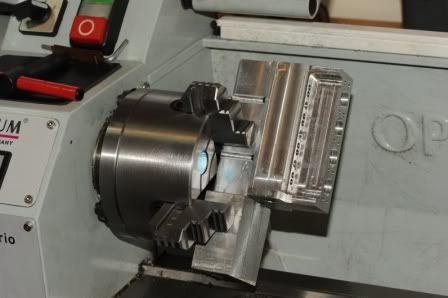
I tried to do it on the lathe, however I did not feel safe with the setup, so I had to use the traditional dividing table and a grooving mill.
21-04-1201322.jpg

21-04-1201321.jpg

21-04-1201325.jpg

21-04-1201324.jpg

21-04-1201326.jpg


Here is where I'm so far.
21-04-1201315.jpg

21-04-1201316.jpg


No internal parts done so far. The head still need all the holes.

Thanks.
Edi


Back
Top