Tim, these are a few tips that I use when working on castings.
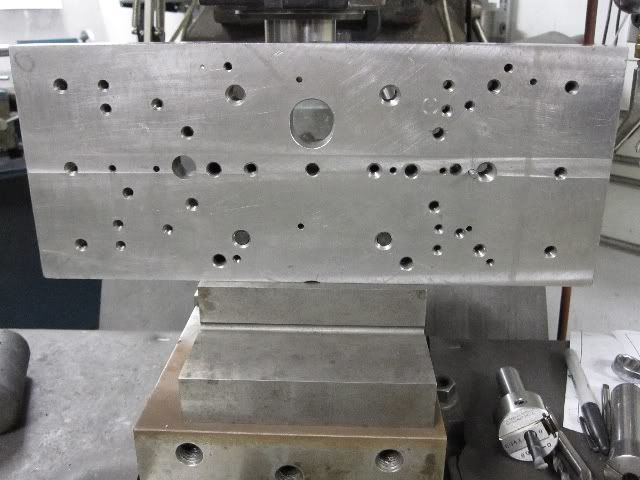
When I first started building engines from castings I made up a fixture plate. It was a piece of ¾ X 6 X 12 hot rolled steel. I fly cut it as flat & square as I could. I used this plate as a fixture for most of the setups on the base casting for most of my engines. So far I have built an Economy, 2 Atkinsons, 2 Red Wing Thorobreds, a New Holland, & now 3 Associated Hired Mans using this fixture. It is especially helpful when you are building more than one at a time. I highly recommend you take the time to build a similar fixture before you even start these engines.
You can see this one has had a lot of use.
The first thing to do with new castings is to compare them to the print. I usually do a quick layout with a height gage on the castings to make sure all the functional holes line up with the details on the castings. They don't always line up good and you may have to adjust the pattern a little to allow for the variations in castings.
The first machining operation is to flatten the base and square it up with the rest of the casting. This usually amounts to shimming the casting from end to end and side to side so that all the details are in their proper alignment. This can be time consuming but pays off in the long run.
Clamping sometime requires some imagination and isn't always the most secure setup. By taking light cuts on the casting you can usually get by without problems.
Once the bottom is flat and square with the world, I turn the casting over and take a light cut on the bearing journals just enough to make a couple parallel surfaces for later setups.
Next I remount the castings on the two parallel surfaces and an adjustable third point for leveling.
This setup is used to locate & drill the 4 corner mounting holes as well as adding 2 small dowel pin holes. (This operation probably could have been don on the first setup but I like to double check the squareness of the bottom surface before I machine any additional details.) The 1/8 dowel pin hole do not go through the castings.
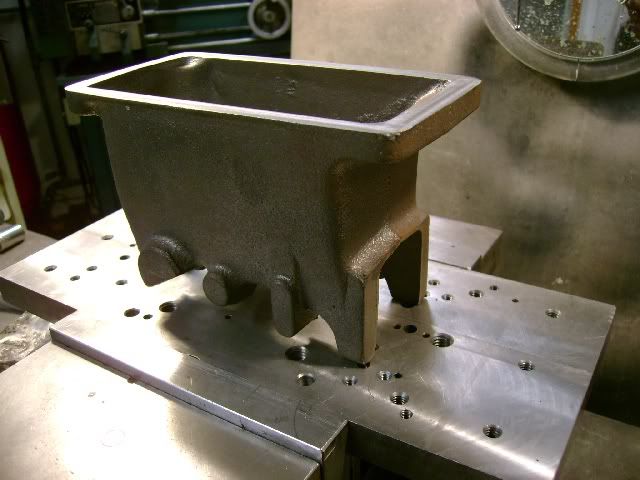
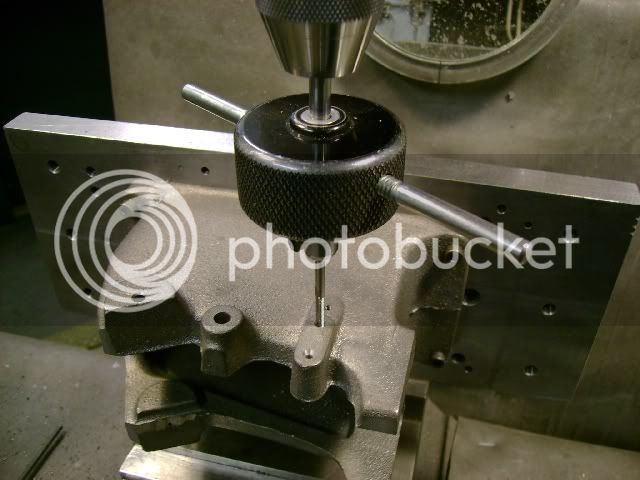
After this operation is done, put the same hole pattern on the fixture plate. This time drill & tap the mounting holes. From now on you can locate & mount the castings on this plate & be certain of the location. You can switch from one casting to the other for each operation and be certain that you are on location. It will cut the machining time for the second casting down to a third or less as most of the time is in the initial setup.
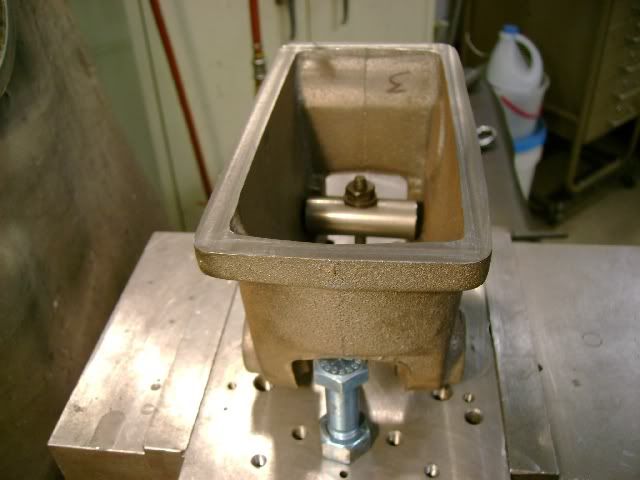
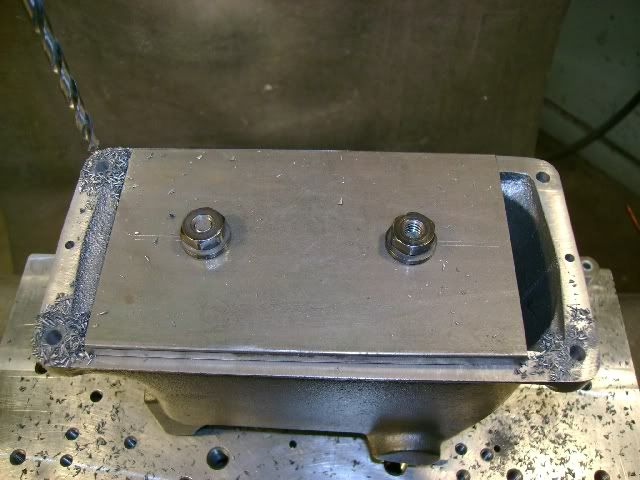
Following are photos of some of the various setups I used for my 3 Associated engines.
Drilling and tapping some of the details on the side of the casting. I also drill & ream a small locating hole for the bearing crank bearing.
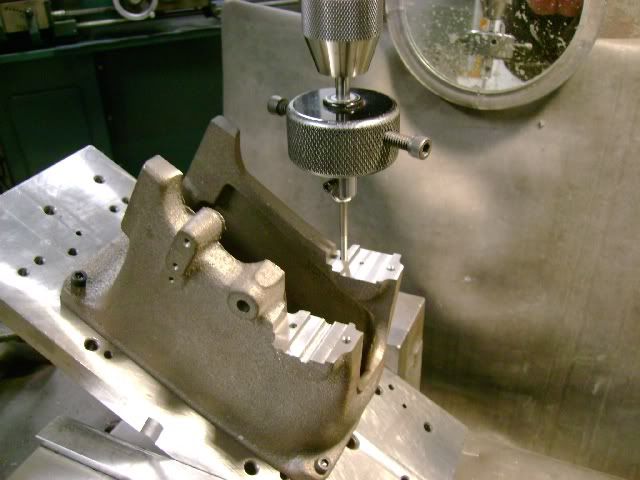
I setup at the proper angle for the bearing journals. Machine the journal surfaces down to 1/2 the diameter of the small locator holes.
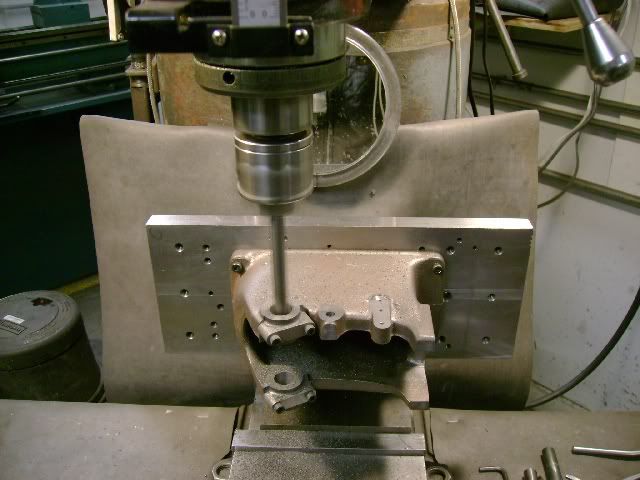
Next bore the bearing holes on location and to size.
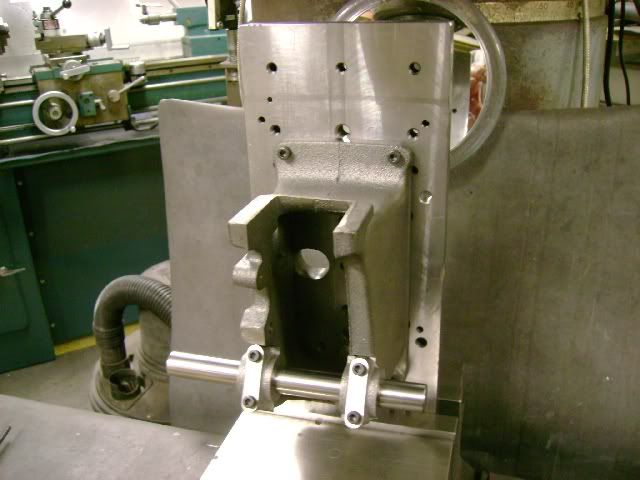
The fixture is also used to machine the details in a vertical position.
I think you can see the advantages of spending the time and ewffort to make up a fixture. It is very fast & easy to switch back and forth from two or more casting have be on location for each operation.
Hope this is what you were looking for. If there is anything more I can help with, just ask. I am nearing the completion of my engines.


![DreamPlan Home Design and Landscaping Software Free for Windows [PC Download]](https://m.media-amazon.com/images/I/51kvZH2dVLL._SL500_.jpg)


