Brian builds Atkinson Engine

Home Model Engine Machinist Forum

Help Support Home Model Engine Machinist Forum:

This site may earn a commission from merchant affiliate links, including eBay, Amazon, and others.
.53" removed at .01/pass would have strained my patience level ;D

Now that one end is down to 2", I'd think you could reverse the direction and use the normal jaw for drilling/boring/reaming. If you can drill out to the largest size you can and then bore with small cuts, you should get a straight hole.

 
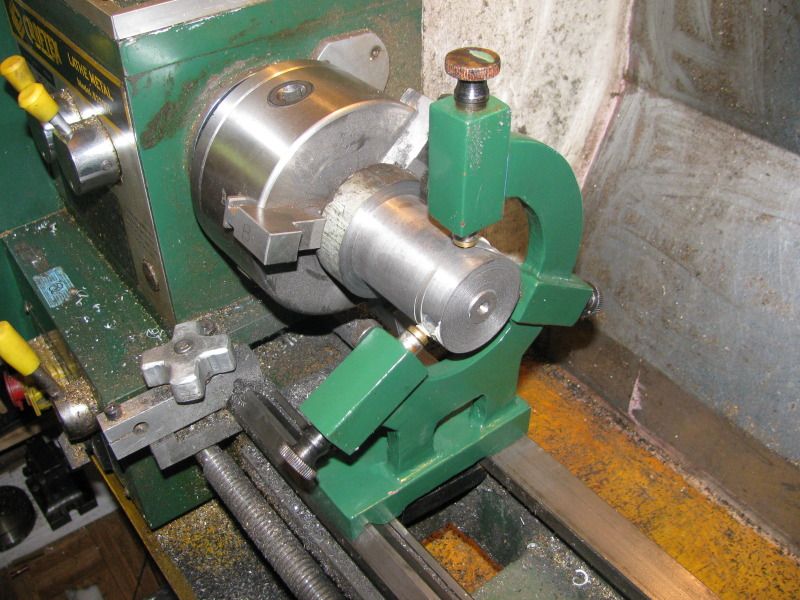
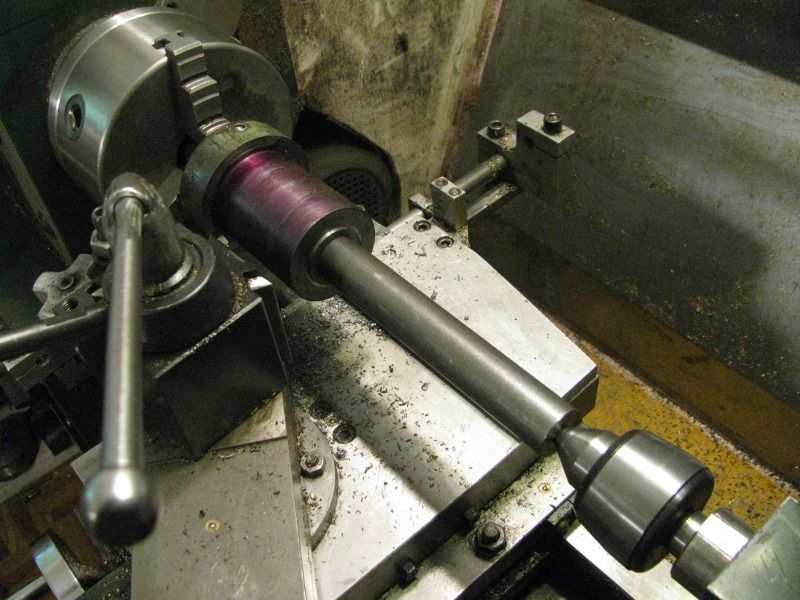
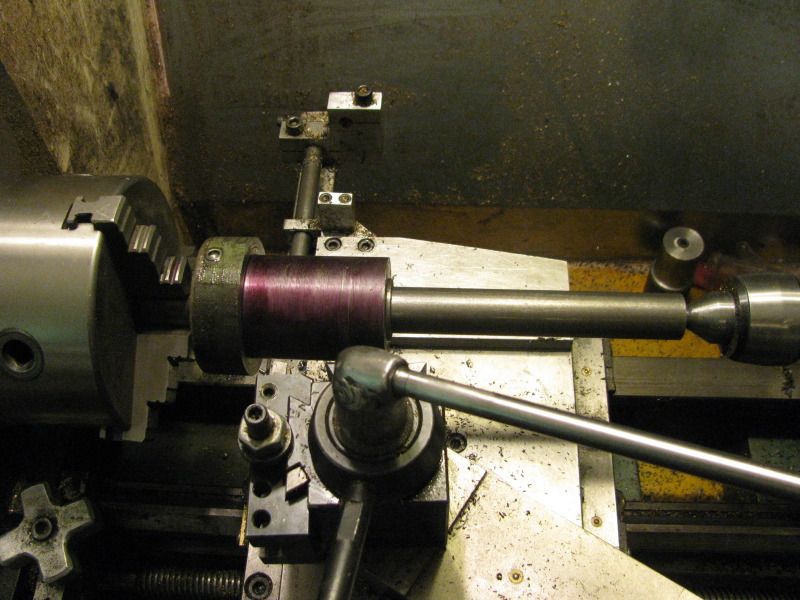
SEE IT HERE FOR THE VERY FIRST TIME!!!! In the 3 or 4 years since I bought my lathe, I have never used the steadyrest. I didn't even know if it would fit!! It does, and its a beautifull thing. I dabbed a bit of white lithium grease in the area that the bronze or brass (I'm not sure which) tips contact the cast iron. Now I'm not afraid to drill that sucker.---Visions of disaster were running through my head brfore I thought of the steadyrest.
STEADYREST001.jpg
 
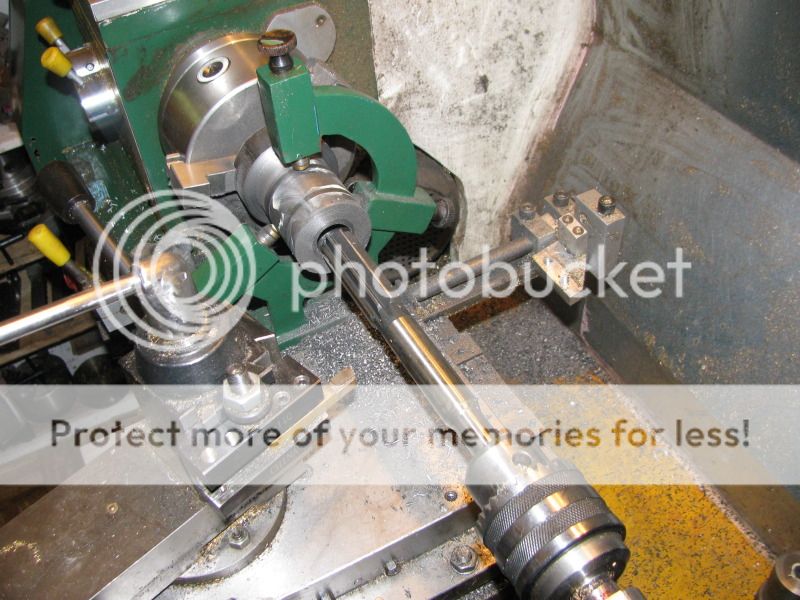
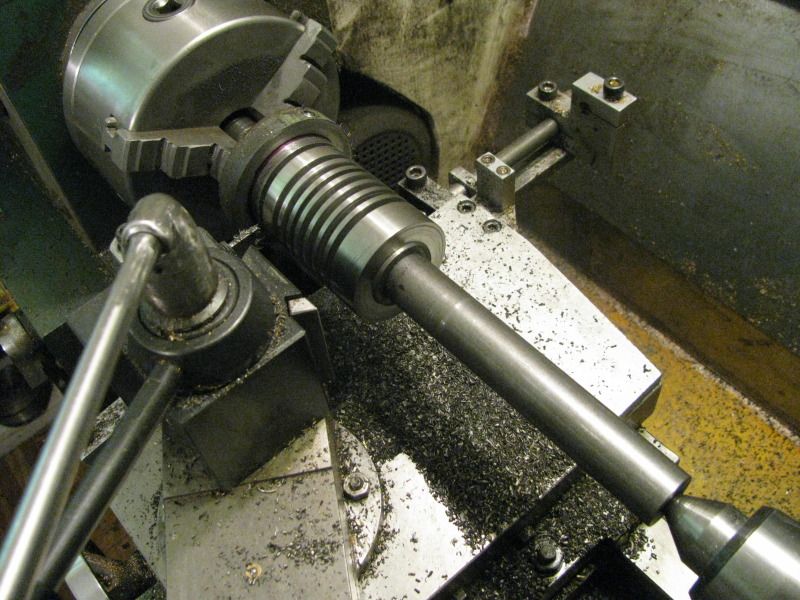
And sure enough, it worked like a charm. You will see two "contact rings" where the steadyrest was moved during the drilling and reaming process. Thats because all of my big drills are quite short, my saddle is wide, and the "stroke" of my tailstock is only 1 1/2". In order to get all the way through the part, I had to move the steadyrest and saddle and tailstock closer to the chuck after my first round of drilling. I didn't bore the hole with a boring tool before my final reaming because there was no visible "wobble" of the drill like you see if the hole is not perfectly concentric, and even if it isn't "dead nuts" concentric the design of this engine is such that a small degree of eccentricity shouldn't effect it. I haven't taken the peice out of the chuck yet, and I'm thinking that with that steadyrest to help support the outboard end of the peice, I may be able to finish all of the turning in this one set-up without removing it from the chuck.
STEADYREST002.jpg

STEADYREST003.jpg
 
kvom said:
.53" removed at .01/pass would have strained my patience level ;D

Now that one end is down to 2", I'd think you could reverse the direction and use the normal jaw for drilling/boring/reaming. If you can drill out to the largest size you can and then bore with small cuts, you should get a straight hole.
A 0.010 DOC takes .020" off the diameter with each pass.---Even so, thats a lot of cranking. However, my time is immensly cheaper than paying the cutting charge for the shop to saw me off a peice of 2" diameter material.
 
Hi Brian,

As Jason said, HSS should give a much better finish than carbide. If your worried about stock removal, take it off with the carbide, but leave it oversize and finish it with HSS.

Dave

 
steamer said:
Hi Brian,

As Jason said, HSS should give a much better finish than carbide. If your worried about stock removal, take it off with the carbide, but leave it oversize and finish it with HSS.

Dave

Steamer---Thats my plan for the O.D. of the piston. Anywhere else isn't really critical, as I can use some emery paper to dress the non critical fit areas.
 
So...carbide can't be sharp? I didn't know :Doh:

Jerry
 
It can be Jerry.....but you need a lathe that is stiff enough to take advantage of carbide. It is very liable to chipping.

Most of the lathes "we" use are not really up to the task for carbide,,,,and in general, I avoid it unless I'm turning something kinda nasty like 4150 HT or the like....
Or roughing stock.....today! I don't particularly care about finish when I'm ripping stock off. I push it hard when I'm doing that ...and I've tripped the breaker (2HP) on my lathe a couple of times.

Dave
 
Dave

Brian is going to build a cool engine here and so as not to distract from that, I think I will go to the shop tomorrow and turn some cast iron. If I need to talk about it, I'll do it in the break room.

Jerry
 
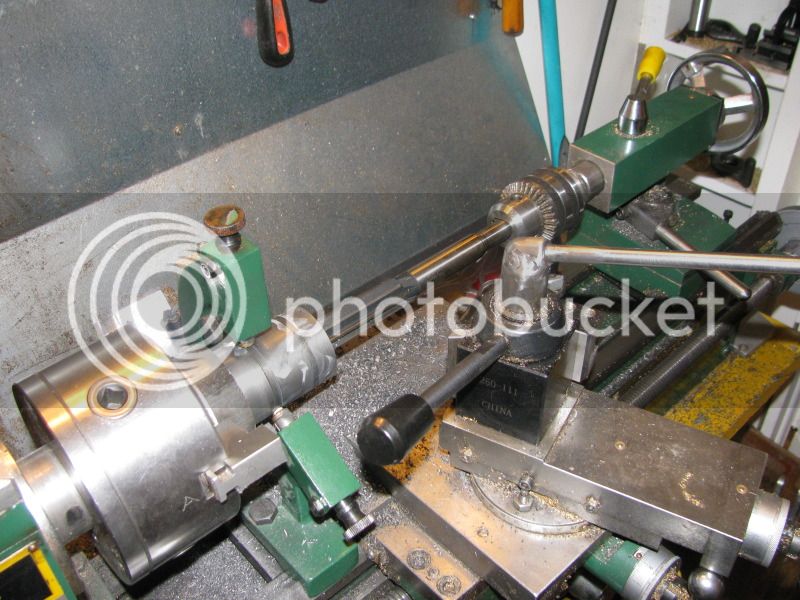
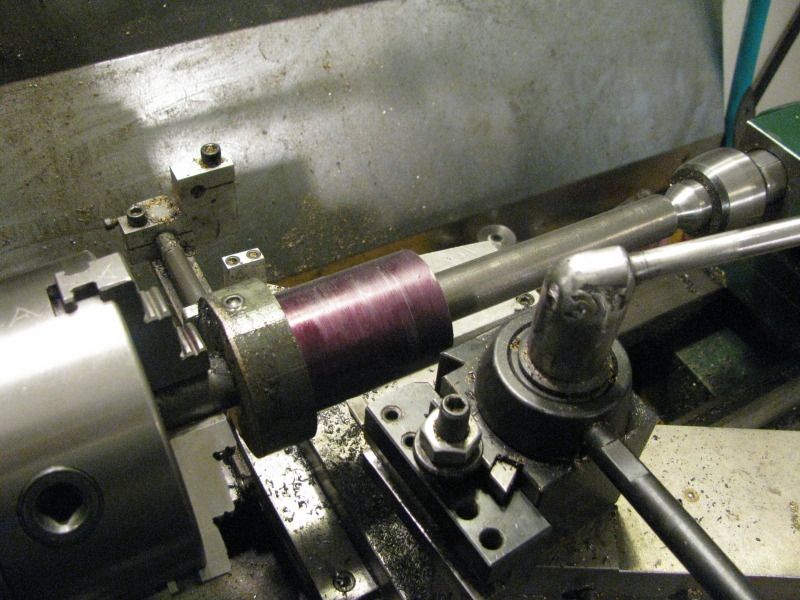
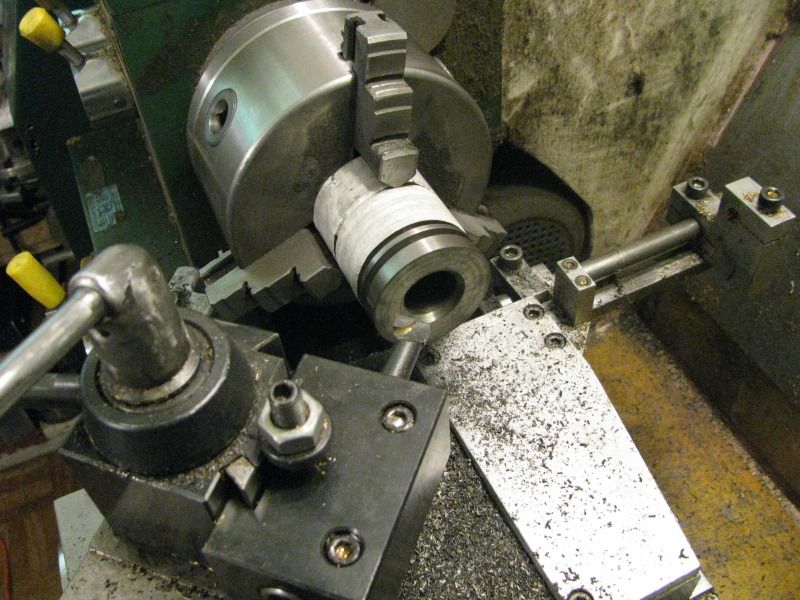
The thru hole in my spindle is only 1 3/16" diameter. I can put the "normal" jaws in my chuck and hold the 2" diameter of the cast iron cylinder, but since the 2" diameter won't fit thru my chuck, I still end up with far too much "stick-out" past the chuck to machine the rest of the cast iron to the correct diameter. I can't cut the grooves for the cylinder fins with the steady rest in place, because it gets in my way. What to do?--- What to do?---I ran a peice of 7/8" cold rolled steel thru the finished bore, cross drilled a 5/16" hole thru the scrap part of the cylinder and the bar, and loctited a 5/16" pin in place. I left enough 7/8" bar sticking out past the cast iron to hold comfortably in my chuck, and centerdrilled the other end of the 7/8" rod to accept my live center.
cylinder-shaftset-up003.jpg

cylinder-shaftset-up002.jpg

cylinder-shaftset-up001.jpg
 
And here I am putting in a 1/8" x 45 degree internal chamfer using a boring bar in my AXA toolpost----a nifty trick I learned on this website.
cylinderlathefinished002.jpg
 
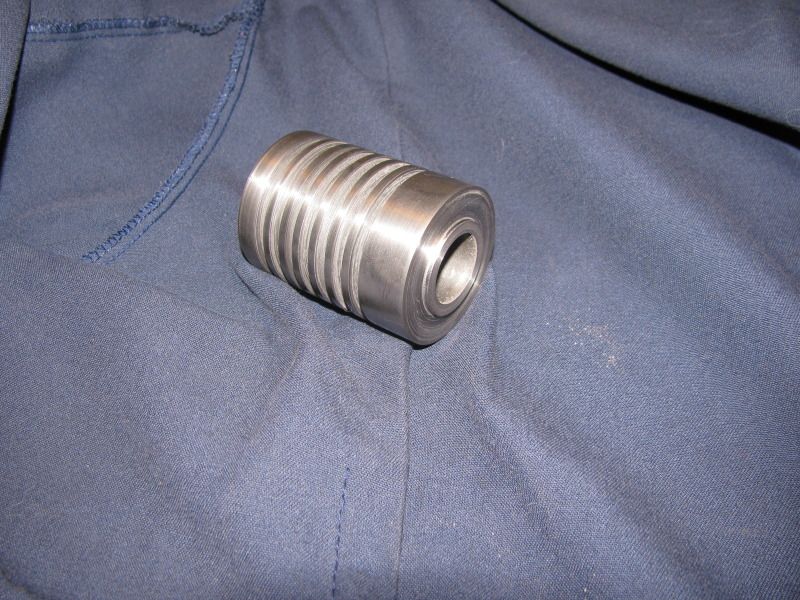
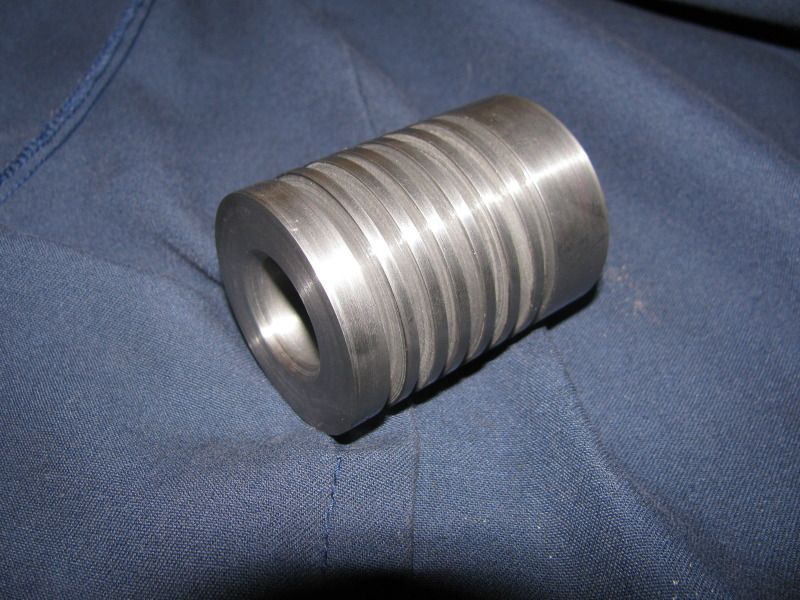
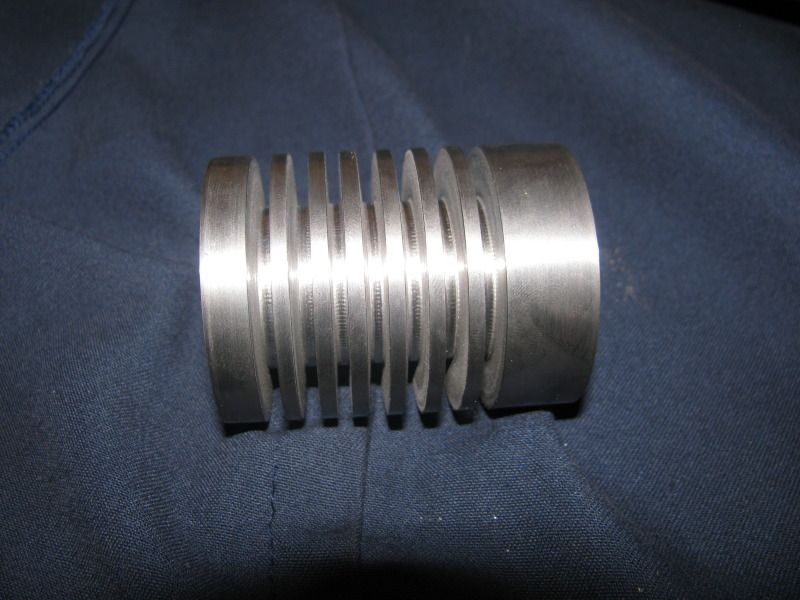
And here we have the finished cylinder (At least the lathe work part.) Cast Iron???---HA--Don't scare me a bit!!! (Now)----But GAWD--Its dirty stuff to work with. Now I am going to hone the bore with some light oil and my brake cylinder hone, and try to make a piston that fits it.
cylinderlathefinished007.jpg

cylinderlathefinished009.jpg

cylinderlathefinished010.jpg
 
Brian

The cylinder is looking good. I had the same feeling when I worked with cast iron for the first time in my Kiwi build. I took the first cut with a carbide insert and it cut very well. This is easy I thought. Continued roughing with the carbide and then changed to HSS for the final cuts. Even easier. But then I suspect that it depends on what type of cast iron we are using.

Vince
 
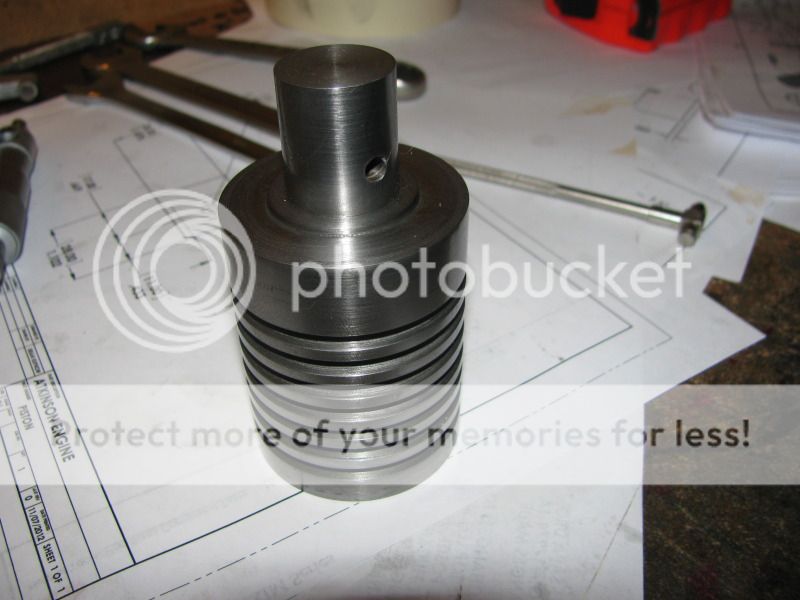
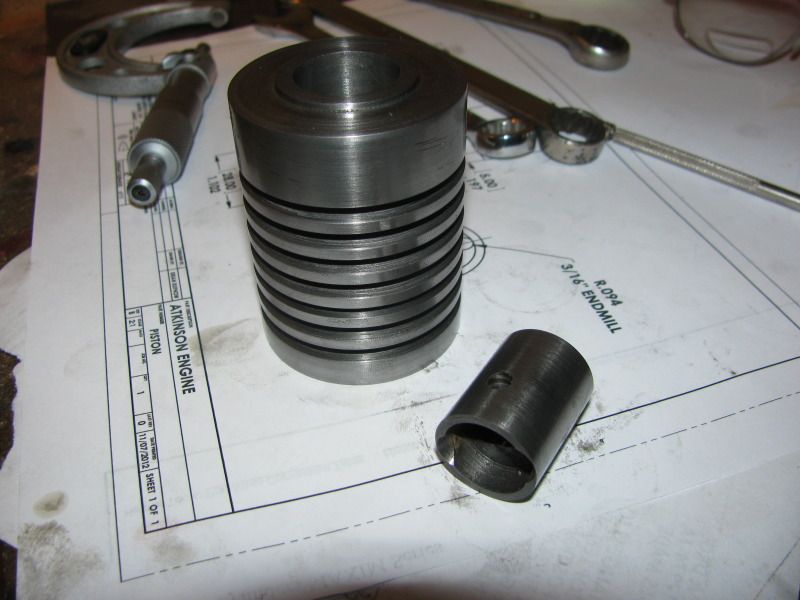
We have a cylinder AND a piston, both of grey cast iron!!! I'm not certain what the tolerance range is between "tight" and "damn tight" , but it only two zillionths away from from "Falls though". I have experienced that awesome feeling a couple of times before when after working for hours on a piston that was "to tight" and only need .001 off the diameter, it immediately jumped to "falls through"!!!----A truly horrible feeling indeed my friend. :'( :'( This time I snuck up to a diameter of 0.877 and took the remaining .002 off the piston with emery paper. I oiled the cylinder barrel with a light oil, and the piston can be persuaded with a few light taps to go through the cylinder. A touch of lapping with 600 grit will hopefully get me to that "Nirvana" state of fit, where the piston falls through the bore unless you cover the end of the cylinder with your thumb, and the trapped air will hold up the piston. Jan Ridder doesn't show any rings on his piston, so we are being extra carefull with this fit.
cylinderandpiston002.jpg

cylandpiston-2002.jpg
 
A bit of lapping with 600 grit compound in oil slathered on the bore and the piston did the trick. It didn't take much for the piston to go from having to be tapped through the bore to being able to be "pushed" through by hand. I had honed the bore beforehand with my brake cylinder hone. After washing both the piston and cylinder thoroughly in Varsol to remove all remaining lapping compound, the fit of the piston is very good. The only remaining work to be done in these cast iron bits is to tap 6 holes in the cylinder and one in the piston kingpin boss to retain the kingpin. I will probably do that tomorrow and then have a thorough cleaning of my shop and adjoining office. Cast iron is horribly dirty stuff to machine, and after having just installed new dove grey carpeting through the upper floors of our house, my life won't be worth living if any of this black crap tracks upstairs on my shoes!!!
 
kvom said:
Is there any danger of the cylinder/piston heating up in operation sufficiently to bind, without using rings?
Jan Ridders says he only runs his for about 15 minutes at a time and has not experiences any dificulties.
 
kvom said:
Is there any danger of the cylinder/piston heating up in operation sufficiently to bind, without using rings?

With the same material used for each, I'd expect the expansion of one should pretty much match the expansion of the other.

Alan
 
Back
Top