Ball Hopper Monitor - Casting Project

Home Model Engine Machinist Forum

Help Support Home Model Engine Machinist Forum:

This site may earn a commission from merchant affiliate links, including eBay, Amazon, and others.
After much consideration, I have decided to discard my first flask arrangement from post #392, since this approach is very complex, and too complex I think for this application.

I typically cut/mold the the runner(s) and gate(s) in either the cope or the drag, since this is very easy to do when molding.
For this water hopper, placing the runners and gates in the drag is going to give me some waterfall effect in the lower mold half, but I am hoping that by using four gates, I can will the lower mold cavity fast enough to avoid having cold joints at the edges of the waterfall.

Here is the layout I will use.
Sprue at the bottom center, horseshoe runner with spin traps at each end, risers above each gate, and four gates.
Runners and gates completely in the drag mold.
This arrangement will work with making either pattern halves in aluminum, or making final castings in gray iron, by subsitituting the drag flask with a thick or thin unit.
This wil be quick and easy to make this flasks and molds, so we will give this a try.

Two gates would perhaps suffice, or with iron that is hot enough one gate, but I don't want to risk having a partial fill, and so we will use four gates.
When in doubt, over-gate and over-runner the mold, since there is little downside to doing that.
The spin traps stop the sand inclusions and entrained air pockets that can be found in so many castings.
Gate metal flow does not begin until after the runner is full, and after the runners have been flushed into the spin traps, since the gates are at the top of the runner.

Edit:
I think I will 3D print the runner/gate/spin trap system, since I have the layout.
.
 

Attachments

  • Image15.jpg
    Image15.jpg
    144.6 KB
Last edited:
This is the sort of near-net casting that I hope to make.
I have had some good success with this so far, and intend to refine this process further.

Block fits nicely into the rotating machine.
Notice the large number of sizeable risers.
Runners and gates on both sides of the block.

Starting at 9:12.
.


Precision milling/sanding the cores at 4:58.
That is one of the cooler things I think I have seen in a foundry.

.
 
Last edited:
Printing two of these.
One is a slight variant of the first, since the first one is for the permanent pattern half, and the second one is for the full casting.

.
 

Attachments

  • Image2-RUNNER.jpg
    Image2-RUNNER.jpg
    226.8 KB
  • Image6-runner-1b.jpg
    Image6-runner-1b.jpg
    918.1 KB
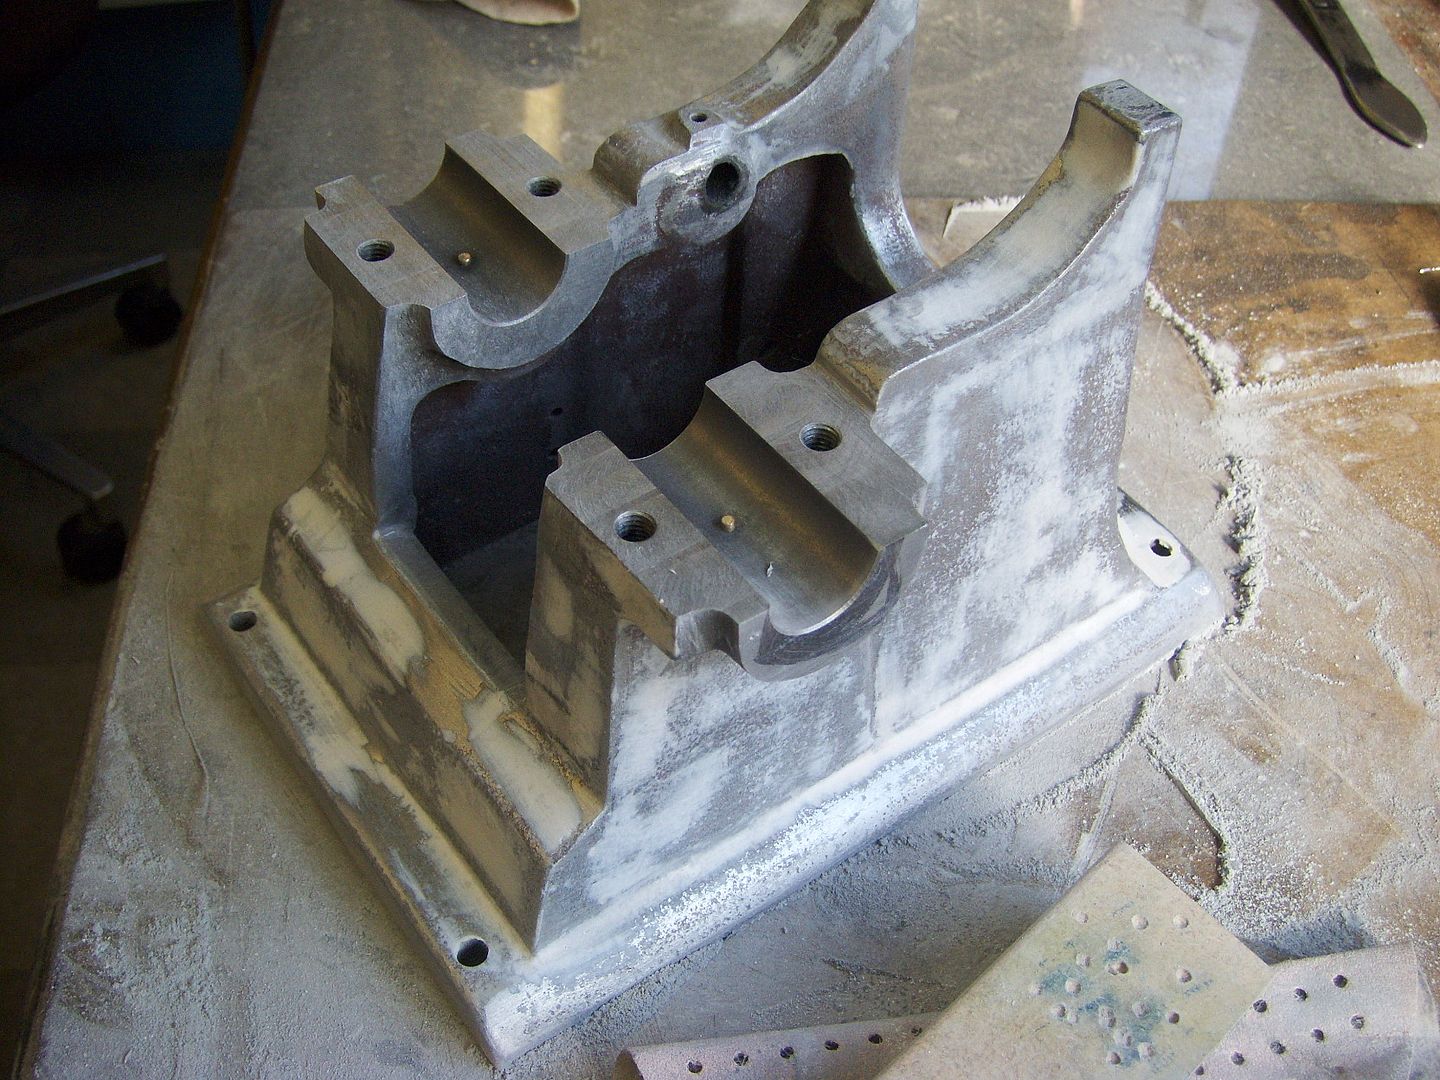
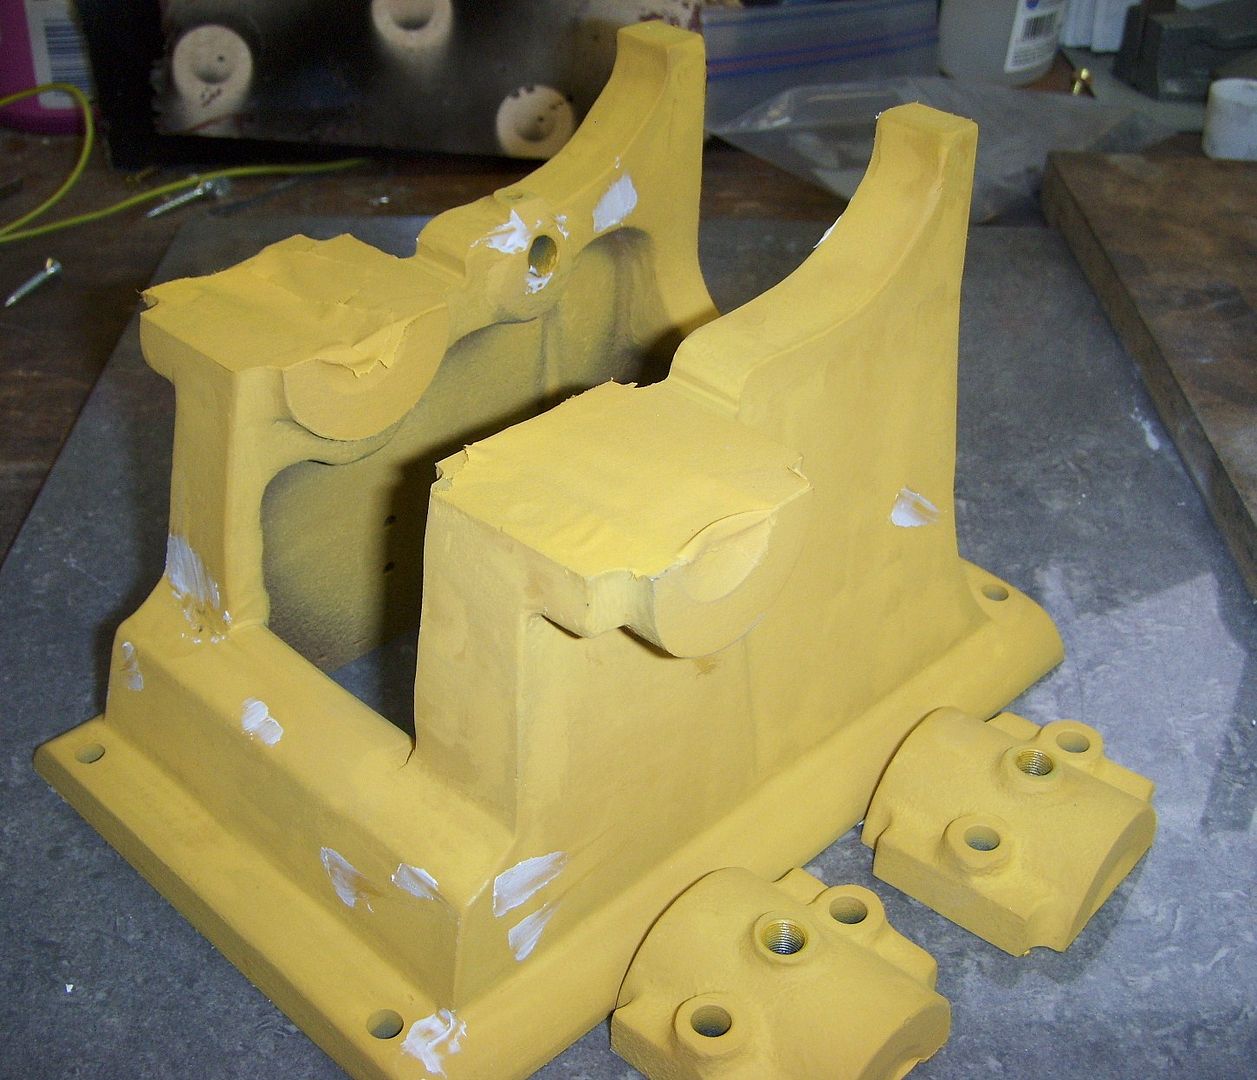
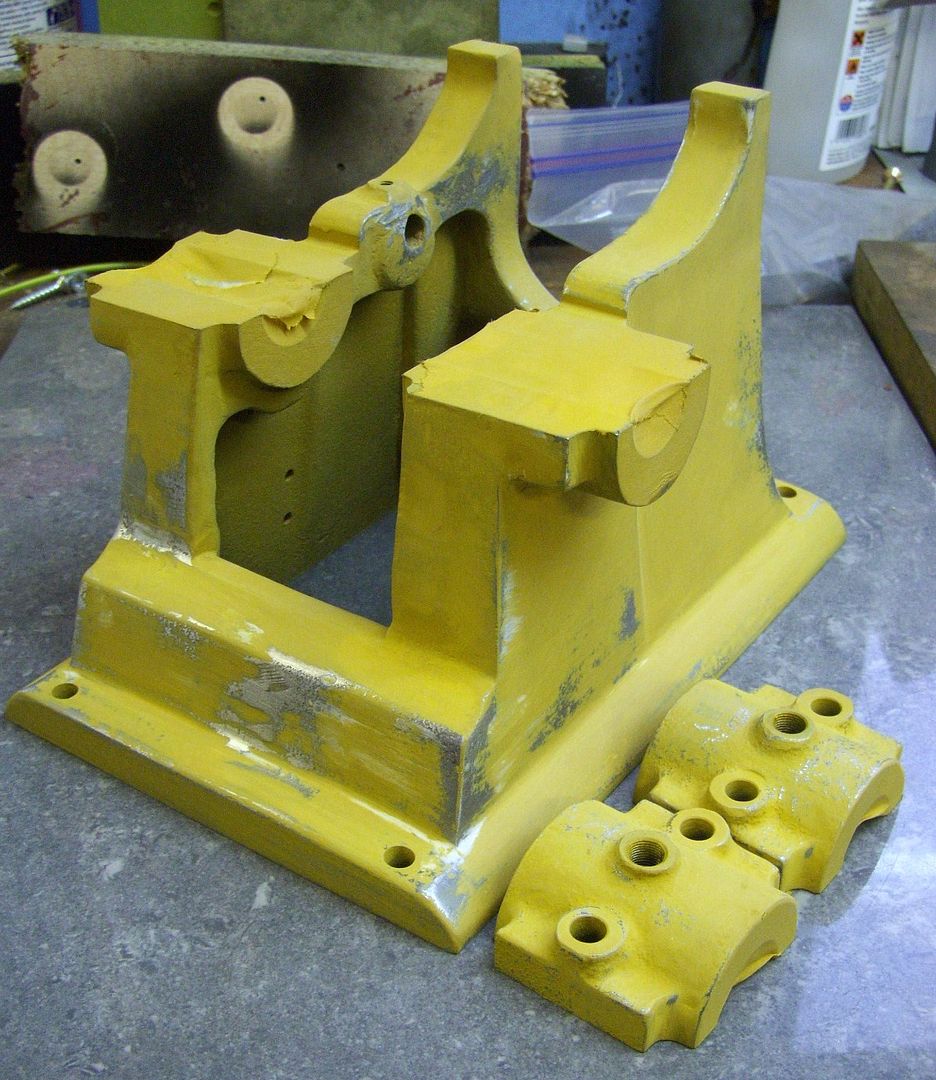
I have started the smoothing process for the water hopper 3D printed patterns and coreboxes.
I have the pieces about as good as I can get them with the sanding sponge.

I have applied a thinned coat of sheetrock wall filling compound, but the problem is the coating is not very even.

I have toyed with the idea of spraying on a wall compound filler, but was not sure if it would work.
I think if the filler is thinned with water, it can be sprayed on in an even coating.
To that end, I purchased an airgun, and will use that to apply the wall filler.
.
 

Attachments

  • 44Image10.jpg
    44Image10.jpg
    217.4 KB
  • r_003152.jpg
    r_003152.jpg
    209.1 KB
Interested to see if you manage to spray that filler, what does it need in the way of thinners?

Did you not get an automotive "high build filler primer" this does what it says builds a layer that fills small surface imperfections and is very easily sanded. I use it a lot on castings and fabrications.
 
I have tried a number if different fillers, including bondo, Durhams, DAP spackling compound, and the material I use now (in photo).

The bondo has a lot of odor, and is too hard to sand.
Durham's is water-based, but like the advertisement says, "Rock Hard", and far too hard to try and sand.

The DAP wall spackling compound was perfect, but the premixed material always solidified in the container before I had a chance to use more than once.
The DAP was good because it sanded easily.

The product I use now (Fastpatch 30) is a dry powder, mixed on demand, so it never goes bad.
The Fastpatch is slightly harder than the DAP, but a fair tradeoff give that it never goes bad.
The idea is to mix the fastpatch into a watery slurry that is thin enough to spray, but thick enough to not run off the pattern.

The spray-on method is very similar spraying ceramic mold coat slurry onto the insides of the molds that I make.
The ceramic mold coat is quite fluid, and is alcohol with a lot of very fine suspended ceramic solids in it.

I coat the fastpatch with shellac, which gives it a hard skin.
For a pattern that does not see much use, the fastpatch and shellac method works well enough.
For this engine, I need permanent metal patterns, since I plan to make a few sets of castings for various folks such as Barney who provided the critical photos and dimensions I needed for this build.
.
 

Attachments

  • r_010239.jpg
    r_010239.jpg
    199.5 KB
Last edited:
Did you not get an automotive "high build filler primer" this does what it says builds a layer that fills small surface imperfections and is very easily sanded. I use it a lot on castings and fabrications.
The automotive filler that I purchased did not work well at all.
It basically went on too thick, and did not penetrate the lines, and so it tended to break off as a slab when sanded.
The automotive filler also had toxic fumes, so no way to use that indoors.

The idea is to fill the valleys in the 3D print, and have the filler even with the peaks.
An extremely thin coat is what I want, since thicker material is very difficult to sand, difficult to keep at the same surface level as the print, and prone to breaking off.
I want to be able to do a very light amount of sanding with fine sandpaper.

I have tried thicker applications of the fastpatch on the Dake baseplate pattern, and it becomes difficult to get leveled out, and difficult to get a consistent thickness of the filler.
.
 
I plan on using this sprayer to apply ceramic mold coat also, assuming the container is large enough.
Otherwise I can use this slurry sprayer; it is just larger and more work to clean out.

Here is an example from the coating manufacturer showing what a ceramic mold coat can do to help with surface finish.
All sand adhesion is eliminated with this mold coat, which is critical with iron.
You can see a person (whose name I will not mention) on ytube doing all sorts of heavy grunt work to try and get all the burned-in sand off of his iron castings, and still does not get anything near as good as the finish I get right out of the mold.

Edit:
The picture below is actually a contrast between two different binder types, but the ceramic mold coat gives similar results.

.
 

Attachments

  • PAASCHE-SPRAYER-02.jpg
    PAASCHE-SPRAYER-02.jpg
    23 KB
  • Velacoat-02.jpg
    Velacoat-02.jpg
    114 KB
The HBFP is a spray not a filler that you spray (rattle can or spray gub) on and does exactly what you say settles in the dips and any that dries on the ridges sands away leaving material in just the dips.

The filler be it one part or two part is for bigger surface imperfections which you should not get with the 3D prints.

Casting after sanding Bondo

123dc704-7fe3-4337-8c9f-88b081a0cee3.jpg


Part sprayed with HBFP

1a1e2e74-cfe7-411f-9ea0-d37460e280b2.jpg


Easily sanded HBFP

ac6a795d-3ddf-45a4-b2d3-b1221c620a6e.jpg
 
Here is the first green twin flywheel, using petrobond (tm).
I don't recommend using petrobond with iron, and the mold can burst into a big fireball if you open it too quickly (don't ask me how I know this).

Pretty good surface finish, but some sand inclusions, which I repaired.

Photos of before and after wire brushing.
.
 

Attachments

  • rIMG_5066.jpg
    rIMG_5066.jpg
    2.7 MB
  • rImg_2770.jpg
    rImg_2770.jpg
    1.8 MB
This is the second green twin flywheel, using resin-bound sand without the ceramic mold coat.
No and inclusions, and a perfect casting, but the surface finish could be better if I had used ceramic mold coat.

Befor and after wire brushing.
.
 

Attachments

  • rIMG_9925.jpg
    rIMG_9925.jpg
    4.2 MB
  • rIMG_9972.jpg
    rIMG_9972.jpg
    81.9 KB
And this is the phoenix casting I made for fun.
This is the clean and shiny surface finish you can get right out of the mold with no wire brushing, if you use a ceramic mold coat.

Infinitely better surface finish than the non-coated bound sand, and wire brushing is totally eliminated.
The burn-on sand effect is totally eliminated.
.
 

Attachments

  • rImg_7737.jpg
    rImg_7737.jpg
    125.1 KB
  • rImg_7743.jpg
    rImg_7743.jpg
    156.1 KB
  • rImg_7758.jpg
    rImg_7758.jpg
    180.5 KB
  • rImg_7760.jpg
    rImg_7760.jpg
    150 KB
The HBFP is a spray not a filler that you spray (rattle can or spray gub) on and does exactly what you say settles in the dips and any that dries on the ridges sands away leaving material in just the dips.

The filler be it one part or two part is for bigger surface imperfections which you should not get with the 3D prints.

Casting after sanding Bondo

123dc704-7fe3-4337-8c9f-88b081a0cee3.jpg


Part sprayed with HBFP

1a1e2e74-cfe7-411f-9ea0-d37460e280b2.jpg


Easily sanded HBFP

ac6a795d-3ddf-45a4-b2d3-b1221c620a6e.jpg

I looked at what are called "high build" spray on automotive paint/primers, but that is not a product that I can use indoors.
I hope to get an "as-cast" surface finish that does not need any work done to it other than painting, and perhaps a little light sanding.
The spray on filler you show seems to work well, but would require a well-ventilated shop.

Edit:
That is a pretty complex casting.
Glad I did not have to mold that one.
.
 
Just pop out to the garage, give it a quick spray and take the part back indoors to dry (quickly) and then sand. Works for me.

Having used airbrushes for over 40years and used drywall materials for work I feel you will need to add a lot of water to be able to spray that drywall filler assuming the solids are small enough for the nozzle. Spraying onto plastic rather than a porus sand will mean the water content won't dry quickly so you will have to apply many light coats with drying time between if it is not just going to run off. This is the downside of non volatile solvents.
 
I seem to recall mixing shellac with the fastpatch years ago, but I don't think the results were good.
I think the fastpatch requires water to fire and set.

We know that the ceramic slurry will spray using the Paasche sprayer, but that slurry is quite fluid, and it does go onto a poruous sand mold, so it gets absorved for the most part.
It will run if you apply too much.

That is the $100 dollar question, ie: can the wallpatch be watered down enough to be capable of being sprayed, but not so much that it just runs off the plastic pattern.
Perhaps if it is fogged on a bit, but that tends to not adhere very well to whatever surface it strikes.
I am assuming that if it goes on wet enough, it will adhere to the plastic, just like the hand application.

I would try it in my Paasche sprayer, but it would be difficult to clean out of the bowl and the sprayer.

We will find out when it arrives in a week or so.
.
 
If it comes with the three airbrushes shown then try the one at the bottom as the external mix ones can handle heavier pigments.

Yes, just thinning with water can dilute any bonding agents within the material you are thinning. That is why there are thinners for most paints even acrylics which can be thinned with water but they may not bond so well if that is used.
 
The hand applied thin coat worked ok.
I thinned it a lot with water.
But even with that thinning, the filler is still spanning the joints of the print.
When sufficient force is applied to level out the high spots, then you get places that dig through and expose the open lines.
So basically the entire pattern must be covered with a complete thin coat of filler.

I really need a filler that is thicker than shellac though, else I would use shallac only.
.
 

Attachments

  • r_031650.jpg
    r_031650.jpg
    154 KB
What about rubbing alcohol and filler, very thin ?

Edit:
I tried this, but basically you get powder on the surface that is not fired, and so it does not get hard, and comes off very easily.
.
 
Last edited:
Back
Top