You are using an out of date browser. It may not display this or other websites correctly.
You should upgrade or use an alternative browser.
You should upgrade or use an alternative browser.
anyone interested in a radial team buid
- Thread starter chrispare
- Start date

Help Support Home Model Engine Machinist Forum:
This site may earn a commission from merchant affiliate
links, including eBay, Amazon, and others.
Just as a matter of interest to you guys, by fitting one of my simple swap over control valves you can get fwd/rev and full speed control.
There are no drawings for the basic valve, except in my 'Paddleducks' engine build manual. But I am sure someone has a copy to get a few dimensions off. You just have to shape and pipe to fit.
This is my original Cygnet Royal build (which your engine is derived from) showing the control valve.


John
There are no drawings for the basic valve, except in my 'Paddleducks' engine build manual. But I am sure someone has a copy to get a few dimensions off. You just have to shape and pipe to fit.
This is my original Cygnet Royal build (which your engine is derived from) showing the control valve.


John
maverick
Well-Known Member
Thanks for the tip Bogs. I think compressed air engines need at the very least a decent throttle valve
just to make them presentable. Your control valve is just the ticket to give some nice detail and
functionality to an engine. I've yet to make the base for mine but will be sure to make space for the valve
when I do. Hopefully it will help give my engine that well finished look that Yours always seem to have.
Regards,
Mike
ninefinger
Well-Known Member
maverick said:What kind of fasteners are you using? How about the mount, any ideas?
Regards,
Mike
Mike,
I scrounged up a whole pile of M3 x.5 screws that I salvaged from scrap PC's and the like (my brother does metal recycling and always has things he's found for me to have a look at - its amazing what some people throw out!). I tried to match the color of the screws - stainless on the cylinder heads, black for the cylinder to crankcase and front bearing mount. I didn't have enough of either so I ended up with a mismatched set of screws on the front. For the steam chest I got supper lucky and had 8 long M3 screws - slot head but they work (only needed 6
For a base I'm thinking of something dark to offset the aluminum and brass - it just so happens I have a board of Peruvian black walnut (I bought it long ago and don't remember - It says eruvian walnut on it - likely the P has been chopped off).
For the stand I think I'll attach to the front bearing housings three lower attaching screws with maybe a milled chunk of aluminum to complement the rest of the engine.
I like Bogs throttle - I was thinking of something similar - but I'll align it axially with the engine center line to make it appear as a designed in part as opposed to the afterthought it is going to be!
1st I need to get my lathe wired in properly so I can make some parts, that is going to cost me as much as the lathe in the end...
Mike


t_ottoboni
Well-Known Member
- Joined
- Aug 9, 2009
- Messages
- 68
- Reaction score
- 9
Hi guys!
I just finished assembling the engine! I spend quite a bit of time to adjust the clearance between the valve and steam chest cover. It runs great even at 5 psi! The base is made of Muiracatiara, a brazillian tropical wood that tends to get a reddish color with time.
This is truly a priceless model!
Thanks a lot guys!
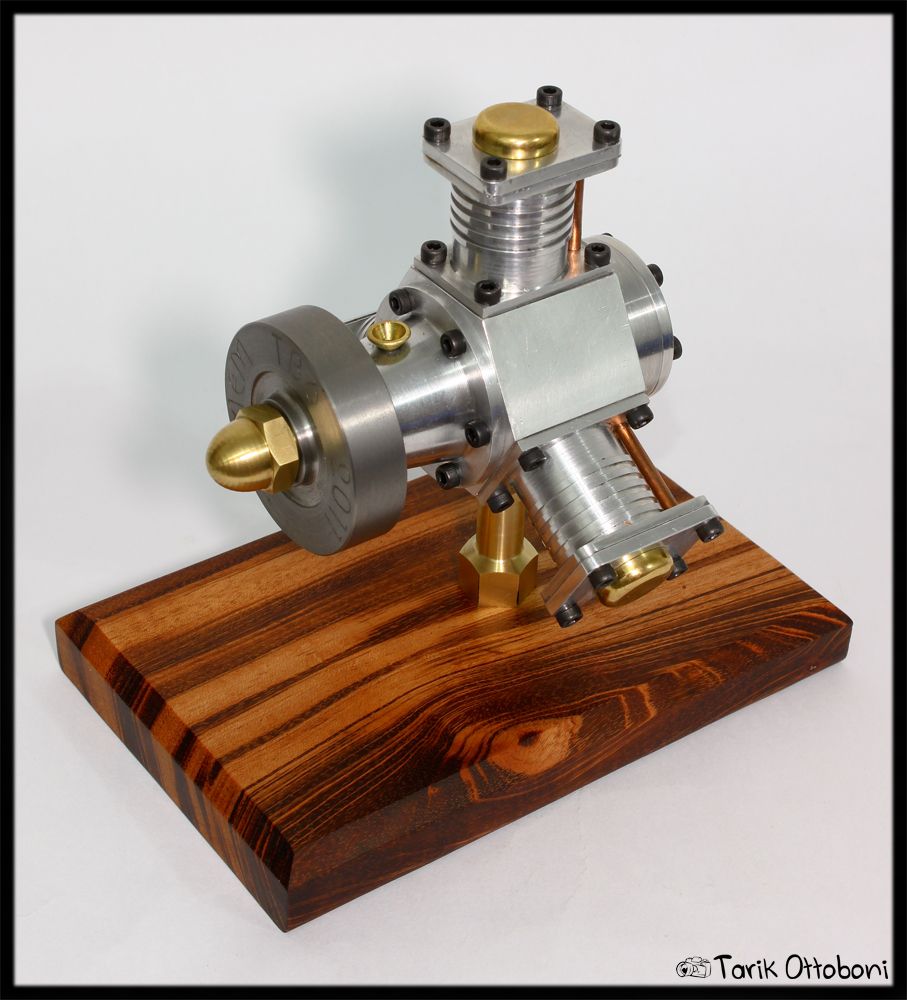
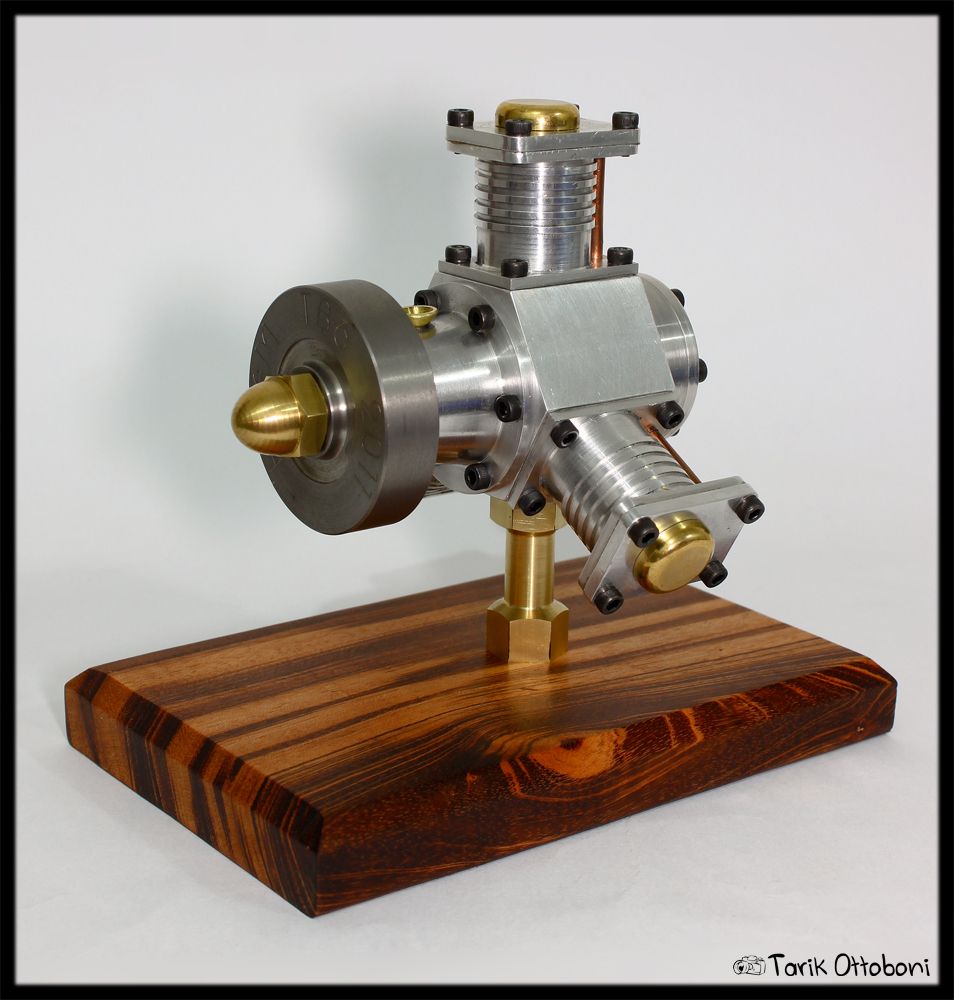
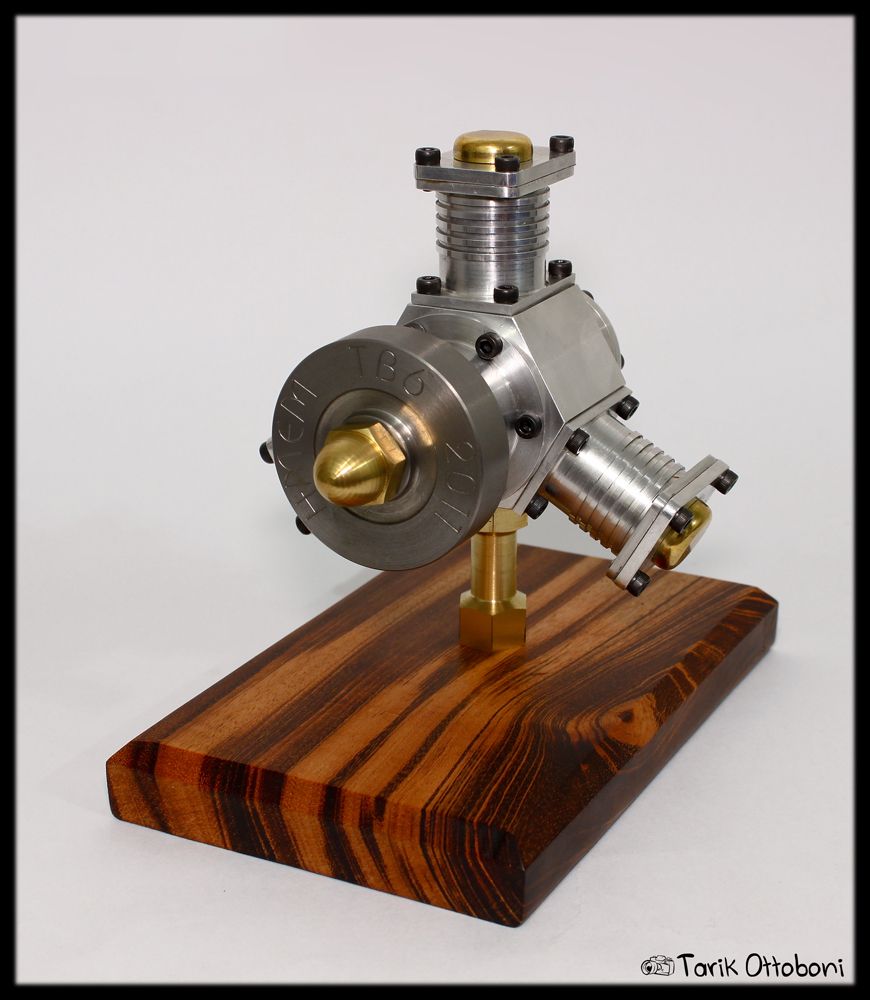


maverick
Well-Known Member
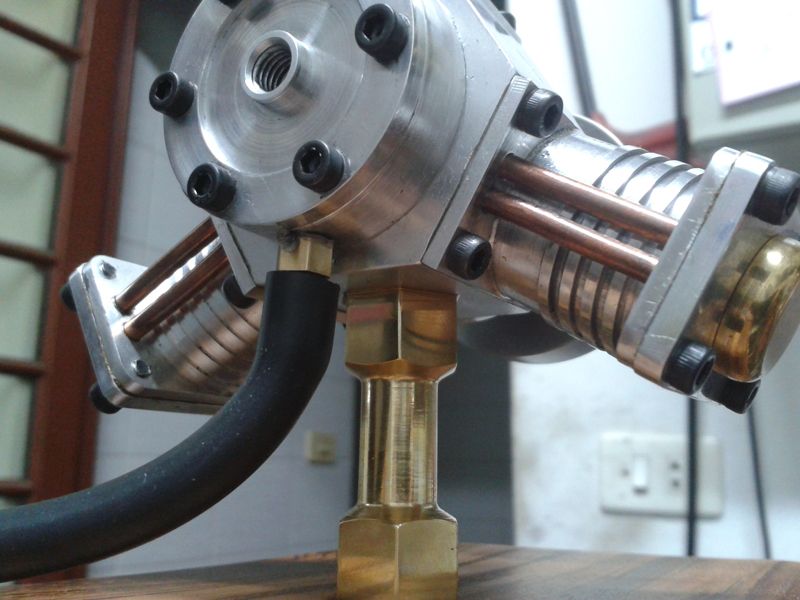
Tarik, Your engine looks fantastic. The base and mount are very classy. Could You show how the mount is attached?
Still cutting gaskets and finding hardware for mine. It shouldn't be too long till it's running.
Regards,
Maverick
![DreamPlan Home Design and Landscaping Software Free for Windows [PC Download]](https://m.media-amazon.com/images/I/51kvZH2dVLL._SL500_.jpg)
$0.00
DreamPlan Home Design and Landscaping Software Free for Windows [PC Download]
Amazon.com Services LLC

$89.99
Outdoor Wood Boiler Water Treatment Rust Inhibitor- AmTech 300 & Test Kit
Alternative Heating & Supplies

$45.99
Sunnytech Mini Hot Air Stirling Engine Motor Model Educational Toy Kits Electricity HA001
stirlingtechonline

$39.99
$49.99
Sunnytech Low Temperature Stirling Engine Motor Steam Heat Education Model Toy Kit For mechanical skills (LT001)
stirlingtechonline

$180.50
$190.00
Genmitsu CNC 3018-PRO Router Kit GRBL Control 3 Axis Plastic Acrylic PCB PVC Wood Carving Milling Engraving Machine, XYZ Working Area 300x180x45mm
SainSmart Official

$39.58
$49.99
Becker CAD 12 3D - professional CAD software for 2D + 3D design and modelling - for 3 PCs - 100% compatible with AutoCAD
momox Shop

$29.95
Competition Engine Building: Advanced Engine Design and Assembly Techniques (Pro Series)
Amazon.com Services LLC

$99.99
AHS Outdoor Wood Boiler Yearly Maintenance Kit with Water Treatment - ProTech 300 & Test Kit
Alternative Heating & Supplies

$94.99
$109.99
AHS Woodmaster 4400 Maintenance Kit for Outdoor Wood Boiler Treatment
Alternative Heating & Supplies

$25.34
$34.99
Bowl Sander Tool Kit w/Dual Bearing Head & Hardwood Handle | 42PC Wood Sander Set | 2" Hook & Loop Sanding Disc Sandpaper Assortment | 1/4" Mandrel Bowl Sander for Woodturning | Wood Lathe Tools
Peachtree Woodworking Supply Inc

$519.19
$699.00
FoxAlien Masuter Pro CNC Router Machine, Upgraded 3-Axis Engraving All-Metal Milling Machine for Wood Acrylic MDF Nylon Carving Cutting
FoxAlien Official

$17.90
$24.95
Backyard Building: Treehouses, Sheds, Arbors, Gates, and Other Garden Projects (Countryman Know How)
Amazon.com
Tarik
That looks great! Like that piece of wood too. Mine is still sitting in a box under the bench,
where it will stay until at least September, in two weeks I`m out of here for 70+ days of
reserve service... so am now concentrating of getting the honey-do`s done before I go.
Joe
That looks great! Like that piece of wood too. Mine is still sitting in a box under the bench,
where it will stay until at least September, in two weeks I`m out of here for 70+ days of
reserve service... so am now concentrating of getting the honey-do`s done before I go.
Joe
t_ottoboni
Well-Known Member
- Joined
- Aug 9, 2009
- Messages
- 68
- Reaction score
- 9
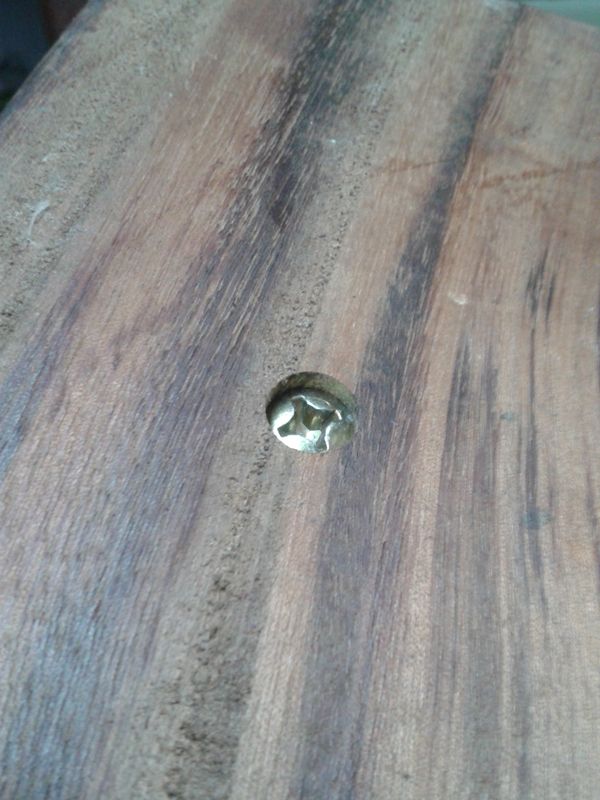
Maverick: to attach the mount to the crankcase I drilled and tapped and M6 hole in the bottom of the crankcase. The brass mount has a threaded end in the top. In it´s bottom, there´s a M6 hole, and I secure it with an M6 screw from the bottom of the wooden base.


warranator
Well-Known Member
- Joined
- May 16, 2011
- Messages
- 95
- Reaction score
- 0
A couple of pics with the mount I made.


ninefinger
Well-Known Member
OK, just finished with putting mine on a stand. I think that wraps it up for me. I was planning on a reversing valve but I have other projects I want to get to first.
Thanks again everyone.
Mike Ross (aka ninefinger)


Thanks again everyone.
Mike Ross (aka ninefinger)


Team builds are where each person makes one or more parts, and then sends them to either the group leader, or each member. So, buy making multiple copies of a part, you each end up with all the parts for a complete engine. Ideally, there are enough members that everyone makes a single part, and everyone gets a working engine. Sometimes they make an extra to sell to support the site, or to present to the site owner.


