Anybody want to guess---

Home Model Engine Machinist Forum

Help Support Home Model Engine Machinist Forum:

This site may earn a commission from merchant affiliate links, including eBay, Amazon, and others.
Brian,

I think that height will work fine for the fuel tank. I would suggest you buy pretty small fuel line tubing from a hobby shop. It's pretty stretchy material and will fit over the nipples on the tank and carb easily. On the other hand, the capillary action from the small id will tend to keep the fuel from flowing backward between intake strokes.

Chuck
 
lathe nut said:
Great looking engine, I just know that you are going to post a video of it for us, are you going to post the drawing also, thanks, Lathe Nut

Lathe Nut--I didn't design this one. However, the complete drawing package can be found here.---Brian
http://home.comcast.net/~webster_engines/ bottom of the page in the left hand corner.


Very nice. That should be a lot of fun to run.
I'm looking forward to the video too.
 
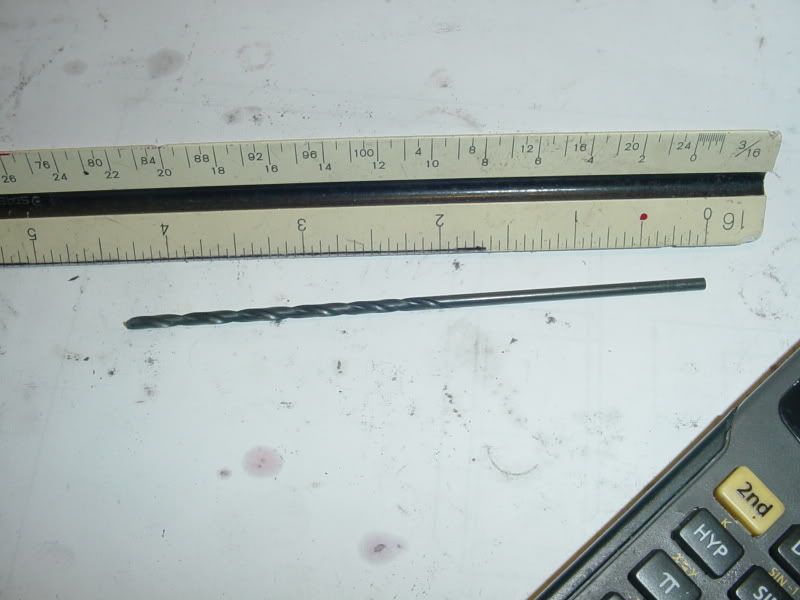
Yesterday while I was out, I bought the longest 3/32" diameter drill I have ever seen in my life----
drillingflywheelandcrank002.jpg
 
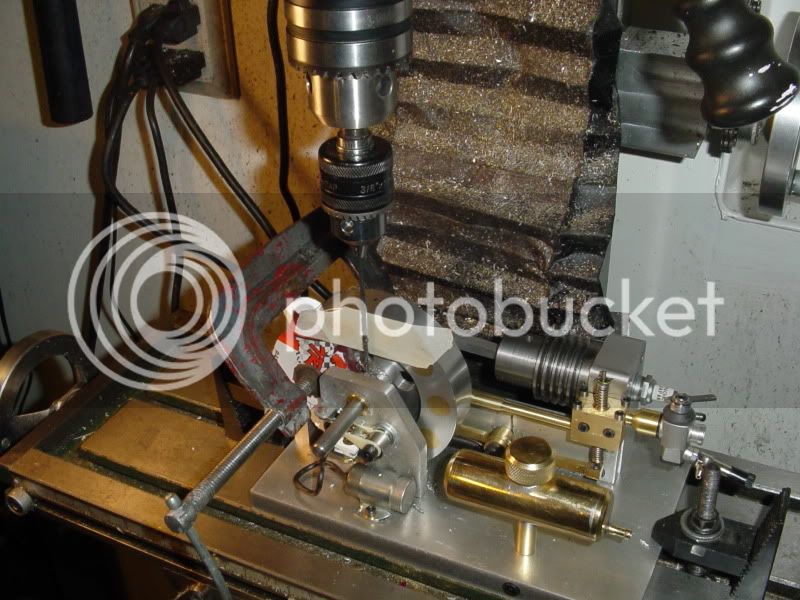
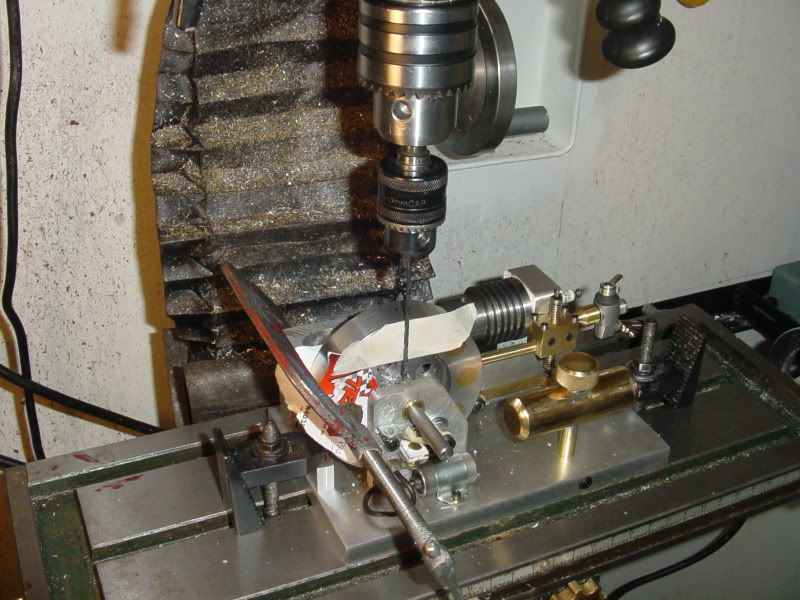
And then this morning (while I was still feeling brave, after a nights sleep) I set everything up in the mill. With my "crankshaft and flywheel positioning fixture" in place. I put a piece of masking tape over the face of the flywheel to protect it from the drill bit (its horribly close),----and drilled my two holes throught the flywheel hub and the crankshaft. Very delicate stuff, because there isn't room to get a center drill down in there. I did a bit of very light "peck" drilling untill I seen that the drill was going to start true, then with light pressure I drilled through the hub on both sides of the flywheel. I didn't realize it untill I was drilling on the side where the timing gear is recessed into one side of the flywheel, but that drill hole passes through the hub of the gear as well as the flywheel hub and crankshaft. The operation was a success---Nothing broken, everything seems to have ended up in the correct position. I put one roll pin in place just so that I could turn the engine over with the flywheel. Now I can't go any farther untill my oil and grease cups arrive, and a piece of 2" square copper volunteered by a gentleman south of the border shows up in my mail.---Thanks for looking.---Brian
drillingflywheelandcrank003.jpg

drillingflywheelandcrank004.jpg
 
Brian Rupnow said:
And then this morning (while I was still feeling brave, after a nights sleep) I set everything up in the mill. With my "crankshaft and flywheel positioning fixture" in place. I put a piece of masking tape over the face of the flywheel to protect it from the drill bit (its horribly close),----and drilled my two holes throught the flywheel hub and the crankshaft. Very delicate stuff, because there isn't room to get a center drill down in there. I did a bit of very light "peck" drilling untill I seen that the drill was going to start true, then with light pressure I drilled through the hub on both sides of the flywheel. I didn't realize it untill I was drilling on the side where the timing gear is recessed into one side of the flywheel, but that drill hole passes through the hub of the gear as well as the flywheel hub and crankshaft. The operation was a success---Nothing broken, everything seems to have ended up in the correct position. I put one roll pin in place just so that I could turn the engine over with the flywheel. Now I can't go any farther untill my oil and grease cups arrive, and a piece of 2" square copper volunteered by a gentleman south of the border shows up in my mail.---Thanks for looking.---Brian
drillingflywheelandcrank003.jpg

drillingflywheelandcrank004.jpg

Brian,
I believe that center drills come in long lengths as well. MSC of course.
 
I spent most of yesterday chasing down the reason for no compression. Engine turns over nicely, everything worked, but their was no feeling of compression when coming up to top dead center. My first logical move was to make a temporary head gasket, as the piece of copper Tin is sending me hasn't showed up yet. However, no dice!!! Compression didn't come up at all. Next move was to check and make sure that the rocker arm wasn't holding the exhaust valve open, but no, I've got 0.020" between the end of the rocker arm and the head of the exhaust valve when its not actually lifting the valve. Next thing I did was to check for leaky valves. I slipped a piece of rubber hose over the exhaust pipe and blew untill my head started to spin, but no air was getting past the exhaust valve. Then I found a slightly larger piece of rubber hose and slipped it over the carburetor intake and like the big bad wolf, I huffed, and I puffed---and the air WAS going somewhere when the intake valve was closed!!! Then I pulled the entire valve block assembly off the engine and tested some more. With my finger held firmly in place over the intake port in the cylinder head/frame, there was very definitly good compression when I went to turn the engine over. So---filled the sink with water, held one end of the rubber tube in my mouth, and submerged the entire valve block, carb, exhaust pipe and all in the sink, and huffed and puffed some more.---------And sure enough, with the intake valve firmly closed, there was still a trail of bubbles coming out of the port in the side of the valve body that would normally set against the cylinder head/frame. At that point I disassembled the 3 blocks of brass that make up the valve body, and got out my valve grinding paste and reground the intake valve. I am NOT a believer in NOT USING GASKETS so I hunted around and found a plain brown envelope like the ones that couriers use, and cut out gaskets to put between the 3 valve blocks, with a light coating of some general purpose grease, then reassembled everything. Then I cut a piece of heavier 0.025" automotive gasket to install between the valve body and the cylinder head/frame. SUCCESS!!!--Now the engine has enough compression to actually "kick back" when you try to roll the engine over using the flywheel. This is very encouraging. I can't really do any more now untill my grease cups and copper head gasket shows up, so perhaps today I wil go buy a 12 volt coil and see about getting the wiring made up. I'm getting excited to see this engine run now.----Brian
 
Brian, I'm glad you fixed the compression problem. I've found that issues with compression typically are somewhere in the valve assembly.

I do have one question. It sounds like you blew through the carburetor opening into the valve block? I would expect air to get through the valve since that's how the engine get's fuel... When you blow through the carburetor, the valve spring should give enough to let air through. A better test, although maybe more difficult to execute, would be to blow into he port which attaches to the engine.

Anywell, all's well that ends well! Can't wait to see that devil run.

Chuck
 
Chuck---If you read about 5 posts back, you will see that I loctited the carb into the adapter, which was loctited into the valve block. I had no choice other than to blow into a tube which just fit over the air inlet on the carb. Oddly enough, with everything underwater and the valve shut properly, there was no train of bubbles coming from the fuel inlet on the carb.
 
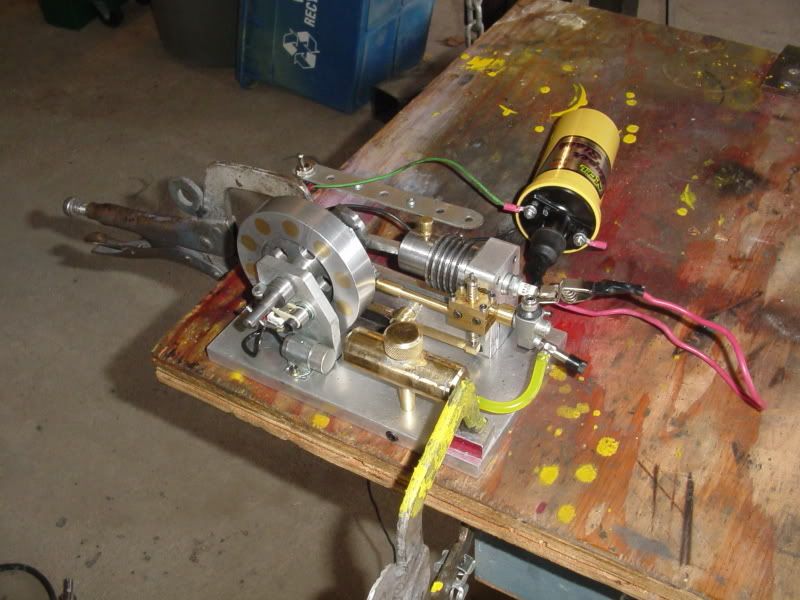
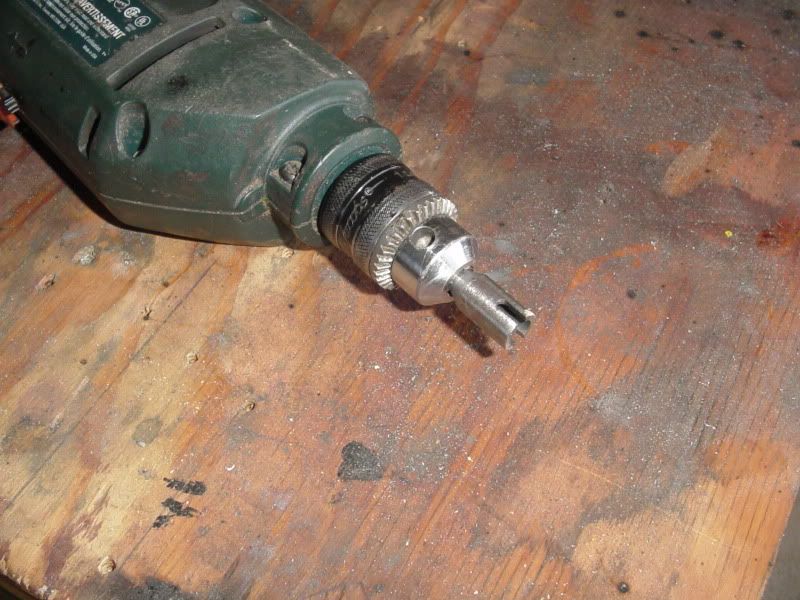
IT LIVES!!!!!!!!!!!!! The engine fired for the first time and ran on its own about 15 minutes ago. ;D ;D ;D ;D I built a small adapter to go on my electric drill to aid in starting the engine for the first time ---I will post a pic of the adapter. I still have to add my grease cups and I'm still waiting for the piece of copper to make a proper head gasket, but I wanted to see if it would run!!! I have one setting where it will run indefinitly, but if I try to slow it down or speed it up, it just dies. I will sort that out as I go along.---Brian
firstfire001.jpg

firstfire002.jpg
 
Brian Rupnow said:
but if I try to slow it down or speed it up, it just dies. I will sort that out as I go along.---Brian

Brian,
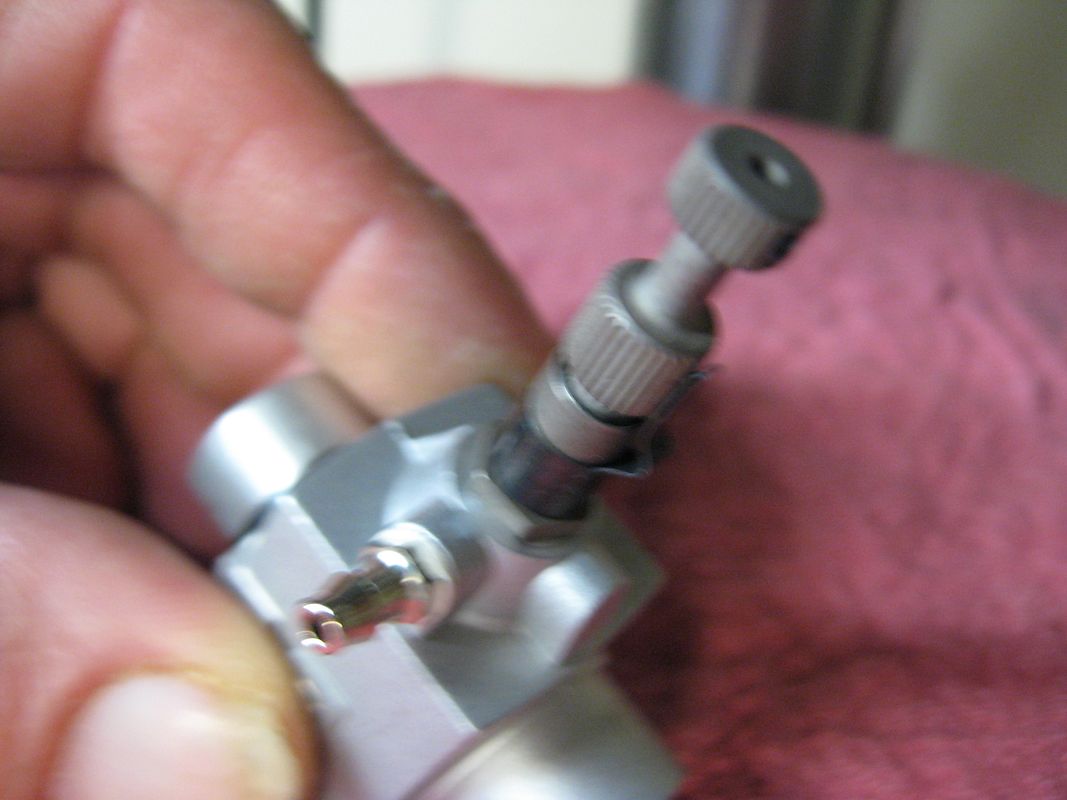
Those carbs have a low and high speed needle. Low speed needle adj.....when trying to accelerate engine just dies...to lean

engine speeds up then dies....to rich.

This adj happens after high speed needle is in adjustment. Lean out at full throttle till engine just dies...richen needle up 1/4 to 1/2 turn.

You need to do this a few times back and forth from high to low adjustment till it's just right

Congrats

Tony
 
Brian.
Congrat. th_wav
Yes, it is like magic every time lumps of steel and metal comes to life.
great job Brian. And thanks for the writeup. :bow:
Waiting for the video ;D

Best Regards
CS

 
Congratulations, Brian. Feels great, doesn't it? As much extra work as they are, nothing is quite as satisfying as the sound of an IC engine when it fires up. All those parts and pieces coming together to form a running engine is just neat as hell!

Chuck
 
I seem to have gotten VERY VERY LUCKY with all of my initial settings on the engine. After playing with the hi/lo needle adjustments, I now have it to the point where it idles down quite nicely. I am running on straight Coleman lantern fuel. I don't want to run it any more now untill I have added the grease and oil cups to it, as I don't want to burn out a bearing or score the cyl. wall. That Viton o-ring seems to work just fine at the initial ring groove width and depth that I gave earlier in this thread. I will desassemble the engine tomorrow to drill and tap for the grease cups, and will probably make my own large oil cup for the cylinder as per the Webster plans. I am very stoked with the idea that I have built a running internal combustion engine from basically "scratch". I have to compliment the fellow who did the original set of plans. He did an excellent job. After I get the oil cups added, I will make a nice video and post it here.---Brian
 
Brian,

Congratulations!

An IC engine build is still a ways off for me.

I'm looking forward to seeing your engine running.

SAM

 
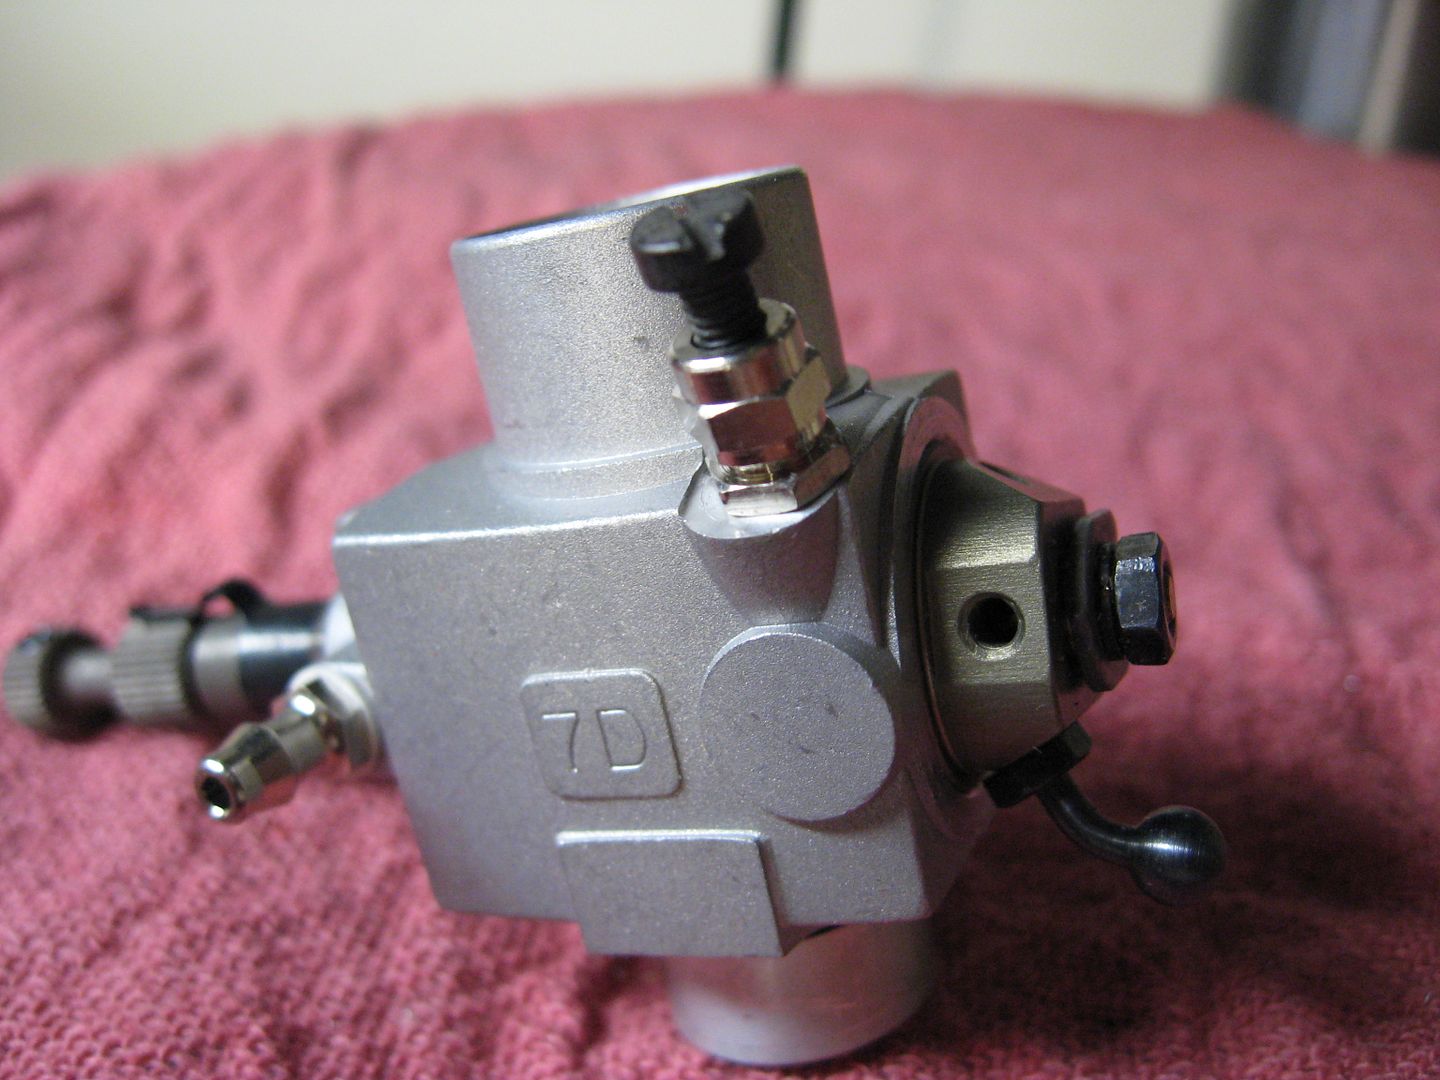
Two things---#1--I have discovered a whole new world of electo-shock therapy!!! The carb adjustment is too damn close to the sparkplug!!! :eek: :eek: :eek: and #2---The valve which operates the main butterfly (I'm not sure if thats considered hi-speed or low speed)---Anyways--the one with the little lever on top---wil not stay where you set it. If I hold it in place while the engine is running, all is fine. If I let it go, it begins to slowly turn itself and open the main butterfly untill the engine races faster and faster---Untill with visions of engine parts flying all over the room I grab it and turn it back to the low speed position. I'll have to do something to remedy that.
 
Brian,
High speed needle is the long one. I forgot to mention earlier that you need to adj the long needle 2-1/2~3 turn out from bottoming it all the way in. This is the initial starting point. Again this is my glow experience. Low needle should be a small screw with a spring around it.

Tony

High Speed needle
IMG_1153.jpg


Low needle, smaller carb have springs to stop the screw from moving
IMG_1154.jpg


Your carb probably don't have the ball link, just an arm with a bunch of holes
Use a piece of music wire with a Z bend into the carb arm then make a friction bracket that the wire rides in. that should stop the shock therapy

Tony Again
 
One turn open on the fuel needle jet. Close the throttle all the way and with a toothpick add a drop of 5 minute epoxy to the barrel. Have a Q-tip available dipped in carb cleaner or other solvent. As the epoxy sets up rotate the barrel open/closed and when it seems to be getting too tight twist your dipped Q-tip on the barrel to remove some of the material. You'll know by the feel when it has enough friction to stay in position with engine running and is still easily opened and closed. Dave.
 
Back
Top