1/20th Scale Burrell

Home Model Engine Machinist Forum

Help Support Home Model Engine Machinist Forum:

This site may earn a commission from merchant affiliate links, including eBay, Amazon, and others.

glue-itcom

Well-Known Member
Joined
Apr 10, 2013
Messages
216
Reaction score
300
I'm designing, drawing and building a 1/20th scale Burrell traction engine and thought I would share some details here as well as on my pages

rrwh-spokes-13.jpg

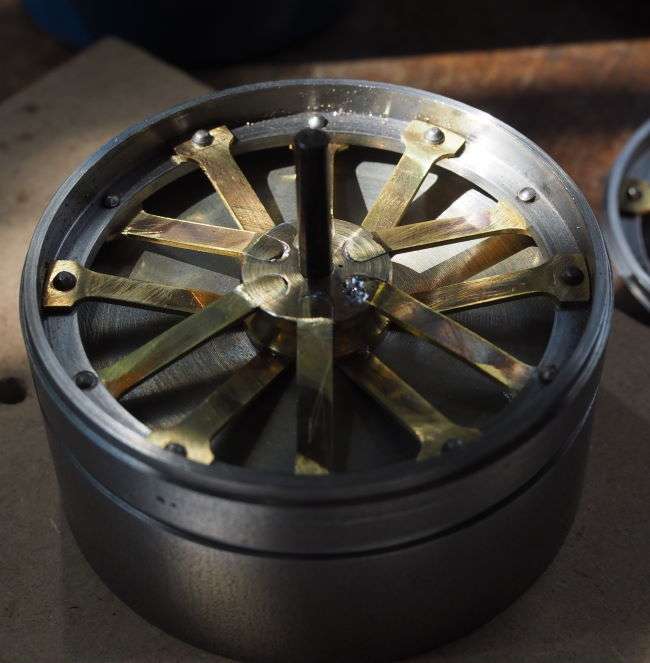
These are the rear wheels, rims machined from mild steel, spokes from 0.9mm thick brass. the wheels are 97mm in diameter (machined from 4 inch round bar)
 
I finished the front wheels a couple of weeks ago (quite a few more hours available during lockdown)
front-assembly-018.jpg


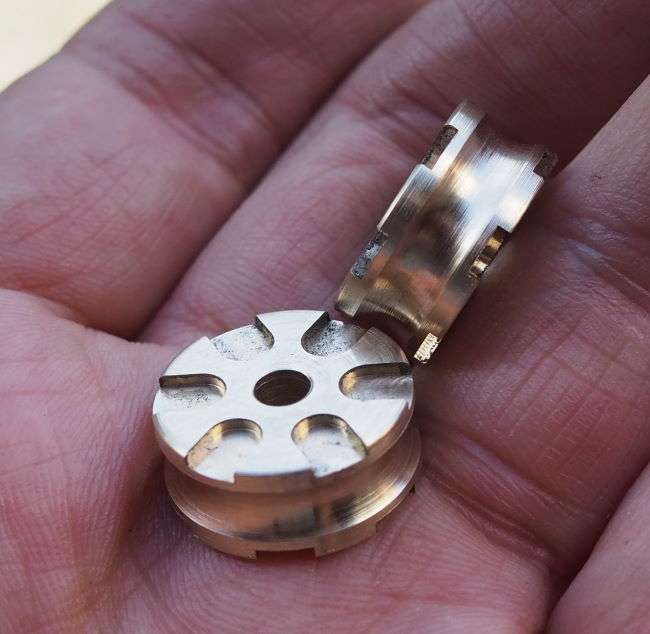
Sat on the jig with an axle through the centre, it was all heated and soft soldered. The brass hubs took a few goes before I got them right, however, just makes it even better to get them right in the end.

front-rim-hubs-009.jpg
 
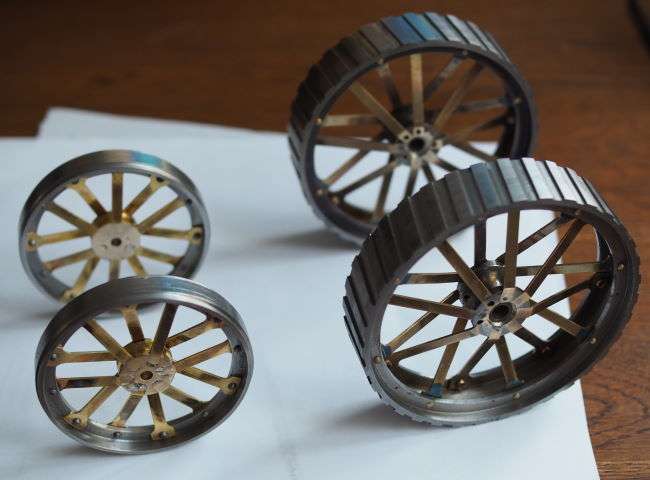
The four wheels together having machined the hub faces in the lathe and hand-cranking it - was just too nervous to machine these once all constructed under power. Details of the build of the four wheels and the mistakes I made along the way are all on my gallery page.

I worked out there was a total of 64 parts and 60 rivets in the four wheels. The rear wheels are 97mm in diameter and the front wheels 70mm.

front-assembly-019.jpg
 
Nice work Nigel. Did you pick the scale so you could machine the largest parts (rear wheels) on a small lathe?
What is your plan for firing / heat source? I am guessing solid fuel will be a little fiddly at this scale.
 
Nice work Nigel. Did you pick the scale so you could machine the largest parts (rear wheels) on a small lathe?
What is your plan for firing / heat source? I am guessing solid fuel will be a little fiddly at this scale.
Hi Pete, I got to 1/20th scale by accident, the size of the engine was determined by me wanting to be able to print the elevation of the engine on a sheet of A4 paper. I wanted an engine that would on the mantlepiece. Heat source is going to be methylated spirits, I've been making some simple calculations around this: steam and methylated spirit consumption. The boiler has 7 flue pipes, but will be a simple cylinder and so some heating underneath of the main boiler barrel. I have the basic design for the firebox, this is next on my list to do.
 
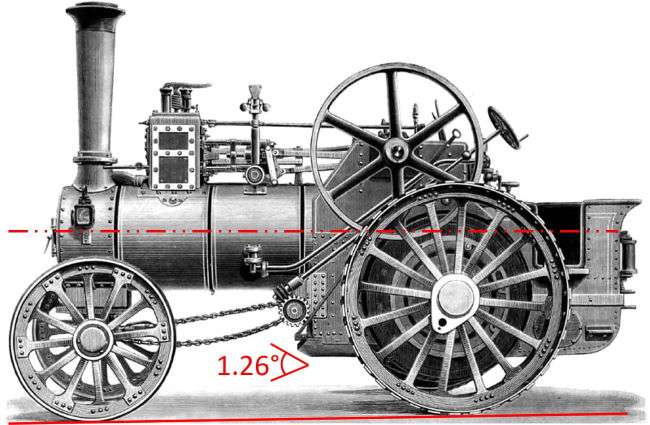
Hi Pete, yes, this drawing, a lot of images of the real thing and some other views that people have sent me.

From all of this I'm making good old fashioned plans, eg rear wheels:

rear wheel plan.JPG


OK, very simple plans that I can print, scribble on and use in the workshop.

The boiler is coming along, but will be a simplified boiler at this scale.
 
20201025_151804.jpg

the door for the Burrell with a simple hinge and latch (note that the door is 25mm wide)

I don't really need a functioning door as the intention is to run this on meths, but this looks cooler and I might want to steam it on coal just once to try it...
 
Do you all get to a certain point in a build and then divert to mending/upgrading a tool to allow you to make the next part?

Well, I've been absorbed by a cheap cnc engraver that I bought to engrave the smokebox door, it was just too cheap and so I've just spent time upgrading.....


I'm still not sure this will actually be good enough for the task, but I've learnt a lot. The belt length calculator is embedded now in the Excel workshop calculator.
 
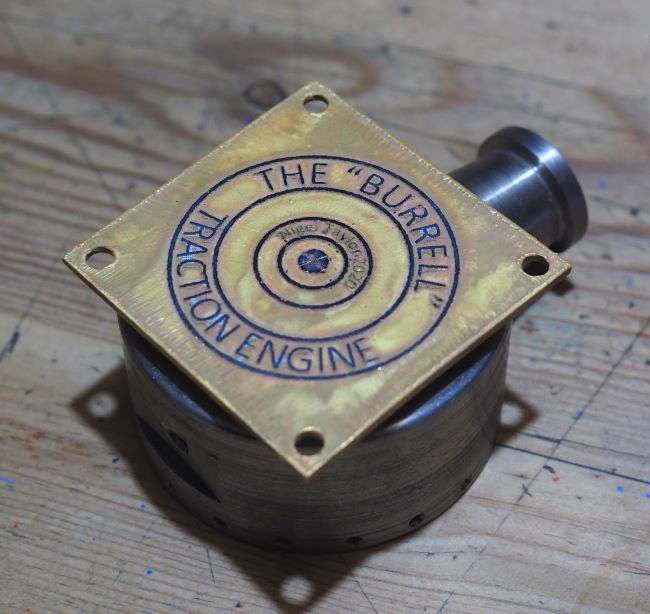
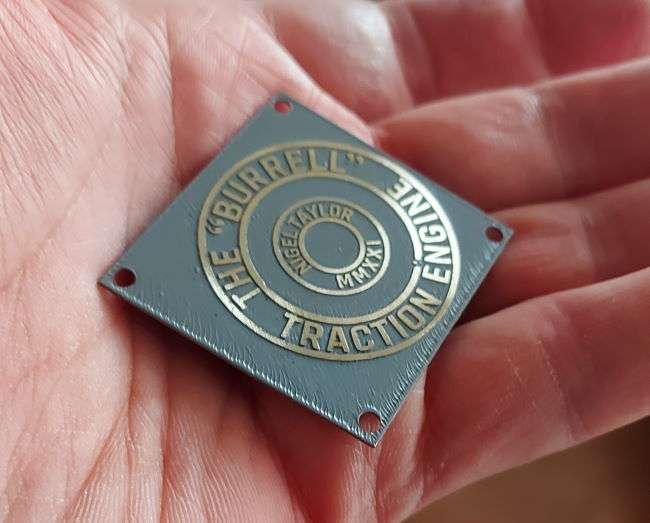
Having tried a low (hmm) cost CNC engraver and failed I went back to basics and tried ferric chloride, after a few goes I now have the steps sorted and getting some reasonable results

door-etching-01.jpg


You need these bits:
  • Laser printer - or access to a photocopier
  • Inkjet glossy photo paper
  • Brass sheet
  • Ferric Chloride
  • Plastic Tub
The steps are quite easy, but added some tips I've been finding along the way on brass etching
 
Last edited:
Nice work Nigel!
I tried some FeCl etching on brass for a motorcycle project some years ago, with only limited success.
I didn't print the design, simply painted etch resist onto the part and scraped it away freehand. The etching worked fine, but was limited by my artistic ability.
 
Must admit I had come across the laser printing idea before, but had never really tried it. Then I remembered I had some old inkjet photo paper hanging around and thought I would give it a try. This works really well, plus you can perfect your design first on the PC. Also, Ferric Chloride is reasonably ok to handle.

Gradually adding some more hints and further reading to the page, will develop it as a reference so please send me all of your own learnings.
 
That looks excellent, how long did it take to etch and did you use the Frerric chloride?
Graham
 
That looks excellent, how long did it take to etch and did you use the Frerric chloride?
Graham

Hi Graham, yes, ferric chloride and etched for around 2 hours (used wires to hang it face down in the ferric chloride). Everybody says clean and must admit that this is key, have added some notes to my page on etching brass. Be prepared to create a few parts as it does take some goes to get everything sorted. Best regards, Nigel
 

Latest posts

Back
Top