1/20th Scale Burrell

Home Model Engine Machinist Forum

Help Support Home Model Engine Machinist Forum:

This site may earn a commission from merchant affiliate links, including eBay, Amazon, and others.
This boiler has now finally been rebuilt with better cladding and a new firebox. This time the firebox has been made from sheet mild steel.
20210506_101930-ANIMATION.gif
 
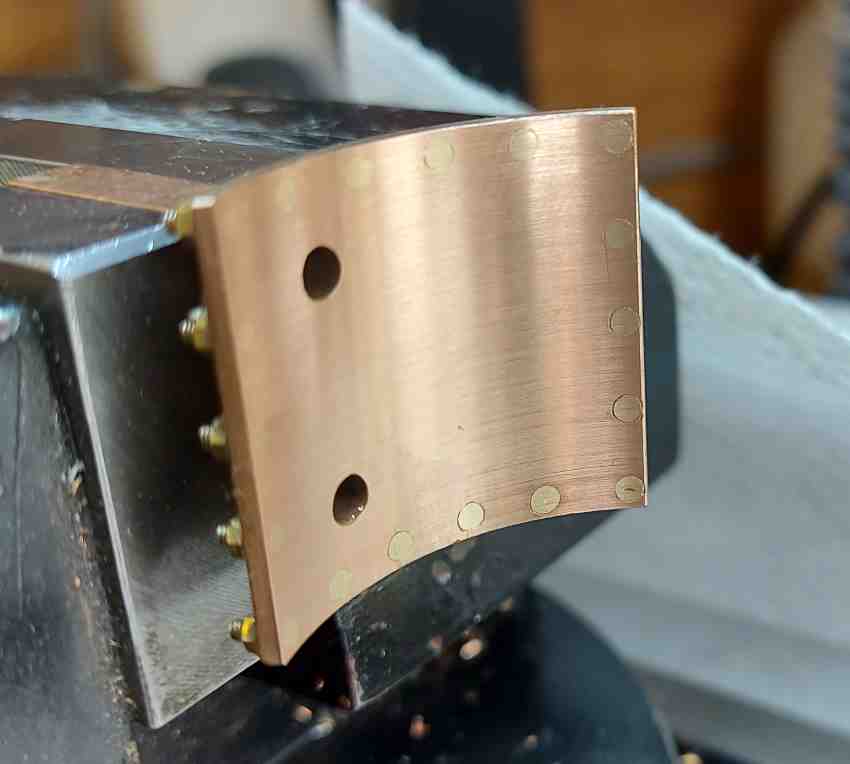
I spent yesterday afternoon machining the arc on the underside of the cylinder saddle. This is a phosphor bronze part that will get silver soldered to the boiler and then the cylinder will be bolted to it. I thought though I would share how I got the arc radius correct using a flycutter

 
The saddle is now taking a form. Next I have to add the bolts around the edge, these might be just for show as I don't want that many holes into the boiler.
burrell-cylinder-block-07.jpg
 
You mention in the video making an injector to deliver water to the boiler.
Are you proposing a real injector at this scale, or a piston pump?
I'll be very impressed if you can get an injector to work!
 
You mention in the video making an injector to deliver water to the boiler.
Are you proposing a real injector at this scale, or a piston pump?
I'll be very impressed if you can get an injector to work!
Hi Pete, sorry, just a piston pump. I think a proper injector would be very difficult without lots of cfd and then lots of testing. Cheers, Nigel
 
I bought a proprietary injector for a stationary boiler I use at up to 45psi. It has high superheat. But the model injector only works somewhere above 60psi... or so I found out later. They are good and reliable on 5in. Locomotives, but the smallest commercial injectors can be temperamental, a bit like some drivers....
K2
 
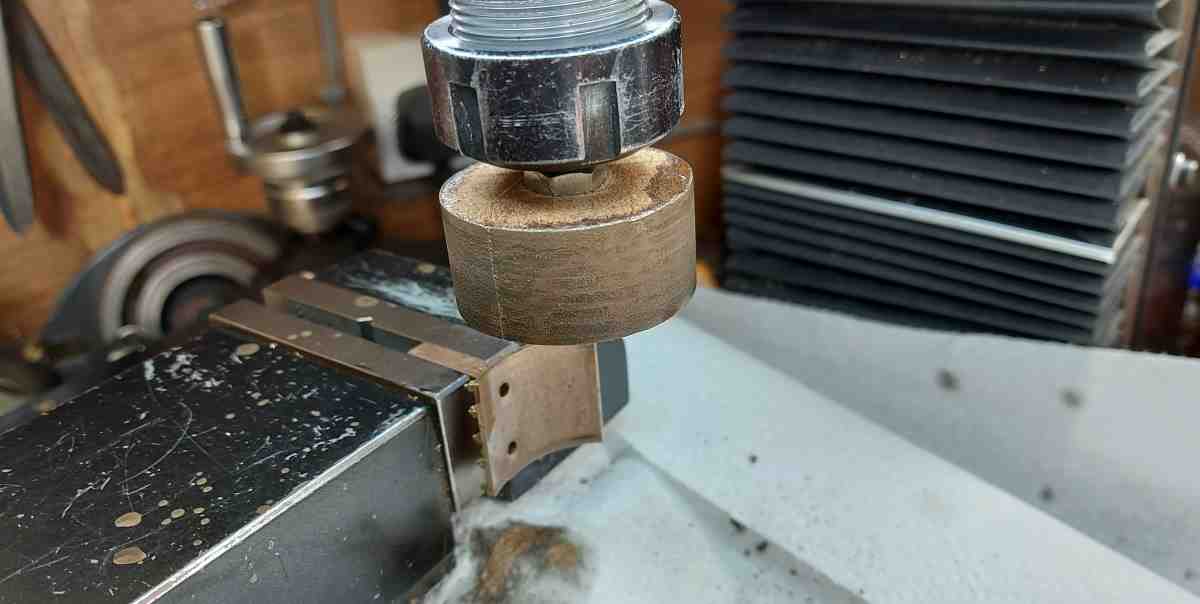
The cylinder saddle is going to be silver soldered to the boiler. The bolt fixings are just for looks and so I needed to grind the countersunk heads completely flush.

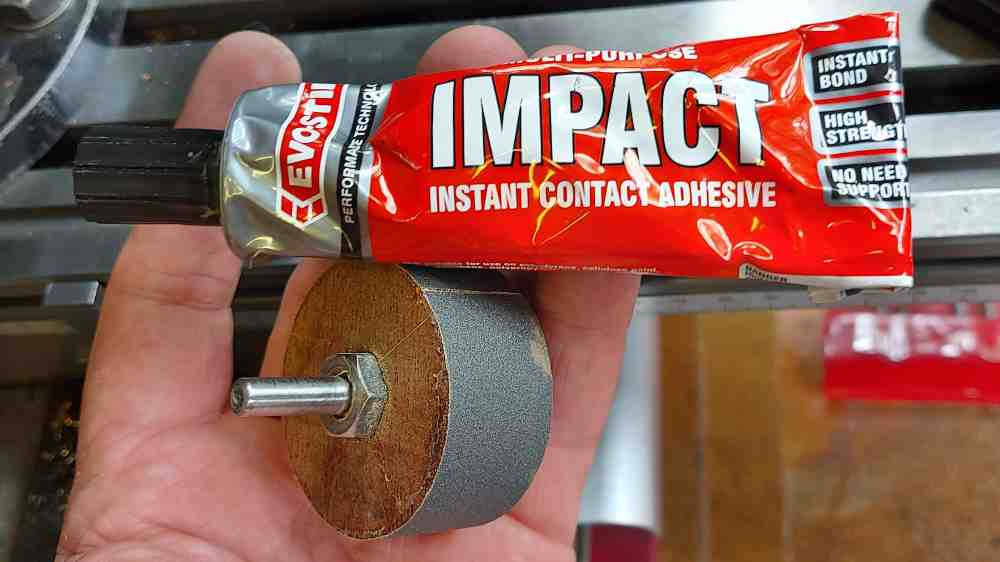
I made an abrasive drum from a bolt and a piece of hardwood. Machined the correct diameter including wet and dry paper thickness.

grinding-cylinder-saddle-01.jpg


Impact adhesive works great. Plus it stays in place when using lots of cutting oil on the wet and dry.

I set the saddle up in the mill and then protected the table.

grinding-cylinder-saddle-03.jpg


The final part finish looks rather good.

grinding-cylinder-saddle-04.jpg
 
Good to see different techniques - and that they work! Hope the silver soldering to the boiler goes well. A tip? Try using a pencil to mark off the area beyond the joint where you don't want the silver solder to take. Just "shade" the area, but make sure no pencil where you do want the solder. Also using a paste of flux and water pre-applied ensures it fills the gap to clean the surfaces and encourage the capilliary action when silver solder is applied. (But I reckon you know all that anyway.).
K2
Thanks for the tip on using a pencil mark, I've never seen that before. I'm used to mixing the flux with water, works very well.
Best regards, Nigel
 
Hope the pencil mark helps? I forget to bother... so have widespread silver solder coating everywhere.
K2.
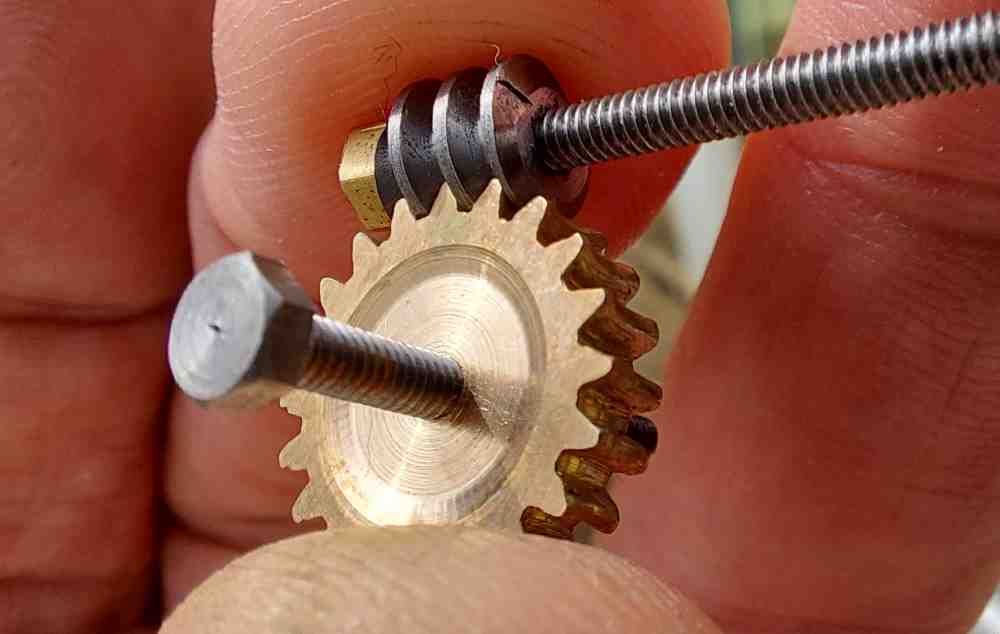
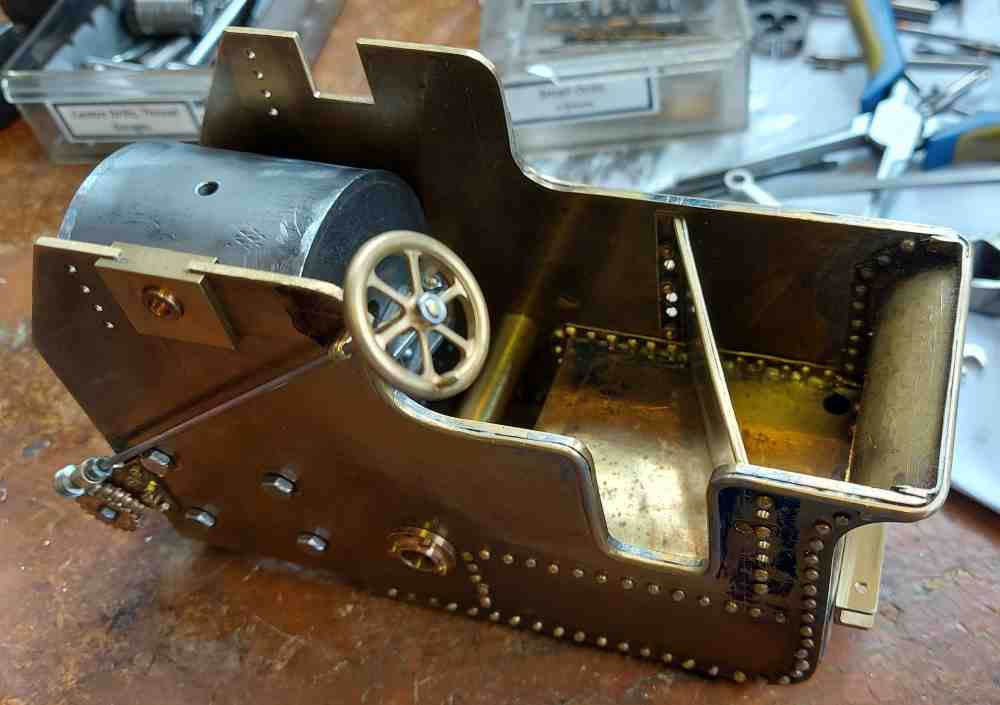
I was going to have a practice with the pencil masking first to get a feel for it.
 
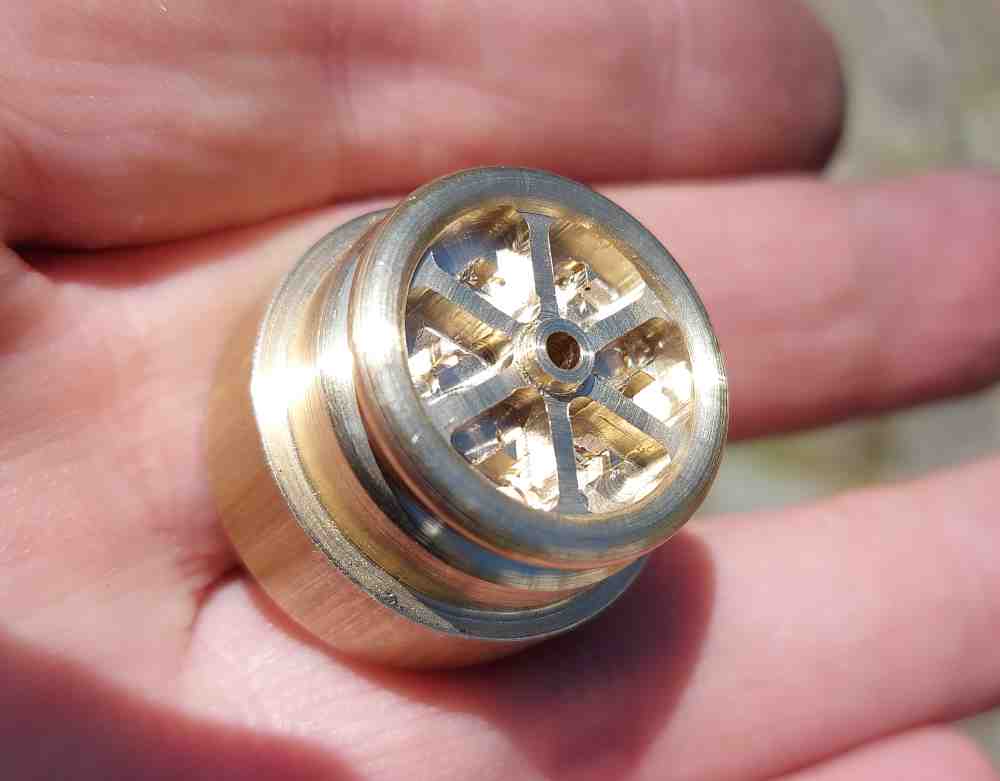
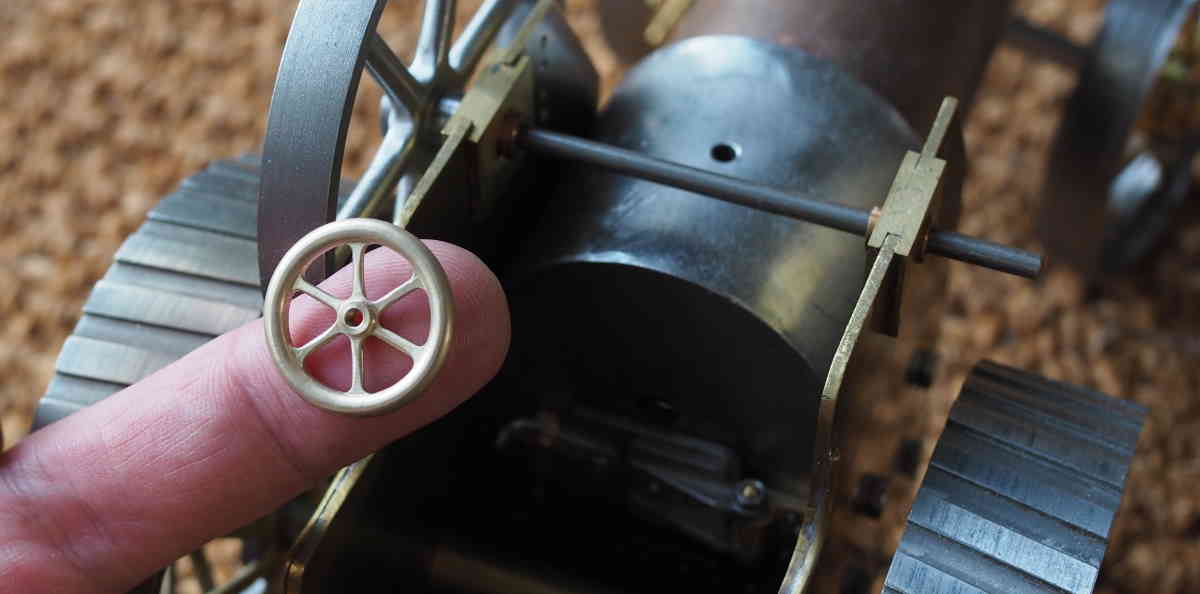
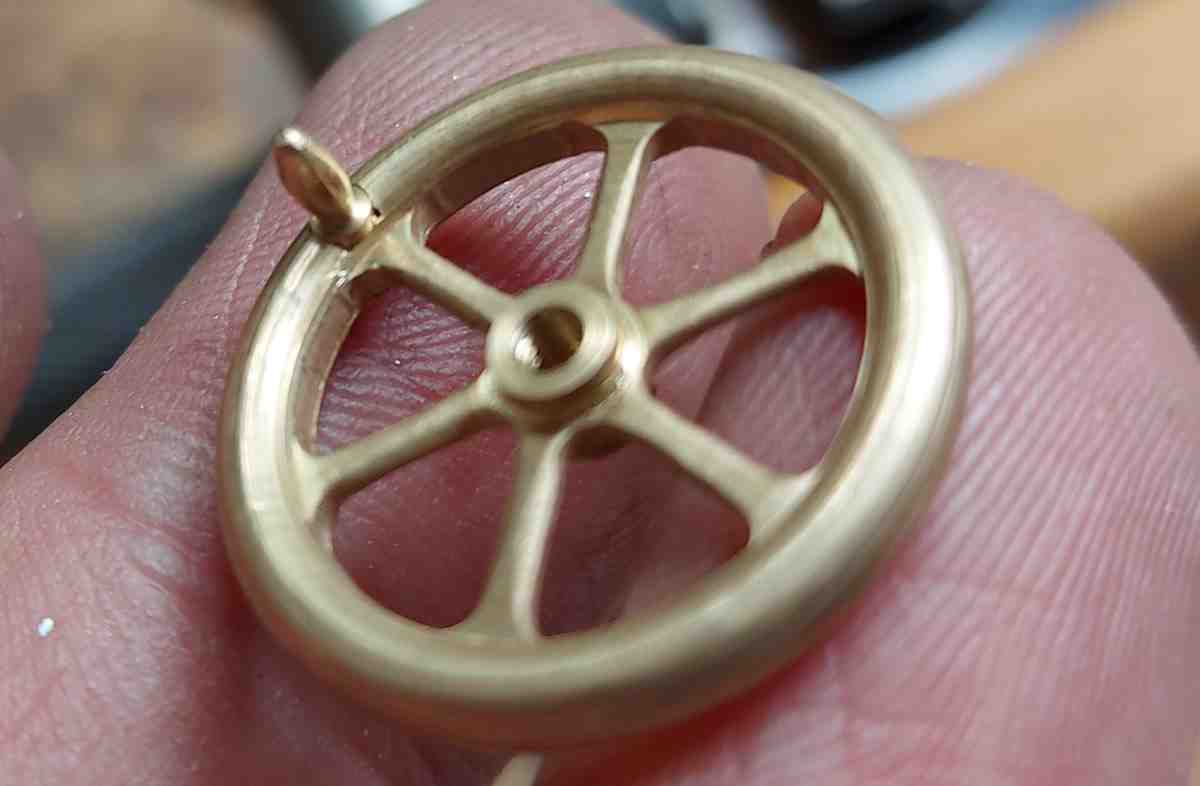
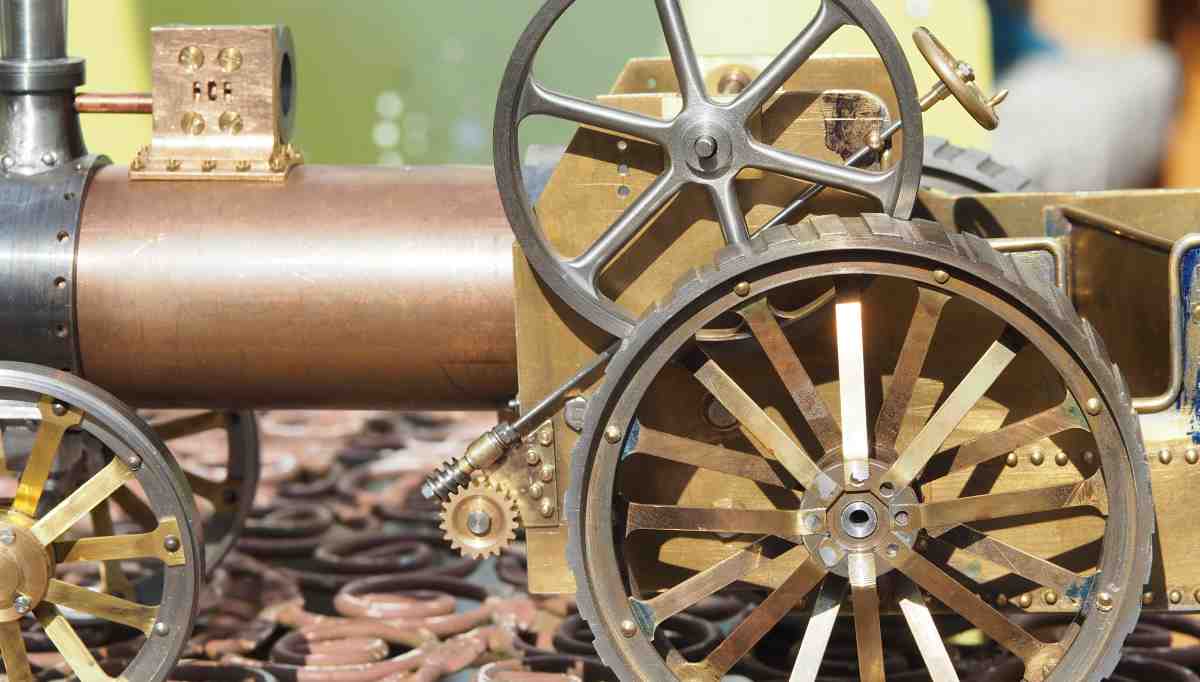
I made a simple brass post and bearing to support the top end of the steering column and added a hub to thread the steering wheel onto.

steering-system-02.jpg


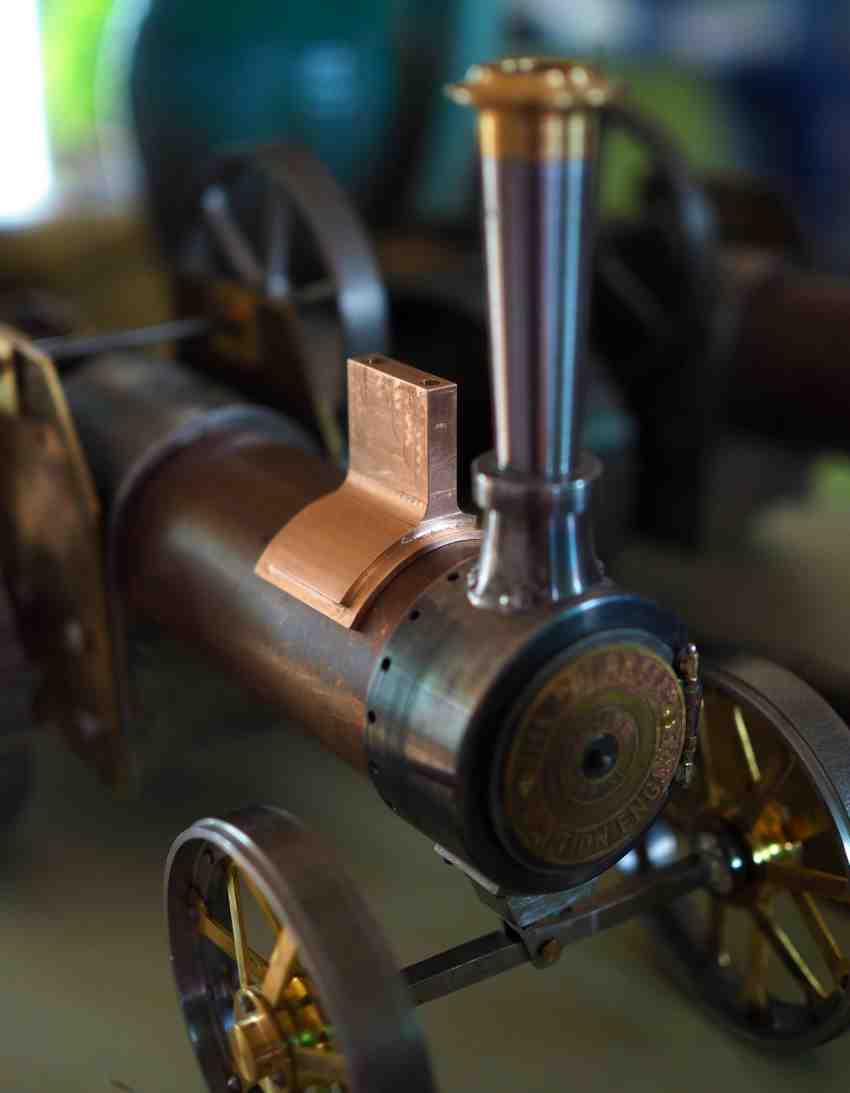
I then just had to assemble the engine once again. I keep having to do this to get inspiration for the next part and to check clashes etc.

steering-system-04.jpg


The flywheel is only balanced there, still need to make the crankshaft. However, already I can see how tight everything is.

The worm and wheel are so smooth when you turn the steering wheel, brings a smile.
 

Latest posts

Back
Top