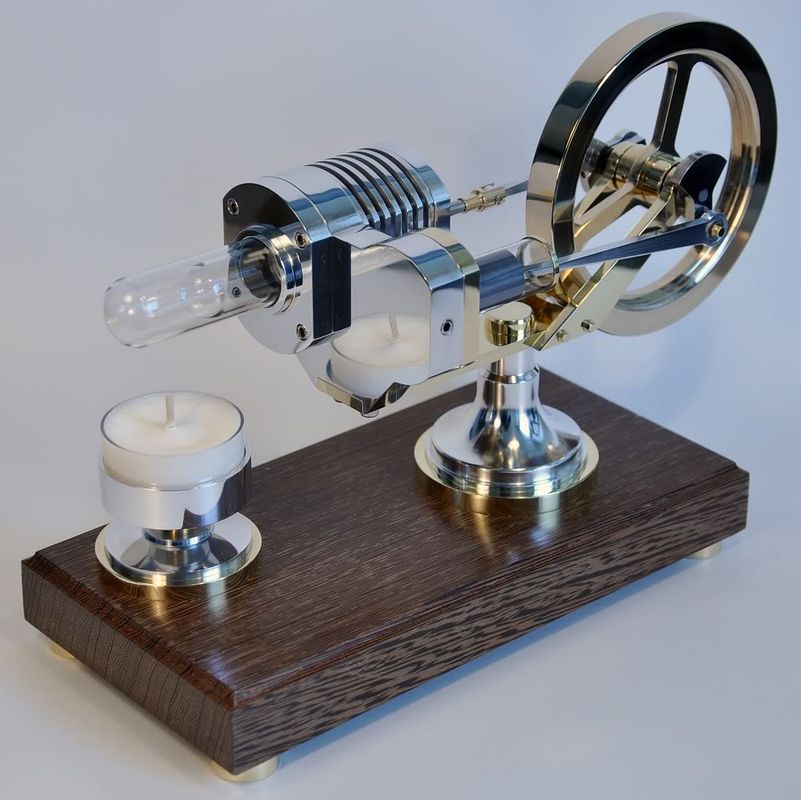
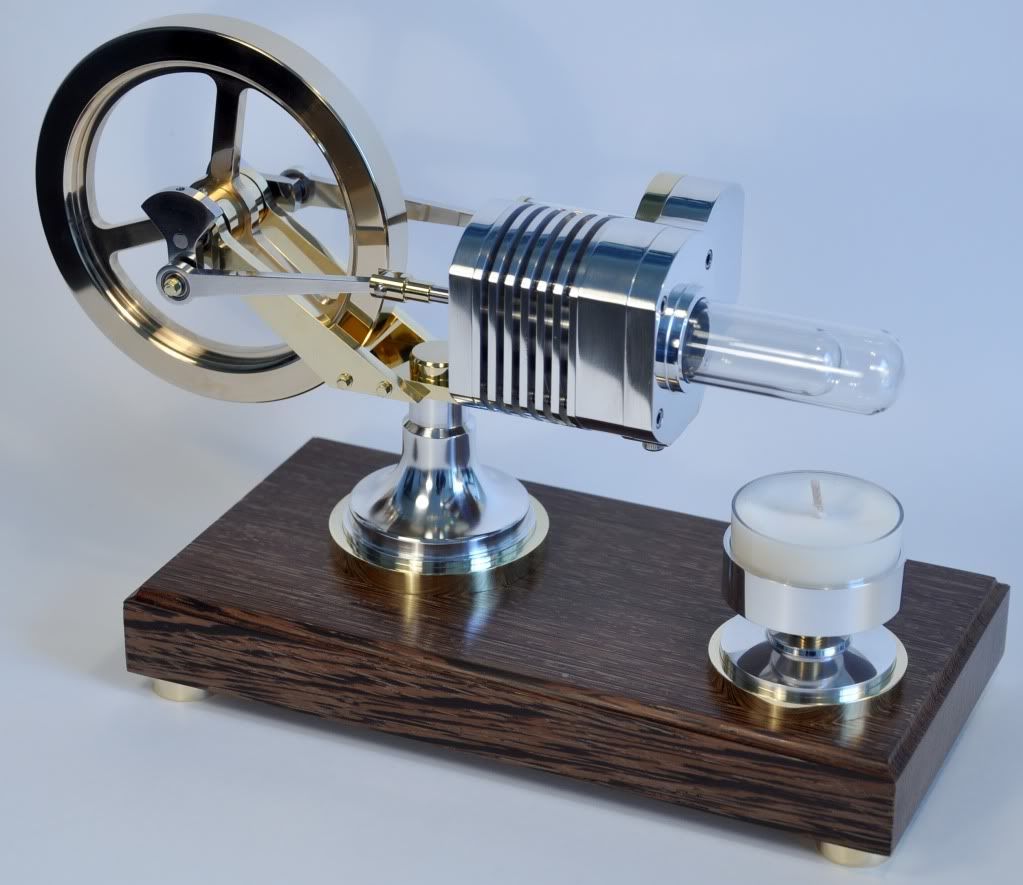
Yet Another Stirling: Jan Ridders Bas Finally Done

Home Model Engine Machinist Forum

Help Support Home Model Engine Machinist Forum:

This site may earn a commission from merchant affiliate links, including eBay, Amazon, and others.

MatiR

Well-Known Member
Joined
Jul 10, 2007
Messages
65
Reaction score
7

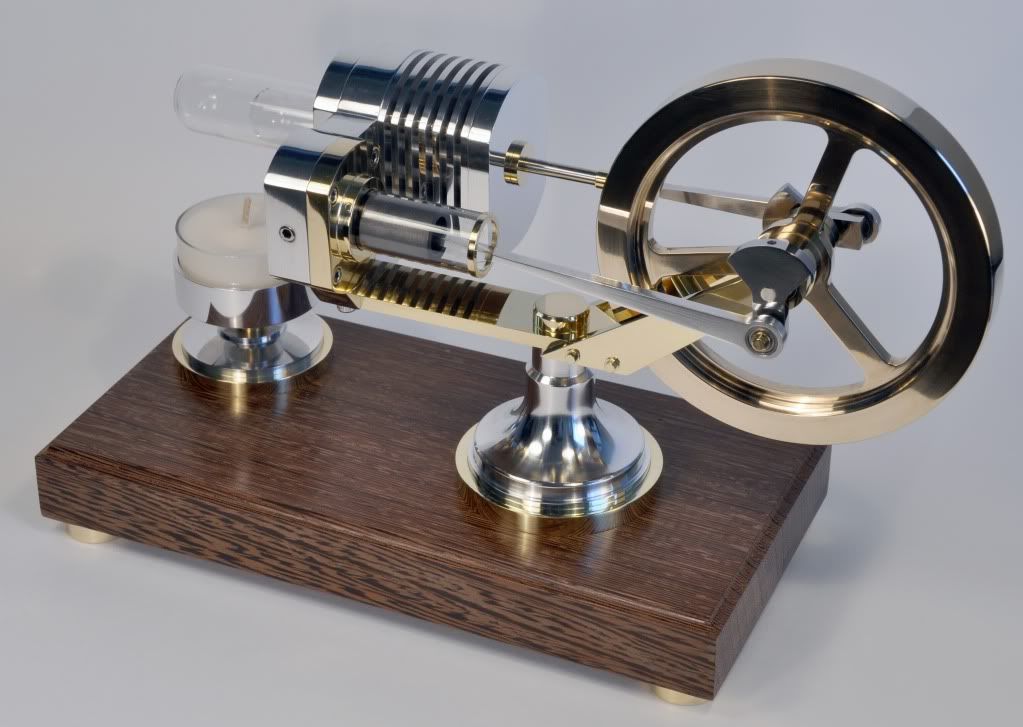
Just before Christmas last year, I saw Kustomkb's Bas build and got the plans from Jan Ridders. What was to have been a "Christmas Holiday" project took some time but it is finally done!

I followed Jan's excellent drawings fairly closely, making only minor changes as available materials, fasteners, and personal taste dictated. The engine runs like a champ. After letting the warm cylinder heat up for 20-30 seconds, a flick of the flywheel gets in going. This was surprising to me as I did not use any silicone seals anywhere; this assembly was just to check that all the parts were compatible but I couldn't resist trying to run it - and it did!

I had no major issues during the build. Richard, Kevin, Shred and others have already mentioned many of the important things to watch out for and their prior posts here helped a lot. Perhaps the biggest headache was the Wenge wood base - darned nasty splintery stuff. I tried to find some nice walnut or the like but could not. In any case, I am pleased with the result. I gave up on the metal polishing, perhaps coming back to it later - "life is too short" rule was invoked. I made a video but it is huge and the light was poor so I will redo that before posting it.

Thanks to Kevin (Kustomkb) who generously donated a surplus slug of brass for the flywheel (turned out to be aluminum-nickel bronze ;D), the test tubes, O-rings and long 4-40 screws for the cylinder assembly. In any case, I'll be glad to answer any questions about the build.

Best regards, Mati


RiddersBasA.jpg


RiddersBasB.jpg


RiddersBasD.jpg

 
WOW!!!
Another great Stirling engine!!!

Do we get to see a video of it running???

Awesome work!!!

Andrew
 
THAT'S what your models look like when you give up on metal polishing??????? Whoa, I need more help than I thought. Great looking!!!
How did you get the brass ring around the end of the power cyl?
Beautiful

John
 
Thanks for the comments. John, the brass ring has an L-shaped cross section and is held on with some silicone sealant.

Andrew, here is the crappy video - hope to make a better one sometime.

[ame]http://www.youtube.com/watch?v=c9wuJVgM5xI[/ame]
 

Beautiful job Mati!

It looks fantastic, I love the extra details.

aluminum-nickel bronze eh? I thought it seemed kind of tough...
 

Thanks, Kevin. Yep, the Ni-Al bronze almost brought the little Sherline to its knees but we licked it ;D It does take a nice polish though.

The "brass" base to the main pedestal was also a surprise. I didn't have any 360 that large, but remembered some 0.25 "brass" plate that had been lying about for about 25 years. It was really tough and stringy to machine. Analysis showed no Pb but I am not sure what alloy it is. I guess what makes this hobby fun is overcoming challenges with whatever assets we have.

 
Very nice build! Nice piece of Wenge as well.

Vic.
 
Hello Mati,
You did an excellent job! This engine is copied a lot but I seldom saw such a beautifull, glossy and eye catching work out. Many congratulations with this result.
Friendly greetings from Holland,
Jan Ridders
 
A work of art Mati !! Well done.

Bill
 

Many thanks for the kind comments. It is particularly gratifying to hear from the designer, Jan Ridders, whose excellent drawings greatly facilitated the build. We owe him a debt of gratitude for generously sharing his time and effort.

Best regards, Mati

 
Back
Top