Whittle Aero V8 WIP

Home Model Engine Machinist Forum

Help Support Home Model Engine Machinist Forum:

This site may earn a commission from merchant affiliate links, including eBay, Amazon, and others.
-B-
I'll take a shot.....what the heck. He's going to look at it and let me know. Worst case....I start working on the 6061 round stock. Maybe, this time I'll learn. There are somethings on the prints.....I ask myself.......what, why???? For instance, the center web of the upper crankcase is .150 thick the bearing cap .175 thick (space on crank journal .180)???? I'll make it .175 to match cap and fit the crank, I can always make it smaller later on if needed. I'm a thinking this engine is about to be re-engineered a bit

Tony
 
Tony,
Sorry about the boo boo. :'(
I know haw much work goes into that part.

On the TIG welding, you are no worse off than if you just start over and make a new part. If the TIG works you are ahead, but if it does not then most of what it will have cost you will be a day or two of time waiting to get it done.

From following your other threads, I know you have the perseverance to make it ultimately work the way you want it to.

Gail in NM
 
I agree with Gail, in the long run you might be a day or two behind, keep up the good work I cant wait to see more.
-B-
 
Gail and -B-,
On my drive home from work today I was scratch.gif scratch.gif scratch.gif
You guys are right.....Time to make another....after all I do like to machine
But not the same part twice but :shrug: it's better this way

Thanks for confirming my thoughts!

Tony
 
Hey Tony, as far as fixing goes, you could have the welder weld in a patch to the inside of the pan, this would give a bit more thickness to the area that could then be removed after the fix is complete. He could also puddle the hole then a lot easier.

$.02


BC1
Jim
 
Face the Music and DANCE BABY
Here we go again
I'll save you the Pics of the setups again
But this time it will be Diff
IMG_0513.jpg


Tony
 
I can tell that it's going to be a LONG weekend. ;D

Actually what I was trying to say, not very well, was that you should probably try to fix the old one, and if it did not work you would not be out anything. But, you are probably making the right choice in starting over.

Gail in NM
 
Gail'
Love ya budy....I always knew this was the way to go.....just counld'nt fess up... for a while....I will do it now

Thanks
Tony
 
Aw C'mon now. Do you really want to go through all of *that* again? Make an attempt to repair the old part and if it doesn't work out, THEN go for the re-start.

BC1
Jim
 
Jim
I'm Not a hack job guy. Yeah I know ....weld.....Maybe...... But I'm not that kind of guy. F it.. lets do it over and have it right. I'm not playing with it anymore. It's not worth my time to to try and save it for 40 hrs or just remake it it in 30. Sorry Jim, I'm just an A hole.
Please forgive me.
Love to Machine
Love to machine it right
Call me an A hole....Still love ya buddy
It's time ....Face The Music and Dance
Tony
 
Naw, you're not an AH, quite the contrary Thm:. My thought was merely to save you some time and material but obviously I was wrong :wall:. Sorry man, just trying to help. It'll be fun seeing the piece being carved out anyway. Pictures. You know what I'm talkin' about th_rulze, we want lots and lots of pictures th_wwp

BC1
Jim
 
I was at a motorcycling event over the summer. One of the vendors had a setup showing how to weld/braze with aluminum rod. I know how to TIG weld aluminum and the problems that go along with it so when I walked by the booth I thought "yeah sure".
As I spent an extra second or two looking the seller said "come on over and I'll show you how to use it". He had various pop cans, pieces of flat stock and some old motorcycle engine casting on his table. The first thing he had me do was to weld an aluminum soda/pop can. He poked a hole in the bottom of it with a screw driver and then proceeded to show me how to weld it. He took a stainless brush and scratched the area around the hole and then with a propane torch started heating the area around the hole. As he played the heat on the can he rubbed the end of the rod onto the can until it started to 'tin'. He worked in a circular motion and to my amazement the hole was welded over, on a pop can mind you. Next it was my turn, with the same results. He then took a blunt punch and pounded on the welded area only to have the can rip in another spot but not on the weld. OK now I'm interested. Next up he took two pieces of about 1/16th flat stock and set them up at right angles. He used the same procedure as when welding the can. He admonished me "don't heat the rod, just heat the material and let the rod flow to the heat". It layed the prettiest fillet down the joint that you can imagine. He went on to describe different repair techniques using this product. I bought some and I can say, gentlemen it works! I won't give up my TIG welder but for small household repairs it's almost a no brainer. I'm including the link so you can see for yourself. As is the usual, I'm in no way affiliated with this product but thought I might pass it along.
gbritnell

http://www.alumiweld.com/index.html
 

Bought some of these at our State Fair almost 20 yrs ago. Work great. Made some RC A/C parts like exhaust diverters and mufflers. Need a bit of practice but it came quick. I still have some left and I think I only bought about 8 to 10 rods.

Works well when you "tin" both parts and stick them together too.

Ron
 
Hey Cobra.....have at it bud!......lots of pictures please ;D

Dave
 
Well Folks I'm Back at it Again
Crankcase Part II
Mind as well start from the begining, probably mess up the top too. So I'll have another ready

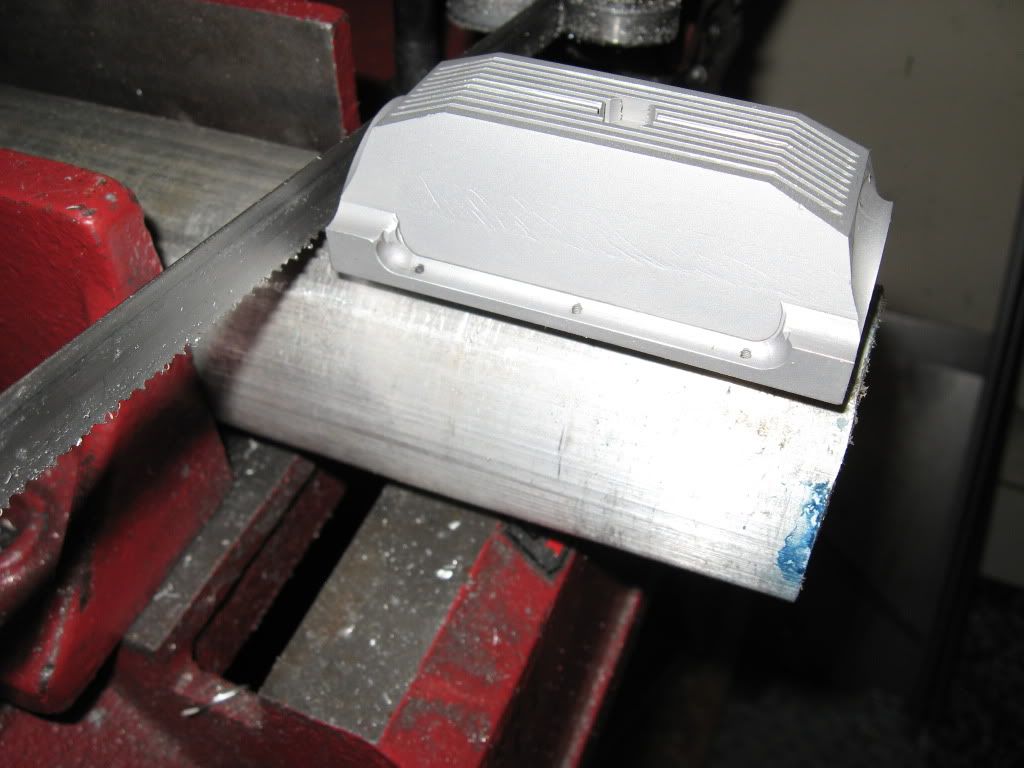
IMG_0519.jpg


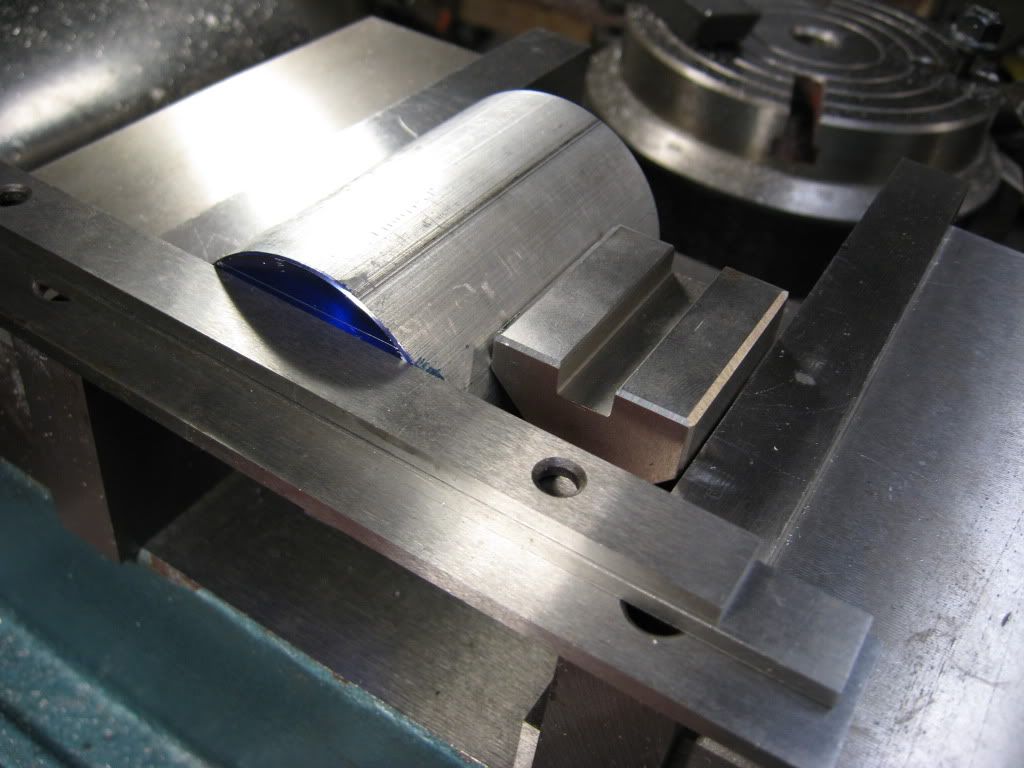
Side one Set up
IMG_0521.jpg


Now for "Crankcase" the Movie

THE ROUGHEN


THE POLISHING


Tony

 
Oh Yeh,
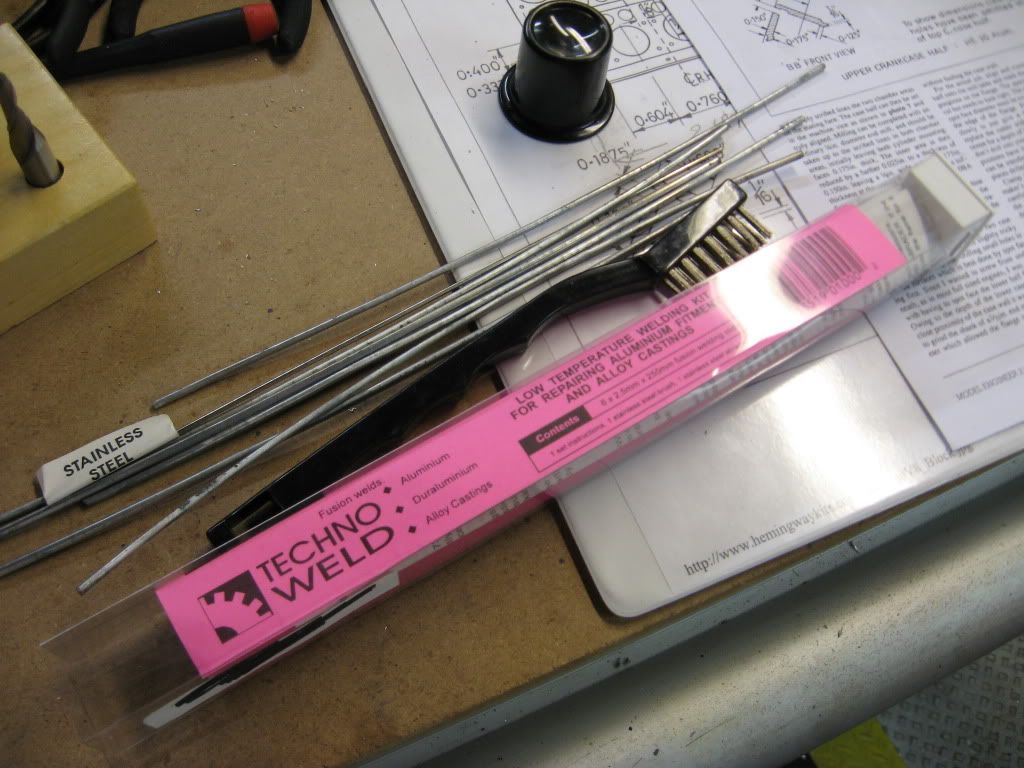
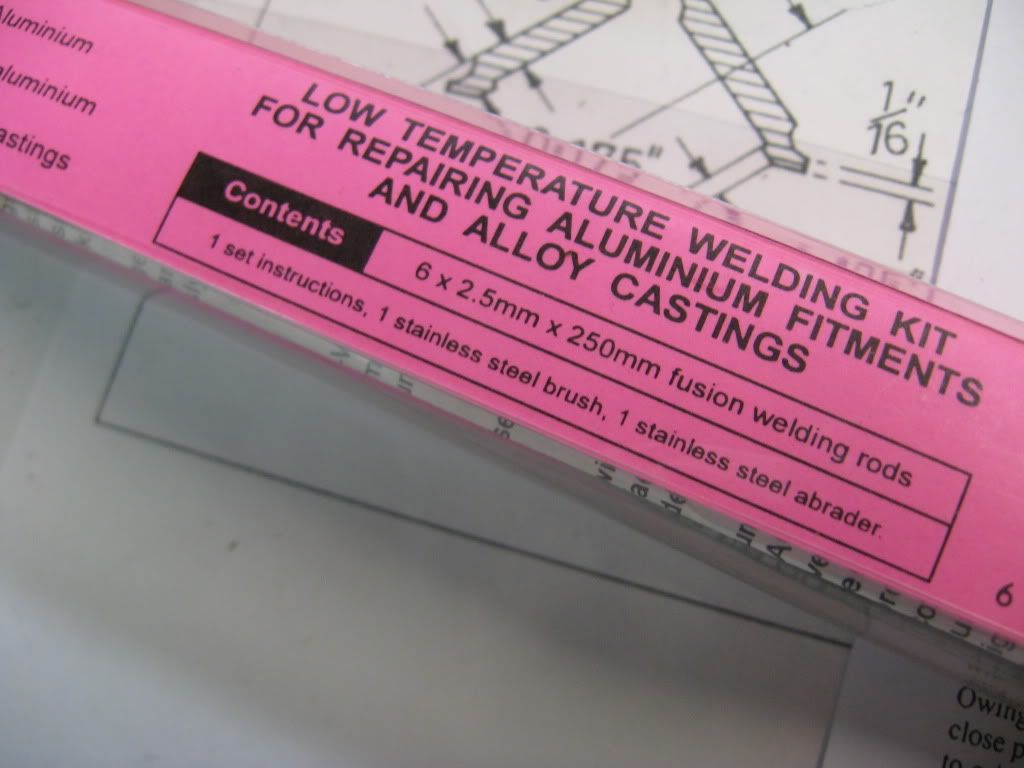
Ment to answer "you's" (I am from NY) earlier Techno Weld....Alu weld with propane..... have it.....never used it.....but didn't want to start off with......patches and band aids.

http://www.techno-weld.com/

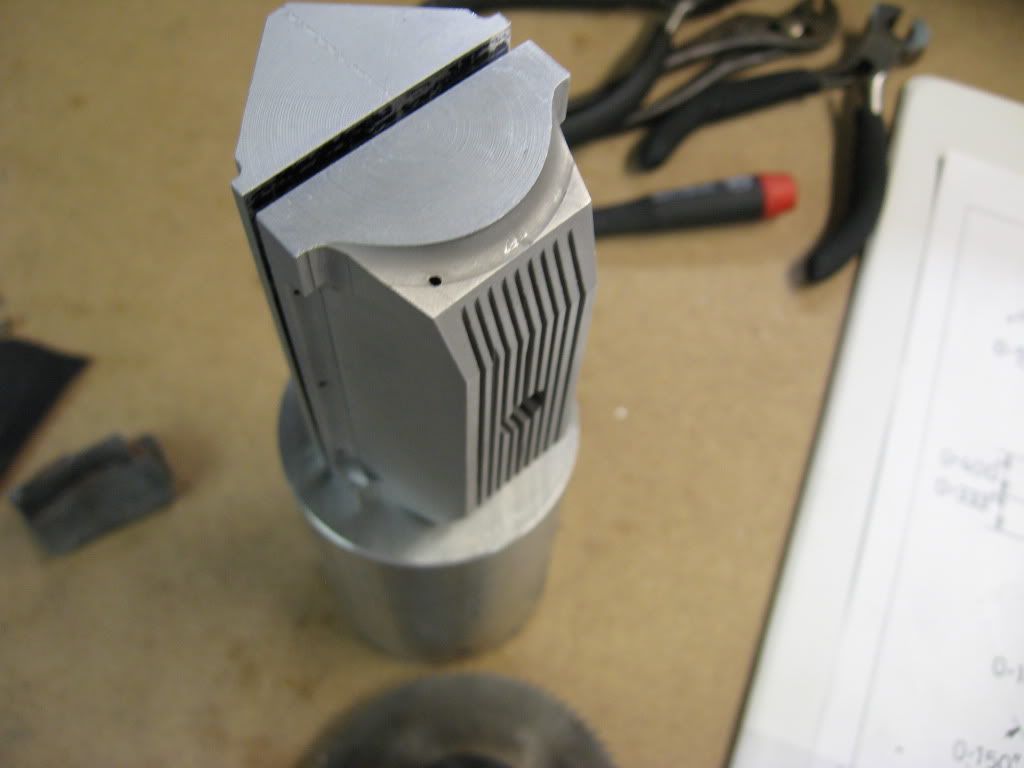
IMG_0538.jpg


IMG_0541.jpg


Thanks
Tony
 
Going Crazy

http://www.hemingwaykits.com/acatalog/The_V8_Aero_Engine___Eric_Whittle.html

If you go to the site there is the drawing of the upper crankcase
Lower left Sect B-B lifter hole .1875 dia tangent to inner wall .150 + .093 = .243 from outer wall of opposite bank

.600 dim I'm assuming to center of cyl hole.

Drawing above it .400 to lifter hole .600-.400= .200 to outer surface of opposite bank

.043 diff ?????
Cam dia .218

Am I looking at this right??
I have a funny felling I'll be drawing this up in CAD before I go further ???

Tony
 
Tony,
The 0.187 hole is not tangent to the inner wall. Lay a straight edge on the dwg and you can see it. On mine, I changed the 0.400 dimension to 0.398 as I normally put my gear centers on the theoretical center to center distance and cut my gears with the backlash clearance built into the gear. That's just personal preference however. Either would work OK in practice.
Gail in NM
 
Wow Gail your good! I was doing the lay out this morning before work. I went to get laundry and the shop beckoned. I guess I need to get the eyeballs re-calibrated :big:
Thanks
Tony
 

Latest posts

Back
Top