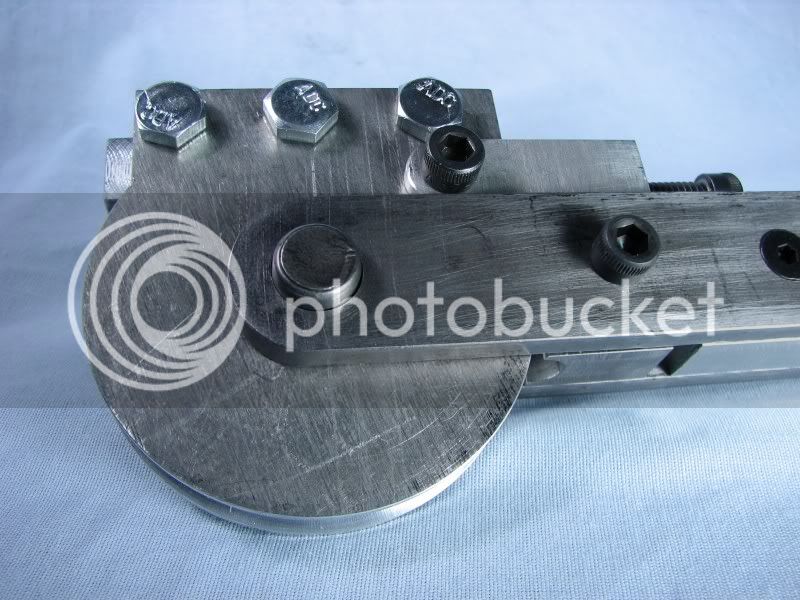
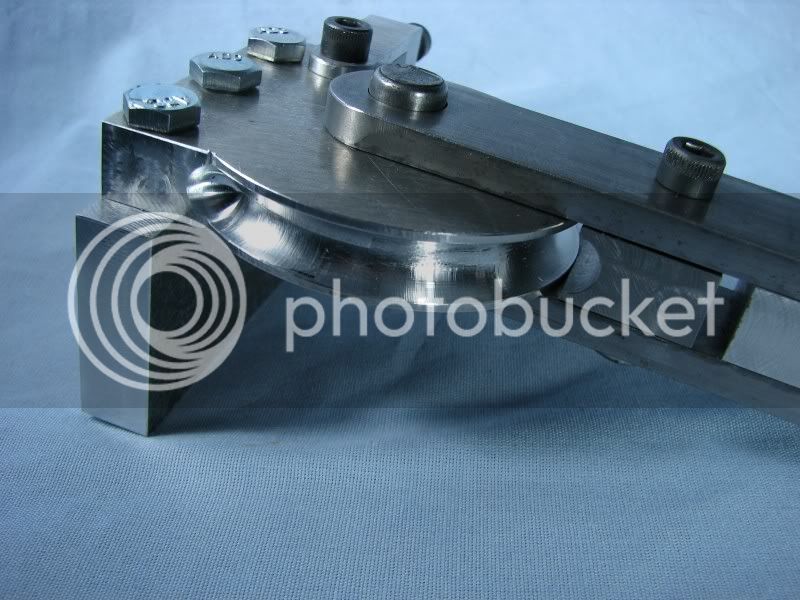
V-twin tubing bender

Home Model Engine Machinist Forum

Help Support Home Model Engine Machinist Forum:

This site may earn a commission from merchant affiliate links, including eBay, Amazon, and others.

gbritnell

Project of the Month Winner!!!
Project of the Month Winner
Joined
Jul 16, 2007
Messages
3,047
Reaction score
1,159
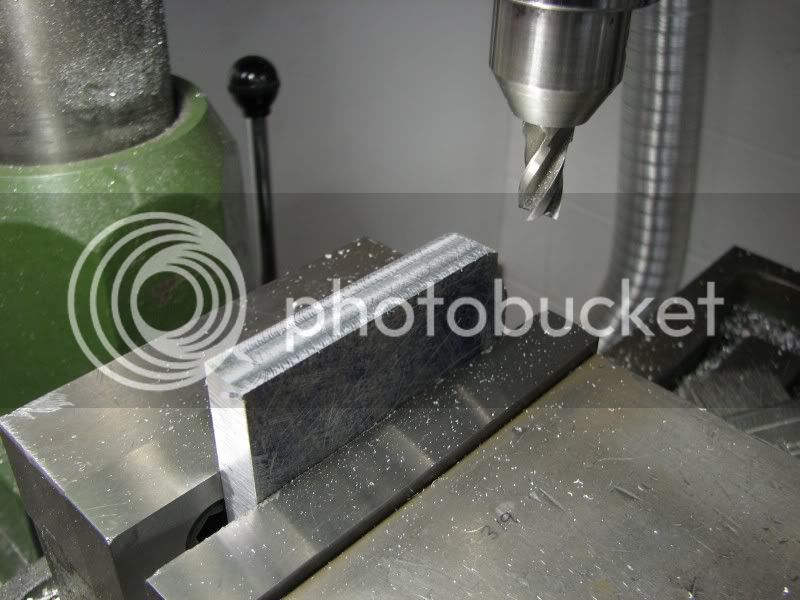
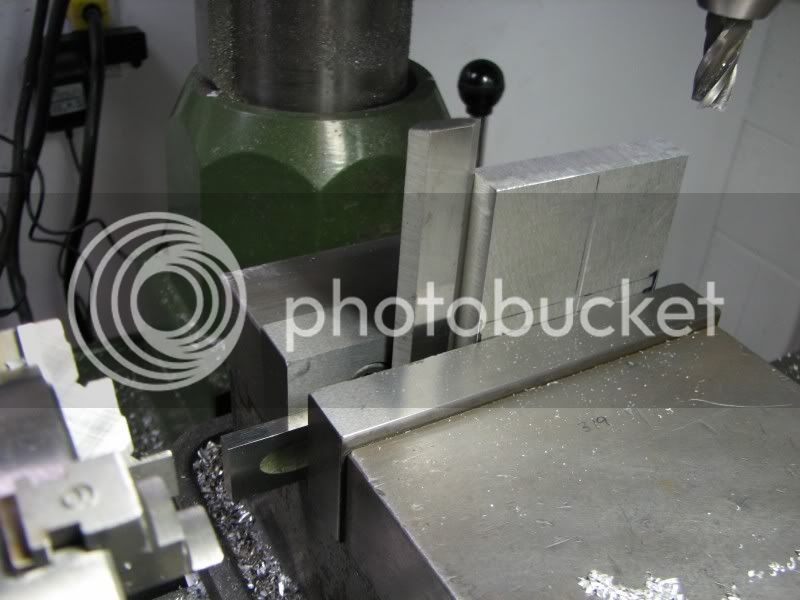
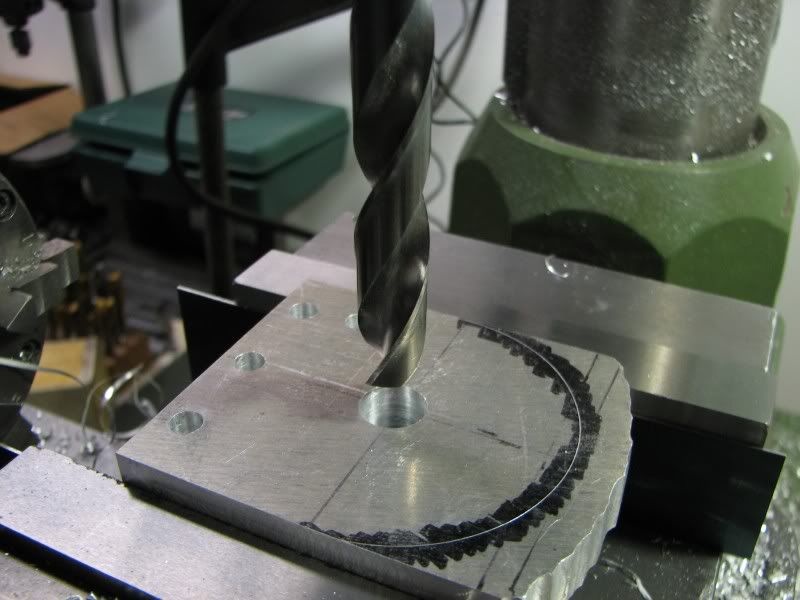
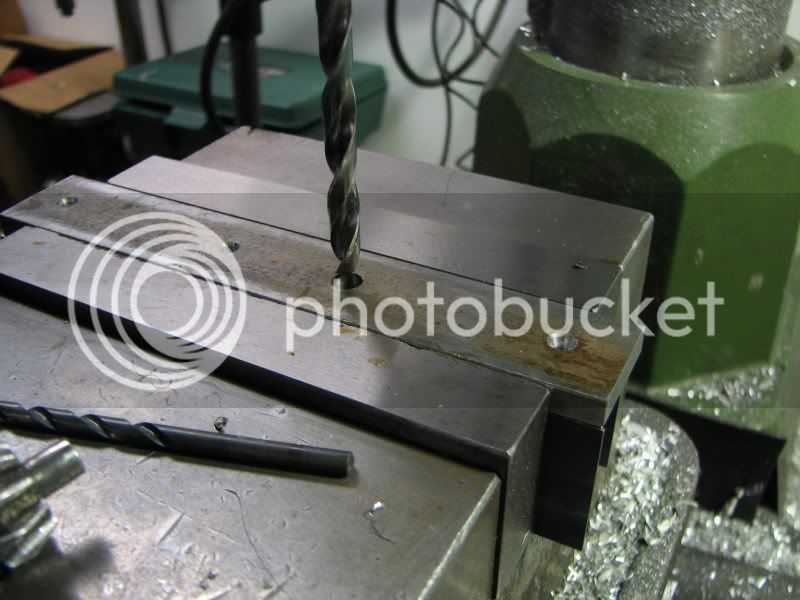
Last year I had built a tubing bender for tubing up to .312 diameter. The design of the V-twin necessitated a new bender capable of bending .375 tubing. As this one didn't need to be universal like the other one I made some quick sketches and started cutting. I decided to make the radius plate out of aluminum. The bending arms would be steel with an aluminum filler block. The clamping block and the forming die would be made from steel. I didn't go to extra pains with this because I mainly had to see if it was going to work first. There's always time to pretty it up. The first couple of pictures are just layout and squaring up the radius plate.
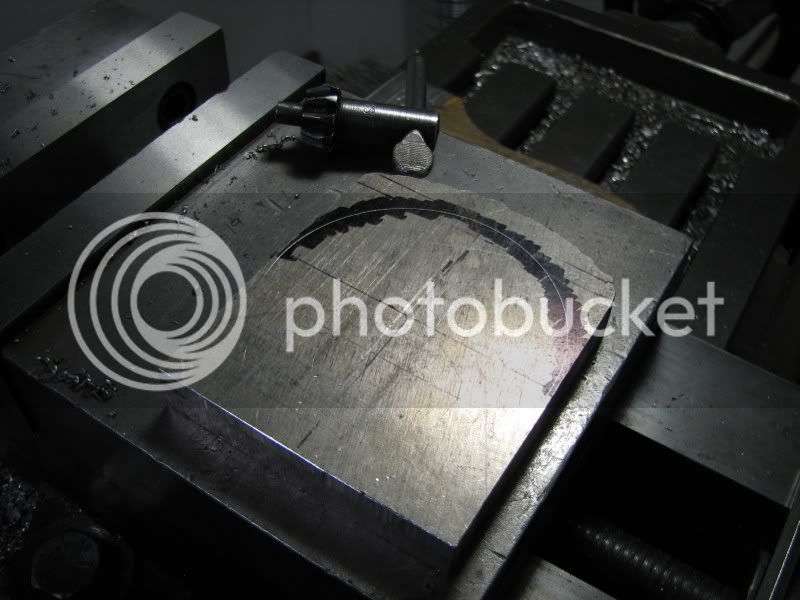
TUBINGBENDERA.jpg

TUBINGBENDERB.jpg

TUBINGBENDERC.jpg


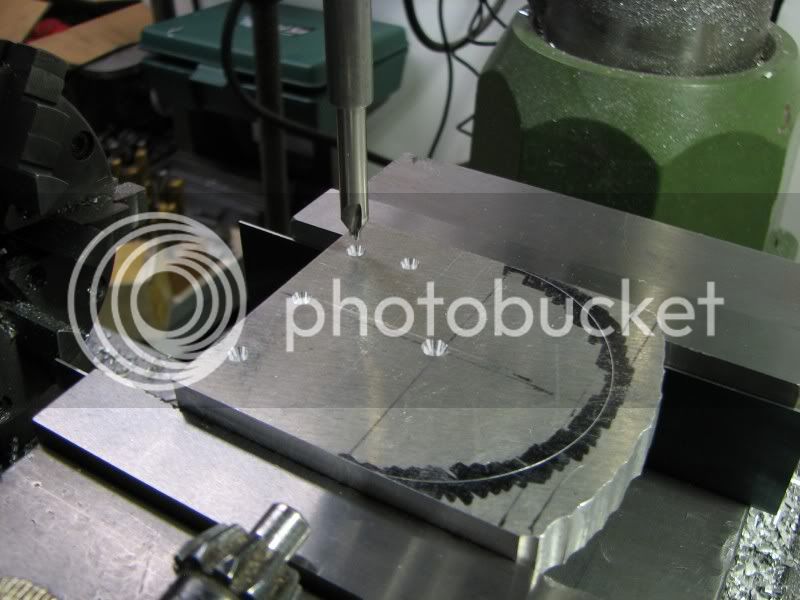
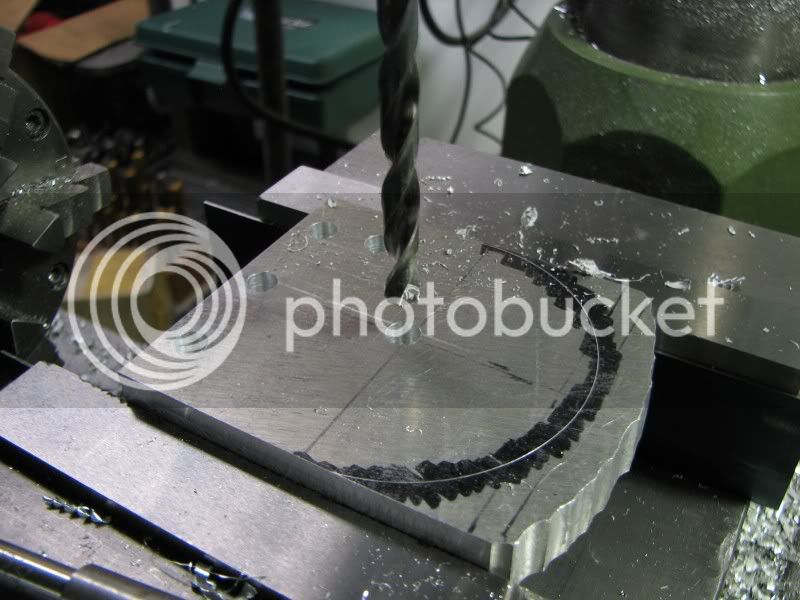
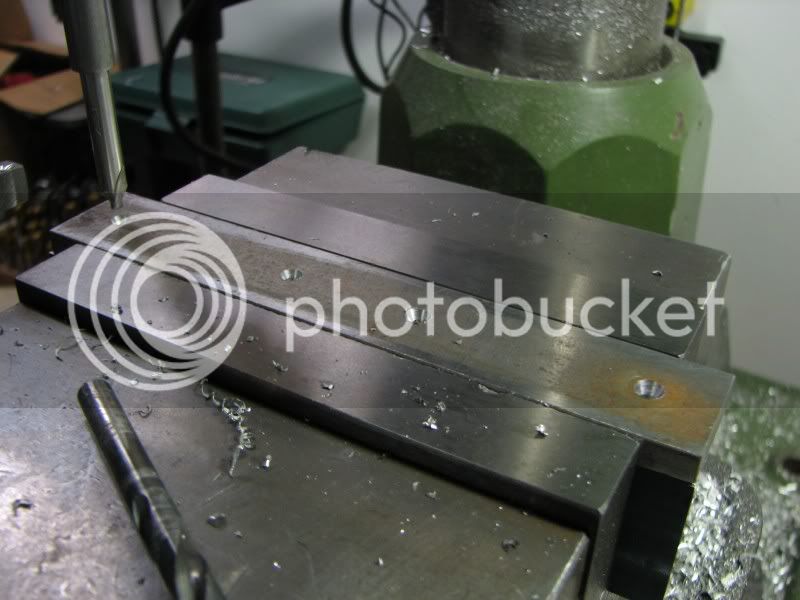
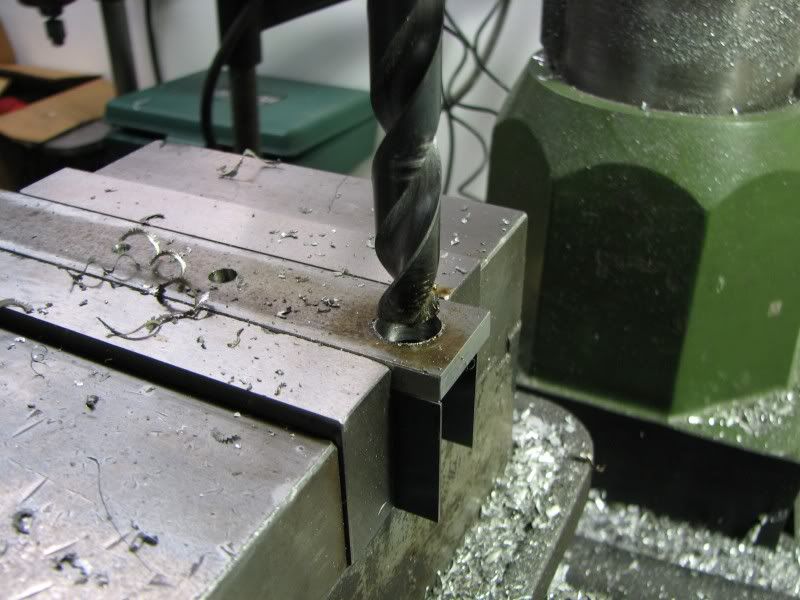
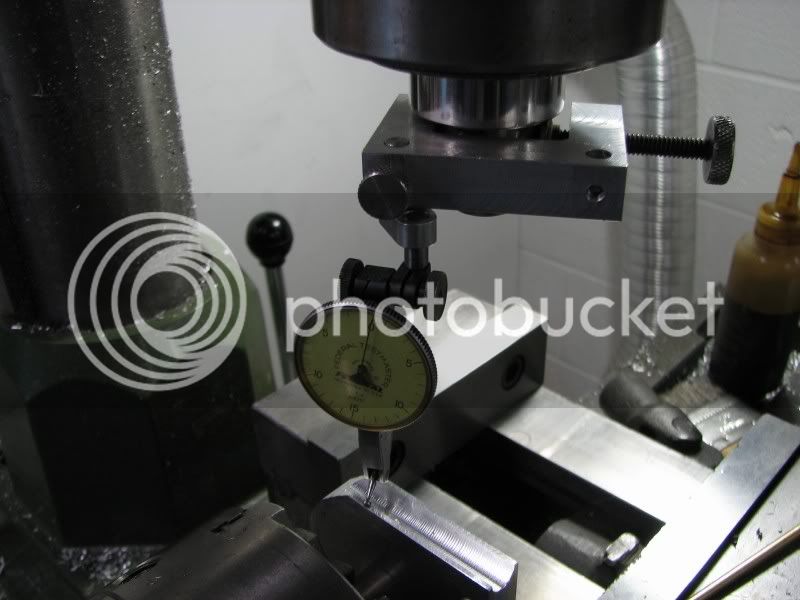
The next step was to pick up the edges with the edge finder so that I could drill all the holes, mostly .25 with a .50 hole for the pivot shaft.
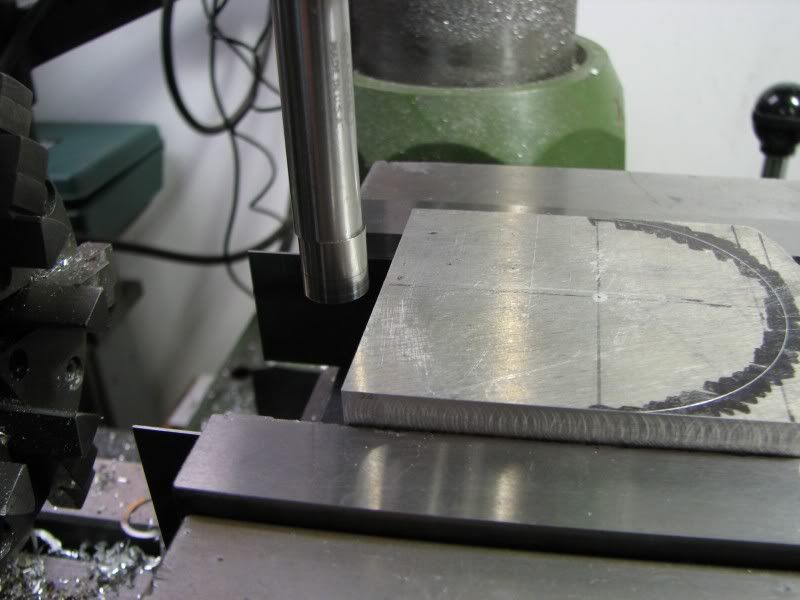
TUBINGBENDERD.jpg

TUBINGBENDERE.jpg

TUBINGBENDERF.jpg

TUBINGBENDERG.jpg


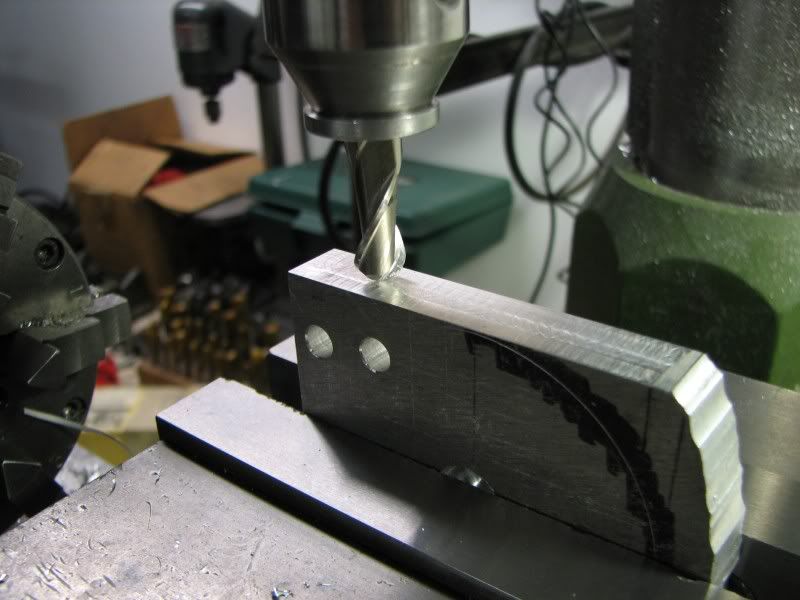
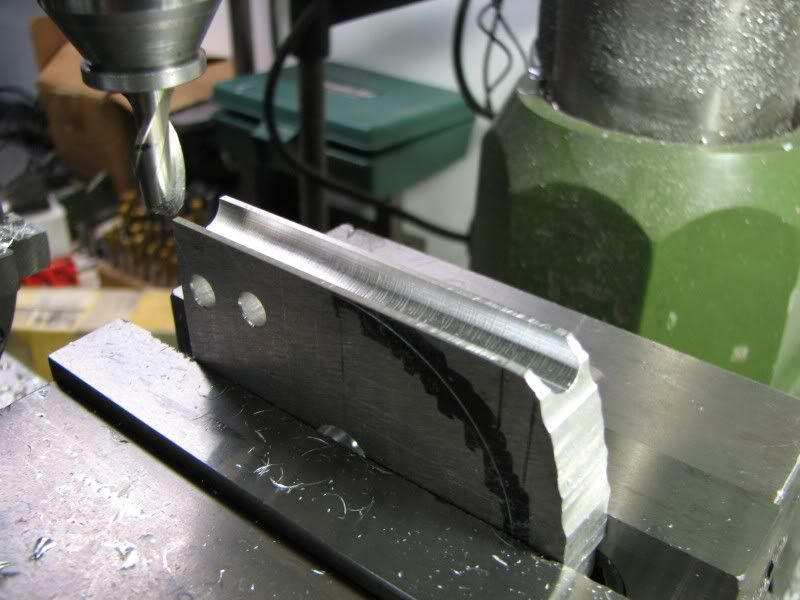
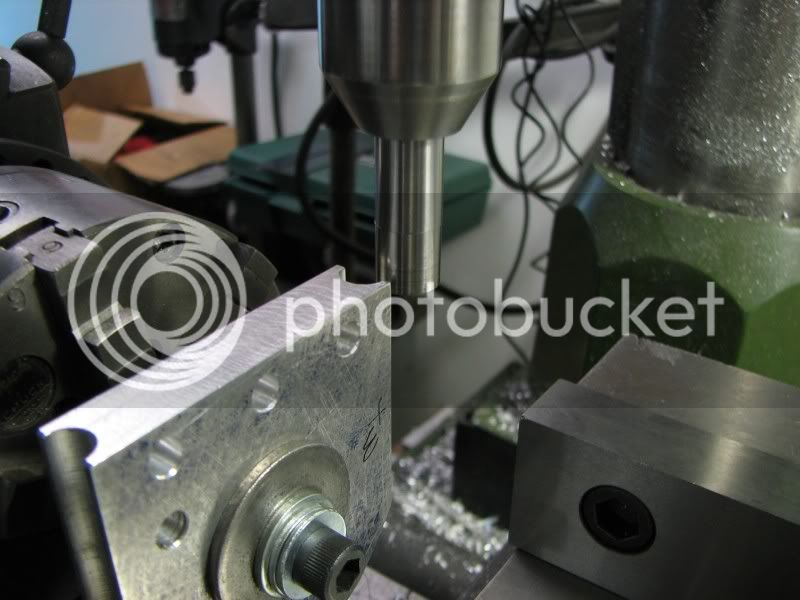
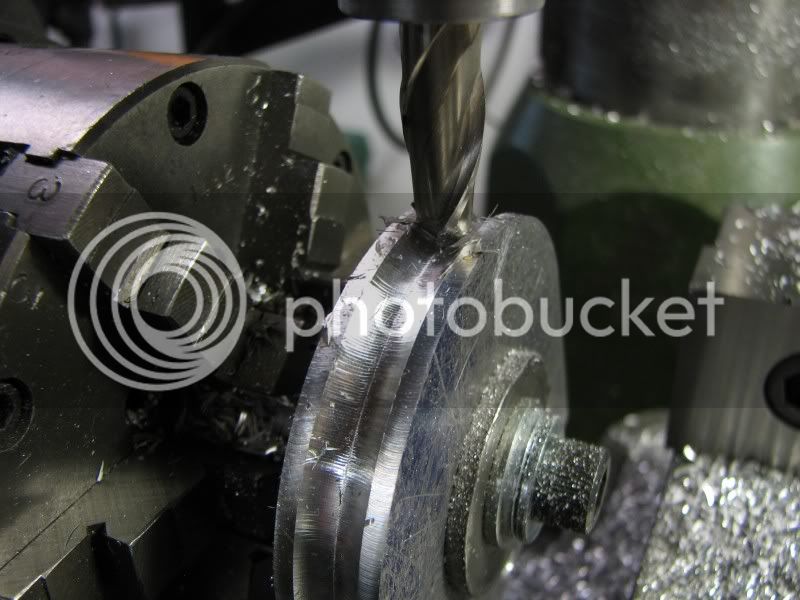
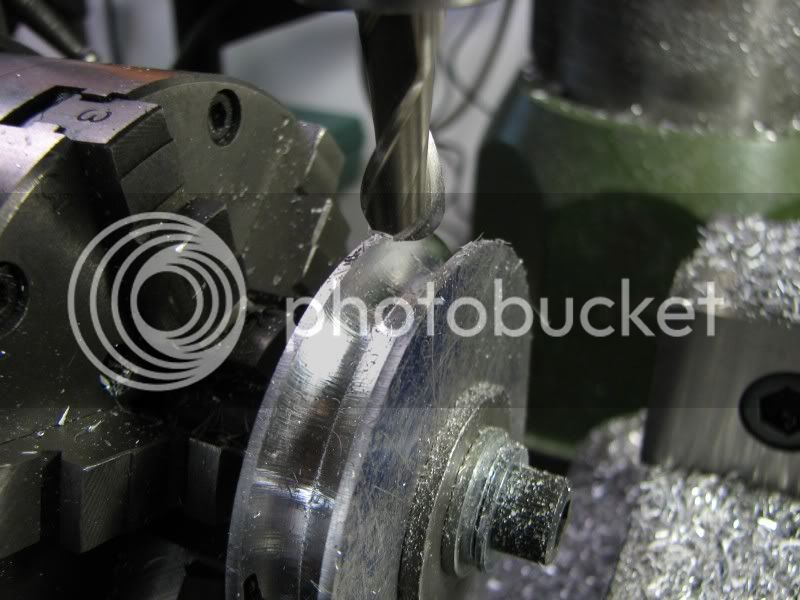
The next step was to put the .187 radius on both sides. I stood the piece on it's edge, picked up my center and made several passes with a .375 ball mill.
TUBINGBENDERH.jpg

TUBINGBENDERI.jpg


Figuring that it was going to take a substantial pull to bend this tubing I made the handle fairly robust. The outer arms are .25x1.00 C.R.S. with a piece of aluminum as a spacer. The whole lot is held together with some 1/4-20 flat head socket screw.
TUBINGBENDERJ.jpg

TUBINGBENDERK.jpg

TUBINGBENDERL.jpg


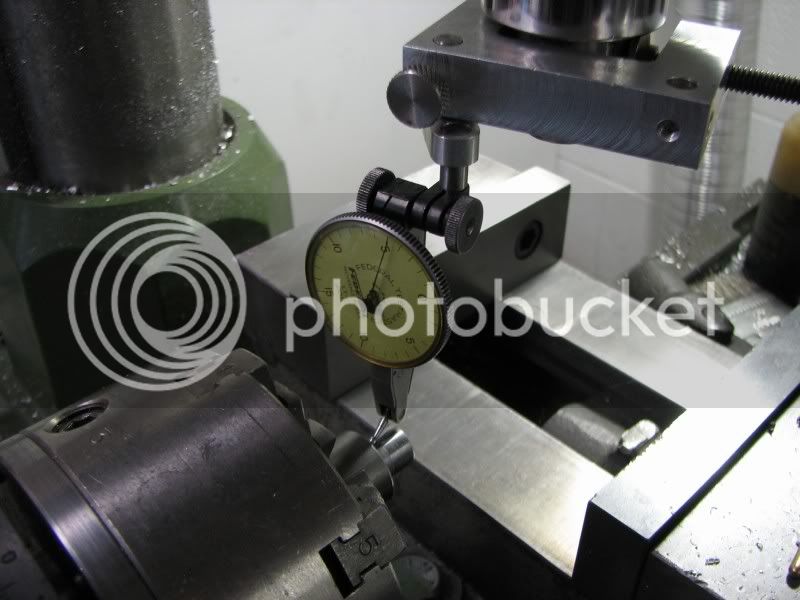
I had debated about setting my horiz/vert rotary table up to cut the radius and put the groove in but I would have had to make up spacers to get the piece far enough away from the table to get machine it with the end mill so instead I made a mounting mandrel for my dividing head. I mounted the mandrel and indicated it to true by adjusting my set true chuck, very handy tool.
TUBINGBENDERM.jpg


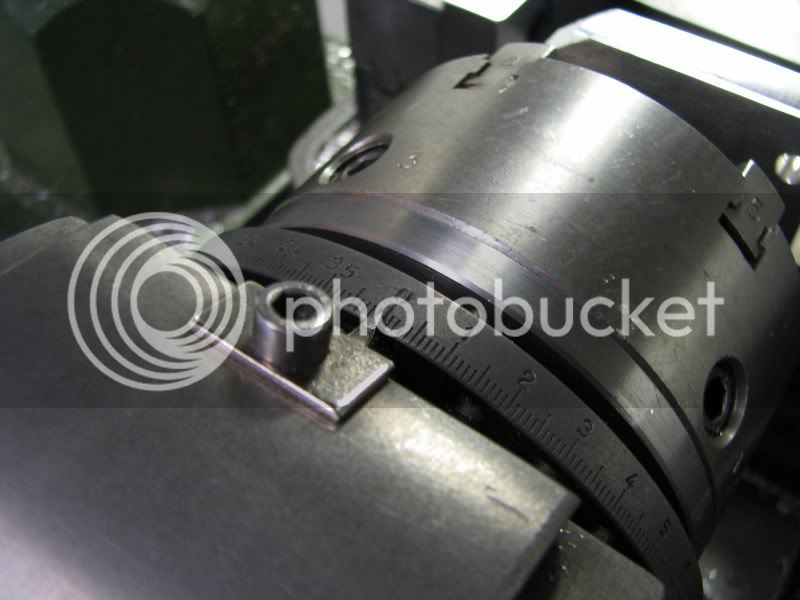
I then mounted the plate, set the head to -0- and moved the plate till it indicated flat and tightened the retaining bolt. I needed this as reference for my start and stop points.
TUBINGBENDERM.jpg

TUBINGBENDERN.jpg

TUBINGBENDERO.jpg


The last step before cutting was to get my center so that I would know where my tool edge would be.
TUBINGBENDERP.jpg


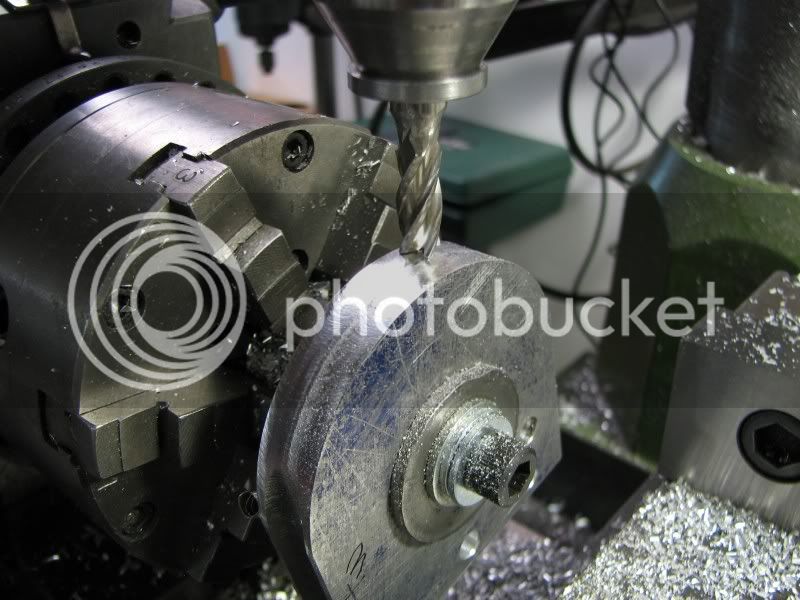
I used a .312 diameter end mill to cut the radius. With my center established I moved off center .153, just enough so that the cutter would cut flat at the center line. When cutting a radius in this manner it leaves scalloping because you're working around a radius with just the cutting edge of the cutter. In this case it doesn't matter because I only needed the outside edge cleaned up. The center would be cut out with the ball mill.
TUBINGBENDERP.jpg

TUBINGBENDERQ.jpg

TUBINGBENDERR.jpg


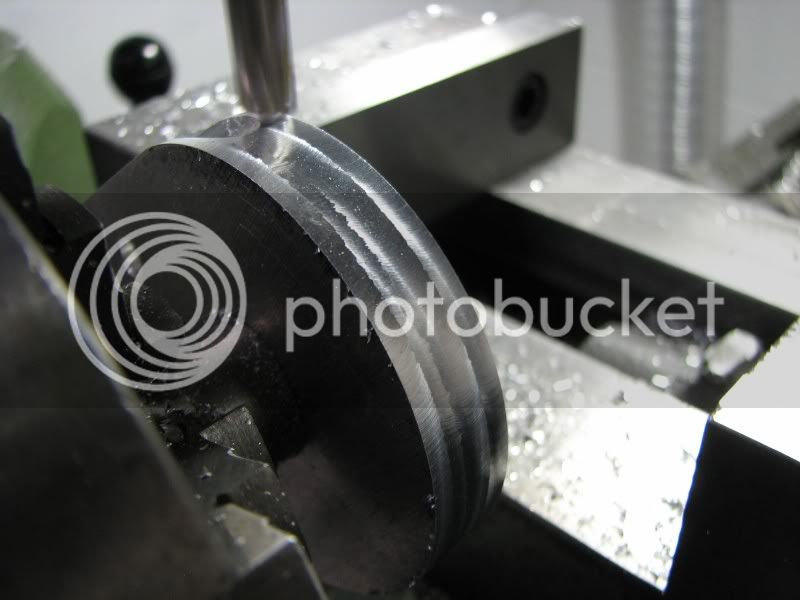
I then moved back to center and put the .375 ball mill in. My first cut was about .08 deep but the set-up didn't like that much cut, especially with a ball mill. With a relatively flat cutting edge they like to bang, even when new. I reduced my depth and made 4-5 passes. It came out quite nicely.
TUBINGBENDERS.jpg

TUBINGBENDERT.jpg


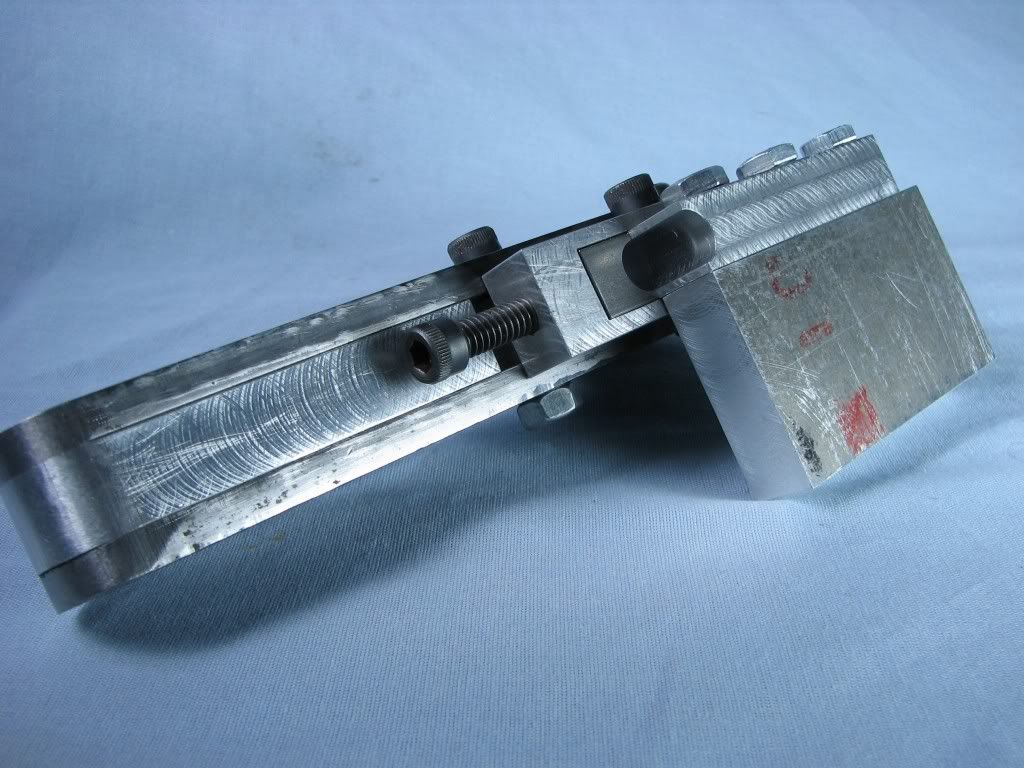
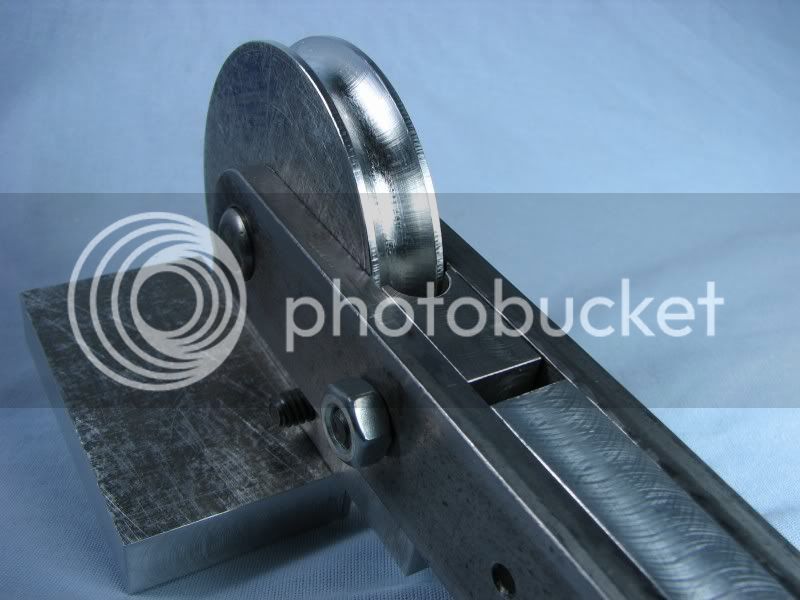
I didn't show the steps for making the clamp and forming die. They were just normal milling, drilling and tapping. The final pictures are with everything assembled. Like I stated at the beginning, if everything works well I'll go back and clean it all up. For now I just want to get the tubing bent. I bought some low temperature alloy (cerrobend) to fill the tubing before I start bending. Hopefully this will result in some nice bends.
George
TUBINGBENDERU.jpg

TUBINGBENDERV.jpg

TUBINGBENDERW.jpg

TUBINGBENDERX.jpg
 
Nice bender George. :bow:

For larger sizes of copper tube I have had good success with Resin. Downside, it's a pain melting it in and melting it out after bending.

Best Regards
Bob
 
Well to say the least, I am elated, thrilled and if you will, gobsmacked.
I cut length of 304 stainless tubing, .028 wall, annealed. I made up a crude double boiler from an old coffee can and put my Cerro alloy in it. In another pot I brought some water to a boil. The reason for the second pot was to immerse the tube in it to keep it up to temperature. I wasn't sure how quickly the alloy would set. I made a nylon plug for the one end of the tube. When the Cerro was liquid, I poured it into the tube. Once filled I ran it under cool water to solidify the alloy.
I then put the piece of tube into the bender and locked it down. I debated about oiling the tubing as I hadn't done anything like this before but figured this was a test piece anyway.
The worst part about the whole job was having to go out to the cold garage to clamp the bender into my big bench vise. I put a 12" adjustable wrench on the bending lever and starting pulling. To my surprise it bent fairly easy. I needed a 90 degree elbow so I continued to pull until I was a little past 90 to account for a little bit of spring.
It looked good but the light wasn't very good in the garage to I hustled down to my shop to take the tube out of the bender.
Back to my opening line!!!!
Here are a few pictures of the steps and the result.
George

NU.jpg


NV.jpg


NW.jpg
 
When I was finished bending I placed the tube with the Cerro alloy into a pot of boiling water. The alloy softened and ran out forming a puddle in the bottom of the pot. I ran some cold water into the pot, the metal solidified, I drained the water and threw the alloy back into the melting pot.
You can see by the pictures that the bend is for all practical purposes, perfect. No gouges, no flat spots, just a nice smooth bend. Well today was a learning day for me. In the future this will be my tube bending technique of choice.
George

NY.jpg


NX.jpg
 

Latest posts

Back
Top