You are using an out of date browser. It may not display this or other websites correctly.
You should upgrade or use an alternative browser.
You should upgrade or use an alternative browser.
Stuart D10 - First test run
- Thread starter Patrik
- Start date

Help Support Home Model Engine Machinist Forum:
This site may earn a commission from merchant affiliate
links, including eBay, Amazon, and others.
- Joined
- Jun 4, 2008
- Messages
- 3,290
- Reaction score
- 635
great looking runner. Any build pics? 
Well there is some tidying up to do and of course polishing and painting.
I don't have to many build photos from the beginning of the build but i do have a album/set over at flickr.
The link is here http://www.flickr.com/photos/iccccie/sets/72157625802175207/
I don't have to many build photos from the beginning of the build but i do have a album/set over at flickr.
The link is here http://www.flickr.com/photos/iccccie/sets/72157625802175207/

$403.09
DM14 Engine Build Kit, Metal Engine Build Model Great Metal Material for Engineer for Factory
Easoger Official

$28.51
$45.00
Key Contemporary Buildings: Plans, Sections and Elevations (Key Architecture Series)
Lions Den Books321

$15.99 ($0.05 / Count)
$18.99 ($0.06 / Count)
HongWay 300pcs 2 Inches Sanding Discs Pad Kit for Drill Sanding Grinder Rotary Tools with Backer Plate Shank and Soft Foam Buffering Pad, Sandpapers Includes 60-3000 Grit
HongWay US

$190.00
$254.99
Genmitsu CNC 3018-PRO Router Kit GRBL Control 3 Axis Plastic Acrylic PCB PVC Wood Carving Milling Engraving Machine, XYZ Working Area 300x180x45mm
SainSmart Official

$156.90 ($1.40 / oz)
Replacement Combustion Chamber Kit, Burnham V8 and V8H, 1-6 Sec, 108136-01, 1129
Lynn Manufacturing

$94.99
$109.99
AHS Woodmaster 4400 Maintenance Kit for Outdoor Wood Boiler Treatment
Alternative Heating & Supplies

$39.99
$49.99
Sunnytech Low Temperature Stirling Engine Motor Steam Heat Education Model Toy Kit For mechanical skills (LT001)
stirlingtechonline

$45.99
Sunnytech Mini Hot Air Stirling Engine Motor Model Educational Toy Kits Electricity HA001
stirlingtechonline

$99.99
$109.99
AmTech300 - Boiler Treatment Professional Strength (Rust Inhibitor For Outdoor Wood Boilers)
Alternative Heating & Supplies

$649.00
$699.00
FoxAlien Masuter Pro CNC Router Machine, Upgraded 3-Axis Engraving All-Metal Milling Machine for Wood Acrylic MDF Nylon Carving Cutting
FoxAlien Official

$104.99
Sunnytech Hot Air Stirling Engine Motor Steam Heat Education Model Toy Kit M16-CF
stirlingtechonline

$188.98
TM NEXDYNAMI RE41157 Water Pump Compatible With/Replacement For/John Deere 6200 7400 6300 6600 6500 6400 7220 7600 7200 RE41157
VIVID MARKET CORPORATION

$59.99
Sunnytech Hot Air Stirling Engine Motor Model Educational Toy Electricity Generator Colorful LED (SC001)
stirlingtechonline
Okey, so I thought why not show you the pictures I do have during the build progress?
I did not own nor had access to a mill in the beginning of the project, that's why I used the lathe in some of the steps where maybe it would have been easier in the mill.
Here we go:
This is the first photo i have on the build:
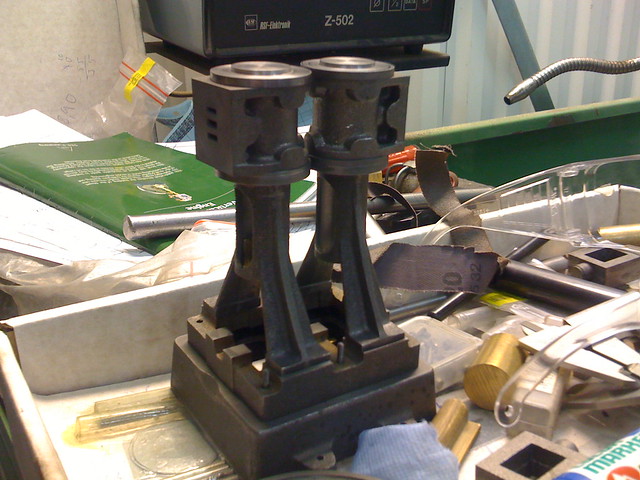
IMG_0070 by Iccccie, on Flickr
Gland nut threading:
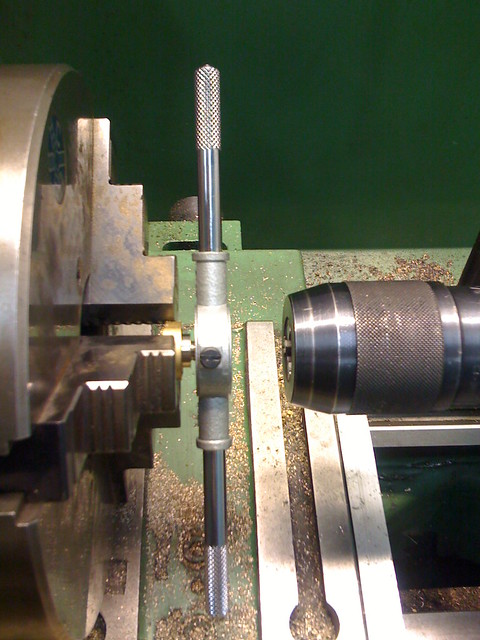
IMG_0073i by Iccccie, on Flickr
Trail fit:
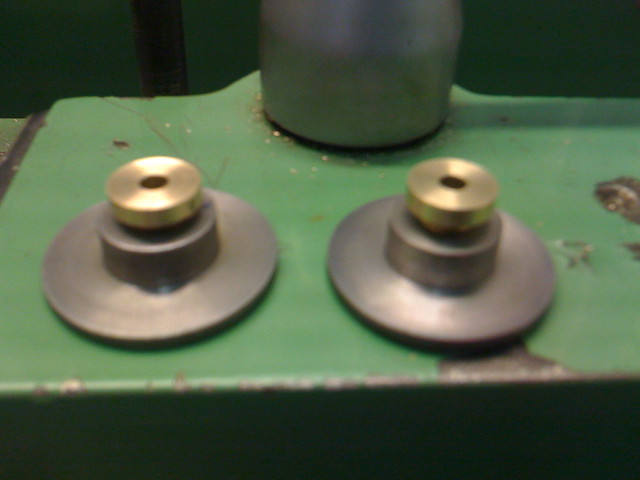
IMG_0075i by Iccccie, on Flickr
Progress so far, this crankshaft had to be remade because the diemensions from the plans did not match up with my soleplate ???
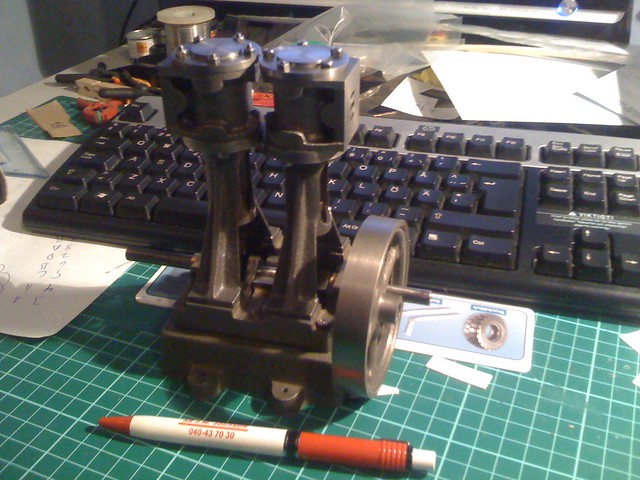
IMG_0338 by Iccccie, on Flickr
Big end first drilled the bolt holes then cut in half:
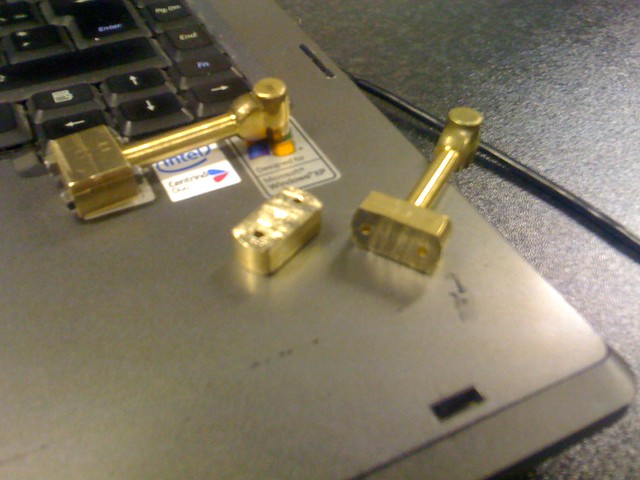
IMG_0435 by Iccccie, on Flickr
Then milled both pieces flat:
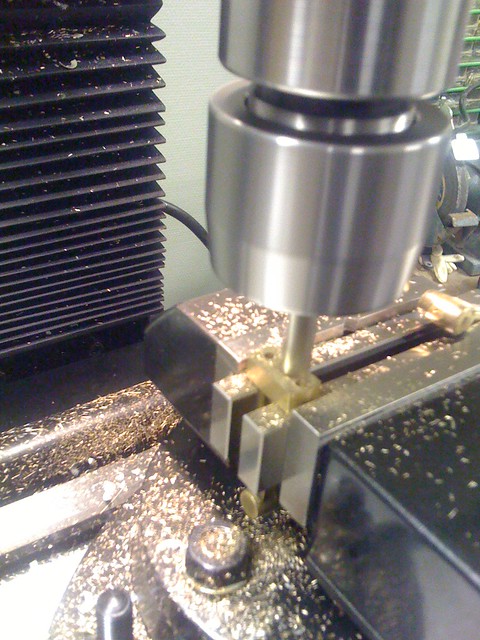
IMG_0436 by Iccccie, on Flickr
Then drilled in steps and finally reamed:
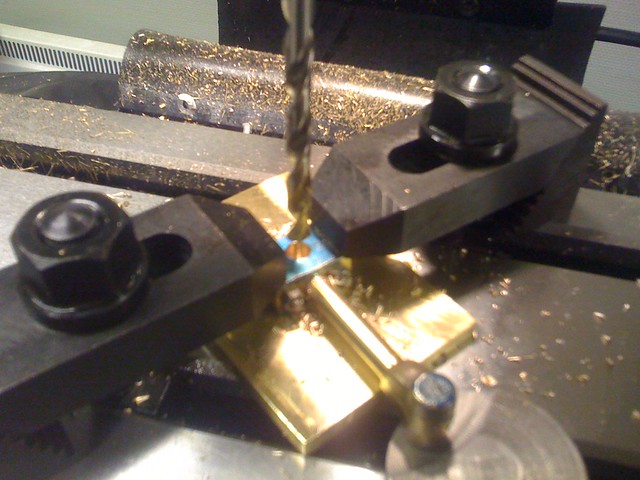
IMG_0444 by Iccccie, on Flickr
Drilled the little end in same setting so i would get the two holes parallel. Half the little end was drilled to a larger dia and also reamed so the wristping could go in from one side and threaded in the other end:
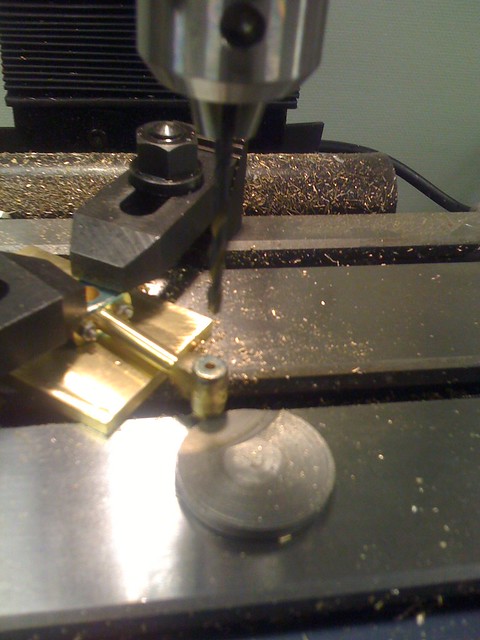
IMG_0445 by Iccccie, on Flickr
Here you can see the different sizes:
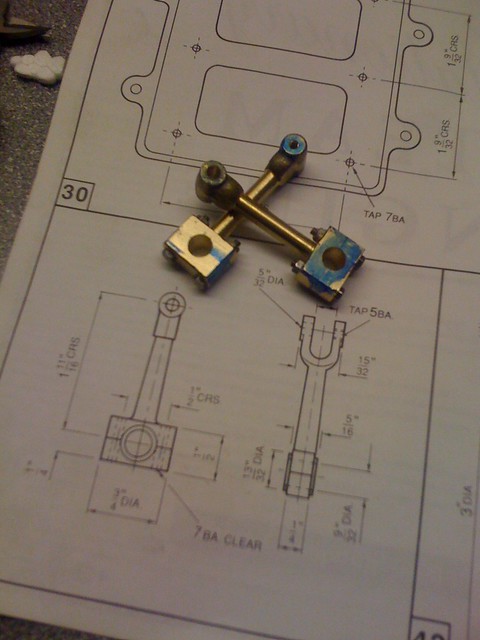
IMG_0448 by Iccccie, on Flickr
Turned the shoulders:
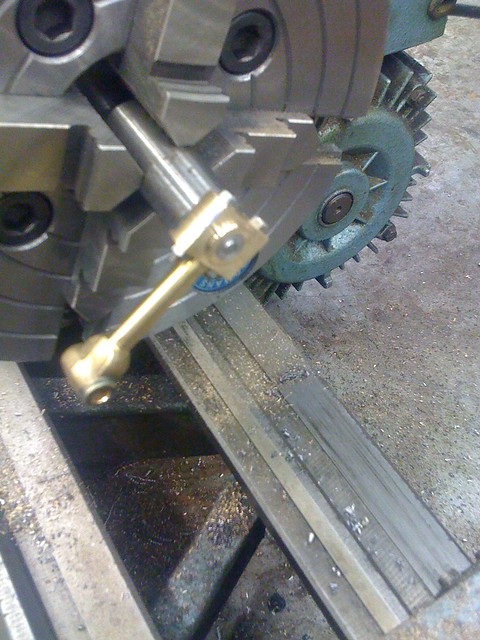
IMG_0451 by Iccccie, on Flickr
Opened up the little end:
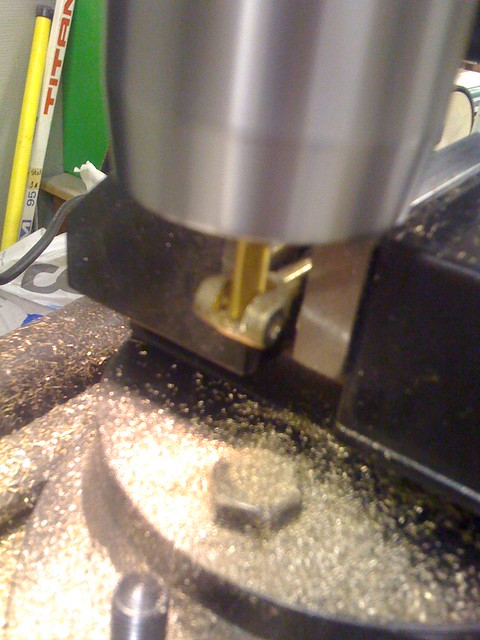
IMG_0457 by Iccccie, on Flickr
Finnished connecting rod:
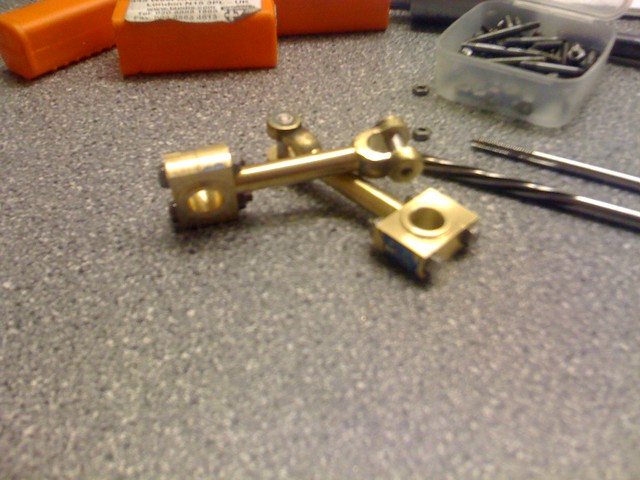
IMG_0458 by Iccccie, on Flickr
Eccentric straps bored to final size:
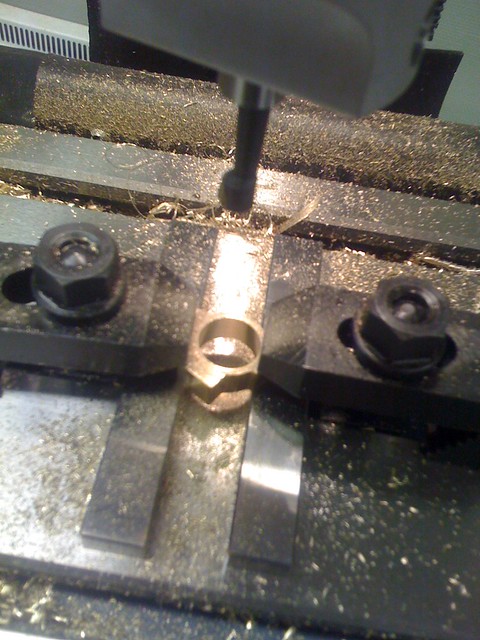
IMG_0478 by Iccccie, on Flickr
Drilled and tapped the cylinder:
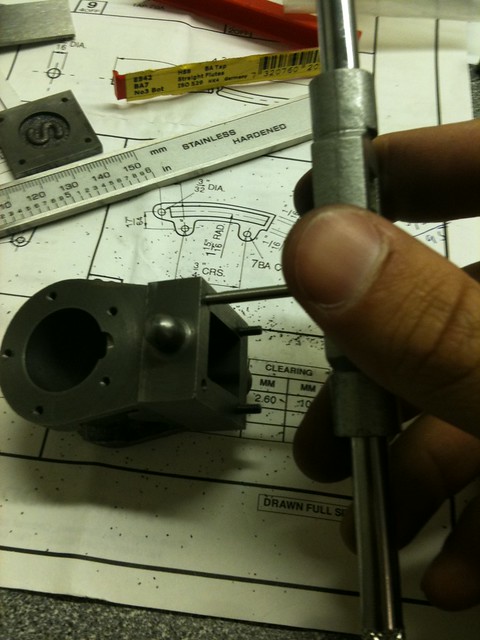
IMG_0054 by Iccccie, on Flickr
Centering the steam chest in the 4-jaw chuck using kozo's wiggler:
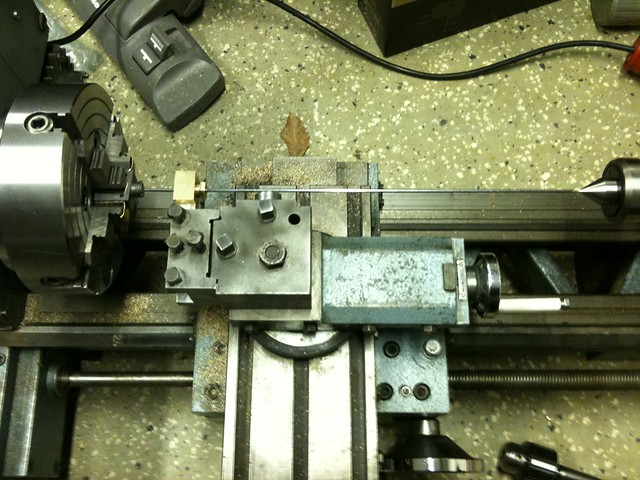
IMG_0082 by Iccccie, on Flickr
Gland boss turned and centre drilled, later drilled, reamed, drilled again and tapped:
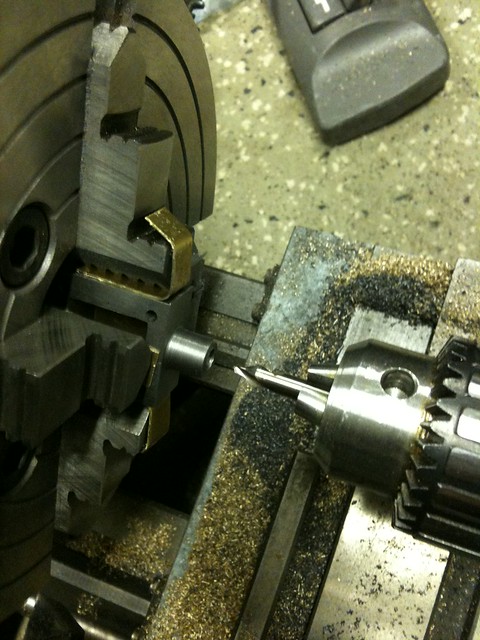
IMG_0086 by Iccccie, on Flickr
Finnished steam chest:

IMG_0086 by Iccccie, on Flickr
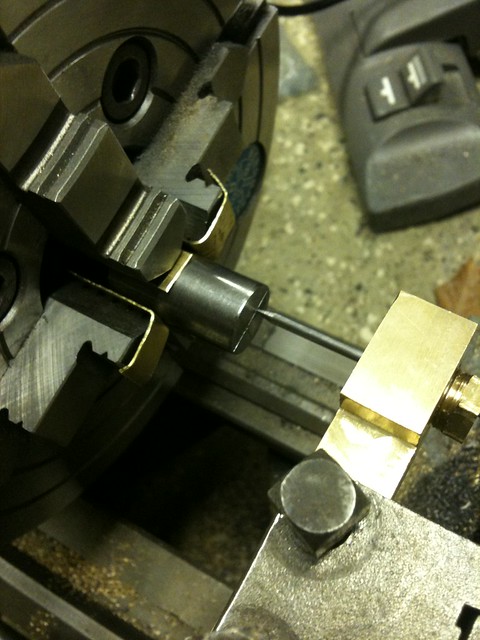
Centering the eccentric:
IMG_0103 by Iccccie, on Flickr
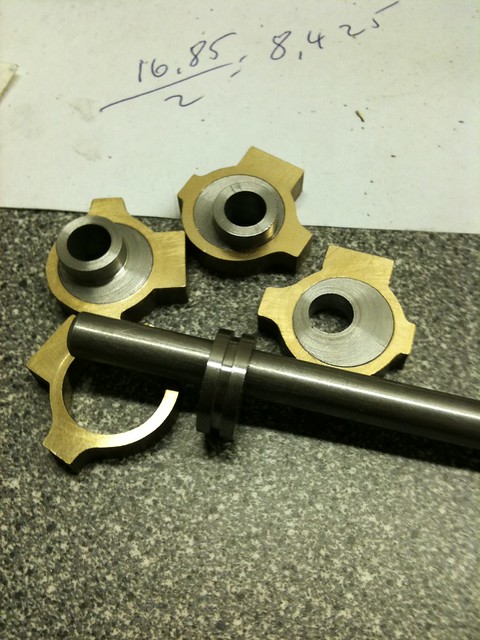
Parted off and faced:
IMG_0111 by Iccccie, on Flickr
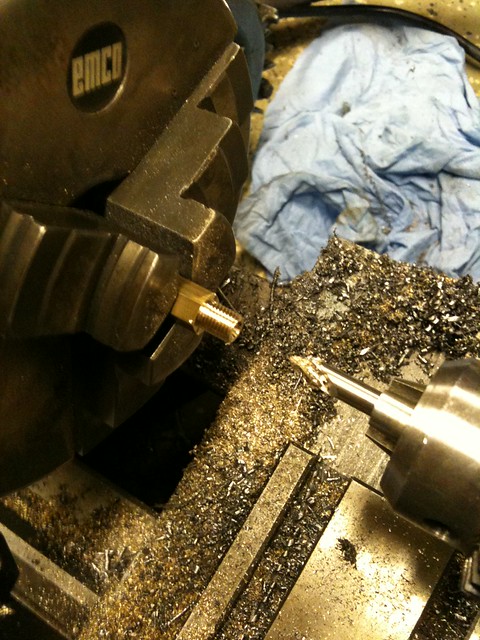
Steam chest gland nuts:
IMG_0112 by Iccccie, on Flickr
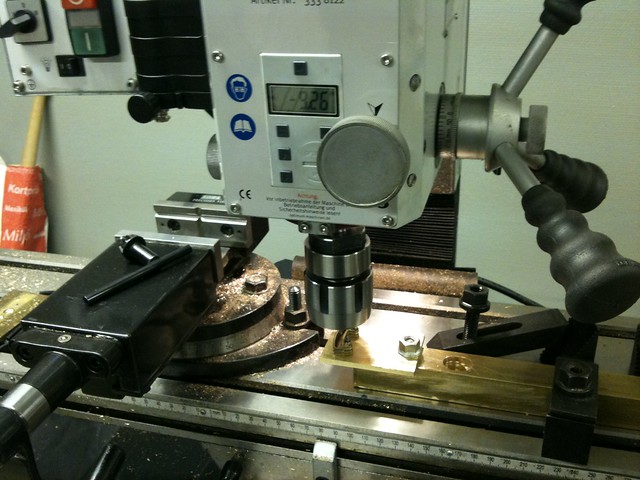
Milling the expansion links, yes both in the same run:
IMG_0129 by Iccccie, on Flickr
Valve with valve adjuster
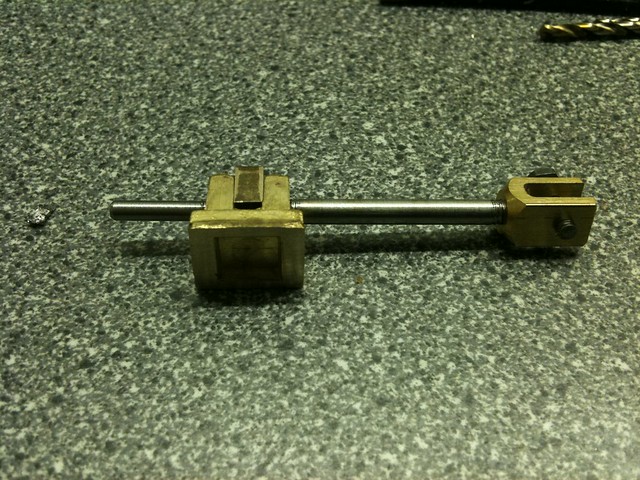
IMG_0142 by Iccccie, on Flickr
New crankshaft:
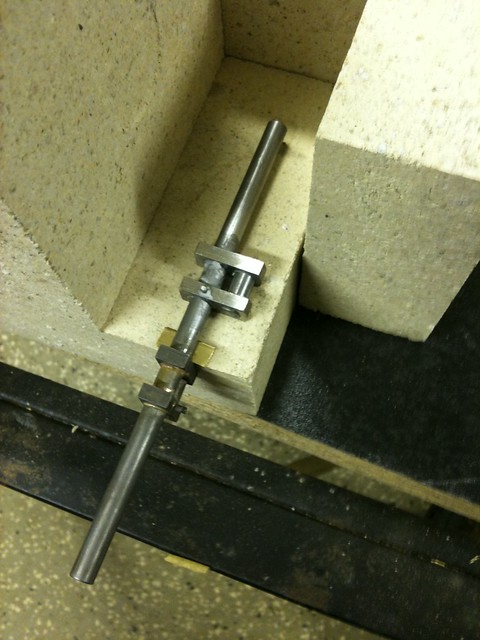
IMG_0181 by Iccccie, on Flickr
Some more progress:
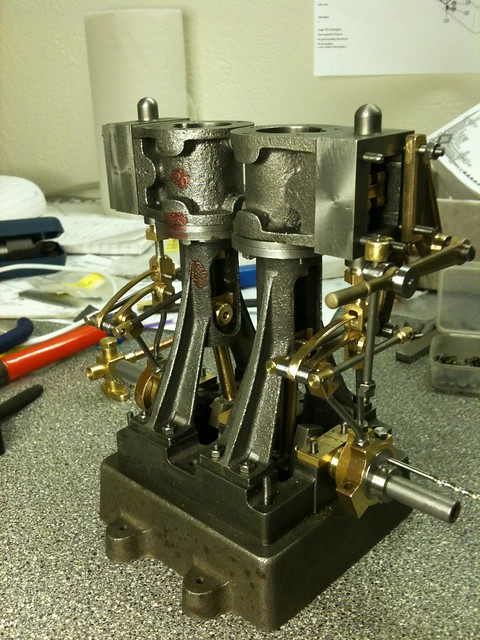
IMG_0189 by Iccccie, on Flickr
Steam inlet pipe in place:
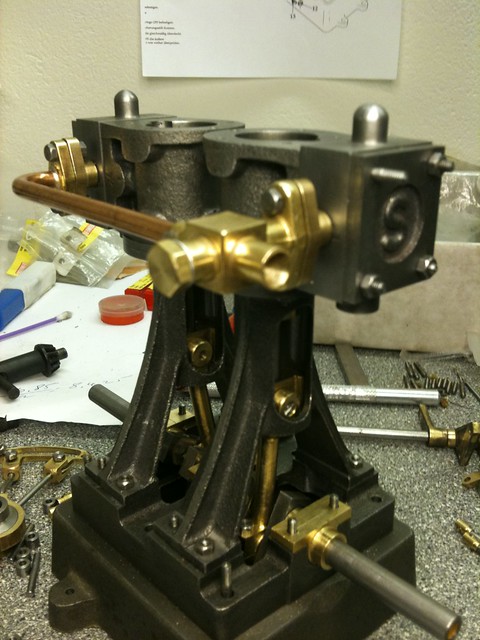
IMG_0193 by Iccccie, on Flickr
And thats all for build photos!
I hope you have enjoyed it!
I did not own nor had access to a mill in the beginning of the project, that's why I used the lathe in some of the steps where maybe it would have been easier in the mill.
Here we go:
This is the first photo i have on the build:

IMG_0070 by Iccccie, on Flickr
Gland nut threading:

IMG_0073i by Iccccie, on Flickr
Trail fit:

IMG_0075i by Iccccie, on Flickr
Progress so far, this crankshaft had to be remade because the diemensions from the plans did not match up with my soleplate ???

IMG_0338 by Iccccie, on Flickr
Big end first drilled the bolt holes then cut in half:

IMG_0435 by Iccccie, on Flickr
Then milled both pieces flat:

IMG_0436 by Iccccie, on Flickr
Then drilled in steps and finally reamed:

IMG_0444 by Iccccie, on Flickr
Drilled the little end in same setting so i would get the two holes parallel. Half the little end was drilled to a larger dia and also reamed so the wristping could go in from one side and threaded in the other end:

IMG_0445 by Iccccie, on Flickr
Here you can see the different sizes:

IMG_0448 by Iccccie, on Flickr
Turned the shoulders:

IMG_0451 by Iccccie, on Flickr
Opened up the little end:

IMG_0457 by Iccccie, on Flickr
Finnished connecting rod:

IMG_0458 by Iccccie, on Flickr
Eccentric straps bored to final size:

IMG_0478 by Iccccie, on Flickr
Drilled and tapped the cylinder:

IMG_0054 by Iccccie, on Flickr
Centering the steam chest in the 4-jaw chuck using kozo's wiggler:

IMG_0082 by Iccccie, on Flickr
Gland boss turned and centre drilled, later drilled, reamed, drilled again and tapped:

IMG_0086 by Iccccie, on Flickr
Finnished steam chest:

IMG_0086 by Iccccie, on Flickr
Centering the eccentric:

IMG_0103 by Iccccie, on Flickr
Parted off and faced:

IMG_0111 by Iccccie, on Flickr
Steam chest gland nuts:

IMG_0112 by Iccccie, on Flickr
Milling the expansion links, yes both in the same run:

IMG_0129 by Iccccie, on Flickr
Valve with valve adjuster

IMG_0142 by Iccccie, on Flickr
New crankshaft:

IMG_0181 by Iccccie, on Flickr
Some more progress:

IMG_0189 by Iccccie, on Flickr
Steam inlet pipe in place:

IMG_0193 by Iccccie, on Flickr
And thats all for build photos!
I hope you have enjoyed it!
Nice, thanks for the post - I bought that kit over a year ago and got sidetracked doing other things - so I appreciate anything you post on that motor.
nice runner.
Ken
nice runner.
Ken
bezalel2000
Well-Known Member
- Joined
- May 8, 2011
- Messages
- 316
- Reaction score
- 7
Hi Pat
I enjoyed the build pics Thm:
Thanks for sharing
Bez
I enjoyed the build pics Thm:
Thanks for sharing
Bez
What exactly was the mismatch between crank and soleplate dimensions that caused you to remake the crank ?
As I mentioned earlier - I have that kit - forewarned is forearmed.
Ken
As I mentioned earlier - I have that kit - forewarned is forearmed.
Ken
Ken I said:What exactly was the mismatch between crank and soleplate dimensions that caused you to remake the crank ?
As I mentioned earlier - I have that kit - forewarned is forearmed.
Ken
Ken,
I can't remember the exact number but I think it was around 1mm.
I should point out that this was only one of the reasons for rebuilding the crankshaft, it got a little bent during the clean up process (didn't know it was so delicate :-[ ) And also, the first soleplate i got (the one i built the crank after) was full of hardspots and did not machine very well, so i contacted Stuart models and received a new soleplate with better dimensions. Always had good support from Stuart Models!!! Cheers to that!
So your soleplate doesn't have to be out of dimension, but to be sure - check it. Lay out the holes for the stands and it will pretty much show if the soleplate is in dimension or not!
Thanks very much for the detailed reply.
My Stuart is very much on a back burner - I found this site after I ordered the kit - decided to build Gerry's beam engine first just to see if my skills held up before ruining the Stuart.
Since then I have been sidetracked designing and building engines that piqued my fancy (V4 Wobbler, Improbable inside out radial and I'm working on designs for an elbow engine and another inside out radial).
But when I do get to it I hope I manage as well as you, keep up the great postings.
Thanks,
Ken
She's a beaut! I love the fact that Stuart uses a lot of cast iron in their sets. I've built a couple of Tiny Power steam engines from castings, and while they are very nice, the all-bronze and brass doesn't look as nice (IMO) as the contrast you get with brass, bronze, and cast iron.
With an engine that nice, the paint is going to be a big deal. I may have missed it, but are you going to airbrush enamel?
With an engine that nice, the paint is going to be a big deal. I may have missed it, but are you going to airbrush enamel?
Similar threads
- Replies
- 57
- Views
- 5K


