- Joined
- Oct 1, 2010
- Messages
- 1,418
- Reaction score
- 443
As you may know, I've been more busy outside the shop than inside it because of
family adventures and illnesses.
I've been working on several projects for quite a while now, and it's probably time to turn some bits and pieces into threads. I also bit the bullet and started paying into Photobucket so I hope you can see my photos.
One of the decisions I made a few years back was to continue using the 7x MiniLathe and to work to make it better, despite my desire to find another lathe.
As it stands now, it looks a little strange with some of the modifications in place, but it is definitely better in operation.
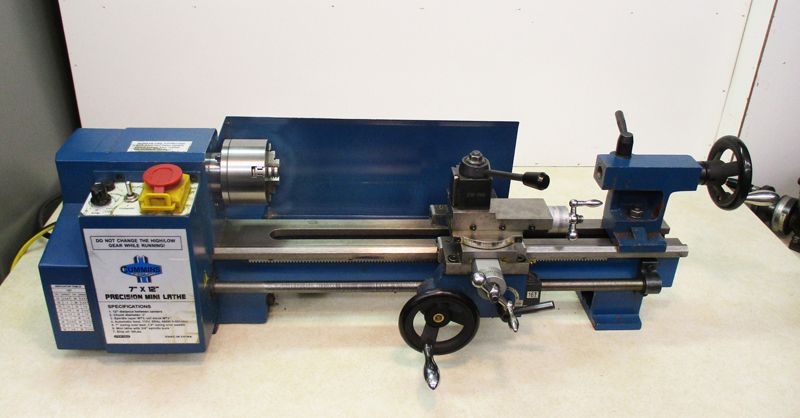
For others with one of these, I'll include some history of my choices.
Before starting, the bed was "bellied" due to a poor casting, and the controls were getting erratic. The 3-jaw chuck was badly eccentric with worn jaws, but I really liked having it installed most of the time..
Since I'm in the USA, I took advantage of LittleMachineShop for some, but not all, of the parts. I have to be honest to report that I started before COVID, so supply was good and prices had not risen. (And I have to add the disclaimer that I am not related to LMS other than as a satisfied customer.)
I started with the 16-inch bed extension, which was supplied with not only the bed, but leadscrew, gear rack, and other parts.
The bed arrived in red, but a cross-reference chart for colors to match the other brands is supplied. I used a Ford color to match my "Cummins" paint scheme. Before painting, I masked the ways with layers of duct tape and knocked as much scale and roughness off the rest of the casting and sanded non-critical surfaces as well as I could. After sanding, I removed that tape, cleaned everything with solvent and remasked with masking tape for painting. The goal of all that was to provide fewer places for chips and dirt to stick or hide. I waited several days after painting before assembling.
I also ordered the parts to convert all the leadscrews and dials to solve the mini-lathe's unusual calibration and convert to a standard .001 inch-per-increment. I debated using the metric parts instead of the US ones, but I decided to stay with inches.
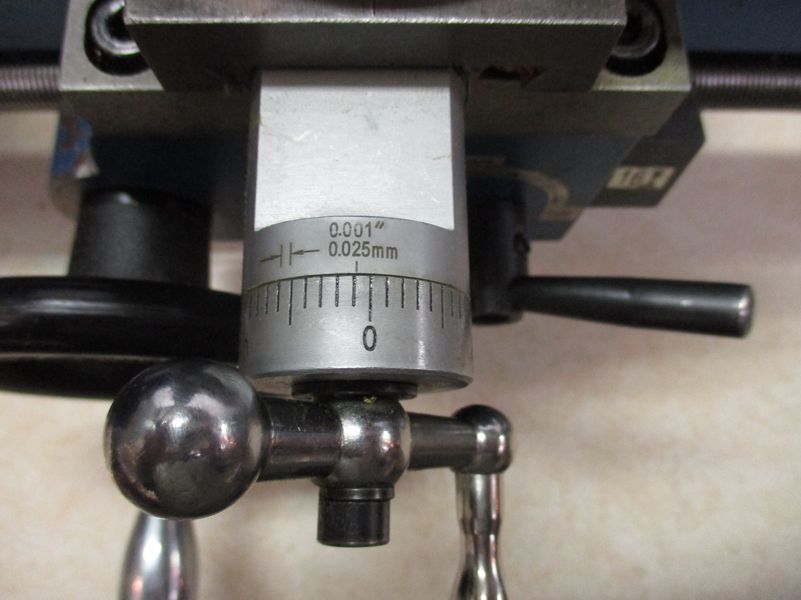
I replaced the headstock bearings with tapered roller bearings. If you contemplate this, there is a bushing that needs to be replaced or modified as the bearings are axially larger than stock. I ordered the bushing. On reassembly, I replaced the main drive gears with metal gears, but I decided to keep the plastic change gears to save money. This was pre-COVID, so one could buy quite a few replacement gears for the money the metal ones cost. I did buy a few replacement gears, and I also bought a 21-tooth gear that they sell to make better combinations for metric threading, which I do from time to time.
In a previous upgrade, I had scraped the saddle, so I made sure that that was still OK. I added tapered gibs this time, and it was an improvement over the shims I had used previously.
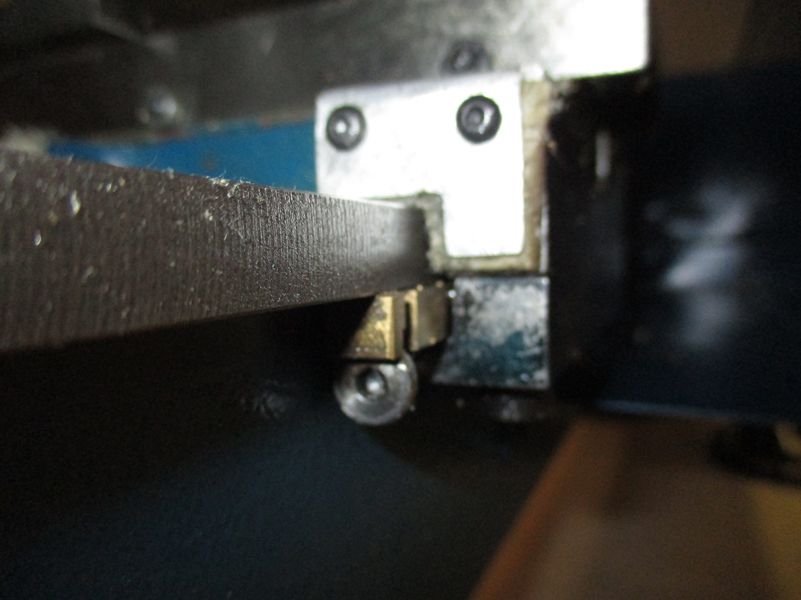
I also added way wipers this time, making the covers for them from aluminum sheet and using pieces of the felt that can be salvaged from old inkjet printers.
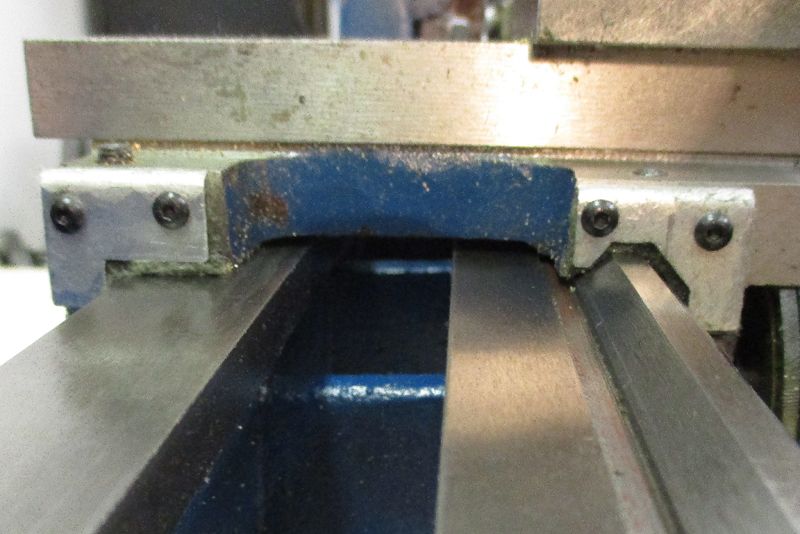
In mounting the way wipers, I found the casting for the saddle to have some hard spots and voids where I wanted to put threaded holes, so screws don't quite line up. I decided to live with it, but I came close to buying a new casting.
My lathe has always suffered with an inconsistent engagement of the half-nuts, so I scraped the dovetails where the bracket rides and tried to improve the small gib it uses. I also made a better retainer and retapped the screw holes and used new screws on reassembly.
I had previously lapped the dovetails and gibs on the compound and cross slides, but I worked on it again, and checked the alignments of everything very carefully.
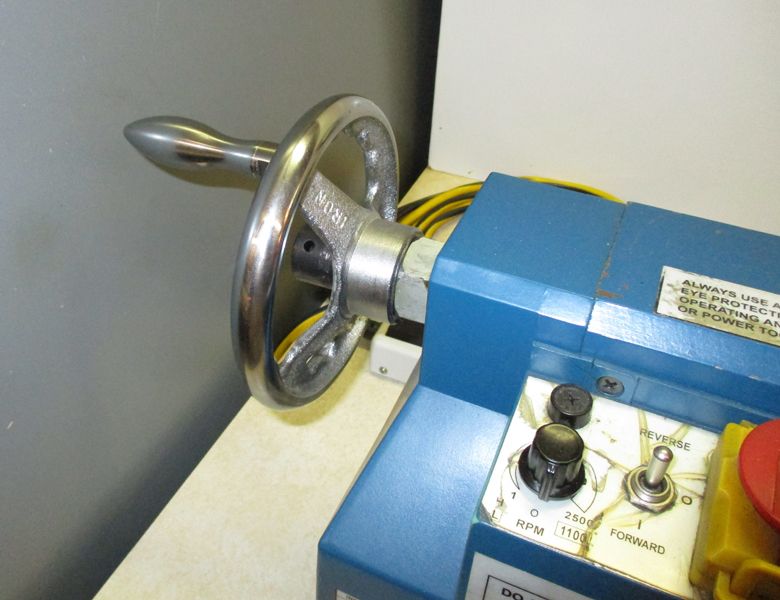
I had earlier rebuilt the mechanism used for the tailstock advance and installed a new handwheel. This time I replaced the main saddle handwheel with a similar one. It so nice to have a handwheel run true and a larger handle to turn it.
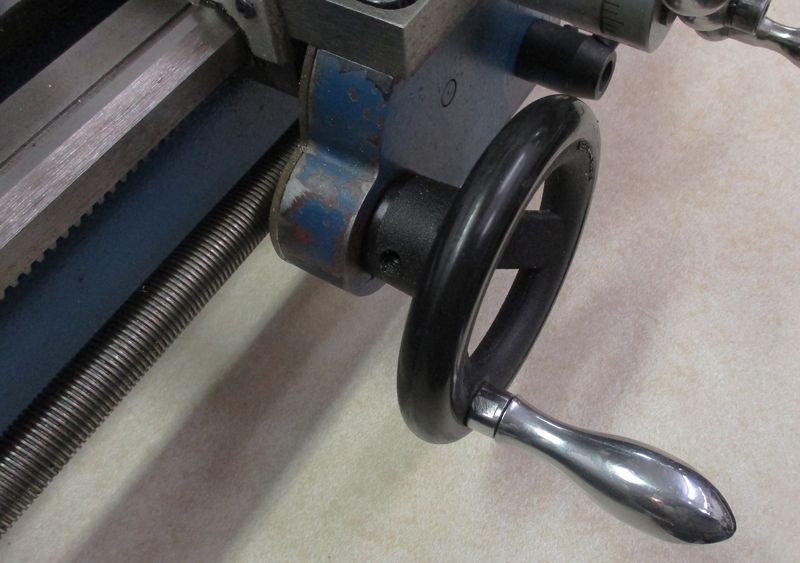
I have the lathe mounted to its stand, so before putting it back in place I releveled the stand and checked everything carefully. It is mostly just held in place, not tightened down. This is because I don't like chasing machines around on a tabletop.
To complete this round of changes, I bought a Bison precision 3-jaw chuck. It was over $350.00, but it was worth it. Centered up on the spindle with a test bar and dial indicator, it is below 0.001.
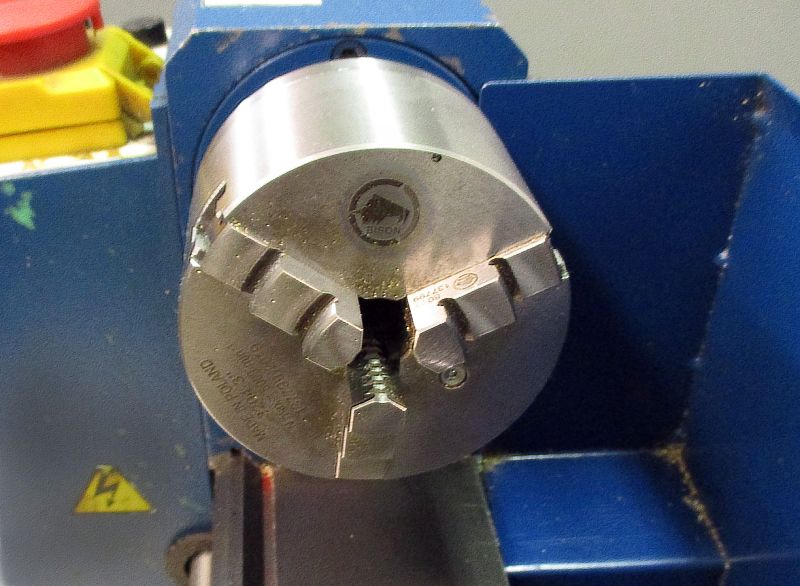
I'll close this post here, and come back with some accessories I have added and some further upgrades I may do:
--ShopShoe
family adventures and illnesses.
I've been working on several projects for quite a while now, and it's probably time to turn some bits and pieces into threads. I also bit the bullet and started paying into Photobucket so I hope you can see my photos.
One of the decisions I made a few years back was to continue using the 7x MiniLathe and to work to make it better, despite my desire to find another lathe.
As it stands now, it looks a little strange with some of the modifications in place, but it is definitely better in operation.

For others with one of these, I'll include some history of my choices.
Before starting, the bed was "bellied" due to a poor casting, and the controls were getting erratic. The 3-jaw chuck was badly eccentric with worn jaws, but I really liked having it installed most of the time..
Since I'm in the USA, I took advantage of LittleMachineShop for some, but not all, of the parts. I have to be honest to report that I started before COVID, so supply was good and prices had not risen. (And I have to add the disclaimer that I am not related to LMS other than as a satisfied customer.)
I started with the 16-inch bed extension, which was supplied with not only the bed, but leadscrew, gear rack, and other parts.
The bed arrived in red, but a cross-reference chart for colors to match the other brands is supplied. I used a Ford color to match my "Cummins" paint scheme. Before painting, I masked the ways with layers of duct tape and knocked as much scale and roughness off the rest of the casting and sanded non-critical surfaces as well as I could. After sanding, I removed that tape, cleaned everything with solvent and remasked with masking tape for painting. The goal of all that was to provide fewer places for chips and dirt to stick or hide. I waited several days after painting before assembling.
I also ordered the parts to convert all the leadscrews and dials to solve the mini-lathe's unusual calibration and convert to a standard .001 inch-per-increment. I debated using the metric parts instead of the US ones, but I decided to stay with inches.

I replaced the headstock bearings with tapered roller bearings. If you contemplate this, there is a bushing that needs to be replaced or modified as the bearings are axially larger than stock. I ordered the bushing. On reassembly, I replaced the main drive gears with metal gears, but I decided to keep the plastic change gears to save money. This was pre-COVID, so one could buy quite a few replacement gears for the money the metal ones cost. I did buy a few replacement gears, and I also bought a 21-tooth gear that they sell to make better combinations for metric threading, which I do from time to time.
In a previous upgrade, I had scraped the saddle, so I made sure that that was still OK. I added tapered gibs this time, and it was an improvement over the shims I had used previously.

I also added way wipers this time, making the covers for them from aluminum sheet and using pieces of the felt that can be salvaged from old inkjet printers.

In mounting the way wipers, I found the casting for the saddle to have some hard spots and voids where I wanted to put threaded holes, so screws don't quite line up. I decided to live with it, but I came close to buying a new casting.
My lathe has always suffered with an inconsistent engagement of the half-nuts, so I scraped the dovetails where the bracket rides and tried to improve the small gib it uses. I also made a better retainer and retapped the screw holes and used new screws on reassembly.
I had previously lapped the dovetails and gibs on the compound and cross slides, but I worked on it again, and checked the alignments of everything very carefully.
I had earlier rebuilt the mechanism used for the tailstock advance and installed a new handwheel. This time I replaced the main saddle handwheel with a similar one. It so nice to have a handwheel run true and a larger handle to turn it.

I have the lathe mounted to its stand, so before putting it back in place I releveled the stand and checked everything carefully. It is mostly just held in place, not tightened down. This is because I don't like chasing machines around on a tabletop.
To complete this round of changes, I bought a Bison precision 3-jaw chuck. It was over $350.00, but it was worth it. Centered up on the spindle with a test bar and dial indicator, it is below 0.001.

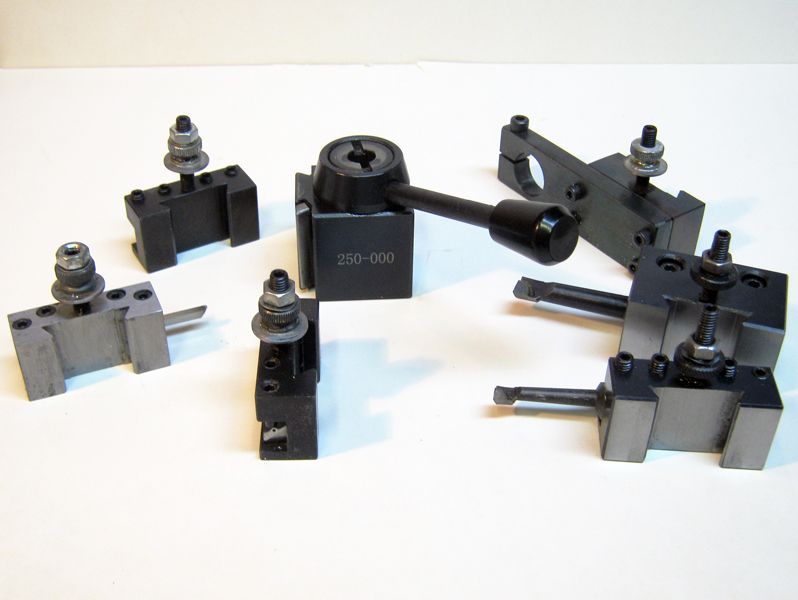
I'll close this post here, and come back with some accessories I have added and some further upgrades I may do:
--ShopShoe
Last edited:




![DreamPlan Home Design and Landscaping Software Free for Windows [PC Download]](https://m.media-amazon.com/images/I/51kvZH2dVLL._SL500_.jpg)


![MeshMagic 3D Free 3D Modeling Software [Download]](https://m.media-amazon.com/images/I/B1U+p8ewjGS._SL500_.png)


