Restoring, finishing and upgrading a Dore Westbury Mk1 milling machine

Home Model Engine Machinist Forum

Help Support Home Model Engine Machinist Forum:

This site may earn a commission from merchant affiliate links, including eBay, Amazon, and others.
Part5 is now up.

In this episode in try an experimental technique to put a fine layer of brass on areas of my mill's main column support casting as a decorative precursor to being painted.

I've only seen one other person do this and he was applying brass to solid steel so I've not idea how it will take to cast iron..


Hi, I use a fine Brass wheel on a polisher to clean up many small items including old tools and the act of buffing leaves a deposit of Brass on the surface. Used very lightly this is the best wheel for Chrome as well. Cast Iron having a porous outer layer I find treating with a Tannin based converter before oiling or painting gives a great seal and key. Soaking in Molasses/water at 1:40 then a power wash really works well for anything that has rust.
 
Hi guys :)

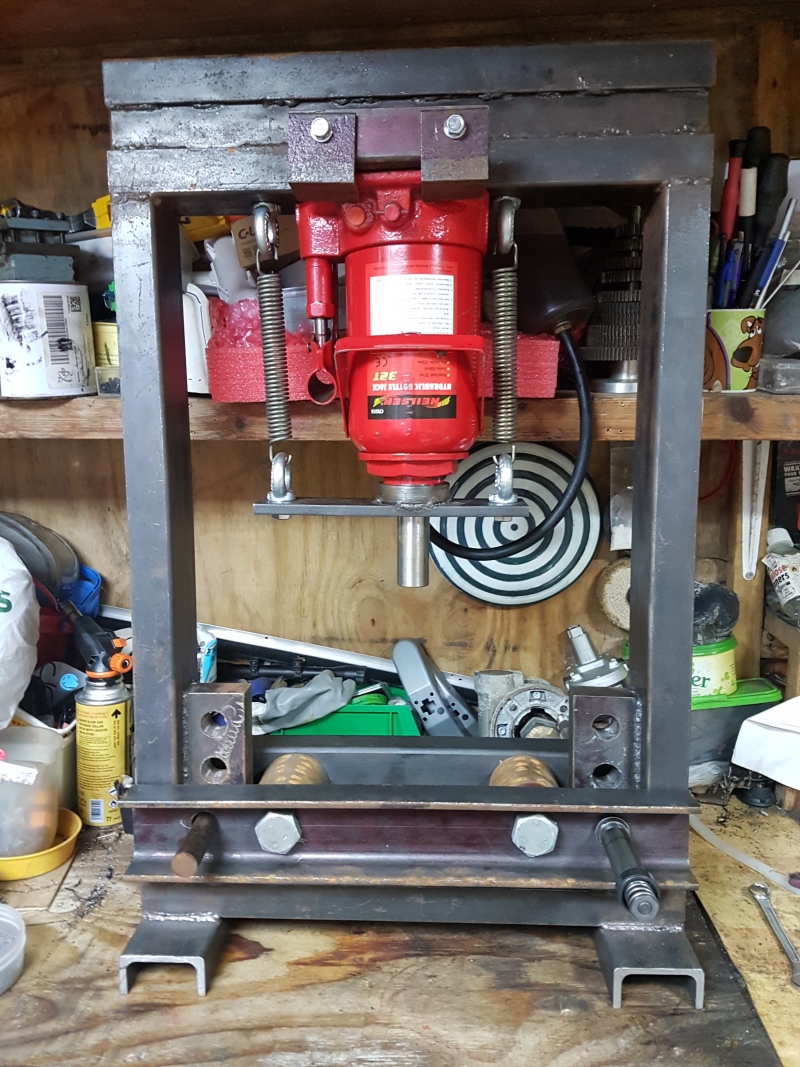
Had to take time out from the restoration to learn welding in order to make a workshop press so I could install the new quill bearings (what we do for our hobbies eh).

Filming myself welding proved problematic for my phone, so I haven't got much in the way of footage of the press build but it's now up and running and has been tested and passed for soundness so I'm about to install said bearings in a bit:
5bf2af41cf3b6.jpg
 
I didn't think that those bottle jacks would work upside down. I know they are OK horizontally with the pump in the low position. You may not get a full stroke out of the ram if the pump is starved for oil. I guess that you can always invert the entire press if it's a problem.

Welders are one of the tools that allows you to make more tools. It's a skill worth having, for sure. Congrats.
 
Hi guys :)

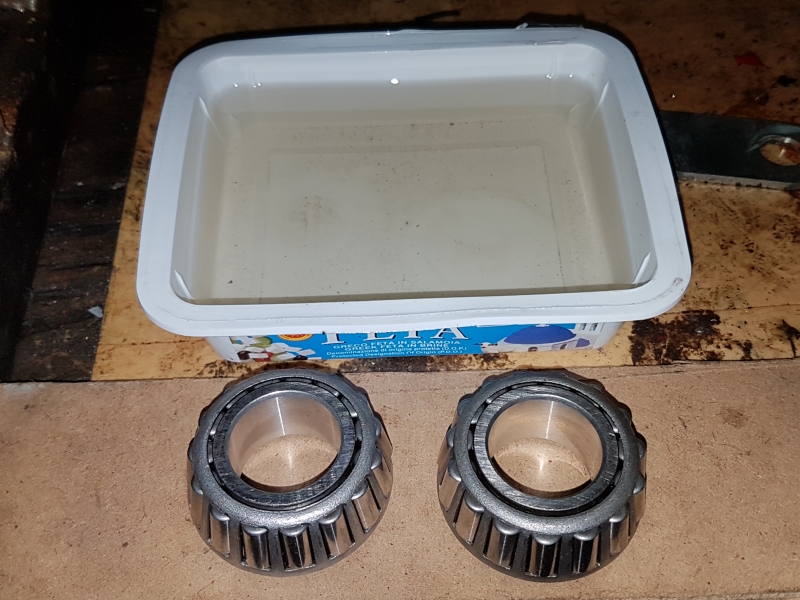
Having pressed the races into the quill, I gave the bearings a bath in some white spirits to remove the shipping grease:
5c06ec40543cd.jpg


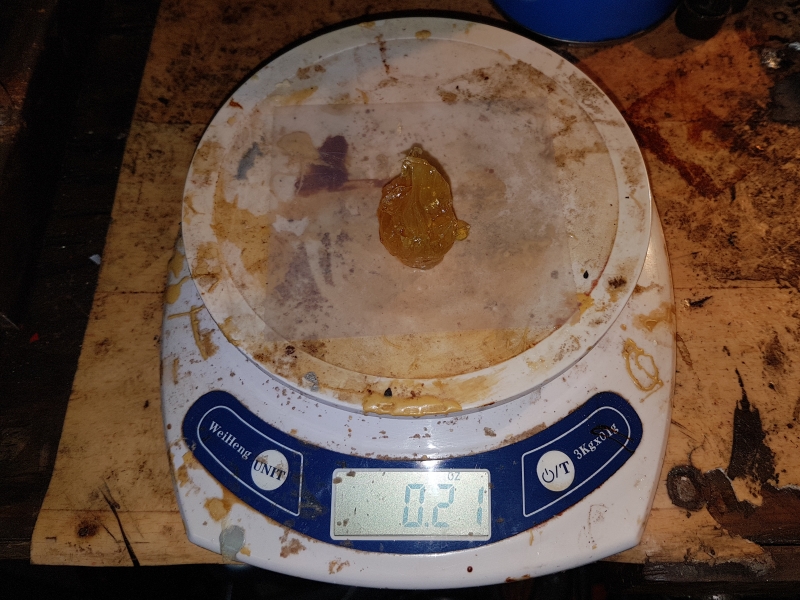
I then made some calculations for bearing grease quantity, in my case .2oz per bearing:
5c06ec48094ec.jpg


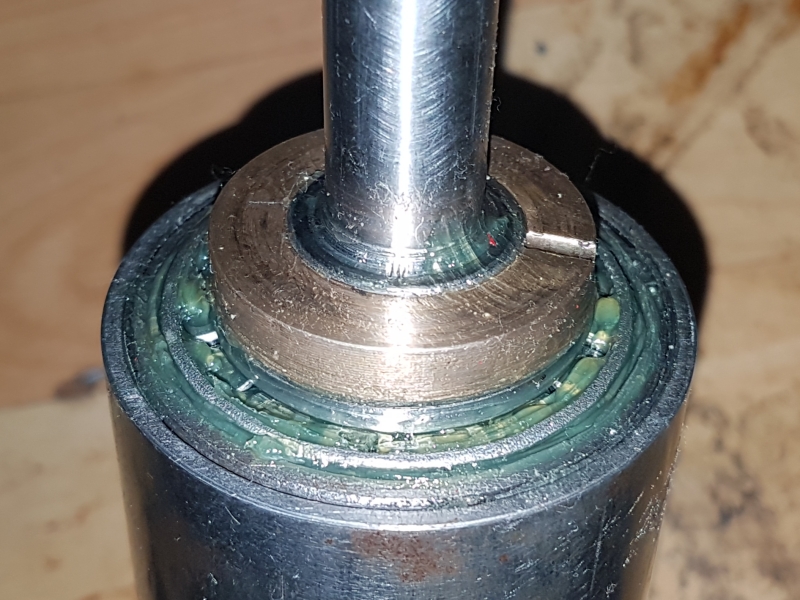
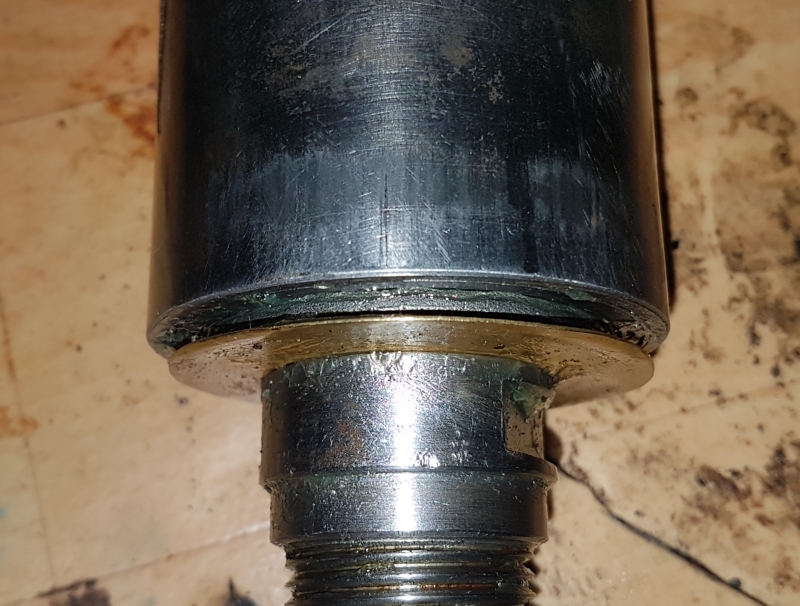
It was after packing them and getting near to fully assembling it that I noticed a major issue. It seems I overlooked a critical dimension when choosing the taper roller bearings. While the outer races are a perfect match depth wise, the inner races aren't and both protrude enough that I can't fit the second rear spindle nut to lock off the preload nut and they also prevents the brass bearing cover from doing it's job:
5c079a11c34e6.jpg

5c079a18b1ff0.jpg


A few solutions came to mind after some ponderings and while they would work, I'd rather not have to modify the quill or it's components. Paradoxlocally, I'd prefer to stick to taper roller bearings after seeing the condition the old deep grooves were in and I found myself in a catch 22 situation for a little while.

That was until a DW Mk1 quill came up for auction on ebay a few days ago, I rarely do auction bidding but on occasion, it can pay off. What got my attention is that the quill is only half finished, the outside has been ground and the rack has been cut (luckily, the two jobs I can't do myself) but it still requires the keyway and bearing seats to be machined.

I do wonder sometimes, a more perfect solution to my predicament couldn't have presented itself if it had tried, it was the only item the seller had for sale and I was the only bidder, I even waited till the last 10 seconds to confirm my bid, just to be sure but in this case however, I'm not going to look a gift horse in the mouth and just call it fate.

The new quill should arrive in the next couple days so I'll be back again with more soon...
 
Years ago I made the original Westbury mill/drill- but no matter.

Perhaps you could inform me if Arnold Throp's business as Dore Engineering and Ivan Law's are in existence again, please?

I have Law's Rotary Table and Throp's Kennet tool and cutter grinder both of which could do with 'a fettle'
My Quorn Mk1 came from the same source but it has withstood the ravages of time better.

Again, I'm quizzical about your bearing press- with the need to invert the hydraulic jack---- di dah, di dah!

I've been dumped with my son's Lotus Elise Special Edition which needs its front and rear wishbones restoring to 100%

Son realises that I got a City and Guilds in Motor Vehicle Restoration- and whilst I am too old to do it, I can still give chapter and verse.

Thanks

Norman
 

Attachments

  • image.png
    image.png
    770.8 KB
As far as I know, Arnald and Ivan haven't traded for some time, my guess is that the quill I got has been kicking around a workshop or somones loft for a fair while and finally made it's way to me.

Turning the bottle jack upside down means that there is no need for a ram guide that spans the width of the press, less materials needed (or at least cheaper).
 
Hi guys


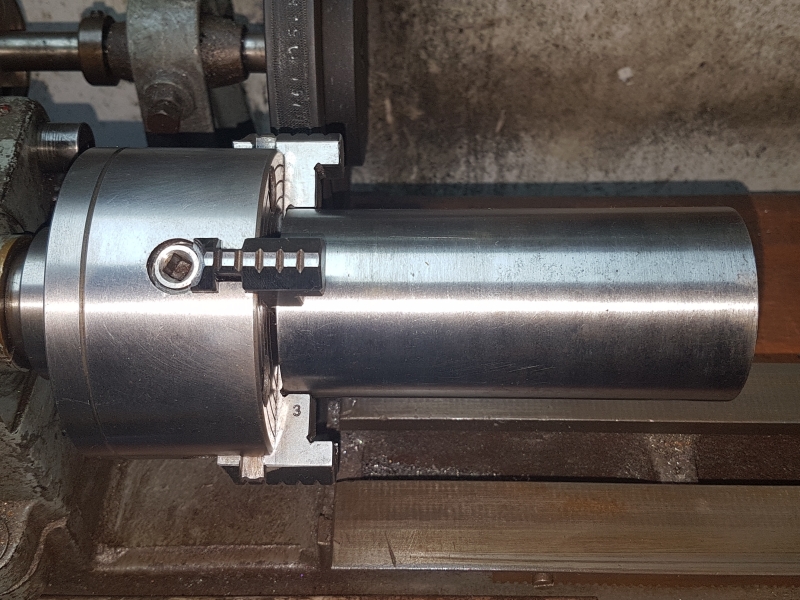
Well, thankfully the new quill arrived in good form. I am however facing another interesting challenge as I found that it was too big for my lathe's fixed steady.

Line boring sprang to mind but the only only round stock I have that's suitable was tagged for a required future tool project a few days ago.

I also considered making an expanding mandrel and an extended live centre point that would allow room for the boring bar but found the bore in the casting was off centre by a fair bit, so that idea went out the window.

I'll be honest, I'm not keen on the amount of stick out there is but without any alternative to fall back on, I'm going to have to risk it for a biscuit.

Given the circumstances, I felt using the 4 jaw would provide a better grip and it also allowed me to dial it to within a few microns, so at least I know the bearing seats will be on centre if all goes well:
5c12766153b94.jpg


It'll be light cuts all the way, so it's going to take a fair bit of time to finish both sides, wish me luck.....
 
That looks a little bit hairy. What is the diameter and material? Good luck.
 
Find a a machine shop with a bigger lathe and proper steady rest. There is a reason that lathes come in different sizes. The risk you are taking is not worth it, in my opinion.
 
Hi
With that setup, failure is the only option. There is no way you will hit a bearing tolerance because of the amount of flex.
If you are committed to a DIY solution, make a steady rest. Easy to fabricate with sheet metal or box section tube.

The other option is to see if you can find bearings that are not so wide.

Dazz
 
I recall that Neil Hemingway of Hemingwaykits and L.Sparey of the numerous models still being built and his 'The Amateurs Lathe' suggested the possibility of wood

Incidentally, I was looking for something else in what is laughing called my library and found that there is a modification suggested for the Dore Westbury mill/drill quill.

Later I got rid of my Pools Major lathe - and never pursued the recommendation

As a sort of postscript, I had a look again at Arnold Throp's Vertical Milling in the Home Workshop in the hope of finding what I believe was Model Engineering Services Hexagonal shaped Fixed steady( for the Myford). Instead I found the photo of the set up of cutting the Quill being held in vee blocks supported by three face angle plate and done on what looks like a Dore Westbury mill.

So much for me wanting to modify his or MES's Kennet tool and cutter grinder which really could do with bringing into the 21st Century.

Keep me posted

Norman
 
Last edited:
Hi again folks :)


Well, I'm in agreement with everyone who has shown concern and I'm not going to attempt to work on the quill myself as I was just too dodged out by such a sketchy setup as well.

Instead, I've contacted another machinist with a bigger lathe and he has initially agreed to help out with it, though I'm still in talks with him but a solution looks to be forthcoming at least.


Meantime, I thought I'd see about fabricobbling a bigger fixed steady out of stuff I have laying about my workshop but given a lack of raw material variety turn to, I'm playing the repurposing game, though in all honesty, its one of my favourites any way.


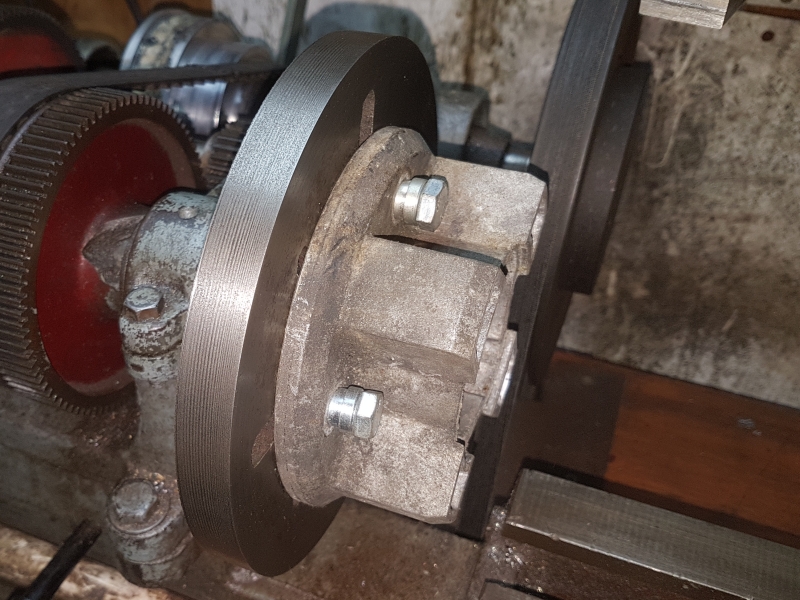
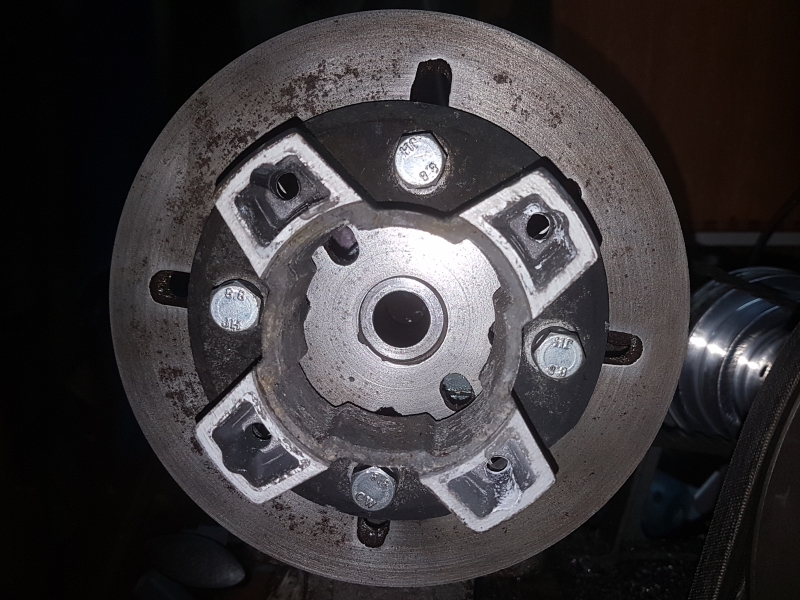
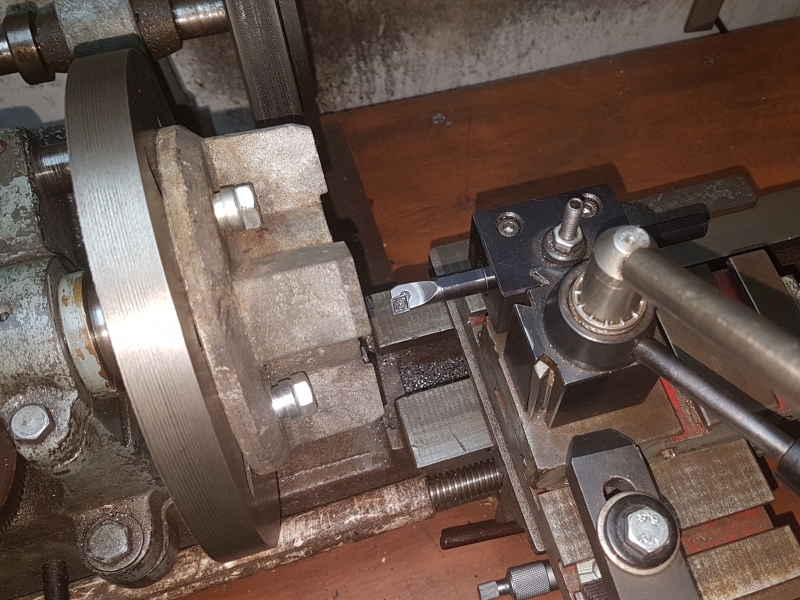
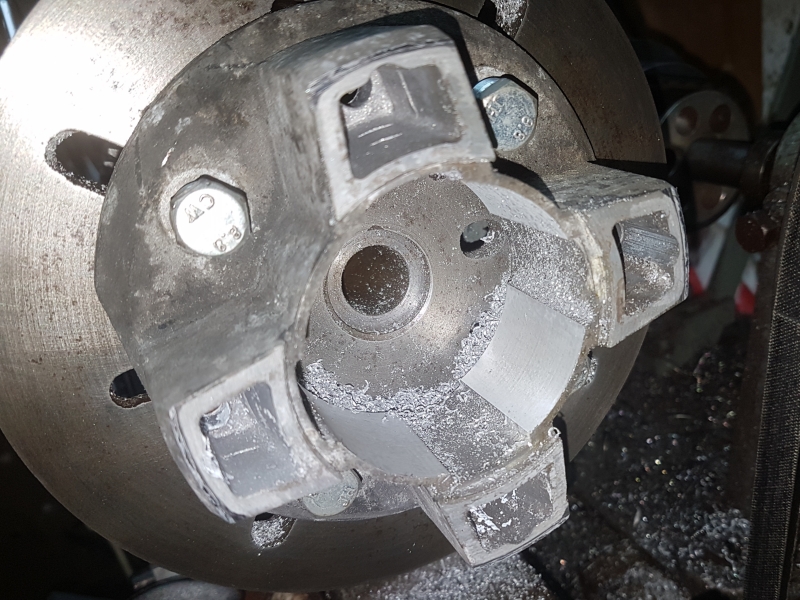
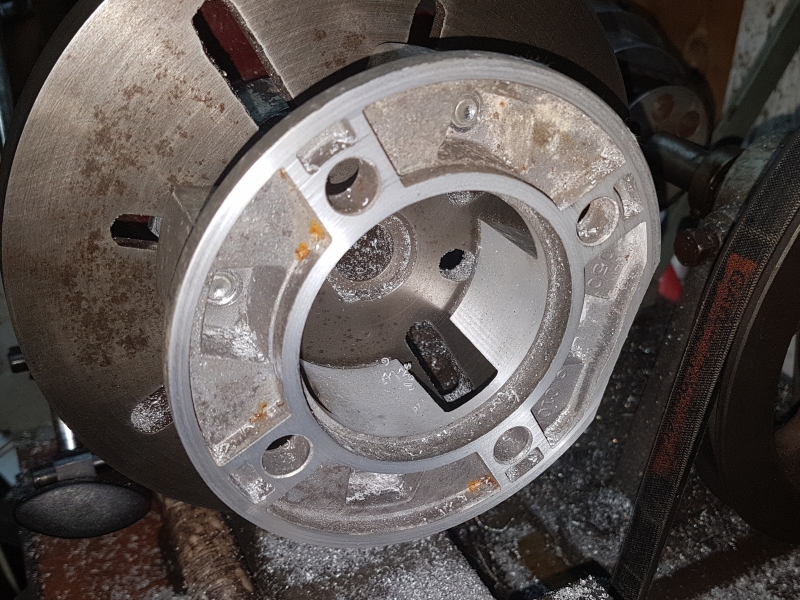
To that end, I hoiked off one of the flange mounts from a damaged reduction gearbox. I chose the flang mount as it has some interesting features I should be able to make use of, once I've opened up the bore, which handily is only a little smaller than the quill itself.

Once I got the thing off, I mounted it to my faceplate and started boring it out:
5c1770fc3c4d2.jpg

5c177128319fa.jpg

5c177170d41d5.jpg

5c1771b31363b.jpg


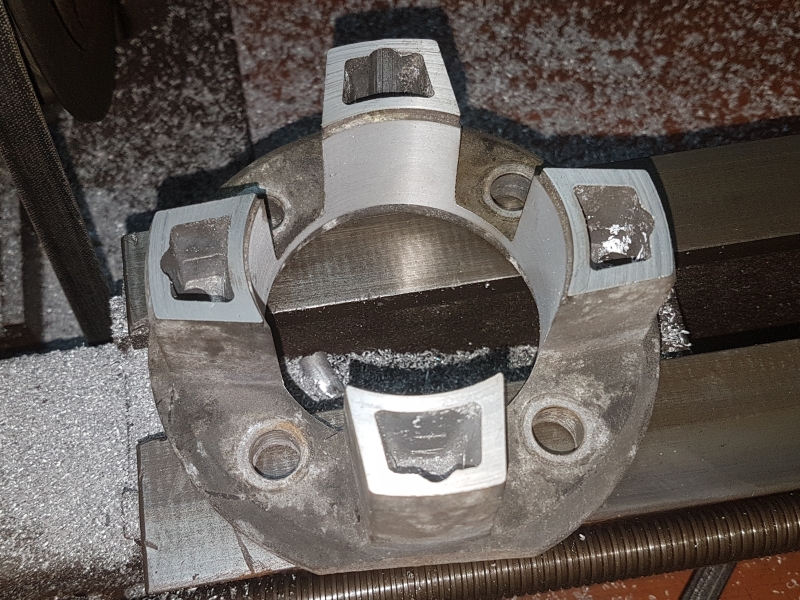
Having some larger diameter round stock in my collection, I made the bore big enough to take those as well and I ended up removing the webbing completely from between all four protrusions.

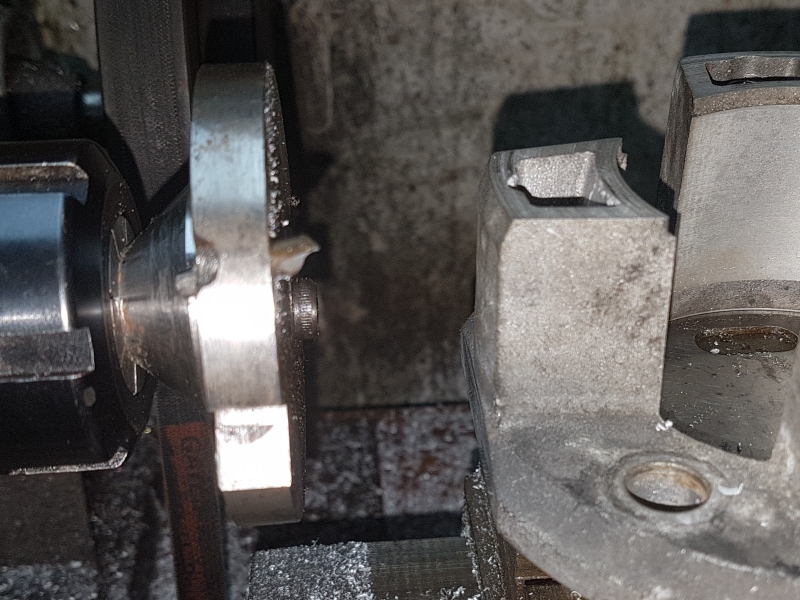
Afterwhich I faced it to give two referance surfaces and removed it from the faceplate:
5c17720869710.jpg


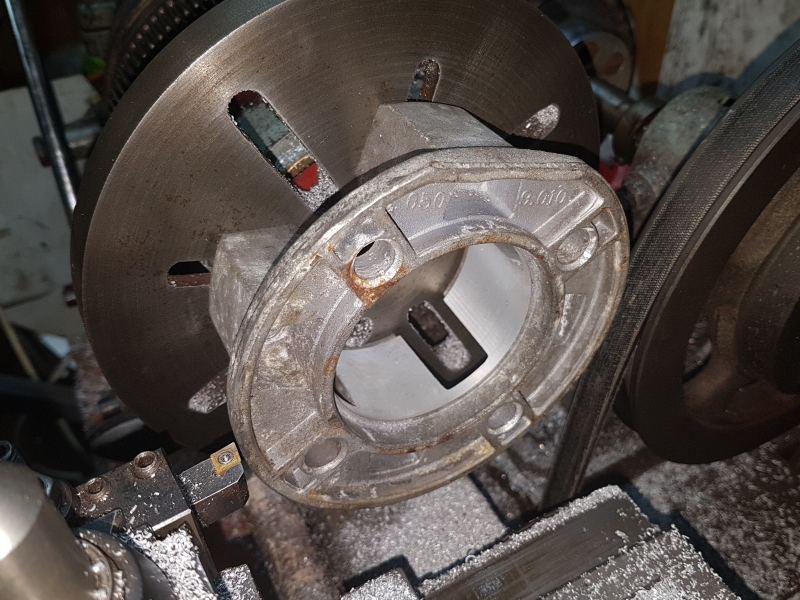
I then made use of the flange mount holes in each of the four protrusions by tapping them as it meant it could be firmly affixed the other way round, without risk of warping the workpiece as there was a fair gap between the holes I'd used previously and the faceplate:
5c17721b33147.jpg

5c1772b276a9d.jpg


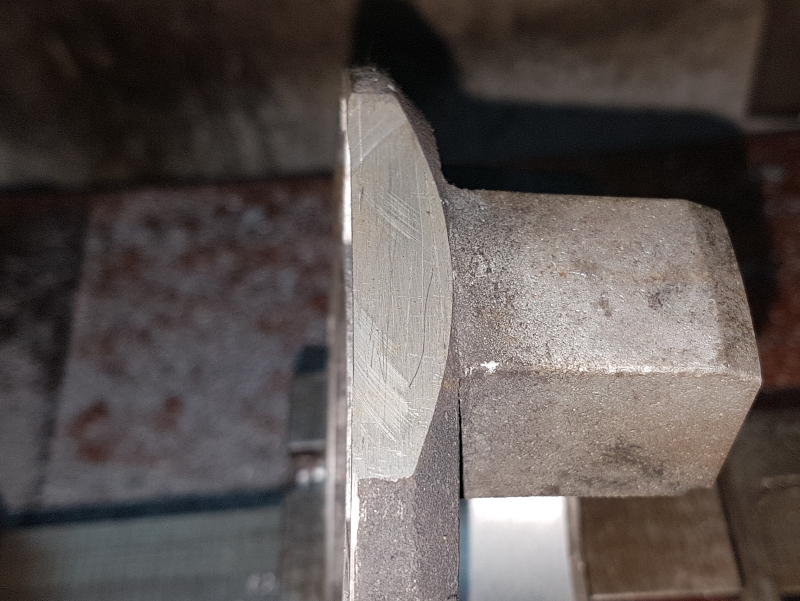
With that job done, I set it up to fly cut the flanges flat spot on it's outside edge as it will give me a way to mount it at 90° to the bed:
5c1772ba6eb02.jpg

5c17798ccfddf.jpg


Thats as far as I've got so far, it was late by the time I finished it and I'm still working out some of the details as I'm limited by a short swing cross slide and nonfunctional mill but I did at least find a piece of square that would be a suitable foot to mount the thing to the ways.

Anyhoo, have a great Christmas one and all and I'll see y'all round.

Until then, stay safe, stay happy, and keep those chips flyin' (=[ >*
 
Back
Top