Pressure controlled 2 stroke jan ridders

Home Model Engine Machinist Forum

Help Support Home Model Engine Machinist Forum:

This site may earn a commission from merchant affiliate links, including eBay, Amazon, and others.

brazza

aussie member
Joined
Jan 13, 2012
Messages
10
Reaction score
4
Hi everyone i've been building jan ridders Pressure controlled 2 stroke now
for about a year , (sorry haven't documented build).

All the mechanicals are now done , except some finishing of the fly wheel , and a wooden base to mount it apon.

I attemped to copy jans blokker ignition idea with a similar
battery operated candle lighter , but after many hours spent scratching
my head wondering why it won't spark , and replacing almost every component on the board still to no avail , i have given up on the idea, i have decided to buy a cdi instead of making one. I keep seeing people mention
the name RCEXL cdi , and was wondering if anyone would be able to help me out on which one will run my little 2 stroke , using hall effect sensors( I plan to embed a magnet into the fly wheel)

sorry about the photos i don't own a good camera

cheers Brayden
Photo0313_zps233bbdb5.jpg


Photo0312_zps5251e8dc.jpg


Photo0315_zpse5068513.jpg


Photo0316_zps82319078.jpg
 
Look at www.cncengines.com. I have used these on a couple of IC engines including Jan Ridders "Debbie" two stroke and they work well. There may be cheaper ways to do it but when I consider the time and effort that goes into these engines, the price is worth it.

BTW That's a nice looking engine. I hope it runs as well as it looks.

Jim
 
Last edited:
Cheers Jim ,
Have ordered one and will see how it goes , also ordered a 6" vertex rotary table to rough out the rest of the flywheel (takes way to long on a mini-lathe :(). Then to buy some wood for the base , some shellite to make it go bang , then hopelfuly she'l be good as gold:D

cheers Brayden
 
Hi everyone,
finaly finished my little engine after just over a year since commencing.
At first it would not run on it's own , it would fire when aided with an electric drill , but was not self sustaining , extremely similar to how other's "simple 2 stroke" builds would act that were not quite running. At first i was quite shocked considering how much care i had put into making sure things were acurate ( most parts were within .01mm) and the piston and cylinder fit i thought were quite exceptional. I couldn't seem to find any major faults , so i assumed my problem was the same as others , COMPRESSION RATIO.

So i machined .5mm off the head , and removed 1mm from the cylinder , assembled it back together , gave it a couple of spins without spark to prime it , turned on ignition flicked the flywheel and off she went , infact it revved so hard i thought it was going to self destruct so i quickly turned it down ( it hasn't run this fast since:confused:) .
Well it runs well now but it can take 5 mins or so from a cold start to get it running because the vapor carb is so sensitive to different fuel levels , and the mixture has to be at it's sweet spot from a cold start (takes a little fiddling to find)

here's some pics and a very average video which i apologise for ;)

Happy building

cheers Brayden

106_0210_zpsadf06256.jpg


106_0209_zps412b73f2.jpg

106_0208_zps67a2292d.jpg

106_0207_zpse93cad9f.jpg

106_0206_zps526fa88f.jpg

106_0205_zps946fdb03.jpg

106_0204_zps49de30e9.jpg

106_0203_zps45b5e1f7.jpg

 
Onya Brayden, that is a nice looking engine and one that will doubtless be in the family for a long time.
The compression problem is common, as is the sensitivity to fuel level and the whims of fate. No worries.

Jim
 
That's a really nice running engine, one of the better 2 strokes I've heard. What did you use for the ignition?

Chuck
 
That's a really nice running engine, one of the better 2 strokes I've heard. What did you use for the ignition?

Chuck
Hi chuck , i used an RCEXL ignition designed for RC engines , may be considered expensive to some , but it eliminates alot of problems and works a treat, well worth it. It runs utilizing a hall sensor and a magnet embedded into the flywheel .

Brayden
 
Well today i was playing with my little engine ,
just for the sake of it, and i managed to arr .....BREAK IT:wall::wall:. F#@k!!!!
Long story short while it was running i was adjusting the mixture screw , i undone it too far and it dropped out of it's thread and decided to land between the moving conrod and it's bottom plate at a few thousand revvs . End result a broached plate , a spun flywheel (cold welding it's self onto crank) and a sheared brazzing joint (the crank on the crankshaft ) DAM IT!
No pictures as looking at it makes me want to cry

Well i'm building me another crank now:mad:

Oh Boy, I know how you feel. Just gotta get back on that horse and keep going!

Chuck
 
That's really tough luck but the engine is so nice that it is worth saving. And by the sound of it, it will have a couple of interesting scars as conversation starters.
Don't give up. And show us the engine when it is renewed.

Jim
 
Found this thread right now. Sorry to hear you damage it, I hope you have managed to restore it.
I wish mine will run sweetly like yours.
Cheers,
Giacomo
 
Sorry i haven't got around to updating this thread.

Well i filled off the burrs , put some fine lapping paste where the damage was and shined it up enough to make the dents look unnoticeable , i then re-made the crankshaft , removed the siezed flywheel , and reamed out the flywheel again , assesmbled it all back together ,oiled it up , put fuel in the
tank and off she went again :D , this was all on the day after i broke it (got the day off work).

Since then i have added a port to plug in an rcexl tacho and killed two brand new lipo batteries because i forgot to charge them after using the motor.
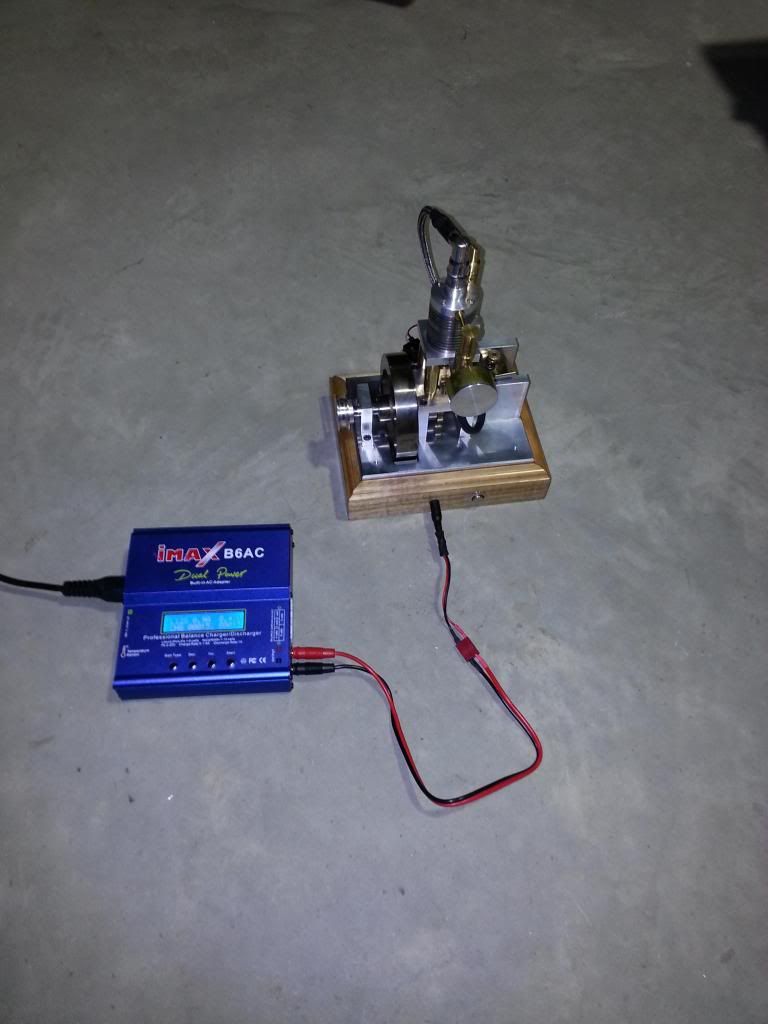
Brought a new lipo which will stay inside the base, and added a stero socket which i will use as a charge port (i have wired the balancing charging wires to the socket)

I wil post another video , a better one this time when i get around to it .

I envy all you retires getting to spend large amounts of time model engine building ,Toolmaking is my job , but it's just not as fun as making model engines , i guess i only have to wait 40 years :rolleyes: unless i win the lotto.

Cheers Brayden

You want to be careful about putting off too much until you retire. Now that I've retired, I have plenty of time, but now I have no where near enough energy or enthusiasm to get all my projects done. :(

Chuck
 
Hi everyone ,
just thought i'de give a little update as it's been a while. I did get around to fixing it , and also made a few improvements , and additions.

Well I originally didn't use gaskets because I naively thought my finishes were good enough to not need them , but decided gaskets could possibly make it better so I made up a full set of gaskets out of non-stick baking paper (works a treat), This gave instant results and the compression went way up than before.

To aid in my attempts to achieve better sealing , I acted upon one of Jan's suggestions , which was to ditch the Teflon seal , and replace it with an O-ring compression plate (kind of like a mechanical seal).
This involved a bronze bush same as the Teflon seal , but with a counter bore in it to suit the O-ring , then a plate of some sort (I used aluminium) Which has the same counter bore as O-ring, plus the 5mm hole for shaft. this plate then fixes underneath the bottom cylinder block and compresses the o-ring against the piston rod forming a seal. This worked remarkably well. The engine now feels like it has plenty of compression.

Also to finish it off I added a port for the tacho to plug into , and also a charging port , End result, the engine is now more reliable , and doesn't embarrass me in front of people (it used to take 15mins to get going).

Here's a video I made , sounds a bit rough mainly because of the echoing of the shed , and some pictures

Cheers Brayden


Last edited:
That's a nice looking engine Brayden and it is nicely balanced too; my Debbie (similar Ridders two stroke) jumps all over the place so perhaps I need to do some more work on it.

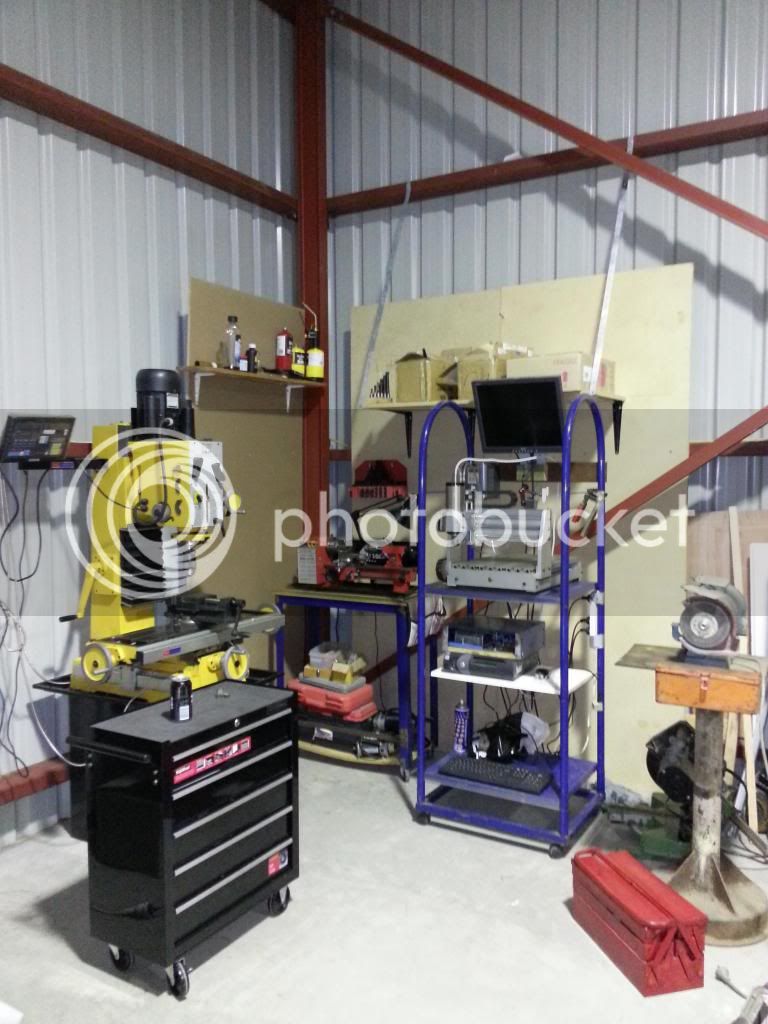
And the shed looks good as well.

Jim
 
Like others have said..you made it once, you can get it going again. By the way the video and pictures are great. Glad you got it fixed.

Cheers,
Phil
 
Last edited:

Latest posts

Back
Top